1990 LS Build


Thread Starter
V8 Miata Follower
Joined: Jul 2015
Posts: 119
Likes: 11
From: Fort Myers, FL
It looks like that's the only option. I'll pick one up and go easy on it. Thanks!

V8 Miata Prot�g�

Joined: Nov 2014
Posts: 485
Likes: 37
From: South FL
Feel free to hammer it down with an impact. I have a couple that I use at work all the time and they are years old and have never cracked or broken. It wouldn't be terrible practice to wear safety glasses though just in case it decided to break and send a piece flying. (Which I've never seen, usually just crack)
Thread Starter
V8 Miata Follower
Joined: Jul 2015
Posts: 119
Likes: 11
From: Fort Myers, FL
5/9/16 Update:
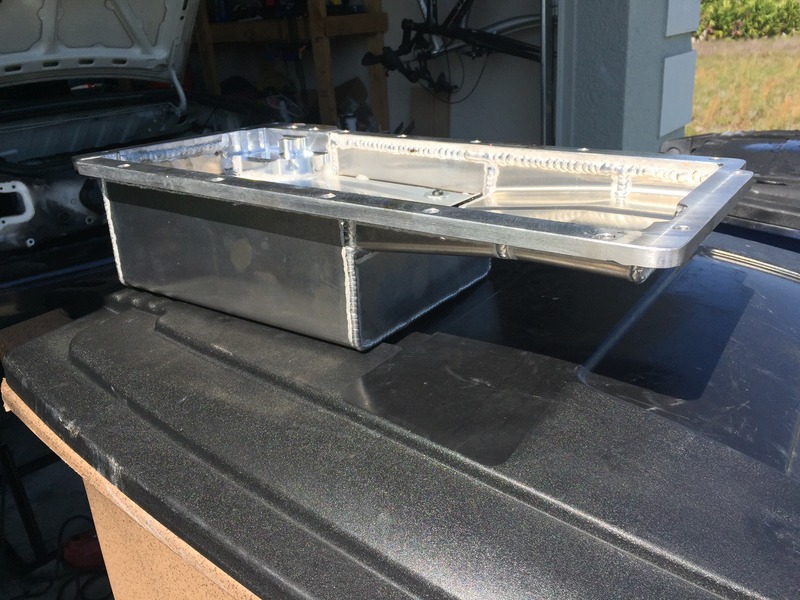
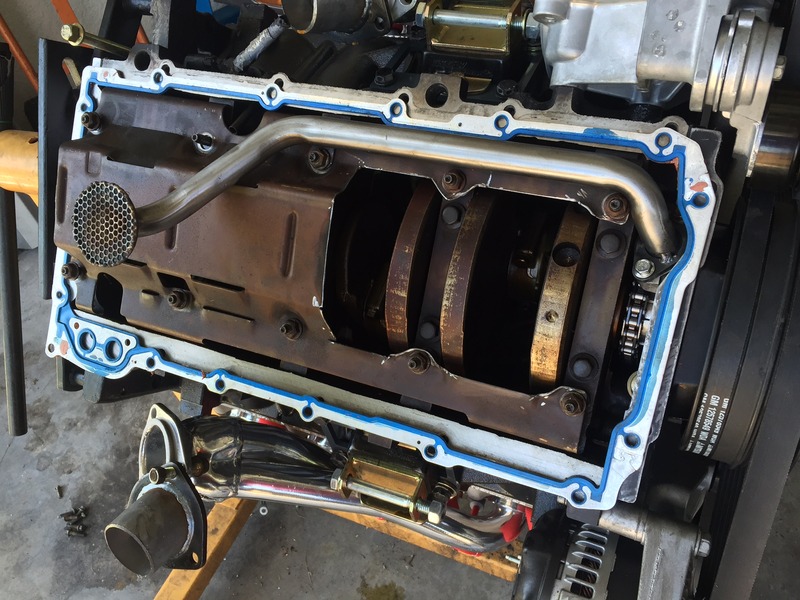
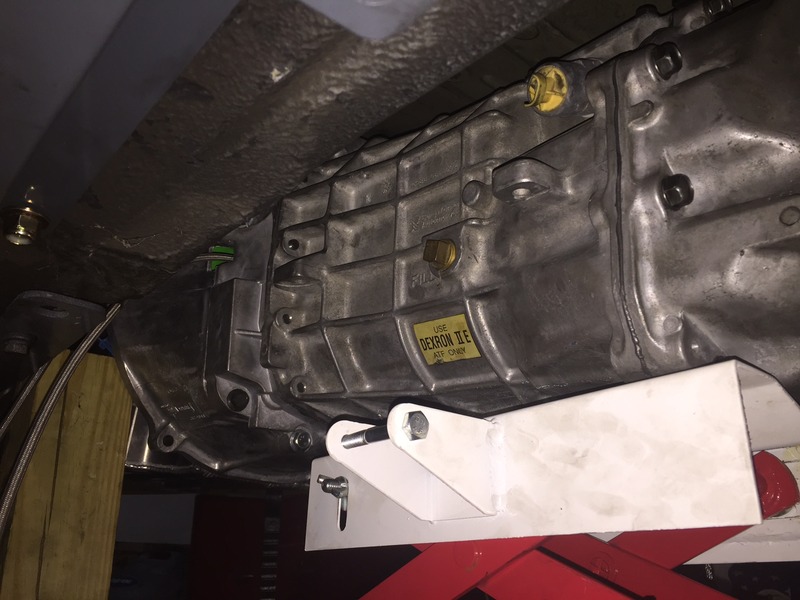
Since the Speedmaster Pan won't work with the power steering rack, I ordered a V8R pan (ouch) and mounted it up this weekend.
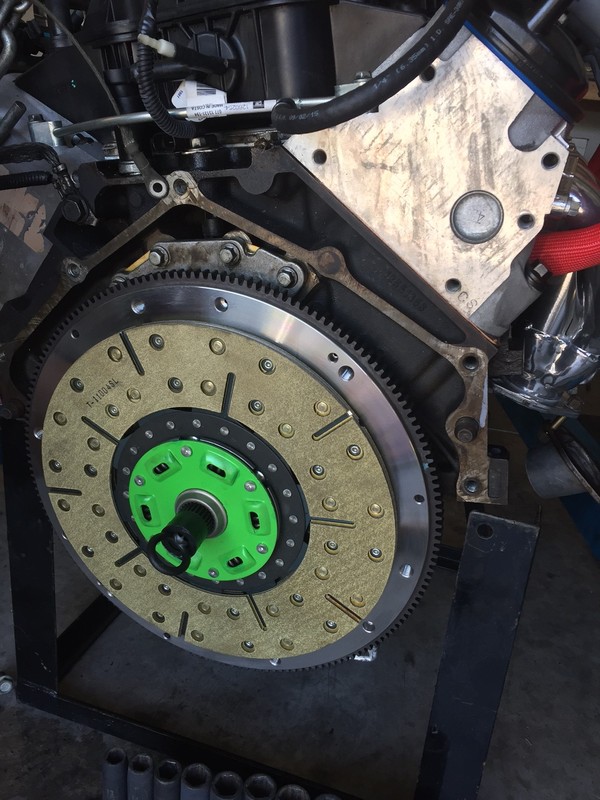
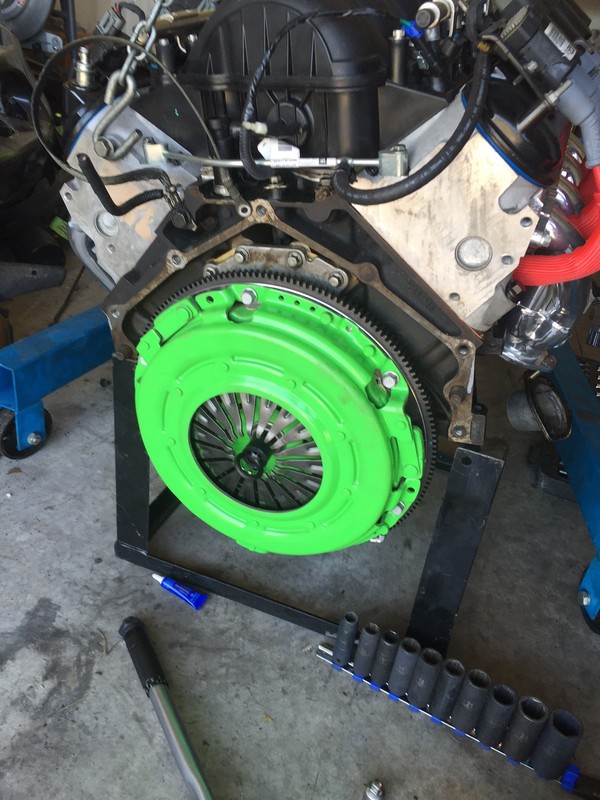
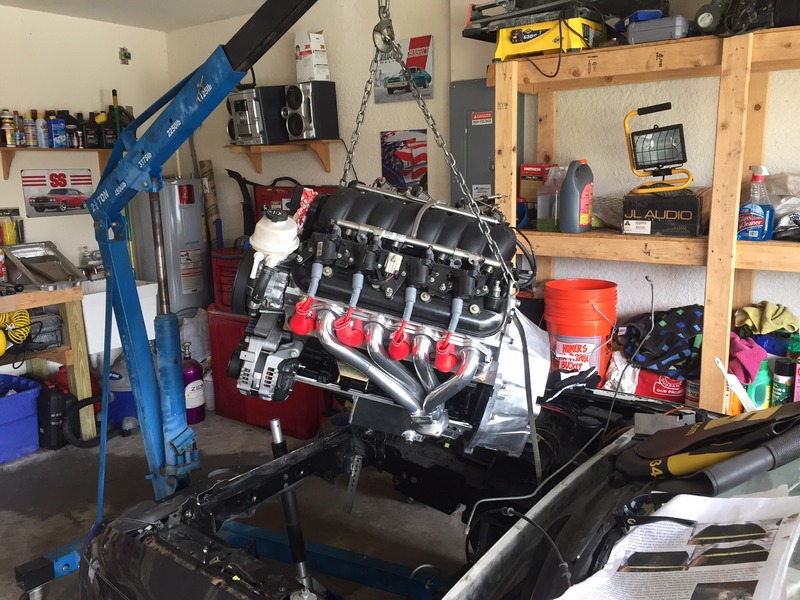
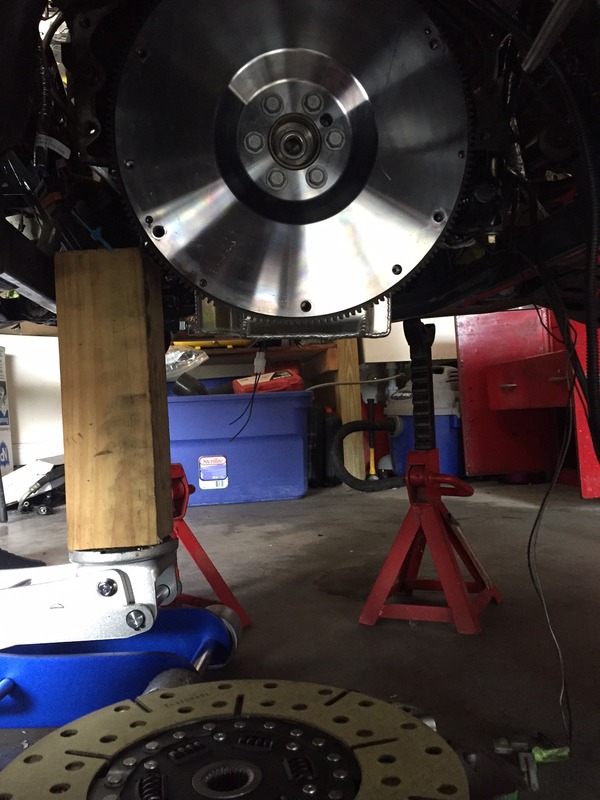
And since that was all done, I got the motor off of the stand so I could install the clutch and the bellhousing:

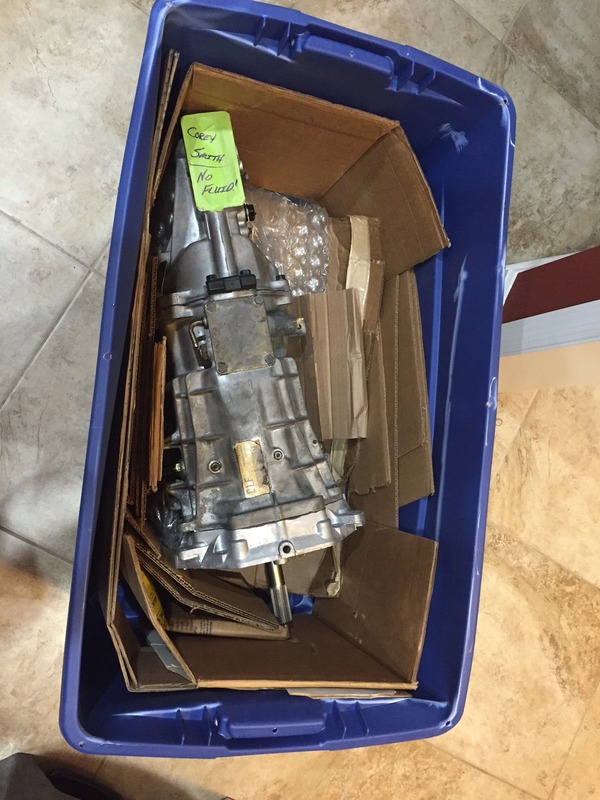
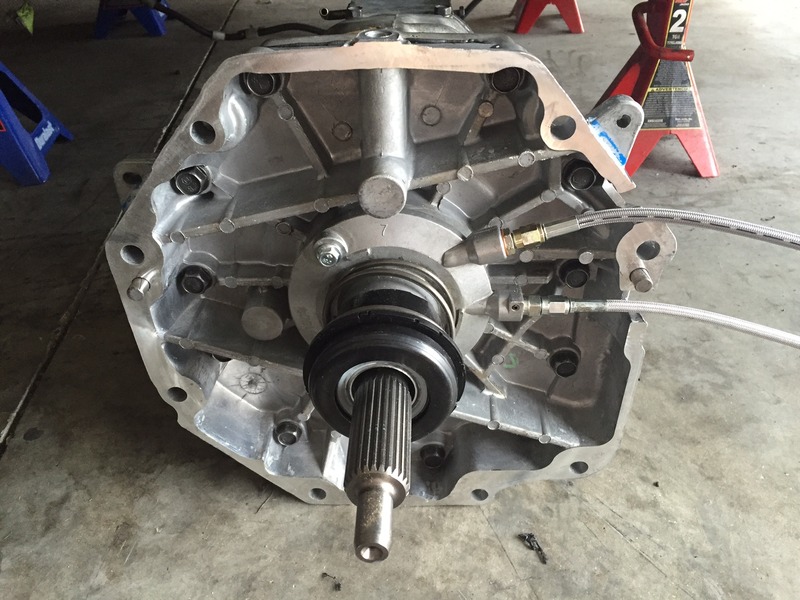
Also, I shipped the tranny away to Tick Performance for a rebuild:
Since the Speedmaster Pan won't work with the power steering rack, I ordered a V8R pan (ouch) and mounted it up this weekend.


And since that was all done, I got the motor off of the stand so I could install the clutch and the bellhousing:


Also, I shipped the tranny away to Tick Performance for a rebuild:

Thread Starter
V8 Miata Follower
Joined: Jul 2015
Posts: 119
Likes: 11
From: Fort Myers, FL
5/24/16 Update:
My brother came into town this weekend to help me make some more progress. We had a fantastic weekend of progress in the garage!
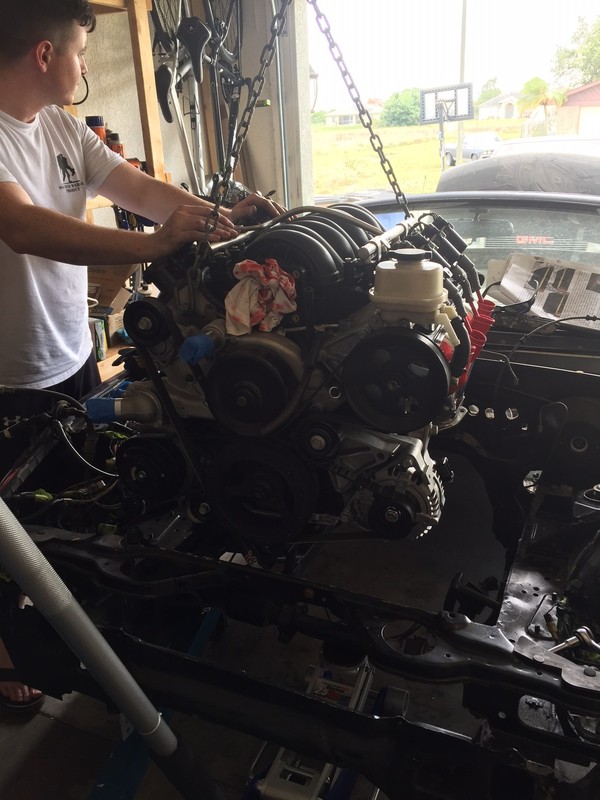
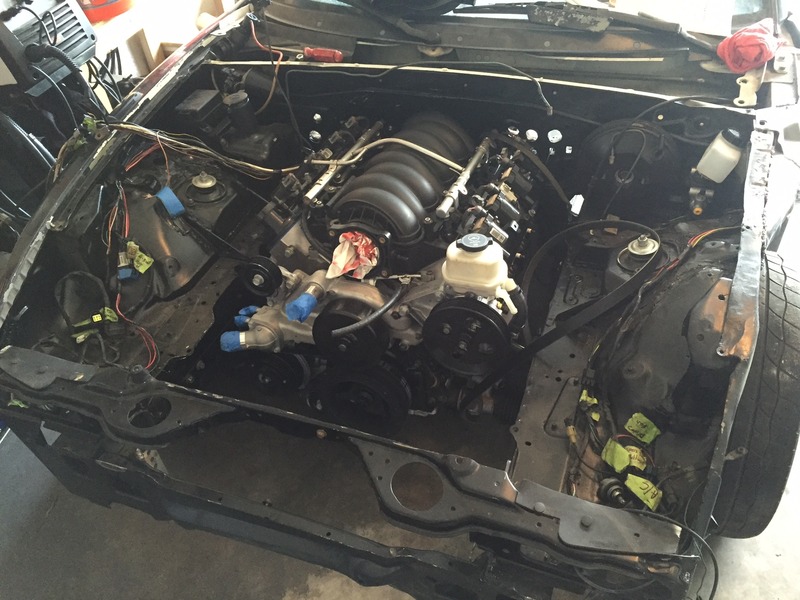
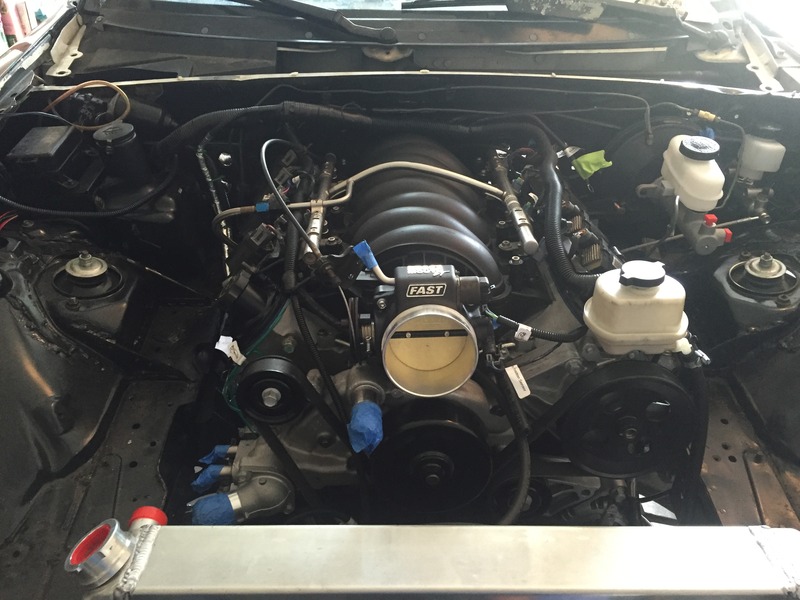
For starters, the motor is IN!! It should be it's final resting place.
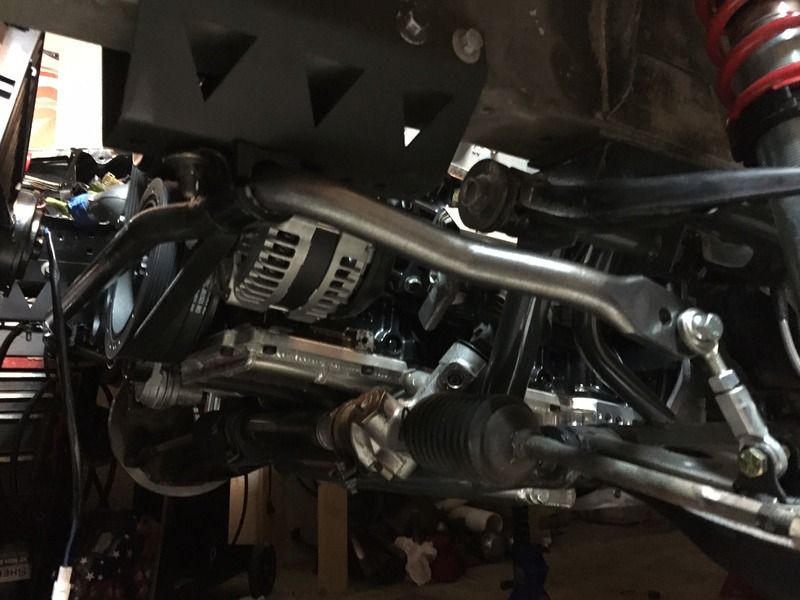
Then we did a little more work. The front sway bar is mounted:
The fuel lines are 100% hooked up:

And then the first hiccup. The Flyin Miata PS kit requires removal of the PS pump pulley to thread in the fitting (I don't have a puller, so I'm going to pick one up this week). So I'm stuck on that until I can get one.
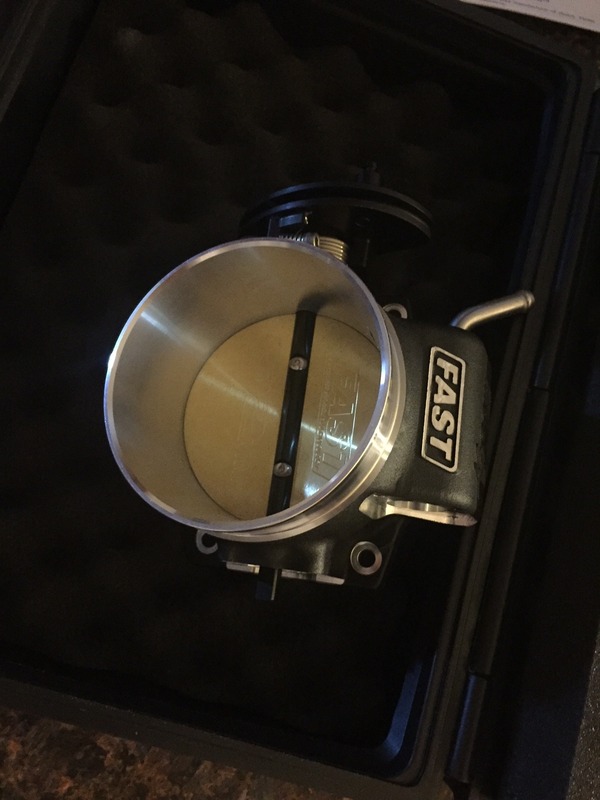
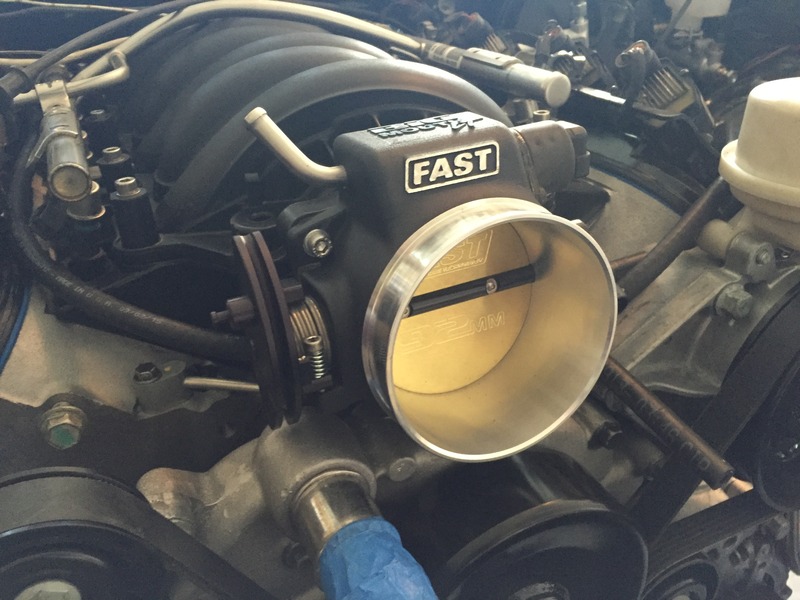
And then my FAST TB came in. Waiting on the o-ring gasket for the install. This thing is pretty:
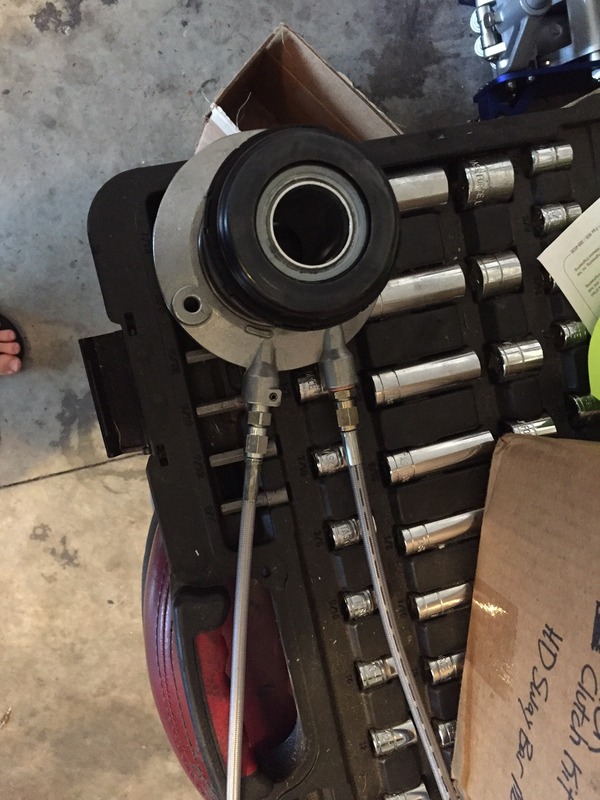
And the slave cylinder is roughed together. As soon as the tranny comes back from Tick Performance, I'll put it together.
My brother came into town this weekend to help me make some more progress. We had a fantastic weekend of progress in the garage!
For starters, the motor is IN!! It should be it's final resting place.


Then we did a little more work. The front sway bar is mounted:

The fuel lines are 100% hooked up:


And then the first hiccup. The Flyin Miata PS kit requires removal of the PS pump pulley to thread in the fitting (I don't have a puller, so I'm going to pick one up this week). So I'm stuck on that until I can get one.


And then my FAST TB came in. Waiting on the o-ring gasket for the install. This thing is pretty:


And the slave cylinder is roughed together. As soon as the tranny comes back from Tick Performance, I'll put it together.


V8 Miata Fan
Joined: Jul 2010
Posts: 32
Likes: 2
Remove your power steering pump and go to Autozone. Autozone will let you use a pulley puller to move the pulley forward where it needs to be to install the pump fitting. After installing fitting return pulley to proper position on shaft. Job done.
Thread Starter
V8 Miata Follower
Joined: Jul 2015
Posts: 119
Likes: 11
From: Fort Myers, FL
Here are some pics of the swap for anyone else that will be using power steering and the FM kit:
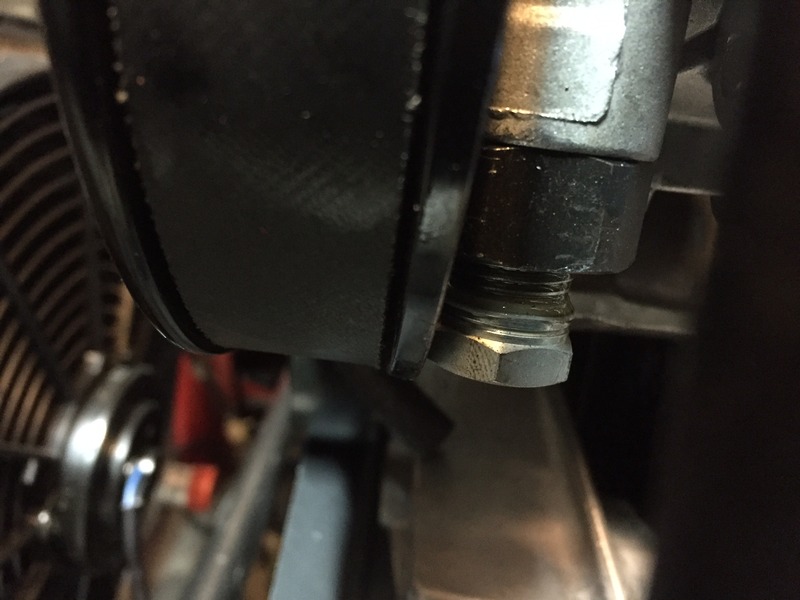
Pulled the pulley off:

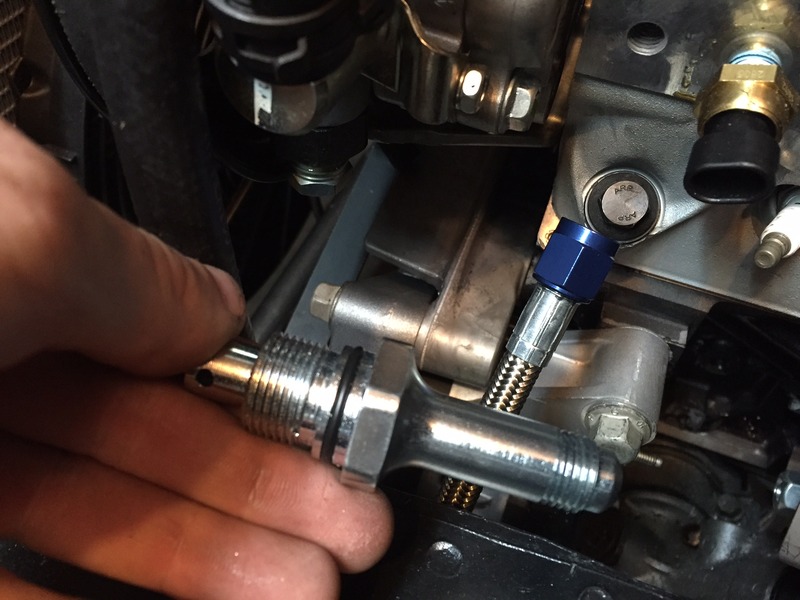
And removed the stock CTS-V fitting (this thing was tight!):

Put in the new Flyin Miata fitting:


And pressed the new pulley back on with the tool. The new fitting is very tight to the pulley, but it works:


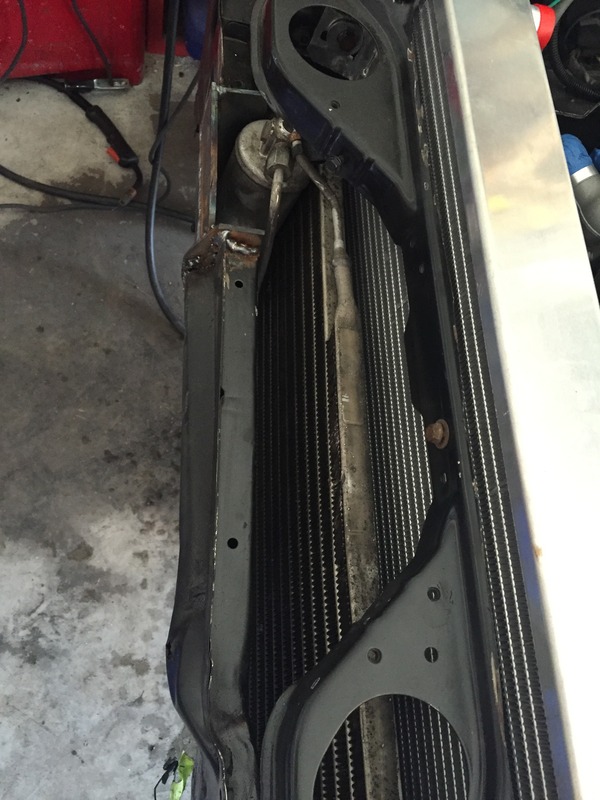
Here is the routing of the high and low pressure sides:


V8 Miata Fanatic
Joined: Feb 2015
Posts: 559
Likes: 83
From: Marion Illinois
I'm no suspension expert, but I've always though that the sway bar end links are supposed to be as perpendicular to the bar as they can be. It looks like your links have quite a bit of angle to them, seems like that will reduce the effectiveness of the bar itself.
Thread Starter
V8 Miata Follower
Joined: Jul 2015
Posts: 119
Likes: 11
From: Fort Myers, FL
Maybe once the tranny is in it will rock the motor and create some extra room? Not sure.
Thread Starter
V8 Miata Follower
Joined: Jul 2015
Posts: 119
Likes: 11
From: Fort Myers, FL
5/27/16 Update:
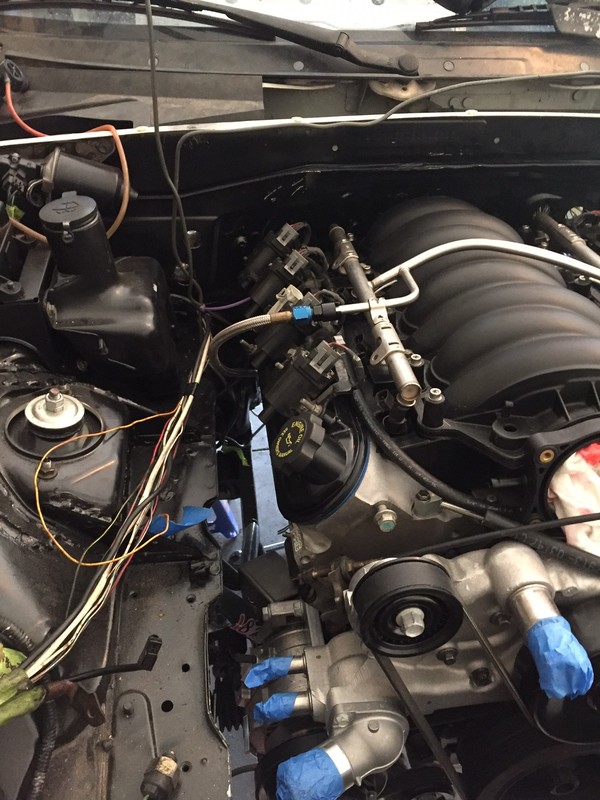
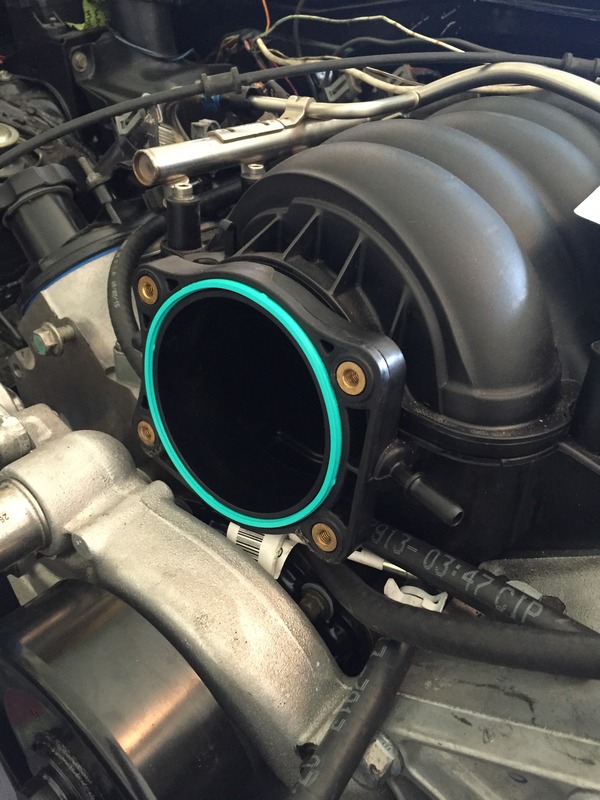
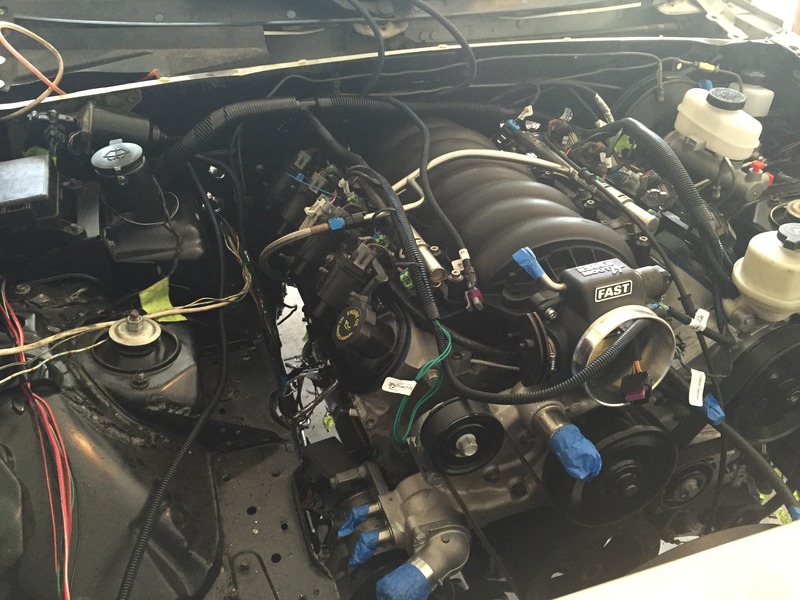
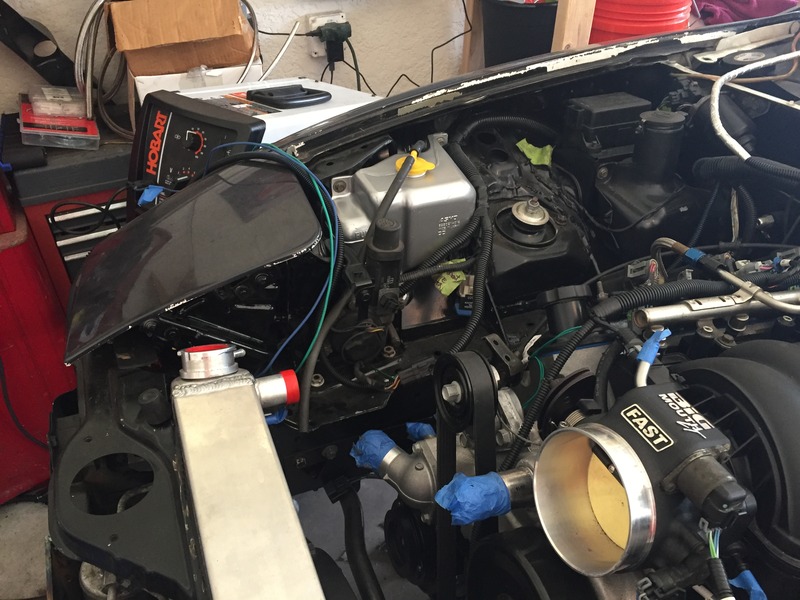
I installed the FAST 92mm TB:
The BP Automotive Harness came in the mail:
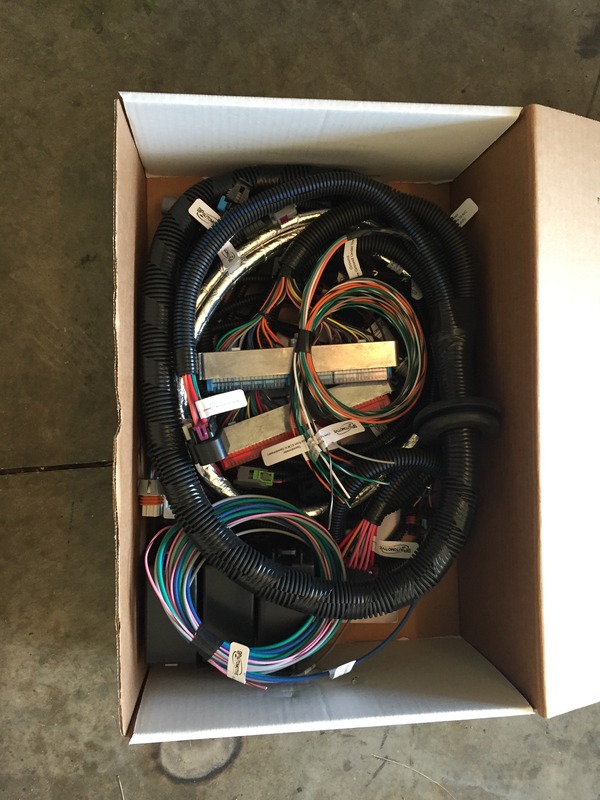
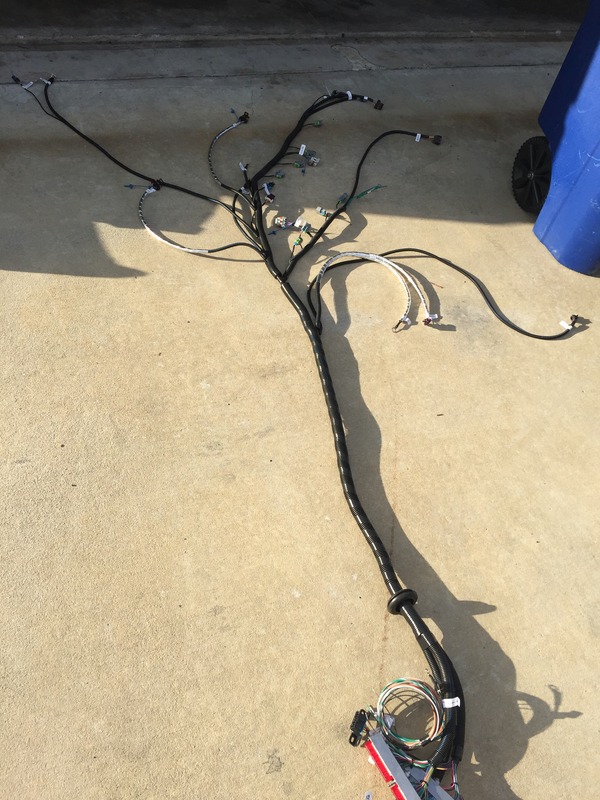
I'm hoping to make some progress over the long weekend for Memorial Day. The harness is a really nice piece and comes labeled very nicely.
I installed the FAST 92mm TB:


The BP Automotive Harness came in the mail:


I'm hoping to make some progress over the long weekend for Memorial Day. The harness is a really nice piece and comes labeled very nicely.
Thread Starter
V8 Miata Follower
Joined: Jul 2015
Posts: 119
Likes: 11
From: Fort Myers, FL
5/31/16 Update:
Made some great progress over the long weekend.
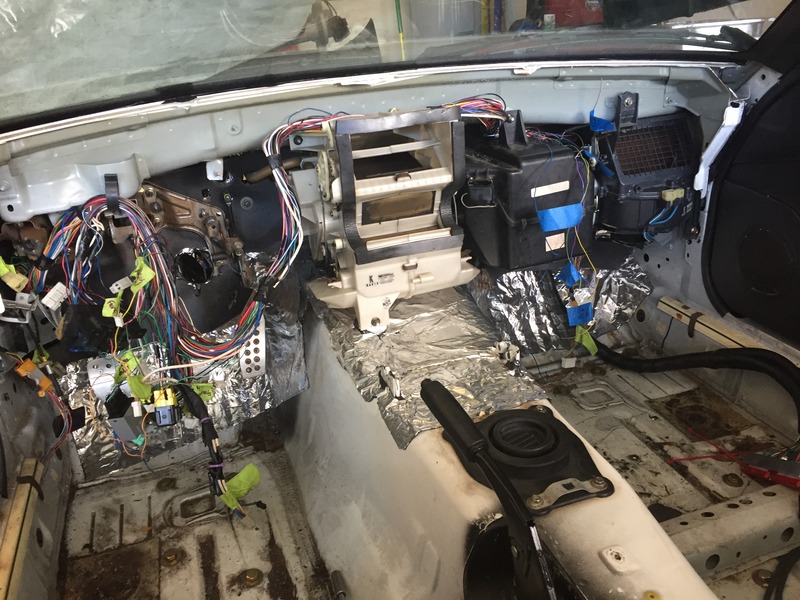
Got the BP Harness 90% wired up. Under the hood I only have a few connections still to make (AC, Fans, and some grounds that I can't reach on the rear of the motor yet.) In the car, I have the dash connections to make, but the FP wiring and 12v ignition are done.
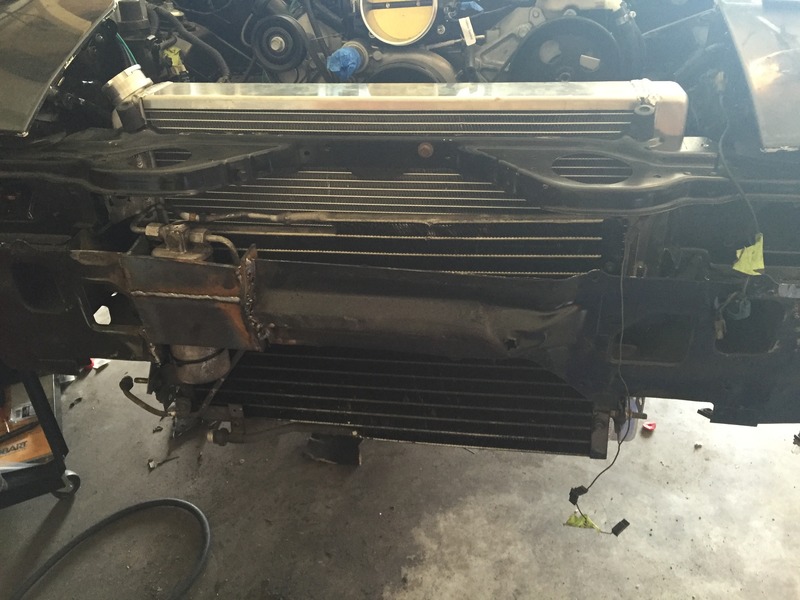
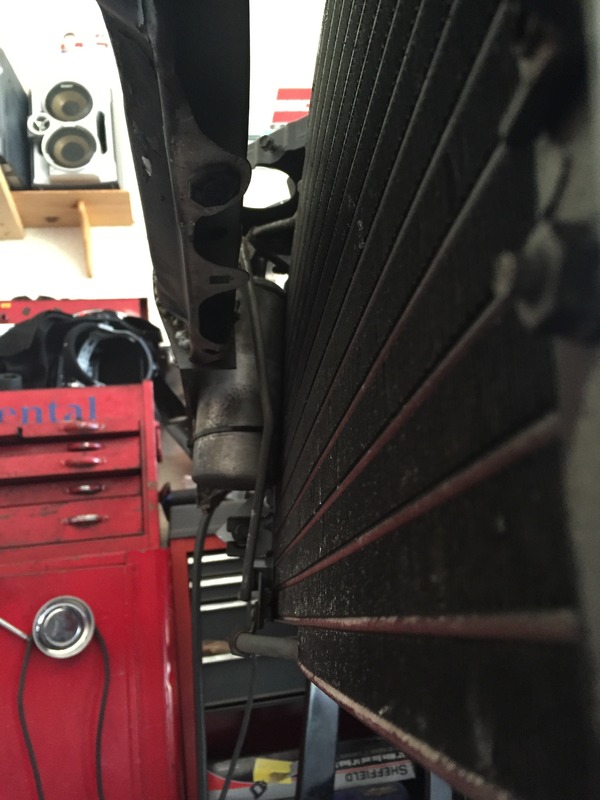
Got the radiator and AC mounted up:
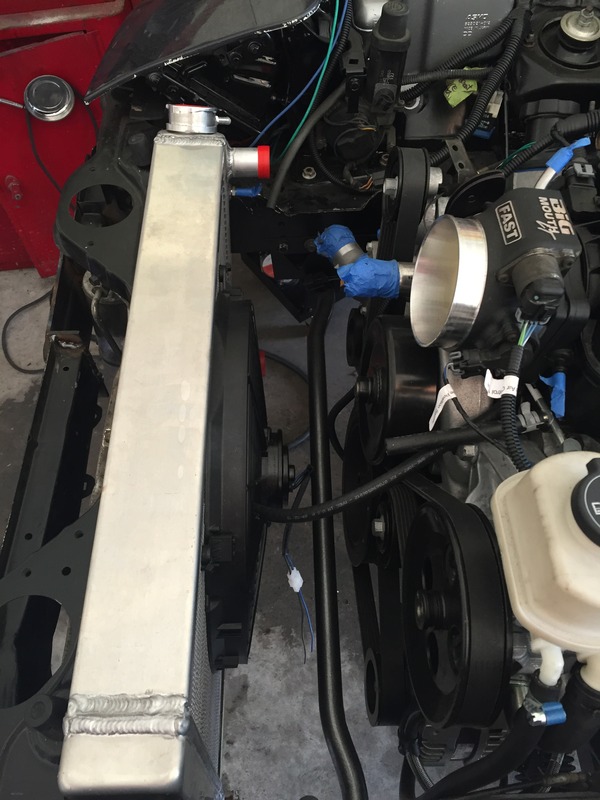
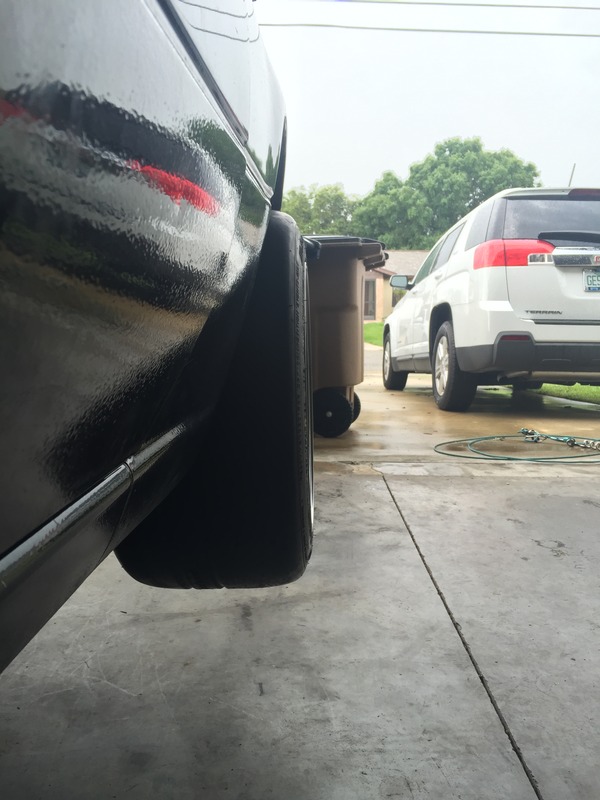
You'll notice my *minor* modification to the bumper to make some room for the AC.
And my fake chrome coolant reservoir. (I'm jealous of all of your nice ones. So I pretend.)
There's obviously a lot of cleaning up to do on the harness, but that will come in time as I finish up systems.
Made some great progress over the long weekend.
Got the BP Harness 90% wired up. Under the hood I only have a few connections still to make (AC, Fans, and some grounds that I can't reach on the rear of the motor yet.) In the car, I have the dash connections to make, but the FP wiring and 12v ignition are done.


Got the radiator and AC mounted up:

You'll notice my *minor* modification to the bumper to make some room for the AC.


And my fake chrome coolant reservoir. (I'm jealous of all of your nice ones. So I pretend.)

There's obviously a lot of cleaning up to do on the harness, but that will come in time as I finish up systems.

V8 Miata Fanatic
Joined: Oct 2012
Posts: 550
Likes: 34
From: Fuquay Varina, NC
It's coming along nicely! Your punch list is getting shorter by the day now with all the progress you've made in May. Your dash wiring photo looks identical to one of my pics made me do a double-take at first... Keep the updates coming.
Thread Starter
V8 Miata Follower
Joined: Jul 2015
Posts: 119
Likes: 11
From: Fort Myers, FL
Thanks man. Your build has been one of my bookmarks that I keep going back to for inspiration/knowledge. I appreciate your kind words.
Thread Starter
V8 Miata Follower
Joined: Jul 2015
Posts: 119
Likes: 11
From: Fort Myers, FL
6/4/16 Update:
I decided to pull the trigger on some Autometer gauges.
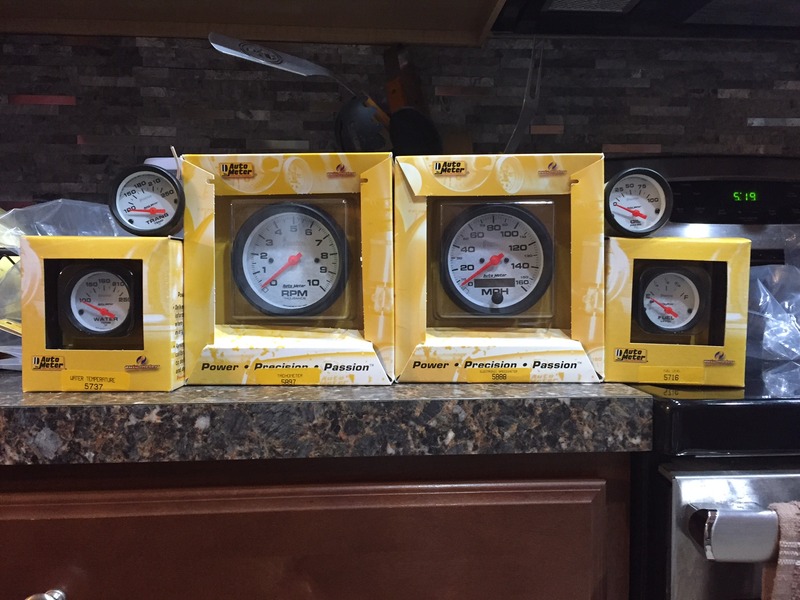
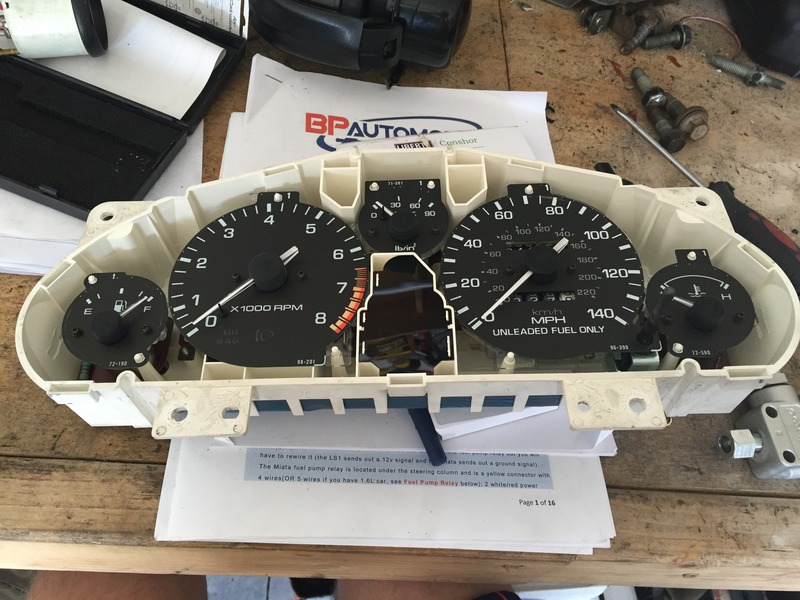
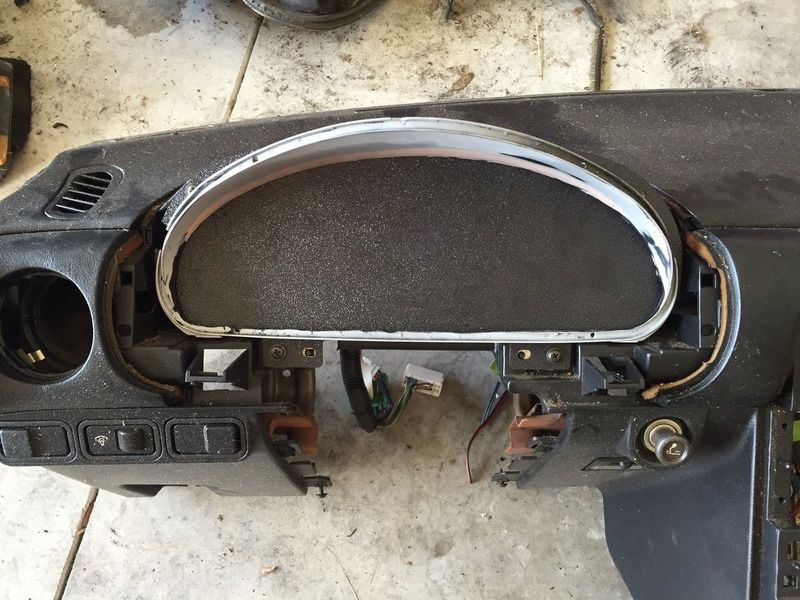
So I pulled the old gauges out:
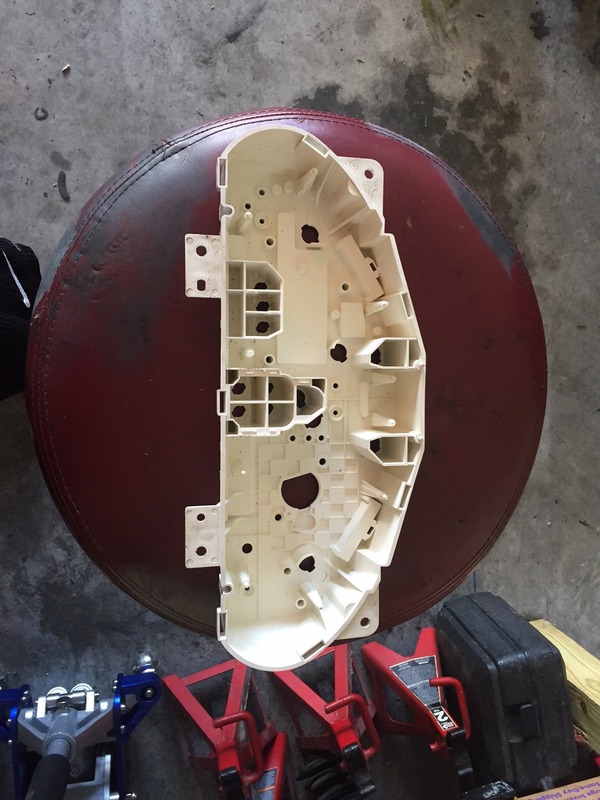
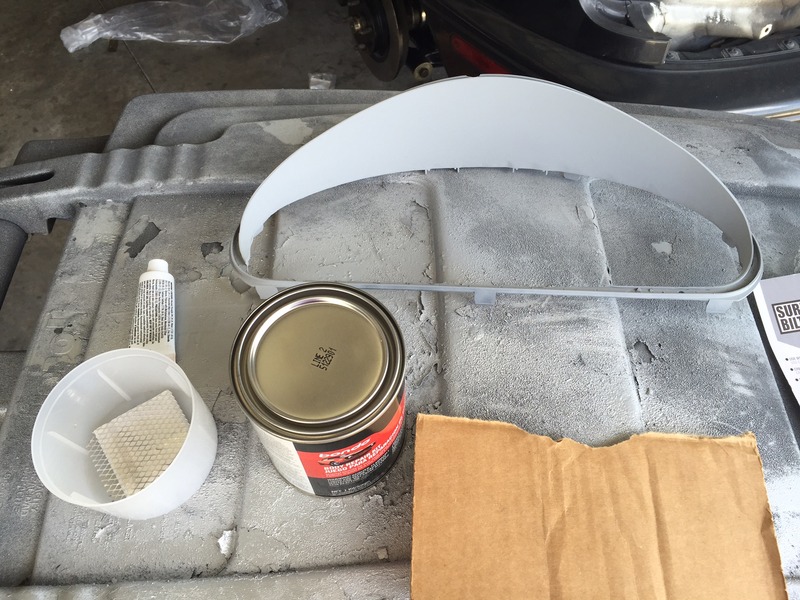
Hacked up the back of both the "white" backing piece and the black cluster surround with my Dremel and mounted the gauge backing plate:
And did a lay out of the mock gauges:
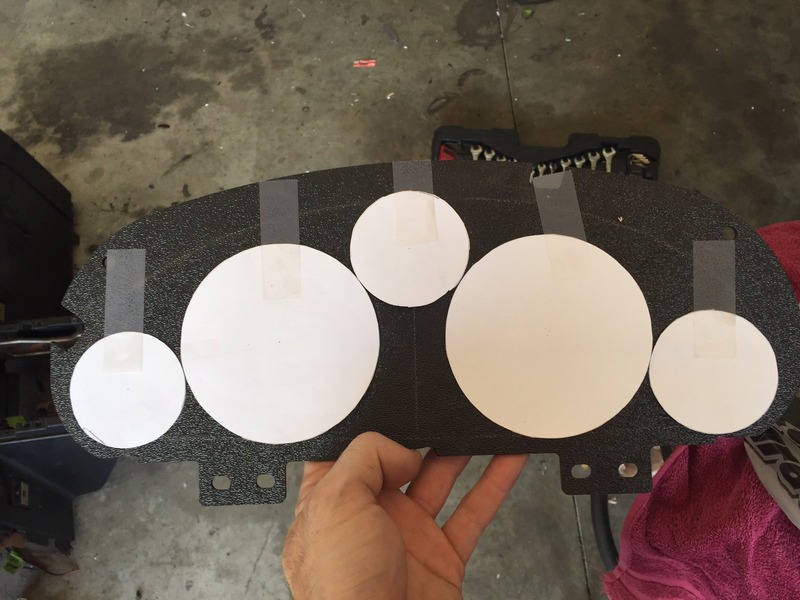
A few zips with the hole-saws later:
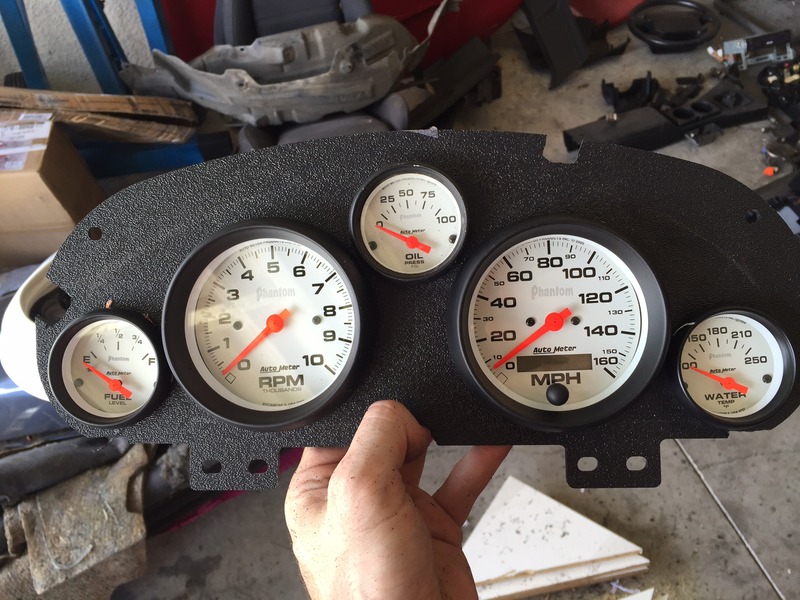
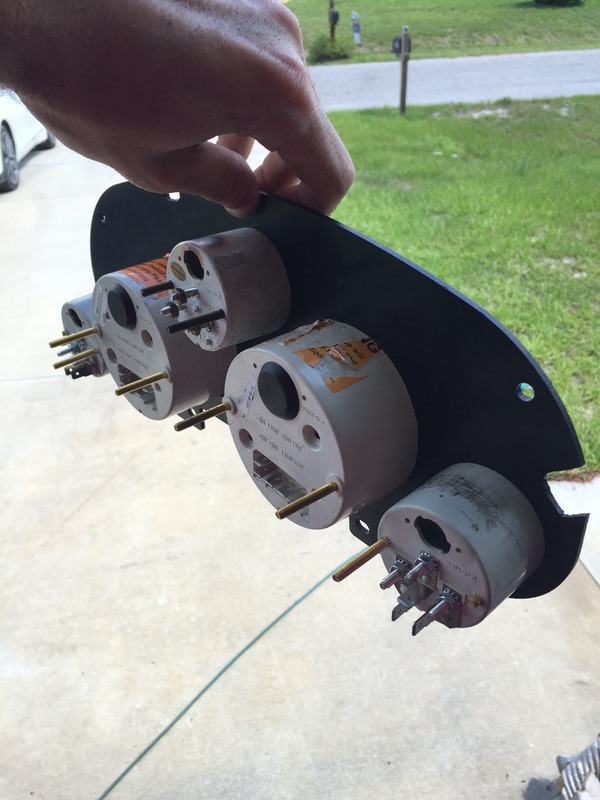
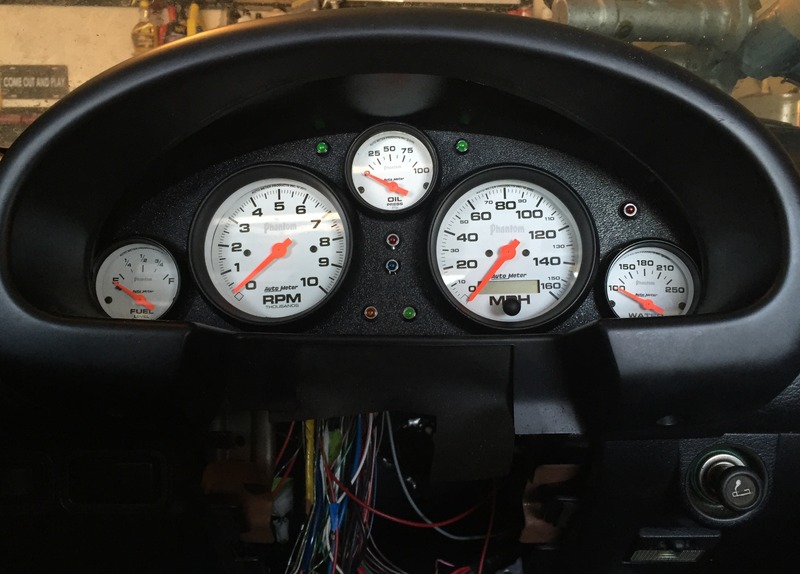
And here it is all mounted up:
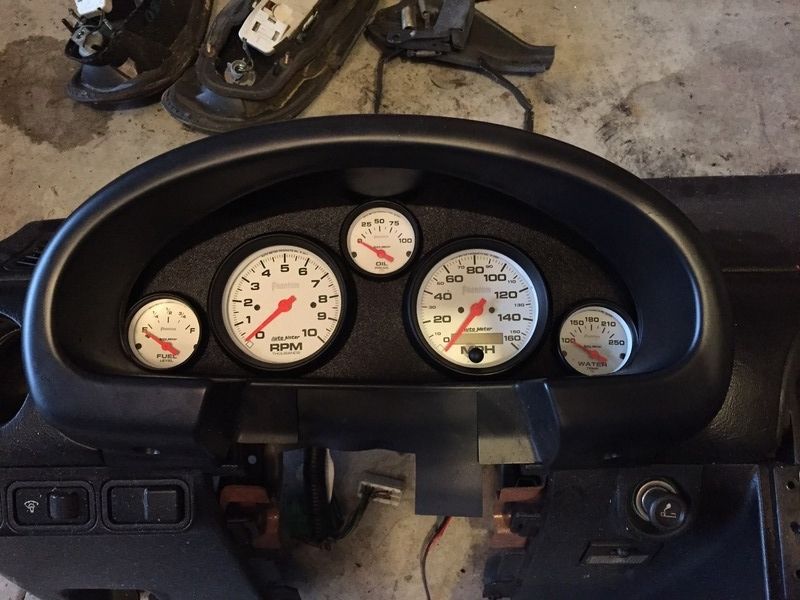
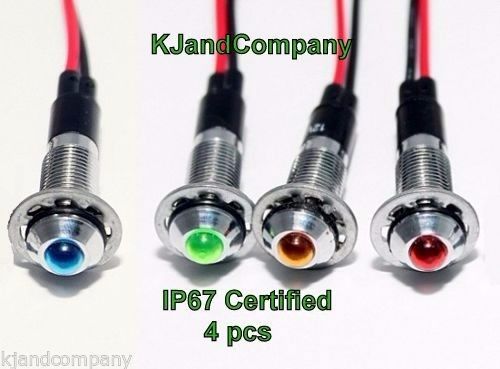
I've ordered some LEDs for the turn signals, MIL, etc. that should be here very soon:
I decided to pull the trigger on some Autometer gauges.

So I pulled the old gauges out:


Hacked up the back of both the "white" backing piece and the black cluster surround with my Dremel and mounted the gauge backing plate:


And did a lay out of the mock gauges:

A few zips with the hole-saws later:


And here it is all mounted up:

I've ordered some LEDs for the turn signals, MIL, etc. that should be here very soon:

V8 Miata Fanatic
Joined: Oct 2012
Posts: 550
Likes: 34
From: Fuquay Varina, NC
Like the choice in gauges. That and the LEDs will be bad @ss. Will LEDs have black bezels to match the AutoMeters, or go with the chrome?
Also, how does this speedo work? Always pretty curious how other NA V8 owners attack that challenge when it comes to our standard mechanical speedometers...
Thx! Pat
Also, how does this speedo work? Always pretty curious how other NA V8 owners attack that challenge when it comes to our standard mechanical speedometers...
Thx! Pat
Thread Starter
V8 Miata Follower
Joined: Jul 2015
Posts: 119
Likes: 11
From: Fort Myers, FL
Like the choice in gauges. That and the LEDs will be bad @ss. Will LEDs have black bezels to match the AutoMeters, or go with the chrome?
Also, how does this speedo work? Always pretty curious how other NA V8 owners attack that challenge when it comes to our standard mechanical speedometers...
Thx! Pat
Also, how does this speedo work? Always pretty curious how other NA V8 owners attack that challenge when it comes to our standard mechanical speedometers...
Thx! Pat
I got the LEDs mounted last night. For the Speedo - The Autometer Gauge/BP Automotive Harness just splice together with one wire. I'm expecting it to me super easy... (Famous last words).

I also got a few little things taken care of that were on my list. Whoever mentioned that the $20 trips to AutoZone (more like $100 trips) would be the budget busters wasn't kidding. I replaced the heater core, washer bottle grommet, and a few other small things, as well.

V8 Miata Fan
Joined: Feb 2015
Posts: 75
Likes: 16
Bolt the bottom of the end link to the opposite side of the control arm bracket and add some spacers to straighten it out.
Thread Starter
V8 Miata Follower
Joined: Jul 2015
Posts: 119
Likes: 11
From: Fort Myers, FL
6/9/16 Update:
I received the transmission from Tick on Tuesday and had to start the install that night.
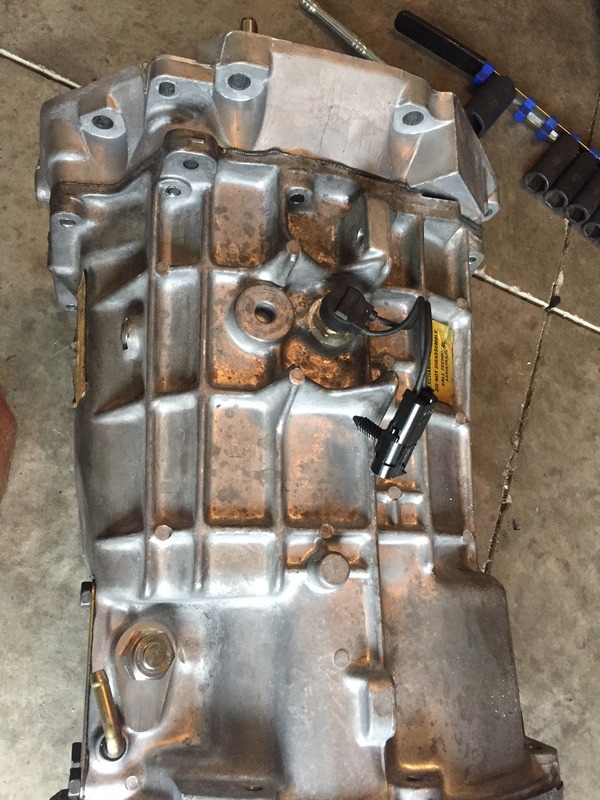
Replaced the reverse switch and the slave cylinder:
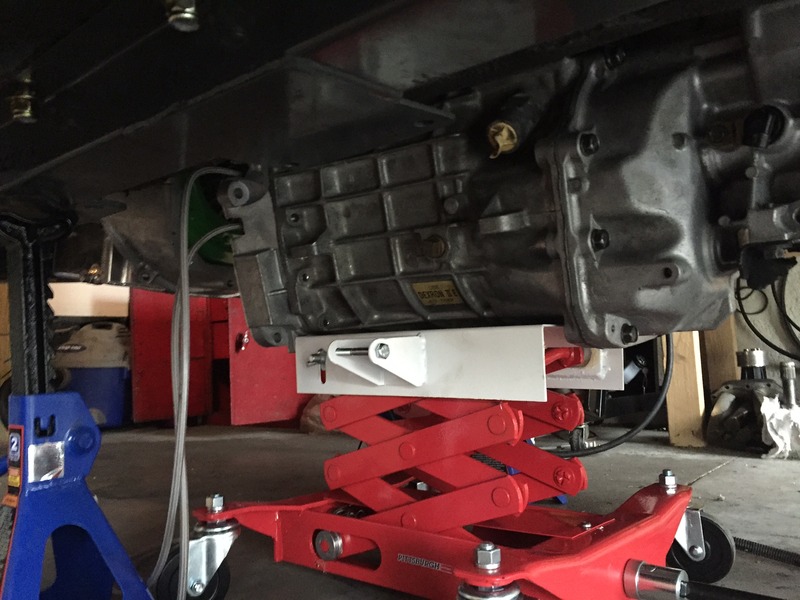
Lifted it into place:
And - The damn thing just wouldn't go. It just wasn't lining up. I had to walk away from it and hit it again the next day.
So I took the pressure plate and clutch off, re-aligned everything, bolted it back up and tried again.
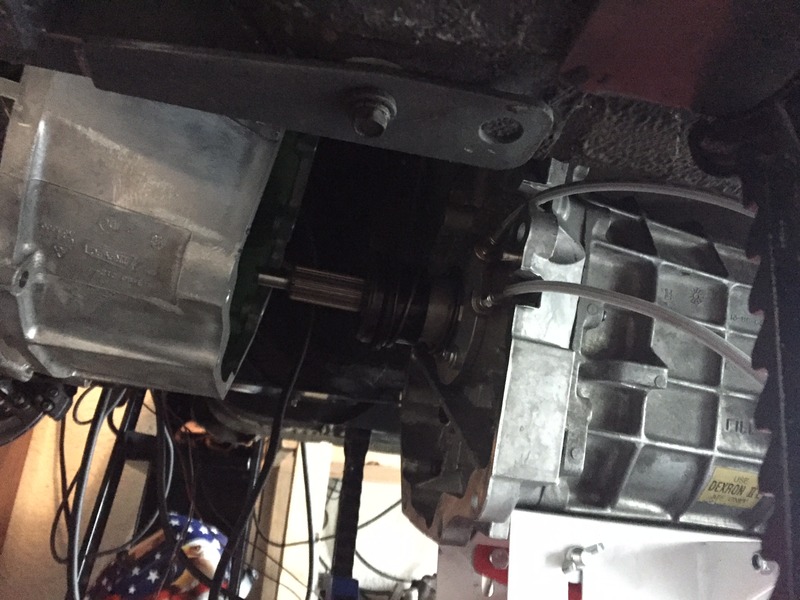
And got it to within 1/2".
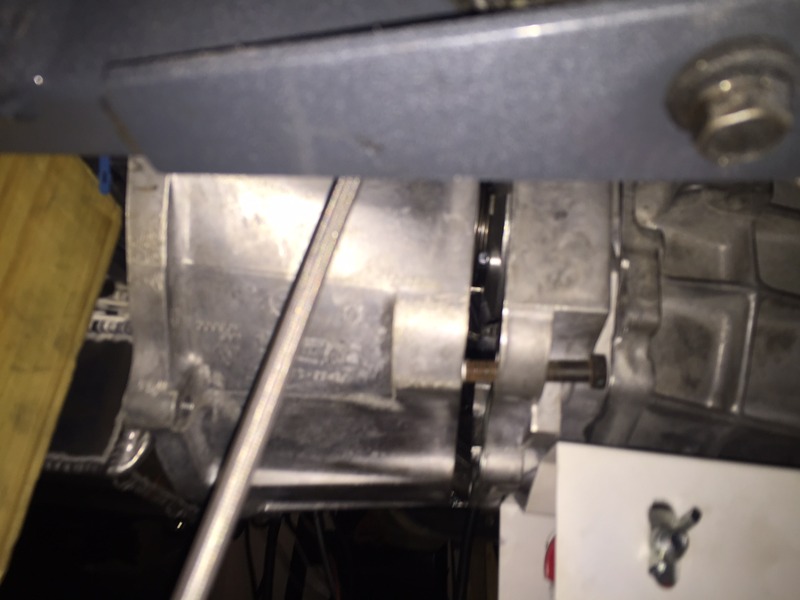
So then I started threading a couple of the bolts into the bellhousing (something that I wasn't really comfortable doing, but the thing just would not move beyond this point. And it actually worked. It threaded in like butter.
So my 3 day tranny install saga resulted in a completely mated motor and tranny:
I received the transmission from Tick on Tuesday and had to start the install that night.

Replaced the reverse switch and the slave cylinder:


Lifted it into place:

And - The damn thing just wouldn't go. It just wasn't lining up. I had to walk away from it and hit it again the next day.

So I took the pressure plate and clutch off, re-aligned everything, bolted it back up and tried again.

And got it to within 1/2".

So then I started threading a couple of the bolts into the bellhousing (something that I wasn't really comfortable doing, but the thing just would not move beyond this point. And it actually worked. It threaded in like butter.
So my 3 day tranny install saga resulted in a completely mated motor and tranny:

Thread Starter
V8 Miata Follower
Joined: Jul 2015
Posts: 119
Likes: 11
From: Fort Myers, FL
6/13/16 Update: Got a little bit done this weekend.
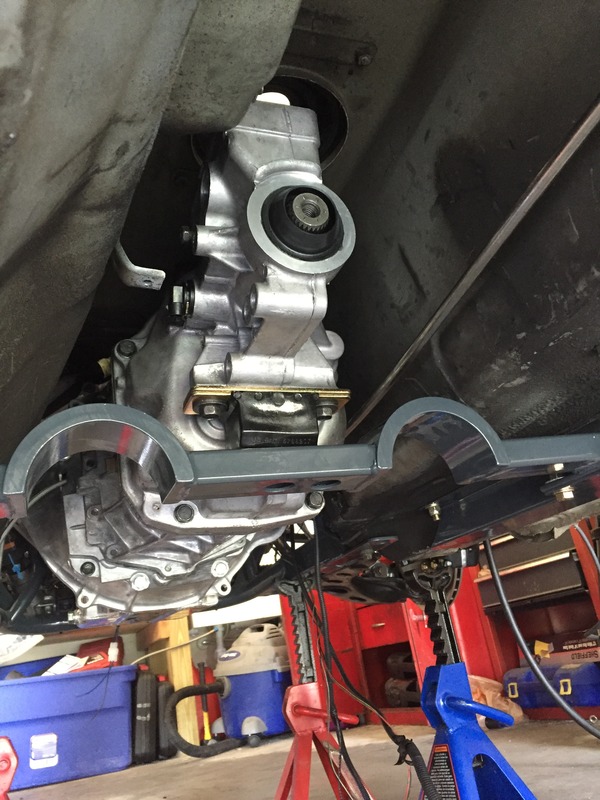
The frame rails and cross member are secured and in-place:
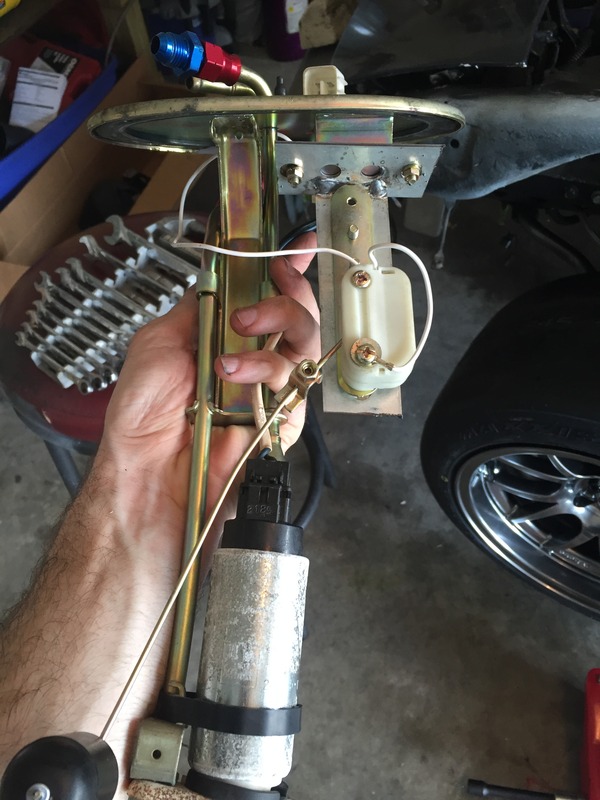
The autometer fuel level sender is in-place:
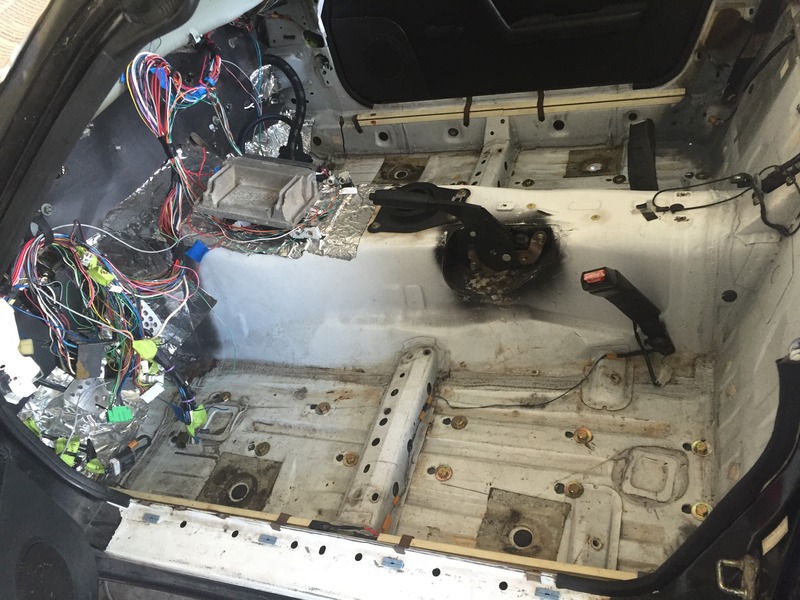
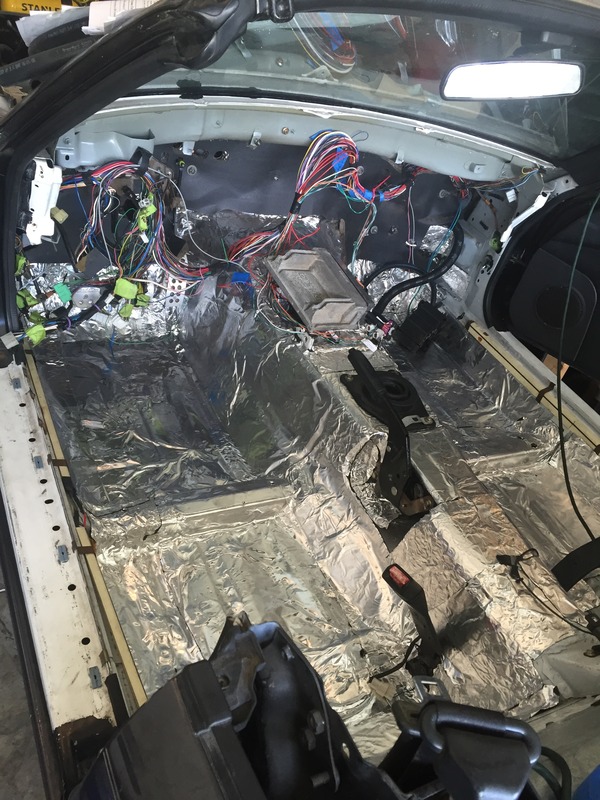
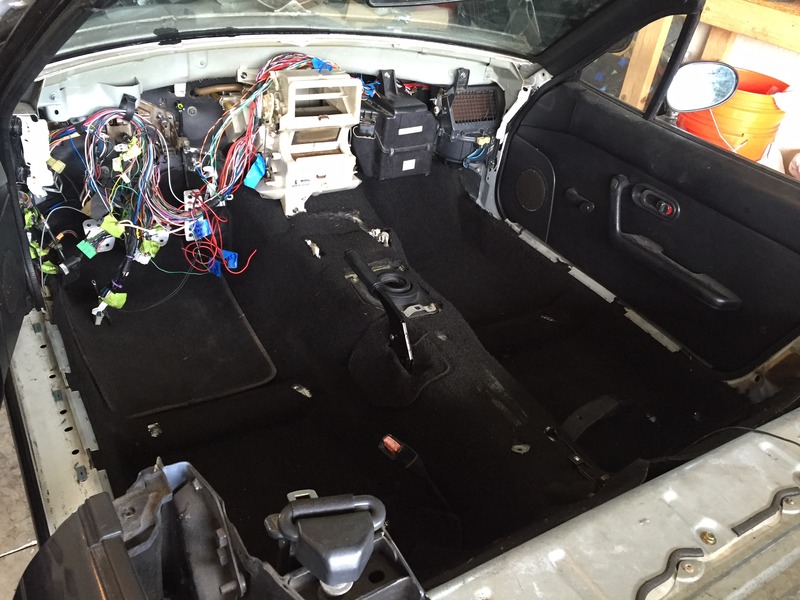
The interior was vacuumed out and the insulation mat was put down:
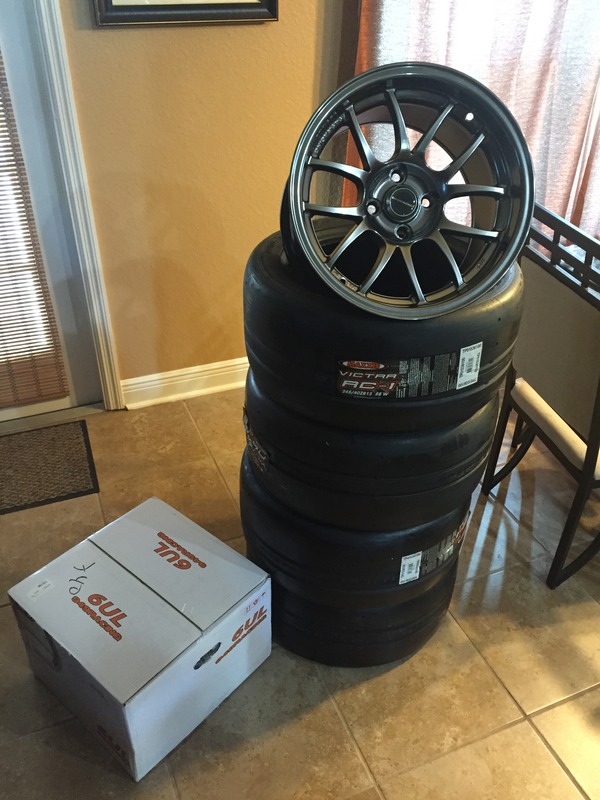
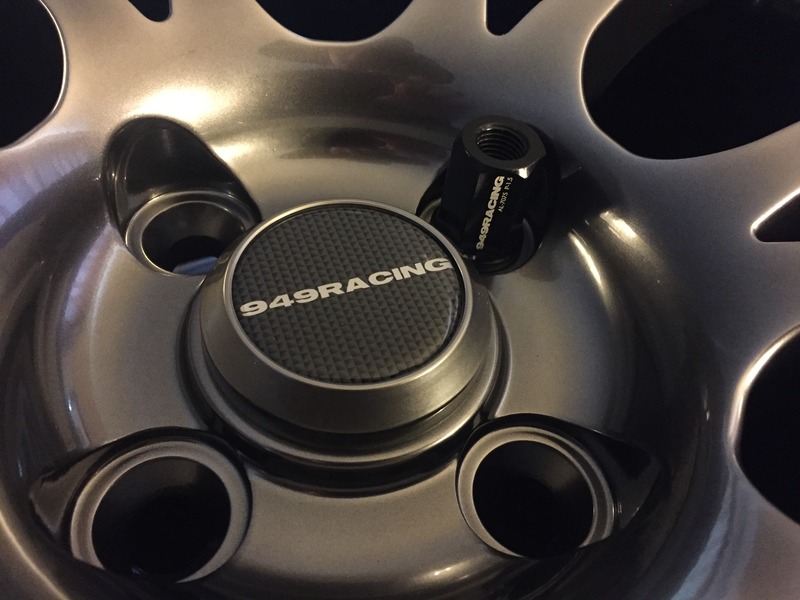
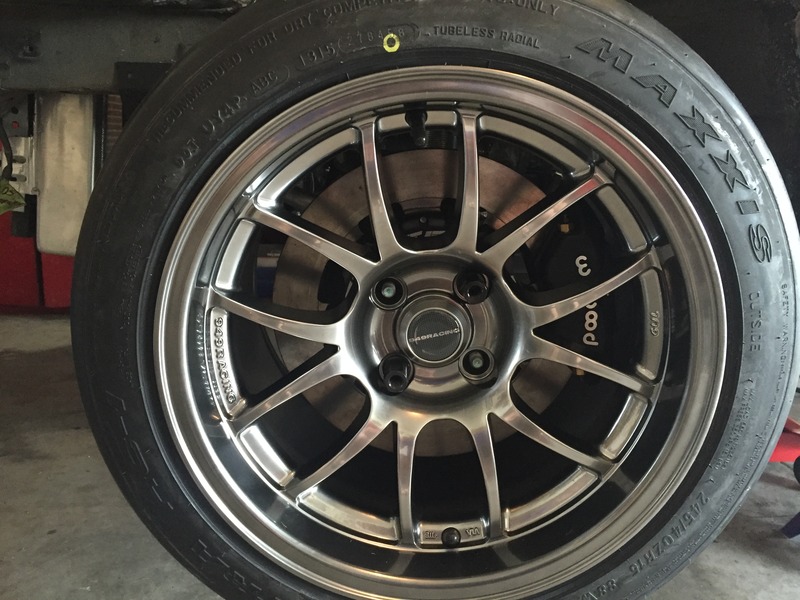
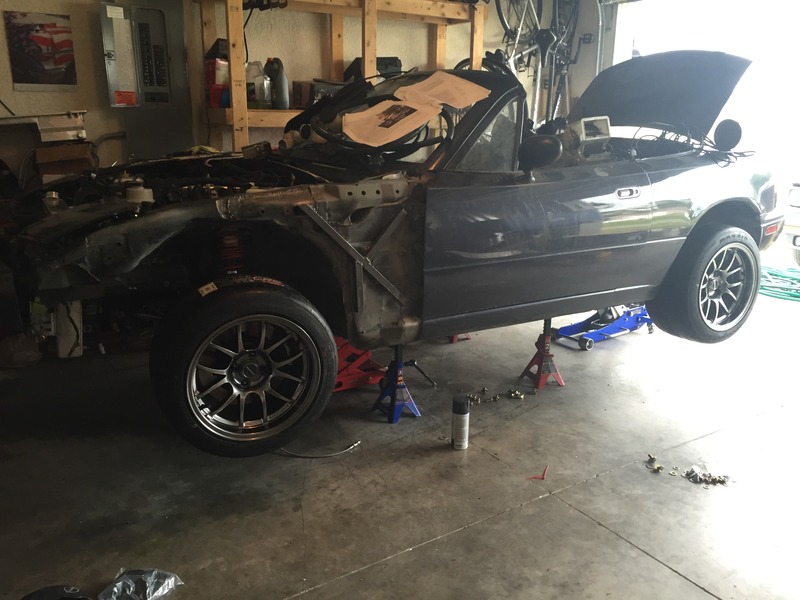
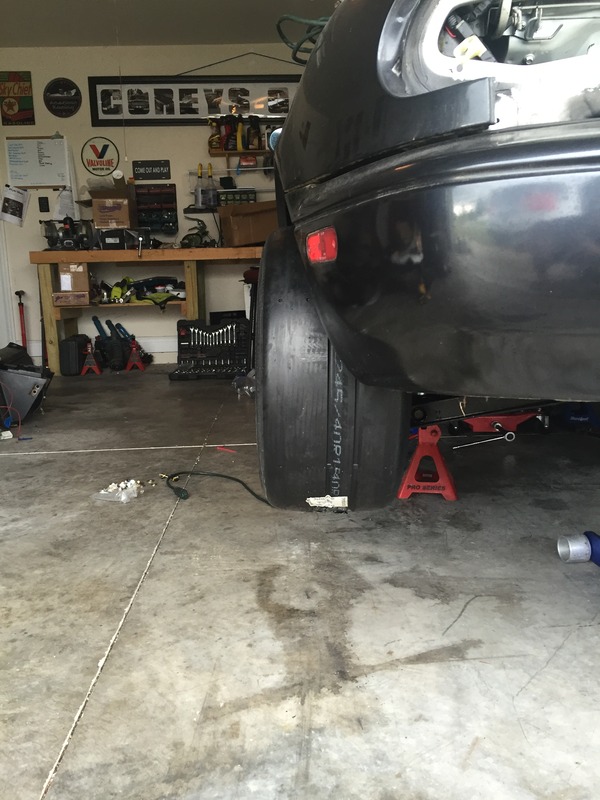
And the grand finale - my beautiful wheels and tires showed up:
The frame rails and cross member are secured and in-place:

The autometer fuel level sender is in-place:

The interior was vacuumed out and the insulation mat was put down:


And the grand finale - my beautiful wheels and tires showed up:


Thread Starter
V8 Miata Follower
Joined: Jul 2015
Posts: 119
Likes: 11
From: Fort Myers, FL
6/22/16 Update:
Been out of town for work for the past week or so. So I only made some small progress.
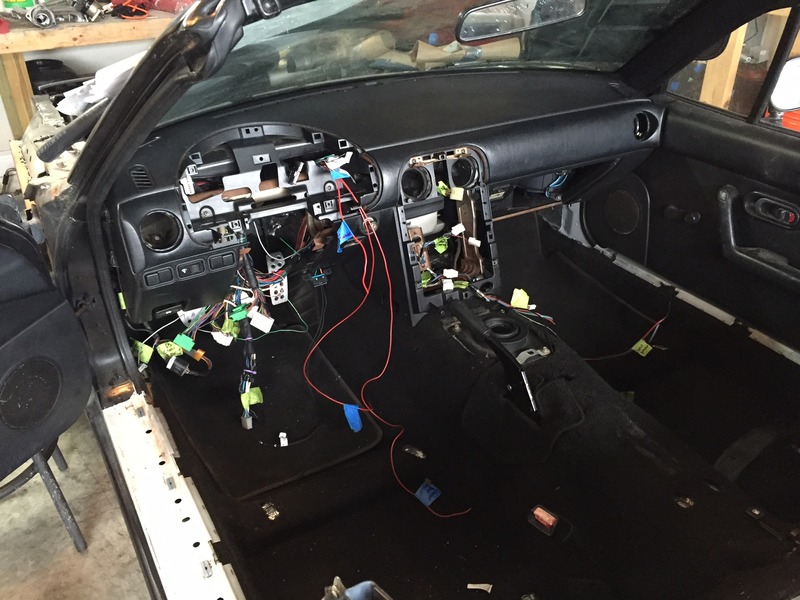
Got the carpet and dash put back in. Gotta start wiring up these gauges.
Been out of town for work for the past week or so. So I only made some small progress.
Got the carpet and dash put back in. Gotta start wiring up these gauges.


Thread Starter
V8 Miata Follower
Joined: Jul 2015
Posts: 119
Likes: 11
From: Fort Myers, FL
6/27/16 Update:
Got the gauges in the dash this weekend and about 90% wired up. Still need to do some grounding, but I think it'll all work. (fingers crossed, there's a ton of wires back there)
I spent a good portion of yesterday going over the suspension and differential with a torque wrench. The rear end is complete and torqued down. The front end is about 40% done, as I just ran out of time.
Got the gauges in the dash this weekend and about 90% wired up. Still need to do some grounding, but I think it'll all work. (fingers crossed, there's a ton of wires back there)

I spent a good portion of yesterday going over the suspension and differential with a torque wrench. The rear end is complete and torqued down. The front end is about 40% done, as I just ran out of time.