When you click on links to various merchants on this site and make a purchase, this can result in this site earning a commission. Affiliate programs and affiliations include, but are not limited to, the eBay Partner Network.
I'd say I'm about 95% complete with this project, and the car is running quite well. I need to get the car inspected and then schedule a trip to a tuner to get things dialed in on a dyno.
Right now I've settled on a 3.4" pulley and also need to find a slightly smaller belt to get the tensioner in a happy range of adjustment for long term use. In making some street pulls, I'm only seeing about 3 psi of boost and that's keeping it under 4000 rpm as I'm not sure I have fuel and more importantly, spark timing in a safe zone. The car definitely seems to wake up with just this small amount of boost. MAT (air temps) have been good though it is much cooler out now than it was a couple months ago. The car starts, idles and drives great otherwise. I'm really happy with how seamless the Holley Terminator X install has been.
I've had an issue with their customer service though and I'm hoping this isn't a sign of things to come. I had the Wideband oxygen sensor that came with the kit go bad on me, strangely one day after doing some street driving. Wait times for their customer support lines are over an hour, and due to some technical/email issues I don't fully understand, they were supposed to send out a replacement to me under warranty, but never got anything months later. I worked with my dealer I bought the kit from, and they apparently have no leverage either which is disappointing. If I had a bad ECU and had to go through this ordeal just to get the car running again - I'd probably be looking for a new ECU vendor.
My experience getting the car tuned myself, fine tuning the idle, setting timing and fuel numbers, pulling data logs and the overall user experience with the software has been great.
I moved the hood scoop from the left side to the right to feed the new air filter location. The hood and front end is looking like swiss cheese lately and my paint work is very DIY.
I redid my belly pan as well, though I'm not running it at the moment. I used the old pan and cut it down to reinforce the front lip which is pretty ratty too. So without the belly pan, it still has some stiffness and provides a good mounting surface for the belly pan. I used Dzus fasteners to make it my much more secure, low profile and easier to drop and install. Small learning curve with setting up dzus fasteners, but I liked the final product. I may look into some of the push button quick release fasteners for the front bumper. I used diamond plate aluminum from the hobby metals aisle at Home Depot, and added some alum angle to add stiffness.
I worked on doing some nice ducting to help feed air into the intercooler and radiator. I think adding the IC has made it harder to keep the car cool on the hot summer days, and I think this will pay dividends on the track as well to keep MATs under control while moving. Since the top of the radiator is about 6" or so above the IC, I decided to open up the bumper a bit to get a sufficient amount of cool air through the radiator. Maybe unnecessary overkill, but better than leaving cooling on the table when I might need it.
I added a large Permacool radiator fan as well to help pull more air through at lower speeds, and stoplights. Pulls twice as much CFM as the Spal slimline fan. Still have the other Spal fan on the right side where I have less room to work with due to the rad hoses, and SC belts. Small fan will kick on first and if temps get higher the large fan will step in as well. Easy to setup in the Holley software.
One last thing I'm working on is trying to get a VSS input into the Terminator X using the available inputs. I currently have it going to a Dakota Digital box I had setup when I first did the swap, to feed the speedometer. I think I can use the square wave output from that box into the Term X and then play with wheel size parameters to get the speed correct. Then I'll have vehicle speed in my datalogs and can also set the fans turn off above a certain MPH, or do other speed-based stuff.
I was also able to setup a custom input for the fans so that they aren't running until the engine RPM reaches 800 and drawing battery amps while I'm cranking the engine when everything is heat soaked. I'd always wanted to figure out a way to do that.
That's all for now.
Last edited by pj_mcgarvey; 11-22-2021 at 08:23 AM.
Happy to report the car has been tuned successfully. There is a certain amount of apprehension involved with making a significant power upgrade, usually involving boost, and hoping the car survives the ordeal. Well, the car not only left in one piece, but it left with 550 whp at 6500 at which point the tuner thinks it needs more fuel pump. The last run made about 560 I think. The picture was taken by the tuner from somewhere near the end of tuning.
I had upgraded to a DW300 which I thought would be enough, but he was seeing some fuel pressure drops near peak power, so I�m awaiting delivery of a DW400 (415 LPH) which should be an easy swap. He�ll allow me to send him some datalogs afterward to confirm things are working better and then he can remove some of the fuel compensation in the tune. Bigger injectors are also a possibility but they are added expense and a retune will be needed.
Peak boost was around 8-9 psi, just slightly less than I was predicting though the power number was almost spot on what I though. I�m using a 3.4� pulley, and I�ll be shopping for a 3.2� to try out once the fueling issue is fixed. My custom Procharger mounting kit also seemed to hod up great, though I couldn�t get close to the car during the runs to see first hand. I noticed a little oil around the pulley shaft so I may need to keep an eye on the Procharger oil level and maybe look at some new seals or a light rebuild during some down time.
The belt had been running a bit close to the edge of the tensioner pulley, but I didn�t see any belt wear issues. I dropped off the pulley spacer to my machinist who is going to shorten the spacer a bit (4mm) to center the belt on the pulley a bit better before I really start driving the car hard.
The Holley O2 sensor AFR signal was a bit erratic on the dyno which he thinks could be due to some exhaust ratting on the right side. The sensor on the left side goes to my Innovate A-pillar gauge and that seemed to be more reliable. I may need to look at a new sensor and fix some rattling issues, but he didn�t seem to think it was an immediate concern.
After the first pull, the car wouldn�t restart and the starter was clicking. We put a fan on it, and it started consistently after that so I�m more motivated to fix the hot-start issues before summer really heats up. I�m going to install bigger (1/0 gauge) battery cables. I put a new alternator in a few months ago since I was using the original one from the engine drop out.
Once I get into the datalog files I might post some more here.
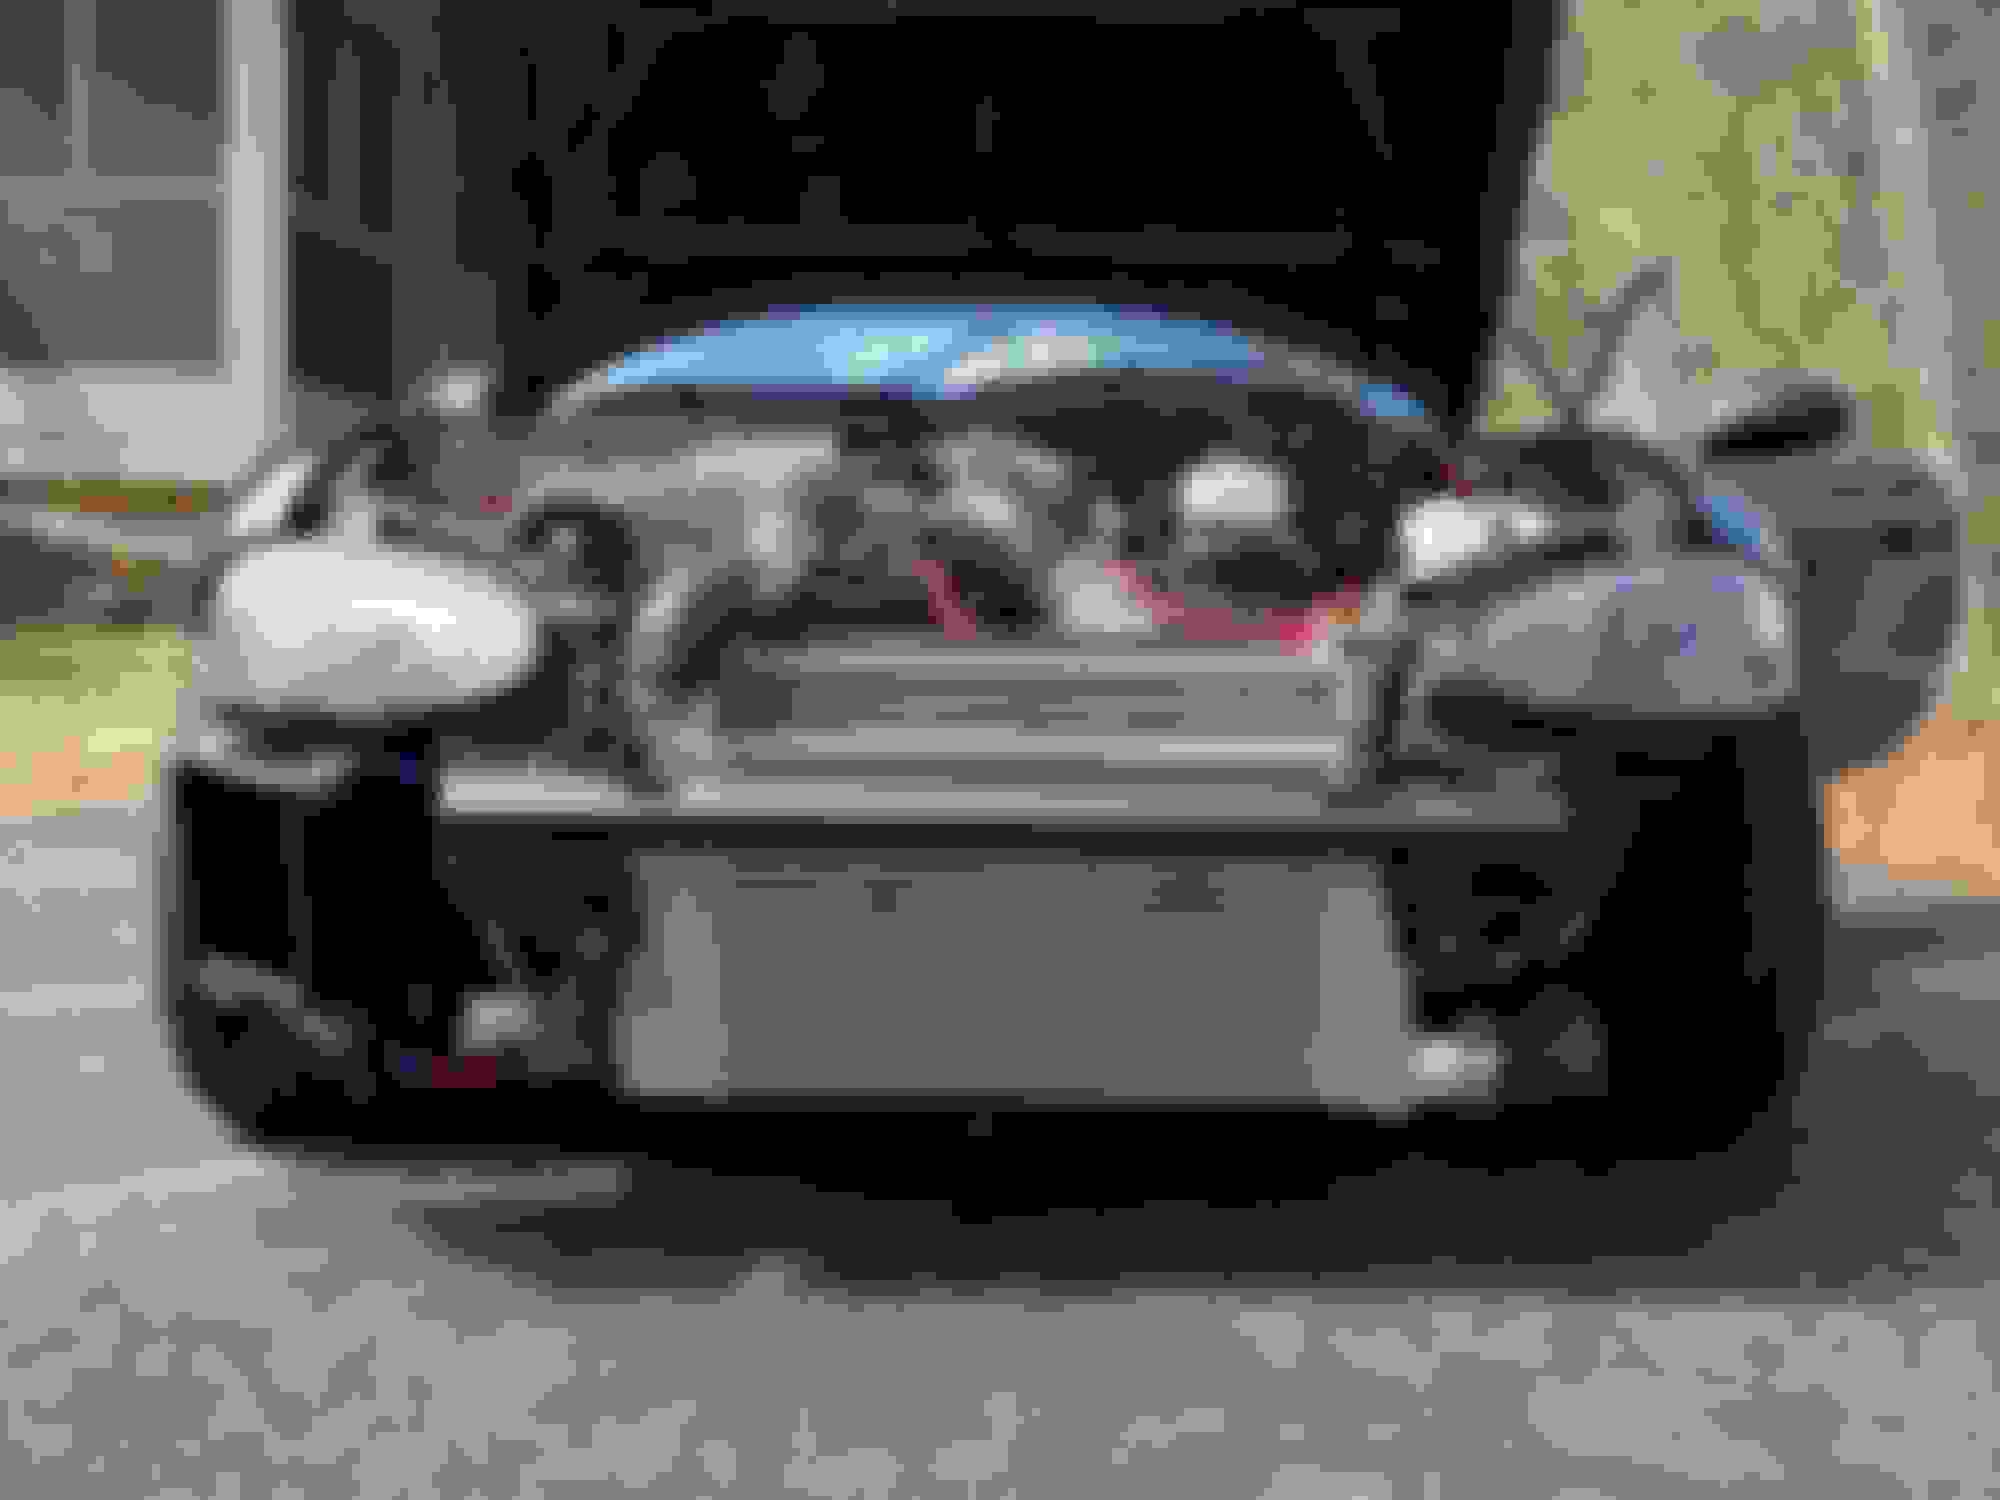
Just prior to the engine tuning I got more motivated to get an oil cooler installed for summer driving and track days. Due to lack of room under the hood in general from the Procharger, and on the driver's side due to boost/intake tubes from the intercooler, I figured the best spot was on the pass. side behind the bumper below the headlight. I had picked out a cooler that I knew had the cooling I needed for the power I would be making, about 45k BTUs. I did some rough measurements of the size I had to work with figuring that it would fit if tilted a bit or rotated with room for AN lines. I would use the driver's side location for the remote filter mount.
I went with a Derale 25 row cooler https://www.summitracing.com/parts/DER-52510. I must have spent a few hours on my back playing with different orientations, eyeballing the room I had. If the cooler was shorter or narrower by an inch it would have made my job alot easier. I had to cut away sheet metal directly under the pass. side headlight and from some of the bumper cover to get it to fit. Some custom brackets make it very sturdy.
I had installed Quik Latch quick release catch/buttons on the bumper just prior and this made removing the bumper cover 30 times to check clearances that much easier.
Adapter for the engine oil, replaces the Moroso oil filter adapter I had. There is not enough from for the fitting to come sideways out of the engine with the exhaust header in the way.
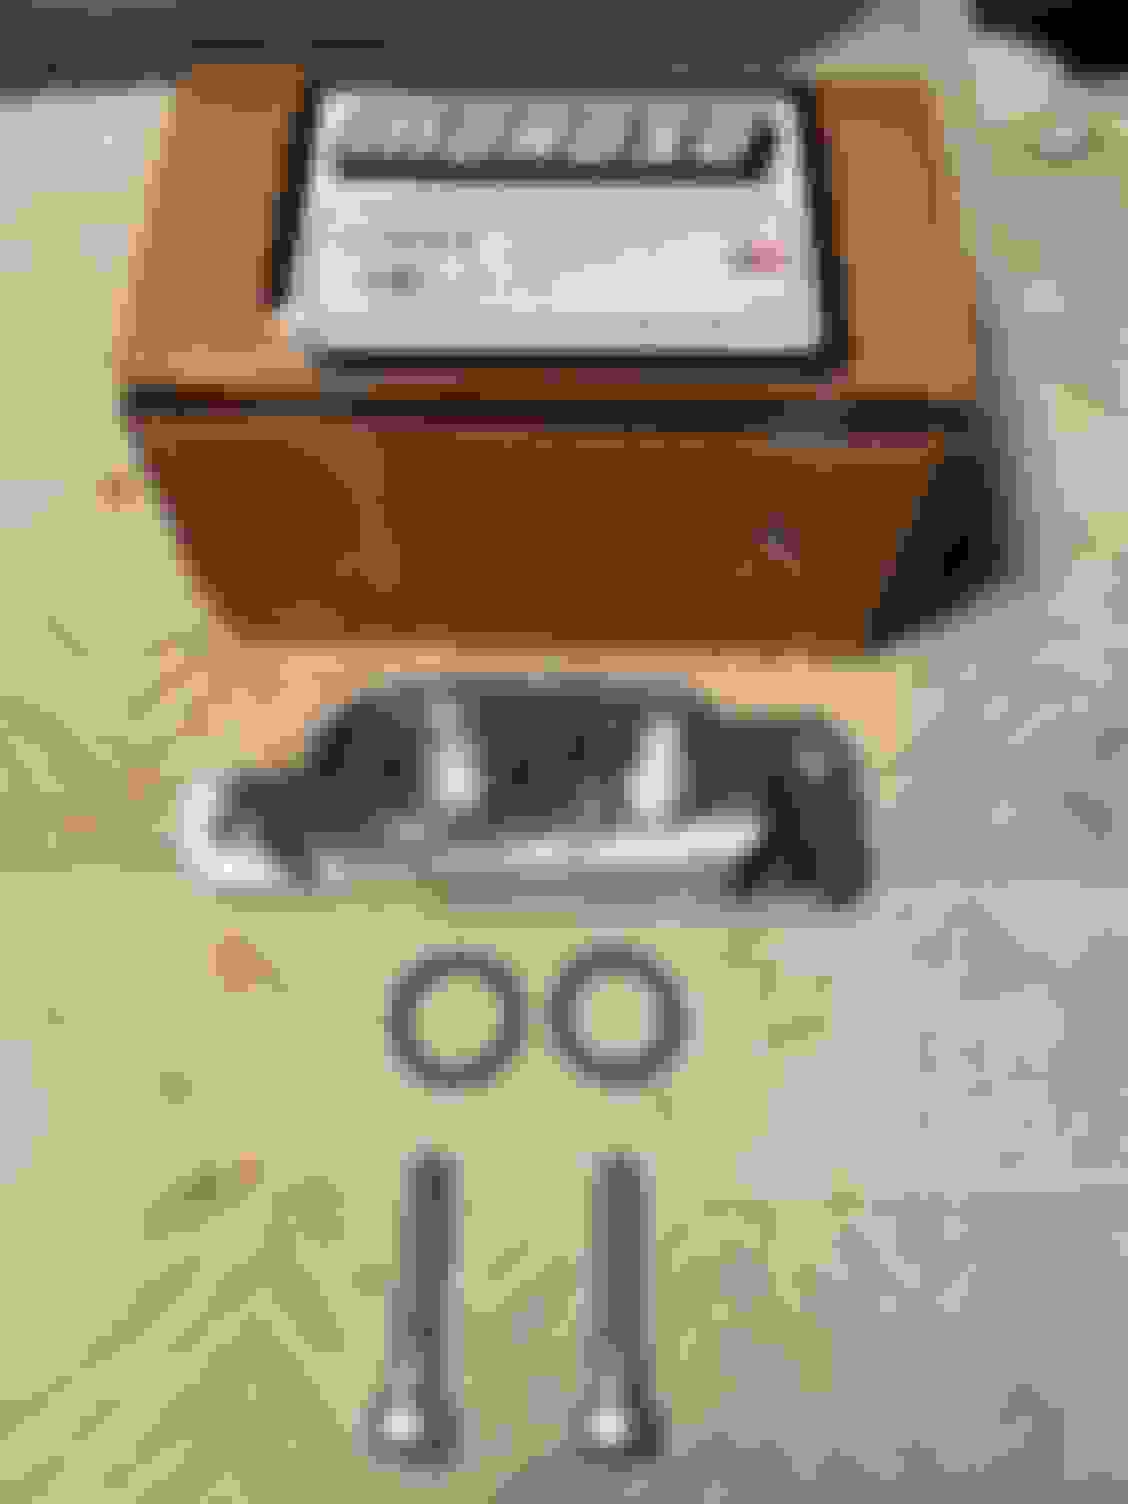
Improved Racing remote filter mount with thermostat that will open at 205F. Lots of room on this side near frame rail.
Cardboard Aided Design of the inlet duct for the cooler.
Not pictured but lots of brackets to keep the line from vibrating, rubbing or pinching. There is about 12 feet of line feeding the cooler. Not sure exactly how much more oil capacity it adds, maybe a quart.
No leaks and oil pressure is still good. I will probably do some testing of covering the oil cooler duct/inlet to see how well it really cools.

 11-20-2021, 09:39 AM