When you click on links to various merchants on this site and make a purchase, this can result in this site earning a commission. Affiliate programs and affiliations include, but are not limited to, the eBay Partner Network.
I took a day off from work to spend in the garage. I decided it was time to get off the proverbial pot and, as Bob Ross liked to say, make a big decision and leave them there.
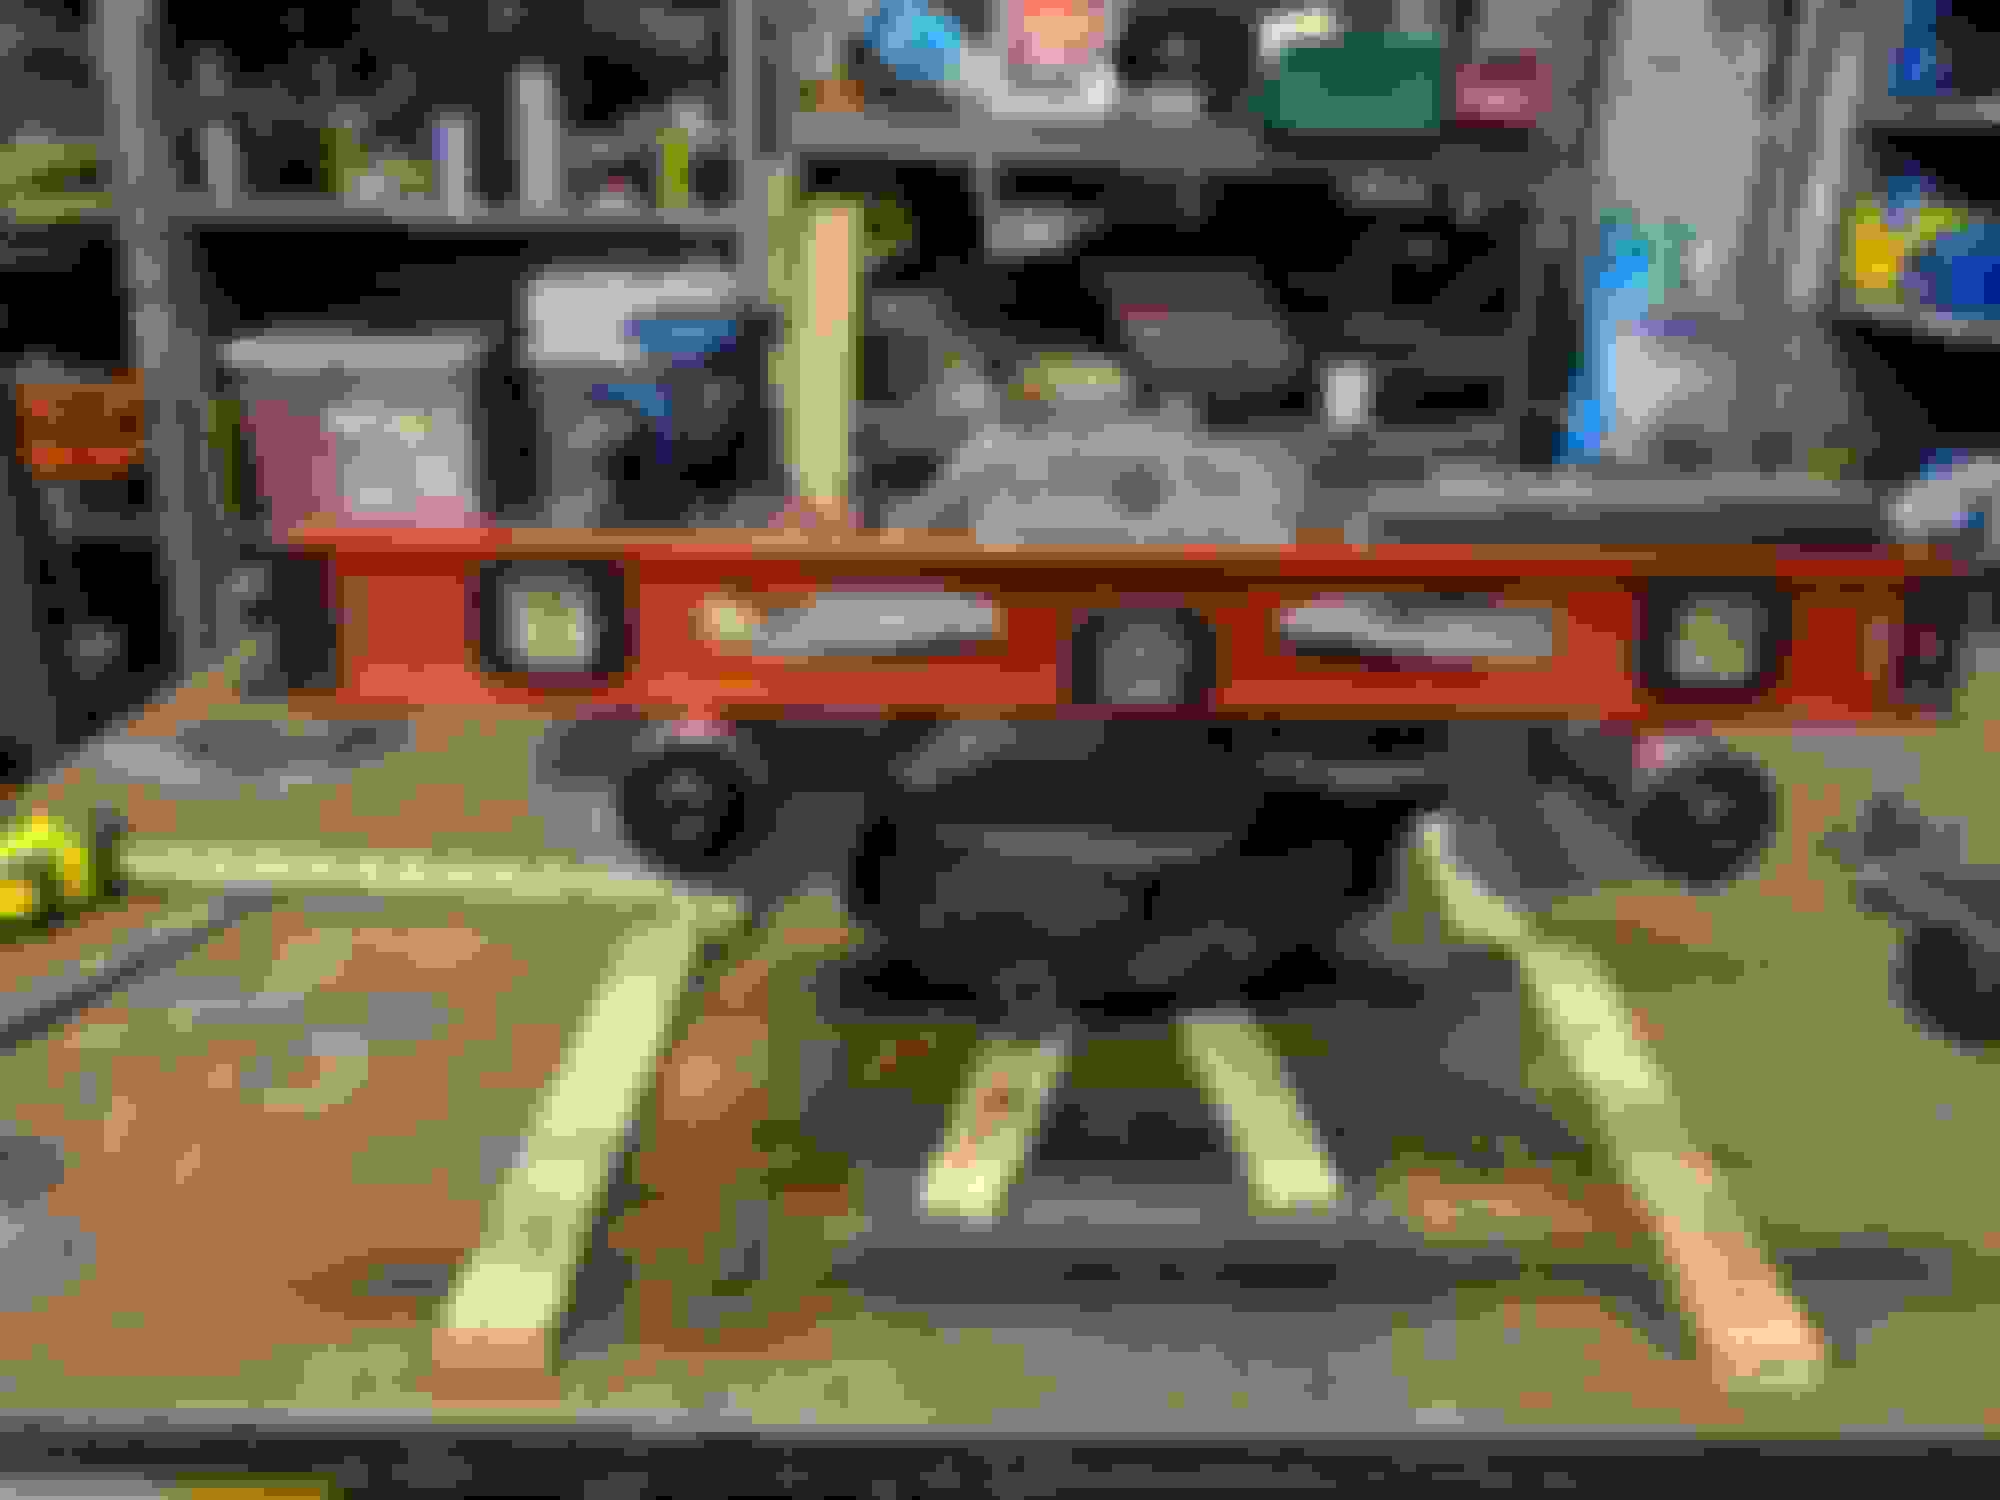
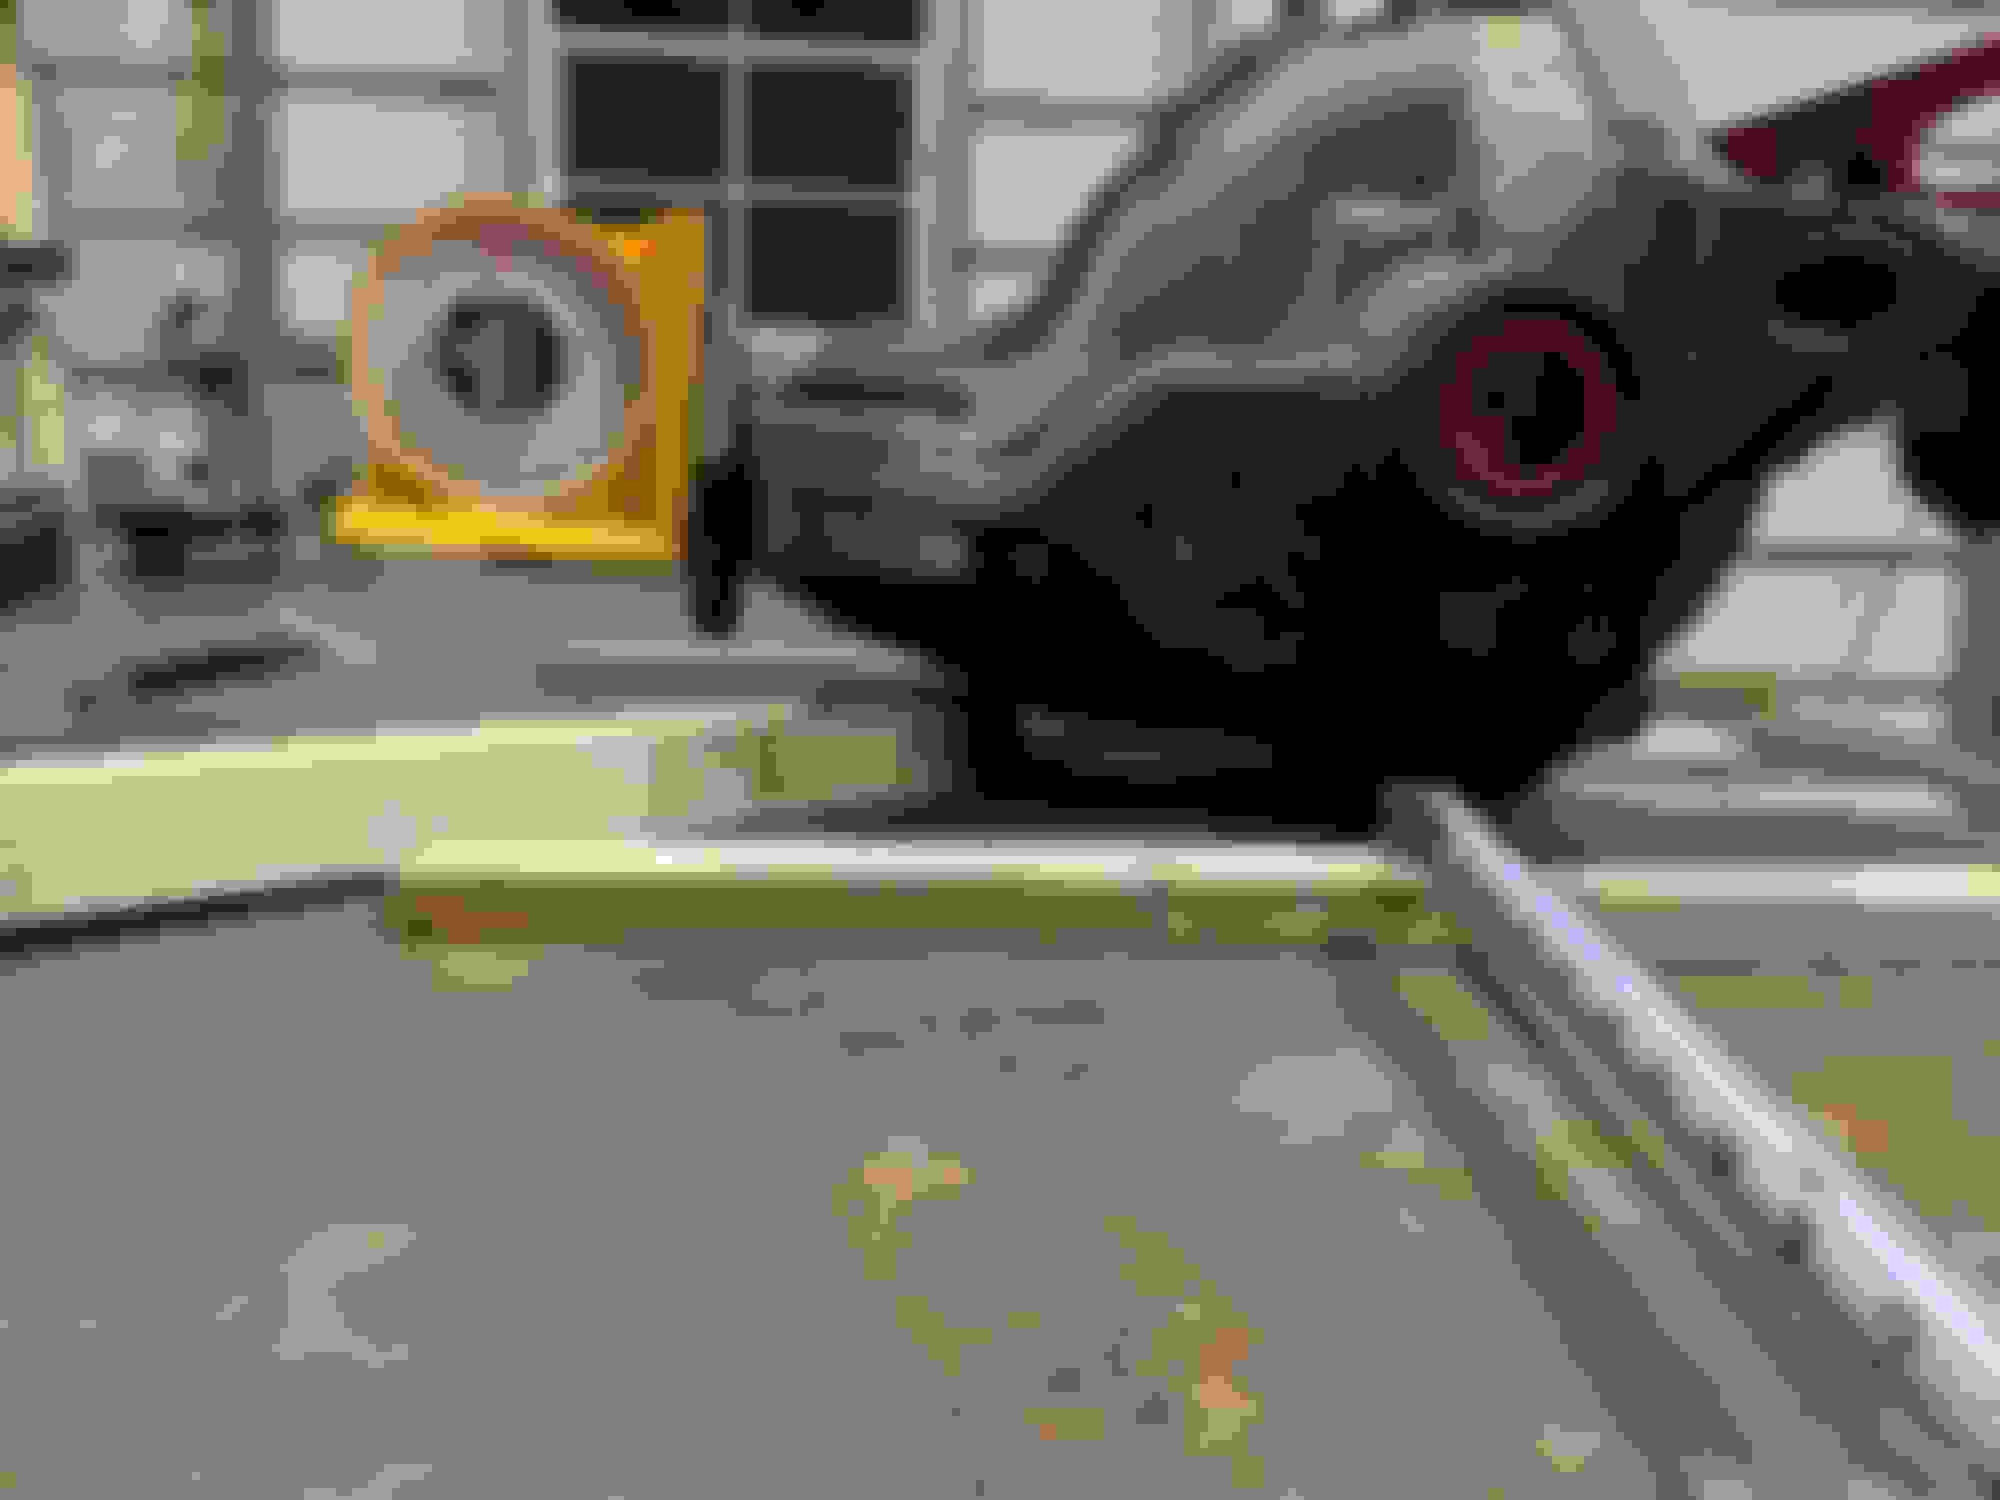
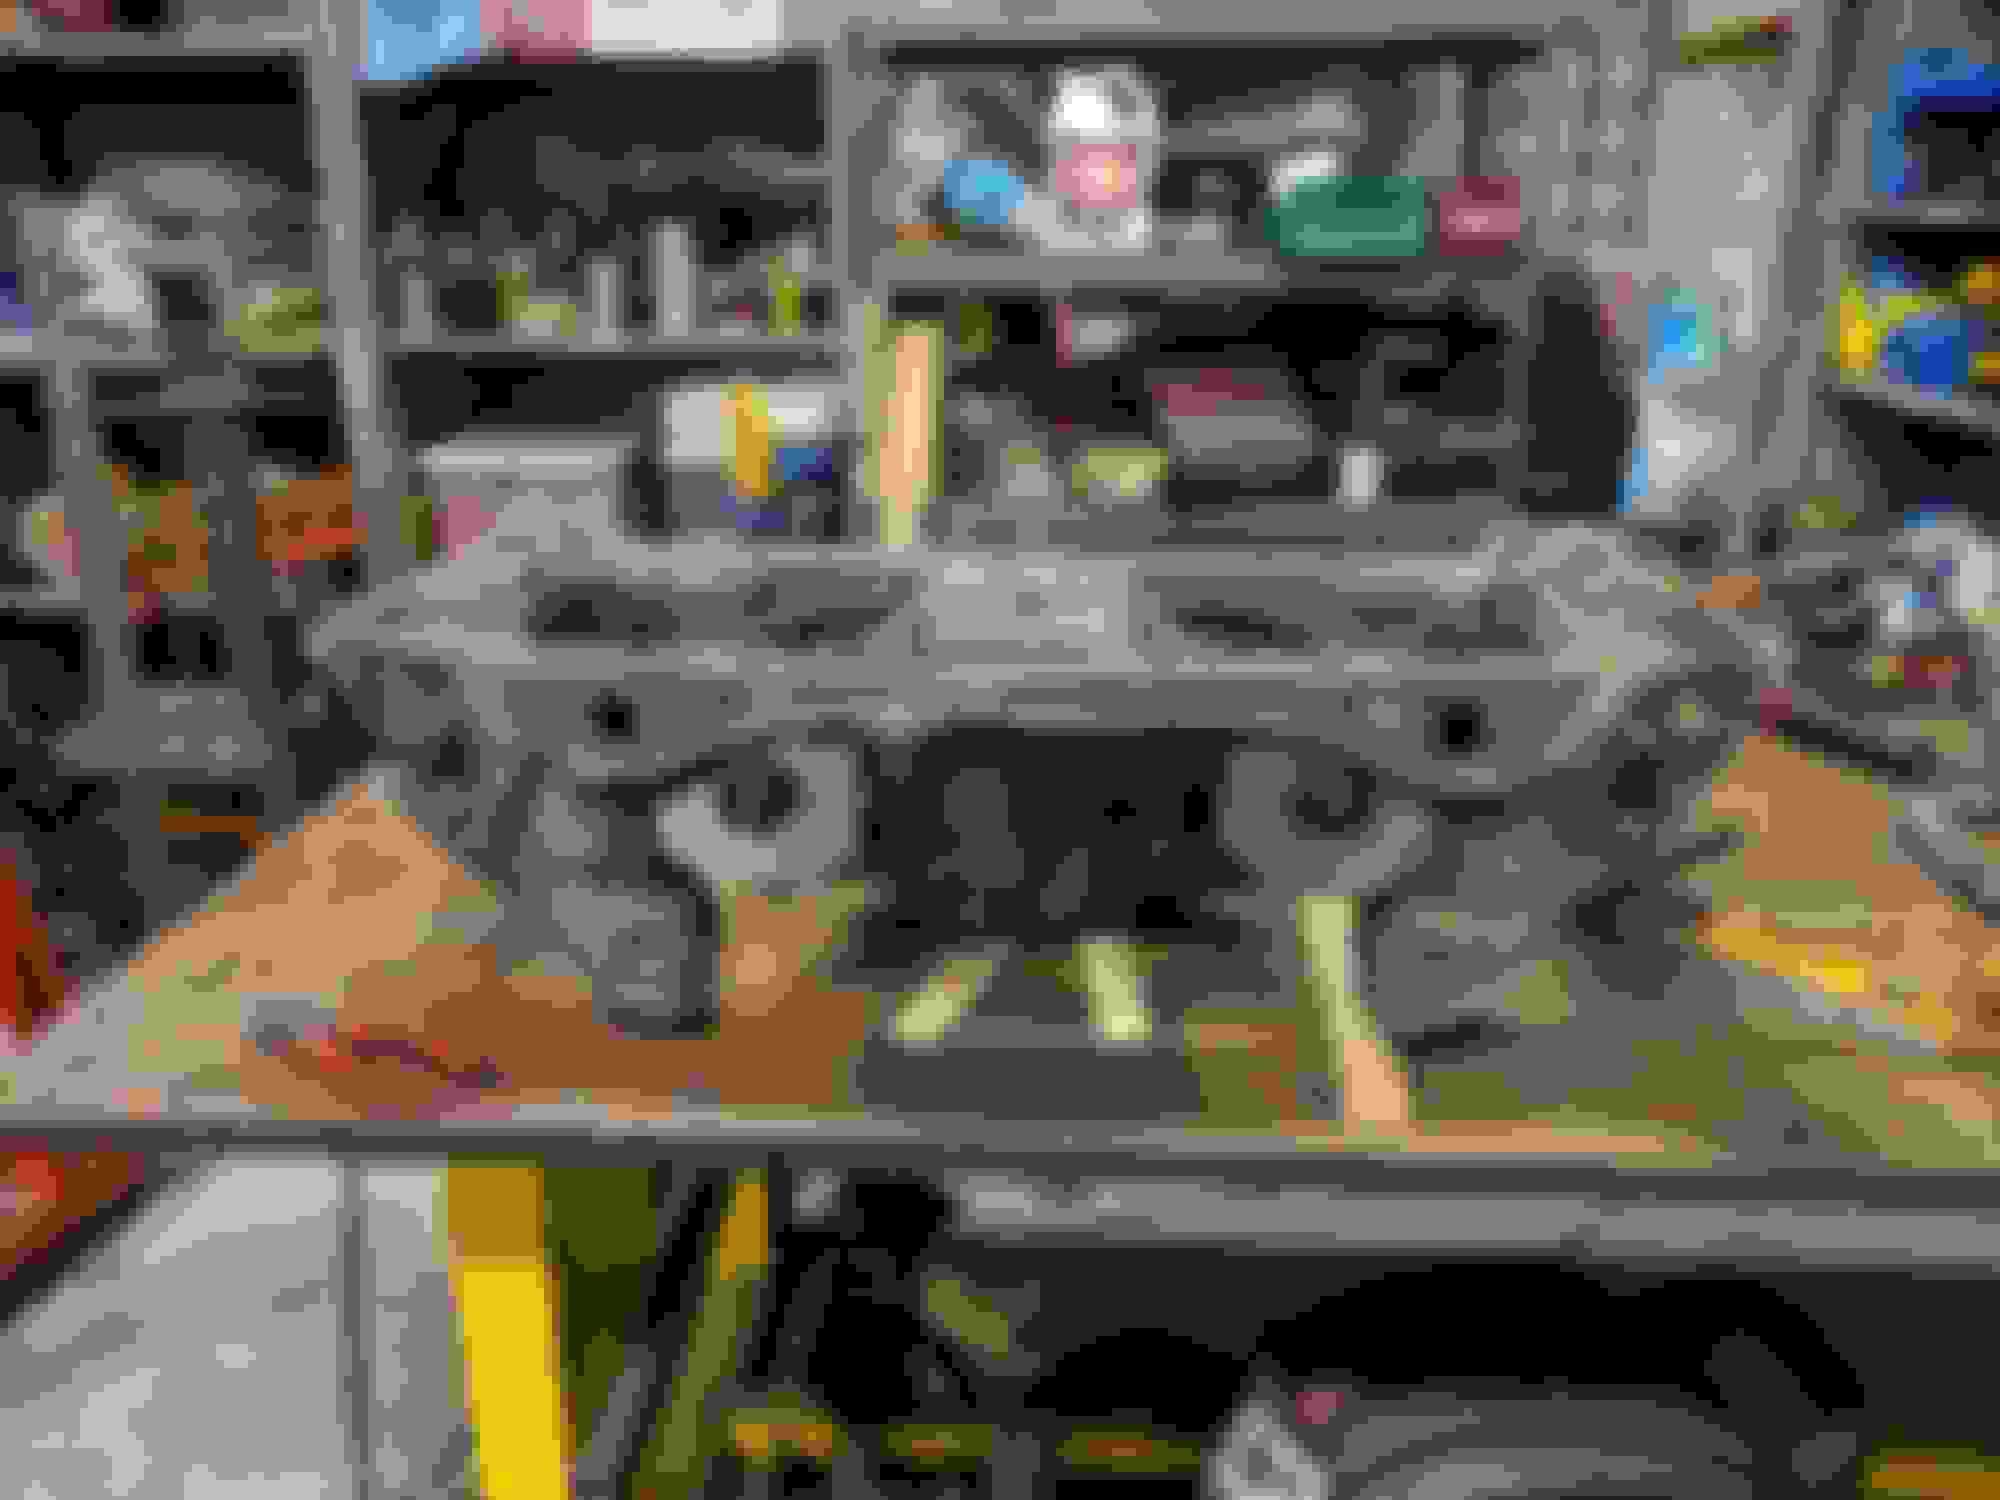
I picked up some square tube, angle, and a full sheet of 14 ga from my local supply place first thing in the morning. Then I put my half car up on jack stands and leveled it as best I could. I put the front sub frame back on. I paired the trans to the engine and started to put it in place so I could see what do.
Fast forward 4 iterations of taking the engine / trans in and out and cutting away at the sub frame and I finally have geometry that will let me pull the motor without dropping it out from under.
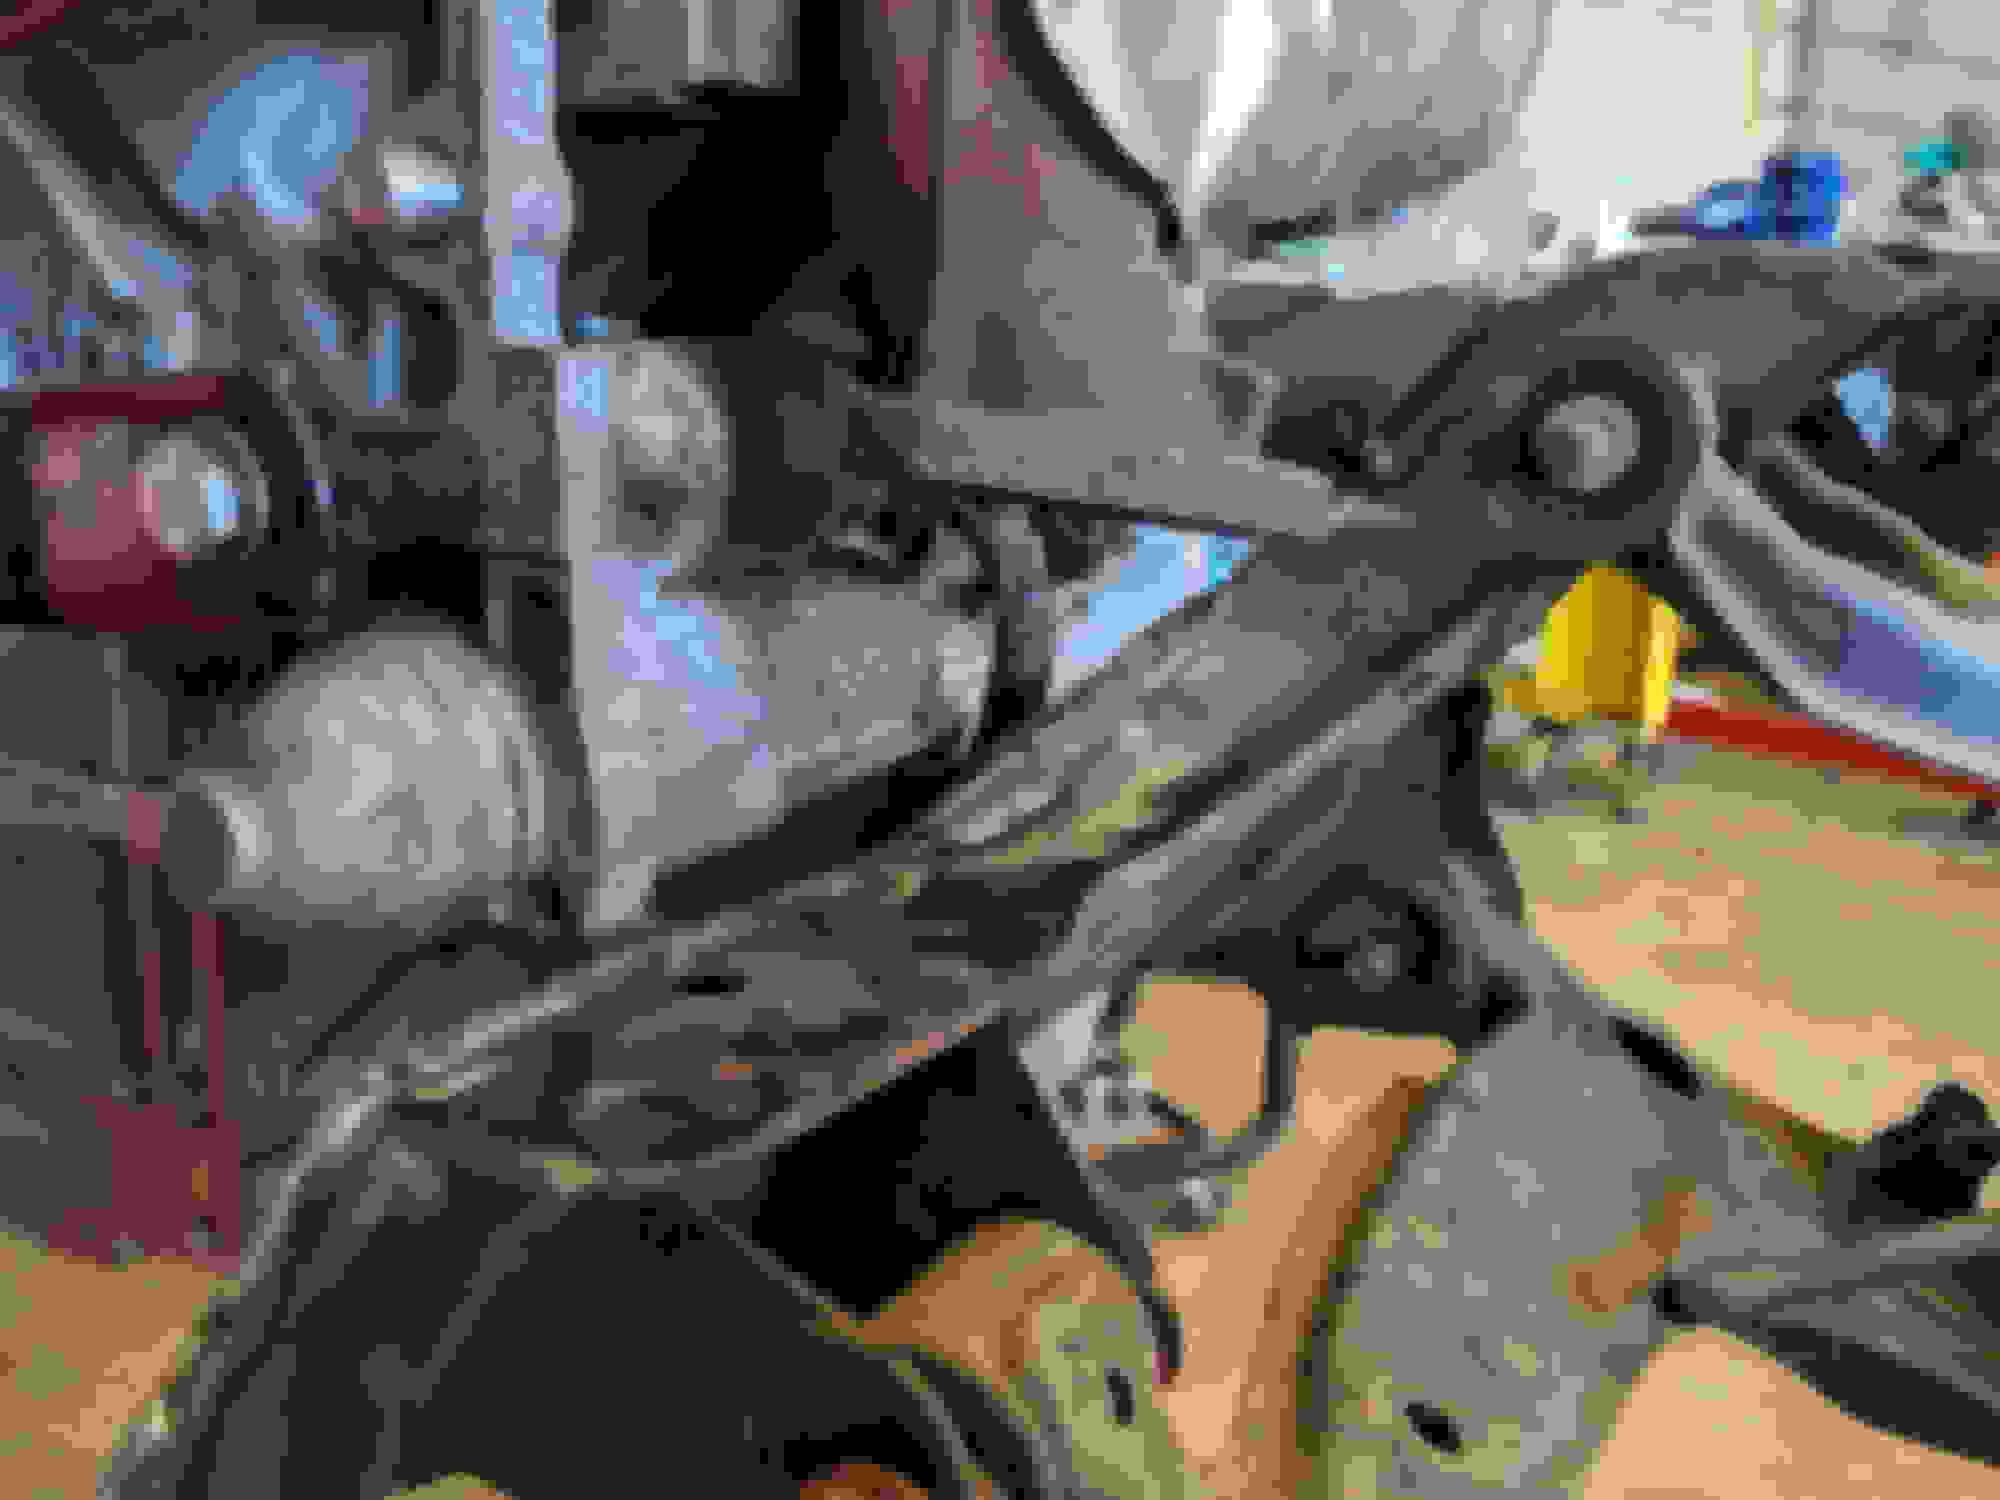
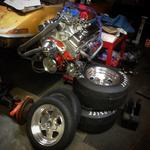
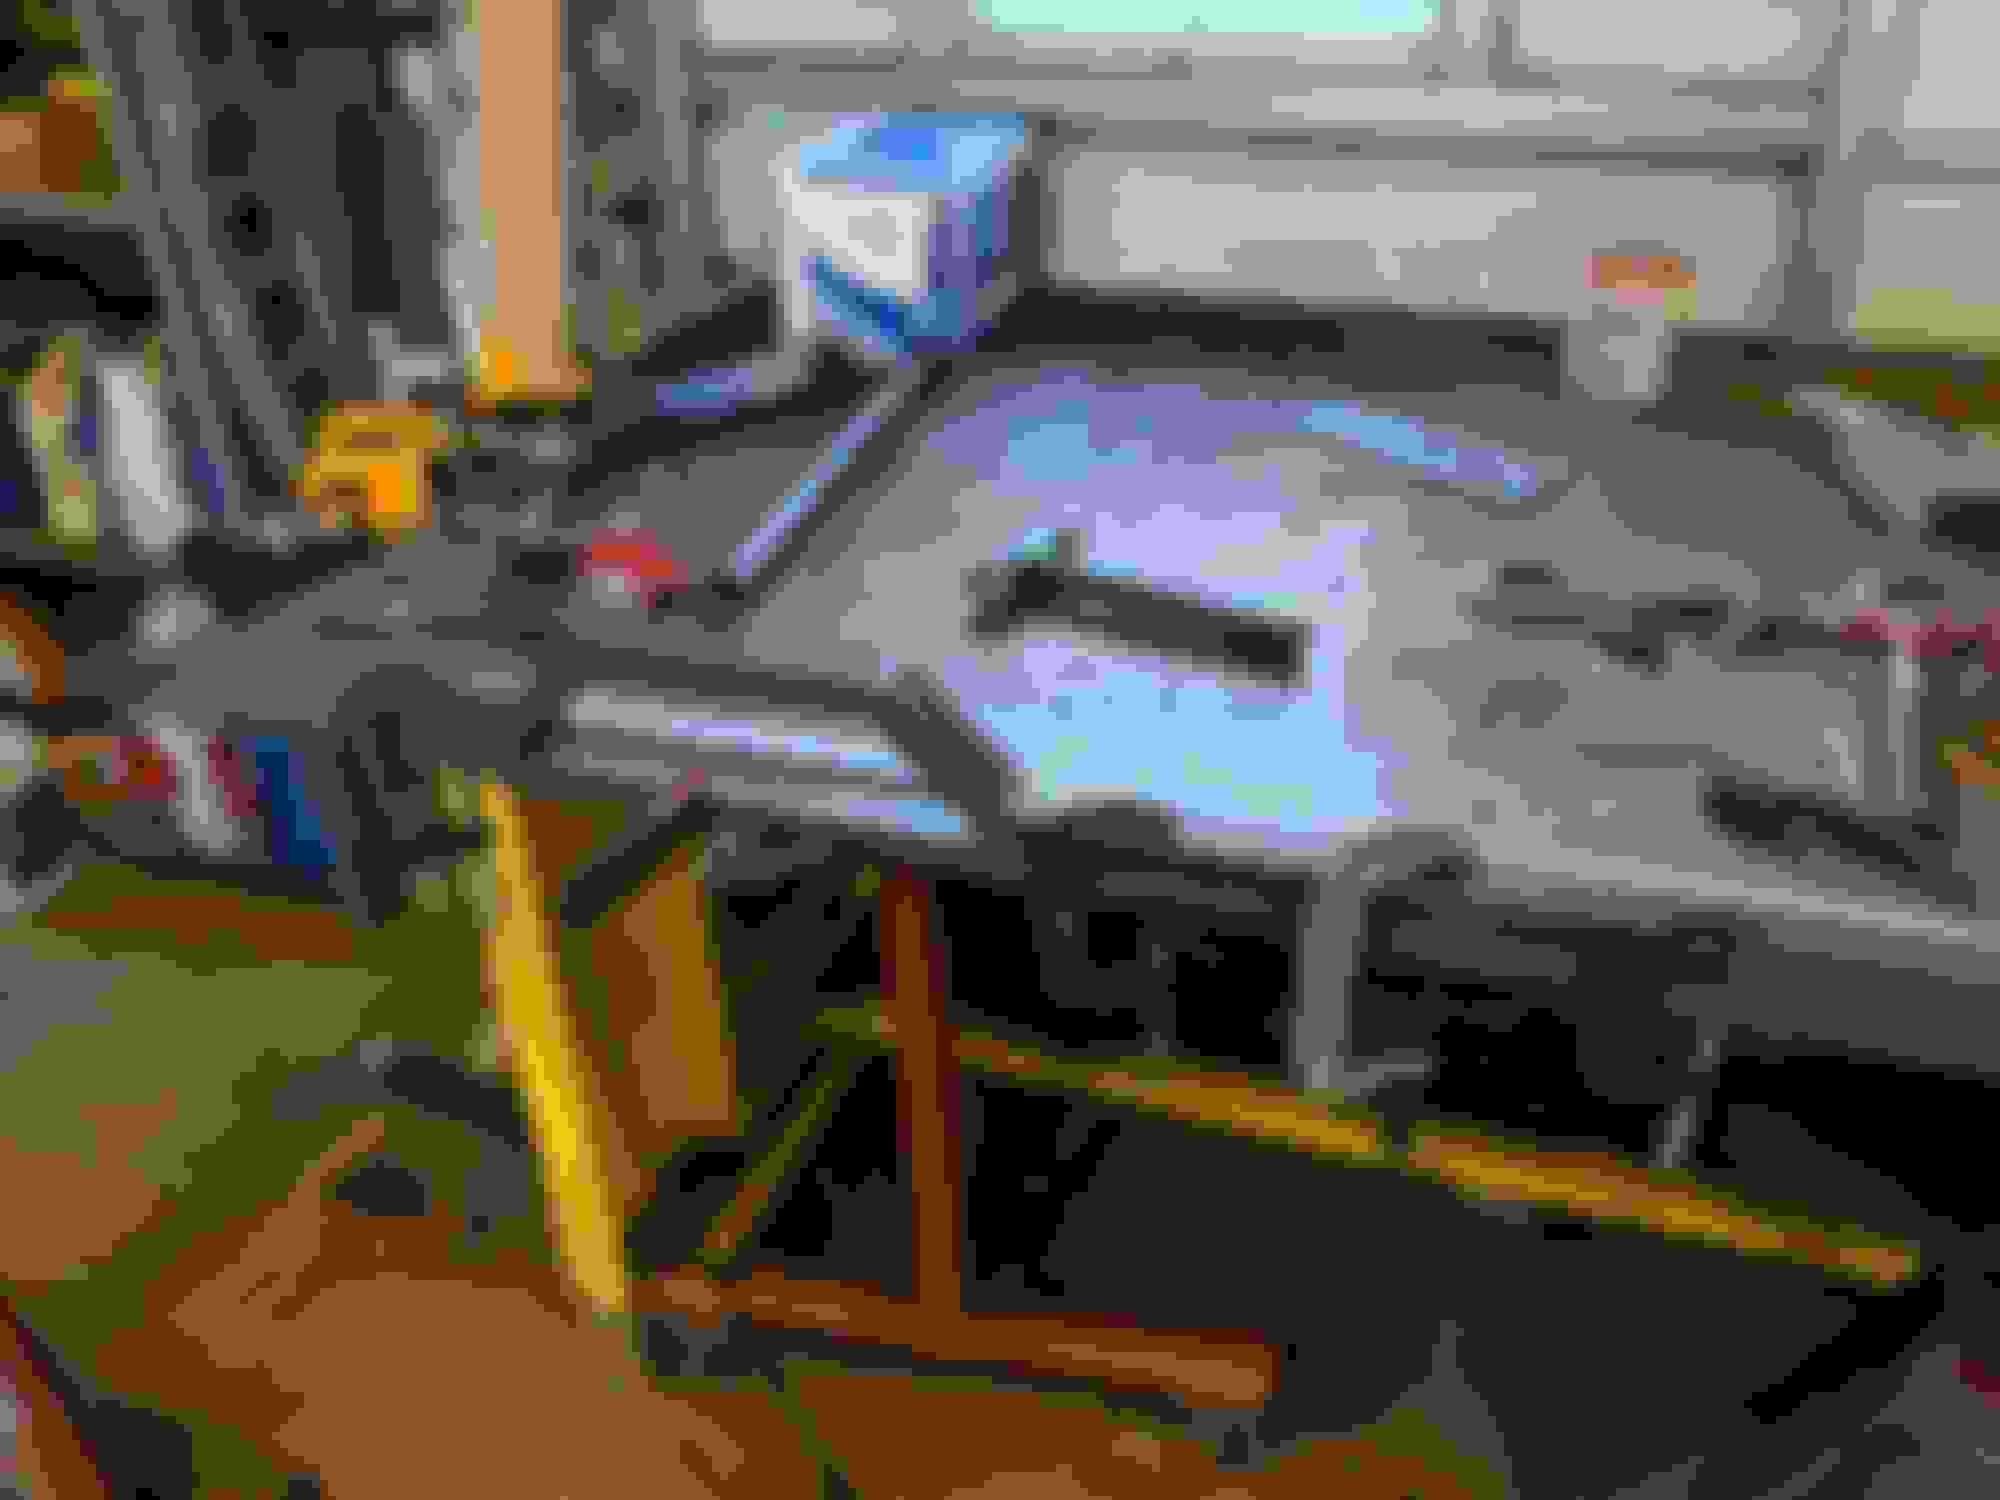
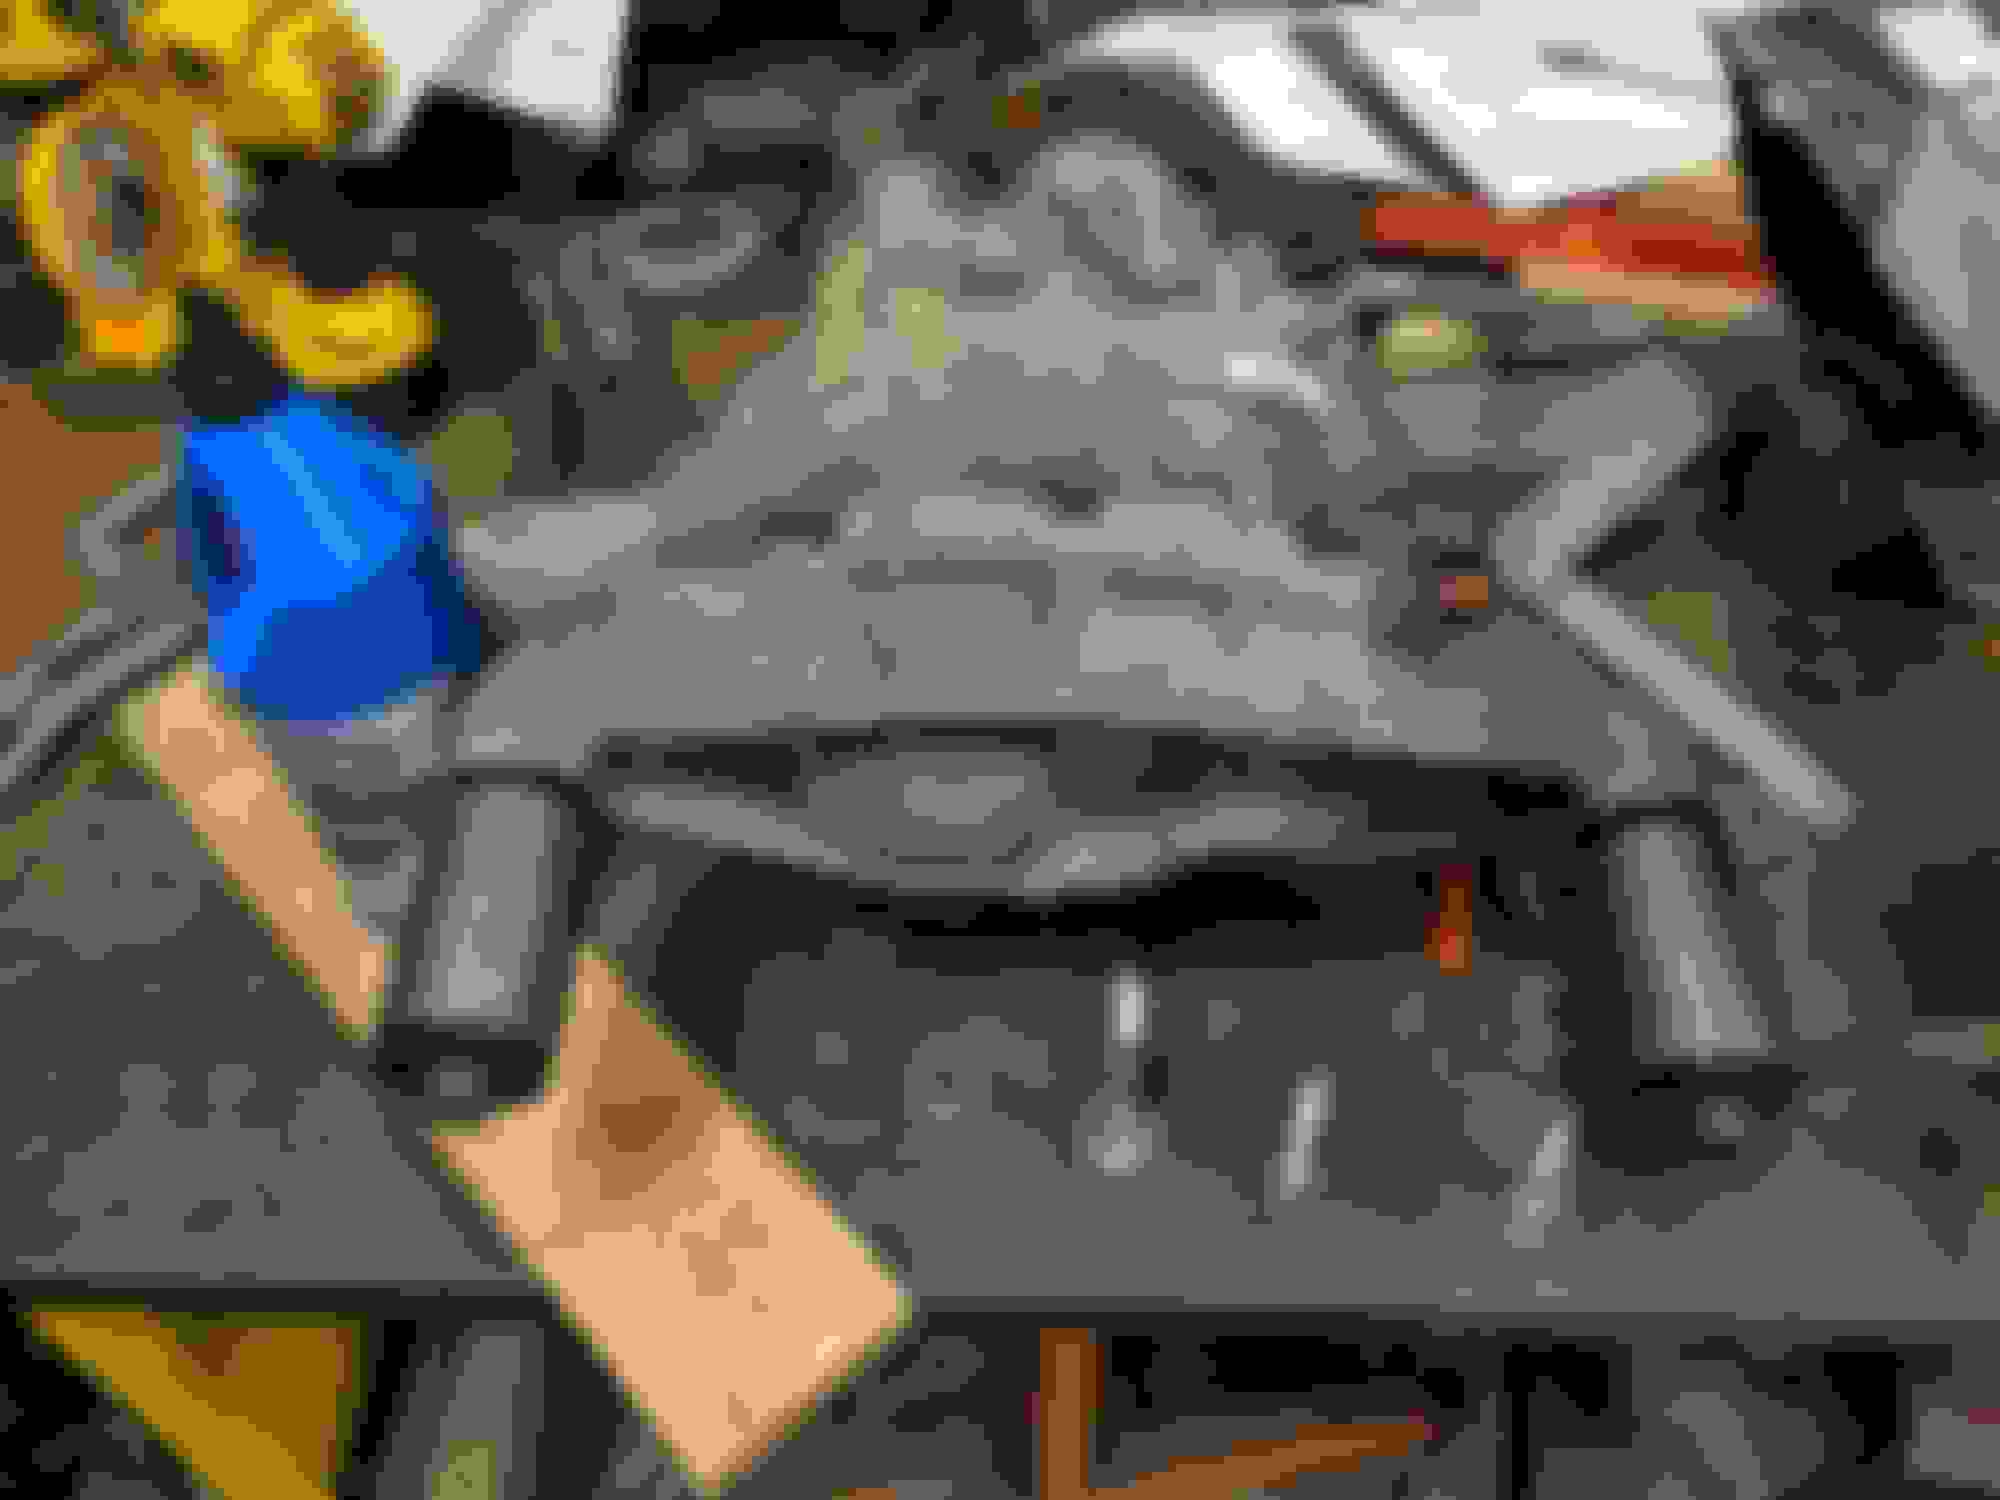
I put on the engine mounts ( I'm using this kit. https://www.speed-engineering.com/fe...universal.html) And started the process of positioning the motor and trans. Setting the back angle was pretty easy - I used the load leveler. I went for the full 3 degrees tilt. Getting the motor centered and parallel to the chassis center line - that was trickier. There was a lot of measuring and then double and triple measuring. I ended up using a plumb bob at one point. And finally 3 cinch straps. 2 to hold the tail of the transmission where I wanted it and a 3rd on the front of the motor to fix the last bit of skew. In the end - in order to get some extra clearance for the G8 manifolds around the steering shaft - i mounted the motor about 3/8" biased to the passenger side from the cars center line. The cinch straps and the engine hoist made the setup pretty stable so I felt confident i could start cutting and tacking on the motor mount plates.
So - with those tacked in place I'm going to pull the sub frame off again and finish dressing it / reinforcing it.
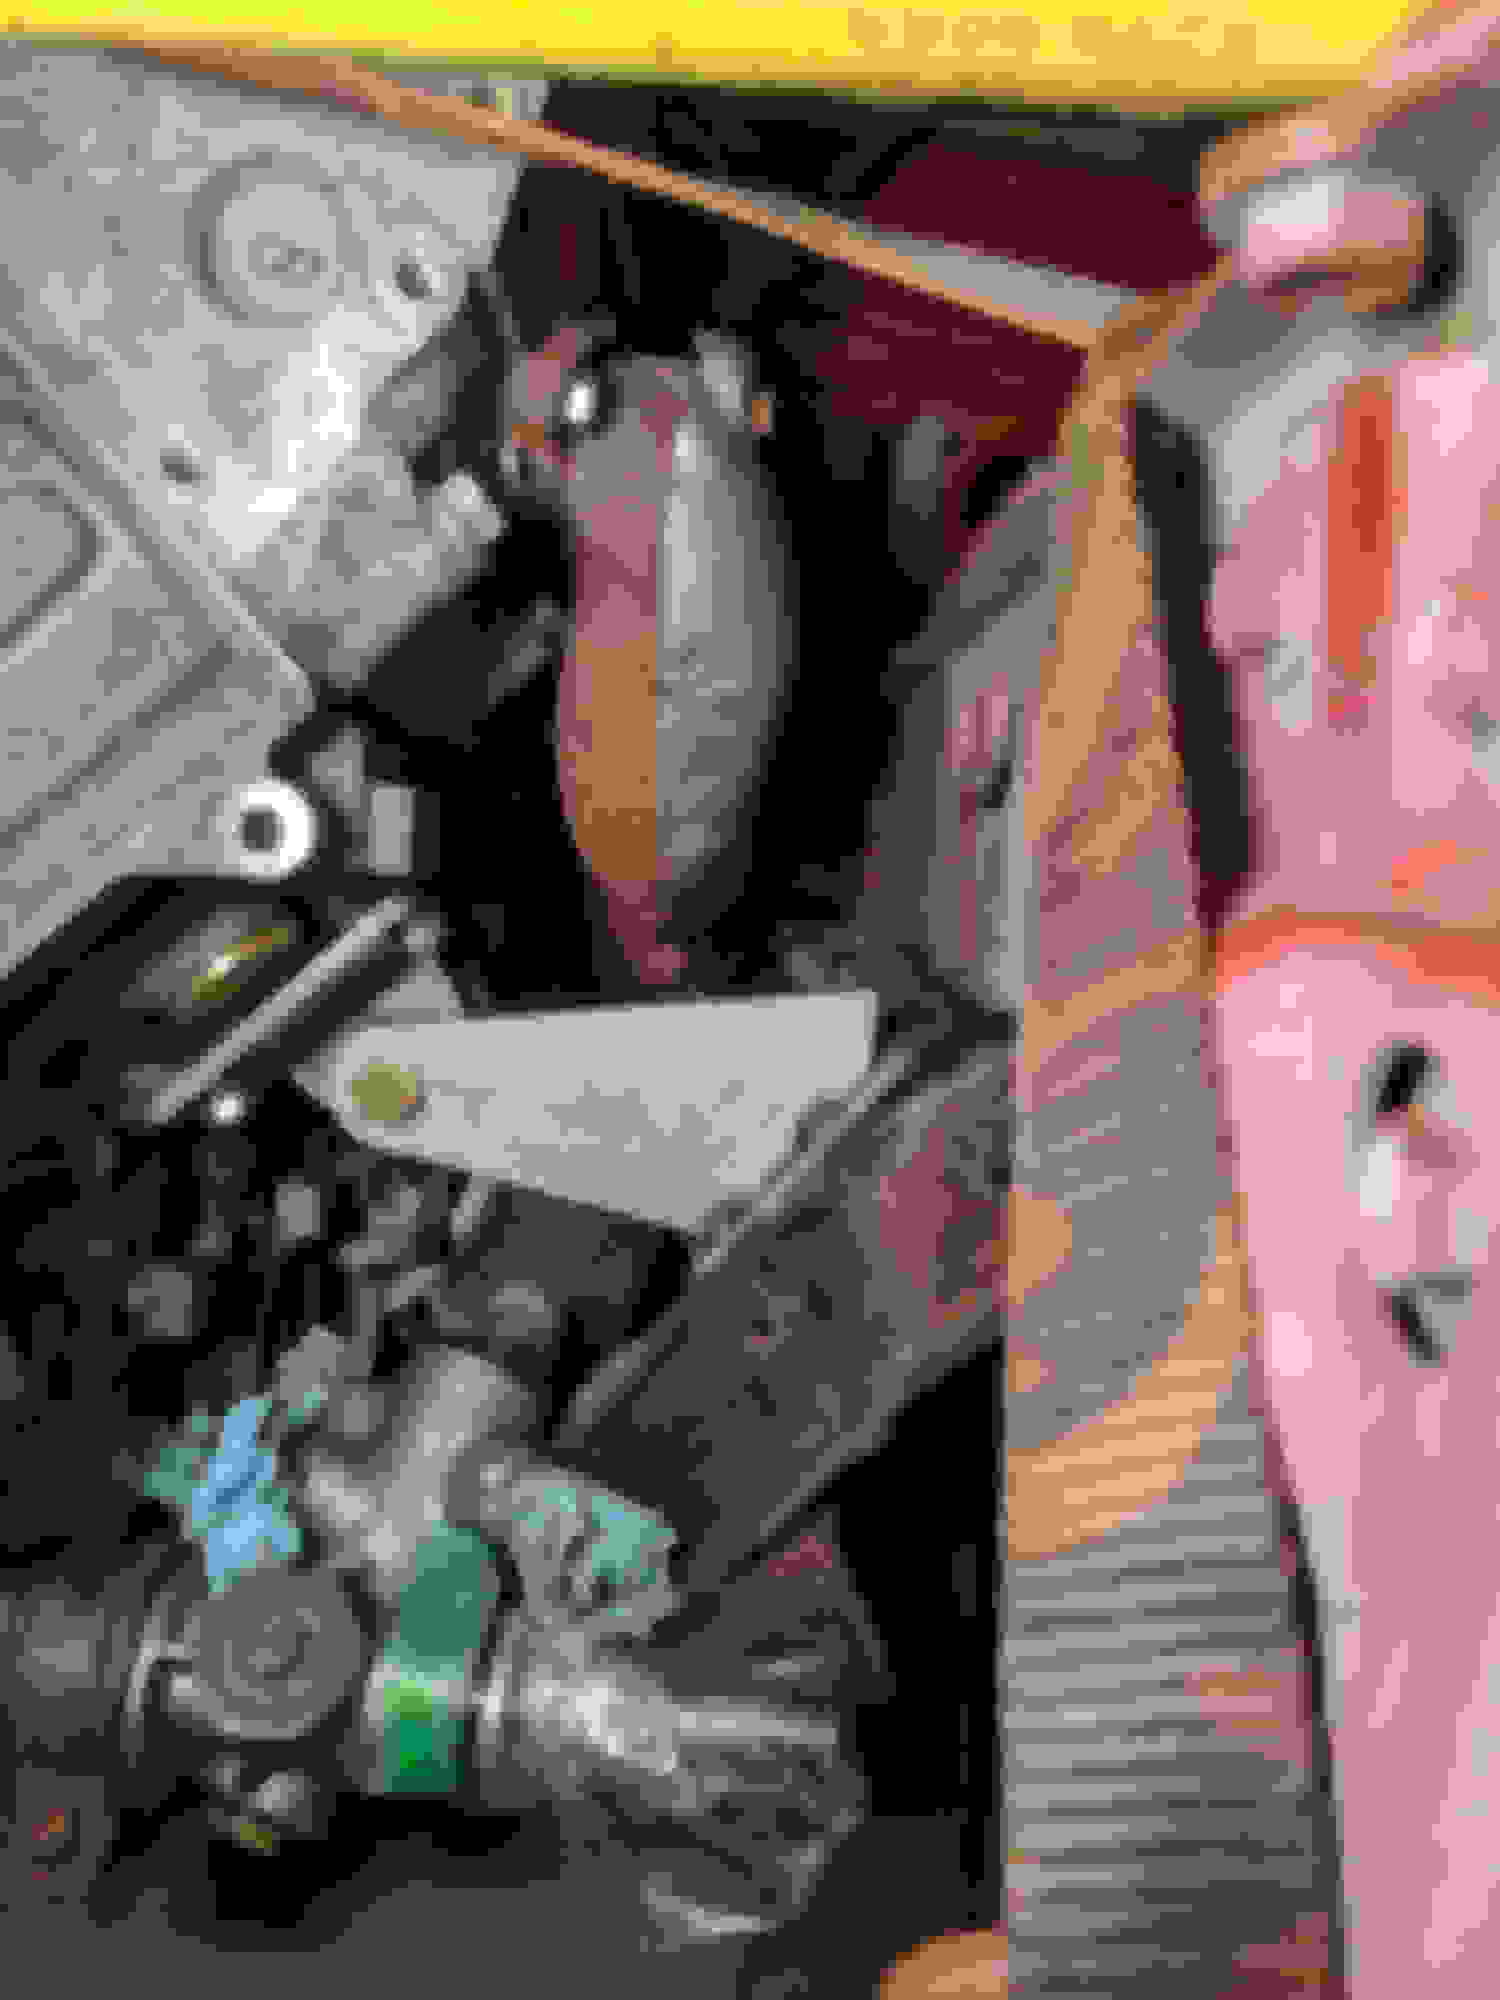
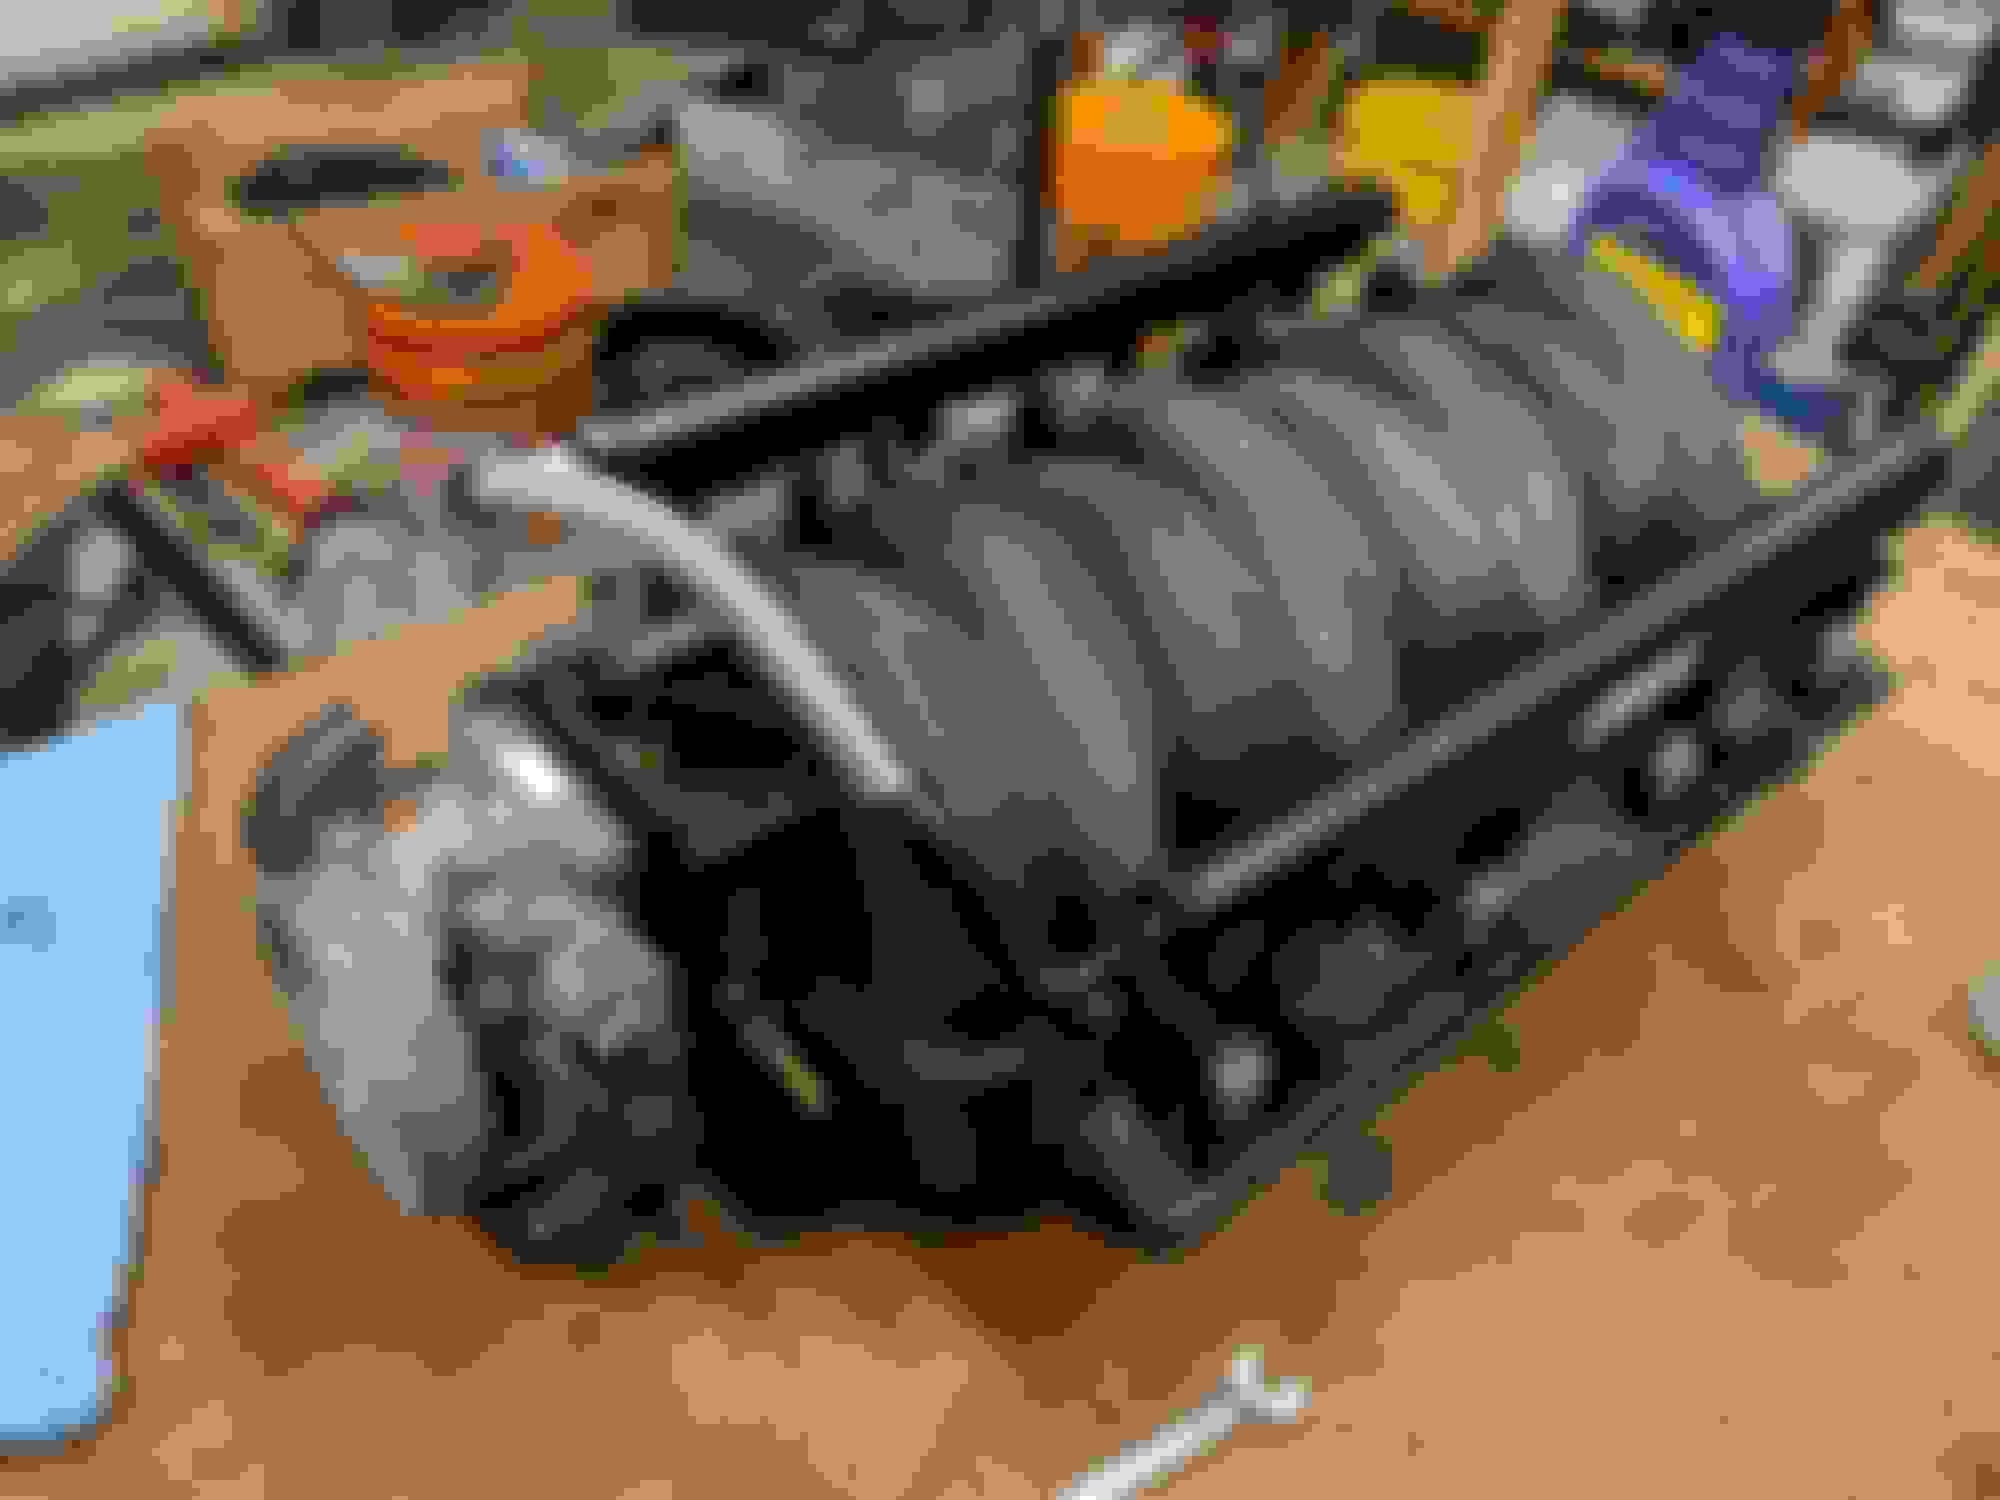
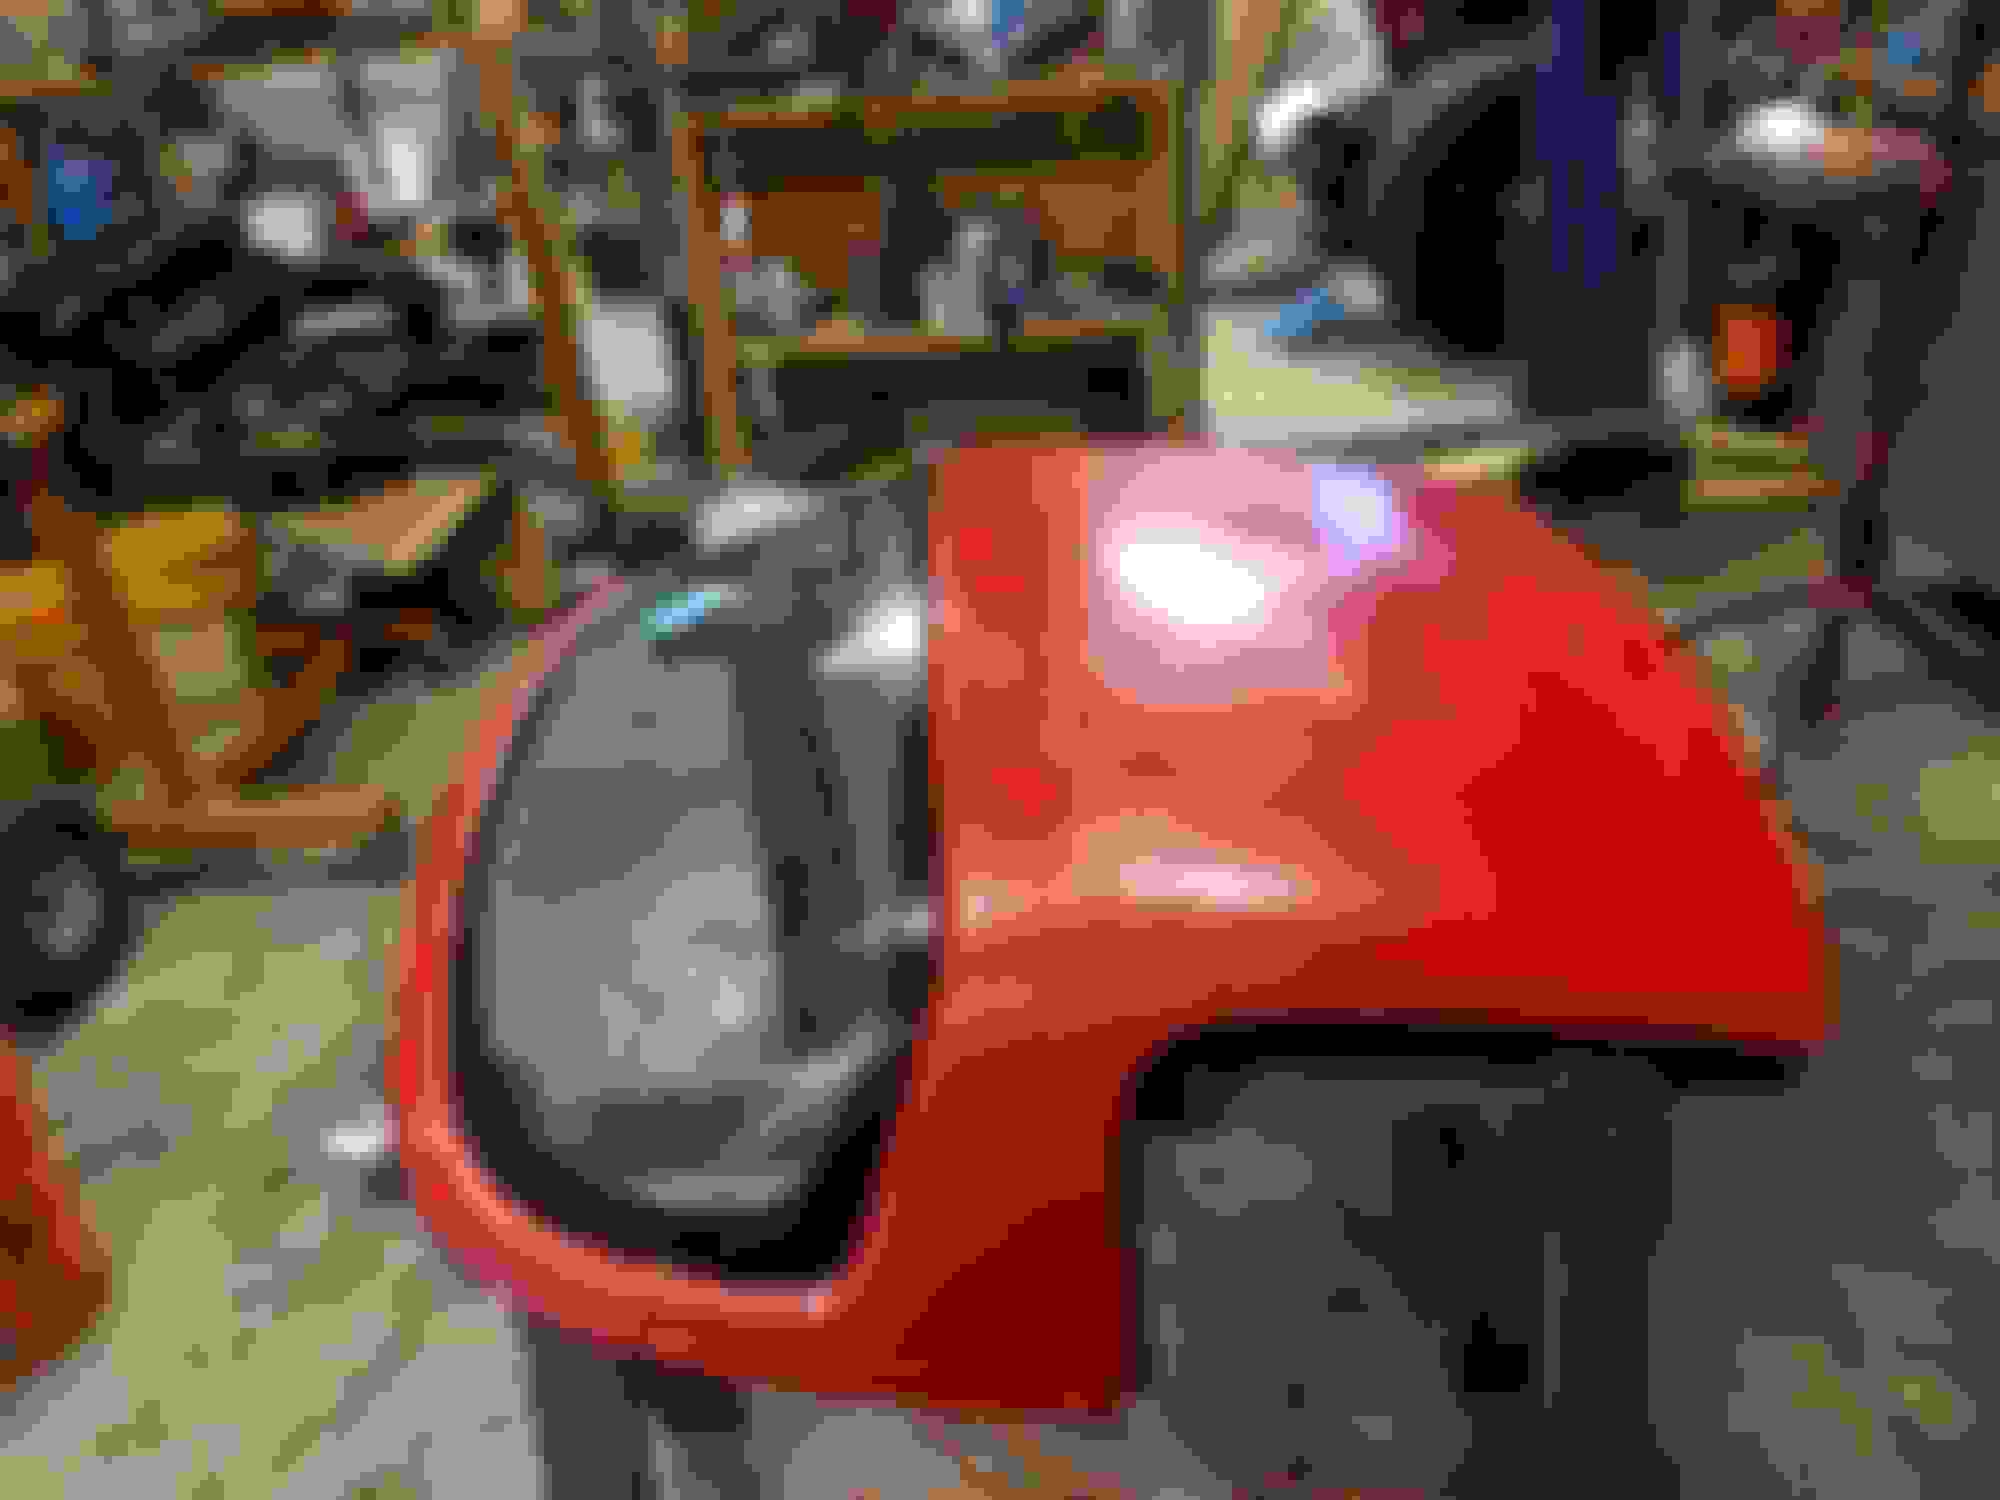
Looking good. I mounted my engine dead center and cut the manifold heat shield and slightly bent the steering shaft bracket that bolts to the firewall to clear the g8 manifold. I have about 1mm lol
Small update. COVID has hampered my progress somewhat. My budget has been stymied and 've been focussed more on doing things for my kids in my free time.
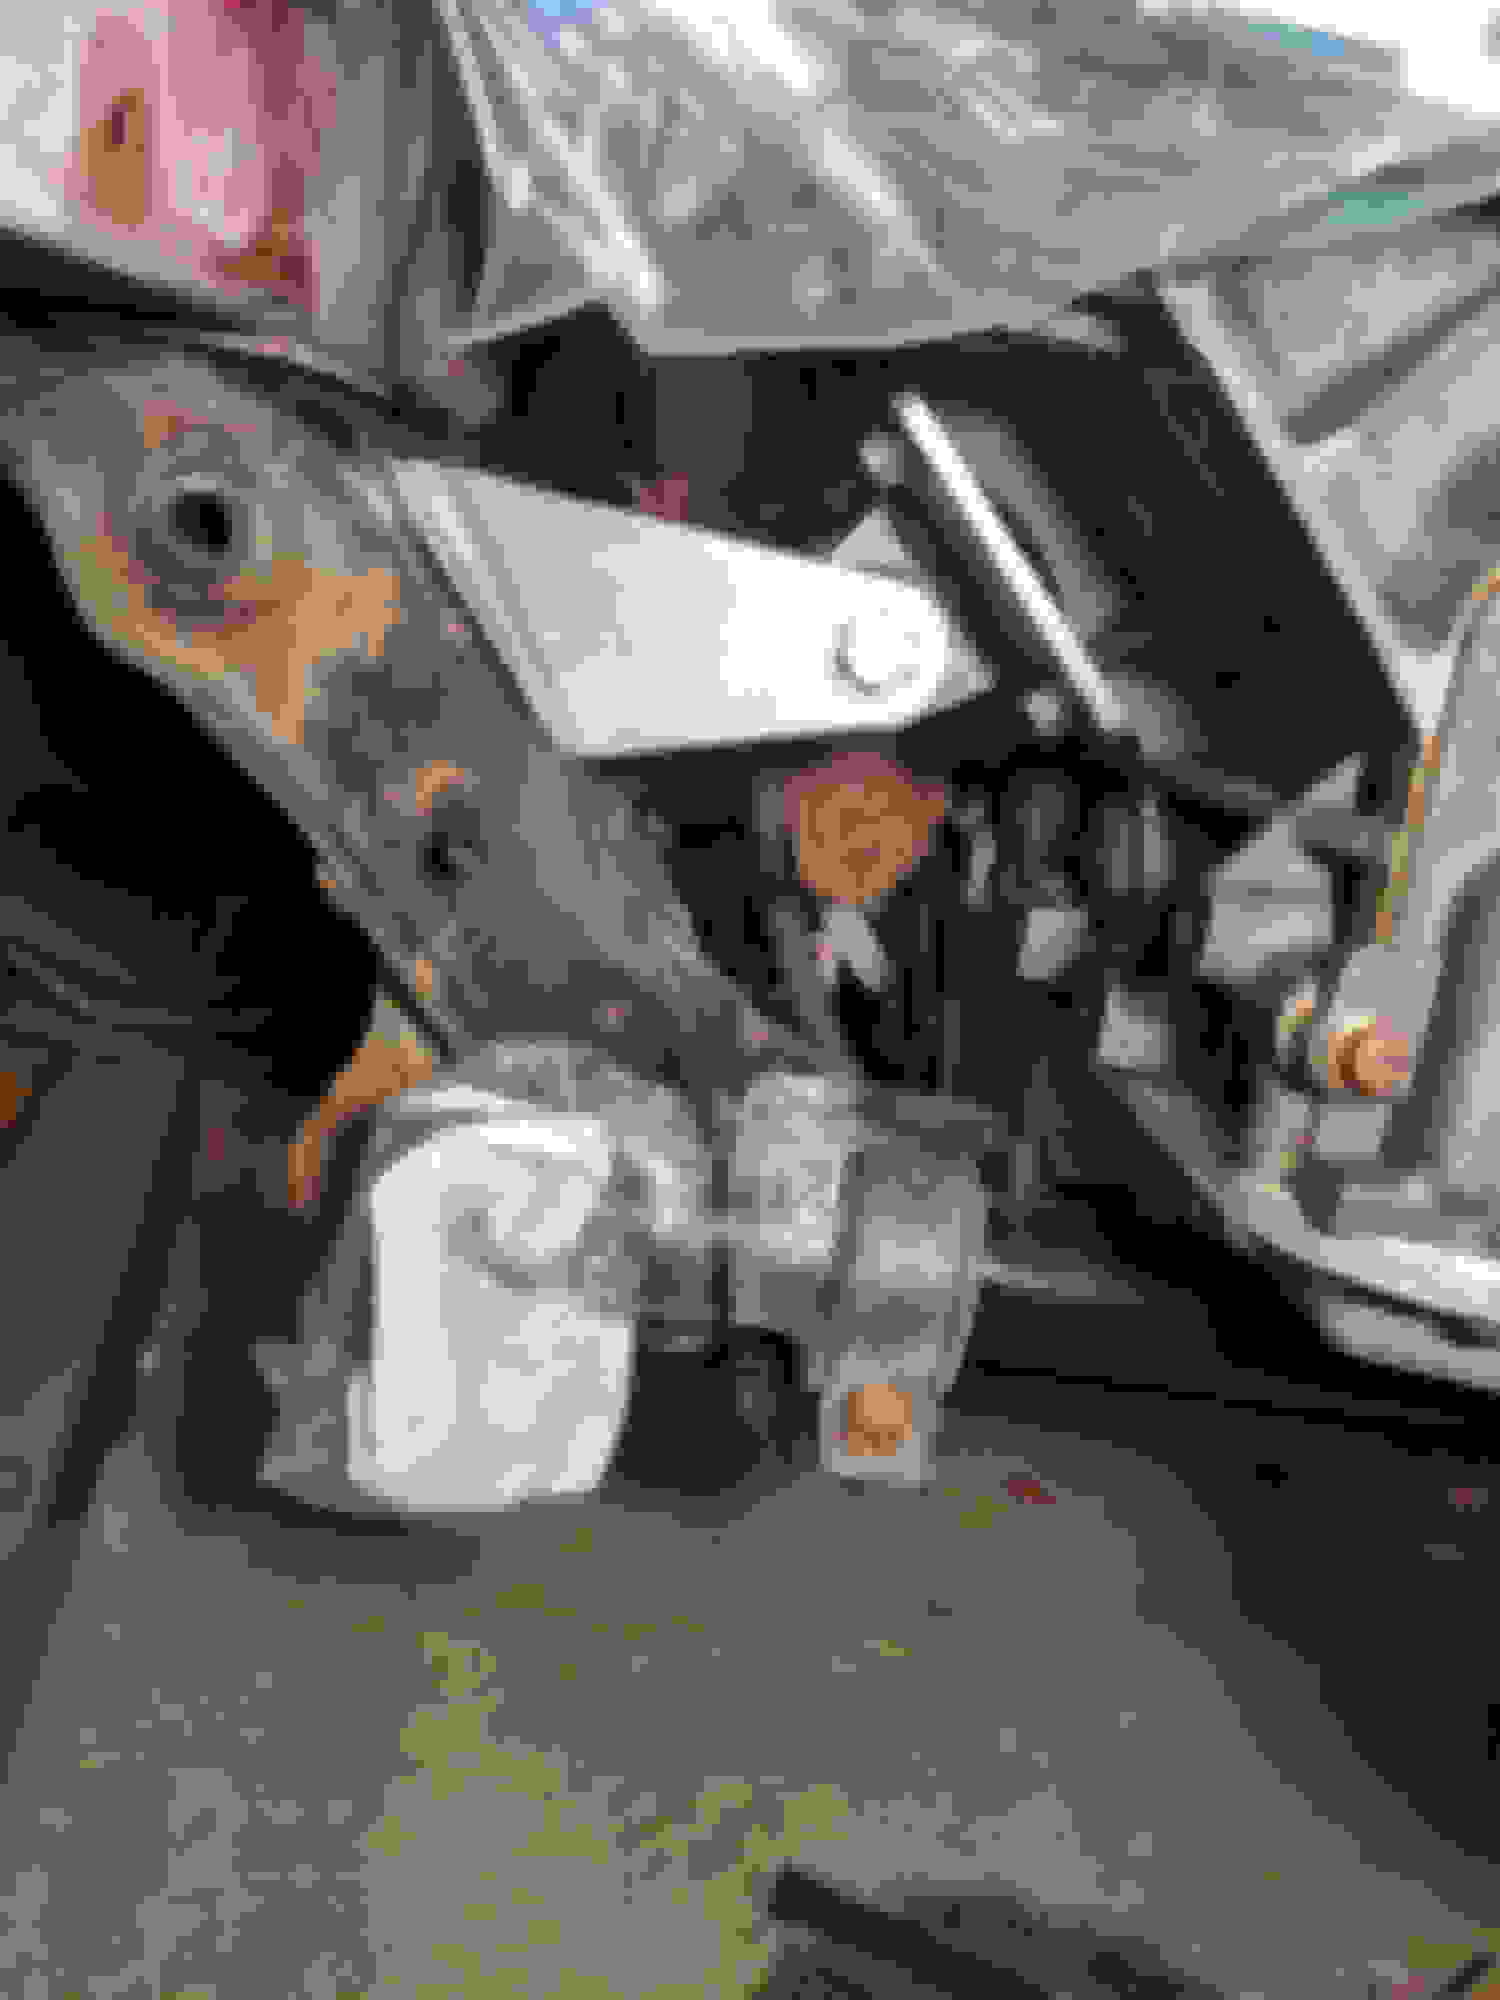
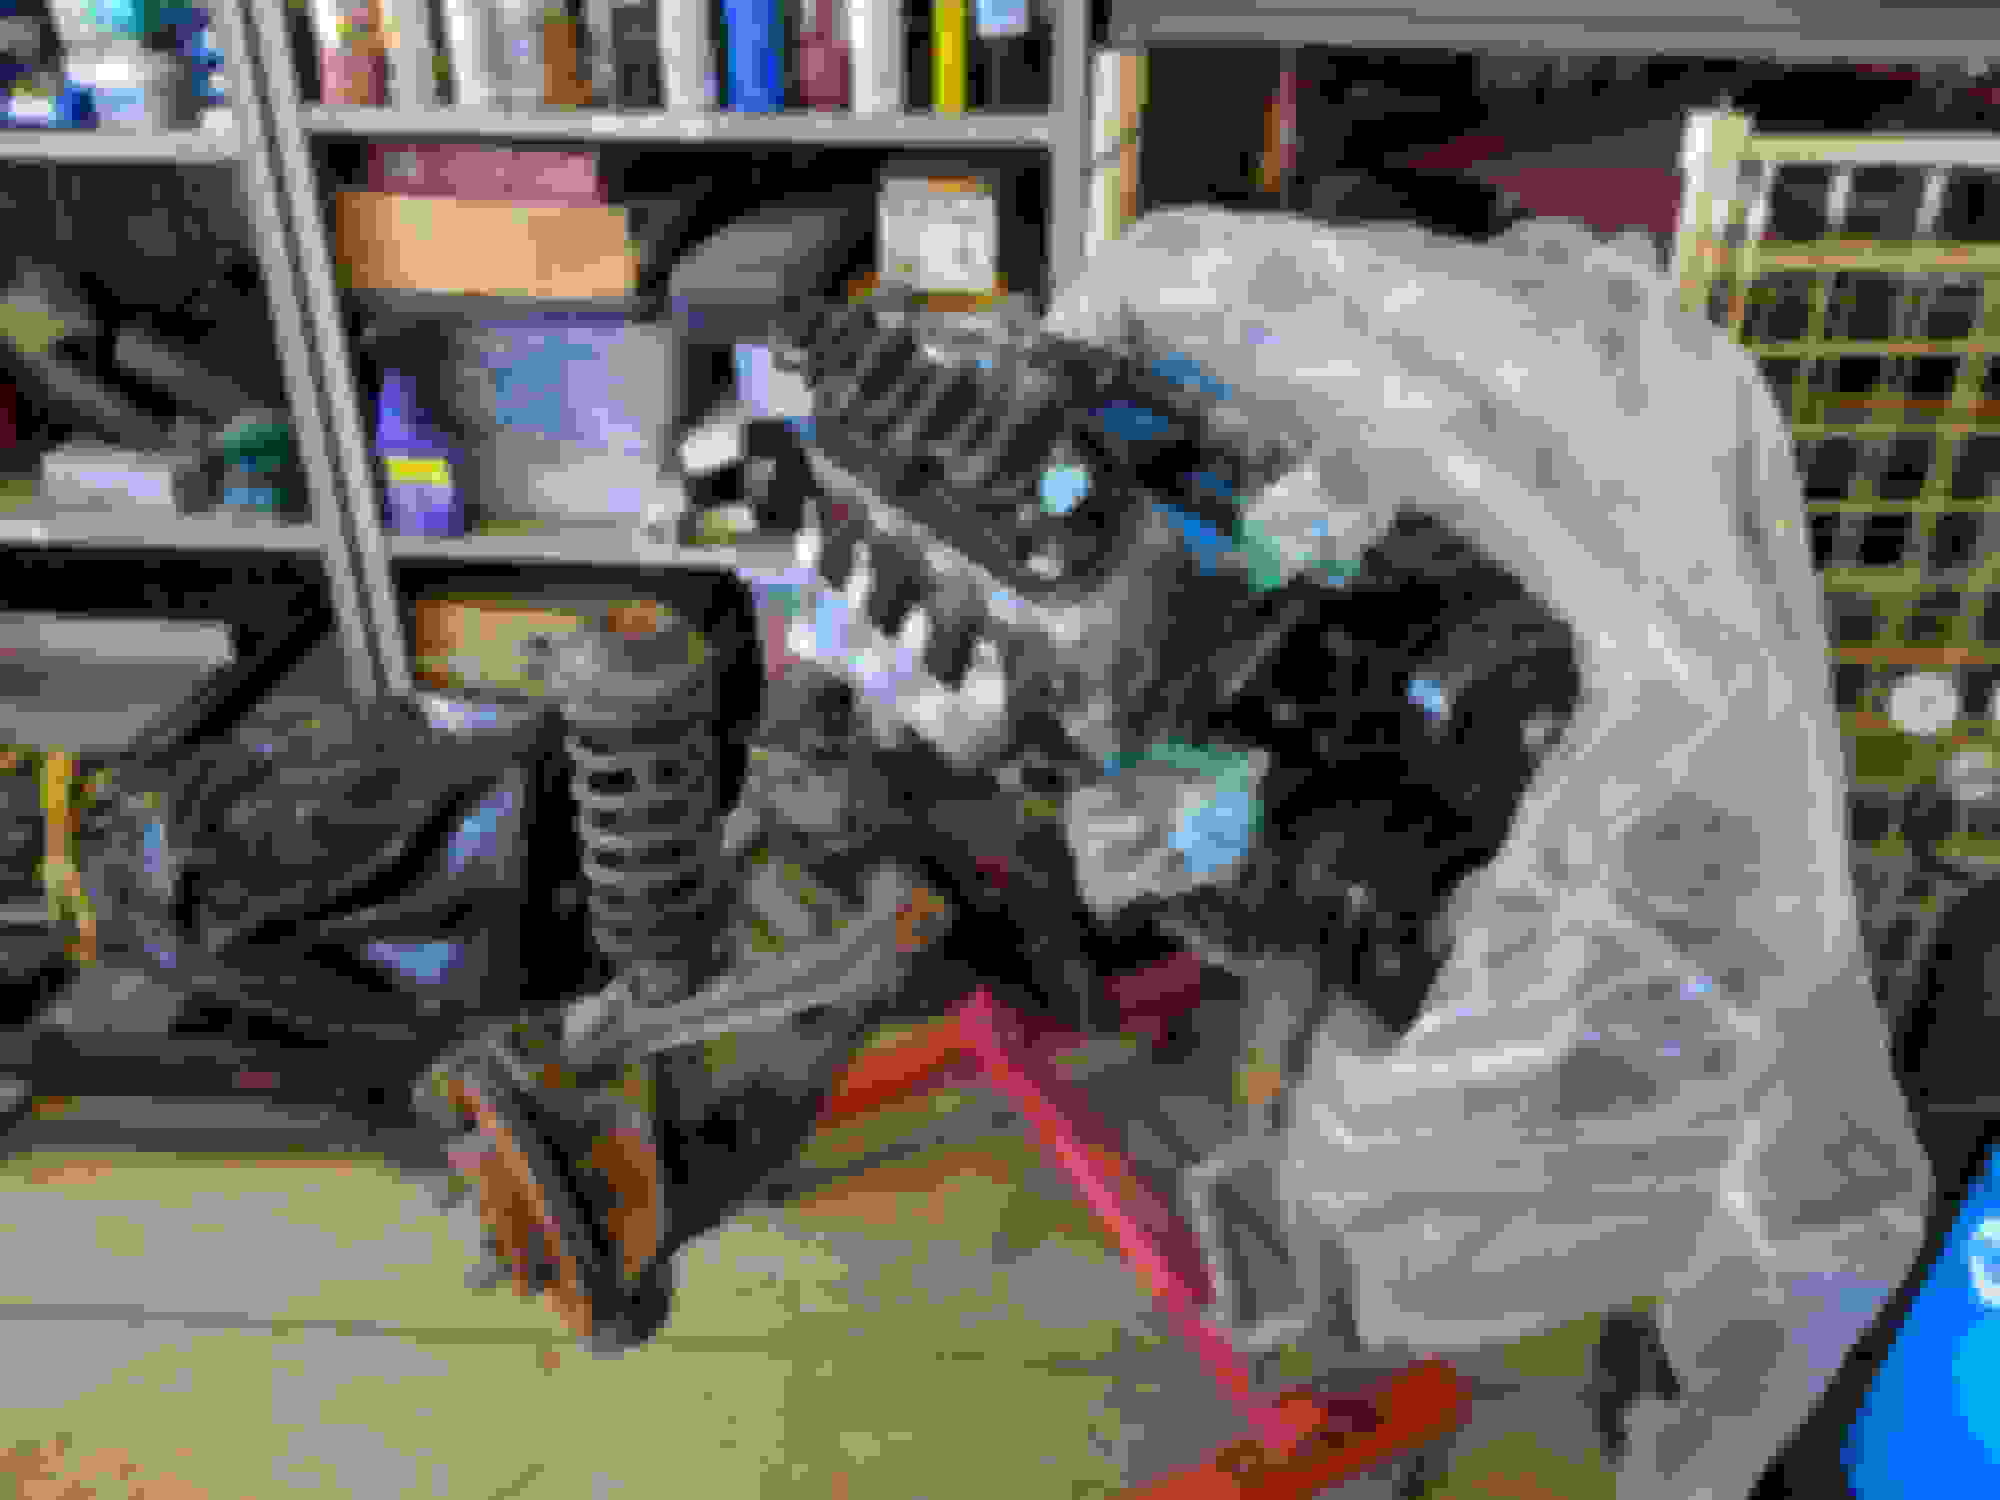
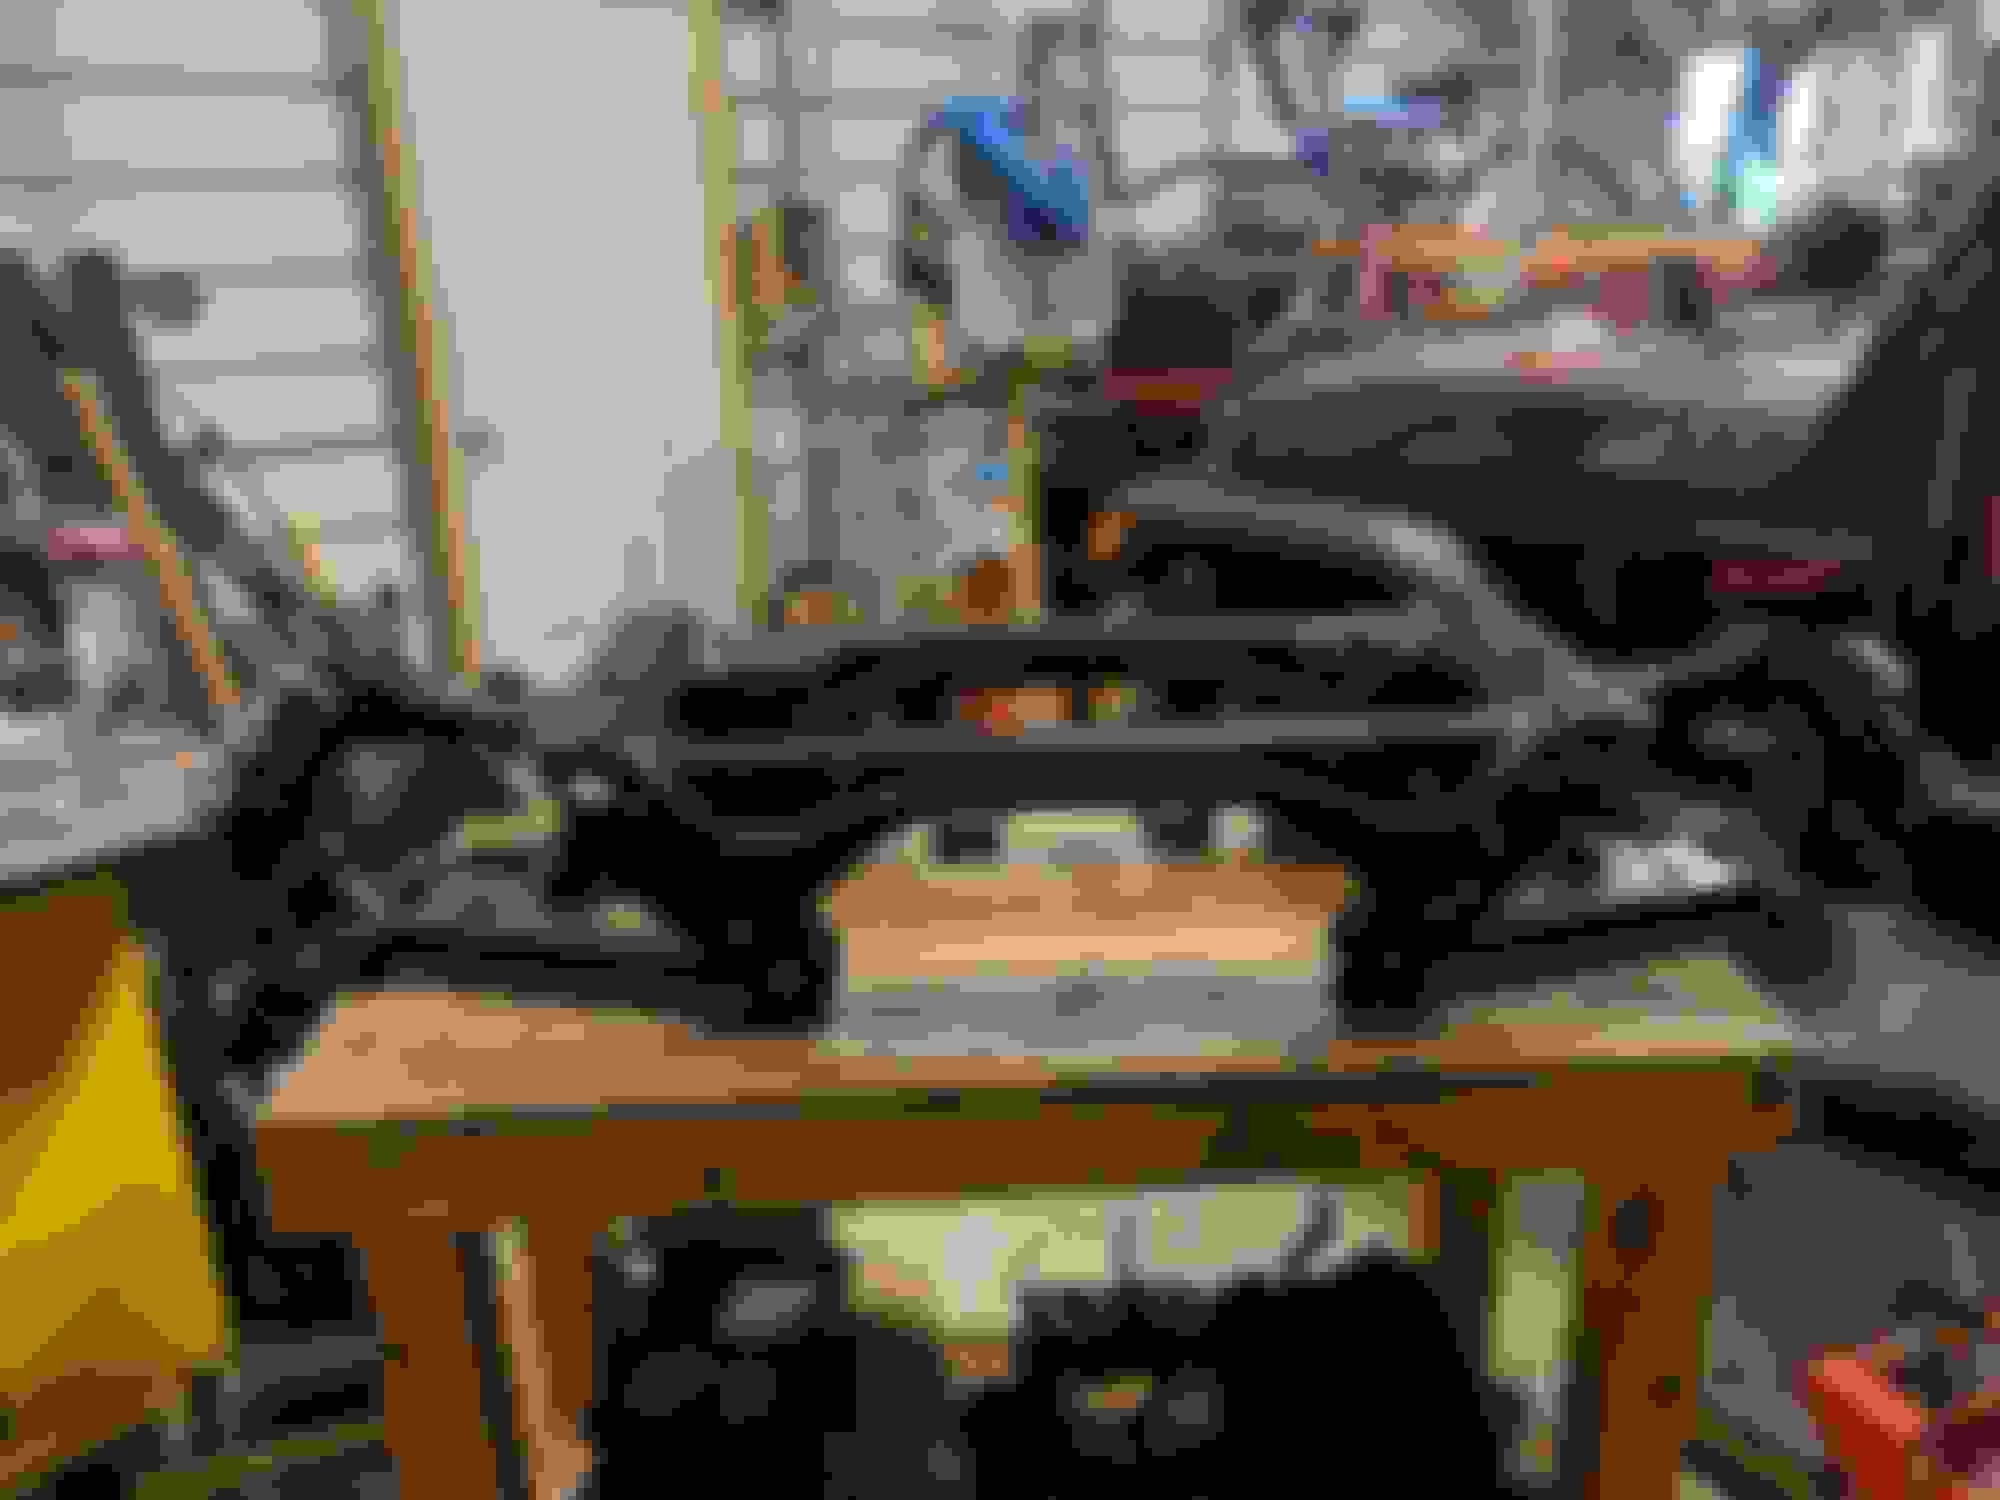
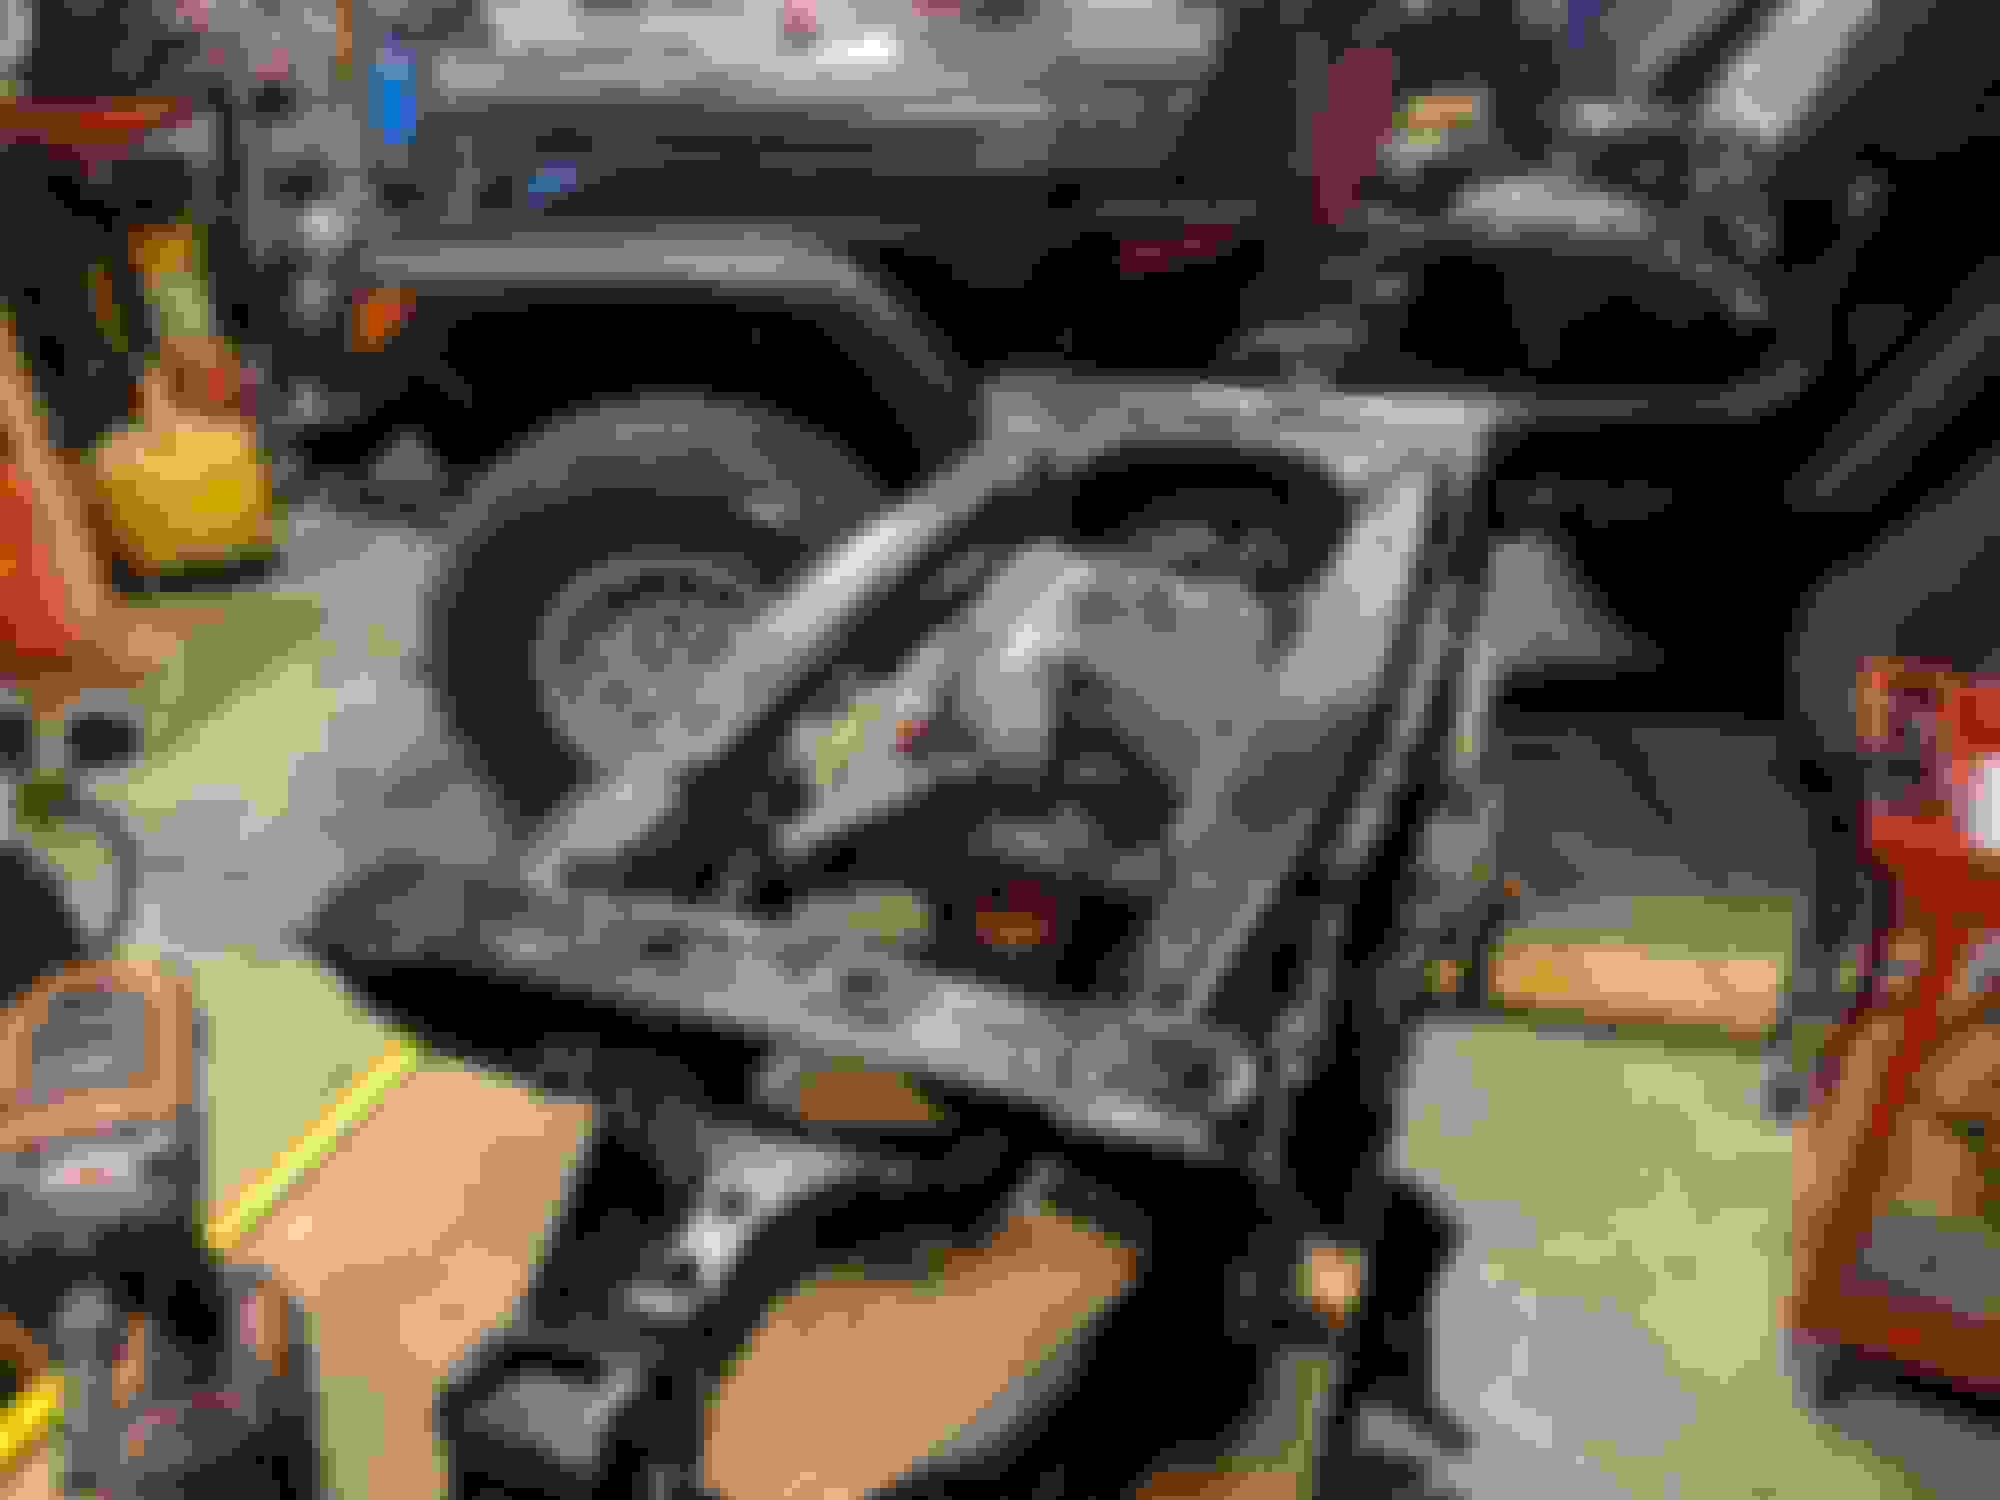
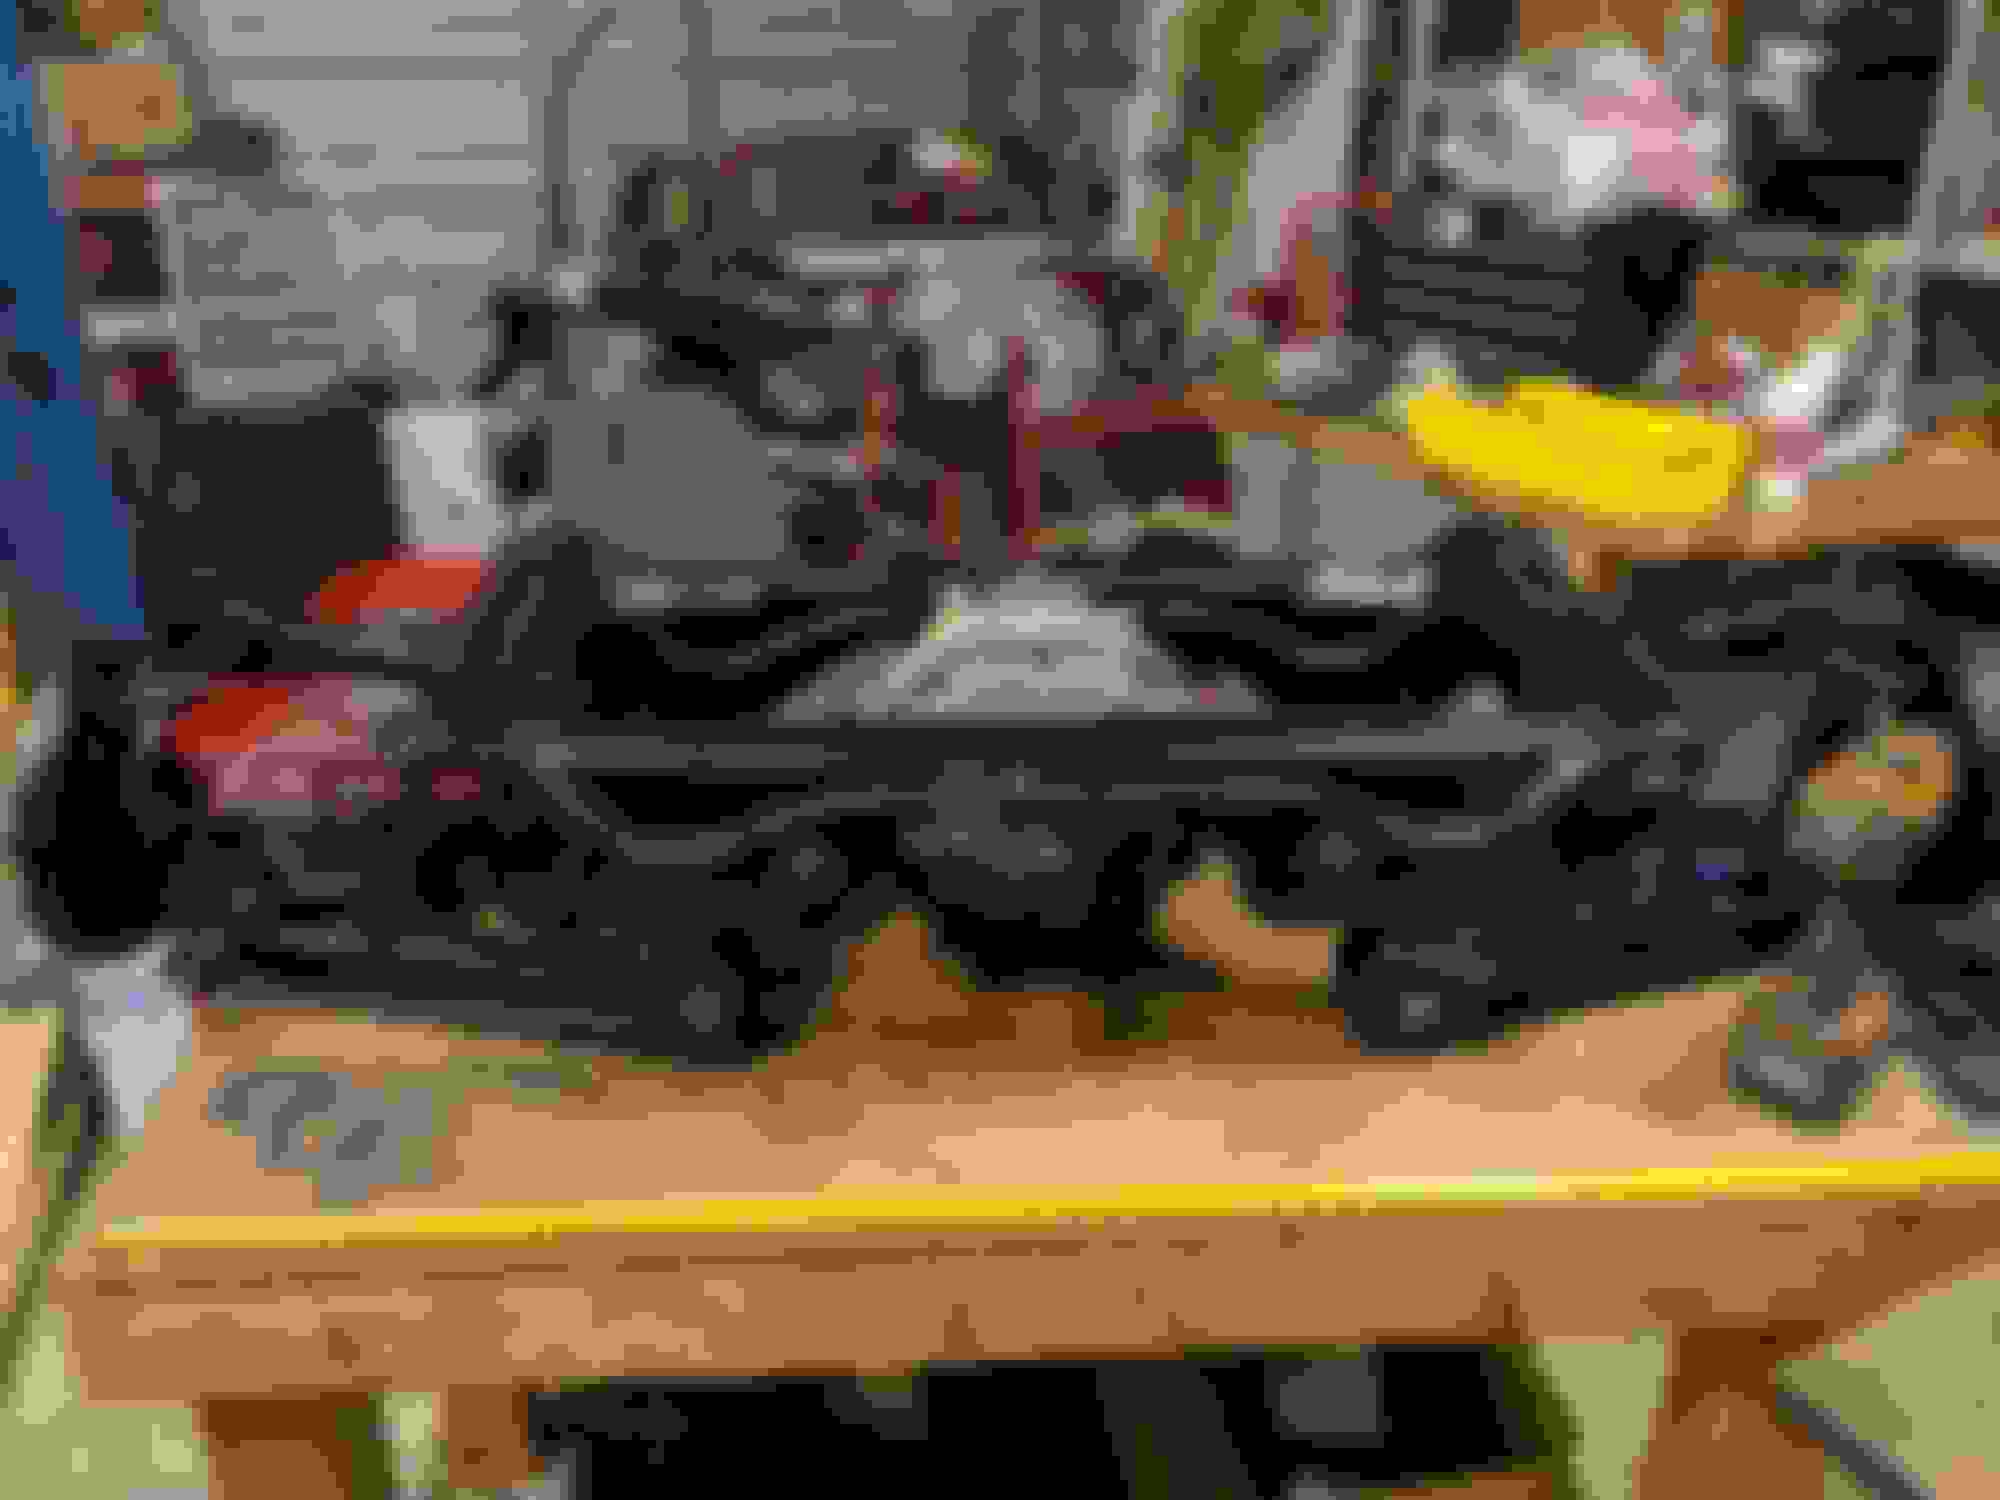
After deciding to run with the G8 manifolds I needed to come up with a way to get the exhaust down through the subframe and around the starter on the passengers side. I've seen some pretty sweet welding / custom pipes on here. But I'm just not up for that. I mocked up the frame on the motor stand with the control arms on to see what was what.
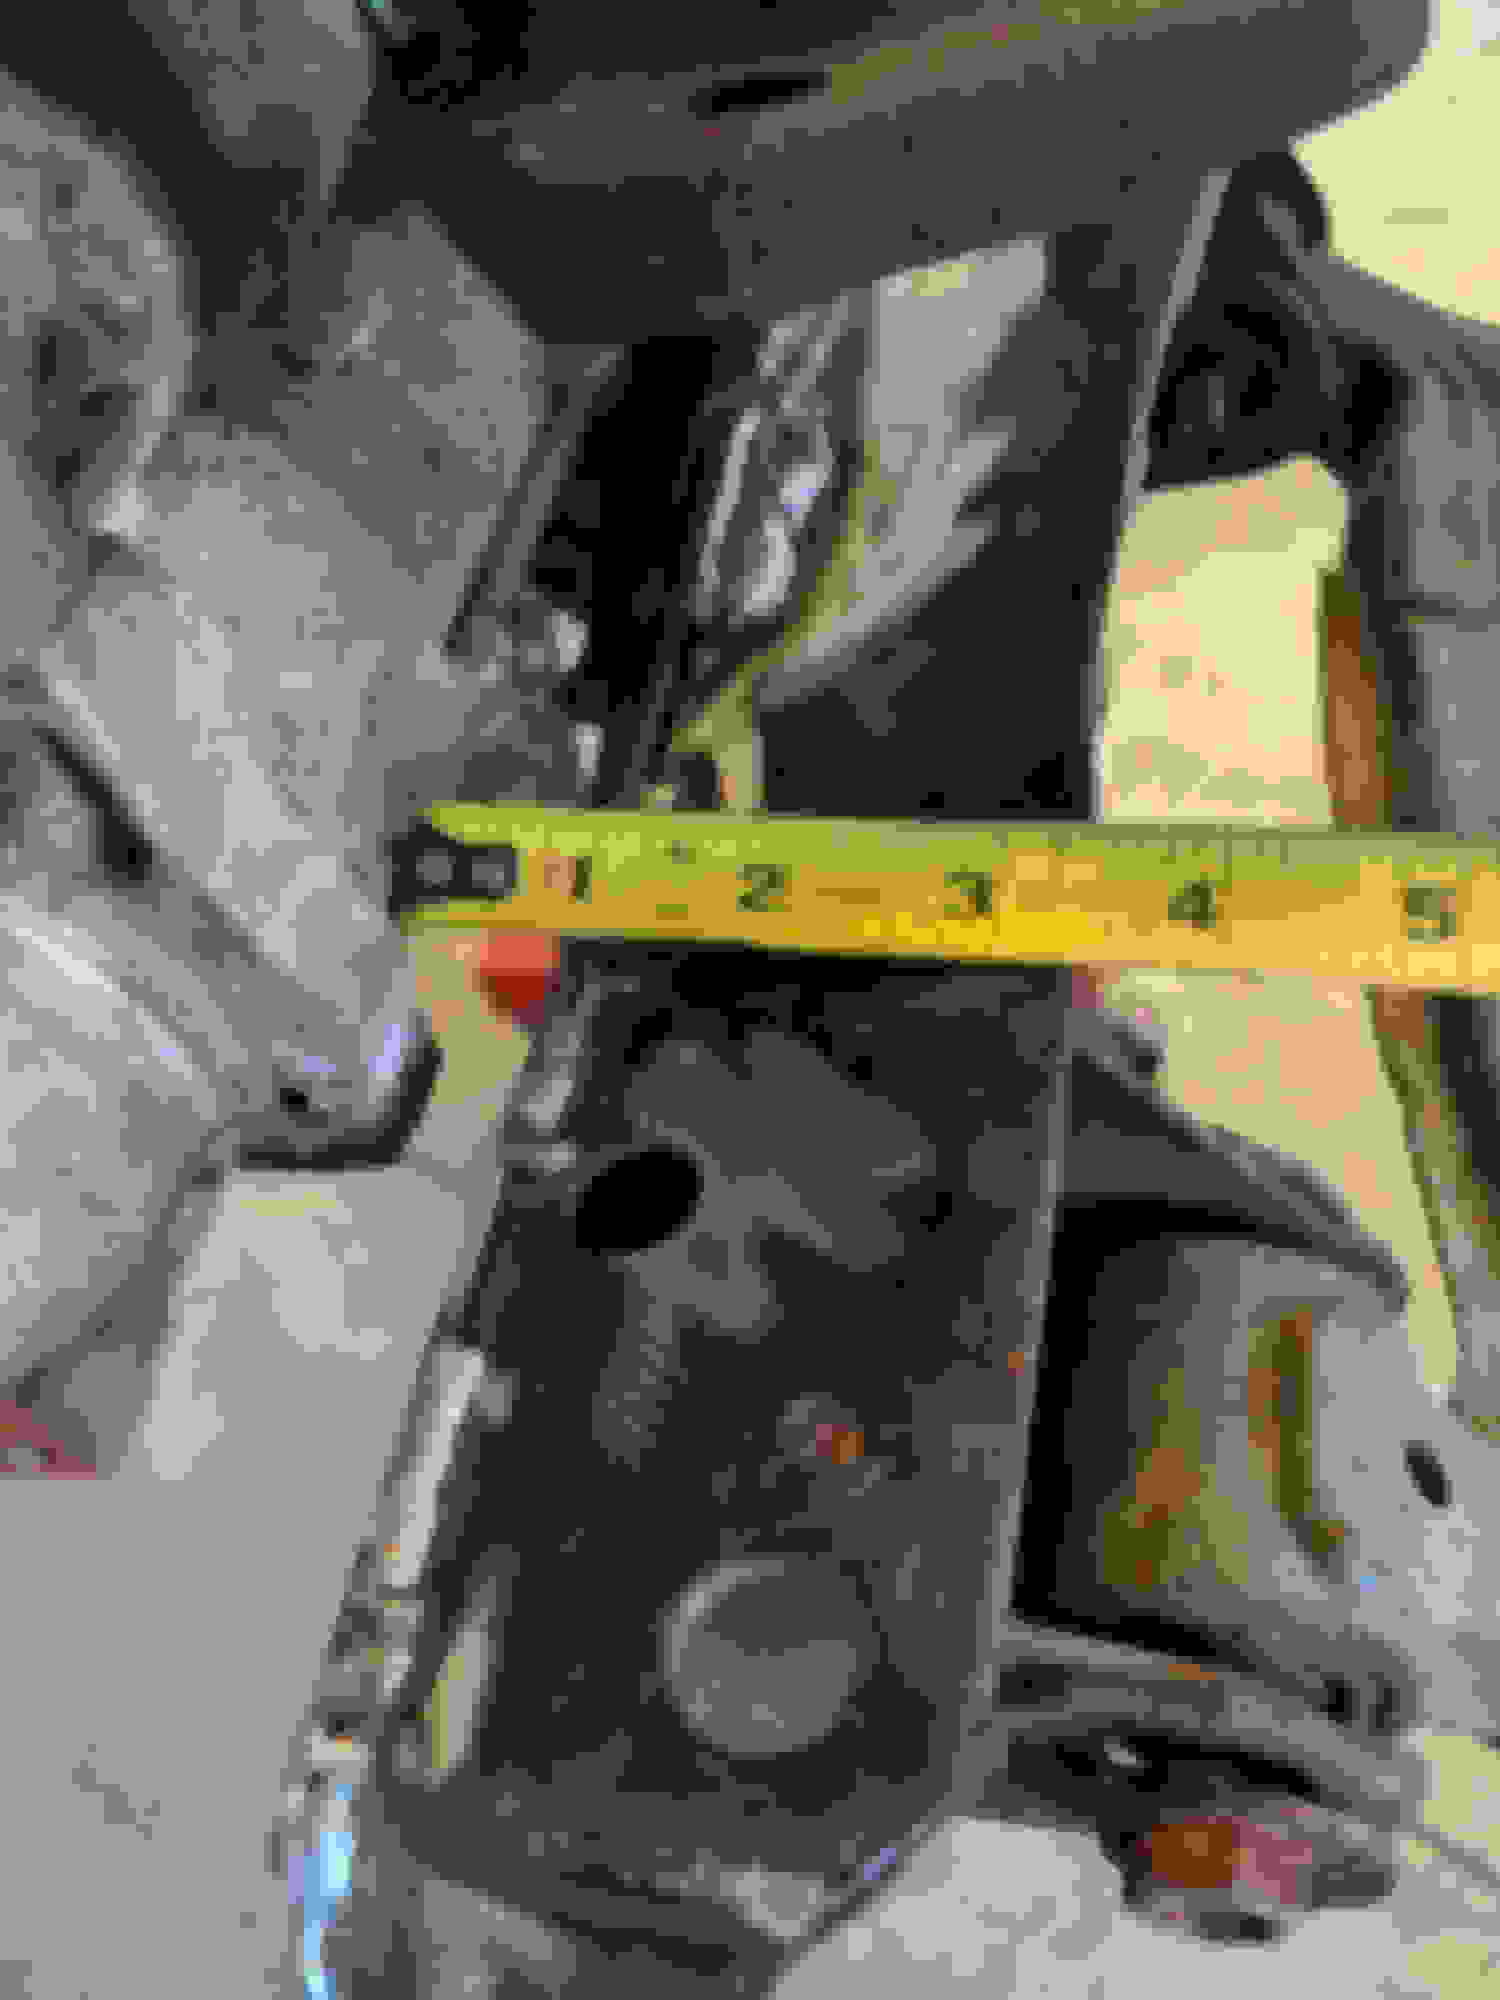
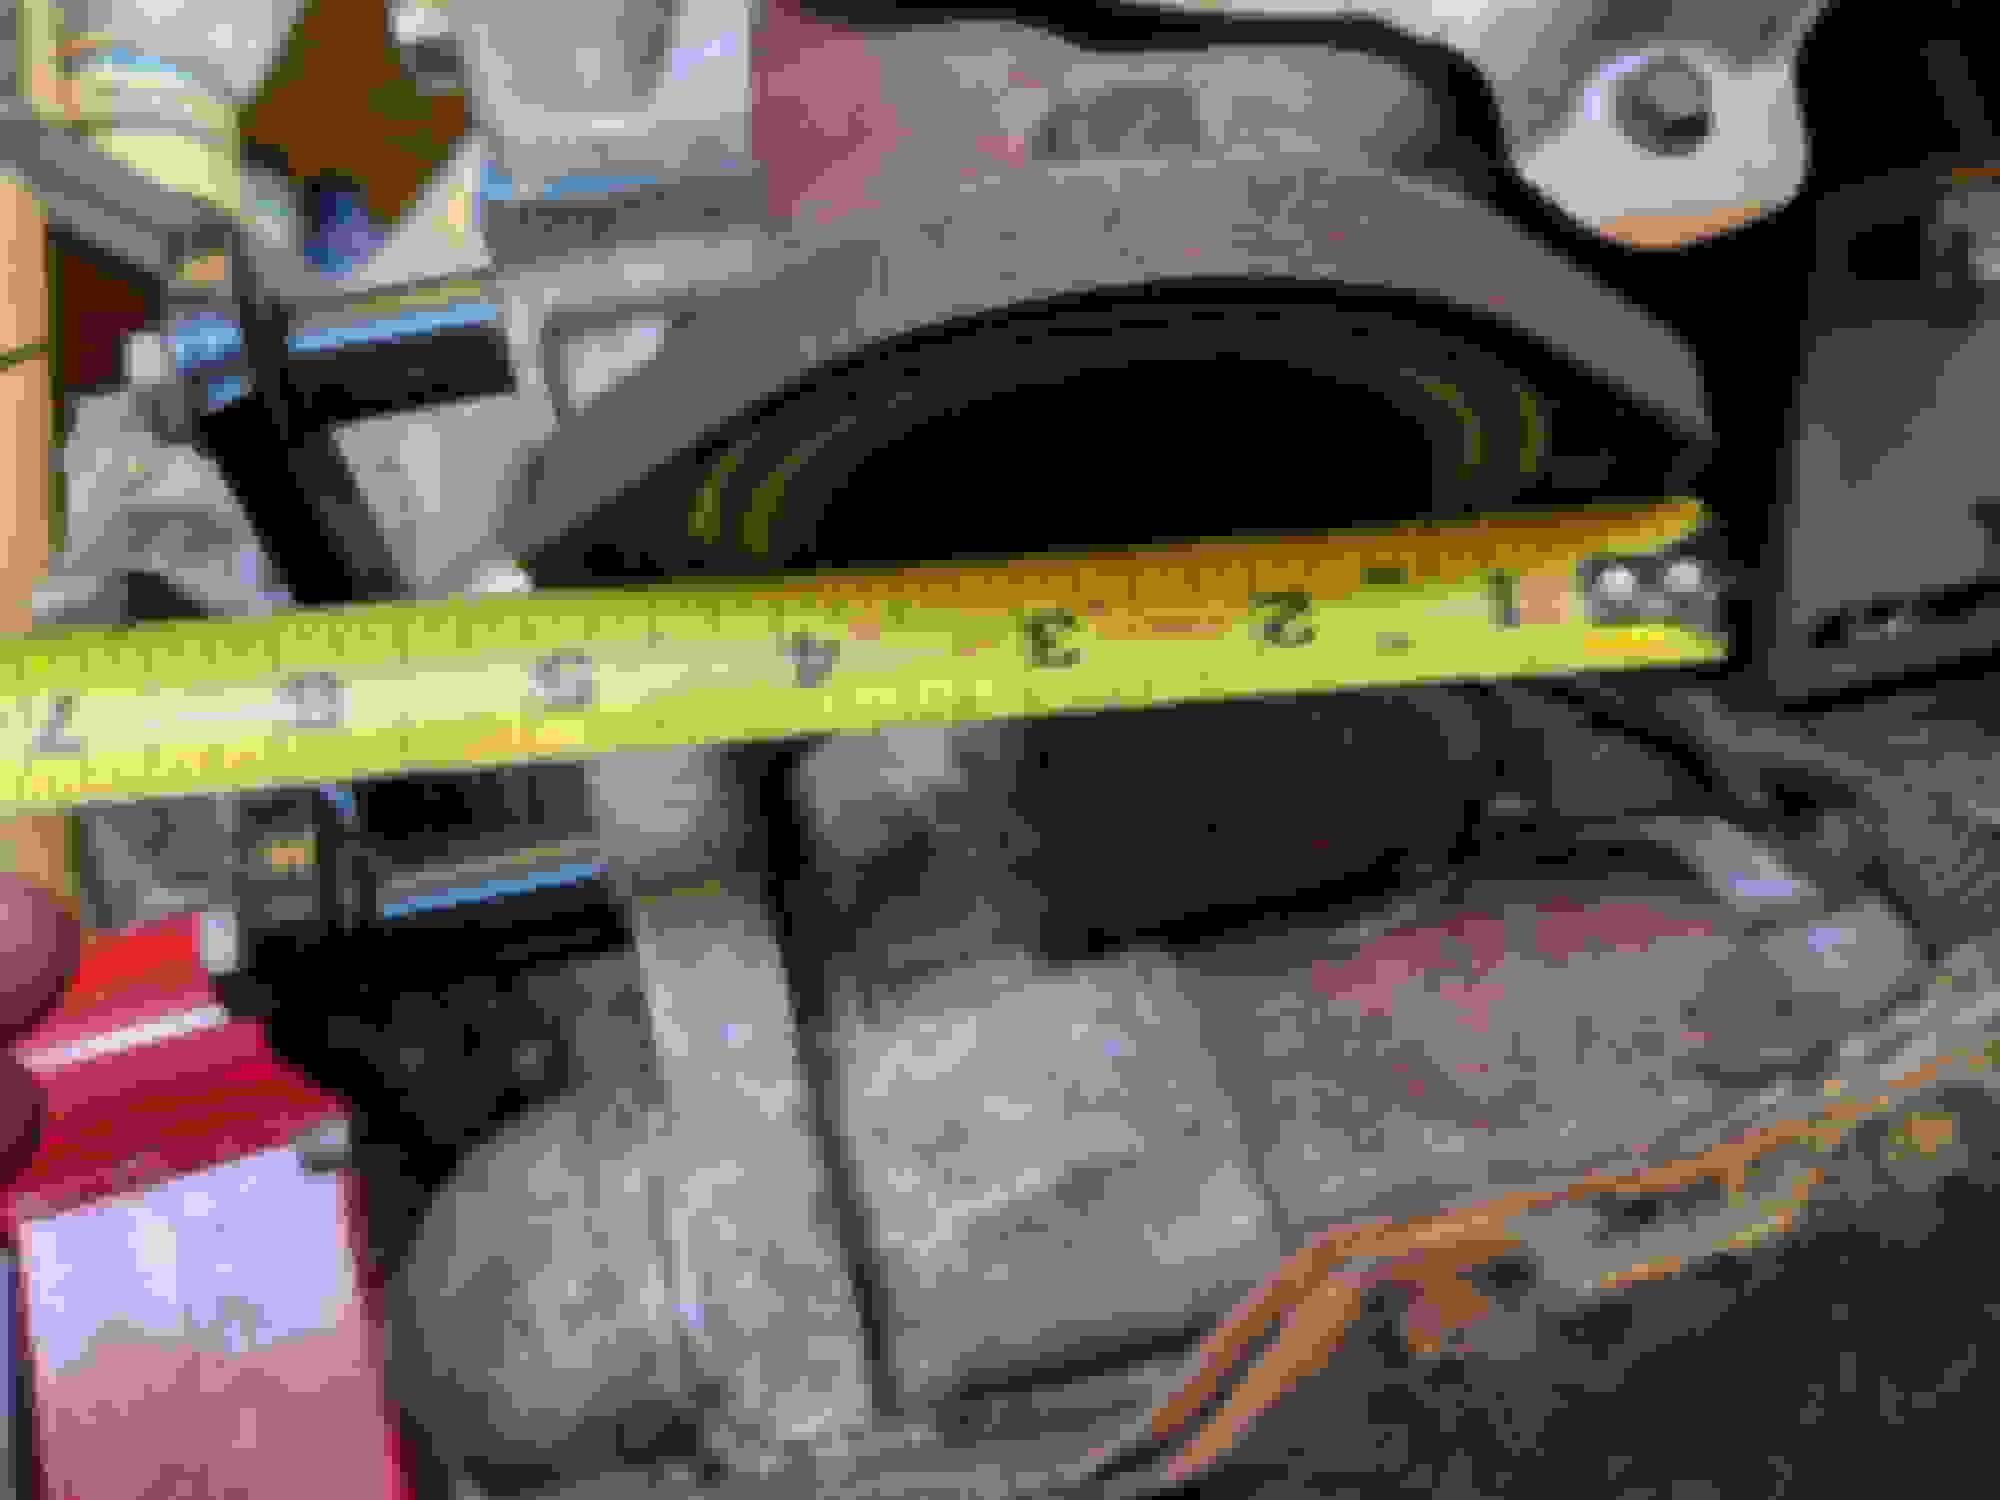
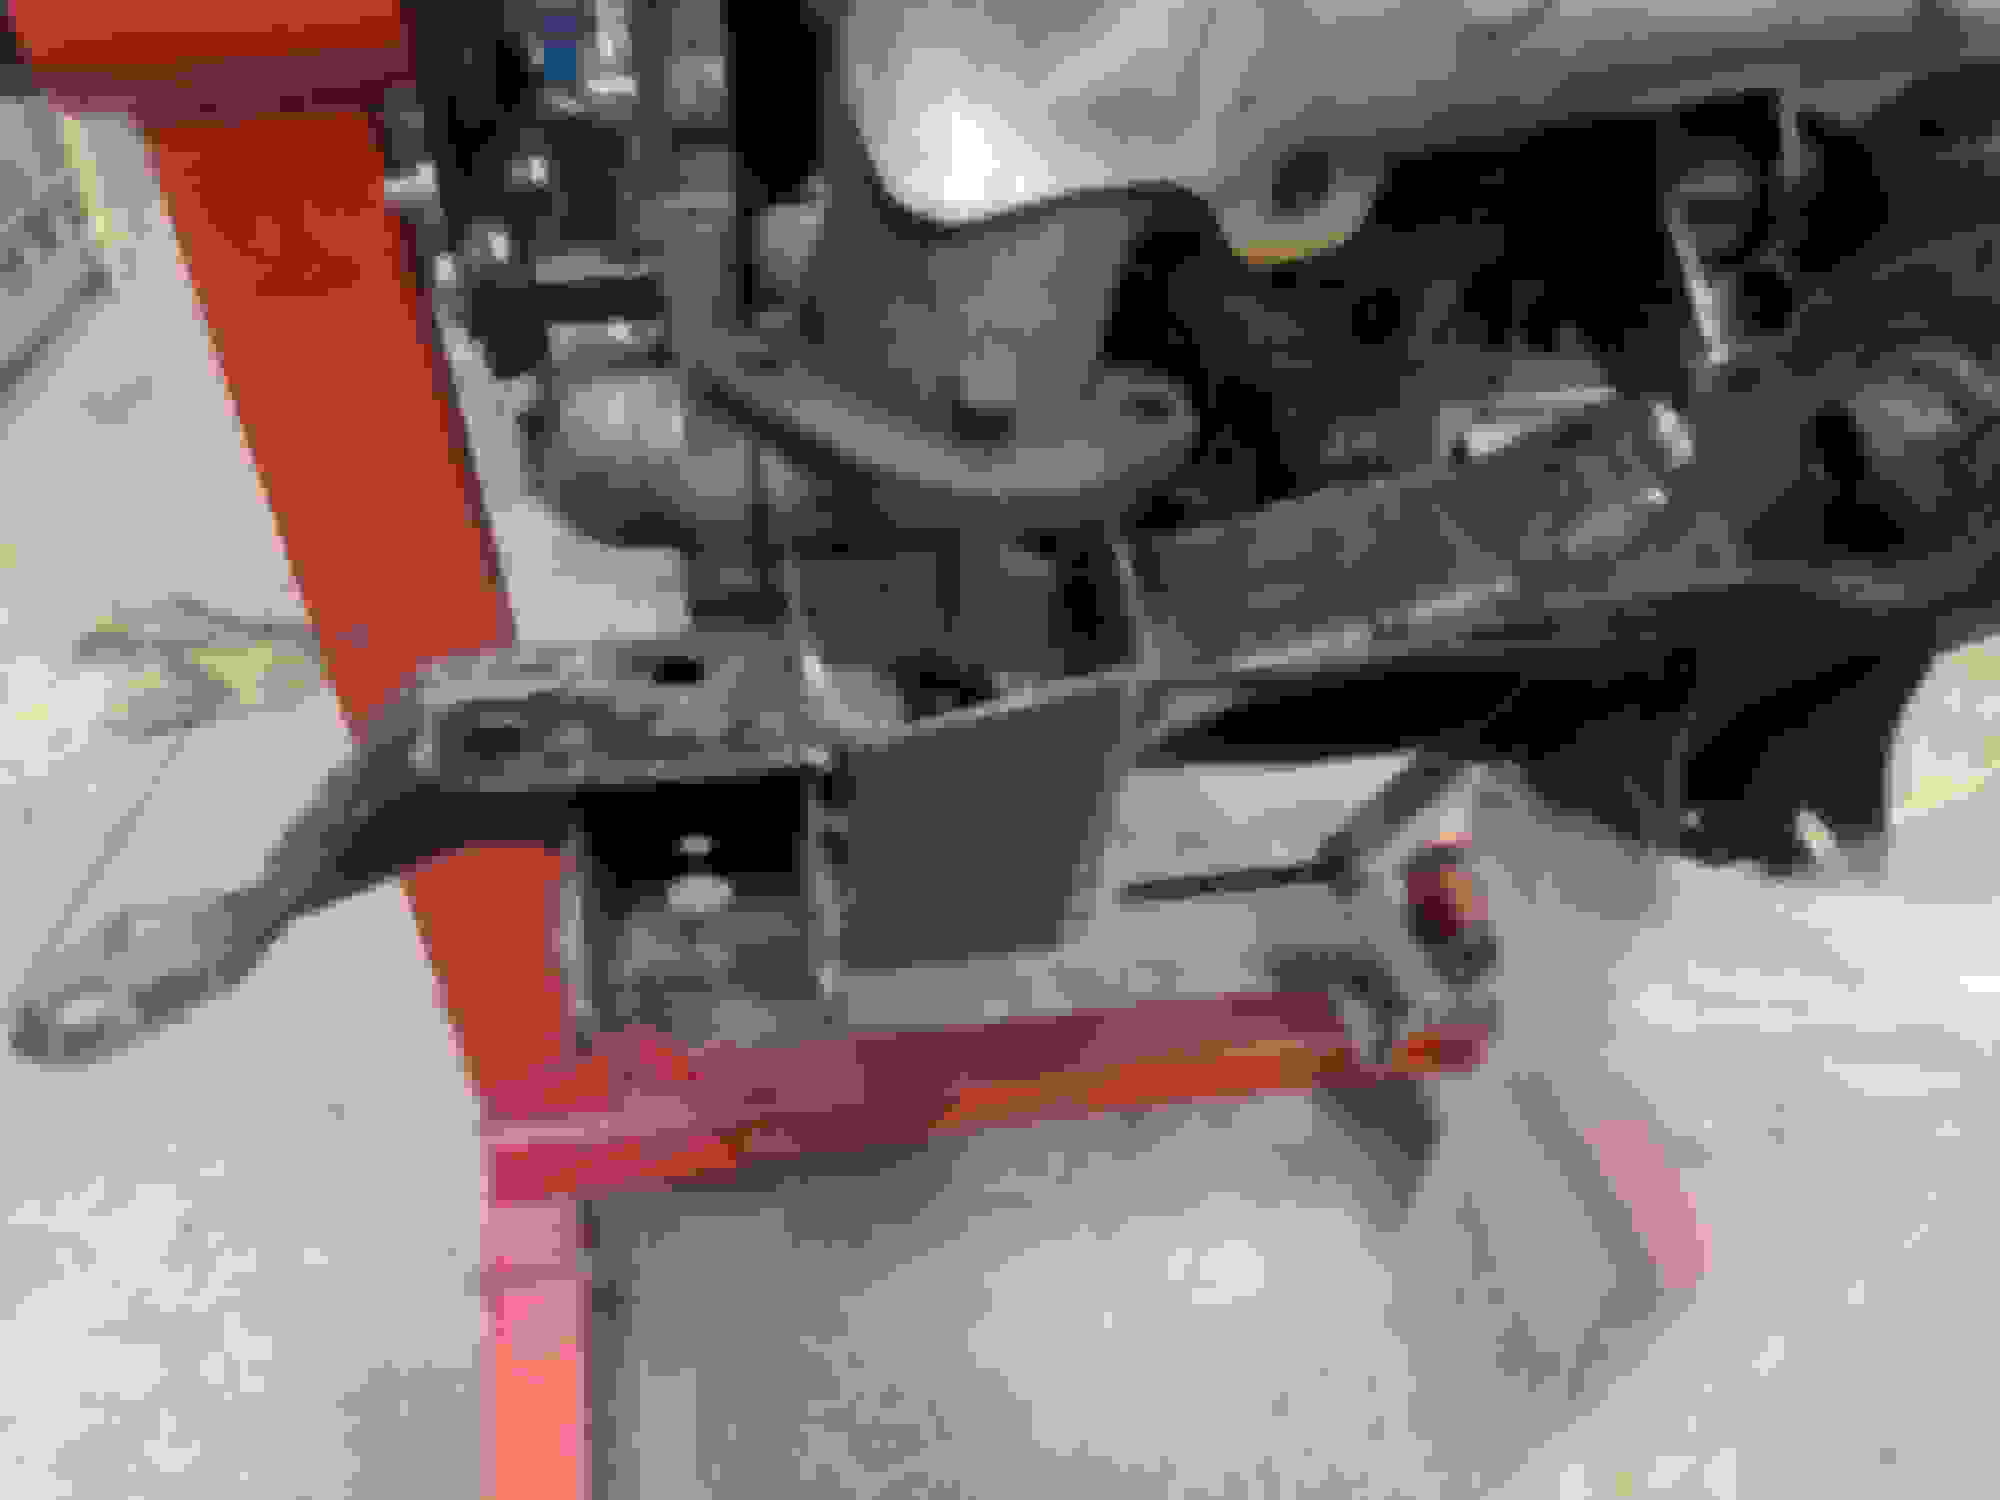
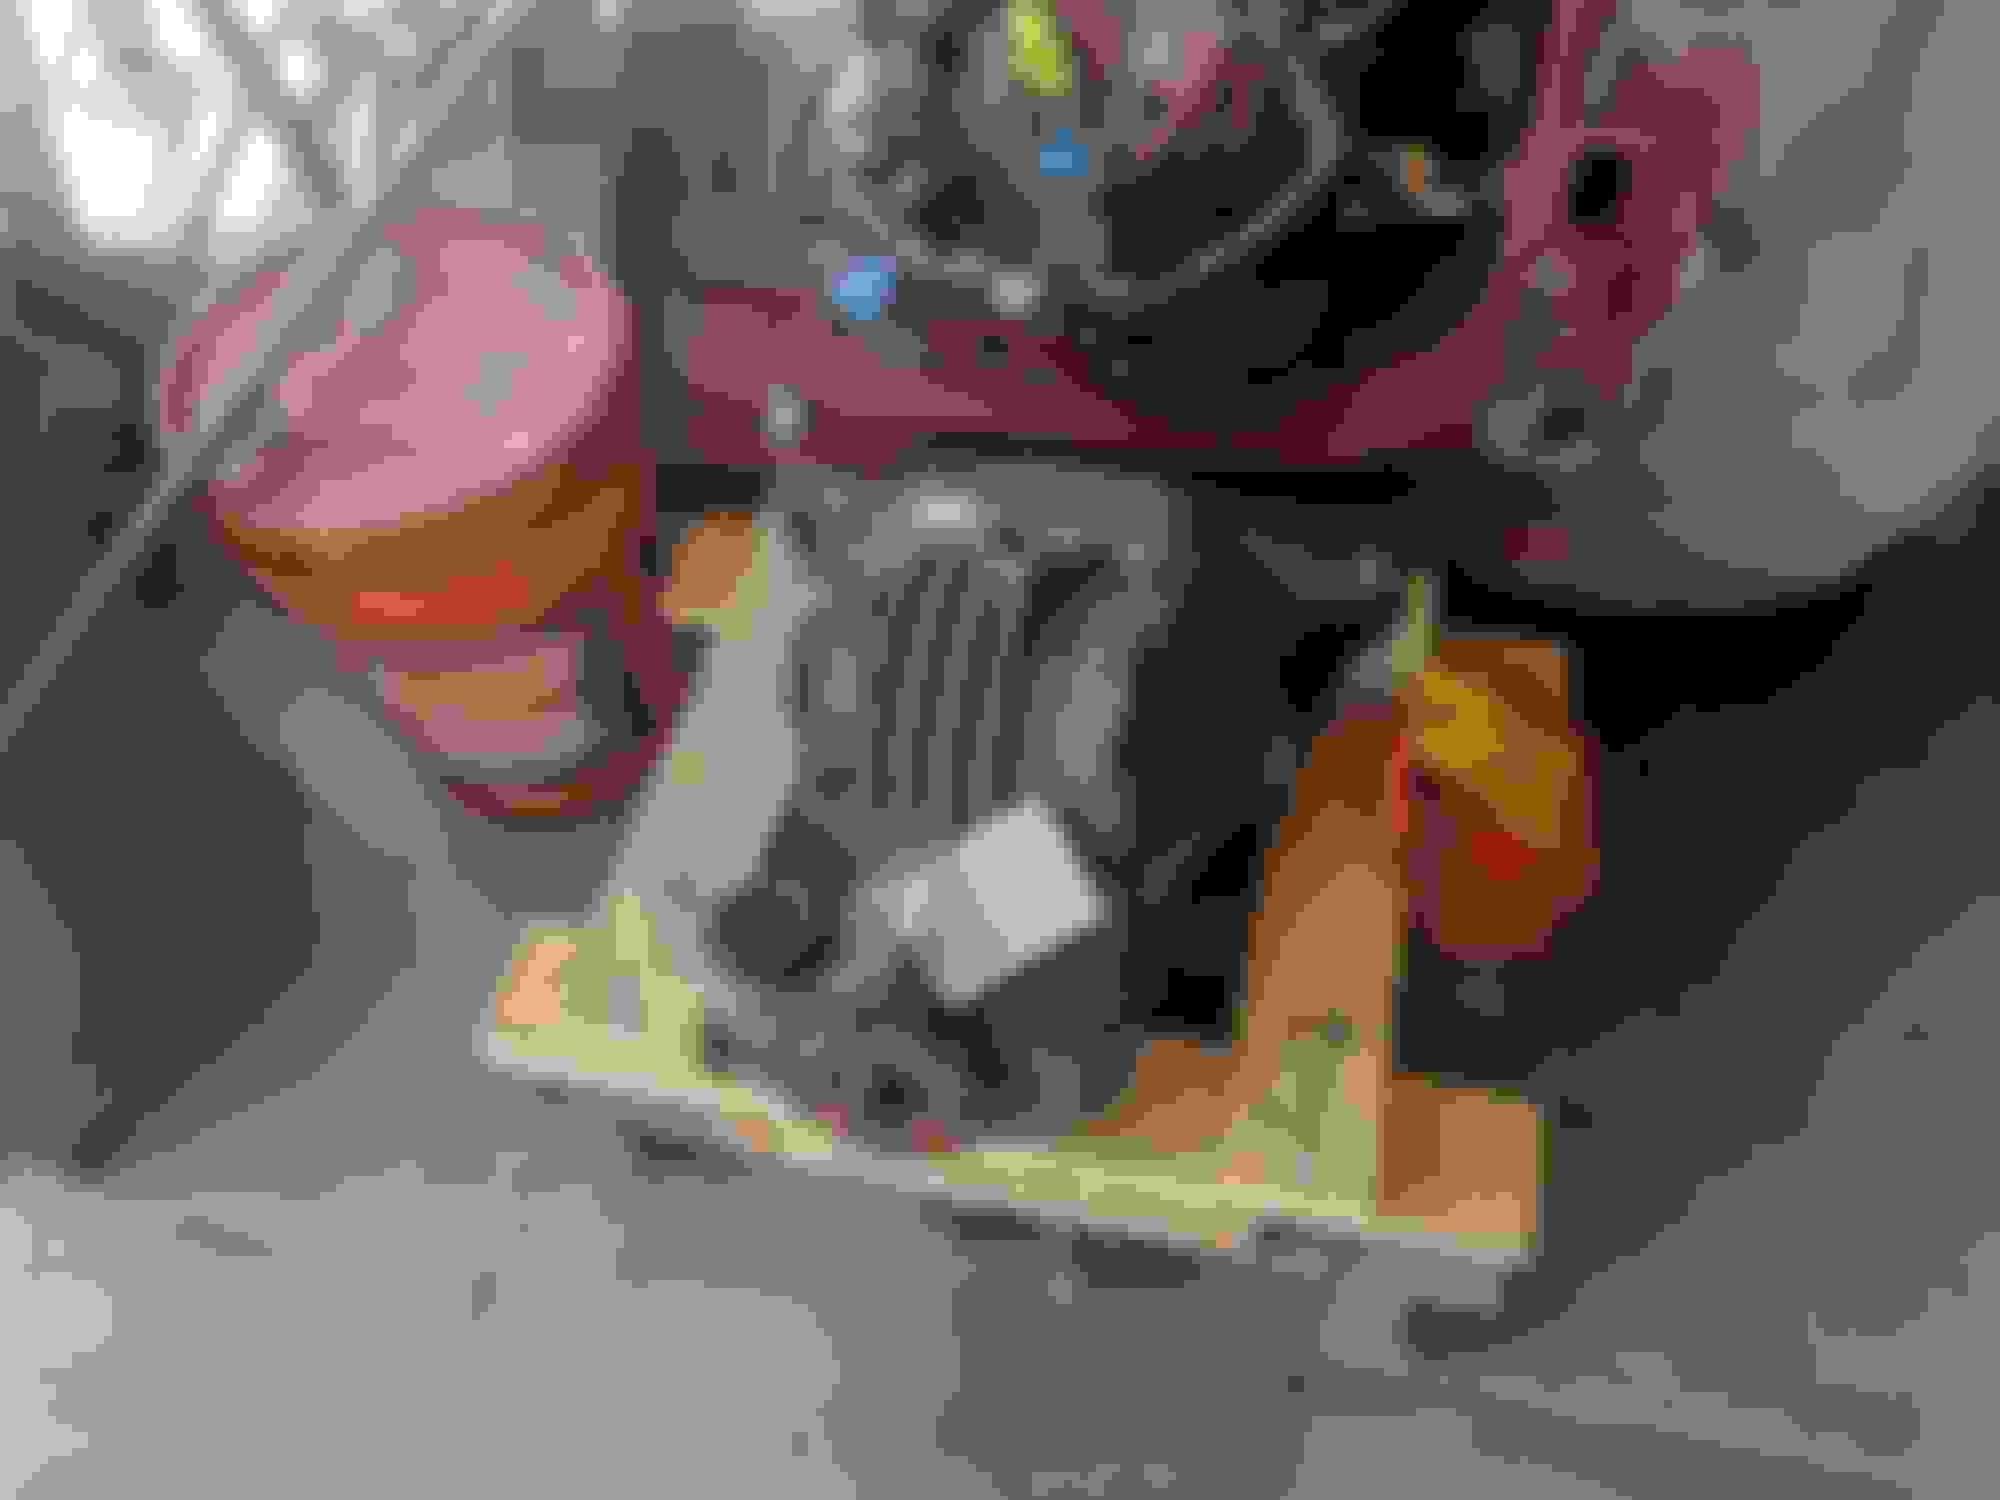
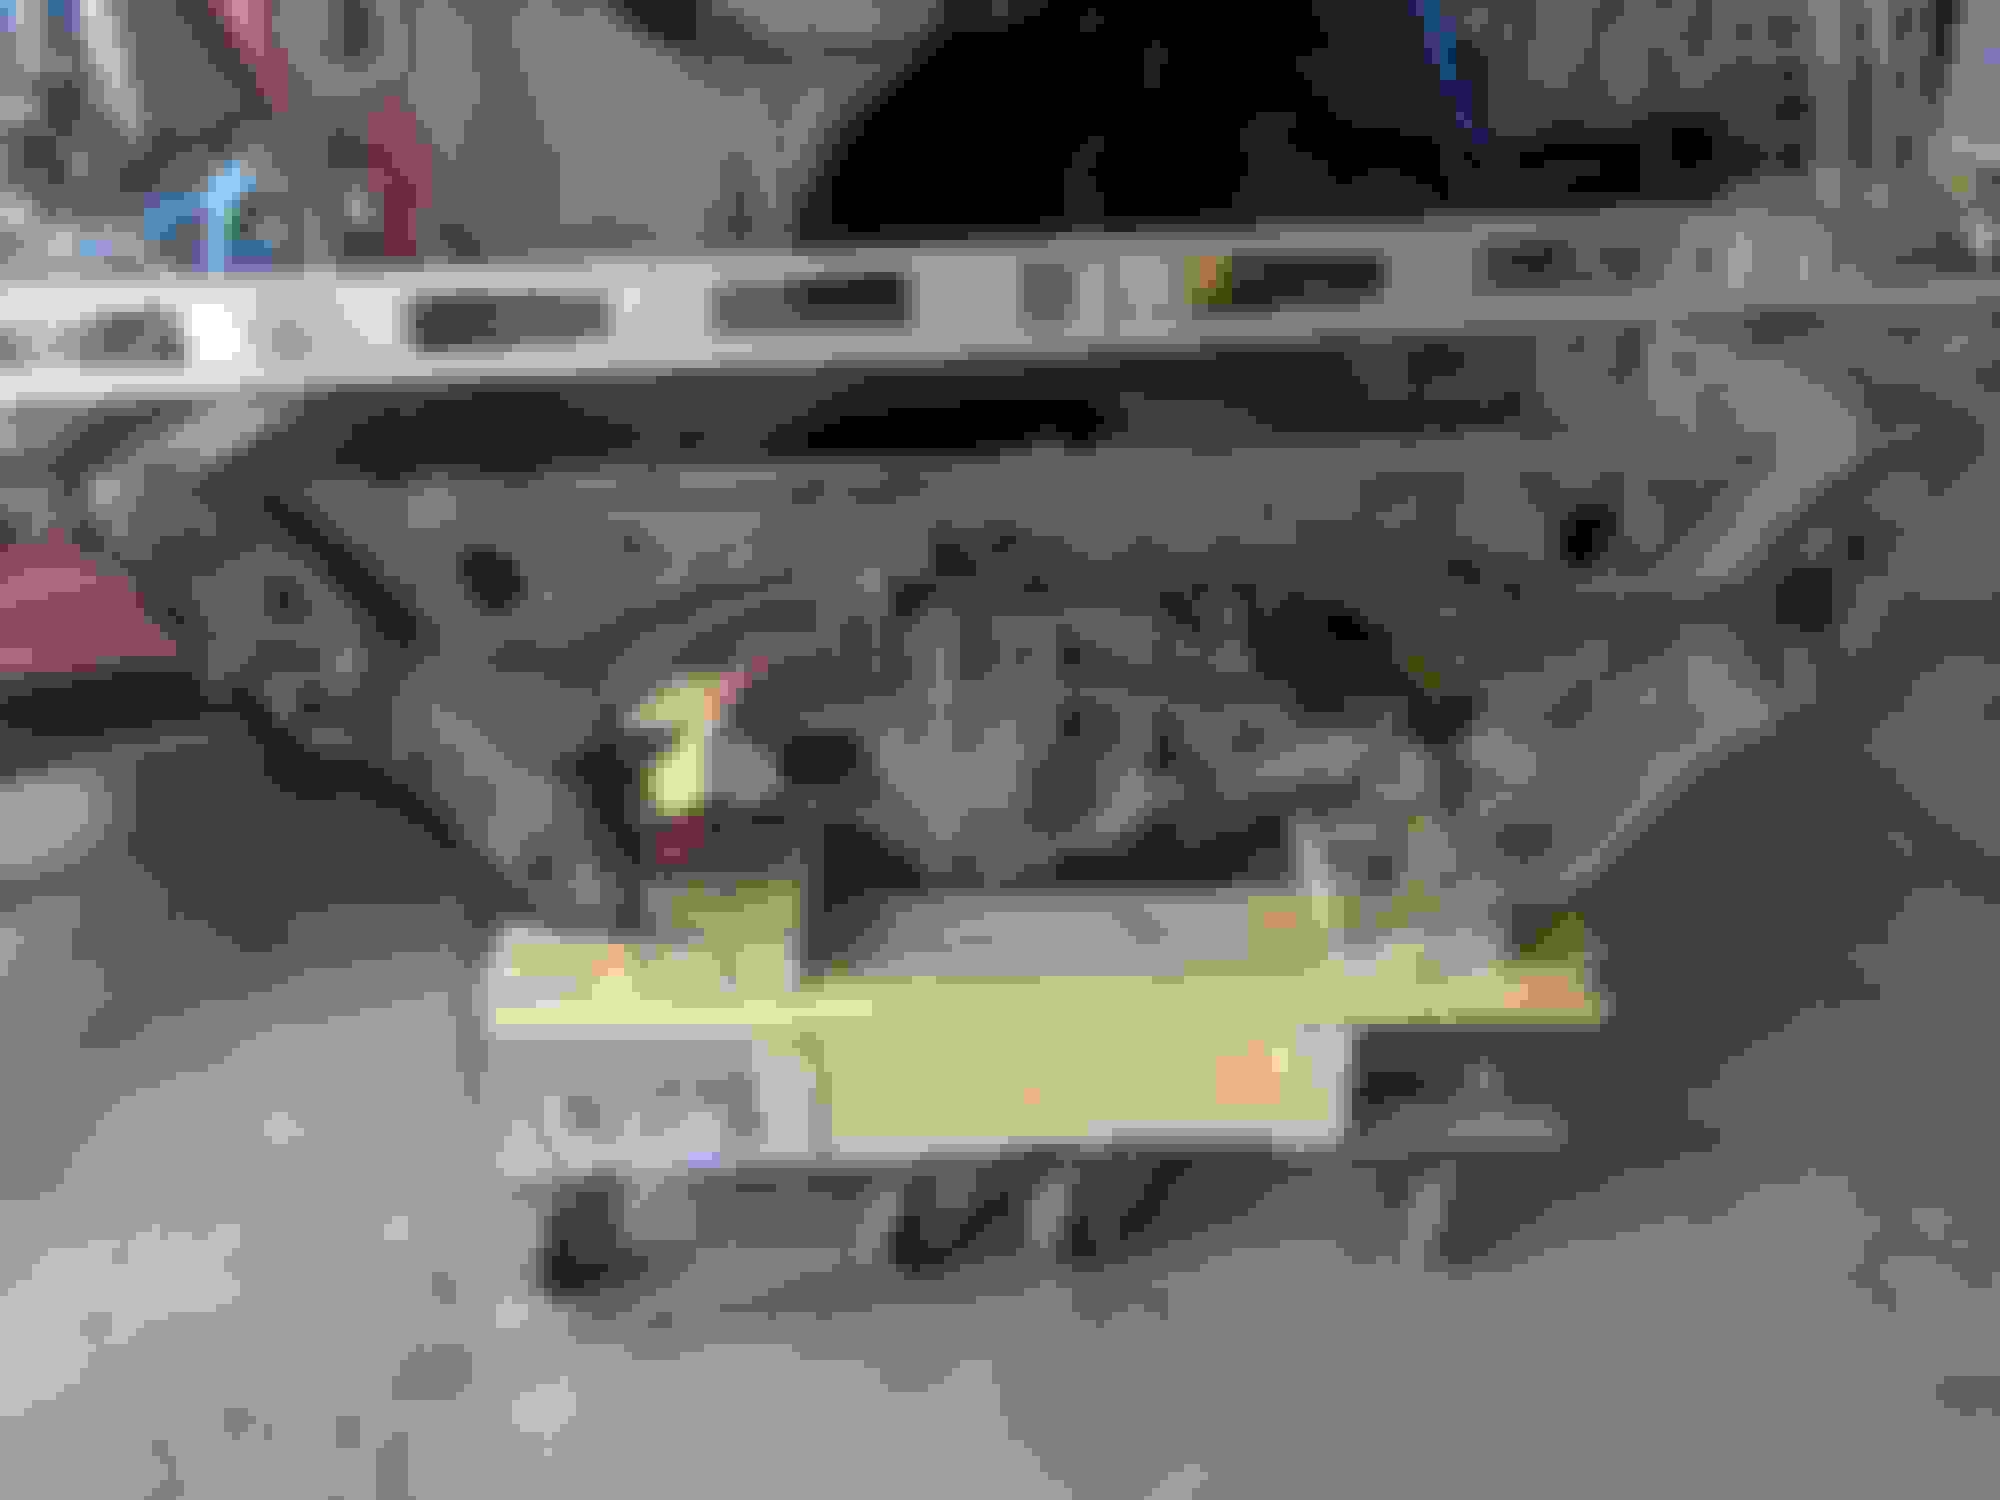
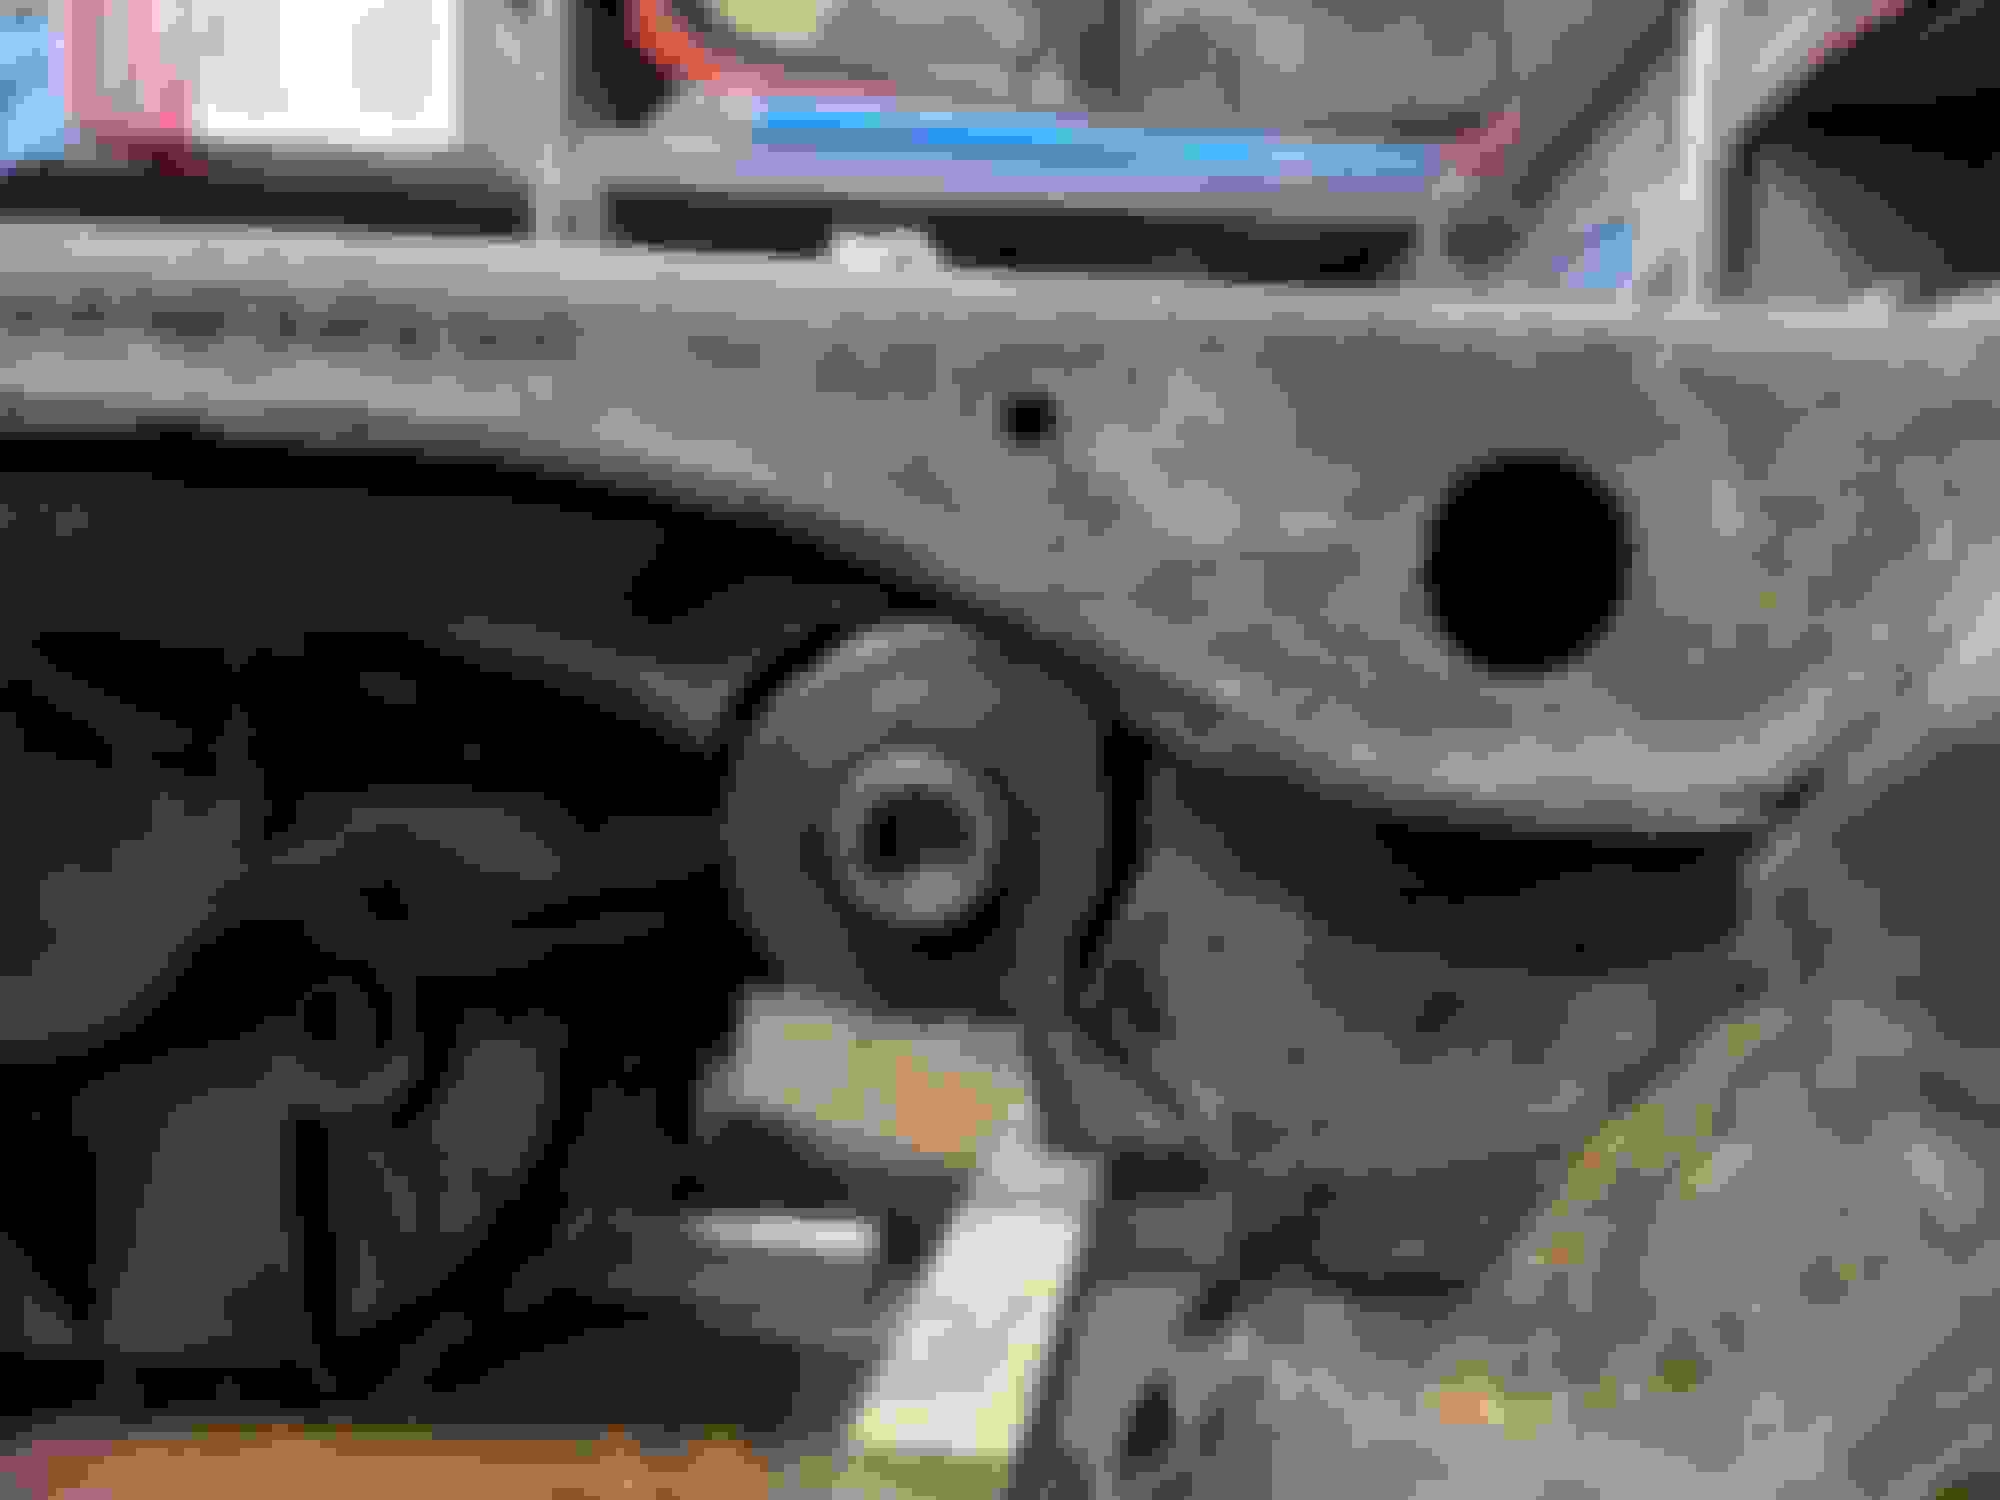
So - I cut up the sub frame some more and put some heavy wall 3-1/2" box tube right under the manifold flange.
To get the exhaust down through there I picked up some 2.5" mandrel bends from speedway and had some custom 3/8 thick flanges made at work to bolt to the manifolds. Tonight I started piecing together a jig to help me lay out my cuts on the mandrel bends.
That's all for today!
Small update. COVID has hampered my progress somewhat. My budget has been stymied and 've been focussed more on doing things for my kids in my free time.
After deciding to run with the G8 manifolds I needed to come up with a way to get the exhaust down through the subframe and around the starter on the passengers side. I've seen some pretty sweet welding / custom pipes on here. But I'm just not up for that. I mocked up the frame on the motor stand with the control arms on to see what was what.
So - I cut up the sub frame some more and put some heavy wall 3-1/2" box tube right under the manifold flange.
To get the exhaust down through there I picked up some 2.5" mandrel bends from speedway and had some custom 3/8 thick flanges made at work to bolt to the manifolds. Tonight I started piecing together a jig to help me lay out my cuts on the mandrel bends.
That's all for today!
So, I love to see A diy build but your subframe notch on the passenger side is pretty sketchy. The subframe sees vertical loads lifting the rear lower control arm mount from braking torque. It also sees lateral loads at the rear control arm mount as the tire pushes back into the car under braking, (the control arm pushes inward at the rear (and pulls outward at the front). It also sees direct lateral loads under cornering. That subframe design will be a wet noodle. Its going to cause the car to toe out and pull right under braking, and it wont perform well under cornering forces either. It will probably bend the first time you push the car. Cheers brother, be safe.
Well - it's not done yet. Was planning to box in the starter side with a bolt on plate if that was the case.
But- in context - that's bolted to the chassis at one of it's stiffest places. I'm not sure it's a total wet noodle. Has someone don't this before and failed? It's 1/4 wall tubing and with the control arm mounted it's pretty stiff.
Originally Posted by Dan_W
So, I love to see A diy build but your subframe notch on the passenger side is pretty sketchy. The subframe sees vertical loads lifting the rear lower control arm mount from braking torque. It also sees lateral loads at the rear control arm mount as the tire pushes back into the car under braking, (the control arm pushes inward at the rear (and pulls outward at the front). It also sees direct lateral loads under cornering. That subframe design will be a wet noodle. Its going to cause the car to toe out and pull right under braking, and it wont perform well under cornering forces either. It will probably bend the first time you push the car. Cheers brother, be safe.
I have to agree with Dan here. I would practice on your welding or figure out why the welds don't look good either. I don't think they are going to be as strong as they could be - they seem like they don't have enough penetration or heat.
I understand the challenges with the exhaust, but there are others on this forum who have used the oem subframe without significant modification or used the oem exhaust and made it work. I know you can't uncut the subframe at this point, but a rethink on this strategy is needed.
True. I cant uncut the frame at this point - but i can re-box the tube. That would be arguably as strong and stiff as the factory section -if not more so. After looking at this a bunch yesterday I think if I use a V-band i'd still be able to fish the exhaust in and out of the tube with the manifold removed.
As for the welds - yep. they're ugly. I am not a good fabricator. But i know they have penetrations because I've cut off lots of previous welds and it looked pretty homogeneous. I have struggled with weld prep here. The paint is easy to get off but the sub frame has lots of residues and possibly some joint sealant. That stuff boils and bubbles out when you weld near or over it. I had two other people who are pretty good welders look at them. I don't have a structural issue as much as an amateur issue.
I know you guys are steering me with the best intentions. I don't want to be in something dangerous any more than you do.
Mine looked about like that before I went down this box tube path.
I've got it back in the chassis now. For a sanity check I put a 1/2" pipe clamp accross it and measured deflection with the pipe clamp about maxed out. Of course this is a gut check - there's no way to know the compressions force. The rating on this clamp is 1,000 lbs so I figure I'm above that. Deflection between the clamps was 2mm. I'm not a chassis engineer - but i'd wager the bushings all deflect a lot more than that.
I'm also looking at adding a gusset on the outside of the box tube in the space between the sub frame and the lower control arm.
I haven't decided what I want to do with / about the sub frame. I have another one - could start over. I also could use it to make a jig and fab my own. I've seen some really nice ones.
I got some pointers on welding. I learned I was holding the tip WAY to far from the work piece. So - I have lots of rework planned for the subframe either way.
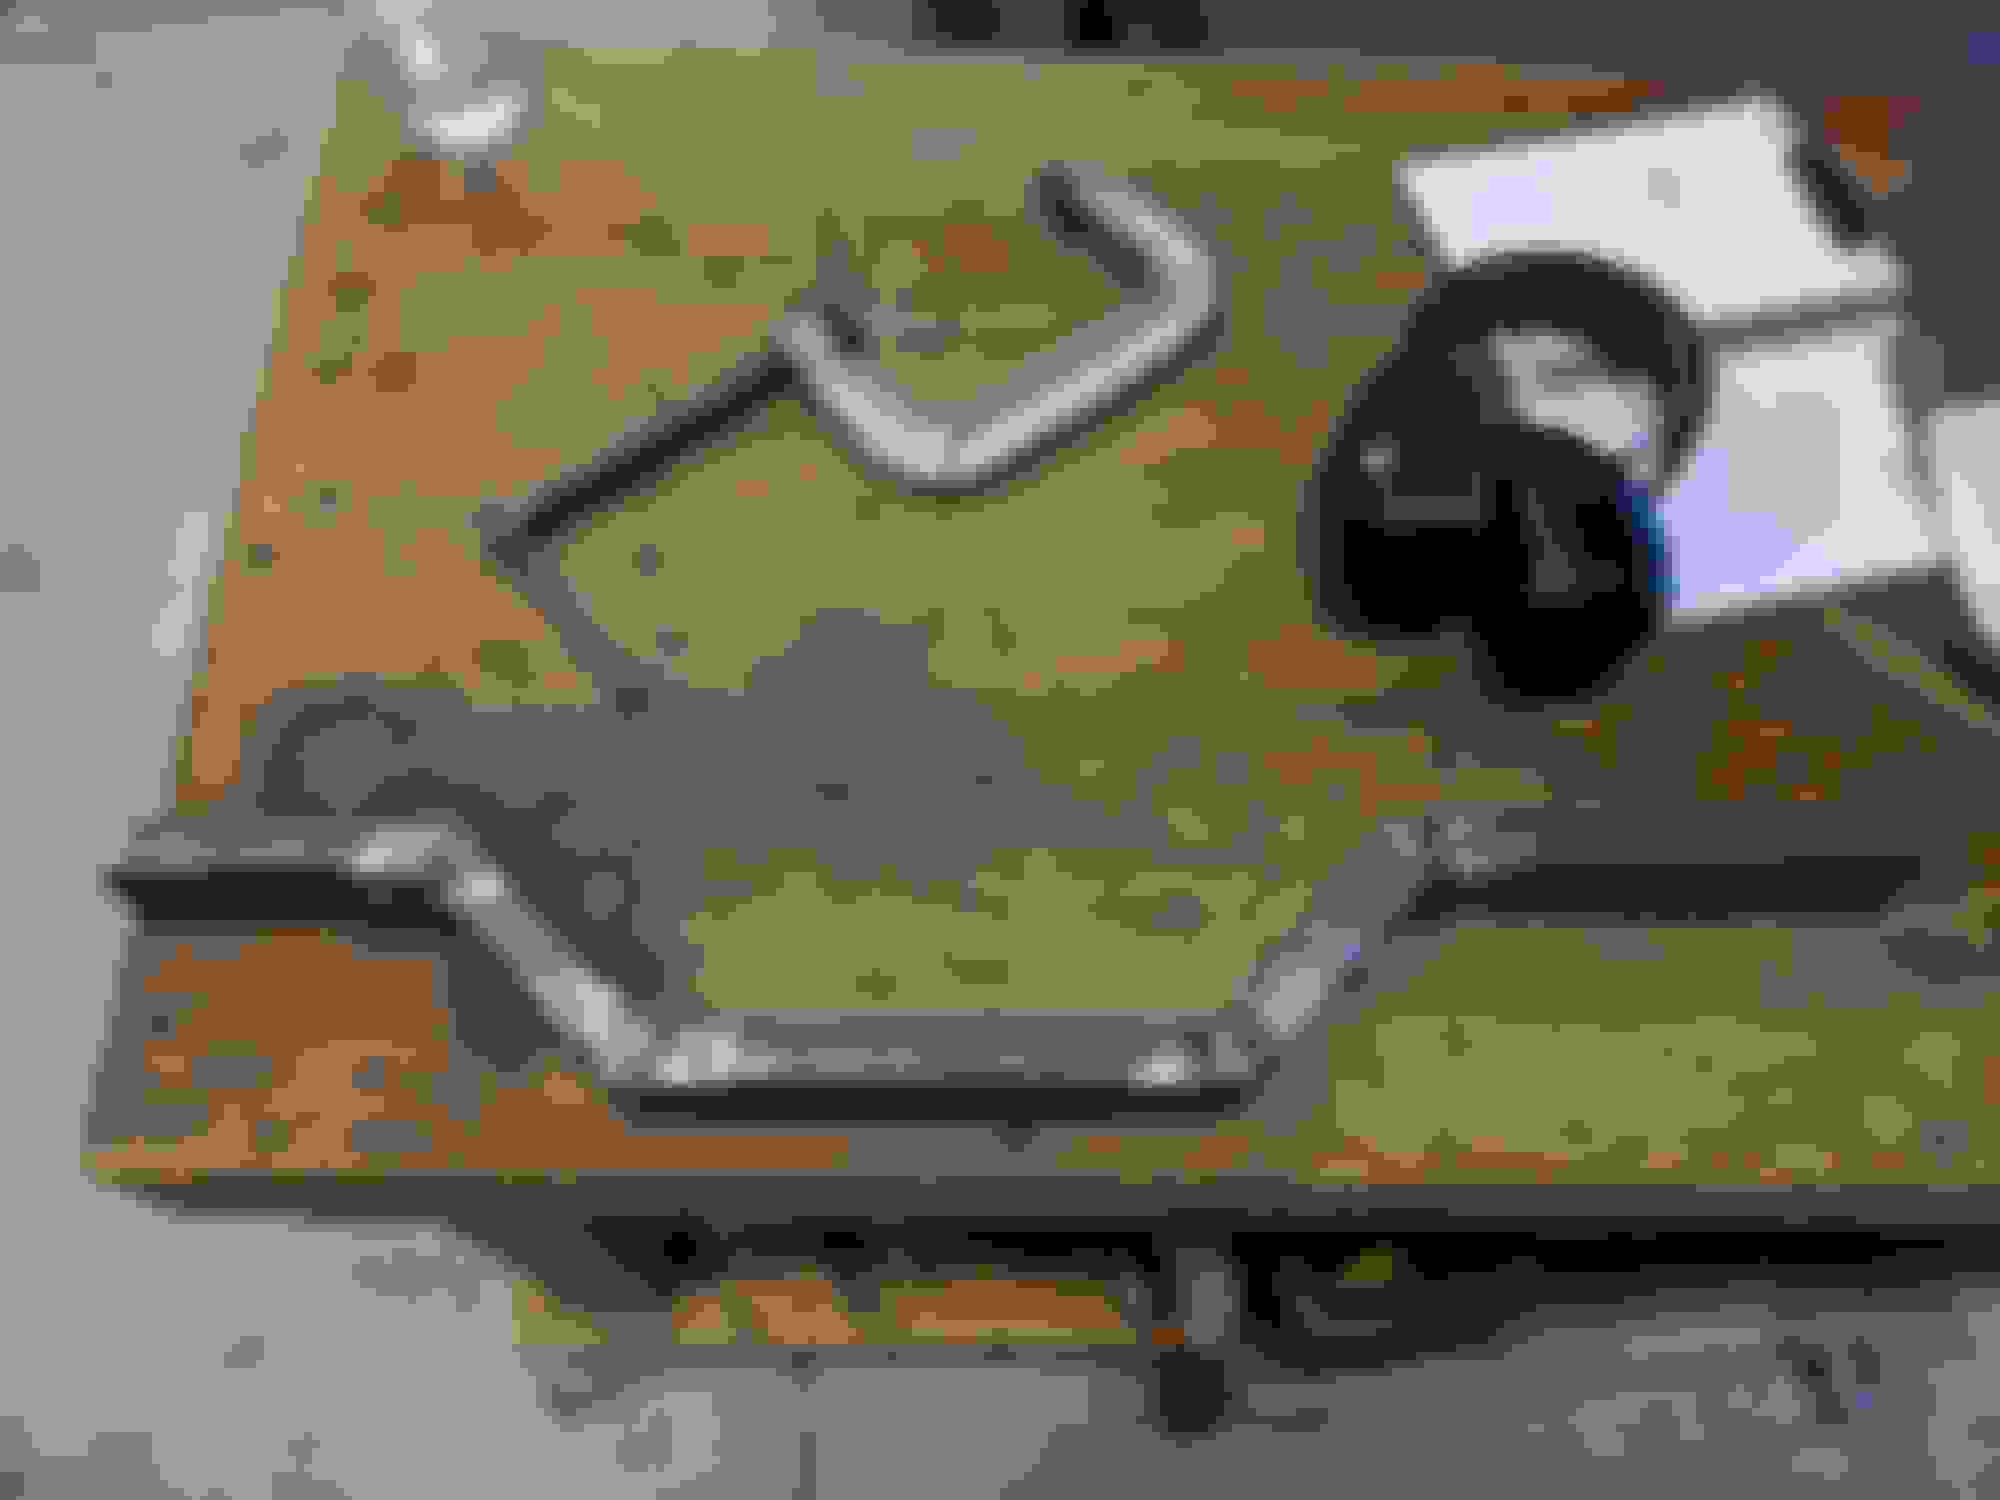
While I ponder all that I started on my transmission cross member. The AR5 came with a pretty generous and easy to work with mount. I used some 1x2 to make the member. I left clearance to run the exhaust down the driver's side of the tunnel. I plan on adding tubing where I have the holes to keep it from compressing. I'm going to see where the holes land through the floor pan and work out reinforcement from there.
I think V8 Roadsters makes their tubular subframe without the engine mounts for much cheaper than the subfram with the engine mounting brackets. I don't understand why it's so much cheaper. With some measurements from another V8 mounted subframe or your own guesstimates you could get into a decent subframe for cheap. Not saying it can't be done just as well with an OEM subframe - just another option.
(Quarterly?) Update. Covid times have been marching on. I regret to inform you I have nothing new to report on the front sub frame. I DO have some progress on the rear end and rear sub frame.
I was unsuccessful sourcing a Ford 8.8 IRS from a thunder chicken. There's oodles of writeups on mounting those and I was hoping to just copy someone. The 8.8 IRS out of the Exploder / Expedition is very, very available though. So available I got a reasonable mileage one shipped to my front door off ebay for less than I could have pulled one at my local pick-a-part. So that's what I did. The only real drawback on these is no limited slip for the cheap ones, and the rear mounting wings are huge.
I picked up a mounting kit from Barnes 4WD - B4WK1070-5 DOM Sleeve & Poly Bushing @3-1/2" to weld into the rear frame.
The it was chopping time. I made a template out of wood and centered it as a guide for a 2" hole saw. In retrospect it was a wasted effort because the "wings" arent centered relative to the output faces on the differential. I ended up cutting another 1" or so out of both positions so I could slide the unit over to center the outputs in the sub frame. This necessiated making some new pieces to weld the new mounts to.
It took me about 2 hours of fussing around with wood and ships to position the unit where I wanted it. It was time well spent, though. I know for damn certain it's centered and the input flange has 3 to 4 degrees on it.
I cut up some old square tube to bolt up through the front mounts into. They don't have holes yet, and sit about 3/4" above those bushings. This will let me **** it up or down to tweak the final angle when I start putting the car together.
Its only tacked together for now - but I think i'm in good shape for when I'm ready to pulley weld and clean it up.
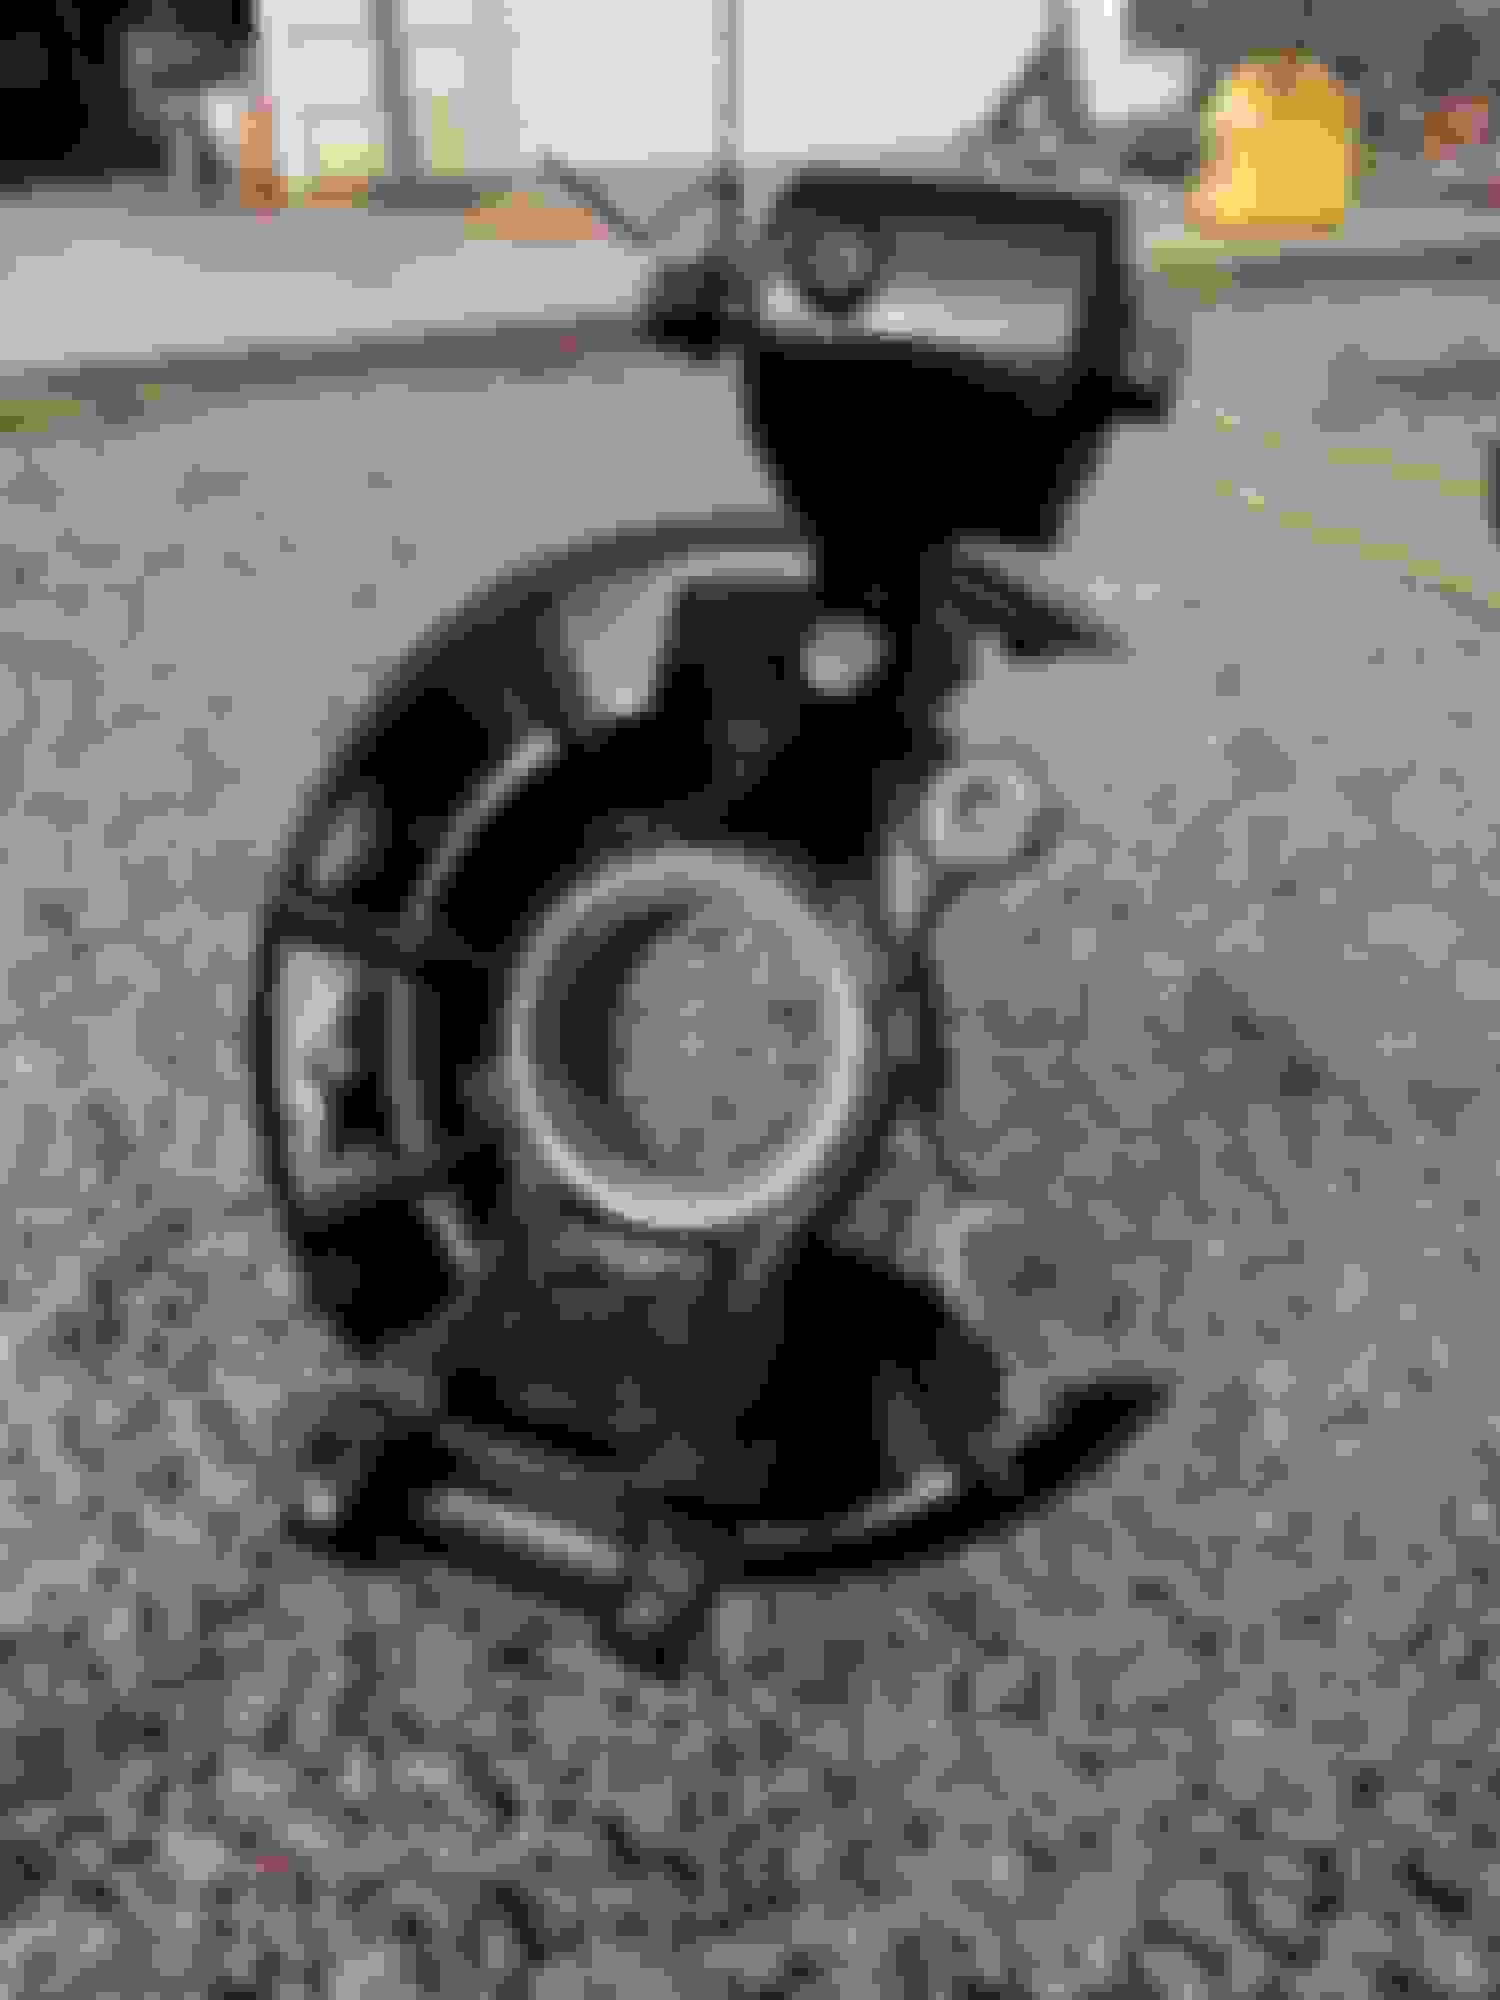
I also got some spacers for the stock fuel injectors to adapt them to the LS1 intake I picked up. I went with the JEGS fuel rail kit. I discovered after that the LSI intake is NOT compatible with the truck water pump. I ended up buying a new LS1 water pump and harmonic balancer. Those should make fab-ing the accessory plate a little easier since it pulls everything closer to the block.
Rear subframe looks good. I am in the process of doing the same thing. It looks like you could trim the rearmost gussets to allow a little more room for the exhaust. Just a thought. Mike
On my first go-round with my diy diff mount for my 7.5, I didn't account for the rear universal joint clearance to the fuel tank... Doh. Have you done a fit check yet? Looks good.
Rear subframe looks good. I am in the process of doing the same thing. It looks like you could trim the rearmost gussets to allow a little more room for the exhaust. Just a thought. Mike
I did NOT think of that. Will do before I do any more welding.
On my first go-round with my diy diff mount for my 7.5, I didn't account for the rear universal joint clearance to the fuel tank... Doh. Have you done a fit check yet? Looks good.
I did check clearance for the top of the diff housing to the sheet metal on the unibody. I didn't check for any issues with CV / U Joints / Birfields that might be on drive shafts. I was hoping to source a shaft with a CV / birfield to help with any misalignment. Once I drill some holes for the front diff mounts i'll mount it up in the car and see what i'm working with.
I bought another Jeep Project! And that has been a fun diversion.
That said - still working on the Miata. I have the sub frame all welded, cleaned up, and painted. Same for the upper and lower control arms. Those came off the lower mileage car and the bushings looked good so im leaving them as is for now. I'll have to get some pictures of those since I don't have any at this time of posting.
I got a hand me down sand blast cabinet and was glad to put that to use cleaning up the rear knuckles.
I also, for the first time ever, attempted cleaning up the paint on my sad old hardtop. I learned the hard way that early hard tops didn't have clear coat. This thing really need a full resto, but I only use it 3 months out of the year here in VA. I was pretty happy with the results considering I'd never done this and I did it in a cold garage in January. Last pic still has the wax on it.
I replaced the wheel bearings on those rear knuckles, and got it all mocked up again. I still need to get correct sized bolts and spacers for the front of the differential. I haven't put the new seals on. I'm also waiting on a new set of alignment bolts since all mine sheered.
The diff outputs are centered about perfect. 21" from the seal face to the face of the wheel bearing on both sides.


 04-14-2020, 09:03 AM