When you click on links to various merchants on this site and make a purchase, this can result in this site earning a commission. Affiliate programs and affiliations include, but are not limited to, the eBay Partner Network.
My first few posts are going to be recalling stuff that started happening in June 2016 - and I hope to recall some of the smaller details along with the bigger details. This build was never the original plan - but I'm too deep to change my mind. I want to give a huge shout-out to wcw5023. That build has encouraged a lot of what Ive decided to do up to this point. So here it goes:
The is my journey to take a beater '90 Miata and do a budget LS drive train swap with as few "kit parts" as possible.
It started with the concept of building a junk yard turbo. I'd buy a car for pennies, cobble together a bunch of junkyard stuff, build a megasquirt and be in business. I found a low mileage Miata with hard top for cheaps and I was in business. The catch - a tree had fallen across the front end.
(I am not either of the guys in the picture...)
Started tearing into it shortly after getting it home.
It took less than a week for my brother in law to bring me a garage buddy.
Shortly after this picture was taken two things happened:
1. My brother in law convinced me a V8 swap would be much more satisfying
2. He found me an LM4 (aluminum block 5.3) with 114k complete with harness and ECU for $750.
We went to the junkyard to see it run before it got pulled. Fully satisfied we went back a week later and picked it up.
And then this happened.
After that I parted out the entire Miata drive train. Somewhere in there I decided I didn't really want to mess around with repairing the chassis. After some time trying to pull the firewall back into shape I decided it wasn't worth it....so i bought a 2nd red '90 with 230k miles to work with. I parted out the first car to it's shell and sub frames.
The 2nd car started leaking a LOT of coolant and I ended up pulling the motor to find that the the little black bulb on the back of the head coolant manifold split. I replaced the timing belt while it was out and easy. Two of my girls helped me re-assemble and get it back in.
And this is where I'll leave it for tonight. I'll start getting more detailed in the next few posts.
Looks like you have gotten the tear down part figured out.
Too many people are scared of that and simply never get beyond the planning stage.
What is your plan for the car?
Daily driver?
Street toy?
Track toy?
Drift toy?
Tearing something apart is easier than putting it back together 2 to 3 years later. Nothing is more frustrating than a single bolt left over when you're done.
Street toy to start with. I would like to get into autocross - but i don't think I would start with a swapped car. I might try some with my driving NA this summer before I really tear into it.
Side note - it seems like 50% of the time my posts "need to be reviewed by a moderator." But they never do. I've messaged the forum about it and haven't gotten responses. I'm writing it now because I just wrote a long post and it "needs to be reviewed." I have an introductory post that never showed up, and a post in the Exhaust sub forum that never showed.
I decided to do a poor mans rebuild on the 5.3 and tore it down. In the process I found the main bearings and cam bearings were pretty tired - so this was a good call. The sleeves were in great shape though - still had some factory hone marks and no ring lands. Once I was down to the block I tried a number of ways to clean it up. Soda blasting, walnut shell, hot water pressure washing and many different de-greasers and aluminum cleaners all barely worked. Maybe soda blasting worked - but the rest of it not so much.
In the end I decided it wasn't going to be a show motor - so i moved on.
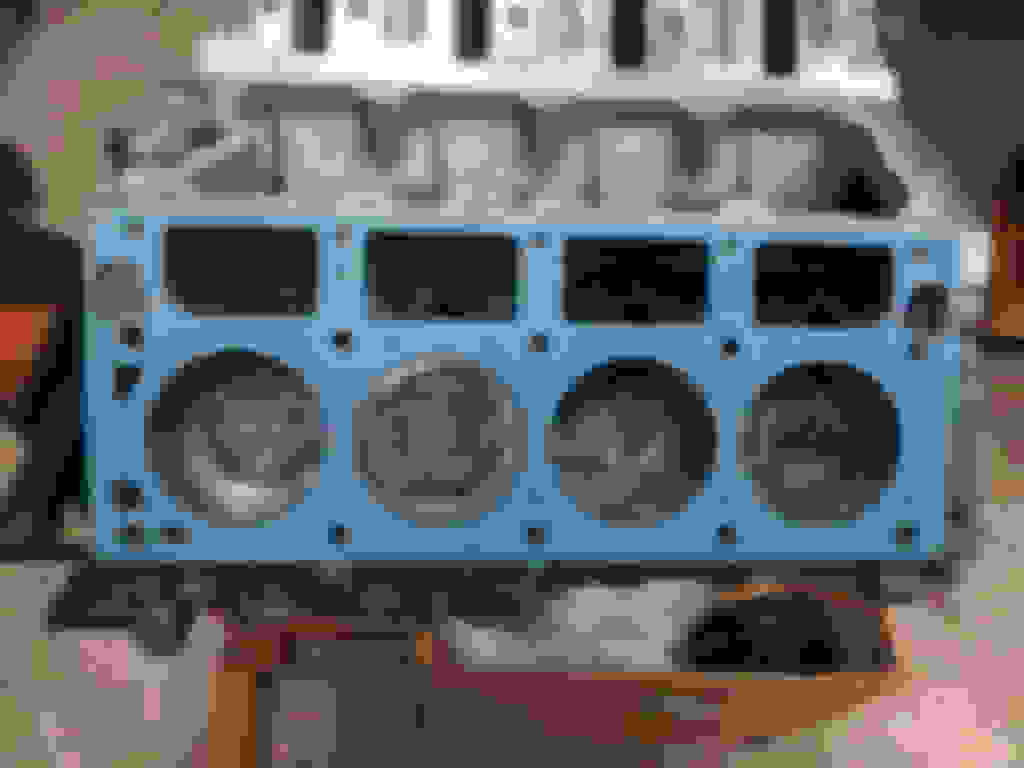
Next up was de-glazing the cylinders and getting some fresh hone marks. The cast iron cylinder sleeves in these motors really hold up well - they were all still round within a few 0.0001" and very little variation in size overall. So i chucked up the 3 stone hone and freshened the sleeves up. I found WD40 was the best lubricant for this (even though it's not a lubricant.) It helped flush out the stones and I ended up with a halfway reasonable pattern.
After that it was bath time. I scrubbed for almost an hour with various soft nylon bristle brushed. Then i flushed it for long time with hot water. Then i pressure washer flushed it with hot water. Then blew it all down and soaked with WD-40. I was really worried about residual walnut shell hanging out in any of the water jacket or oil galleries. I'm about 99% sure I got it all out.
I thought I was pretty clever - I made my own removal tool per the advice of strangers on the internet. Some custom sized washers courtesy of a laser at work, threaded rod, nuts, and a hunk of plastic I had. In hindsight this was really foolish. I'll have more on this in a bit.
All of them came out with no trouble - on to installing new ones. Here is where the home brew tool really falls on it's face. The very first bearing didn't pull in straight, and my washers bent. I was lucky and caught it early so I didn't mar or deform the bearing journal. I did scrap one of the bearings though.
My hard lesson learned - I coughed up the money for a Lisle universal cam bearing tool. Money well spent. It will get enough use to justify it's purchase between me and other folks who use my garage. The new tool deployed, and a second set of bearings in hand - i was able to get them all seated with no further troubled. I'm using Permatex Ultraslick as my assembly lube. I'm pretty happy with it.
I had to polish up the journals on the crank - i had been keeping it inside in a trash bag and had misted it with WD-40 but it still got some light surface rust. It took a lot of patience and emery cloth but I did bring it back.
I got the crank installed with the new main bearings. Other than discovering the bearings are oriented and having them installed backwards clamps the crank - it was pretty straightforward. I used a piston to pre-install my new rings into each cylinder so I could check the gap. Of the 8 sets only 1 primary ring needed to be opened up a little. After that i pre-assembled and soaked all the pistons in 10W30. Slid each one carefully down the bore and got them mated to the crank with fresh bearings.
Transmission are expensive. Oh how i'd love to have a TR6060 or TKO or even a T56! You know id even go for a converted T5 from a mustang or camaro with the V6. My budget reality was such that those weren't options.
Fortunately some other fine strangers from the internet have found an alternative - The Aisin AR5. These are abundant in long tail versions from the Pontiac Solstice . Saturn Sky. They come in truck flavor in Chevy Colorado's and their Isuzu cousins. Yep - the gearing if really for a 4 banger - but with the right rear end ratio you have a useful 4 speed with a tire destruction gear.
Other great things with these transmissions are that they have the right input spline for the chevy v8 clutch, and the Solstice guys who swap in LS1 motors have figured out some of the finer details - like how to adapt them and what to do about a slave cylinder.
So I got an AR5 pulled from a Solstice with 88k miles on it for $350. The adapter was about $350 shipped from Novak Adapters - it's thier AX15 to LSx kit. I picked up a mid-80's chevy truck bellhousing for $75.
I have not purchased anything for a slave cylinder yet - but i do now that I wont be able to make the Solstice flavor work. Some of the Solstice guys say the Colorado slave worked with some spacers. I'll let you know when I get to that point.
Ok. This is unique. Looking forward to seeing how it comes together. How much torque can the transmissions handle?
I don't know if there's a firm number out there. Anecdotal evidence is they're good to 400 HP. For a while. Mallet uses the AR5 for their LS2 solstice conversion. Wikipedia says 260 lb-ft. But that's from a high performance 4 cylinder - so the impulses are quite a bit higher. Its also derived from the AX / AX15 transmissions -which are pretty stout and very common behind SBC swapped jeeps.
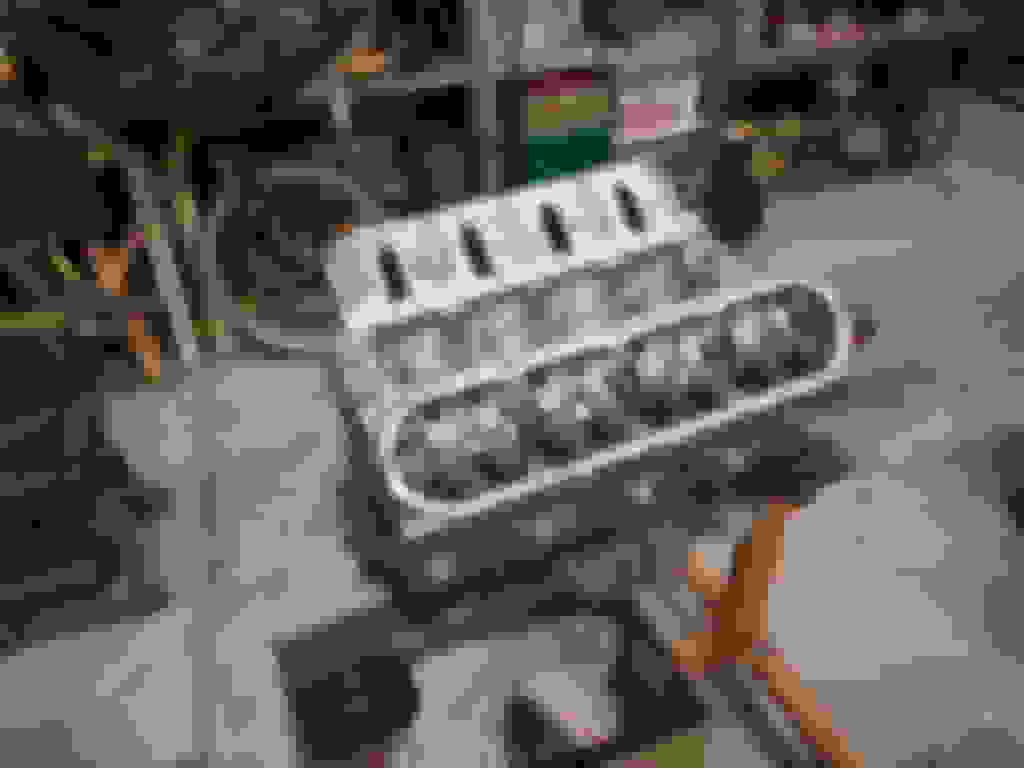
I picked up a set of 88k mile 241 heads and LS1 cam off craigslist for 200 bucks. I fully intended to run them save for the compression loss with the 241 heads. After waffling around about flat top pistons and shaving the heads I decided I'd just swap to the LS1 cam and run the 862 heads that came on the motor. Again - not building a show car and I'm not chasing all out performance.
So the 241 heads are shelved for later - maybe if i find a deal on flat top pistons to go with them...
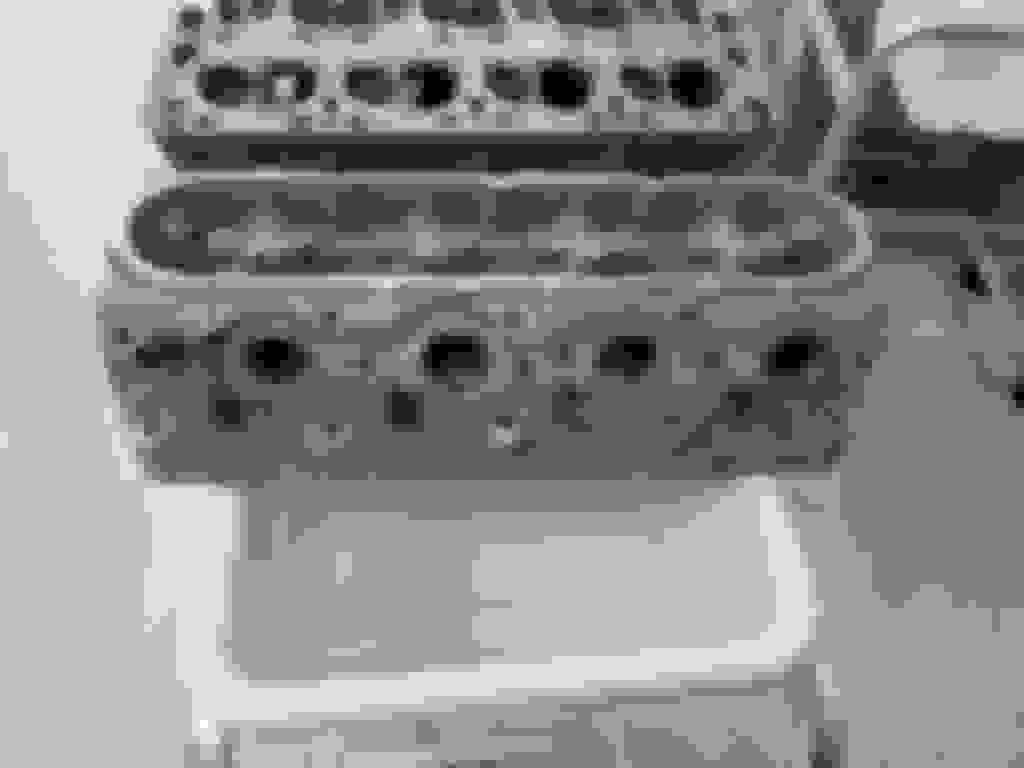
Anyway; I wanted to freshen up the truck heads since they were pretty nasty.
Step 1. tear down.
Step 2 - remove broken studs. I guess the exhaust studs on these heads are on the small side - and they break easily. Half the studs holding the manifolds on were already broken when I got the motor. I attempted 3D printing a drill guide so i could drill them out. That was a disaster. Next i had a coworker tig weld nuts to the studs. That took care of 4 of the 5 i needed to remove. The last one I ended up mig welding a nut to, then heating that nut to cherry red with a torch. Let it cool down for a while - and the stud came free. I chased all the threads with a tap and everything came out alright.
Step 3 Cleaning. Lots of cleaning. I ended up dropping them in our parts washer at work and letting them soak for 24 hours. Then i was able to scrub them to halfway decent with nylon brushes and hot water + dish soap.
After this step I bought some super soft brass wire brushes for a dremel. I used those to clean off all the oxidation and residual gasket. I also had to clean out the spark plug holes as they were crusty as well. I did try a regular stiff bristle wire wheel at first - but it scored up the aluminum so I wouldn't recommend this, especially on surfaces that will have seals /. gaskets.
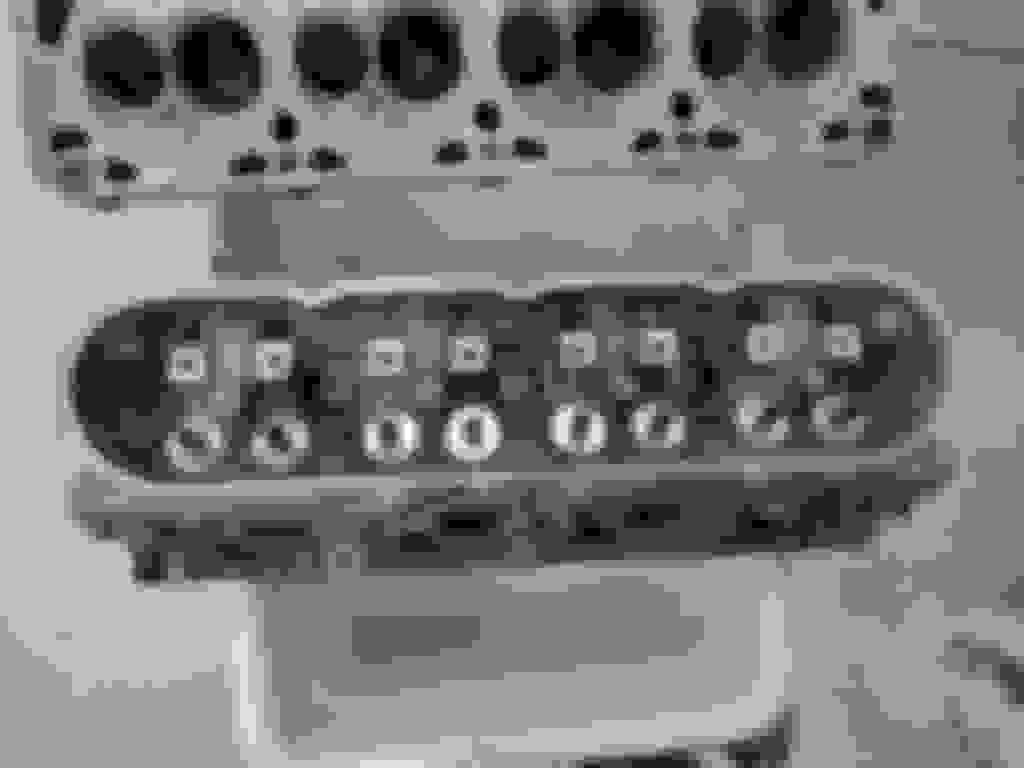
I also wire brushed the valve faces - some of them still have some carbon deposits that just wont come off. I got a small tube of lapping compound and organized all the valves and cylinder positions and spent a few hours building confidence that i would have a good seal. For this I used my drill and a 12" long piece of rubber tubing that fit snugly over the valve stem. I know some guys like to just chuck the drill right to the stem but i think there's too much risk of leaving marks on the stem. Low and slow is the secret here. I think i did 2 or 3 passes at several minutes each for the valves - working until i had an indication of the seat that was towards the high end of the GM spec.
After that i ordered some GM Performance beehive springs and 2 new sets of valve guide seals from Amazon.
I will be interested to see where the shift lever comes thru the floor.
It's going to be several inches further back from the center of the stock tunnel opening. I'll try and get a pic of it next time I have the engine dropped into the mockup.
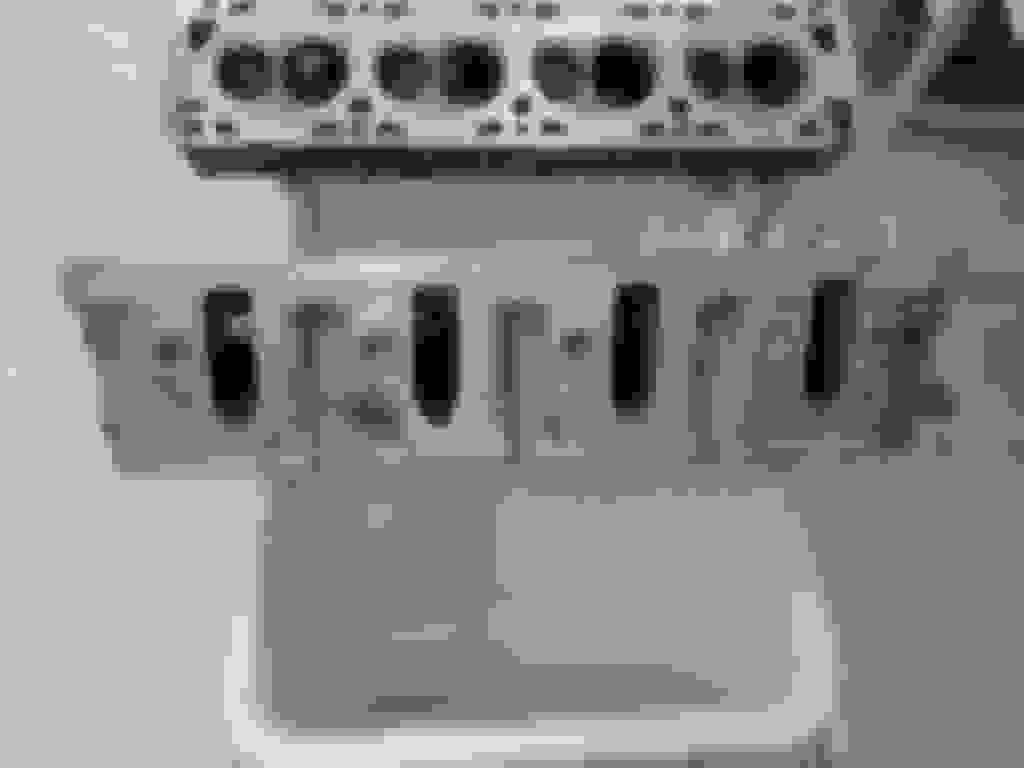
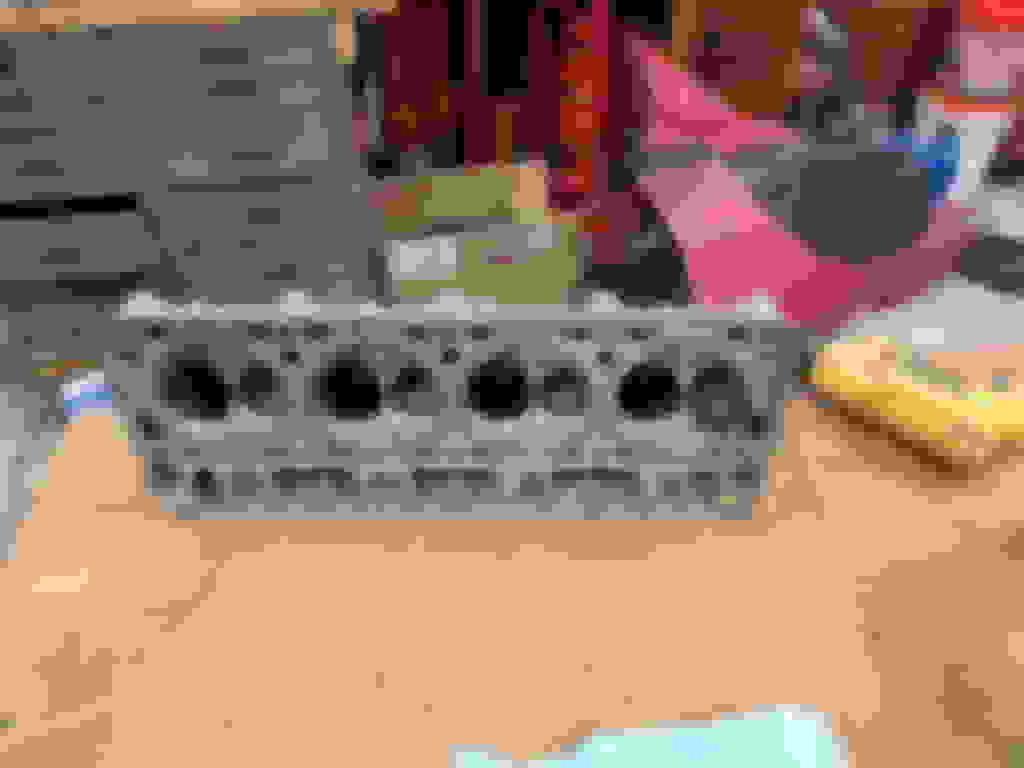
My wife was super nice. It was cold out and I work in an unheated metal building - so I allowed to reassemble them on the kitchen counter.
Then it was off to grab some MLS gaskets and new head bolts. I just went with Fel pro parts. Good enough for my purposes.
Since I'm cheap and I didn't care for the grungy aluminum look of the valve covers and the valley cover i did a quick scrub down on those and hit them with Rustoleum metal primer and several heavy coats of Rustoleum gloss black. I did the same thing to the stock crank pulley. My intention is to try and run it - but if it sticks out too far i'll get something else.
I think they came out alright. Here's a bonus shot of my first pairing of the trans to the engine. The oil pan is the GM performance 12628771 oil pan. These can be had for much cheaper than the Moroso or other fabricated pans. And still a hair less than the V8R modified pan. I got mine for $269 shipped with the baffle, matching oil pickup tube, and OEM metal / rubber gasket.
The catch is you need to modify them to clear the sub frame and steering rack. (mine is done - i'll have pics in a later post.)
With a motor more or less built and a transmission to bolt up to it I was ready to start thinking about how to shoehorn everything together. Ive read lots of build threads, watched a ton of you tube videos, and read the FM install guide for the NA. But I still felt like i was a little on my own because of modifying the stock sub frame and working with a different transmission. Where would everything land? How high would the motor sit? How far back could I tuck it?
Fortunately I had a complete tub and sub frames from the first car that nobody wanted to take off my hands. I could literally learn what i needed to do, even via trial and error, and then transpose the results to the 2nd car when I was ready.
5 minutes and a sawzall makes pretty quick work of a tub.
The front end is much easier to squeeze into a garage full of other projects.
The channeling on the uni body is massive. Heavy gage steel and a really large box section. These things were engineered in the 80's, in 2D CAD. The Miata is seriously impressive car considering what was around when it was introduced in '89.
The first drop! Obviously - it didn't fit. But I was able to see what had to get cut. The pictures are taken before I went at the car with a sharpie noting all the stuff that needed to go. This proved to be an iterative process. Each time I add something to the engine i discover more things that need to go.
I started hacking up the front sub frame. I'm no pro with a cutting wheel but i made out alright. I wanted to keep as much structure as possible - i know some other guys go vertical with the new interior plates. I decided to keep them large and tapered. I may change my mind on this.
I used some cardstock to make templates for the new pieces. They didnt fit as well as I'd hoped. It's a Busch League mess over here.
After welding my plates (also a total amatuer hack job - even with a nice mig and welding gas. The tools do not a craftsman make.)
I don't have much experience welding thinner steels and I found pretty quickly you need to stitch a little and move on. it was much easier to blow a hole then I would have thought. I did clamp the whole thing to my welding table to keep it in form while welding. But it sprung closed a little. I had to spread it about 1/4 of a bolt hole (so like...2, 3mm?) to get the rear frame bolts in. I was able to spread it using the car jack and turning the tabbed crook thing by hand. So i guess i'm not worried about it.
I do want to cut everything out and do it over though. 'tis ugly.
So, like said in an earlier post I picked up a GM 12628771 with oil pickup and baffle on ebay. I had been holding out for a C5 batwing style pan but nothing came up at a price point I could live with.
So - modifying these cast pans is a little tricky. You end up removing a lot of material where it's thin. When you weld your new plates on it bows. Also - if you aren't careful with your heat while welding you'll crack the pan. So - I wasn't bold enough to do this on my own - but I know a guy with 30 years of tig welding and cast aluminum welding experience that was happy to take $50 to weld my pieces on. It took him 2 hours -so i think i got pretty good deal.
Step 1; Layout your cuts. Find a mill. Whoever will weld for you will appreciate flat, square surfaces to weld on. Something that can be hard to get hacking with wheels and saws.
I wasnt able to find a collet extension so I just got as close to the spindle as I could. This did leave two squares in the corners for me to cut off by hand and file down.
Finished holey pan
Pan back on the motor so I could make sure the baffle wouldn't be scrubbed.
I'm backed up on sub frame and exhaust modifications. Stuck, actually. I have 2 exhaust options in hand. One is to modify stock manifolds similar to Crispy. The other is the modify a set of flowtech shorties I picked up similar to some other DIY projects. As a third bet I've found a possible deal on some G8 manifolds and I'm hoping to buy those tomorrow. Between those 3 I'm going to have to just pick one and move on it. It's probably the modified shorties or the G8s.
While all of that plays out; I'm jumping over to my harness. This is the harness that came with the engine (04 LM4). I sold the original PCM and picked up an 02 ECU, which I understand supports both cable and electronic throttle body. I'm starting with a cable but I want the option for Cruise later on.
I've basically been working from the info on LTSWAP.COM. That guy has a ton of useful info and I'm going to have him flash the PCM for my setup.
It was pretty uneventful save for the pin covers breaking on me. Twice.
And no wiring harness post would be complete without the obligatory "Kitchen Floor" shot!
so I've got some stuff that was clipped off when the motor got pulled - like the CPS and one of the O2 connectors. I also need to remove the trans bundle, the BCM wires, AC, and add in wires for the TPS and some other stuff. What you see is where I'm at. Still stripping out odds and ends and labeling things. I'm probably just going to leave it all in masking tape until I get it on the motor. That way I can dress it in place - and maybe connectorize some additional items to make a motor pull less painful.
This isn't my Miata, or even a Miata. But it is a super sweet Jeep CJ2A project my brother in law has been laboring away on in the bay next to my project. It's the first time it's seem daylight in months. The tub has been extensively repaired and modified. That's a 4.3 between the rails paired to an SM420.
I bought G8 manifolds yesterday evening over the phone. They arrived today!
So - I'm pretty sure I'm going to go with these. I believe I can add 2 more joints and some double d shaft and route the steering out and around if I support it.
They're much more compact than either the shorties or stock manifolds.
G8 manifolds tuck close to the block and dump out high. They measure about 37 outside to outside which means they just got between the rails on my NA.
Stock truck Mani sticks out more at the flange and runs right where the steering shaft pops out.
shorty headers - even though they're "block huggers" don't hug so good. They basically scrub the lips along the top of the rails, and the collector is huge and is dead smack in the middle of the steering shaft path. I was considering hacking these up and running the shaft outboard of the rear cylinders and inboard of the front cylinders. Some you tube guys have done this.