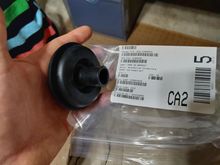
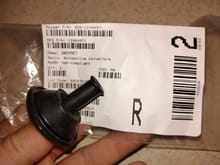
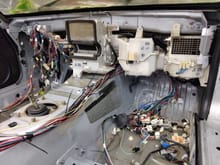
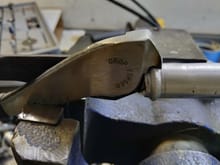
It took some looking but I found a couple of wiring harness specific grommets from Mouser. I installed the larger one for the part of the engine harness that wraps around the bottom of the engine... starter wires, 02 sensor, knock sensors, cam/crank sensors, alternator wiring. I used the OEM engine harness grommet for all the wiring on top of the motor.