When you click on links to various merchants on this site and make a purchase, this can result in this site earning a commission. Affiliate programs and affiliations include, but are not limited to, the eBay Partner Network.
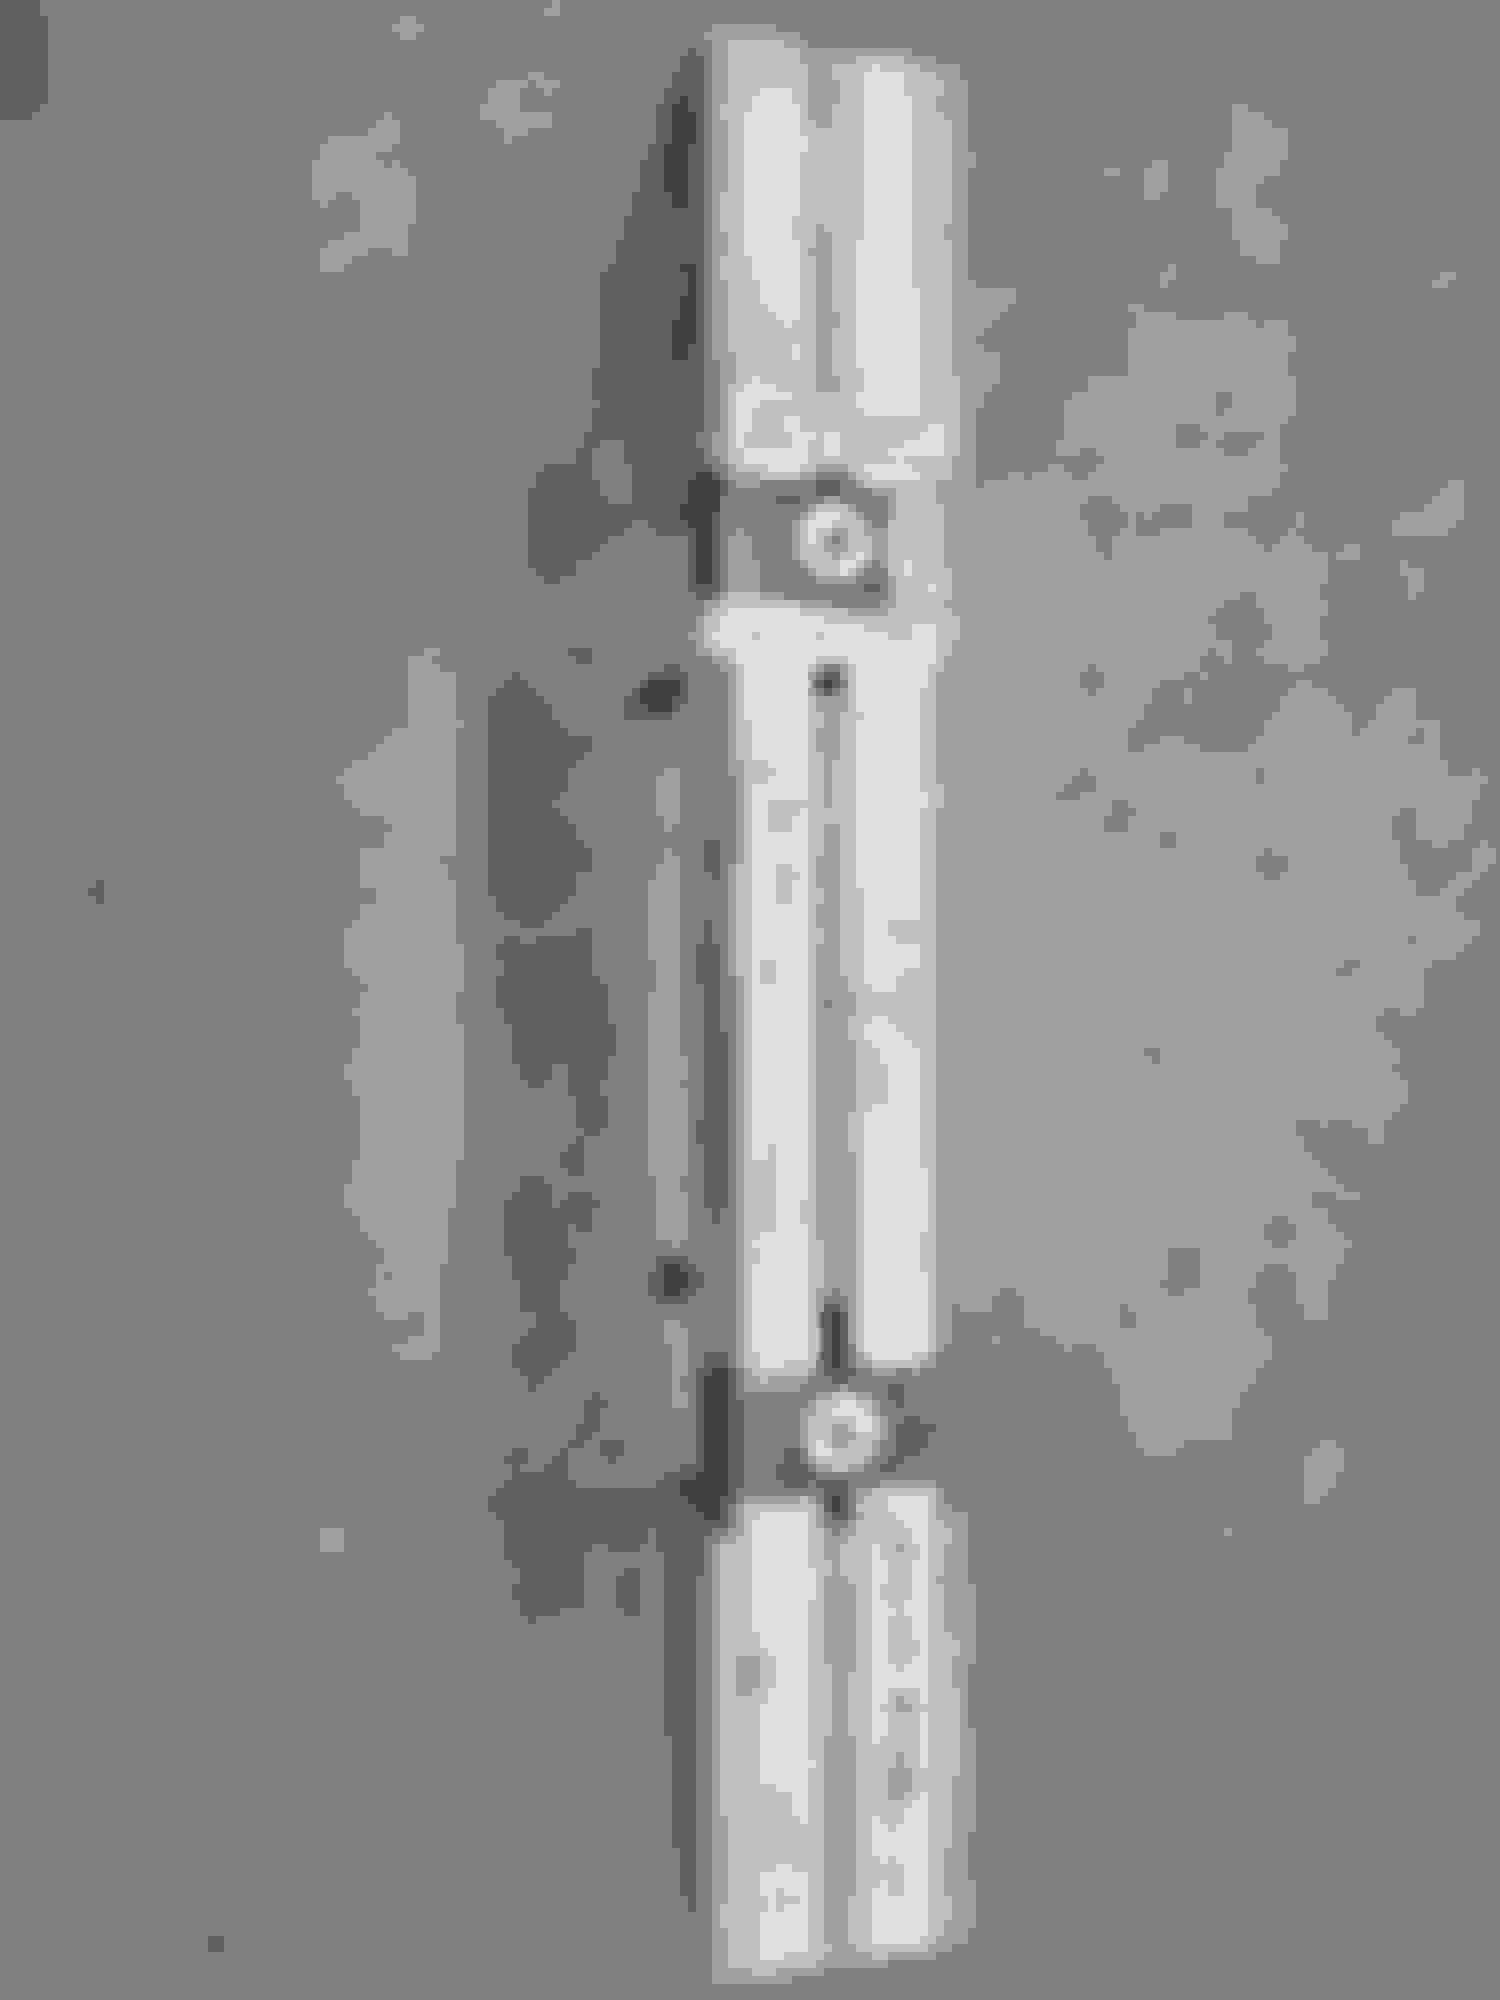
Some cardboard aided design for my timing pointer. I'm adding this so I can accurately calibrate timing in my tune. I used a piston stop to find top dead center and then I marked the dampener with a paint pen. I added a fuel pressure sensor so I can log fuel pressure. I bent 3/8 stainless hardline and covered it with DEI insulated heat sleeving. I decided to try compression fitting/AN adapters on both ends of the Hardline. And here's the routing at the front of the car.
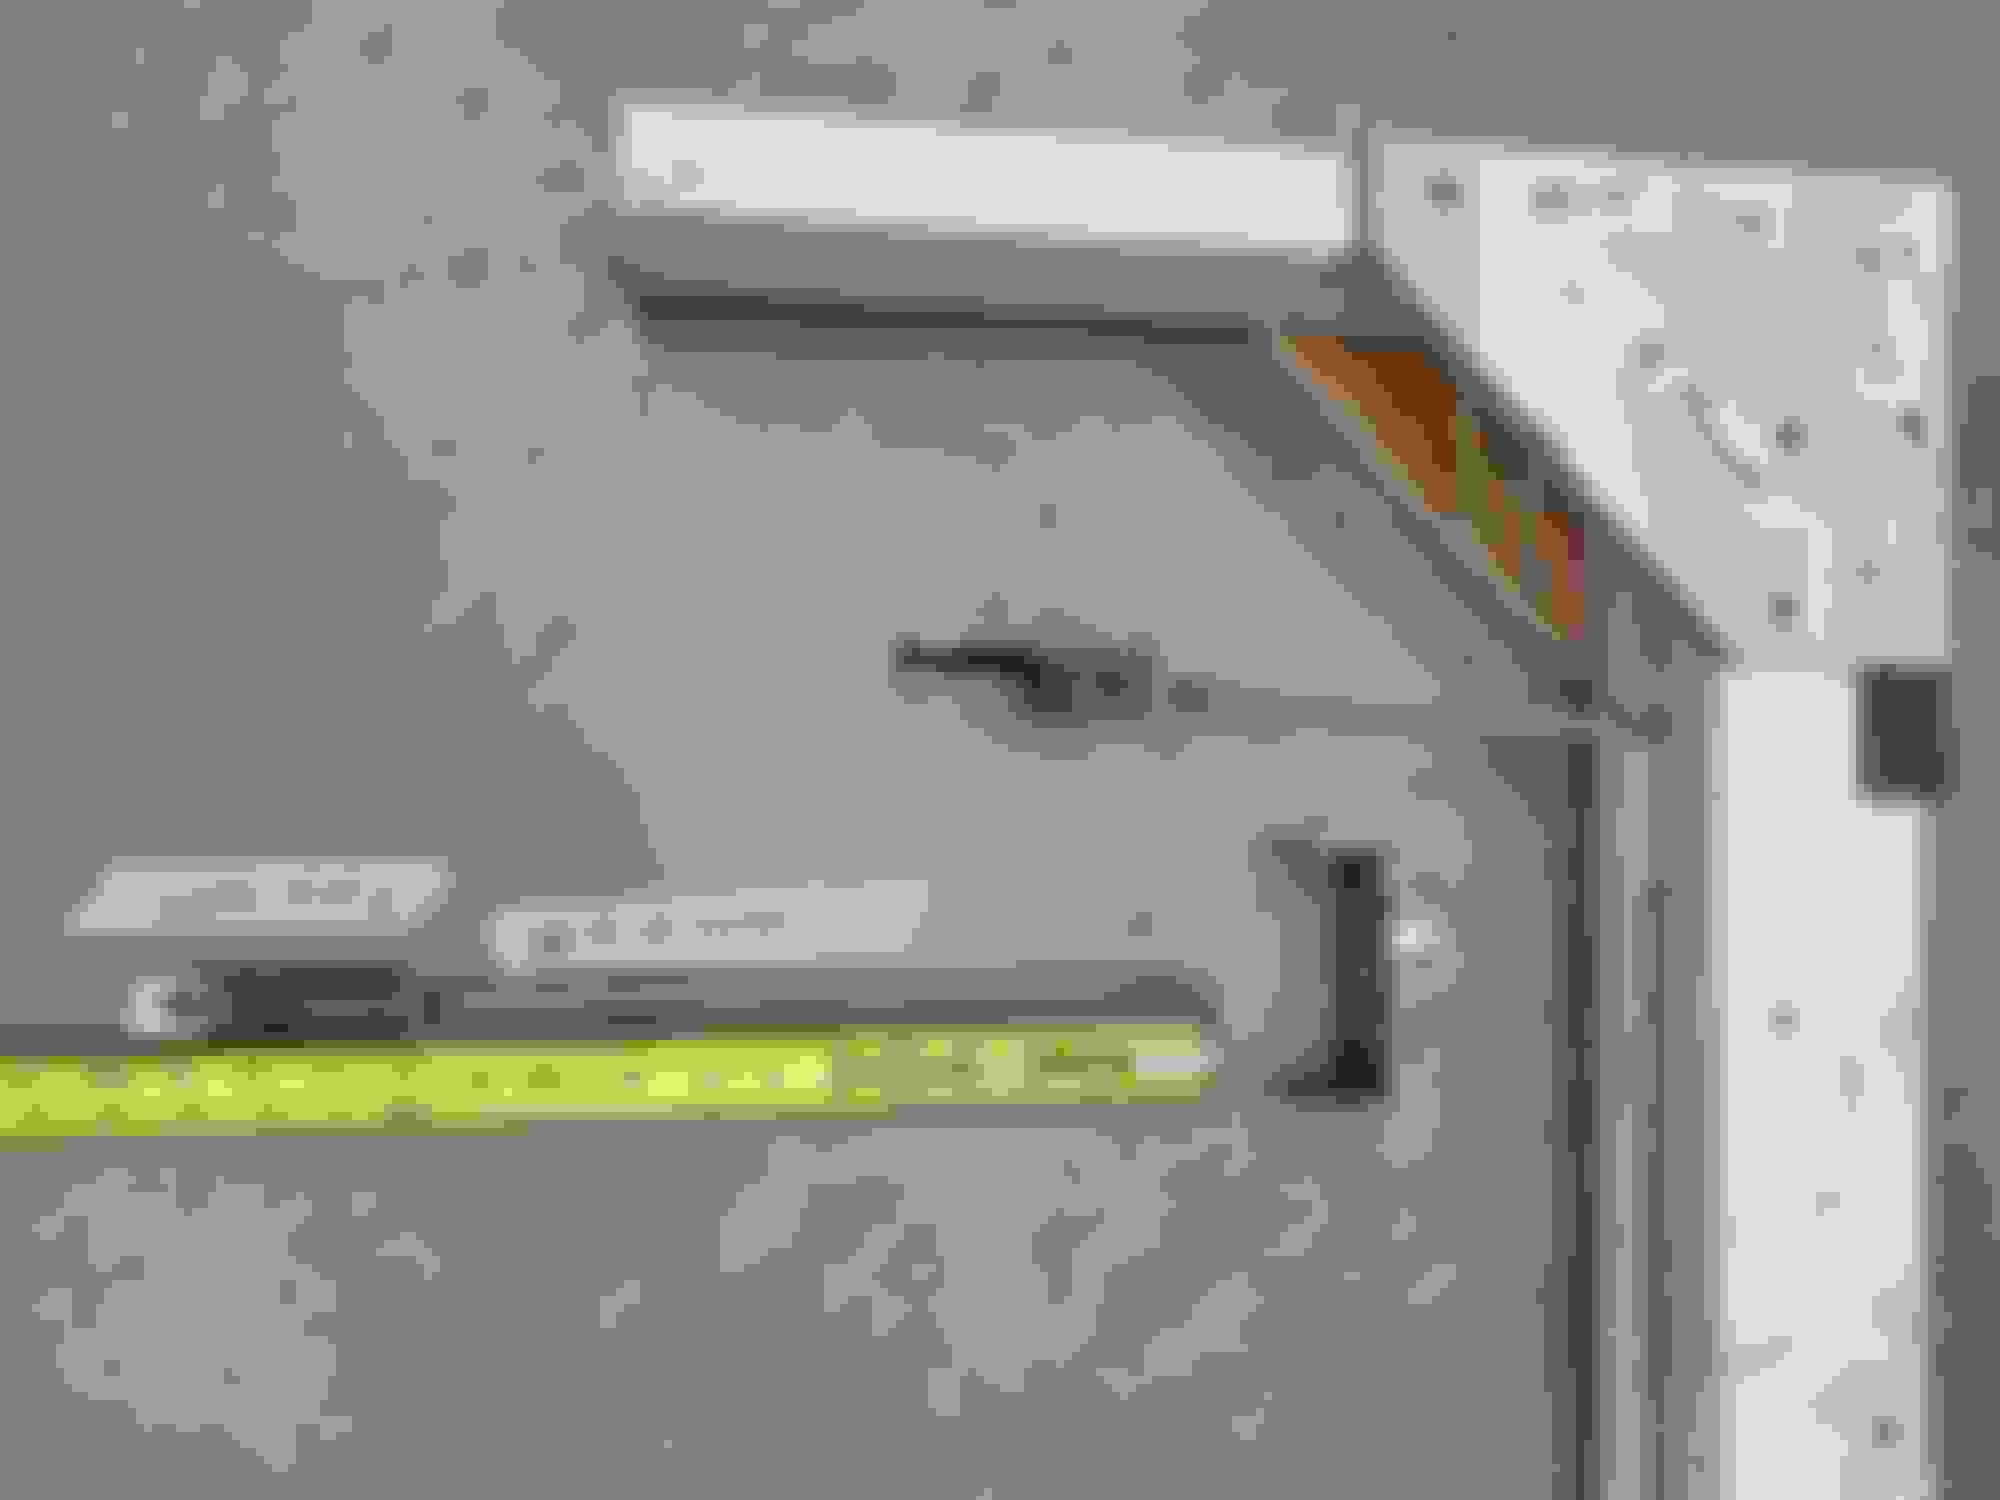
The dip stick that's recommend for my mast pan was way too long, sticking up above the valve cover. I shortened it 9" by sectioning the tube. The dipstick itself just needed to be cut and the roll pin hole redrilled. Note where the oil level goes, right to the bottom of the windage tray.
Been busy blasting and painting all my suspension parts. Got all my polyurethane bushings pressed in, calipers rebuilt with fresh paint, Arp wheel studs installed, rear brake light line rerouted (flipped), stainless braided hoses and v8r DSD coilovers installed.
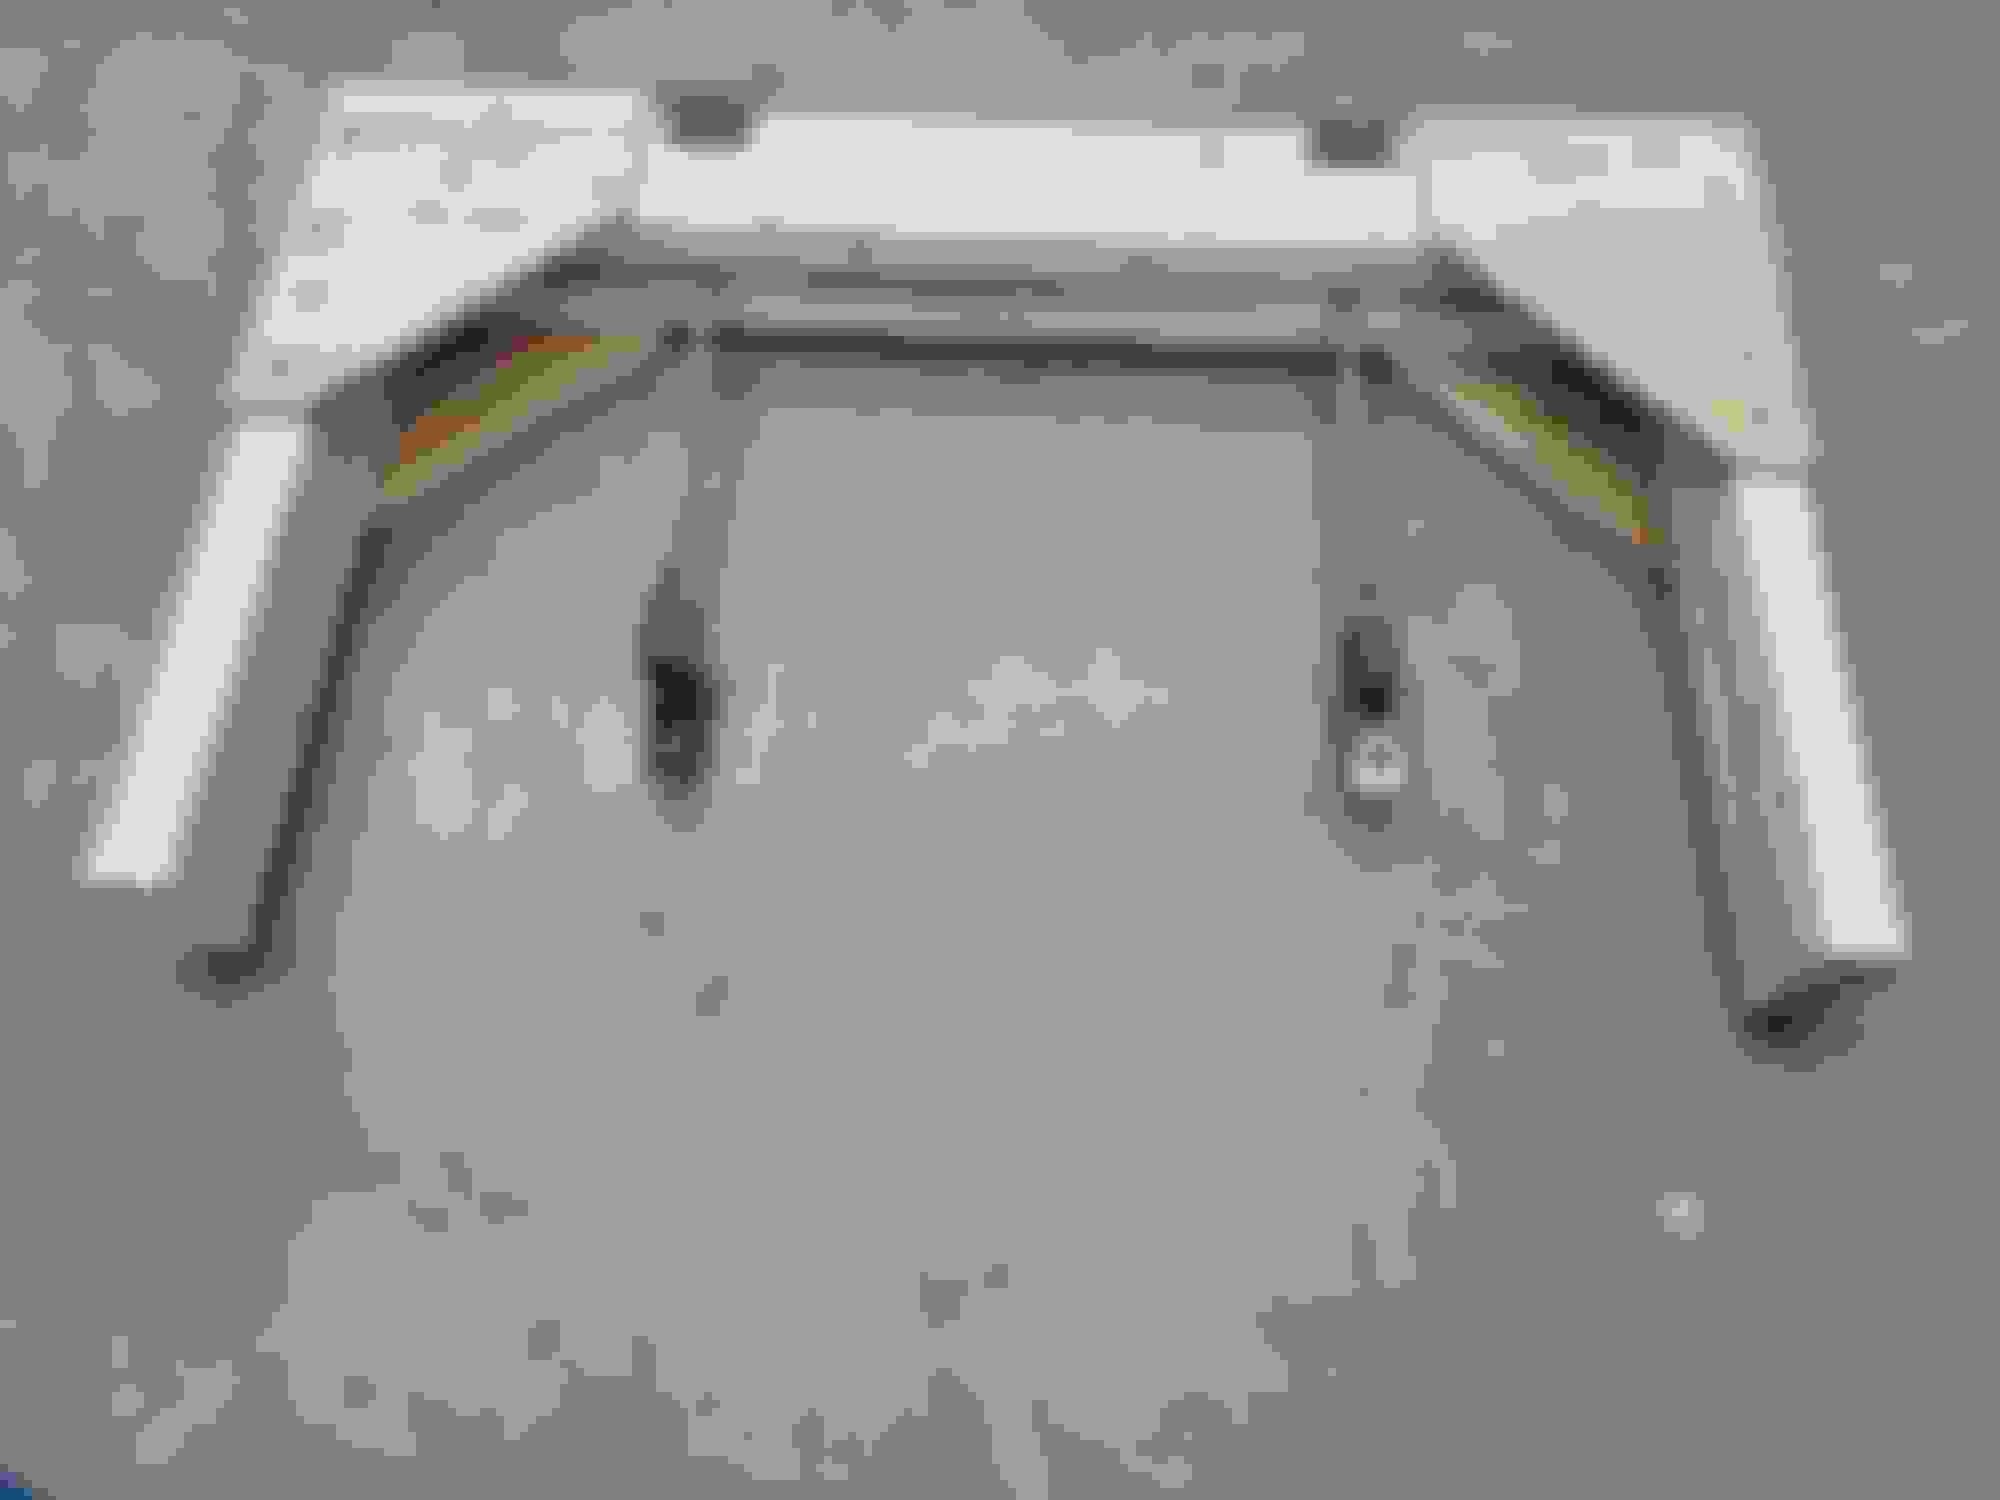
Several folks were interested in the sway bar brackets I've made recently so I took some recent pictures.
It's a 24mm '98 328i E36 BMW bar.
Parts are pretty all painted up.
With lower control arms horizontal at ride height-ish (it hasn't been on the ground yet with these shocks to check)
I've got space to for the dampener and alternator.
Using thick spacers that came with the supermiata endlinks, both endlinks are within 1 degree of vertical in both axes.
Here is checking for interference to simulate a bunch of suspension droop.
Another view to show the offset part of the bar. I welded the mounts roughly 1/4" in front of the upper control arm bolt.
I was a little low when I took this picture but the arms are horizontal.
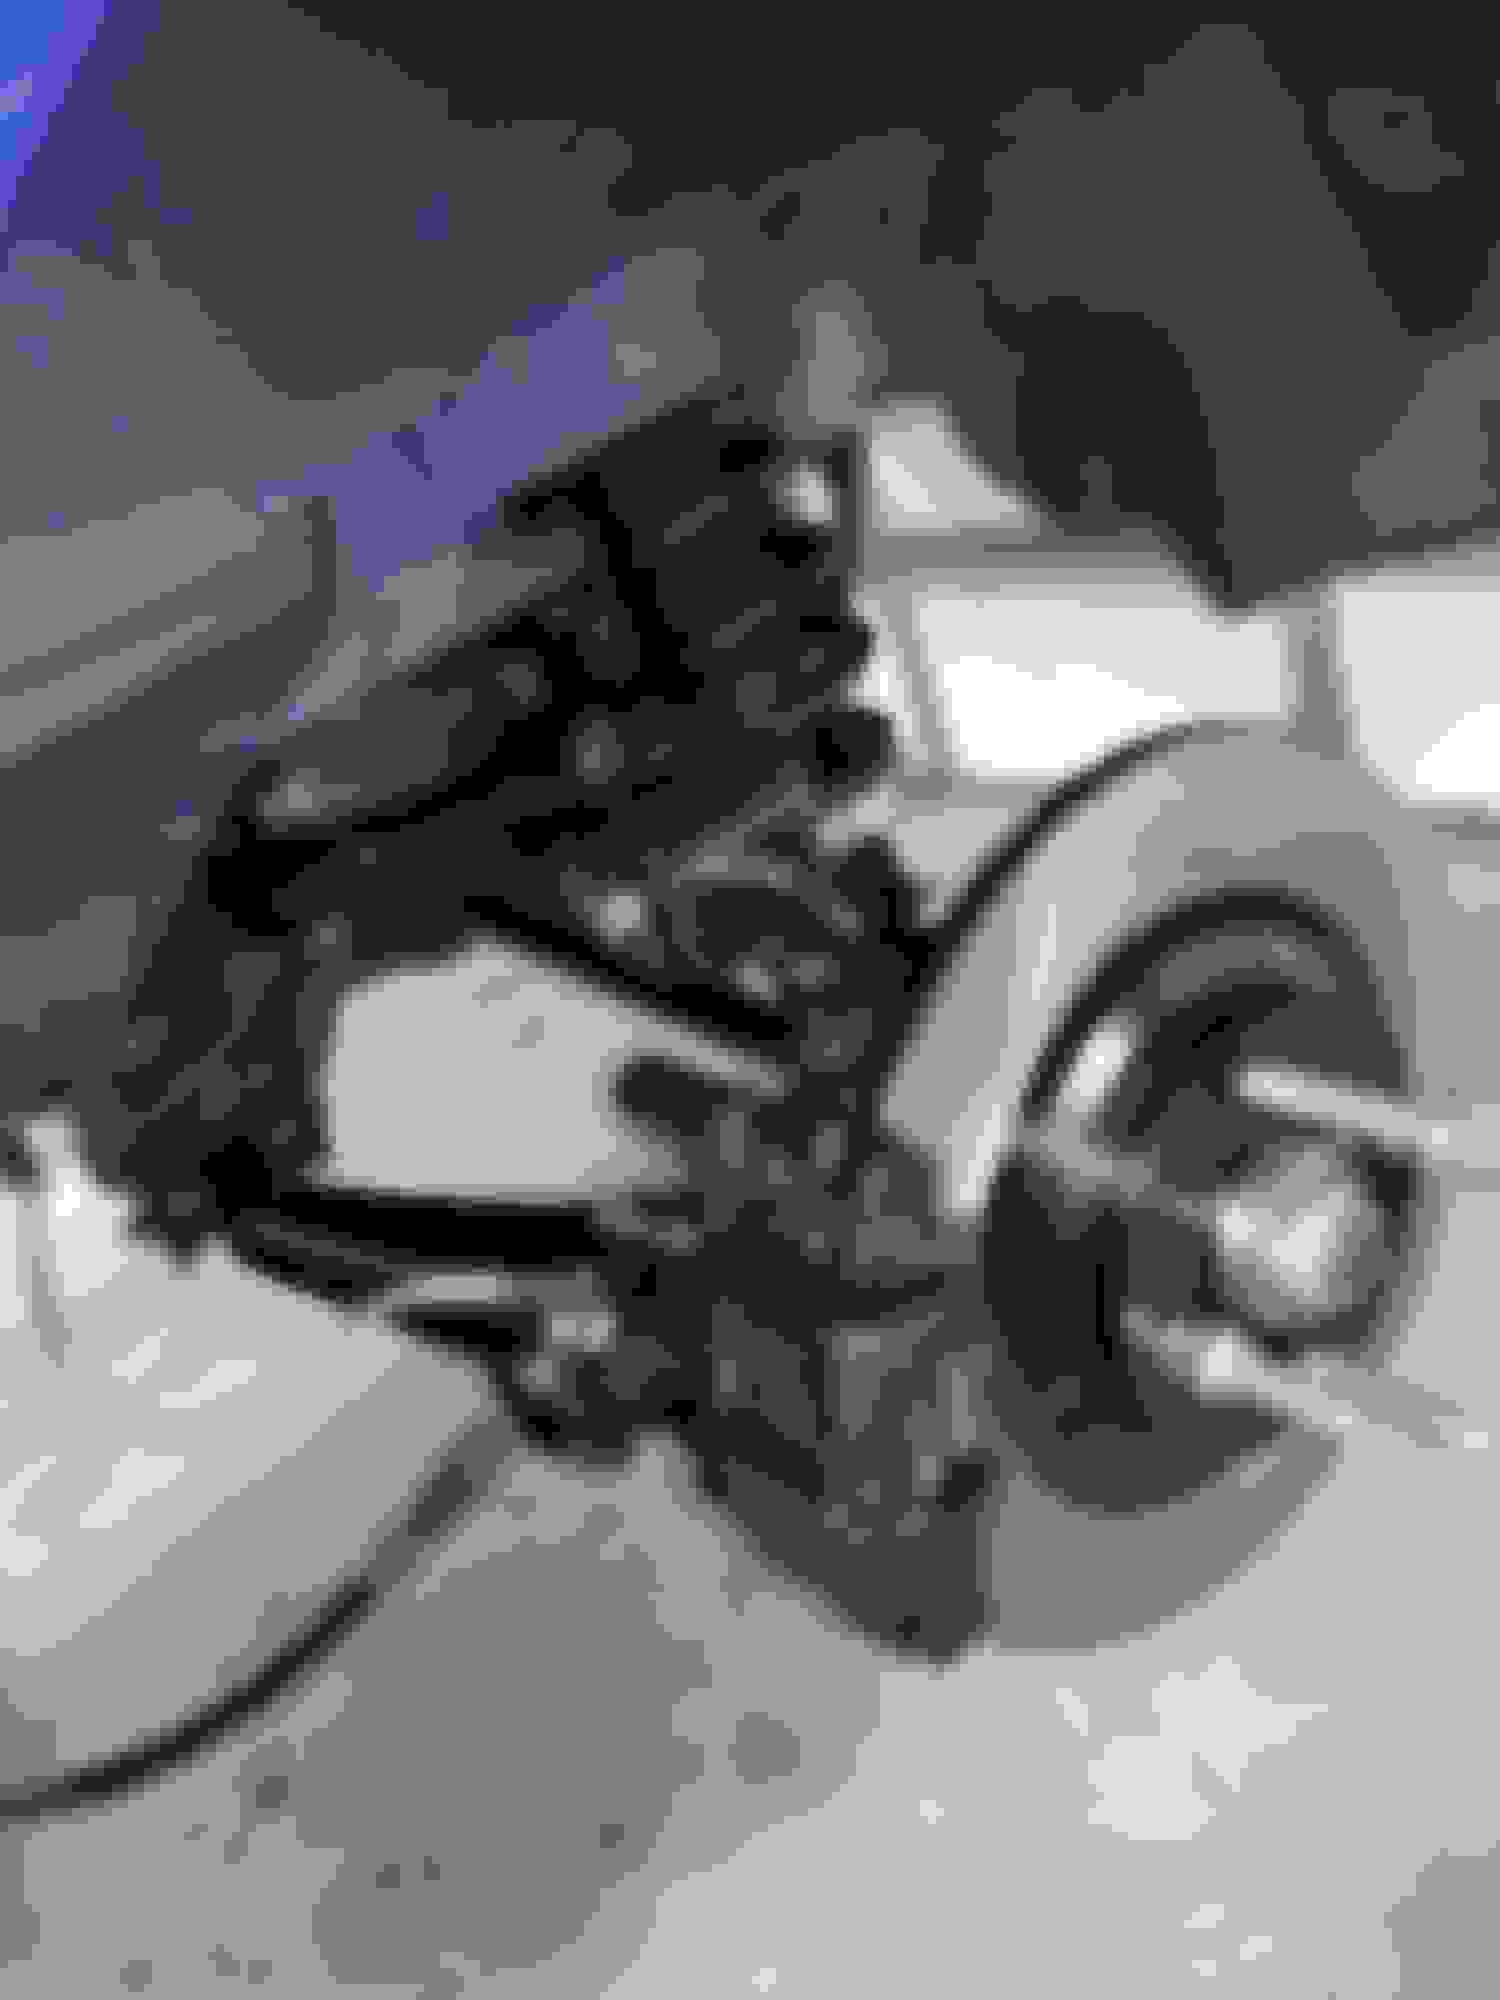
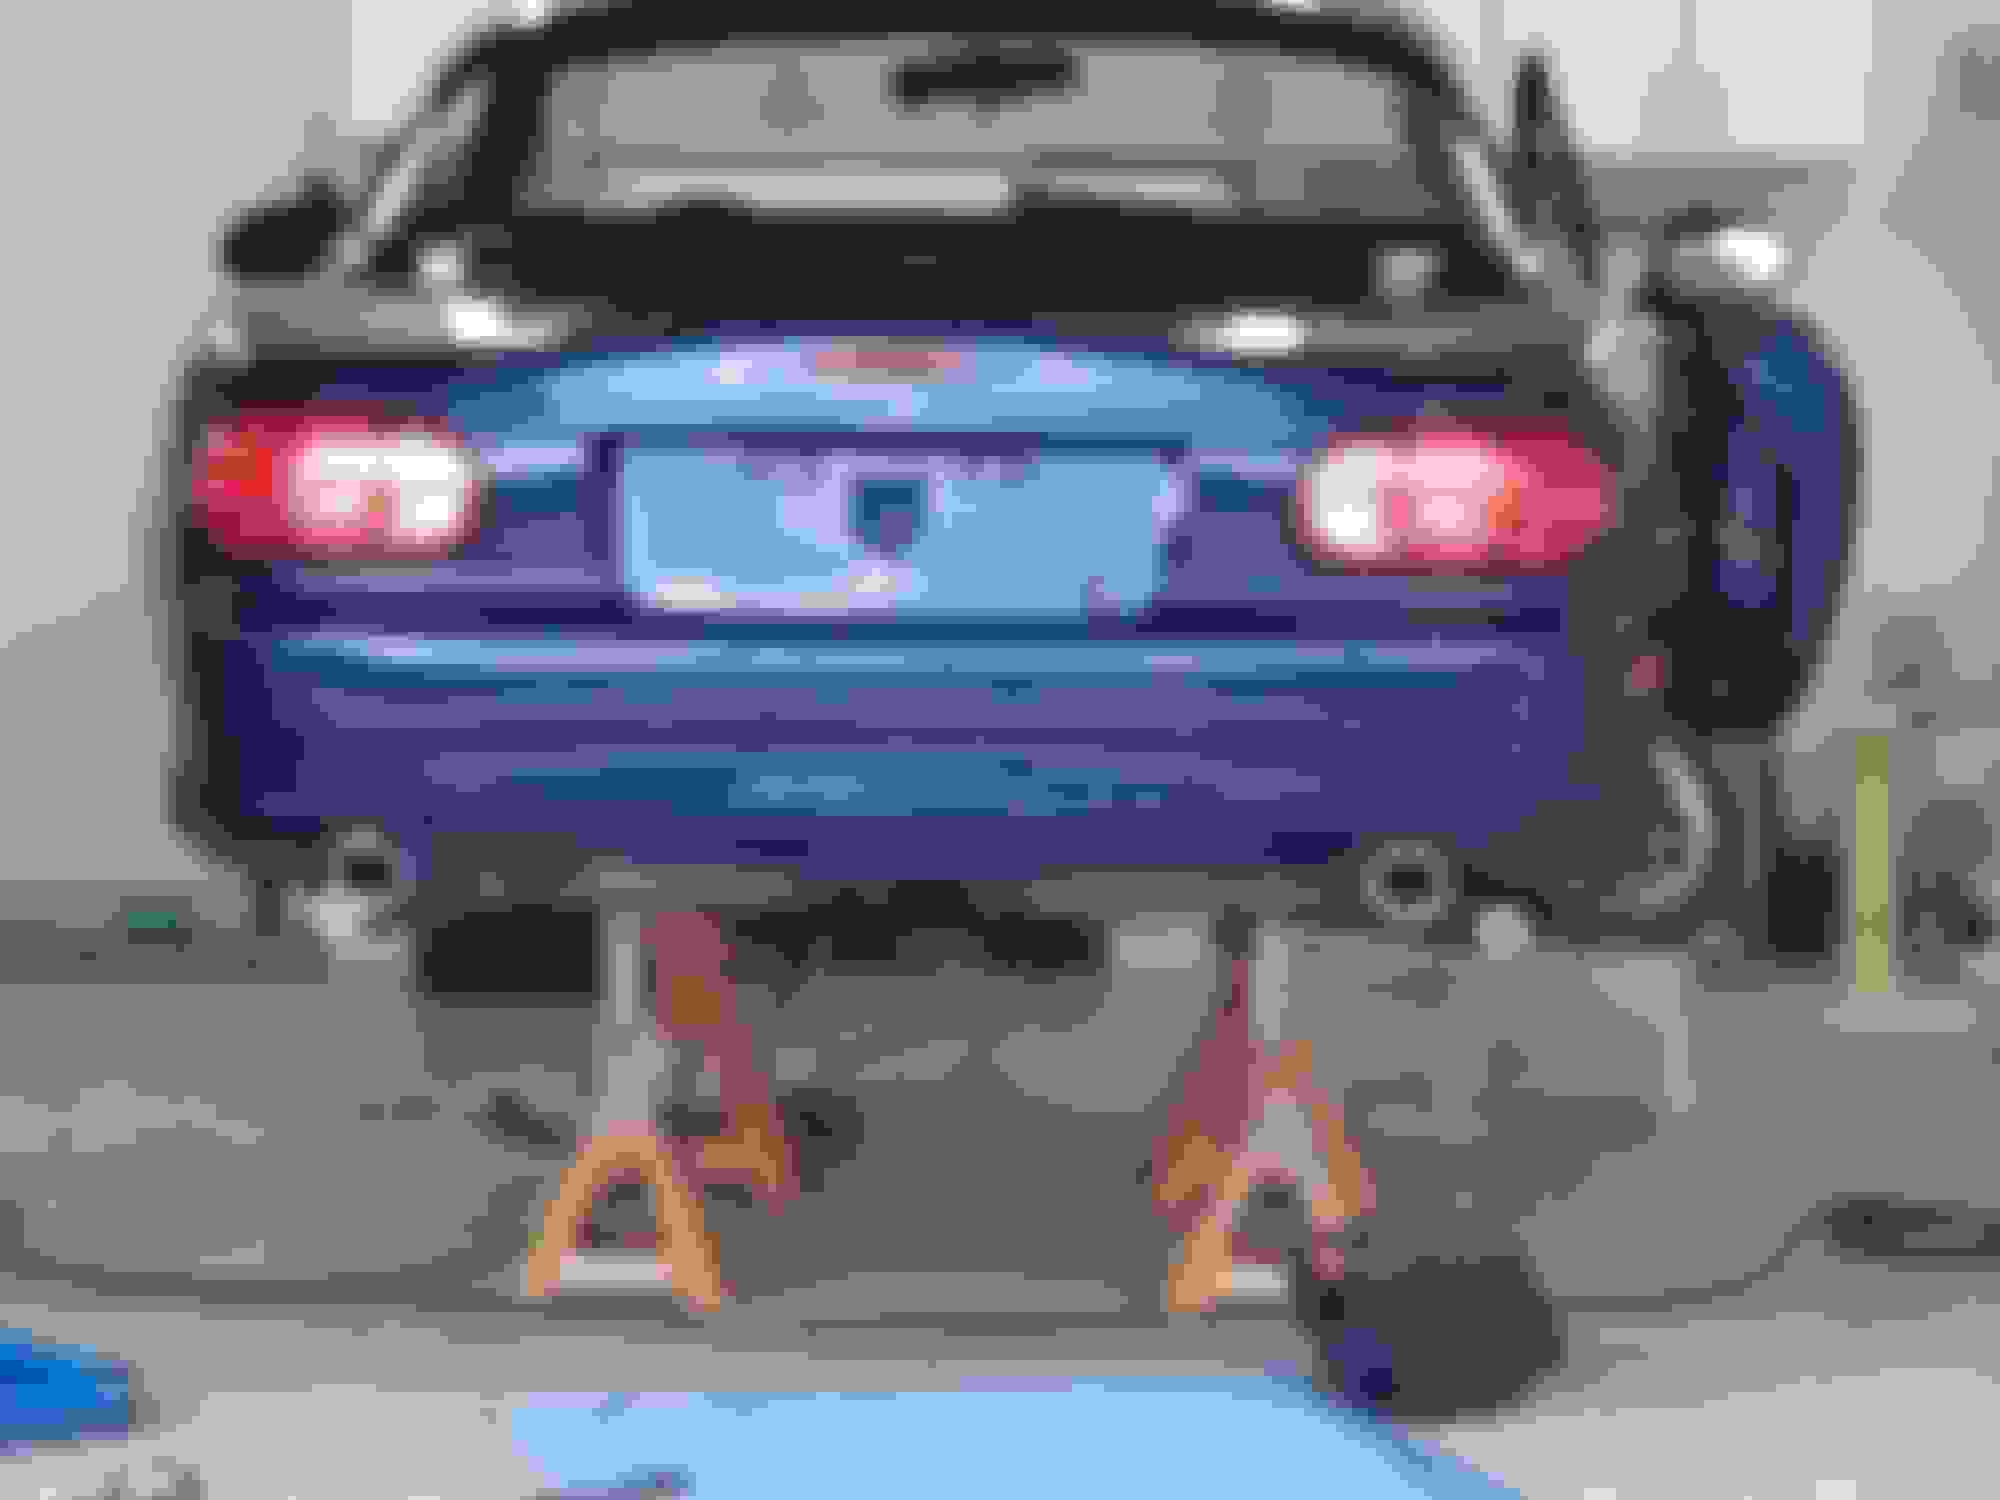
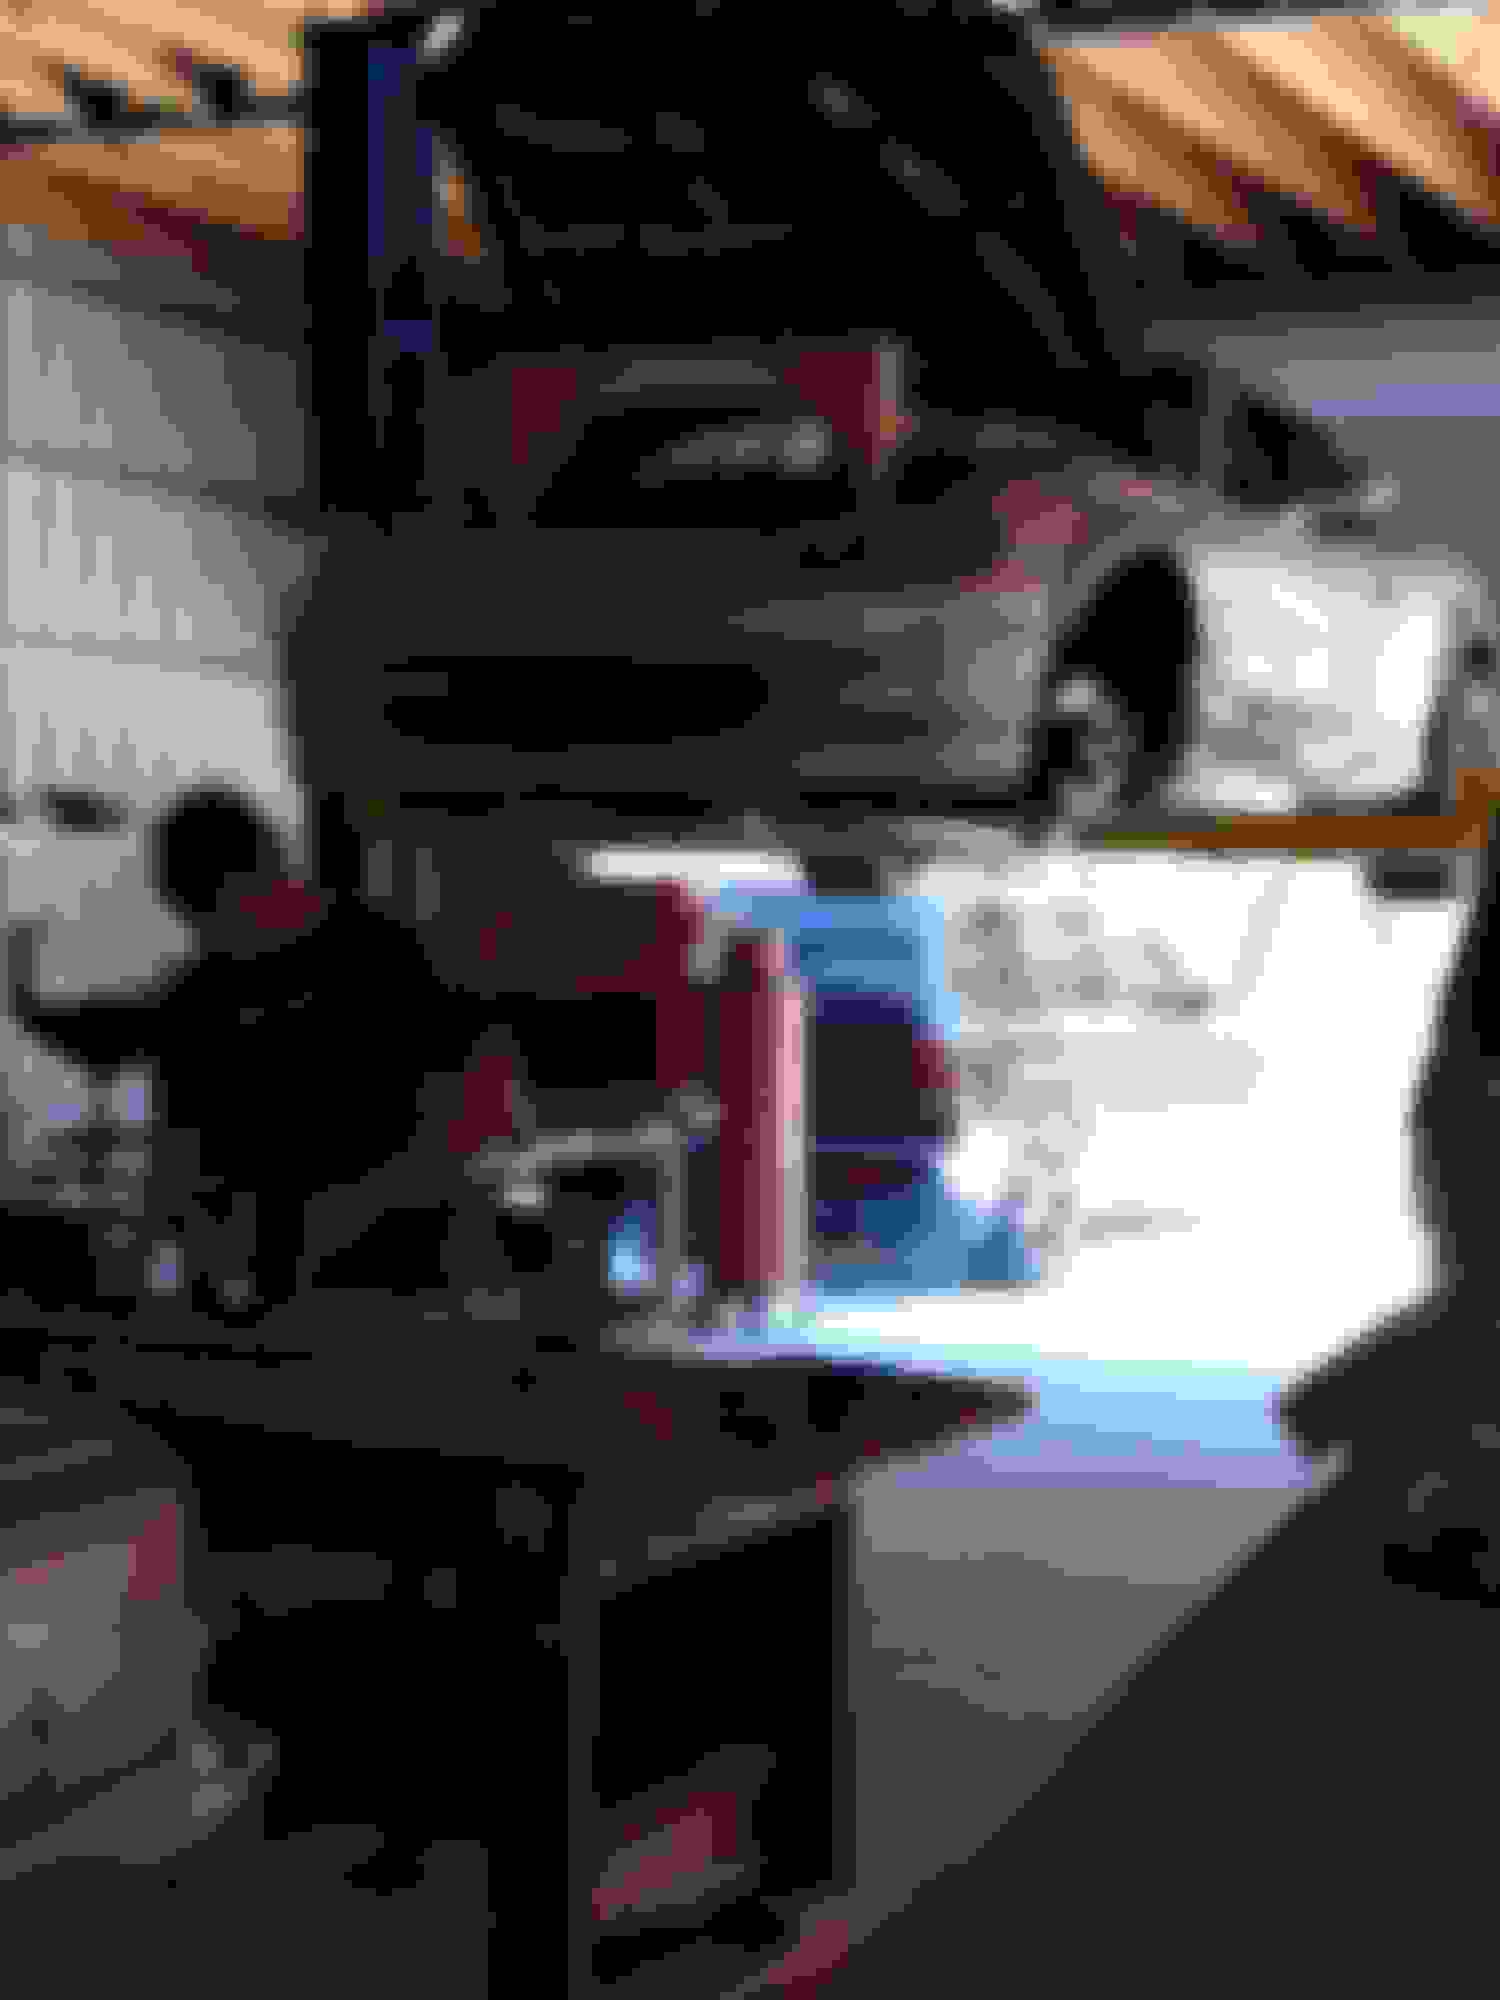
This picture is intended to show how low my motor sits in the chassis below the frame rails, its about 6 1/8" to the bottom of the crank pulley.
I've got those 1/4" spacer plates to move the motor back, so the motor sits .18" higher than the normal monster miata stuff... of course
I've also got my own custom trans mount tucking the transmission as high up as it will go so who knows...
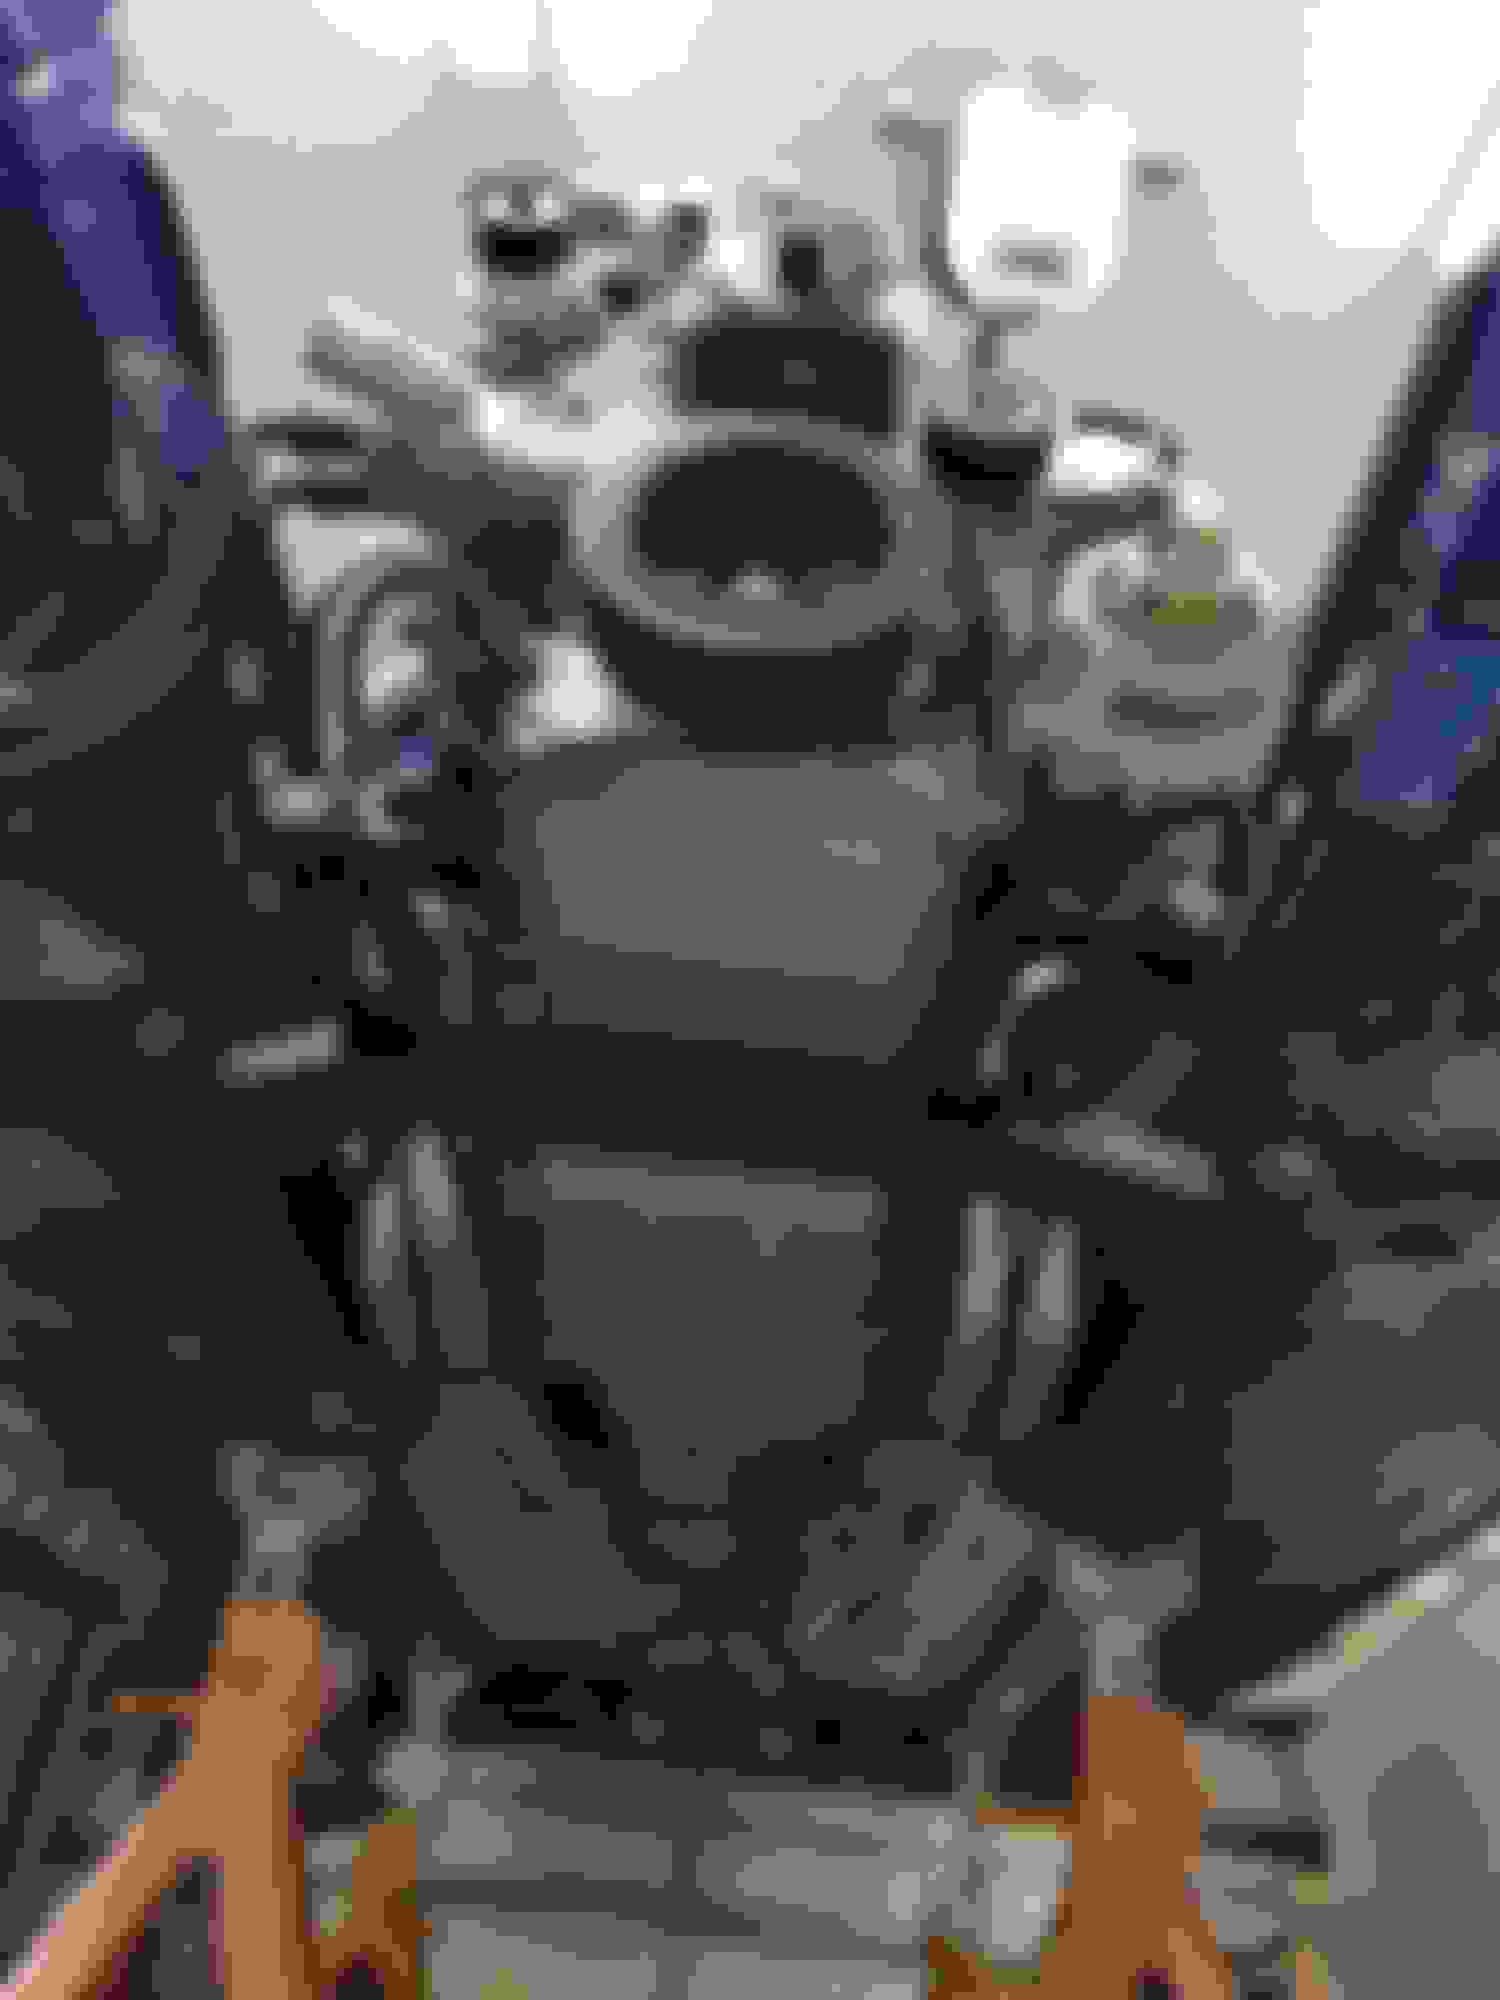
This one shows the position of the transmission. My motor and trans are both centered between the frame rails.
The shifter is offset to the drives side of the transmission. This put it about 5/8 of an inch left of center. Its also about 5/8" back from center.
Cool, another opportunity for a fabrication project!
And here we are back in the center of the boot. I'll figure out the shifter handle when I get the console in the car. I'm not 100% sure this is the approach I'm going to keep.
I don't think I posted this picture yet, this is the trans crossmember, don't look too close at it,
I welded that exhaust hanger part on the back of it and forgot to turn the gas on, what a mess.
I'm pretty happy with the fitment and function of this but I cant wait to go back and polish the design.
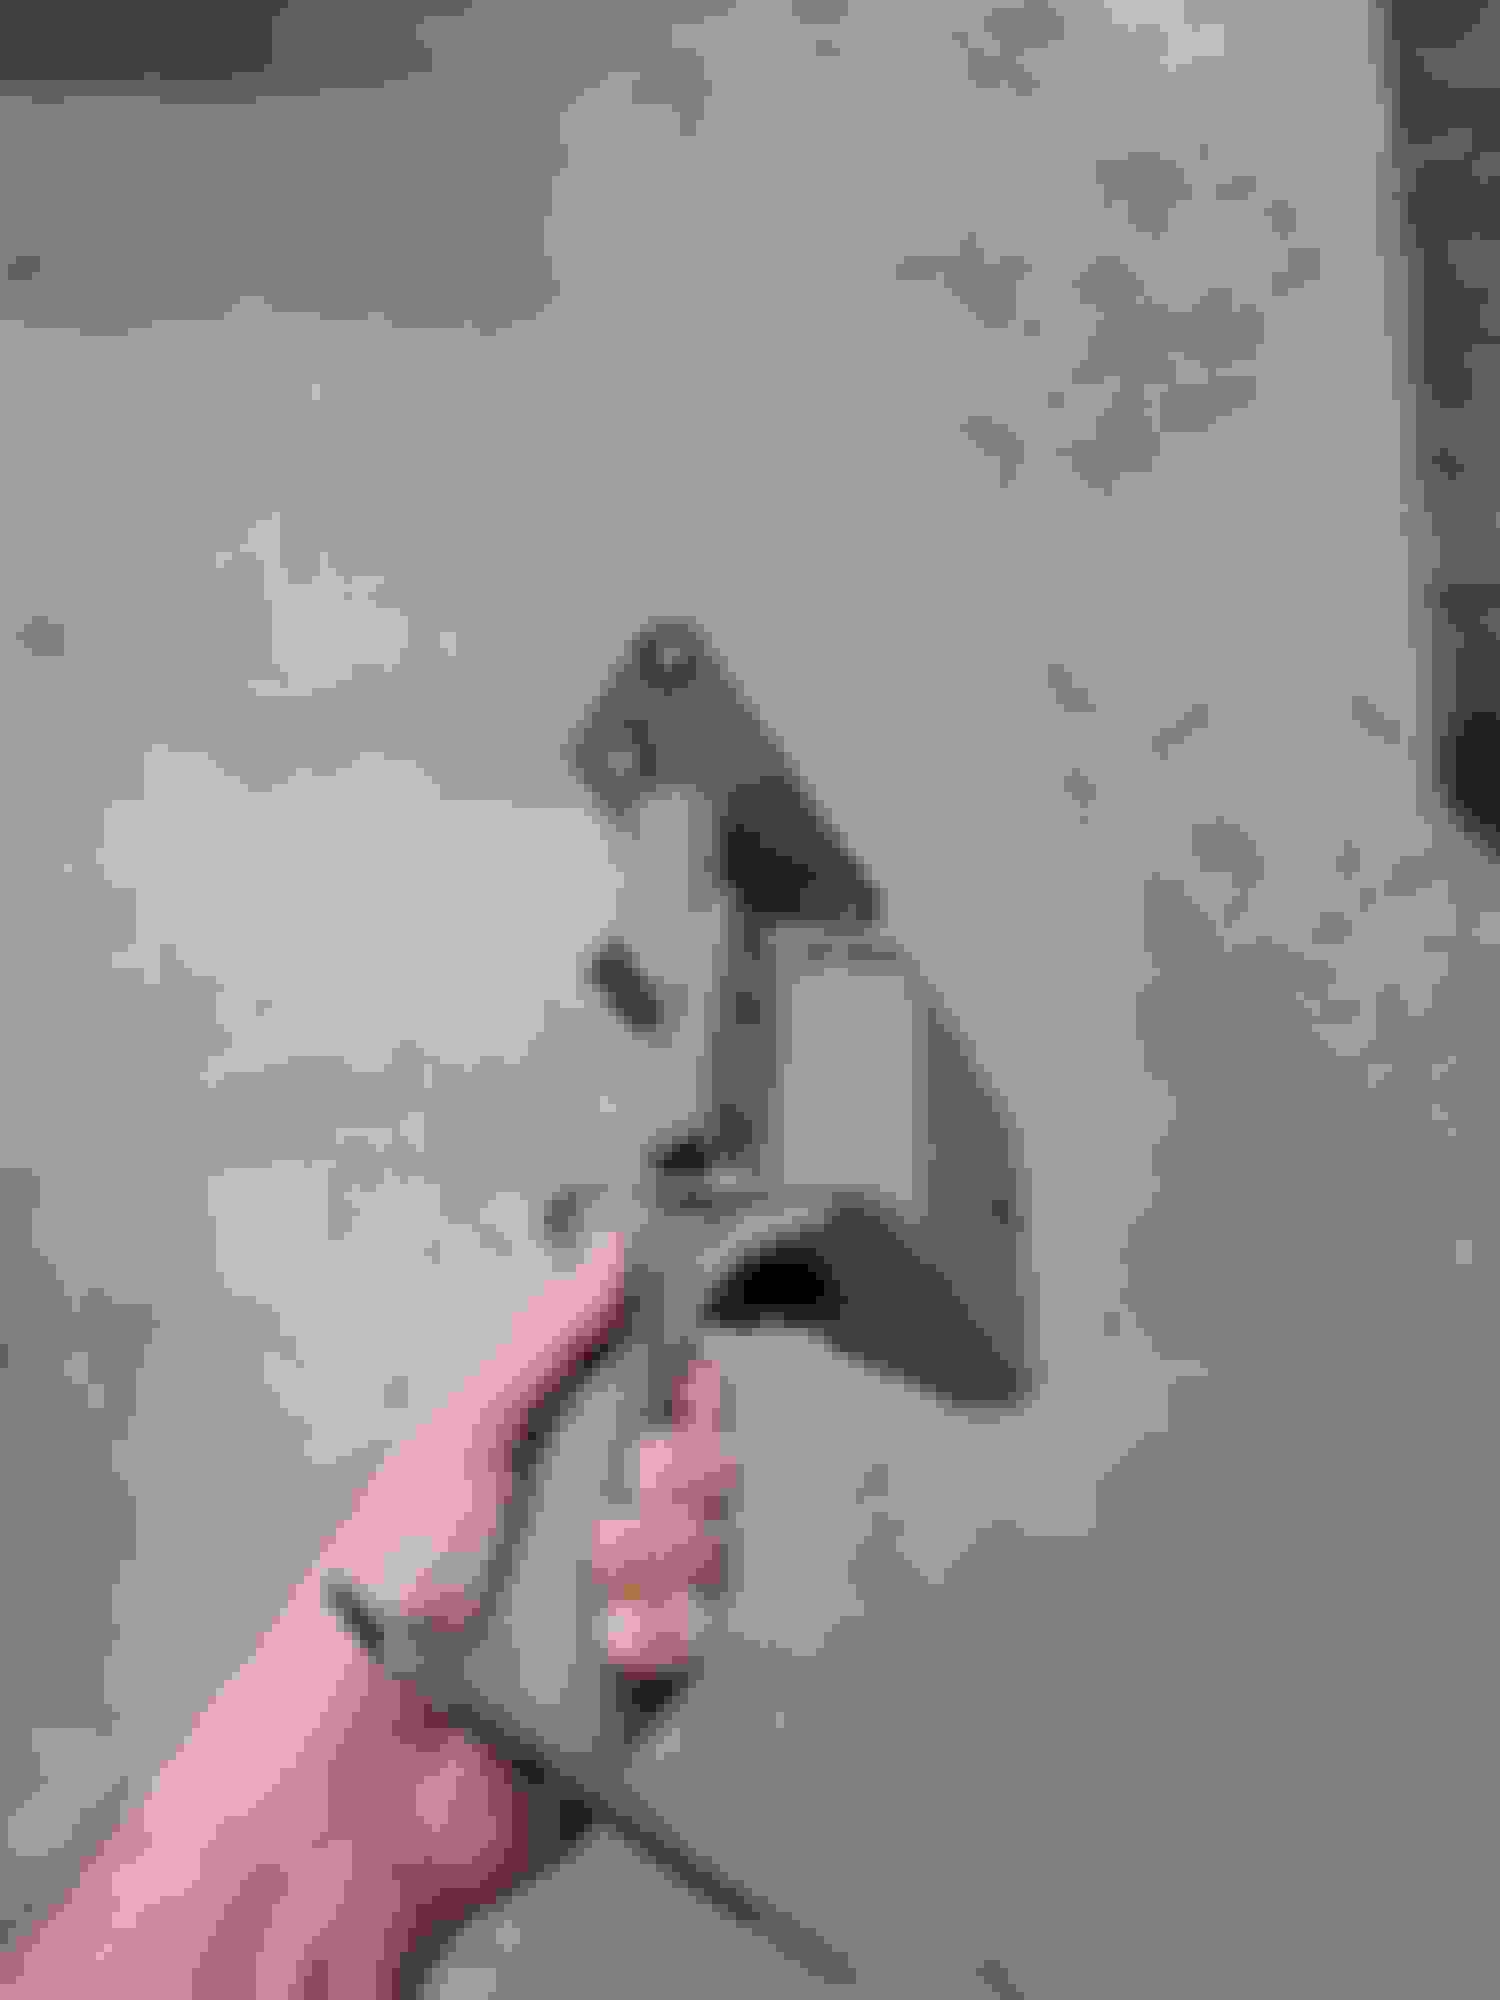
Ambition has struck again and I've made progress on the car over the last few months. One of the hold ups is I swapped oil pans with a friend. But my new v8r pan was just a hair too long in the sump to clear the Monster Miata subframe.I have nightmares about trying to modify an oil pan in the past but I gave it a go learning from my mistakes is shortening the Sumter area by roughly an inch clear my subframe. this time I bolted it down to a cylinder block before I welded it and got good results. Unfortunately I didn't get any pictures of it in progress. One piece of advice though is do not put an oil pan in your sandblasting cabinet unless you want to spend many hours cleaning all the nooks and crannies. Pictures are in no particular order.
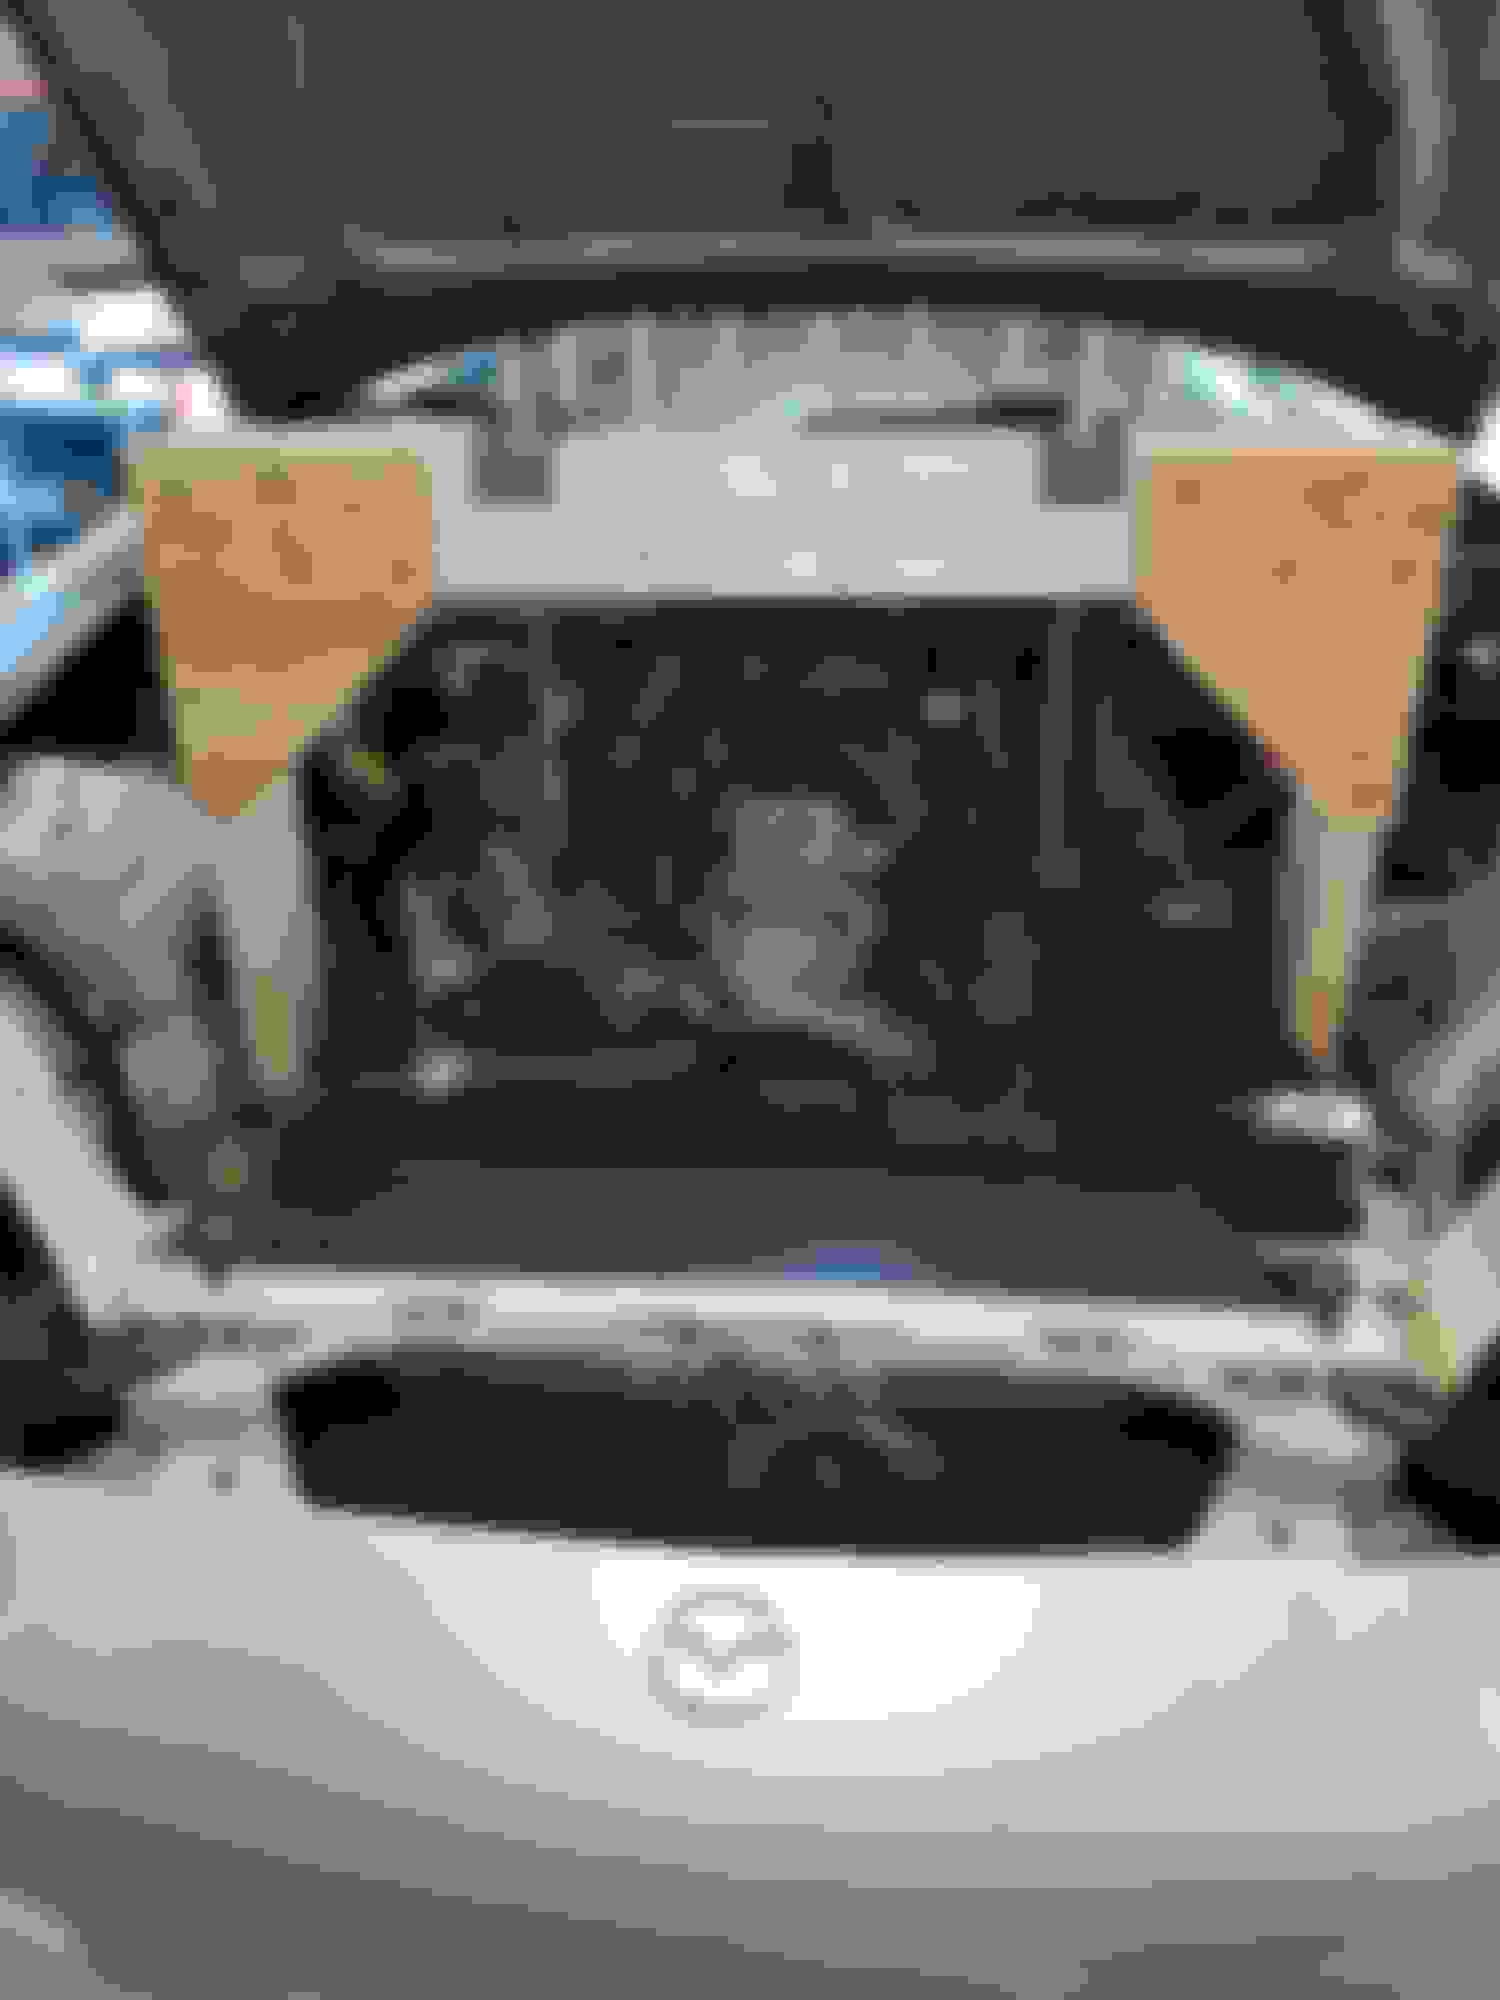
In case someone wants to build one of these. I found it pretty handy. I supported my motor with it while i replaced my pan with the V8R one.
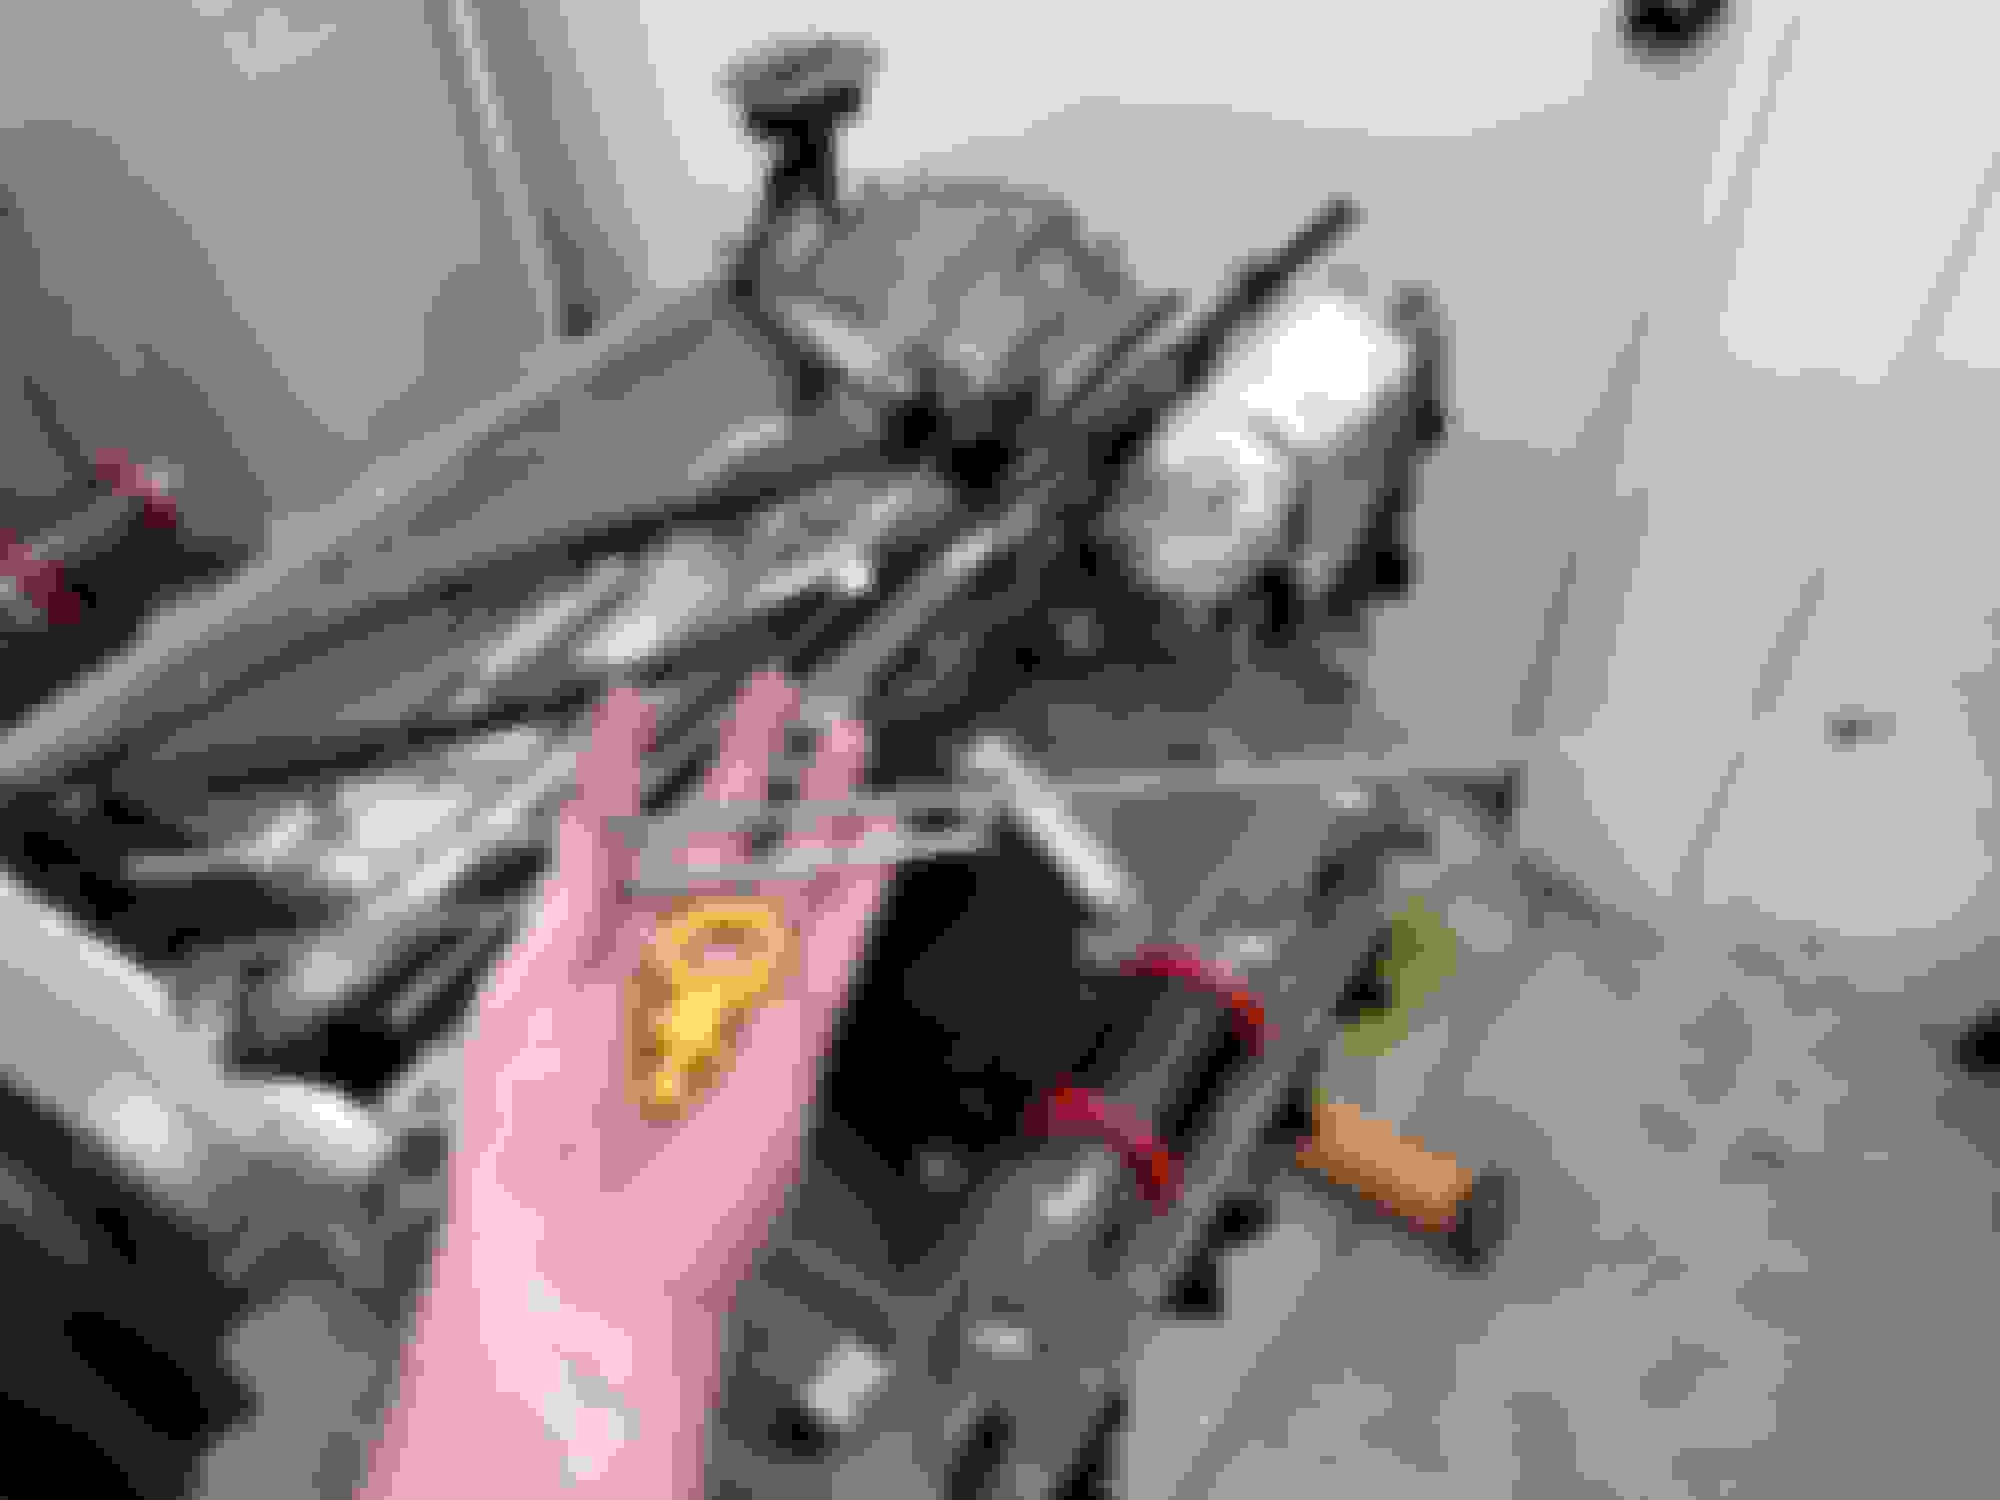
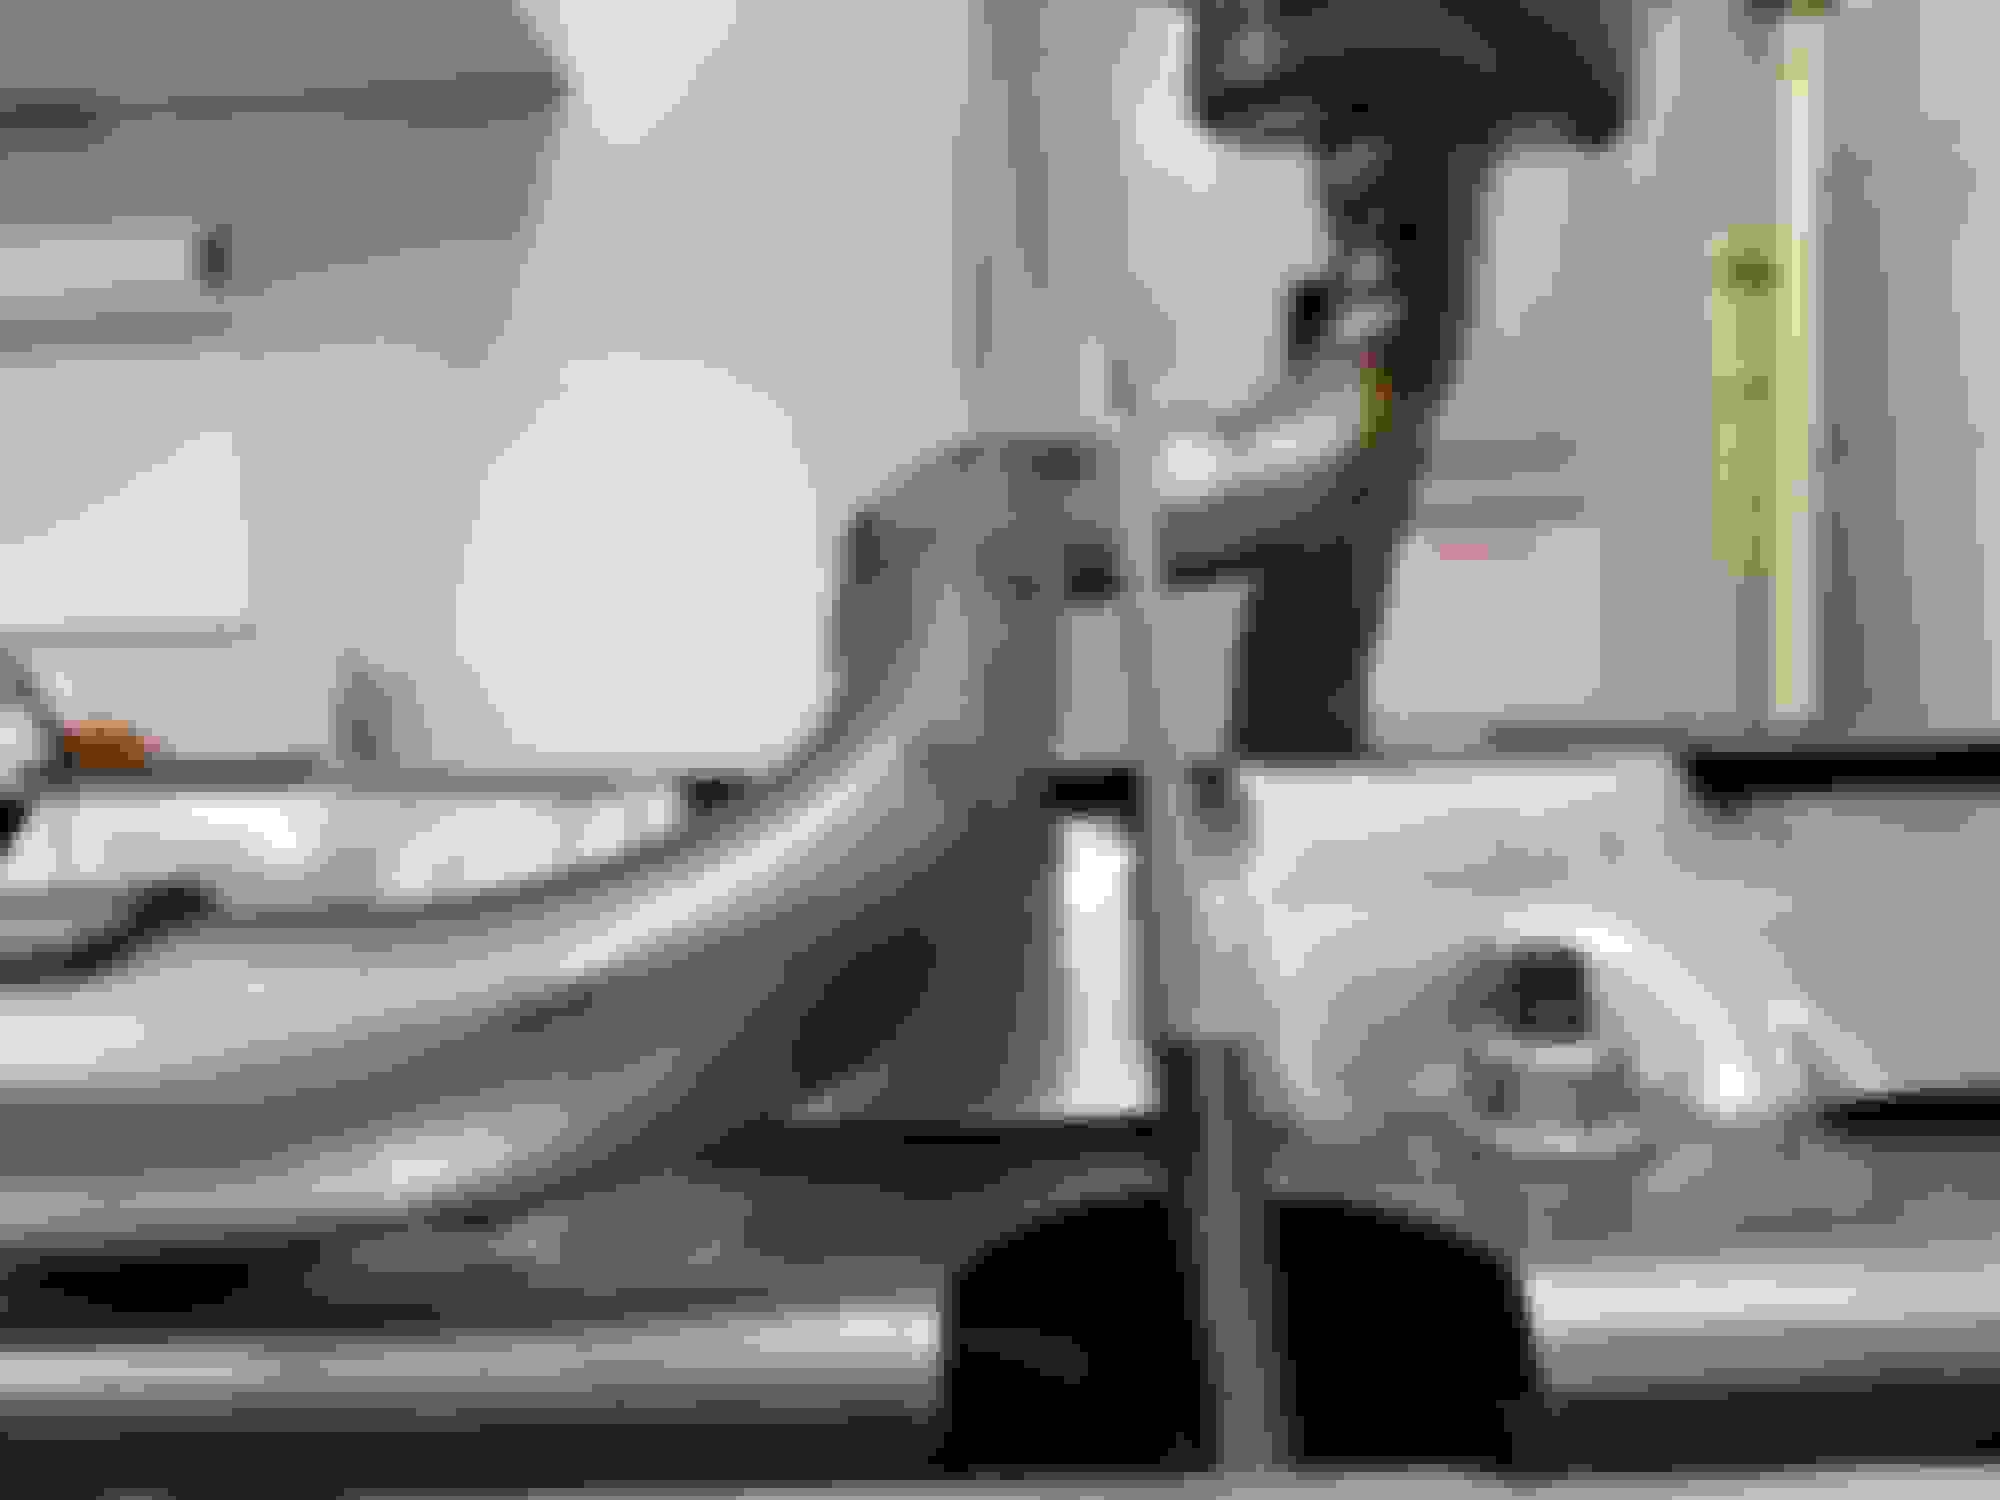
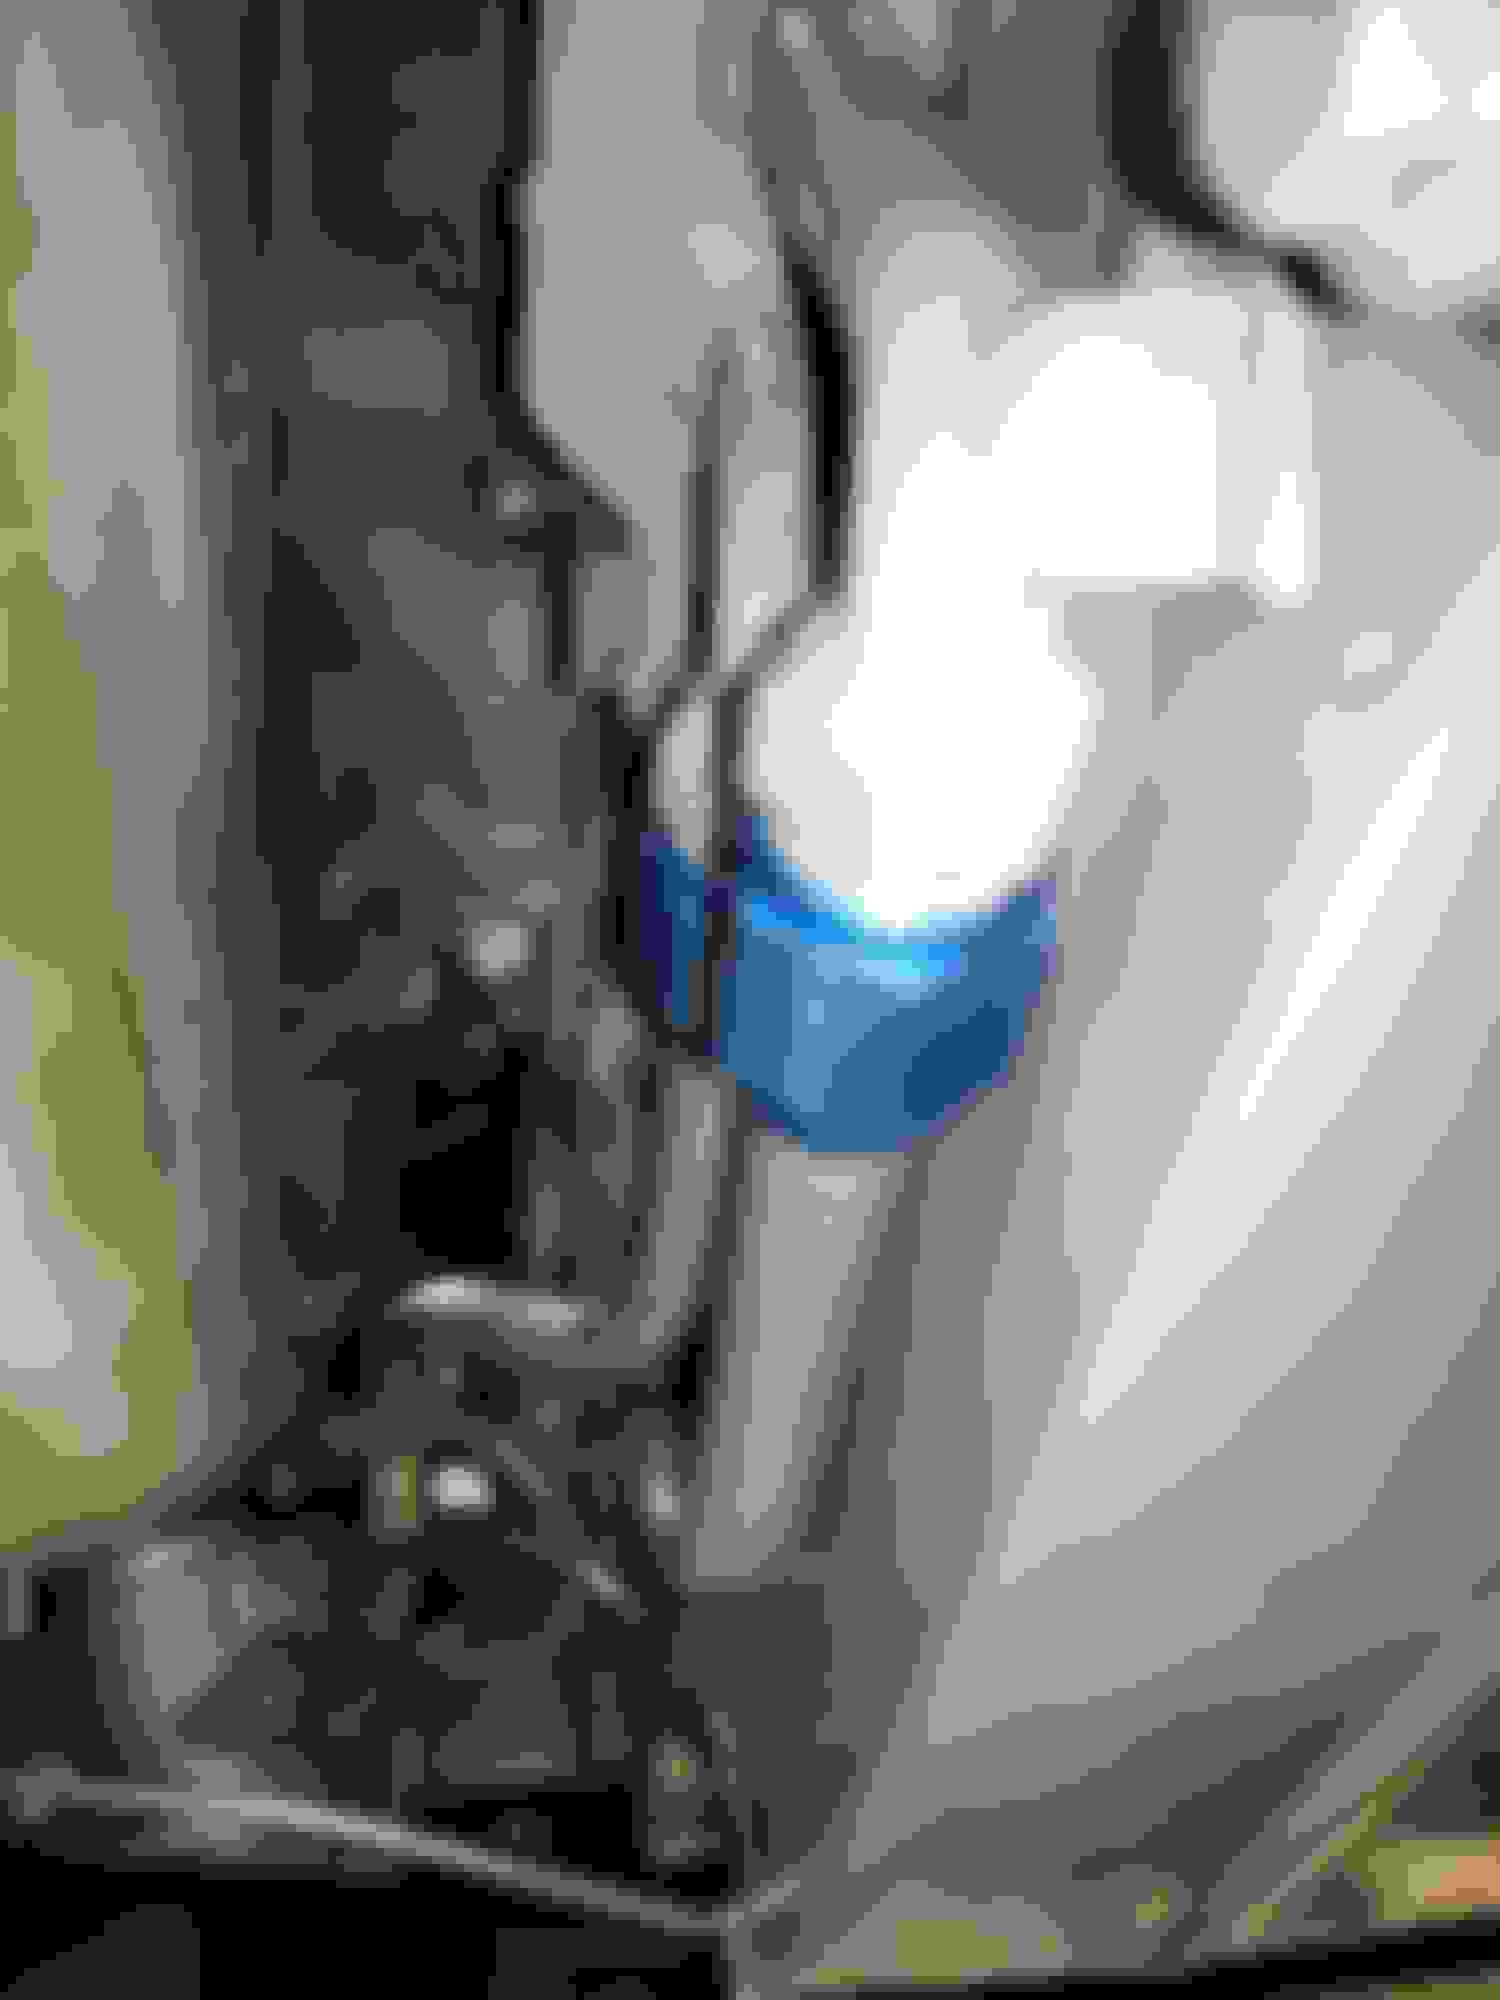
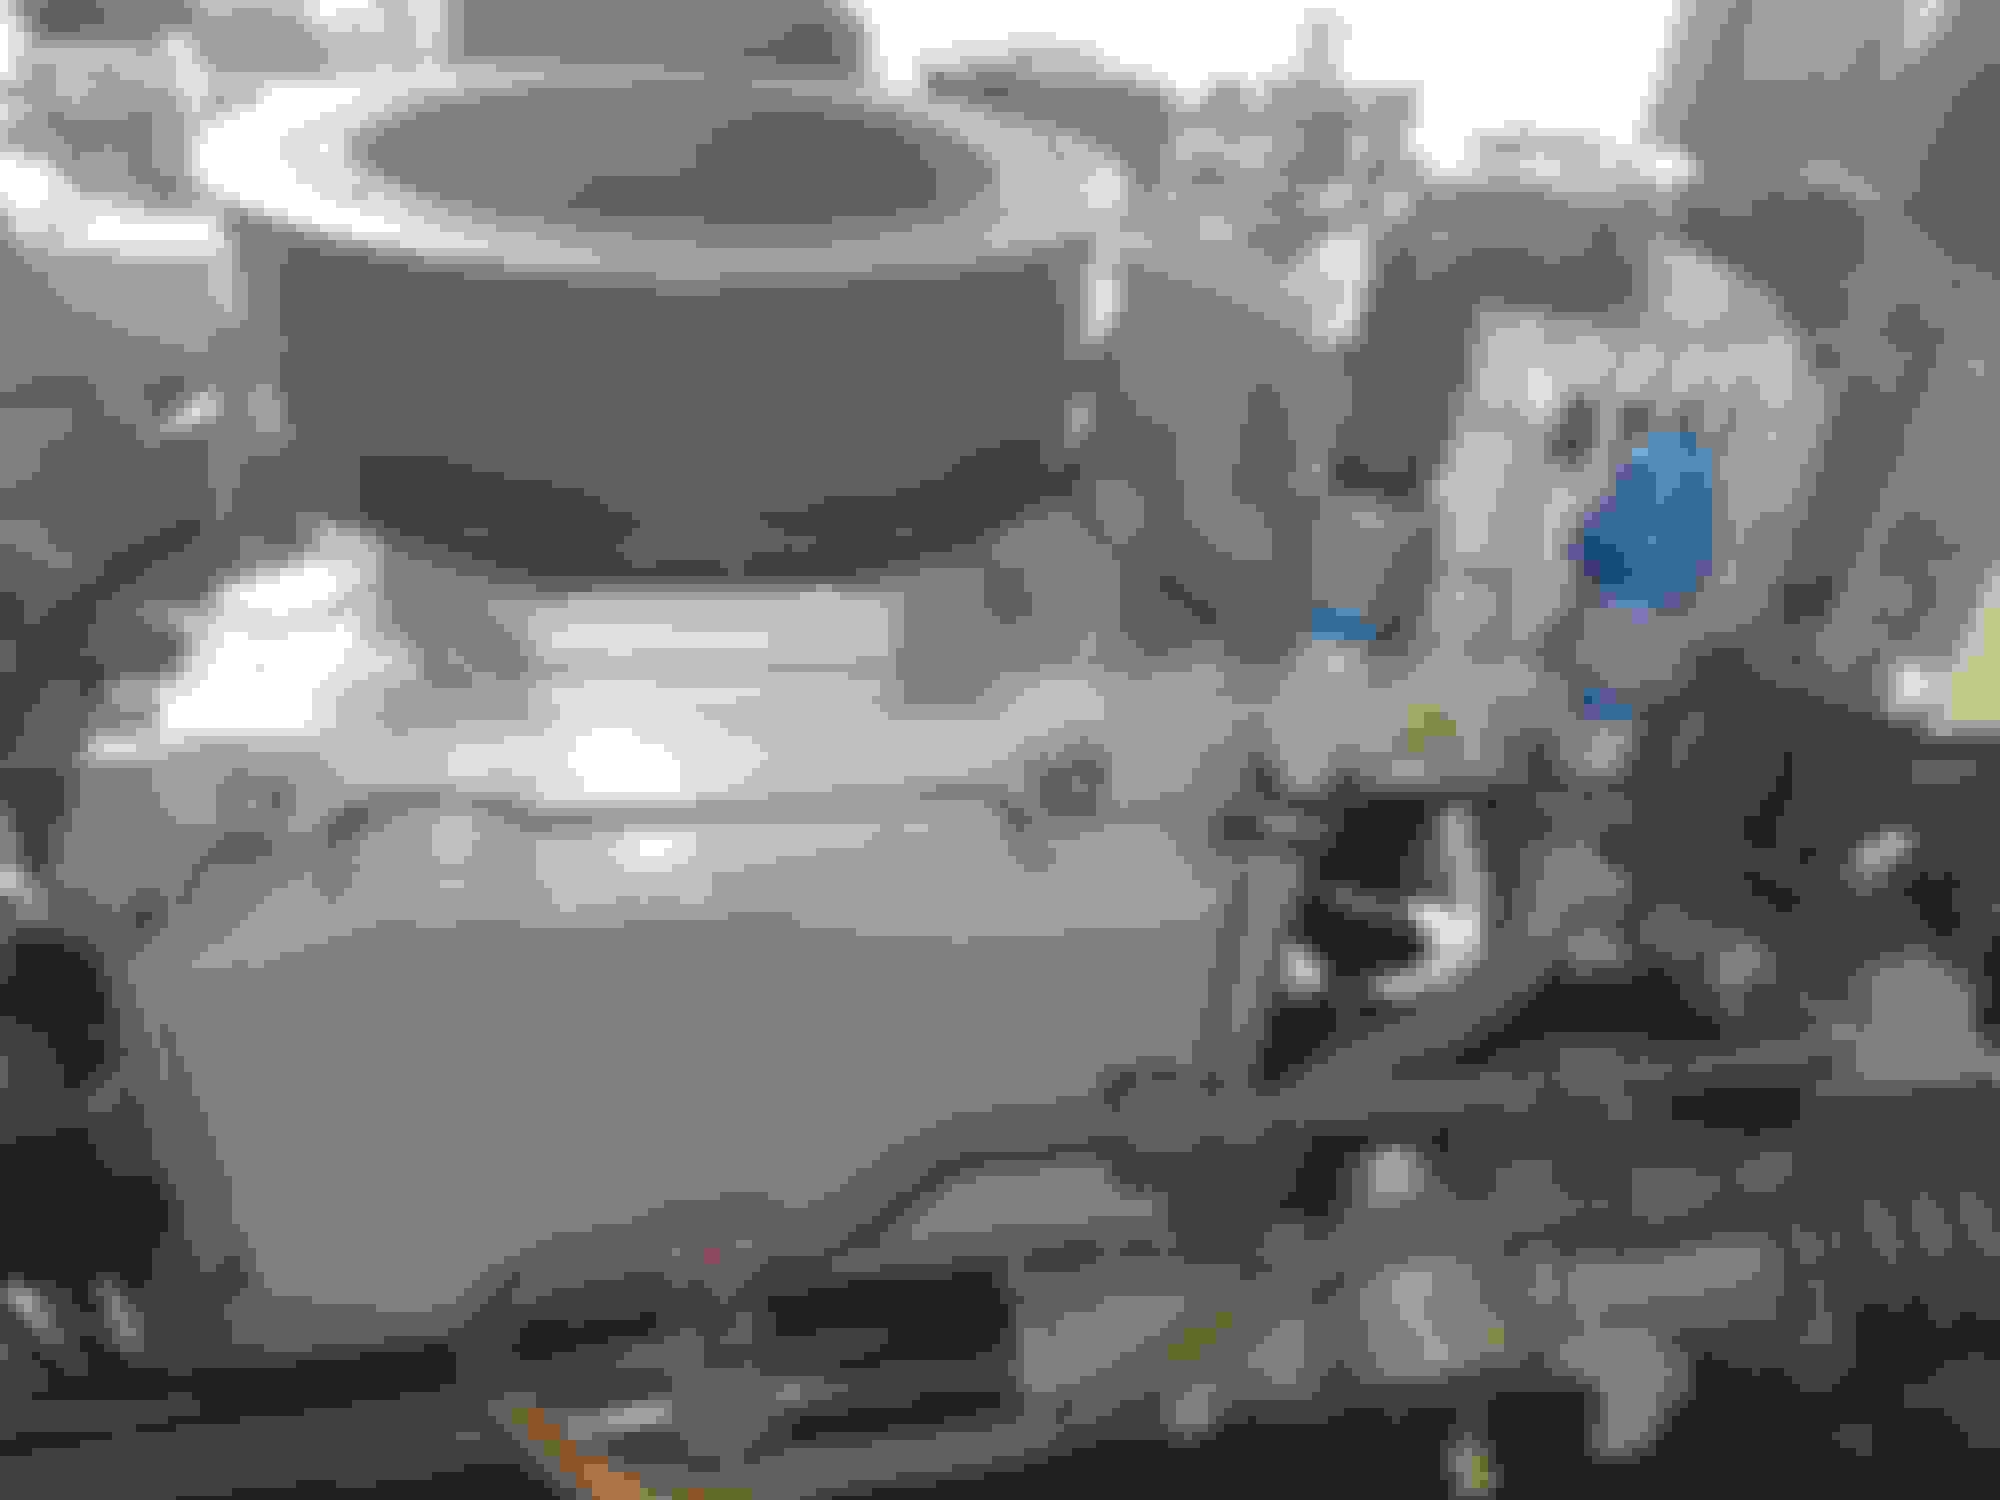
Finally got around to finishing my exhaust. Only had the tips to weld on last time. One of my favorite pictures of the car so far. Exhaust=finished. I traded my mast pan with a buddy for a steel V8R pan with a remote filter. Here in my mounting position. Things get tight by the PS rack so I bent some hard lines to snake through there. This is the left side of the oil pan. This one shows the other end of the tubing. Was still waiting on the correct 90 degree -10 AN fittings at this point. I made this engine support Gantry to help with a buddies car. This one has a stock LS1 with a 4l60.
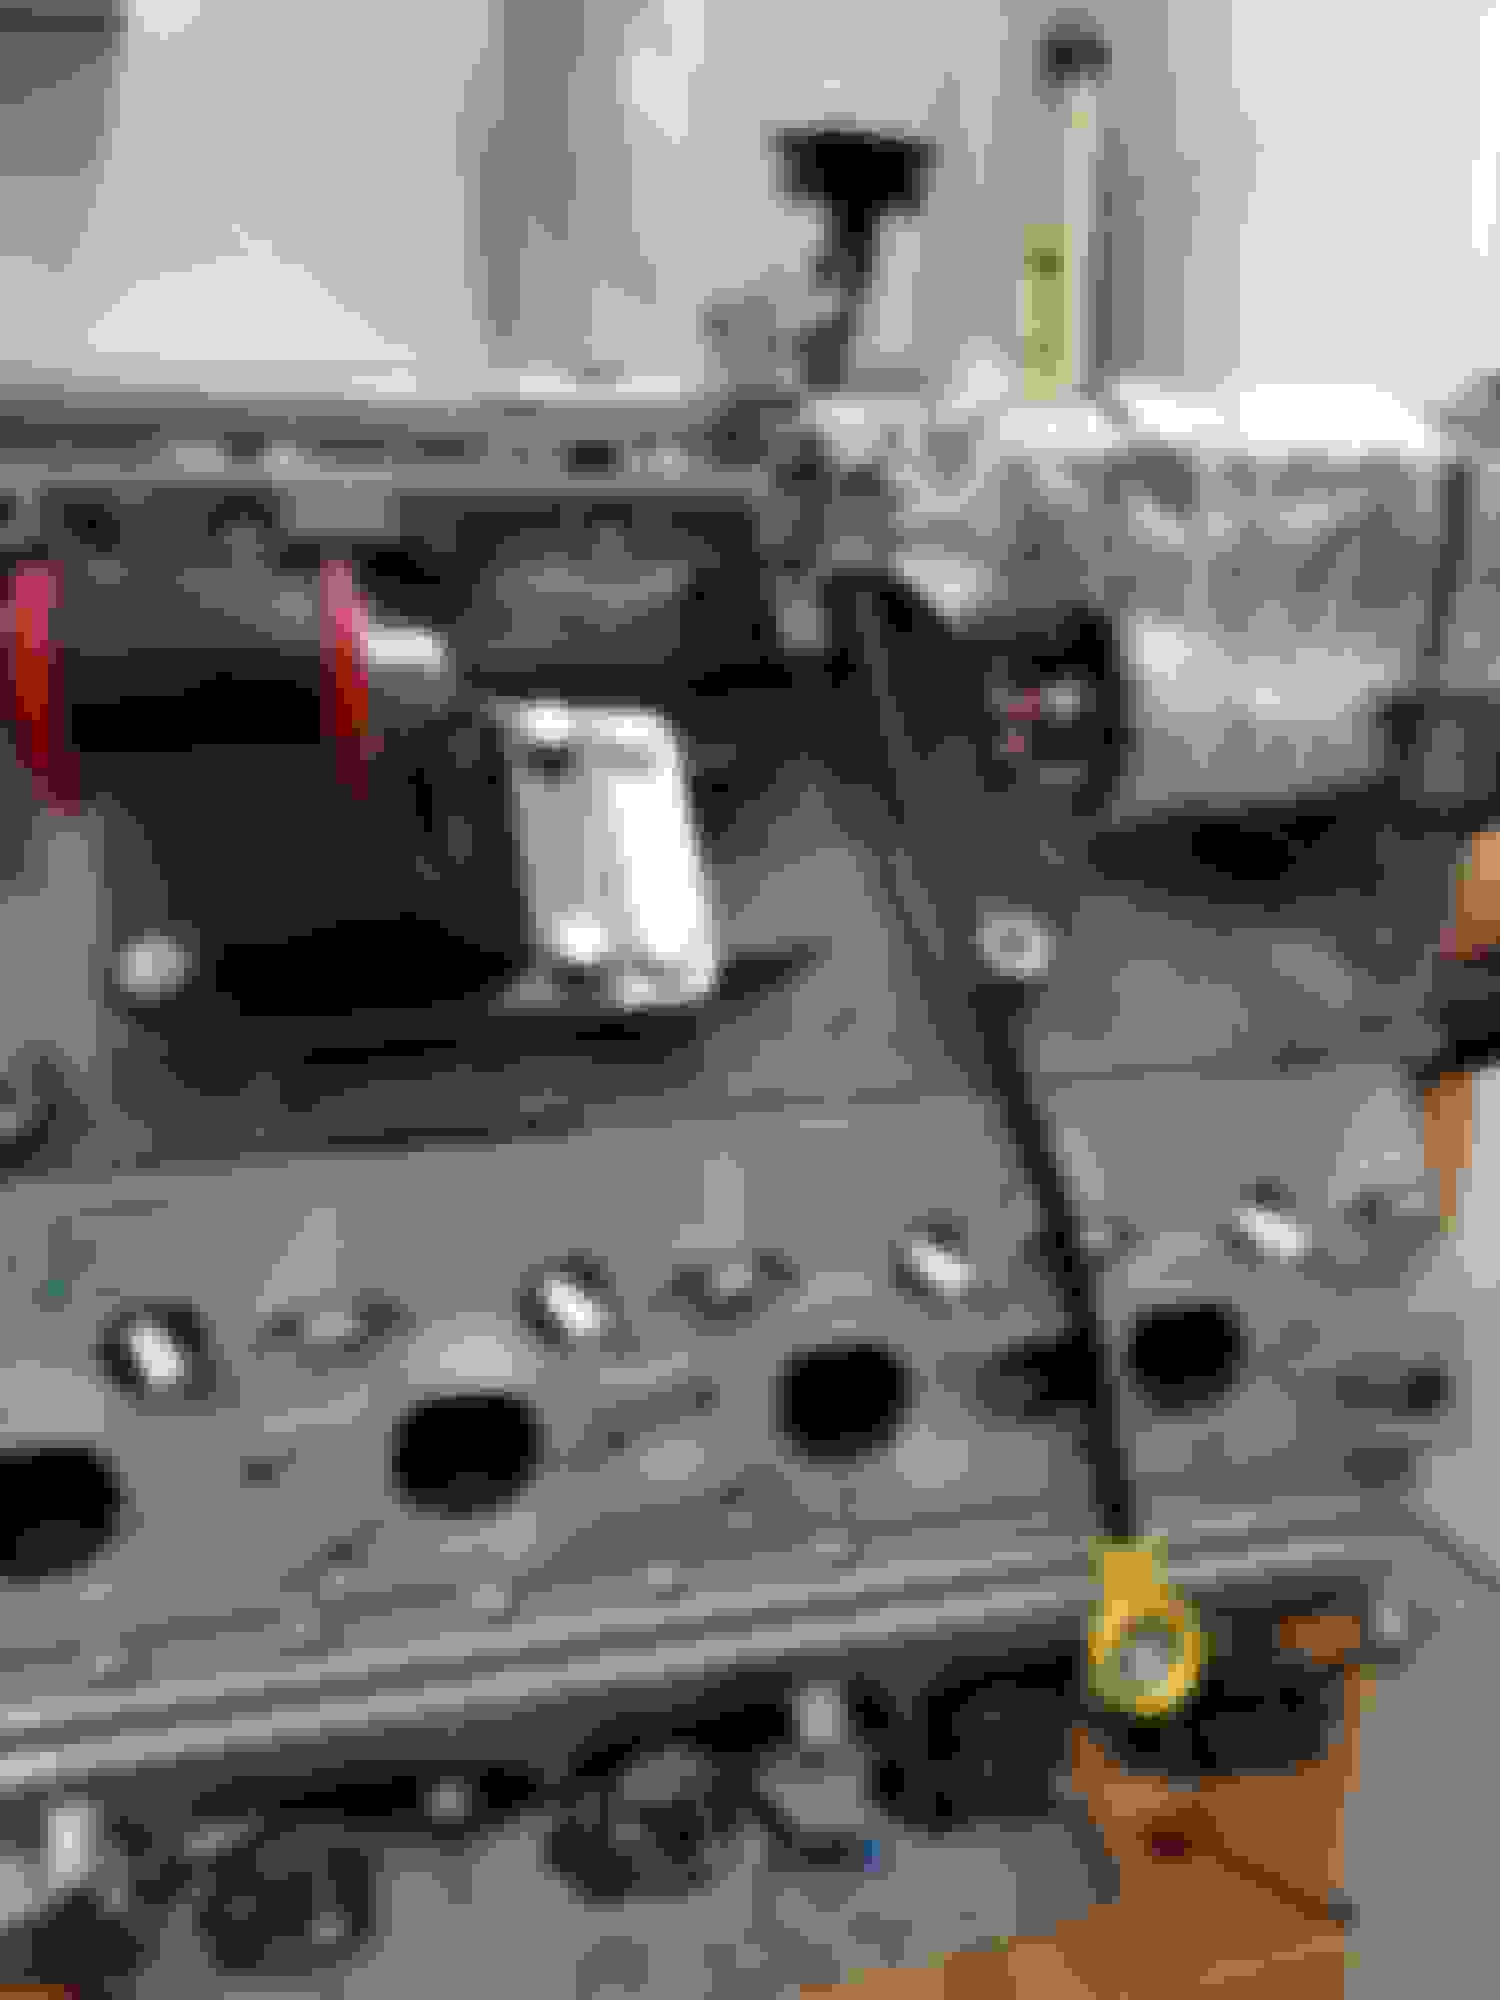
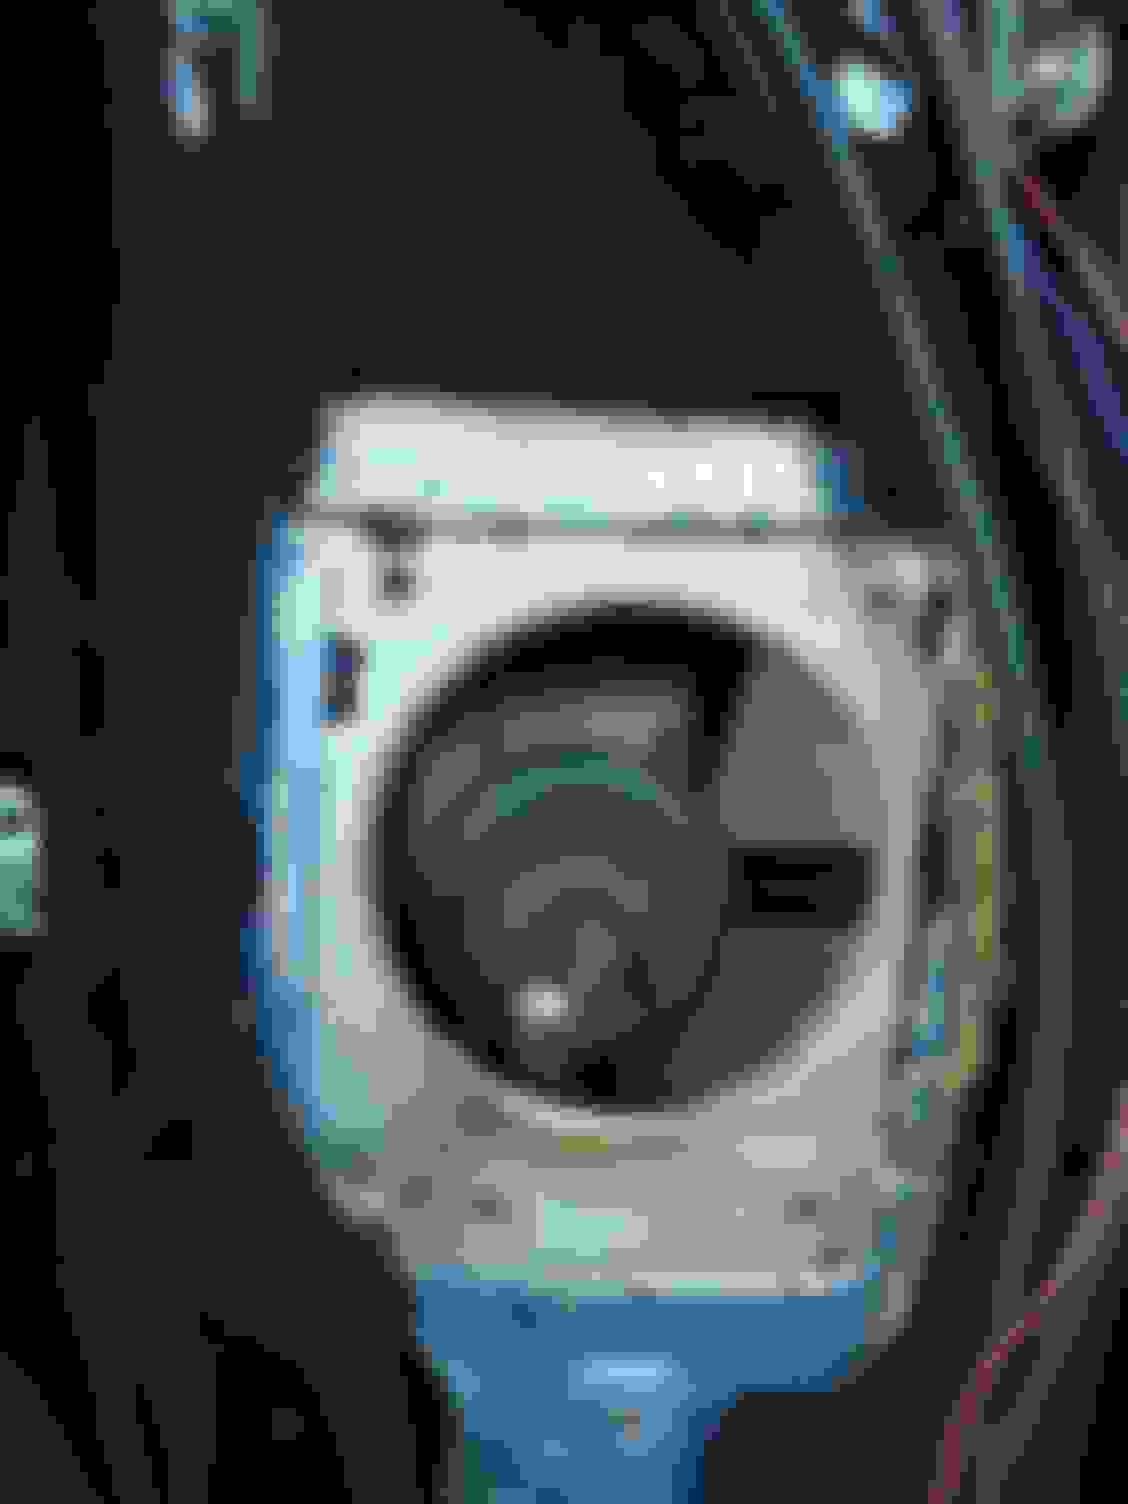
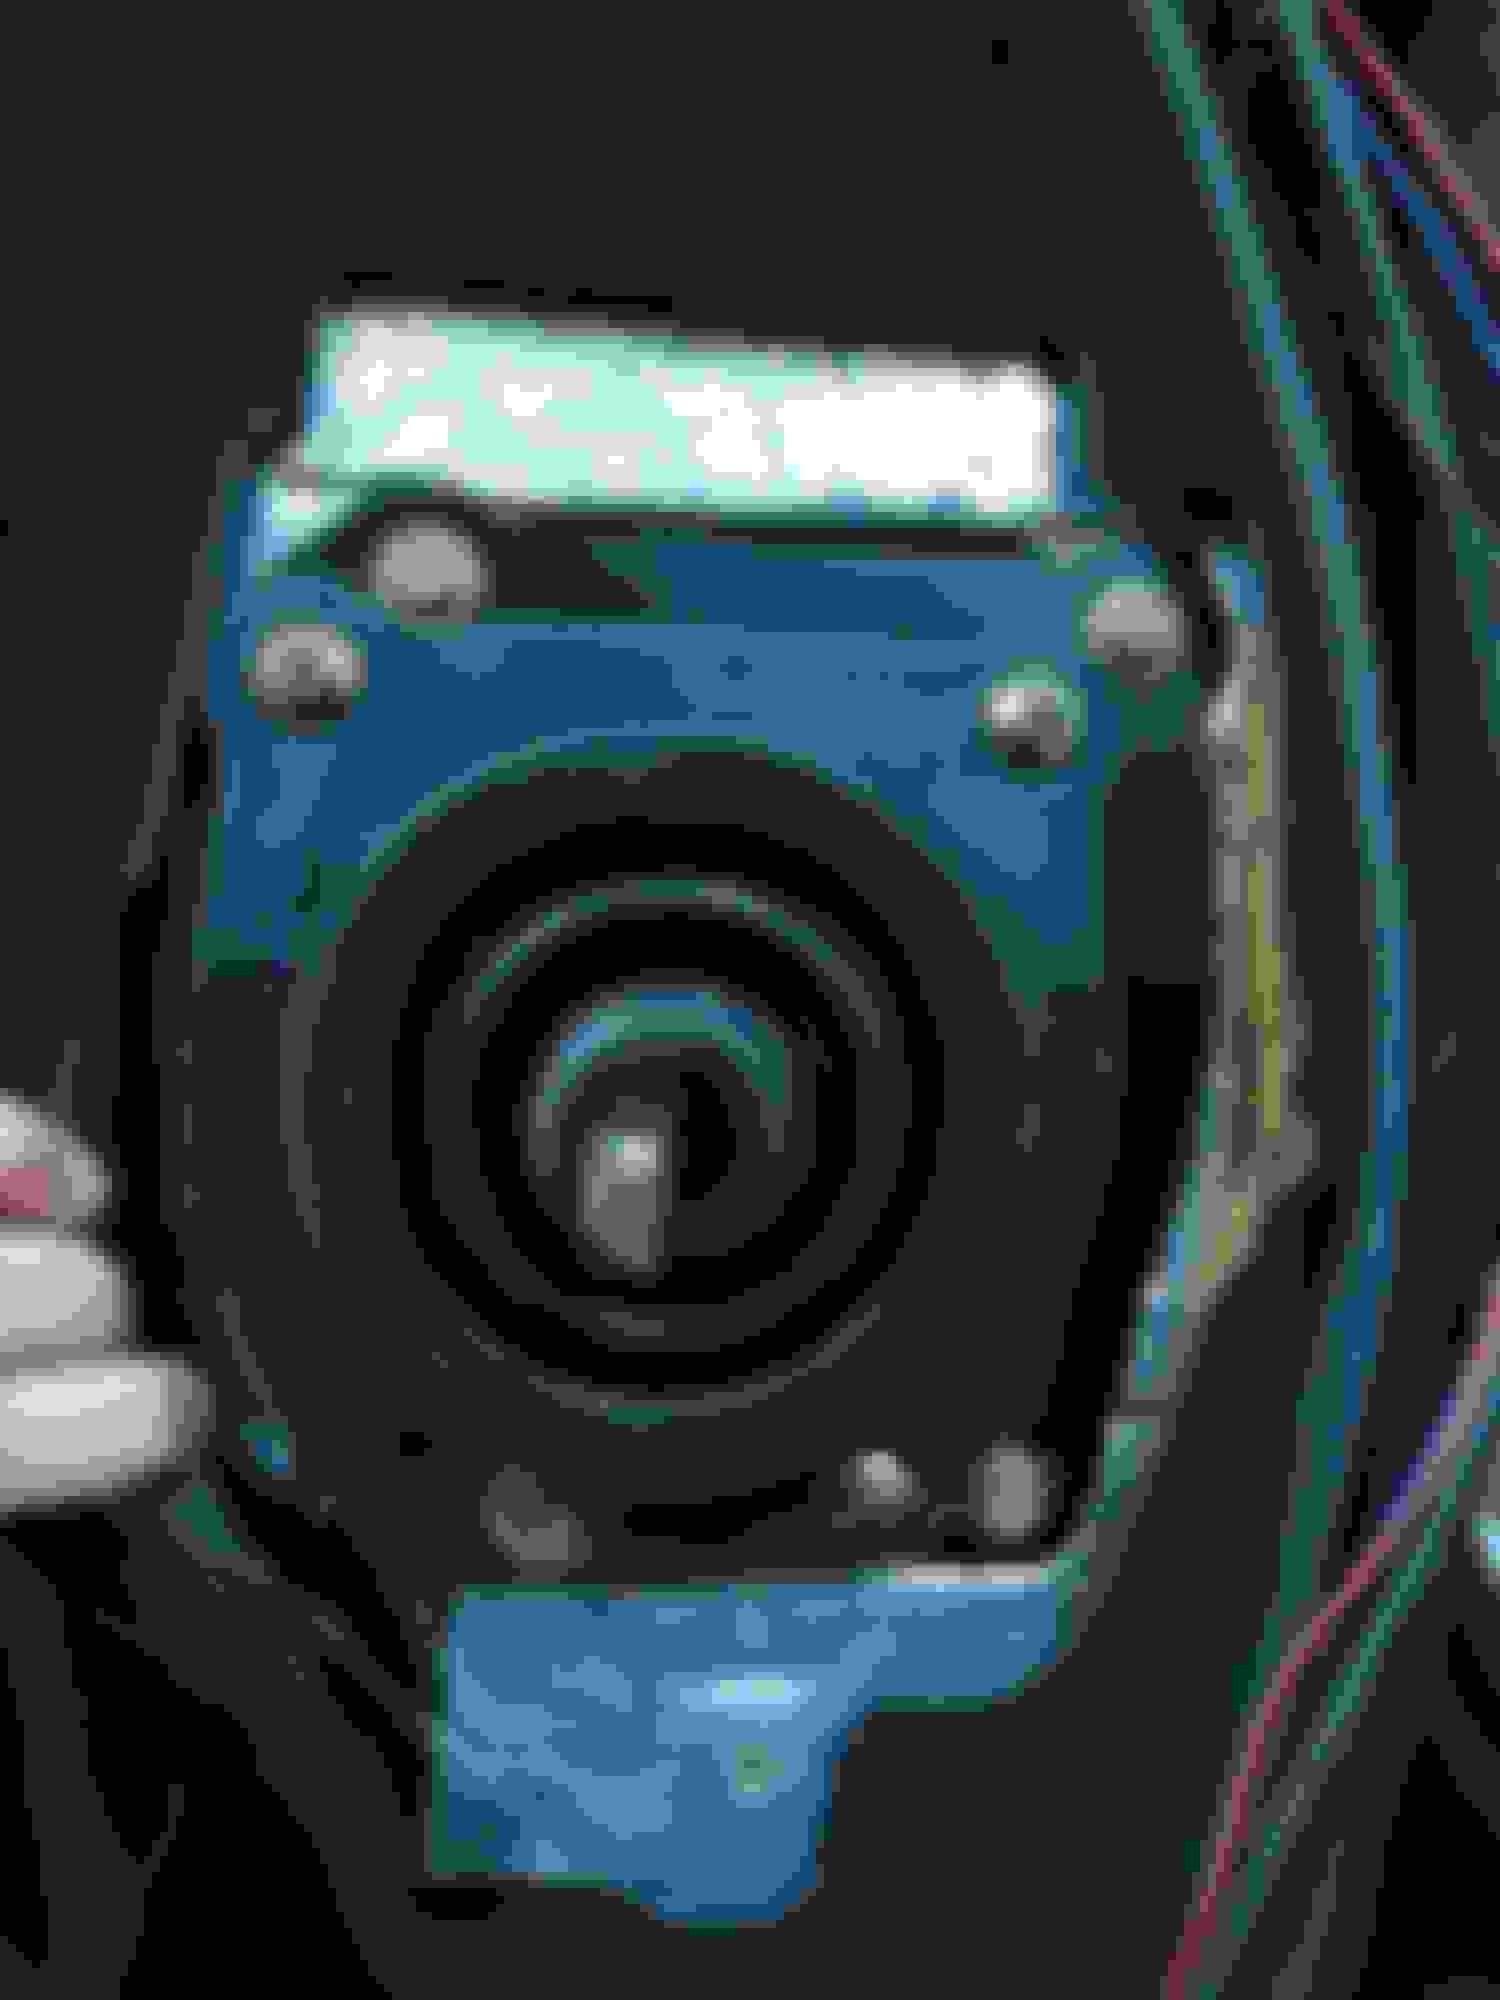
A buddy hooked me up with his accusump so I could prime my motor. This is the metric to NPT adapter fitting I used. This is the left side / Front corner of the block where i hooked up the accusump. This is immediately after the oil pump. This was a great opportunity to verify my oil pressure sensor was functional before starting the car. Nearing the end now. Finally added fluids to it and the gas is really stinking up the garage so i let the old charcoal canister hang. A functional Evap system is on the to-do list. My 9" JRW'S came in after a long wait. Looking good. Relocated the brake lines off the firewall and under the motor and to the left side of the car. Also decided to run my fuel line up the drivers side instead of the passenger side. Things were just too tight by the exhaust.
 12-12-2020, 06:33 PM