When you click on links to various merchants on this site and make a purchase, this can result in this site earning a commission. Affiliate programs and affiliations include, but are not limited to, the eBay Partner Network.
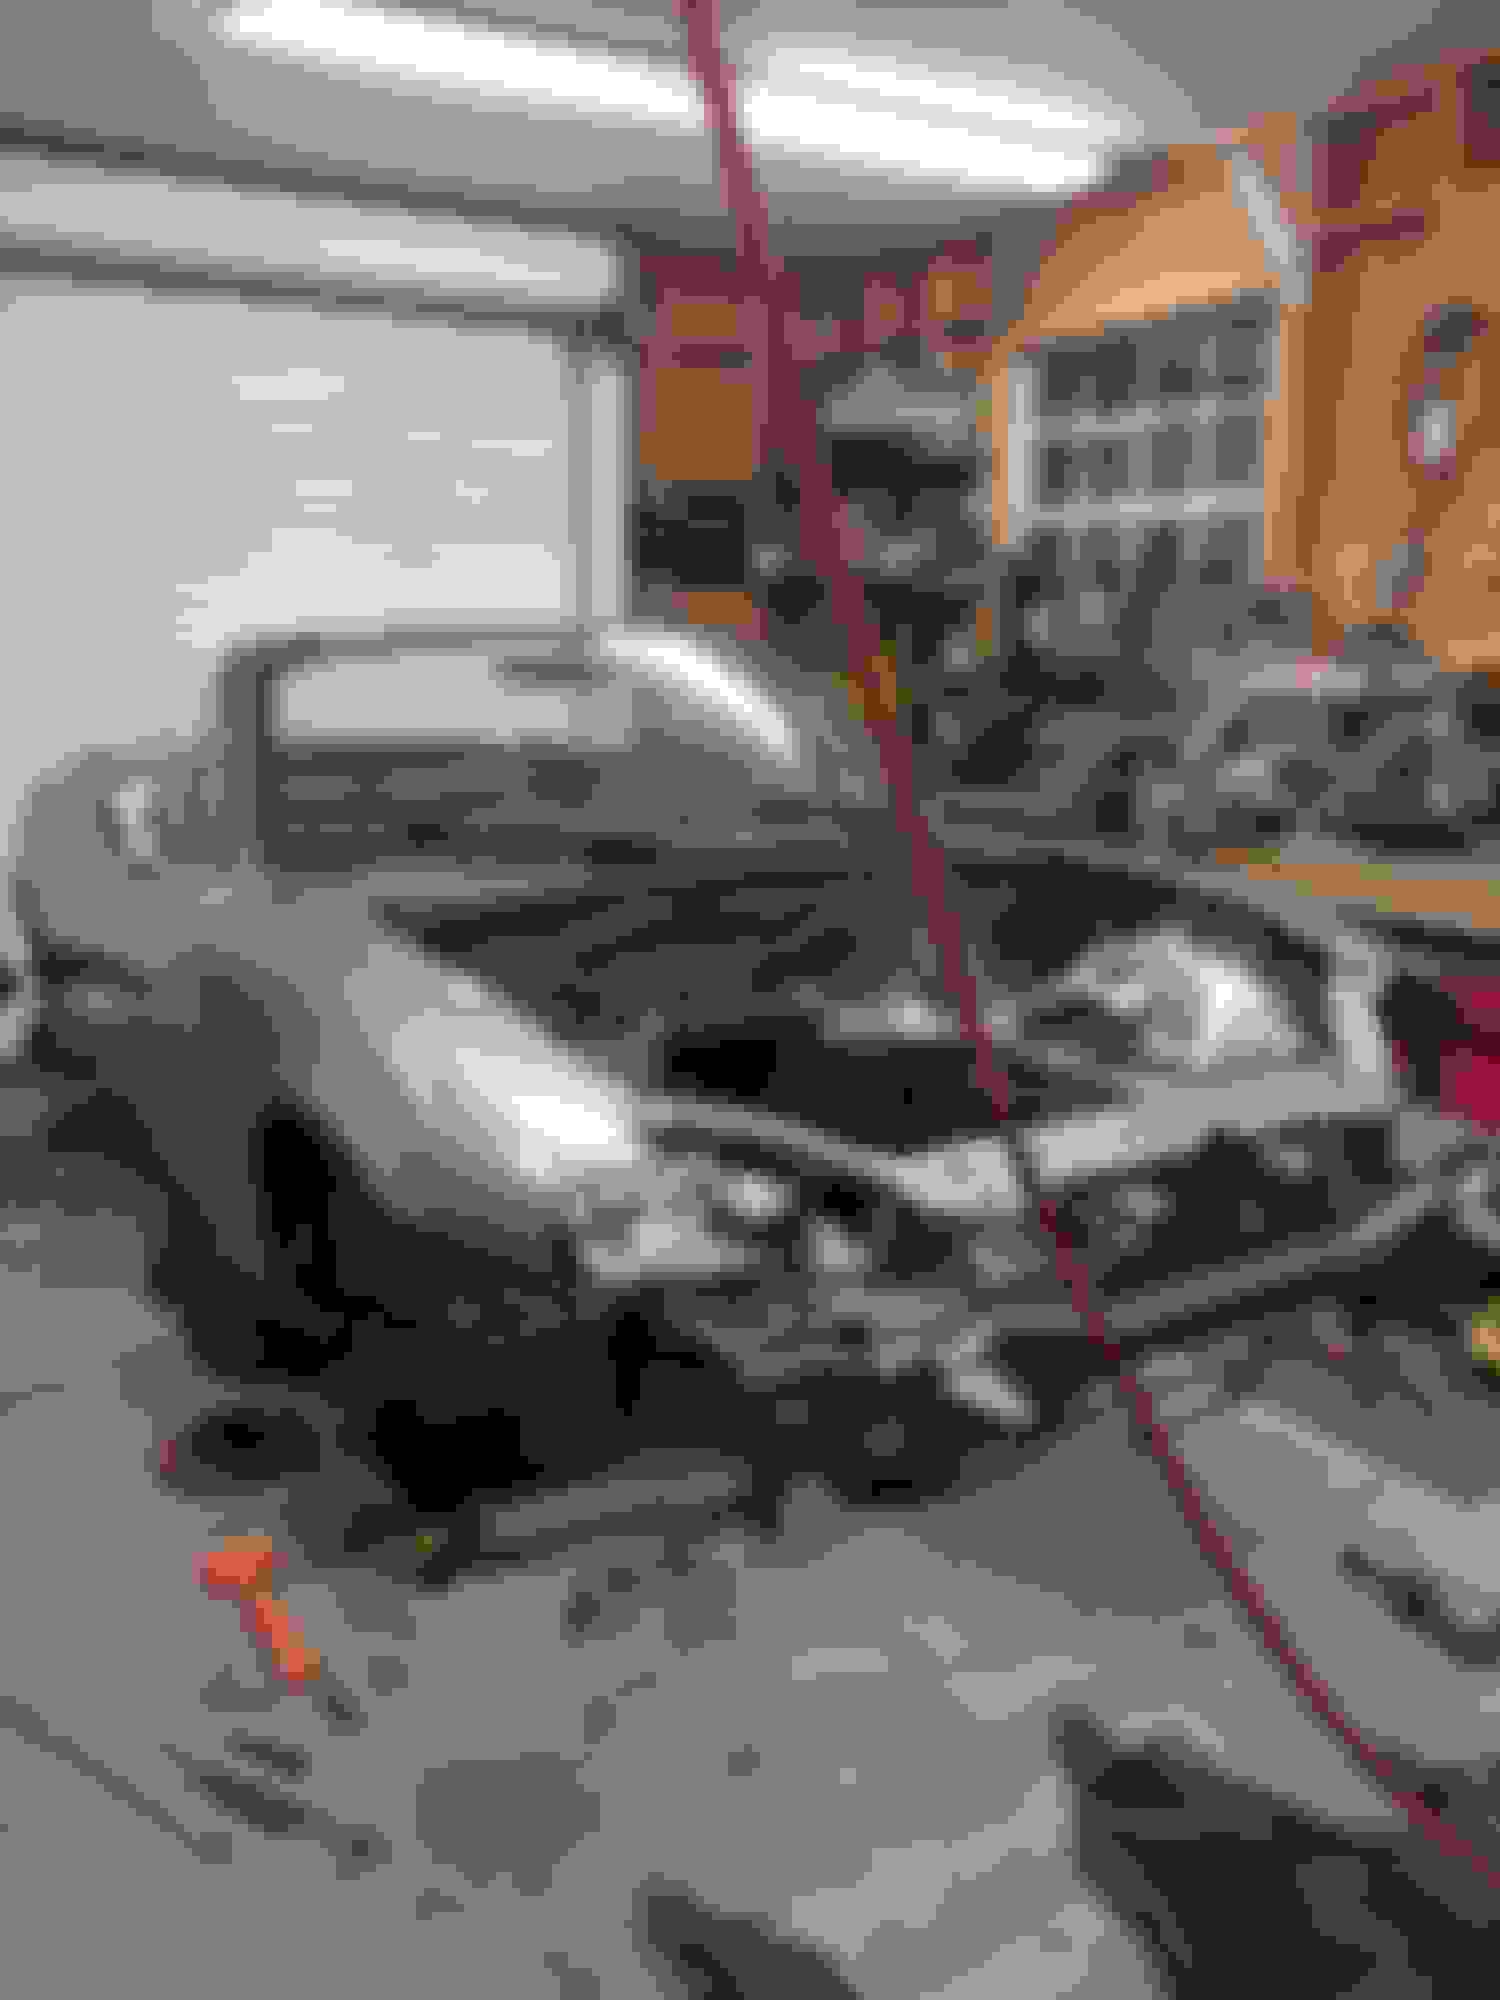
This is my 2004 Mazdaspeed Miata, and I'm in the process of swapping in an LS1 from a 2001 Camaro. The transmission I'm using is a 5 speed Aisin AR5 from a 2019 Polaris Slingshot. The whole thing is attached with an adapter plate from Fab Bot which uses a 4l60e Bellhousing. The reason I decided not to use the go-to T56 is just the heavy clunky feel of the shifter and, of course, the ever rising cost of even a thrashed unit. I picked up this damn-near brand new AR5 for about $900 shipped and along with the adapter, the whole setup cost around $1500. Parts are also very easy to find for these transmissions.
The rear differential I'm going to use is a cast iron ford 8.8 IRS out of a thunderbird of some kind, and I had a guy swap in an LSD carrier and a 2.47!!! ratio ring an pinion. Yes that's right. 2.47:1 final drive ratio.
The reason for such long gears is the tiny 205/50R15 tires coupled with the pretty short gears of the transmission. I did the math, and it should work out to be a nice long geared torquey road trip car like I'm planning for it to be. With a 5th gear ratio of .73:1, 23.1" tire height, and that 2.47 final, that puts me at 1850 RPM doing 70 on the interstate. I know that I'd have even better gearing with a 3.23 final and using a TR6060 or a T56, but I have a T56 in my Vette, and I just don't like the way it shifts. I've heard the TR6060 is better for shift feel, but I just can't justify spending twice as much for one more gear and slightly improved ratios.
More about the LS1: It's a ~30k mile example with the later LS6 block casting, an LS6 valley cover/PCV setup, LS6 intake, I took the whole thing apart minus messing with the rotating assembly since it looked beautiful and the bearing clearances were right on. All I had to do was replace the head gaskets with the later MLS versions, stick an LS2 timing chain on it, and replace all the gaskets.
As far as the heads, they are stock casting 241 heads that I pressure washed and then flattened using a granite surface plate. The machine shop wanted $200 to resurface them so I just did it the hard way myself. I redid all the rocker's trunion bearings with that BTR kit, lapped all the valves, put in a set of BTR dual valve springs and titanium retainers then connected all those things together with some hardened pushrods.
The cam is a 224R cam with .600" valve lift and a 112* lobe separation. I put in some LS7 lifters and buckets while I was in there. This is just a daily driver, so I didn't want to get too crazy with the cam, but it also needed to have some nasty lope since that's literally the only reason I'm doing this swap.
The headers are just some ceramic coated Sanderson Shorty headers that they said would fit in a Miata. (They do)
The "Hard way" part of this build in the "front mid engine" mounting I'm going with. I figured with a little more fabrication, I could avoid having to use an aftermarket oil pan, Having to move my front sway bar, I could gain a ton of steering shaft clearance, I'd have tons of room for my radiators and fans, and all the extra weight I'm adding to the front would be shifted back. I'd have to get some numbers off a regularly swapped miata to see how much further back I was able to get the engine, but if I had to guess, I'd say it was around 2 or 3 inches. Sure not a ton, but I was limited based on my shifter position and some other things. I'm pretty happy with how it sits.
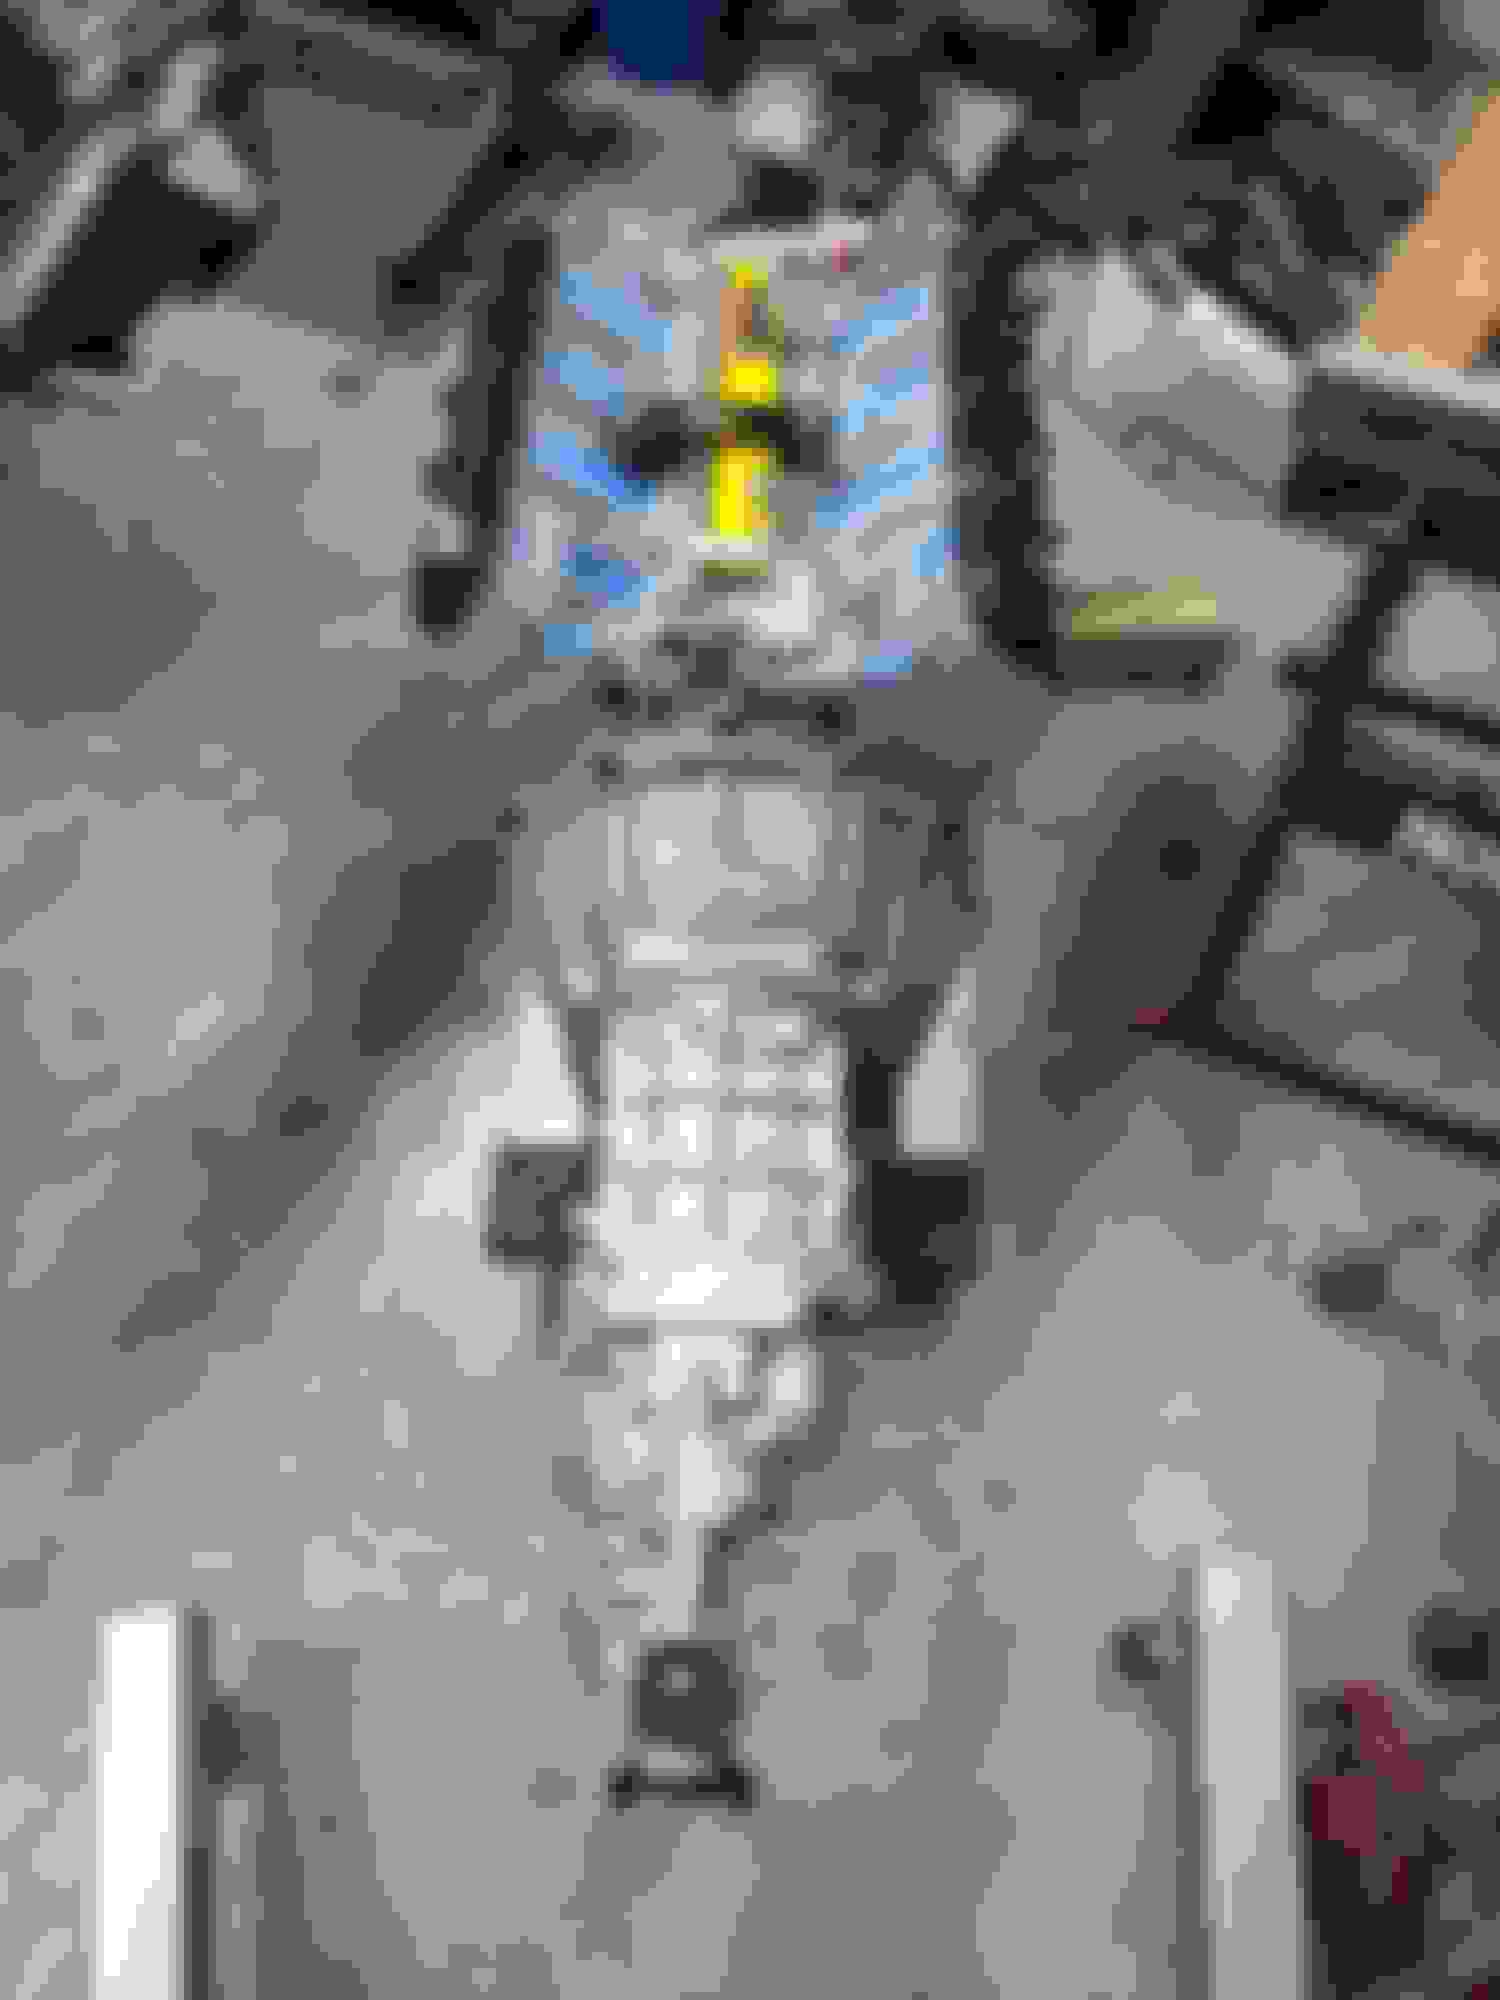
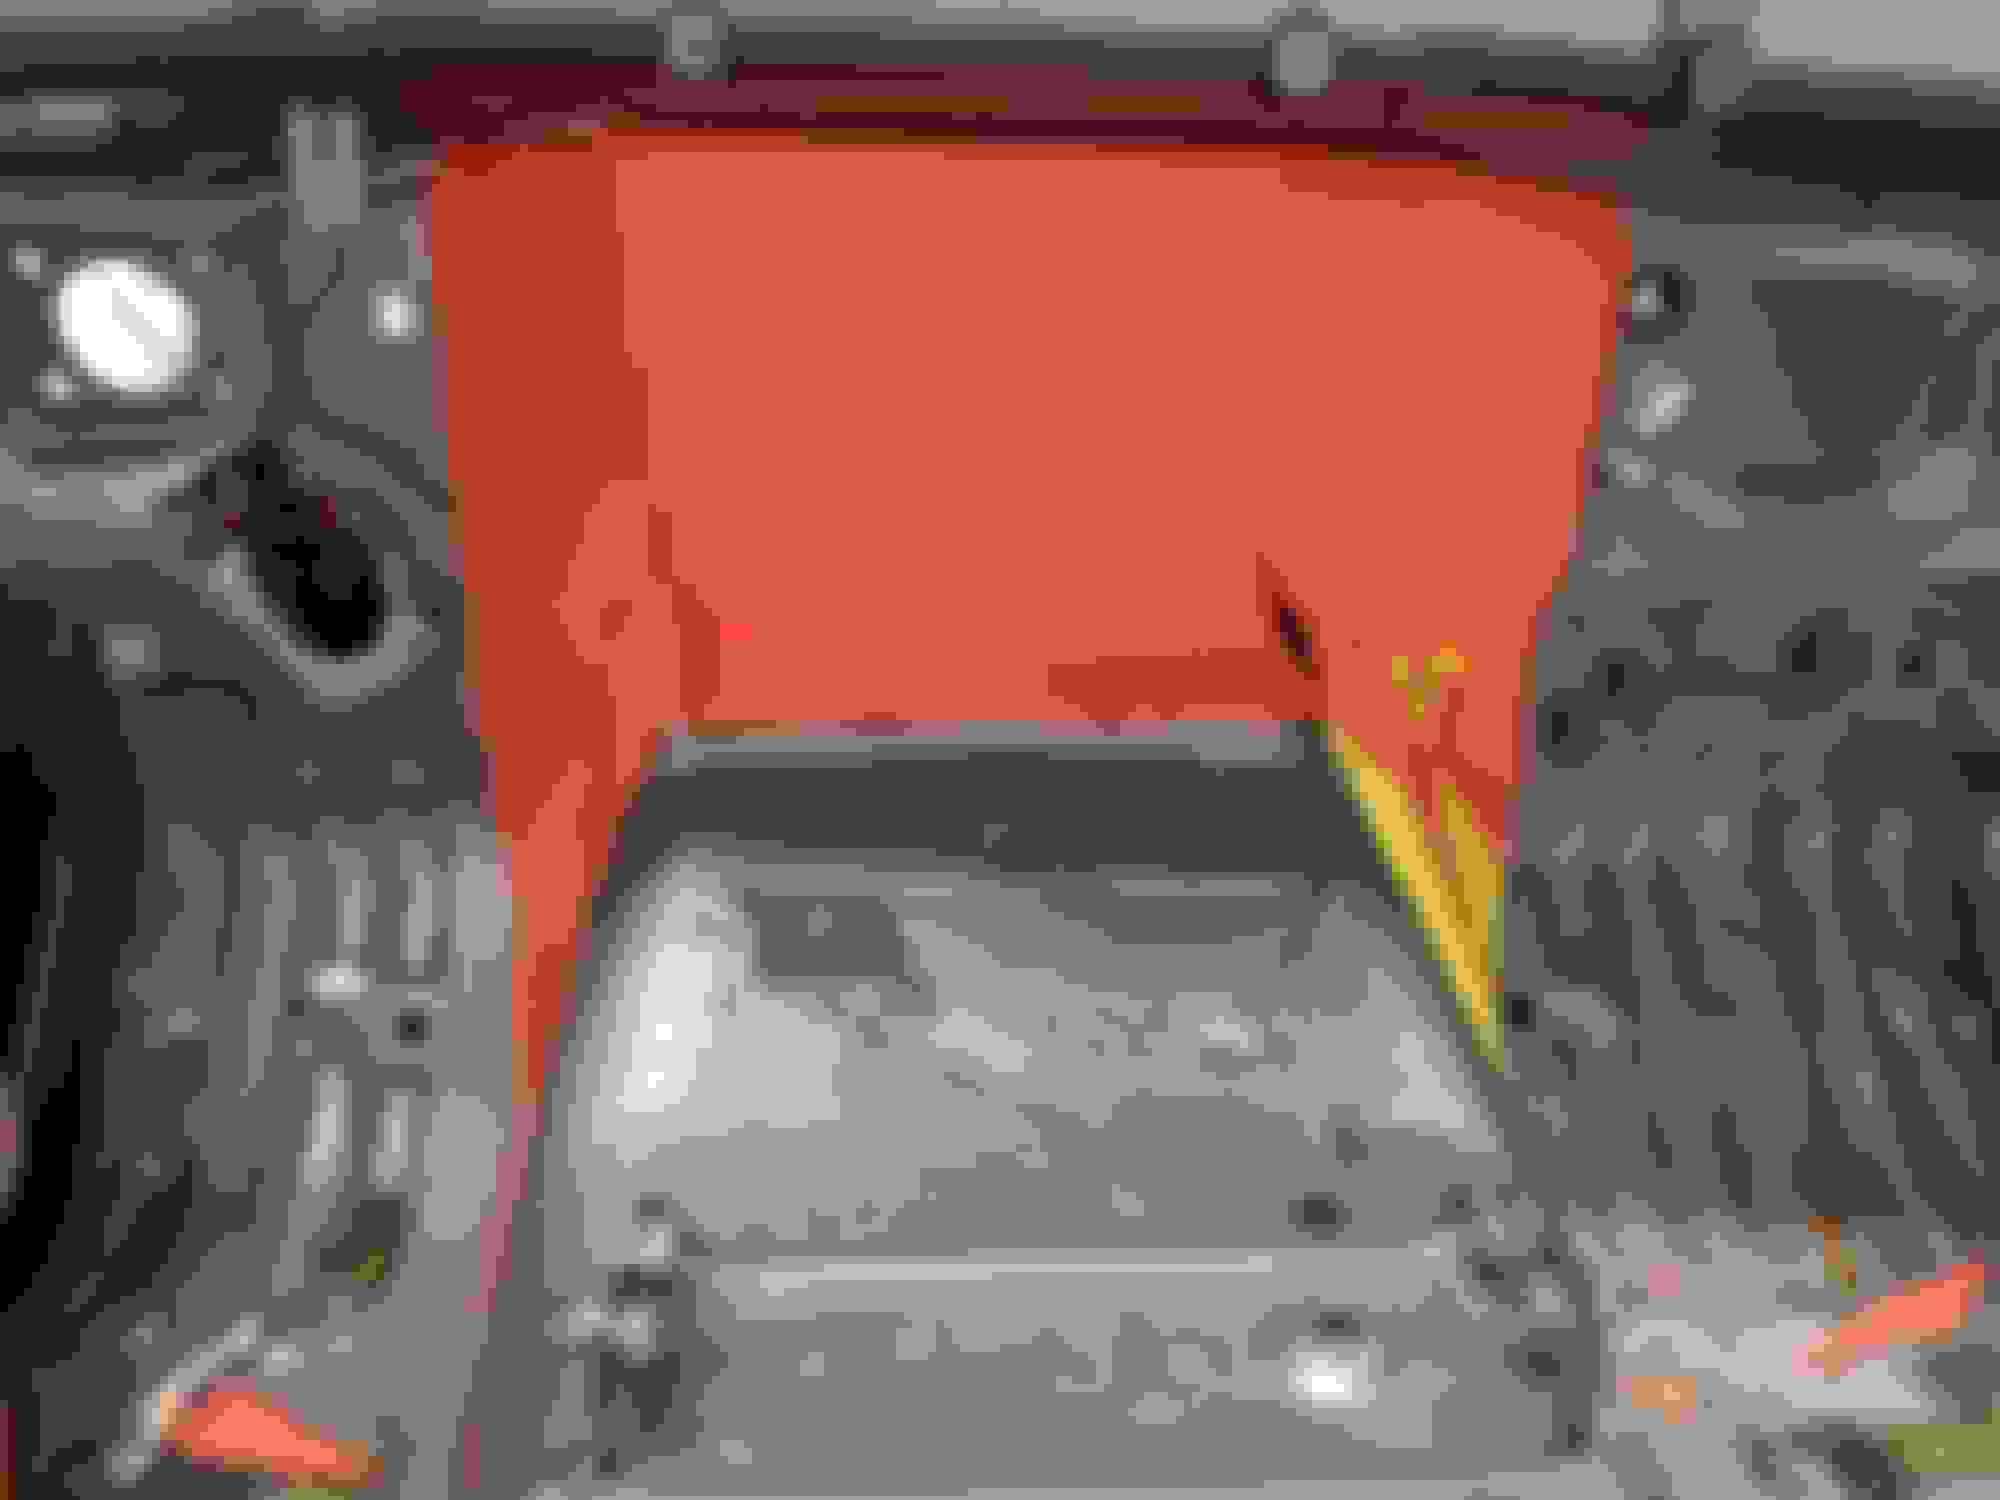
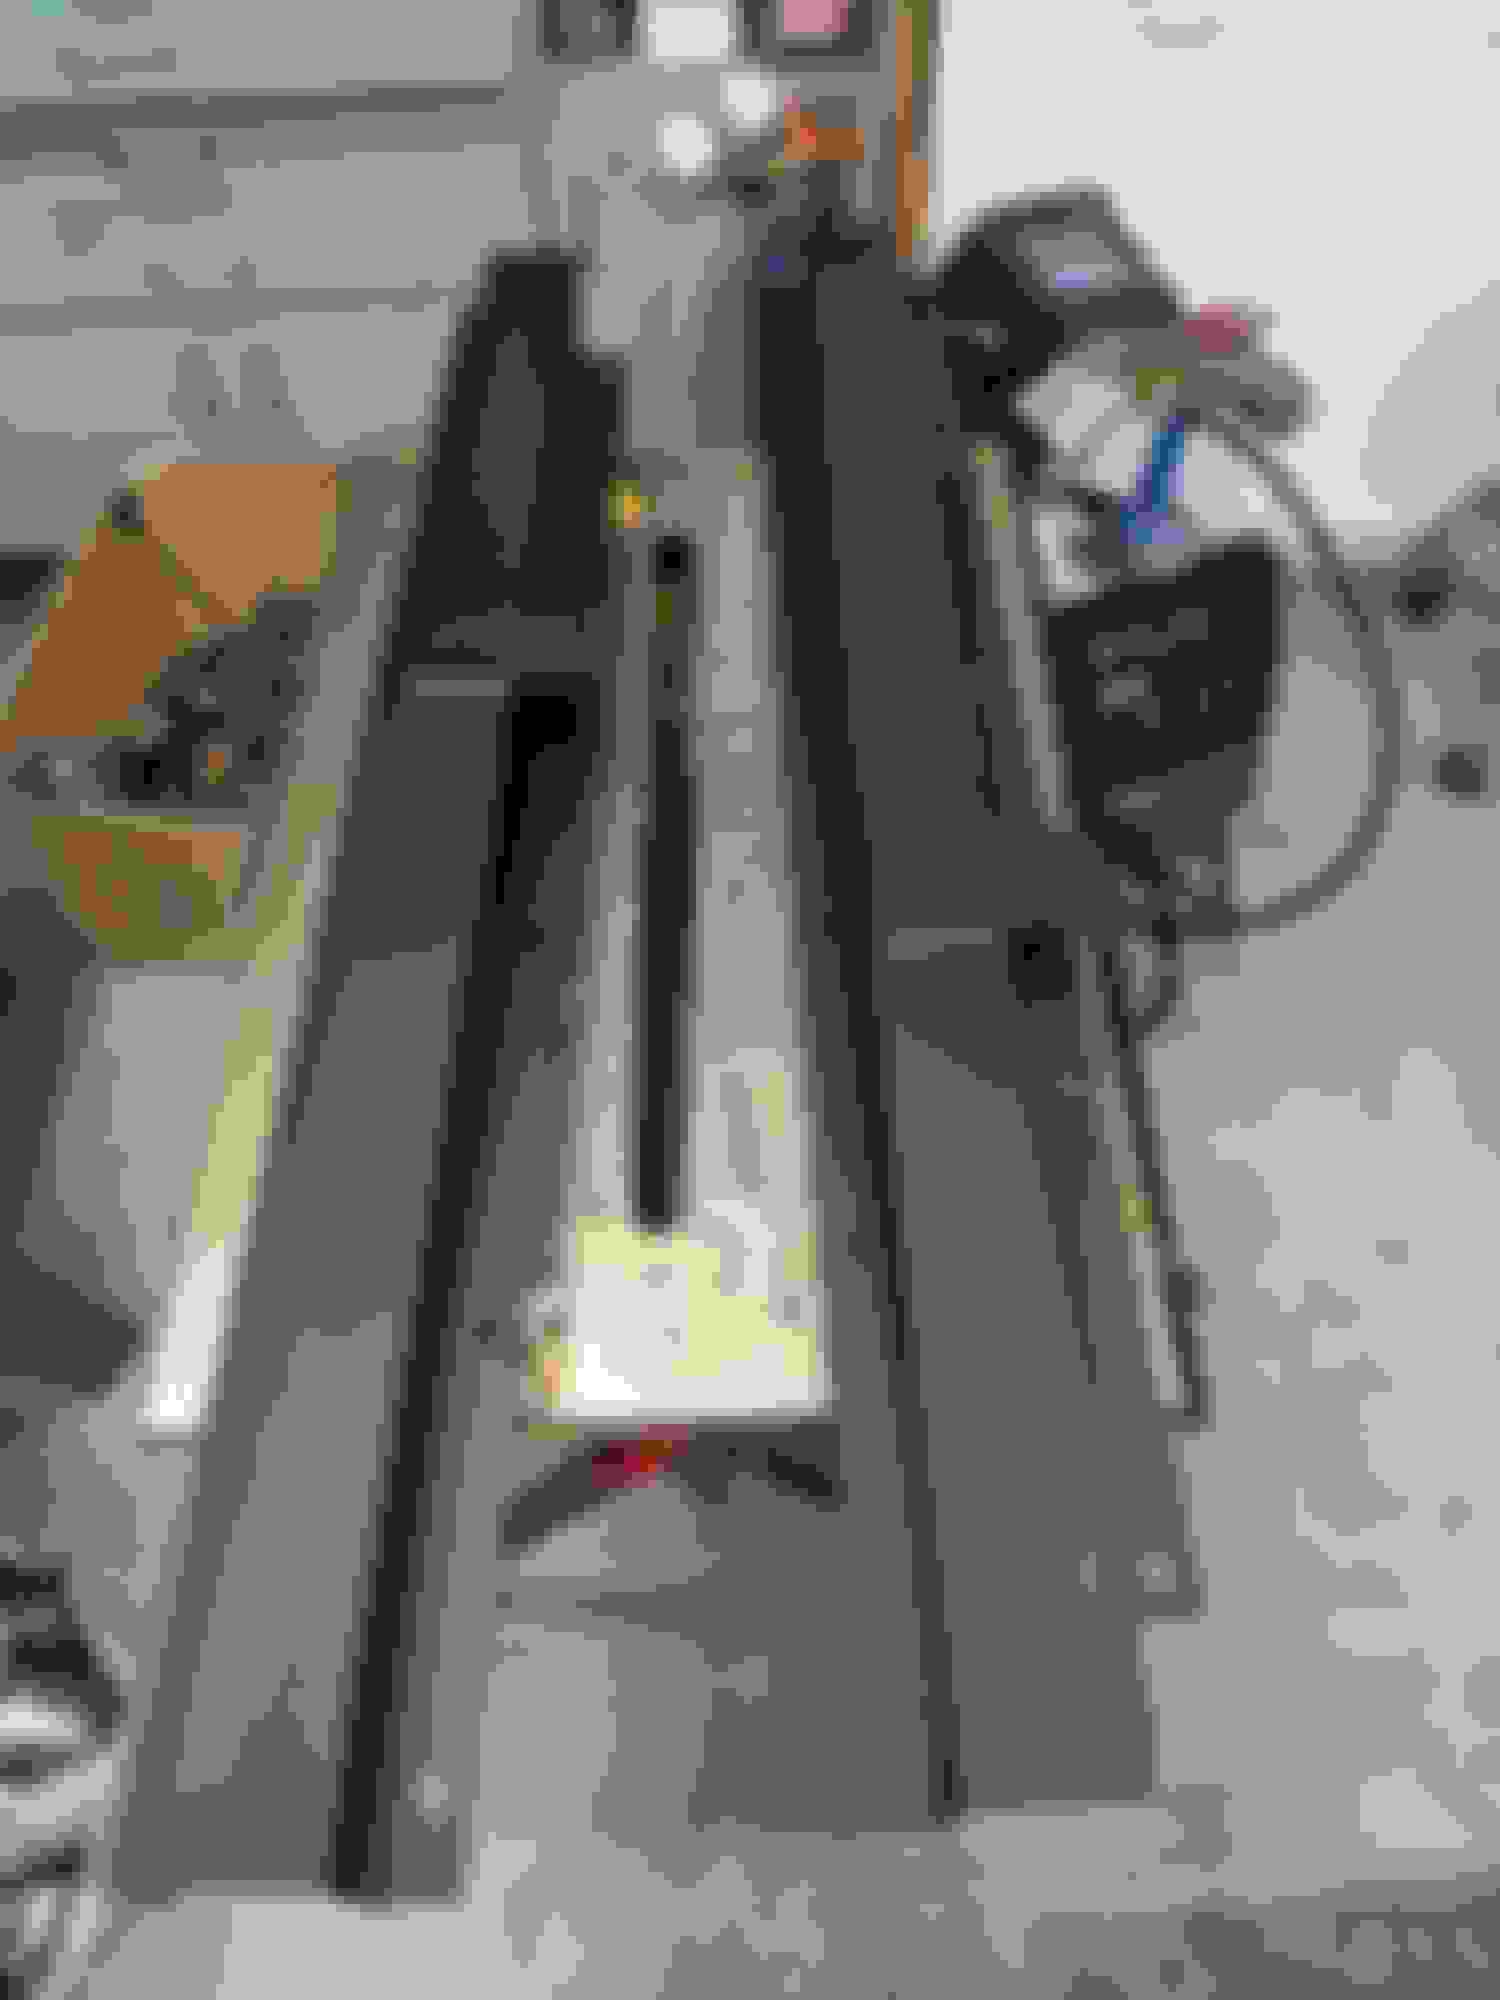
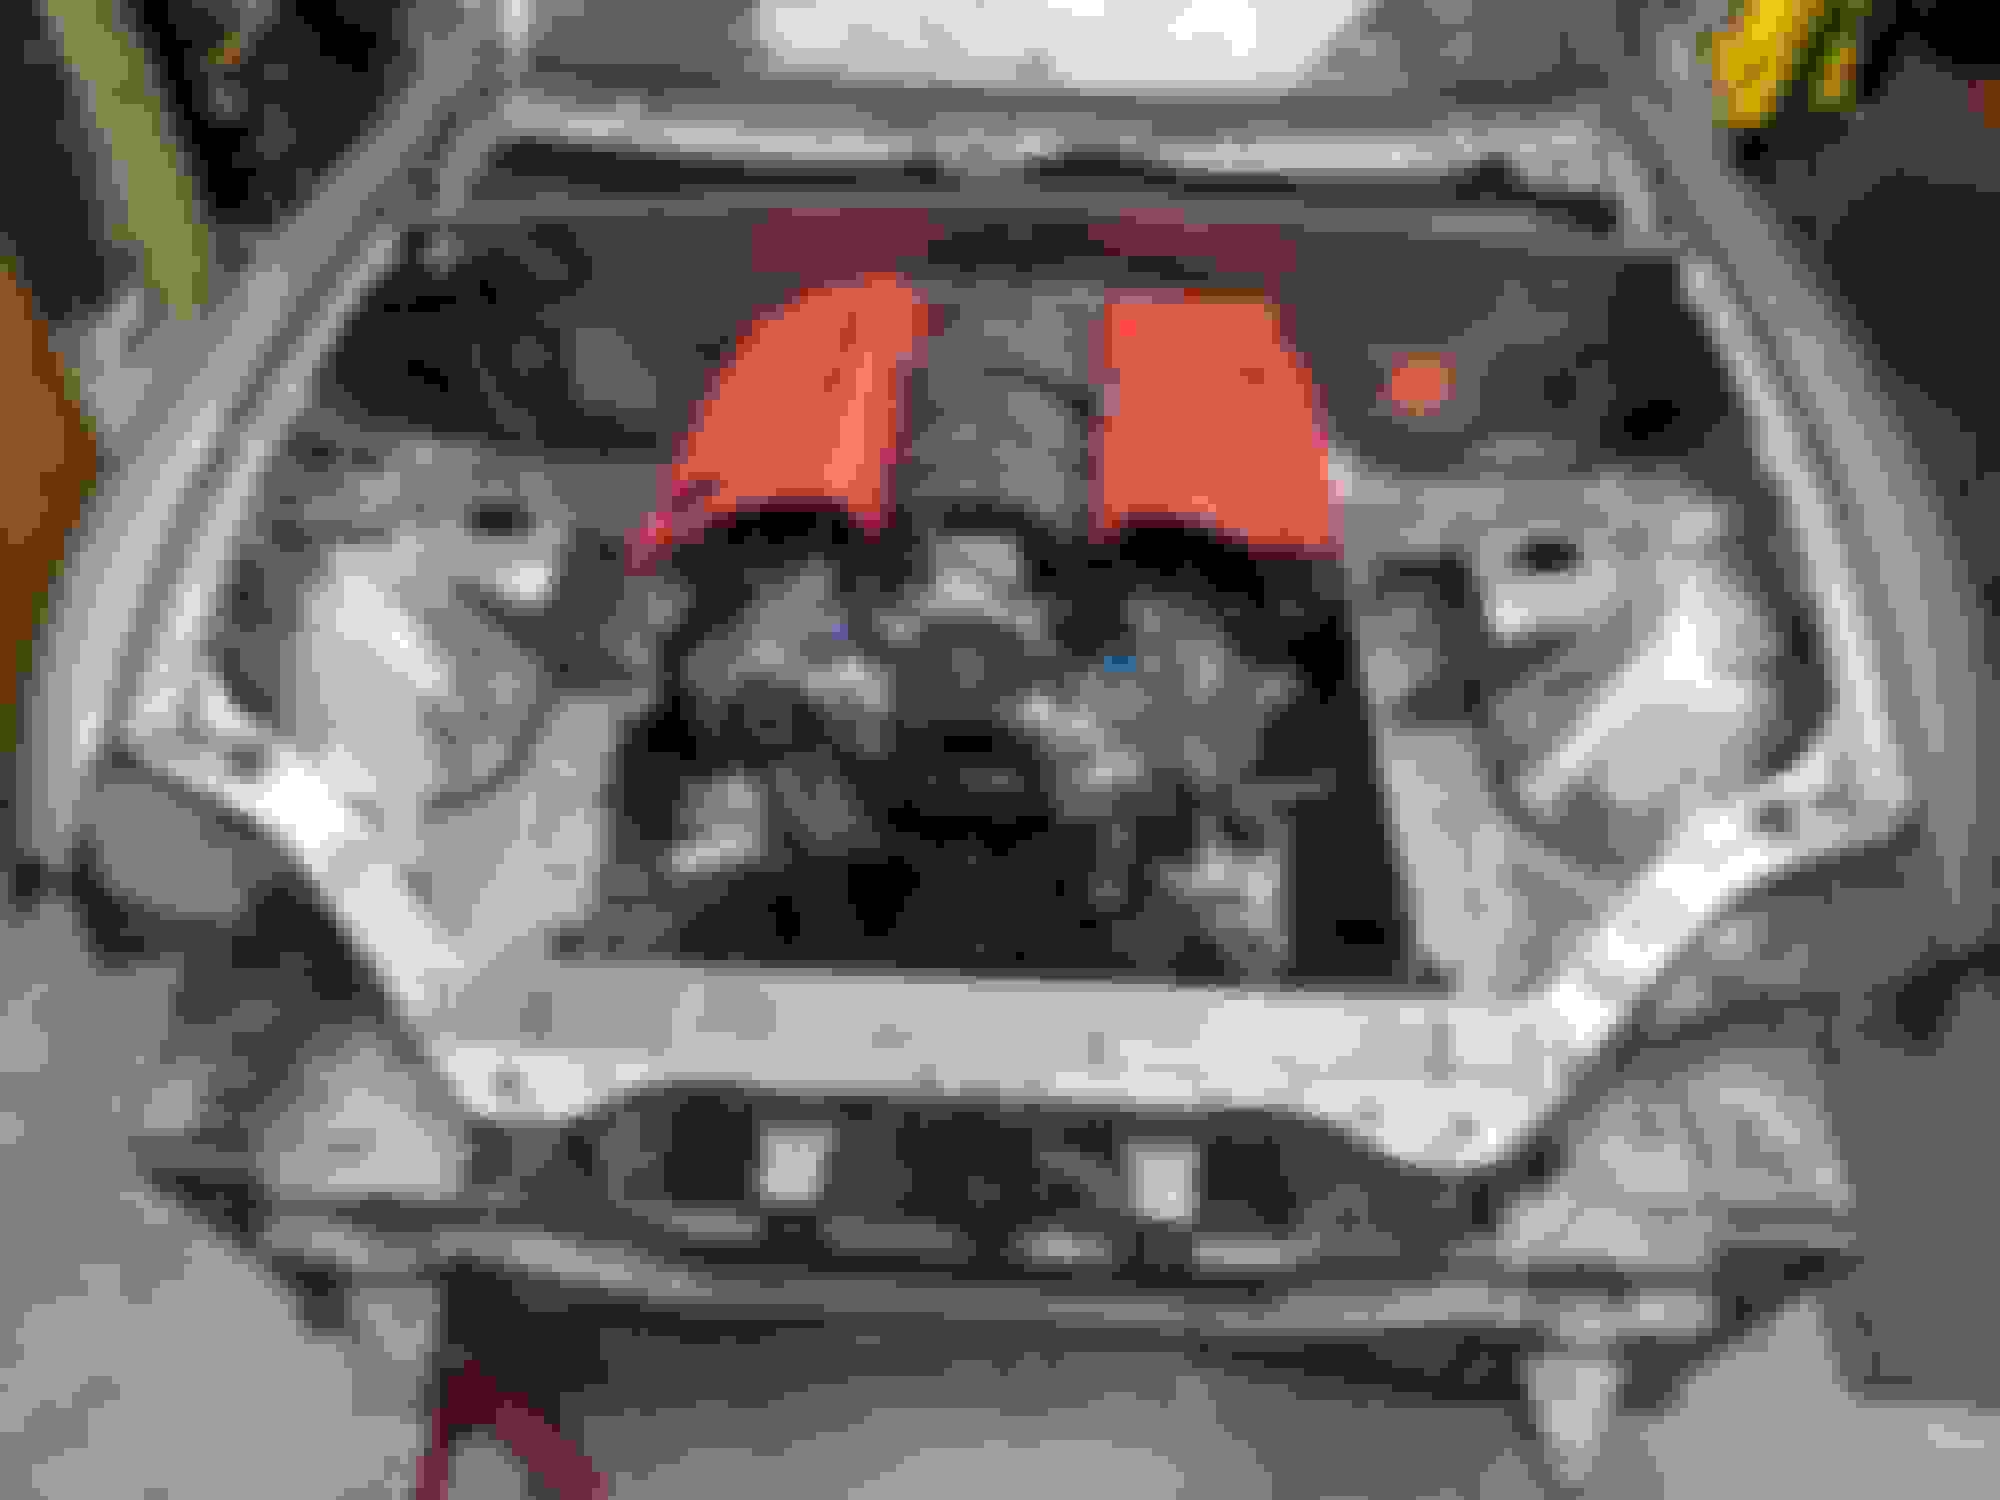
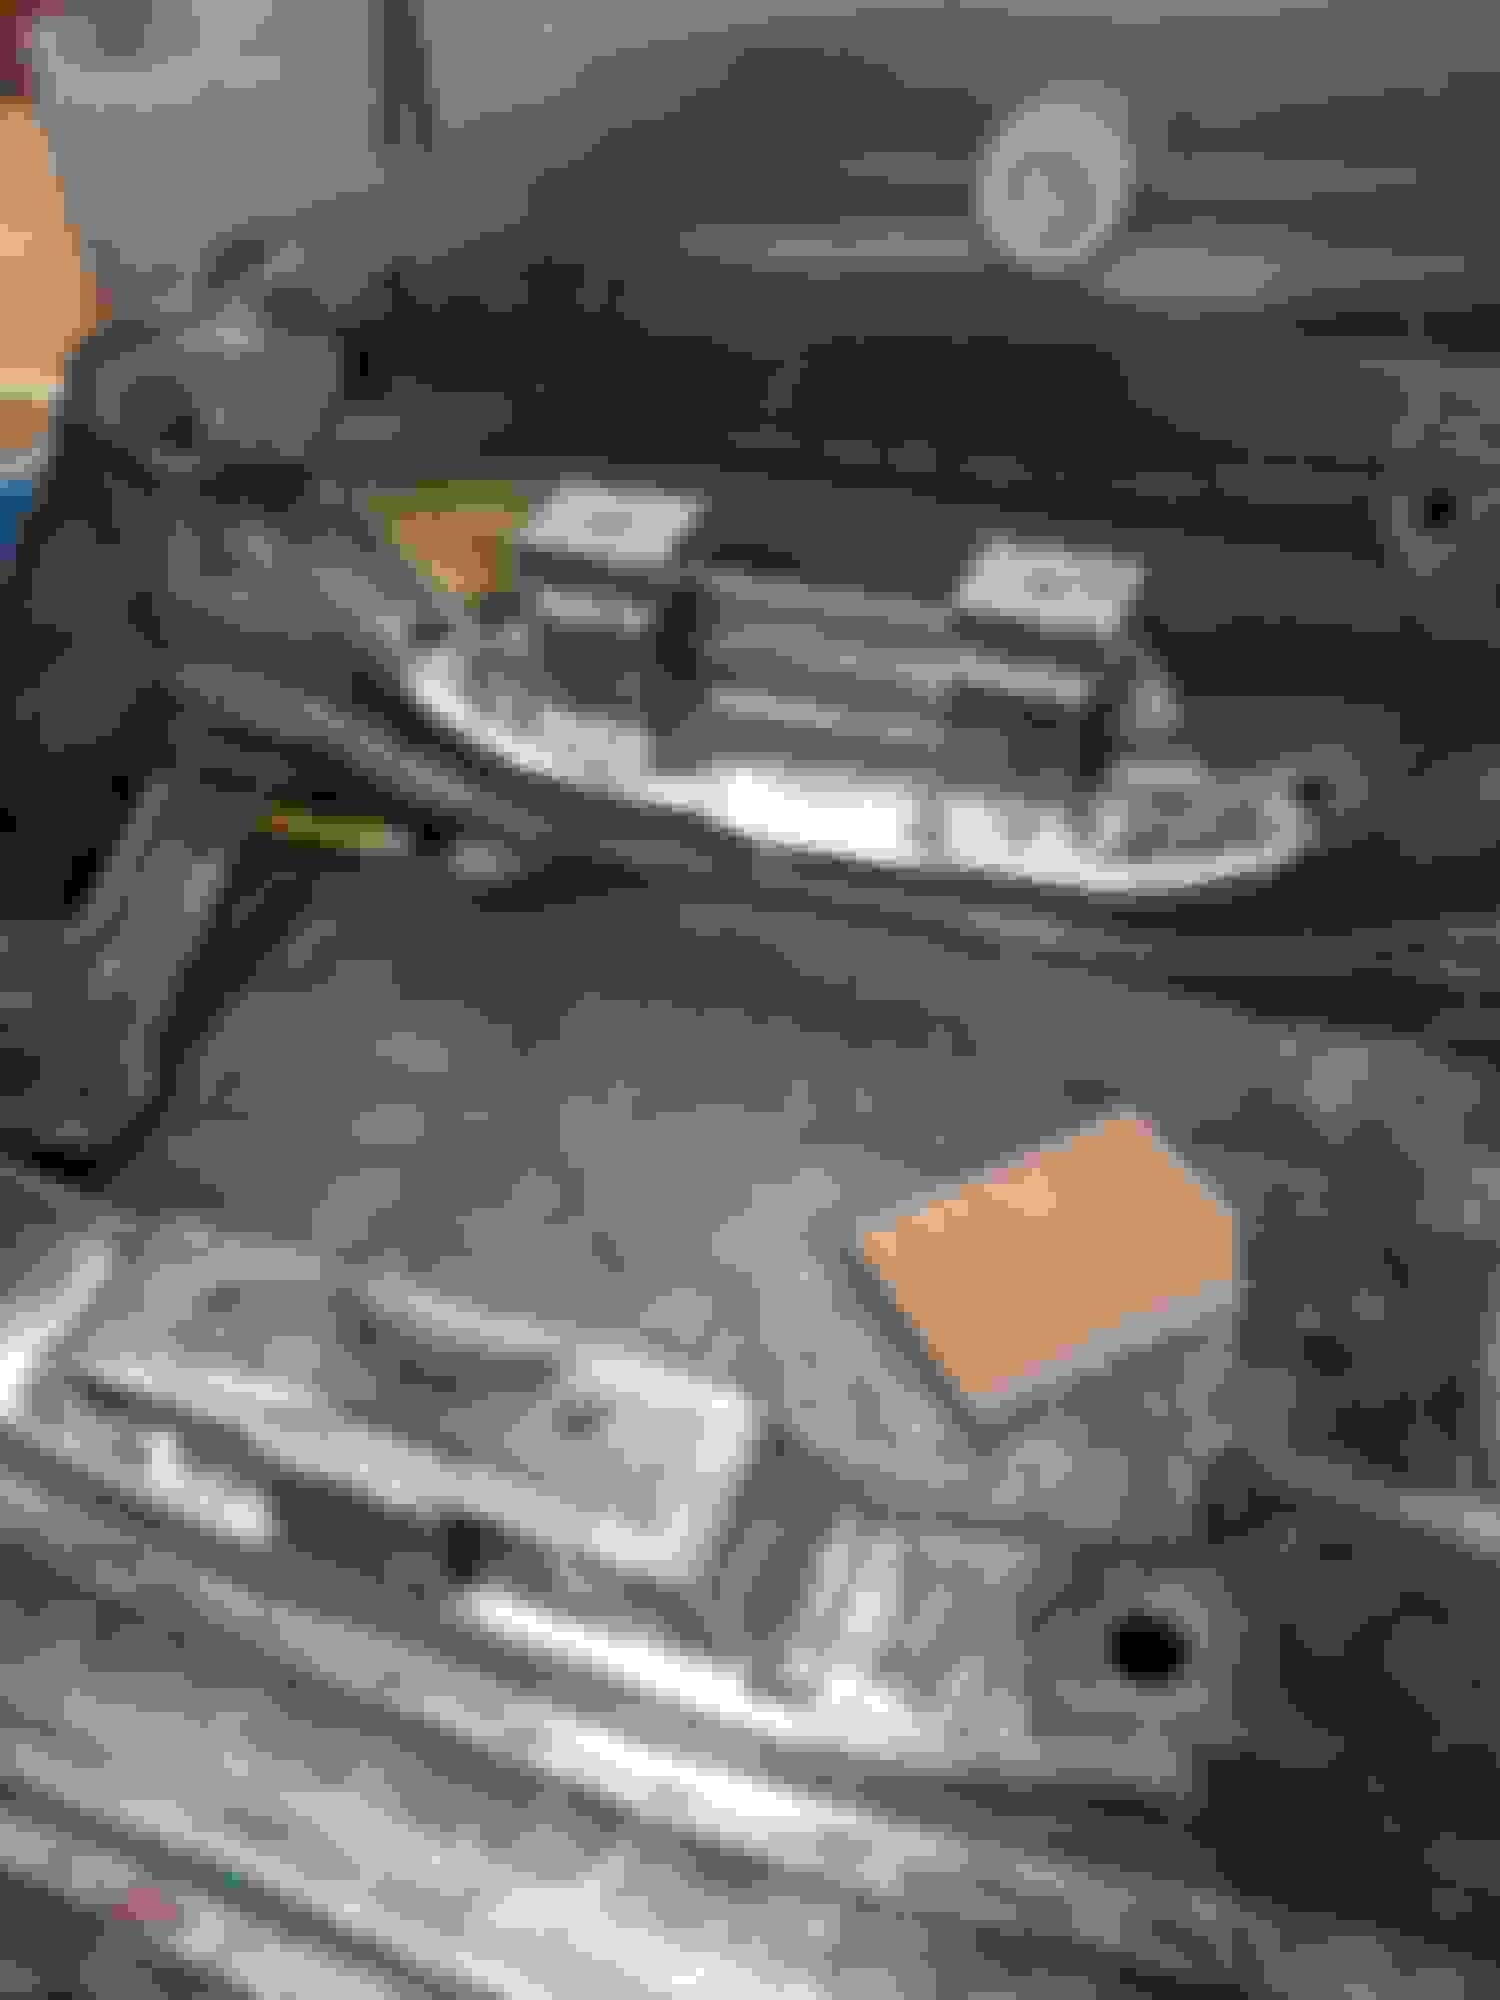
Enjoy! Start by stripping the car down to a bare shell. It just makes everything else easier. Cut a gaping hole in the car. Including notching the usual back parts of the engine bay where normal people cut The LS1/ Aisin AR5 temporarily stuck together. Check fitment. Perfect. The engine is tilted down about 2.5� compared to the rest of the car and is moved towards the passenger side by about 2� using the transmission output as the "pivot" it gives me plenty of steering shaft clearance. The back of the intake mani and lots of stuff is protruding into the vehicle Pretending making a new firewall/tunnel will be made easier by mocking up a giant poster board version first. I was able to use the center piece, but both sides ended up having to be made like a patchwork quilt. Having the paper template definitely helped once the engine was back out though. The passenger head is further back, so that's why this this thing looks so asymmetrical. From the inside. Obviously the factory HVAC box can't go there anymore. The plan is to use a universal "hot rod" system and just plumb it into the stock ducting. I bought some V8 roadsters frame rails and modified them with some 1/4" x 2.5" plate to make transmission mounting points. They are gussetted one one side each for a little extra support but to still allow the crossmember to be installed. The transmission crossmember fully welded up with plenty of exhaust clearance and rigidity. Another test fit before welding in the braces and the new firewall. There's gobs of clearance from the stock Fbody oil pan and the rack, the front to the swaybar, and there is a ton of room up from for radiators. The ls6 covers are off my C5. I'm using an LS6 intake and fuel rails, so they are the covers that fit. I'll update later with more details about the belt drive system, but its essentially a lightly modified Fbody Camaro setup. I just had to make a bushing to add an idler that got rid of the PS pump but still gave me good belt wrap on the crank pulley and the alternator.
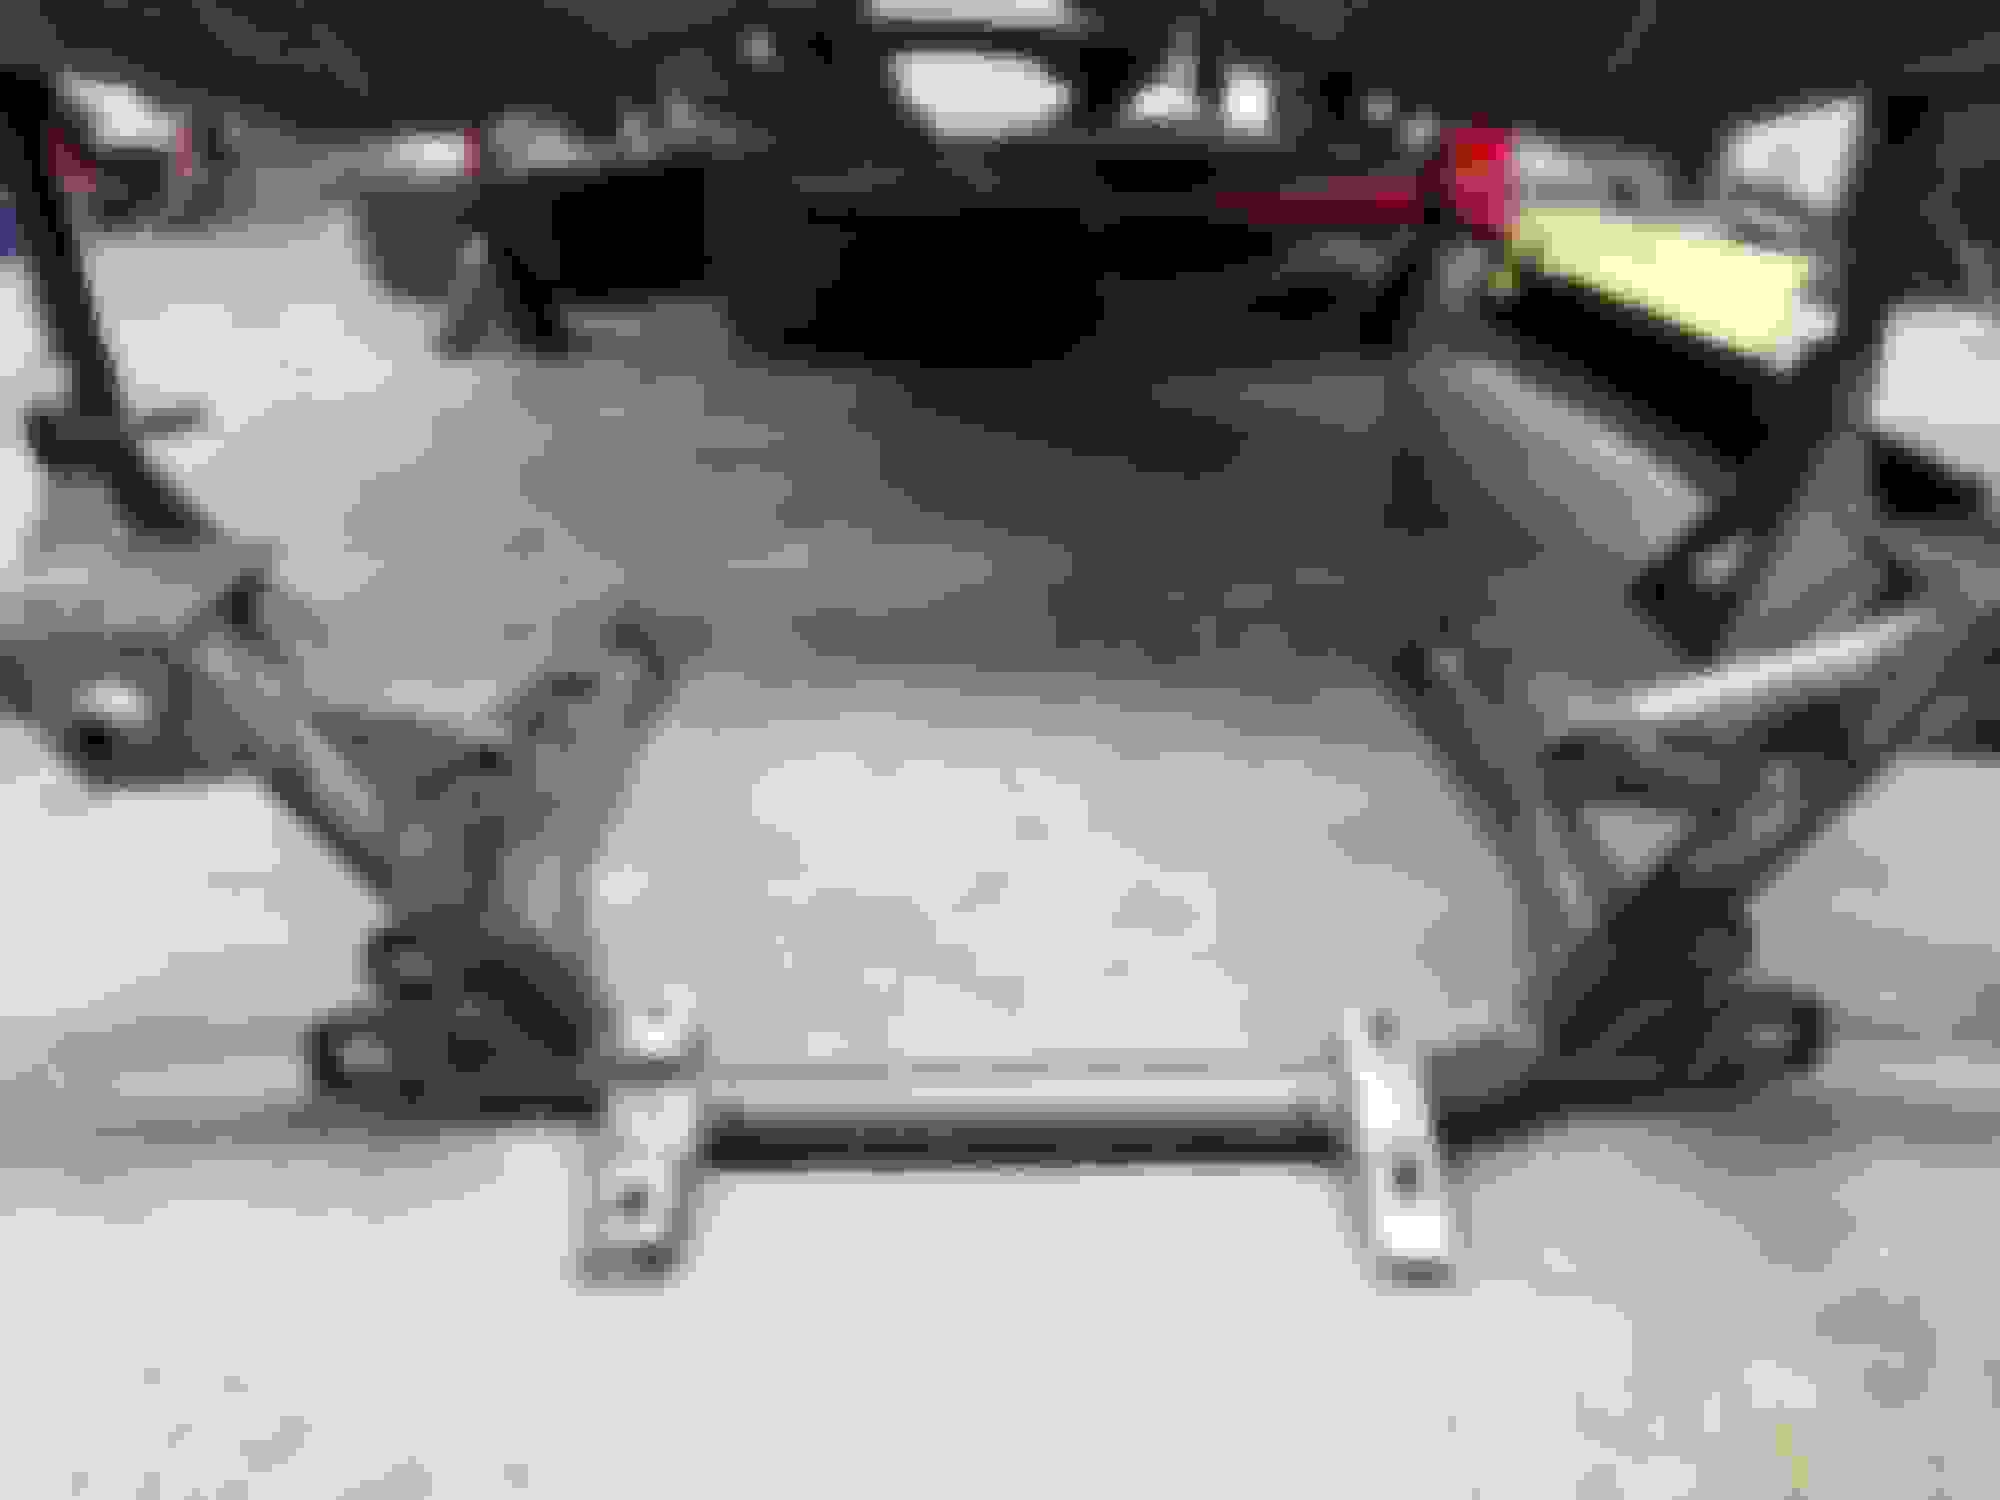
I forgot to mention the front subframe. I bought a V8 Roadsters mount-less tubular frame since I couldn't use the mounts that the more expensive completed V8 frame has. It is a huge help for me since I didn't want to modify the stock unit and it keeps all the stock suspension geometry. I need to weld in the supports, but it's pretty much finished as it sits.
That is some mighty fine welding! Project is looking good. Nice to see someone else using the AR5, too.
How'd you like the fabbot adapter? What are you using for a slave/throw out setup? I haven't worked that out for my AR5 yet - and I'd be more than happy to steal from your success if you're happy with it...
Nice job!! Where in FL are you, I'm in Sarasota, started a similar effort a while back, got delayed due to wife's health issues. You can see some of it on the blog if you haven't already. Keep up the good work, Mike
...also - that's a nice little benchtop lathe you've got there...
Thanks! It's a 1962 Southbend 10k. To answer your question about the Fabbot adapter, I'm very impressed with the machining and the tolerances. I just went ahead and ordered the Chevy Colorado slave cylinder he has listed there on his site. I still need to get a clutch and flywheel in there, but it seems to fit together nicely so far.
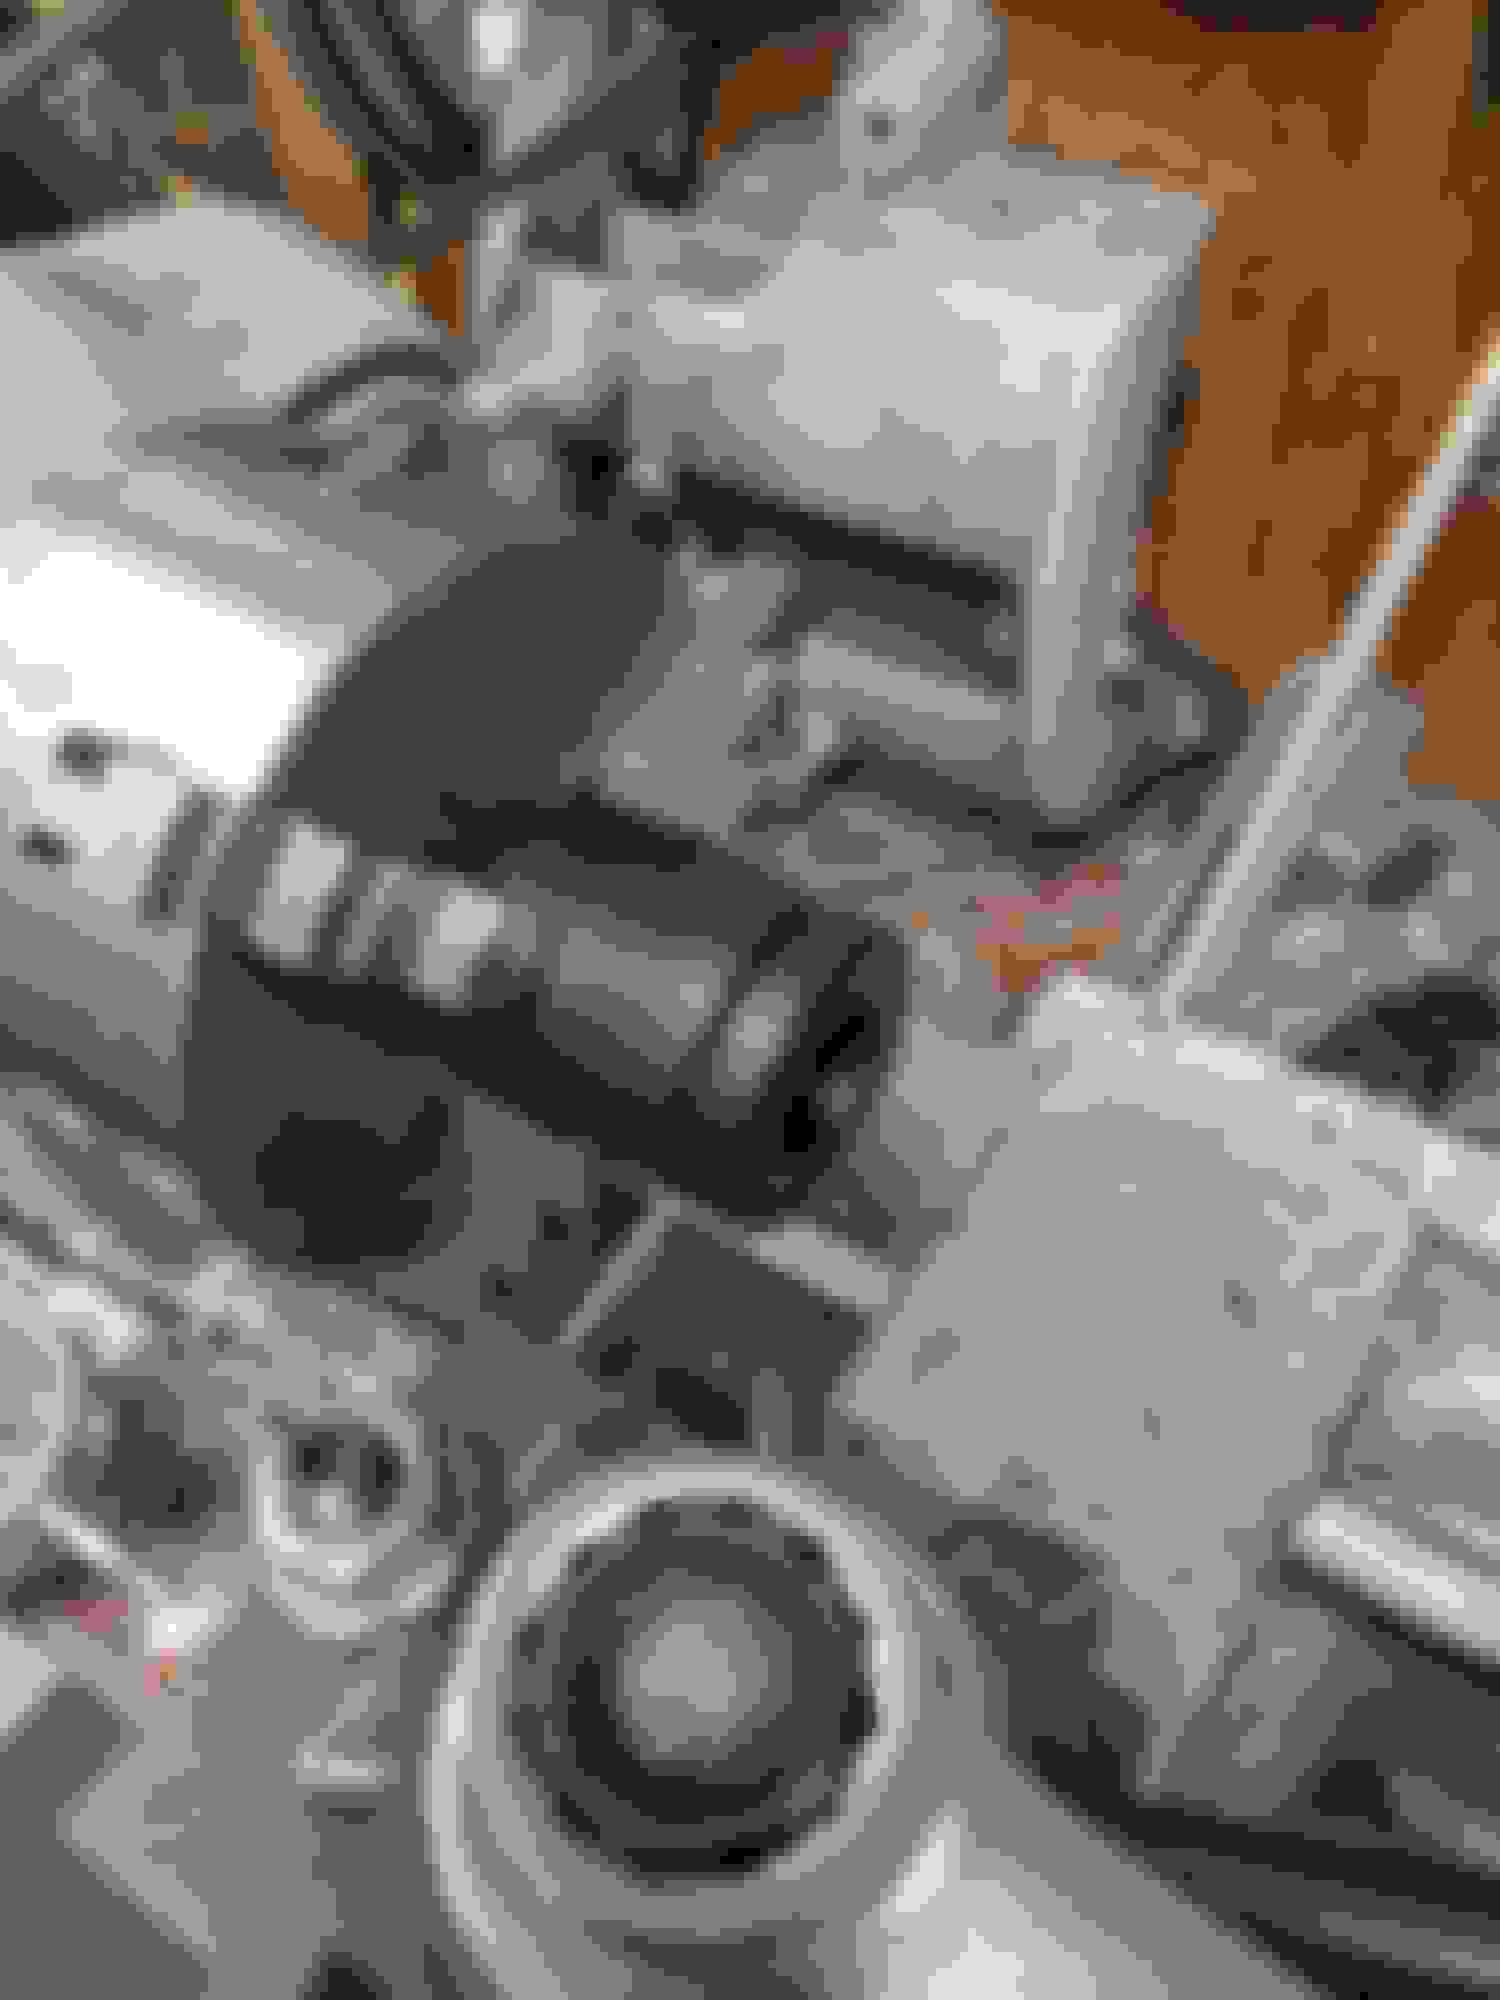
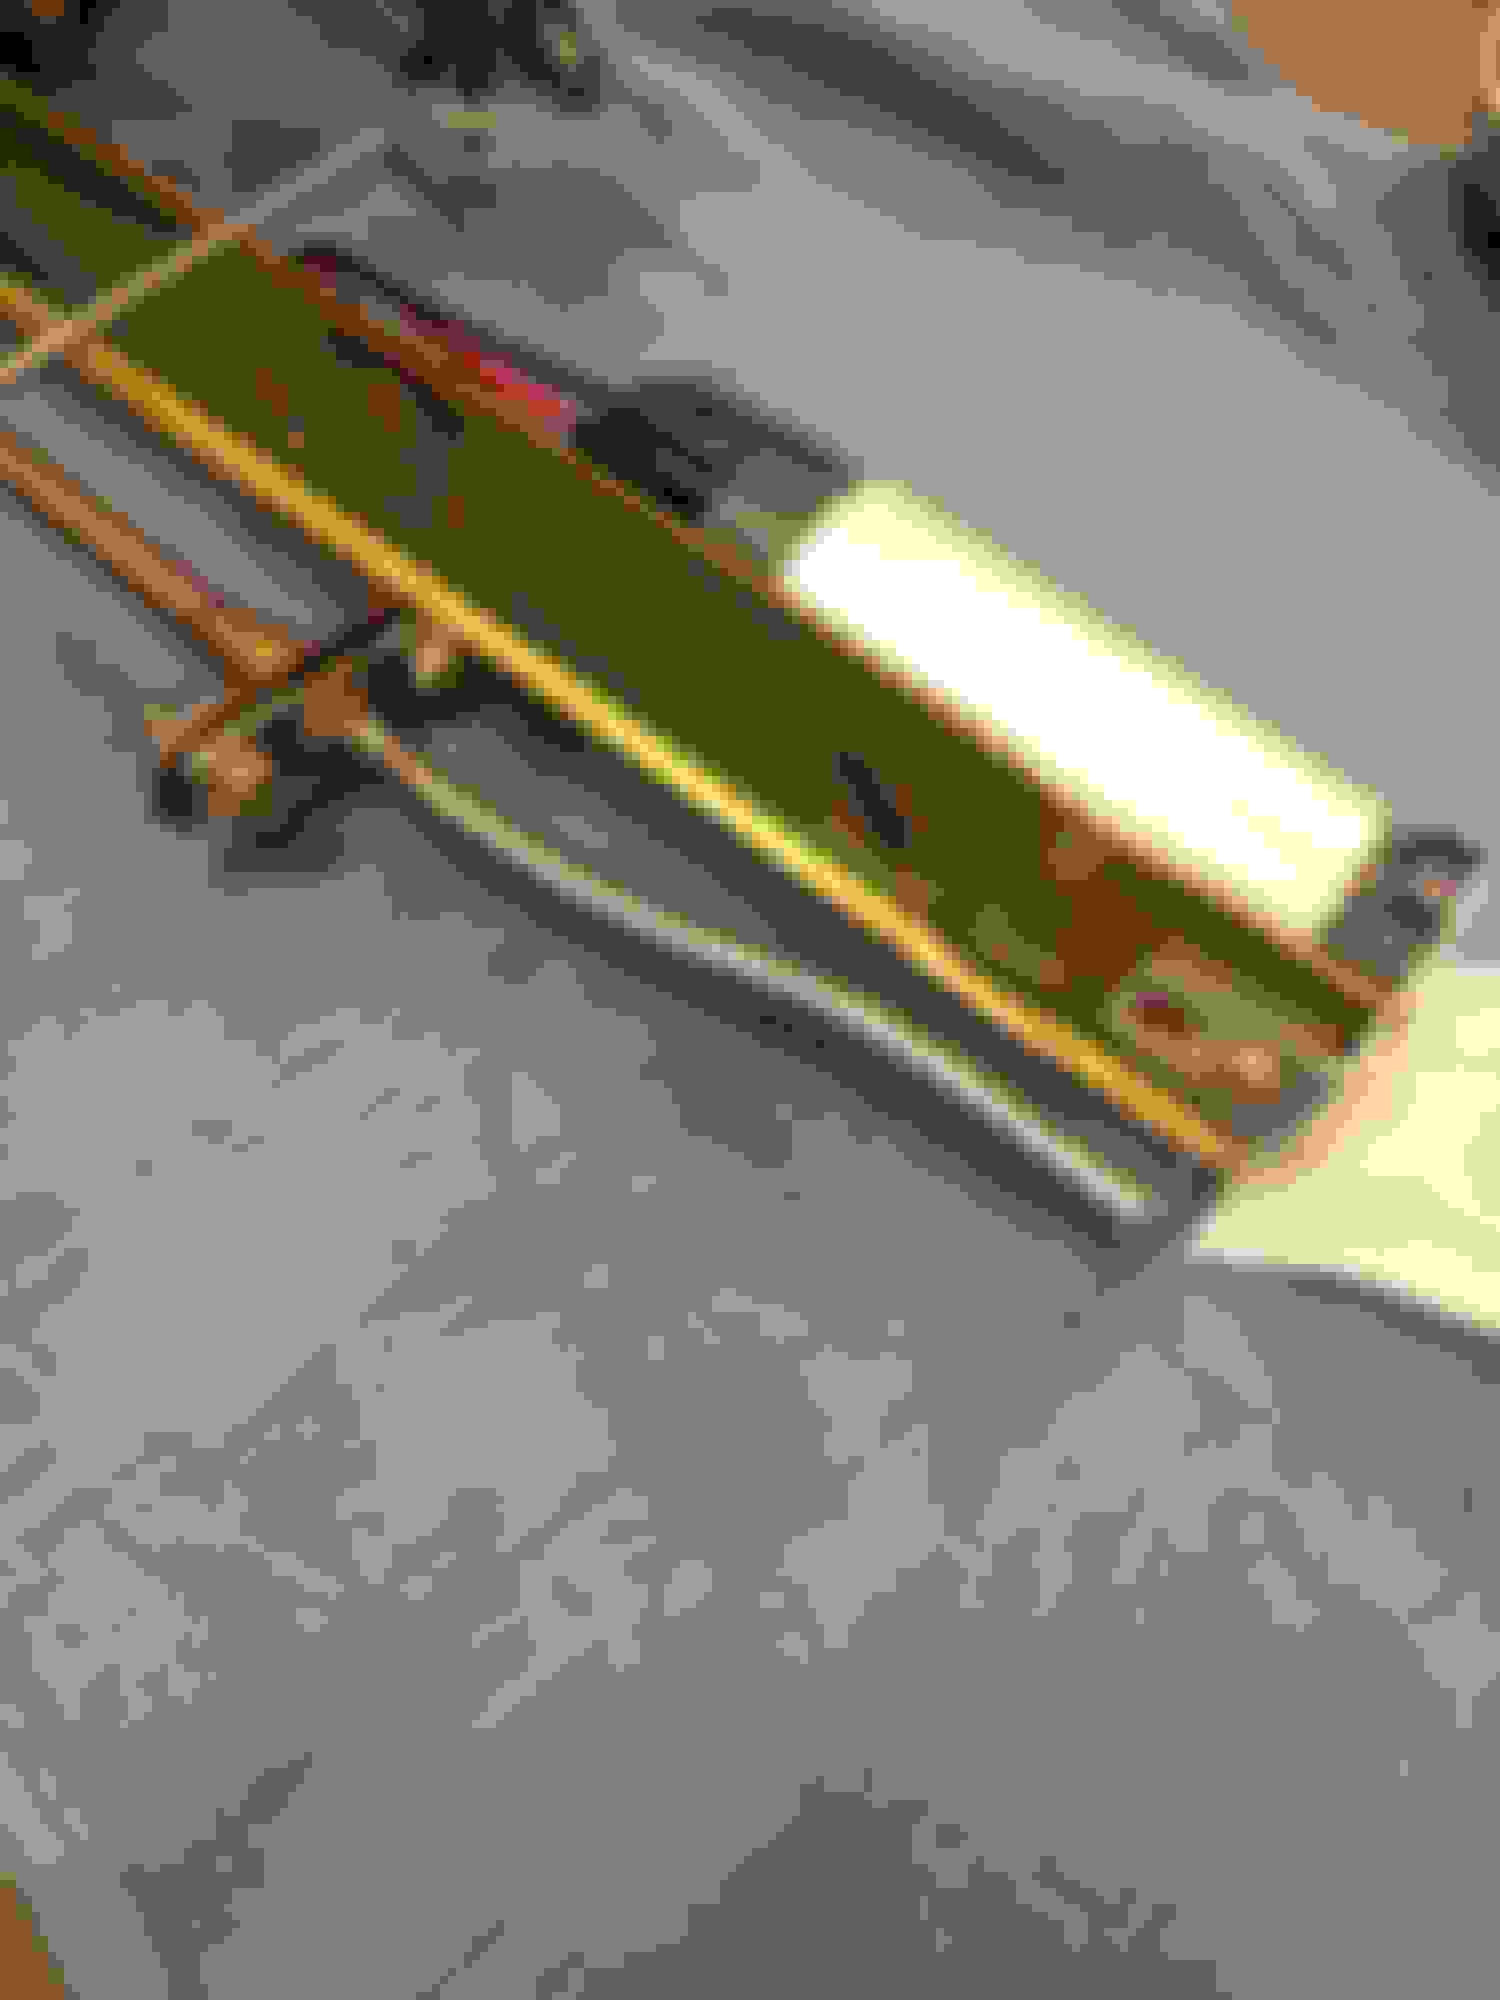
Luckily due to all this Corona nonsense, I've suddenly become un-busy and have been able to work on this thing full time. I got the hood down out of the attic, and wouldn't you know, it's got miles of room under there. I went to test the swaybar and front suspension, and according to my math, I should have had miles of room for the swaybar since my engine is so far back, but it fowls the crank pulley by about a half inch. I used Camaro Spaced Accessories and you can see how much of a difference they are compared to this old tensioner off my C5 Vette. Apparently the BMW E36 sway bars fit so I'll try one of them instead. I was going to make my own mounts to replace the flimsy stock ones anyway, so no harm. But on the bright side, my stock AC fits (mostly) by some divine miracle. Obviously I'll have to machine some adapters to convert the heater lines to AN or something like that because there's an engine where they used to come out. This saves me countless hours of plumbing in an aftermarket HVAC system! I had a minute so I machined an adapter to get the 11.5mm AR5 shaft to work with the stock rubber isolated Miata shifter. I just turned down the shaft to about .002" bigger than a hole I bored in the adapter, heated up the adapter, froze the shifter and pushed the two together real quick. There's only about .260" of shifter shaft in that adapter, but according to my first failed attempt at the heated press fit, it's damn near impossible to separate the two. The stock bellows is damn near at the perfect height and only about 3/4" further back than the stock location. Shift **** is now not accurate because it's a 5 speed instead of 6.
From FM's instructions: "If you�re going to reuse your stock / four cylinder-compatible front sway bar, cut the stock sway bar brackets off. You�ll need to install the heavy duty sway bar brackets, but move them as far forward as possible. You�ll reuse the bolts that hold the bracket on, but open up the holes a bit to move them forward (4). Just make sure that the distance you move them is the same on both sides. It�s best to bolt and tack them into place, but don�t do that until the engine is in (next step). Locate the mounts such that the sway bar will clear everything, then bolt and tack. Then remove the sway bar. The far easier option is to buy our custom front sway bar - this doesn�t require any modification to the stock mounts. The heavy duty sway bar brackets are still recommended, but not required. The exception is the �90 - �93 cars; chances are that you�ll need to move the mounts forward AND get our custom sway bar for 1.6 (originally!) cars."
I'll have to do some more research, but it seems strange to mess with the angle of the end links by just pulling the bar out. I found a BMW Z3 bar for pretty cheap on eBay, so I'm going to see if I can make that one work first, then if not I'll just use the stock one.
It's good to have options though, thanks for the heads up!
i have clearance on my front sway bar without modification to the sway bar brackets or firewall. my setup is ls6 accessories and fly'n miata curved sway bar. i didnt measure any of this, i put a 3/8 shim behind the passenger head and the firewall and built my mounts. it all worked out for the best lol.
I hadn't done much with the wiring other than shoving it in a box, so I decided to start thinking about moving towards considering that side of things.
First step is to strip all the wrap off the loom and see what I need to keep. However, I really need to get my Holly ECU and engine harness before I start cutting **** out of here. I'm keeping ABS and the airbag system, so there is quite a bit that needs to be retained. In the meantime, I pulled all the control arms apart, pressed all the bushings out, wire wheeled any flaking paint or rust and gave all them a coat of paint. I ordered a set of IL Motorsport rubber bushings from F.M. but they are on back order right now. I'll visit this stuff when the car is closer to rolling under its own power. I ended up ordering a 1997 BMW Z3 front swaybar from ebay for $40 or something and made up some mounts using some box section bent to fit the frame rails pretty well. The bushing is the stock MSM unit sanded on the inside to fit the larger BMW bar. I made some adjustable end links using parts I found online, but I might actually use BMW links in the end. I won't know until the car is on the ground at final ride height. Moving on to mounting the diff, I started out by finding the centerline of the car and seeing what angle the engine and transmission were sitting at since the engine is off-center while the trans is almost centered. A lil trig told me it was about .7 degrees off to the passenger side and the angle finder says the whole thing is angled 2.8 degrees downward. The diff needs to be 2.8 deg up and .7 off to the passenger side to keep the flanges of both the trans and diff perfectly parallel While measuring, i realized my trans mount holes were about .020" off where they needed to be. I think my engine mounts warped a little when I welded some more supports on. I suppose it wouldn't take much of a change up there to shift the trans mounts off center. Anyway, I just put a piece of Tungsten-Copper behind the holes and welded them up with the MIG and re-drilled in the correct location. After taking an ***-load of measurements with the subframe in the car and the diff shimmed up in the place I thought it needed to go, I recreated the whole thing on a bench and started making the mounts. It seriously took me probably 10 hours of just measuring and shimming and moving and measuring to get the diff where I wanted it in the car, then again on the bench. Making and welding the mounts probably only took 4 or 5. The completed and reinforced mounts. I still need to weld the captive nuts in place with the TIG. I don't trust my small MIG welder to make strong tacks. On that note, I used the Miata V8 Blogspot posts by Mike Moninger to come up with these designs, but I modified them to have accessible nuts even if I will be welding them in place. I don't like enclosing captive nuts to where they can't be serviced. Especially since the distorted nuts wear out eventually. The ears I made for the rear diff mount are only .25" thick so I need to make some .315" bushings out of some Delrin to gain back the full thickness that the poly bushings are expecting to see. I should have checked first, but these bolts interfere with the bushings. I just ended up cutting the back side bushings' flange and counterboring them on the lathe with a sharp HSS tool and shortening the center tube to fit. I was really proud of my Delrin washers, but they are back in the scrap bin. The diff mounted in the rear subframe. This whole setup weighs damn near as much as I do and is a real bitch to move around, but I think it should be solid. That cast iron 8.8 alone weighs 80 pounds. That's it. A fully mounted 8.8 in my Miata. I must have borked up the math somewhere, because I need to make a .2" shim to fit under the rear bushings to get it to be perfectly at 2.8 degrees up in order to match the transmission, but the placement is excellent.... Until I have to make the exhaust, that is.
Making the rear diff mounts seems to be where we have all gone different directions. This looks well thought out to me. I would also gusset the L-shaped brackets you have there as I can see that twisting a bit under power.
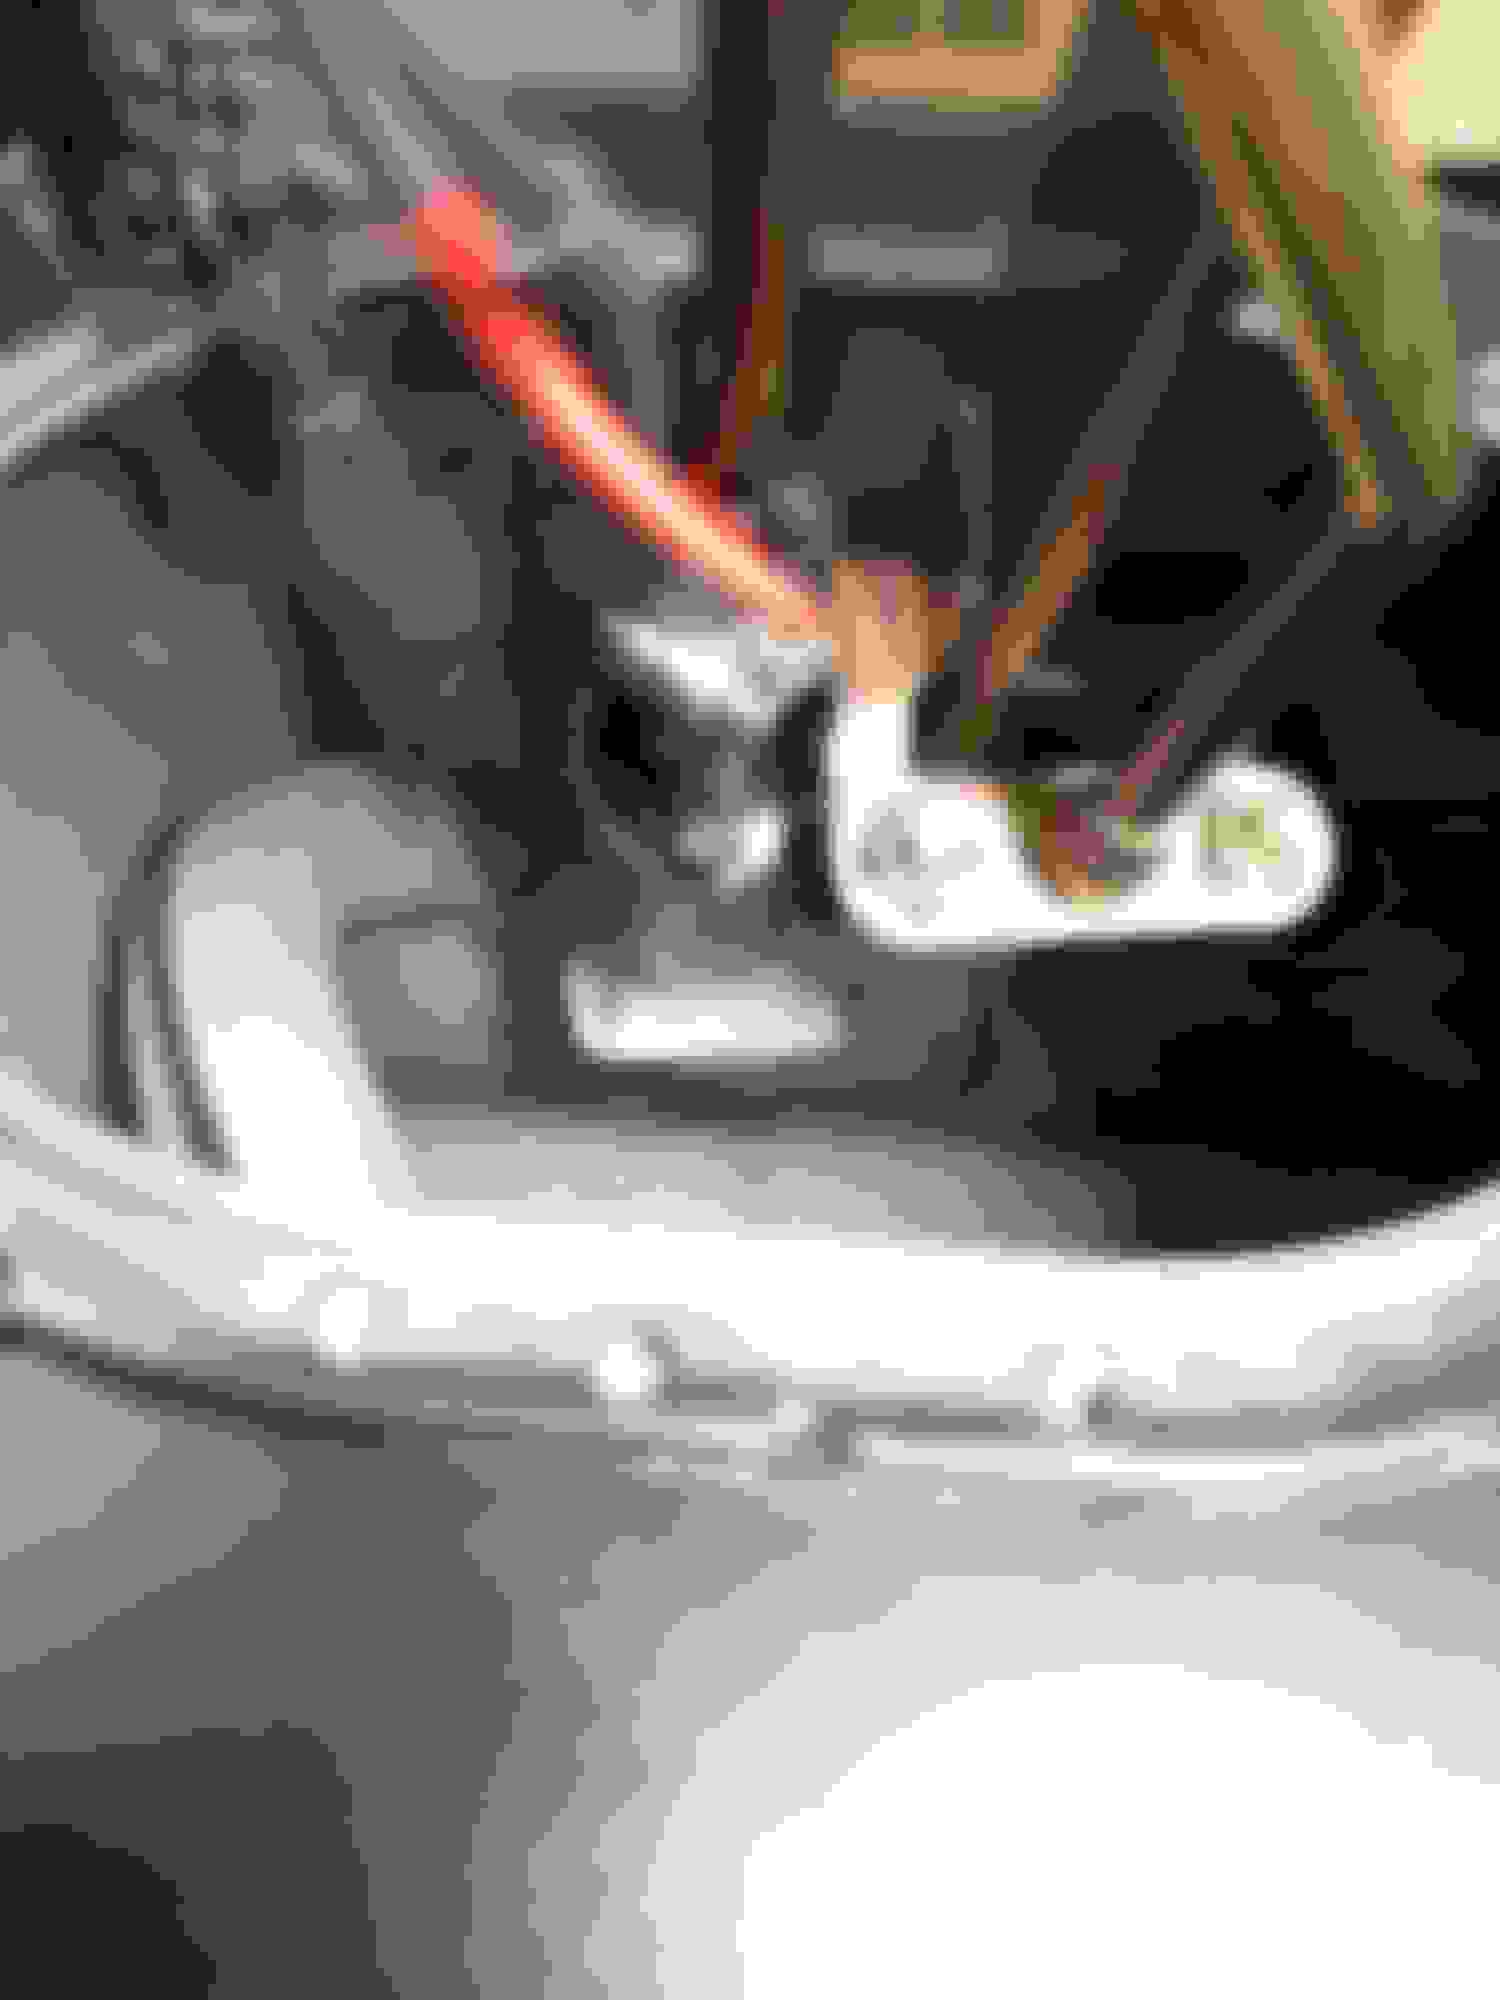
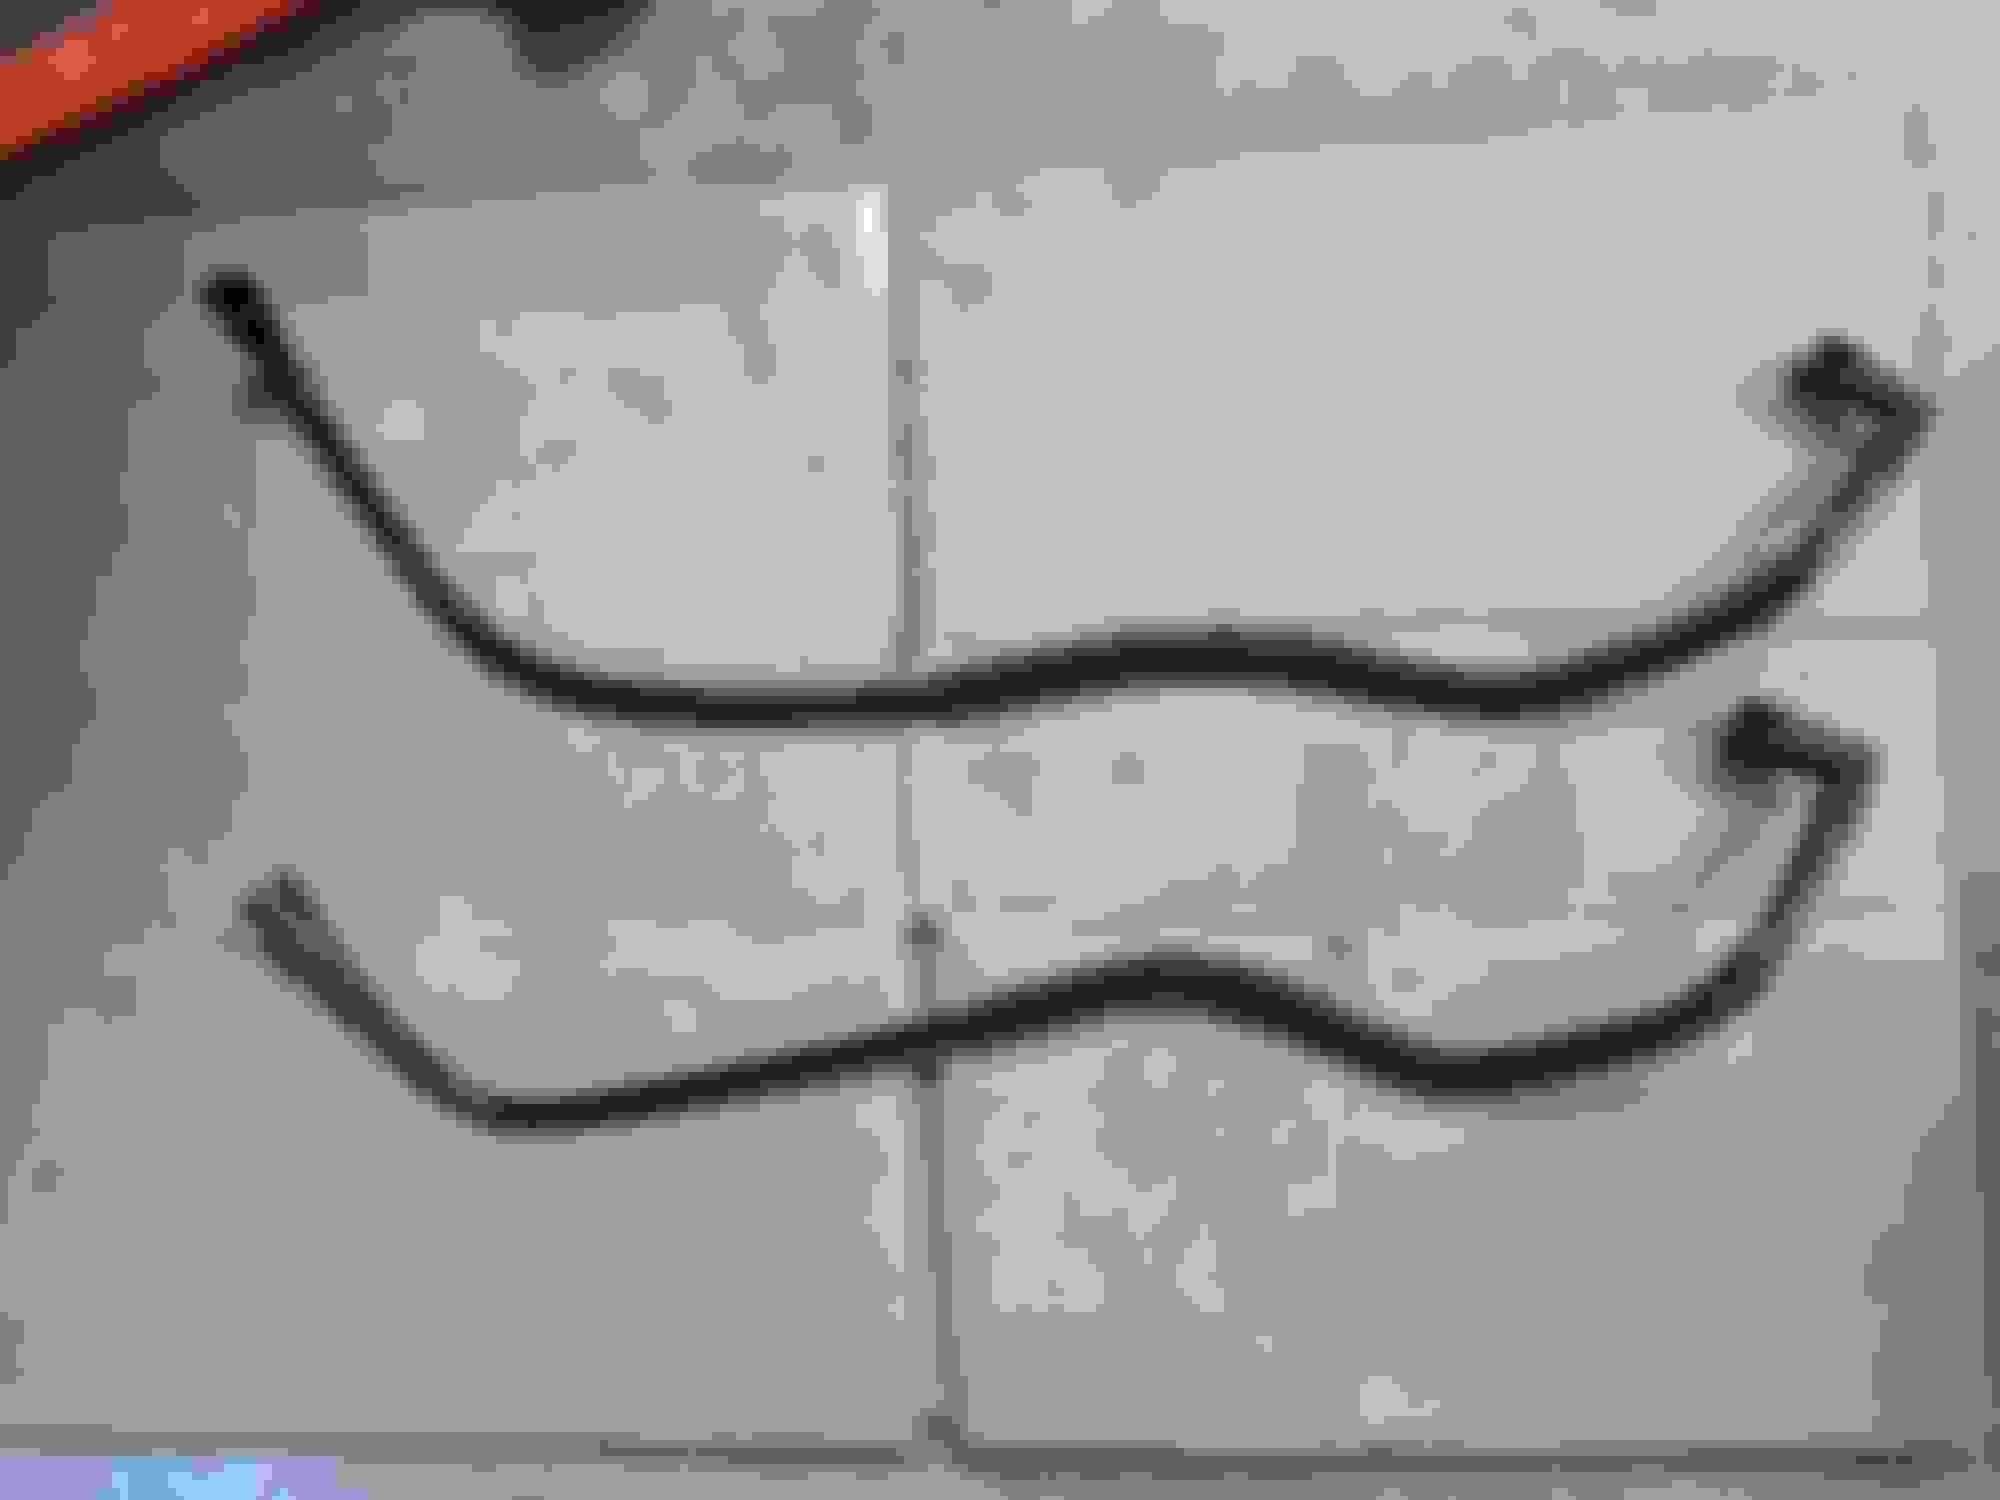
I got a few odds and ends tied up over the past couple weeks, the ECU and a bunch of other parts came in, so I've got plenty of work cut out for me. Unfortunately I still have to work full time, so I can't devote as much time as I want to this thing. At least the job pays for nice car parts. I was tired of the gas tank taking up room in the shop so I went ahead and got it buttoned up with a Deatschworks 255 pump. While I was in there, I cut the flange off the internal regulator and TIG brazed a piece of SS tube to it so that the fuel returning from the Corvette filter/regulator would go back into that little cavity where the pump sits. I know it doesn't really matter if you just leave the regulator hole wide open to just splash back in, but I had a minute to fab up something, so why not. On the note of fuel, I priced out all the pieces to do an AN fitting fuel system, and it was going to be about $250 of just adapters, fittings, and hoses, or $400 something for the V8 roadsters kit. I'm not finna fake for these peckerwoods, so I just did some research about the OEM nylon lines and decided to make my own using off the shelf repair parts. The press tool to make these lines are expensive too, so I made my own tool that takes advantage of a vice. The OD of the nylon hose is 10mm, so I just grabbed a 10mm drill bit, drilled a hole, then ran a M10 x 1.0 tap through the hole to give it a little bit of some bite on the hose. It leaves some small marks, but not bad. Note: I had to fix my press tool by cutting one of the halves off completely and drilling another bolt hole. The way I made it originally didn't have enough spring to let the hose out the top. Two completed OEM looking nylon lines. The part numbers I used are: Dorman 800-084: 5/16 QC to 3/8 barb, 800-093 5/16 QC to 3/8 barb 90 deg, 800-086 3/8 QC to 3/8 Barb, 800-072 25 feet of 3/8 nylon line. I think I bought enough stuff to make the entire fuel system (Not yet done) for about $75. Not bad. I found that if i heated up one side of the nylon with the heat gun carefully, gently sandwiched it in-between vice jaws, I could bend it without kinking. I have more room on the drivers side of the trans tunnel for running the fuel line away from the exhaust, so I dropped the lines down that side of the tank. 2 slits in that foam gas tank seal, and some corrugated split loom should keep it protected. The rubber undercoating was cut away, then I put 2 riv nuts in for the OEM Miata fuel filter holster. The Chev filter happens to be just about the right size for the miata bracket which is a lot nicer. I just sandwiched the grounding strap in there to keep the filter from building up static since it has a foam insulating sleeve on it. All I need to do is find a male 3/8 QC to 3/8 barb fitting to make the final fuel line to head up front. On a side note, the gas tank is the first thing to go back in the car that doesn't have to come back out again! The grotty *** brake calipers had been sitting on the floor all covered in grime since the day they came off the car, so I took a few hours to strip them down, clean, and paint them with some silver barbecue grill paint. Red would match the MSM's theme, but it seemed too loud. Silver is fine. All the gas tank emissions stuff is gone, so I repurposed this air filter canister and breather snorkel thing that originally had a bunch of solenoids, charcoal canisters and junk attached to it. I tested the gas tank vent (The big one, not the tiny vent that is connected to the filler cap) and it has a rollover valve already built into the tank along with some nice baffles. There is no need for an external rollover valve or anything, just a way to let air in and out of the tank. Yes that elbow in the vent setup is a 1/2" PVC 90. I turned some pipe down into barbs that fit nicely into the hoses that came off the car. After the gas tank whent back in, I put the rear sub frame back and measured everything needed to get a driveshaft made. It's kind of a weird setup since the AR5 from the Slingshot doesn't have a slip yoke.
Bonus post for the day: the IL motorsport bushings arrived and since the control arms were all painted and prepped to go, I got them mostly re-assembled. Only thing left to do on the arms is bolt the new ball joints in to the front lowers. I need to get this thing rolling so I can take it outside and clean it up in preparation for lizard skinning the whole thing and painting the new transmission tunnel and engine bay. The bare, yet beautifully de-crusted and painted arms. Made a few press tools on the lathe. but most bushings were able to be pressed in using random cutoffs and scrap. Kinda tricky to get a setup rigid enough to get those bastards in. 3 hours of work and lots of dish soap later, they are all in. I also got to test to see if the driveshaft shop stage 1 Ford 8.8 to Miata axles fit. They do!
You do some nice work. The only thing that I question is returning "hot" fuel directly into the fuel pump pick-up sump. I would probably return into the fuel tank fill hose just to keep the fuel as cool as possible. My car runs so much better on a full cold tank of fuel. As things heat up, I can actually feel the power decrease. Those fuel tanks are pretty small volume.
Does pumping it through the regulator really heat it up that much? I'd planned on making a heat shield/ rock protector also to help with the exhaust heat next to it, but I guess that wouldn't protect against heat from the actual pump
Also, shouldn't the ECU correct the fuel trims for when the gas starts to get less dense?
You have to figure that the fuel is getting heated by the engine and exhaust coming and going from the tank. The way you have it set up, that same "drink" of fuel is increasing in temperature each trip.
My car runs so much better on a full cold tank of fuel. As things heat up, I can actually feel the power decrease.
There are so many other factors at play as a car warms up, that I can't bring myself to believe that fuel temperature has any noticeable effect on the engine running. Maybe a job for Mythbusters or Motor Trend's "Engine Masters".
If anything, I'd think fuel warming up (at a given starting temperature) would only increase the evaporation and atomization of the fuel, which usually results in a better running and more efficient engine, given how rough cold starts are. And by cold I mean not warmed up, not cold as in near freezing. If fuel temp did have an effect, wouldn't a modern EFI system compensate?
I guess you haven't owned a carbed car with a vapor lock issue before. I had one that would actually boil the fuel in the float bowls.
I guess you haven't owned a carbed car with a vapor lock issue before. I had one that would actually boil the fuel in the float bowls.
While I have owned one carbureted car (VW Beetle) I have no nostalgia for them in general. B/c the fuel isn't under much pressure from what I understand, the vapor lock issue will always be a concern say if a hot car/engine has a chance to heat soak after hard running. But vapor lock has to do with feeding fuel to the engine, not the temp of the fuel the entering combustion chamber. It's a pumping issue.
I would protect the lines, etc. more for safety reasons from the heat, if anything. Heat can degrade the lines over time.