When you click on links to various merchants on this site and make a purchase, this can result in this site earning a commission. Affiliate programs and affiliations include, but are not limited to, the eBay Partner Network.
Yeah that's basically the reason I am covering the lines with fiberglass heat sleeves. It's just nylon line, and it's running in the same tunnel as the exhaust.
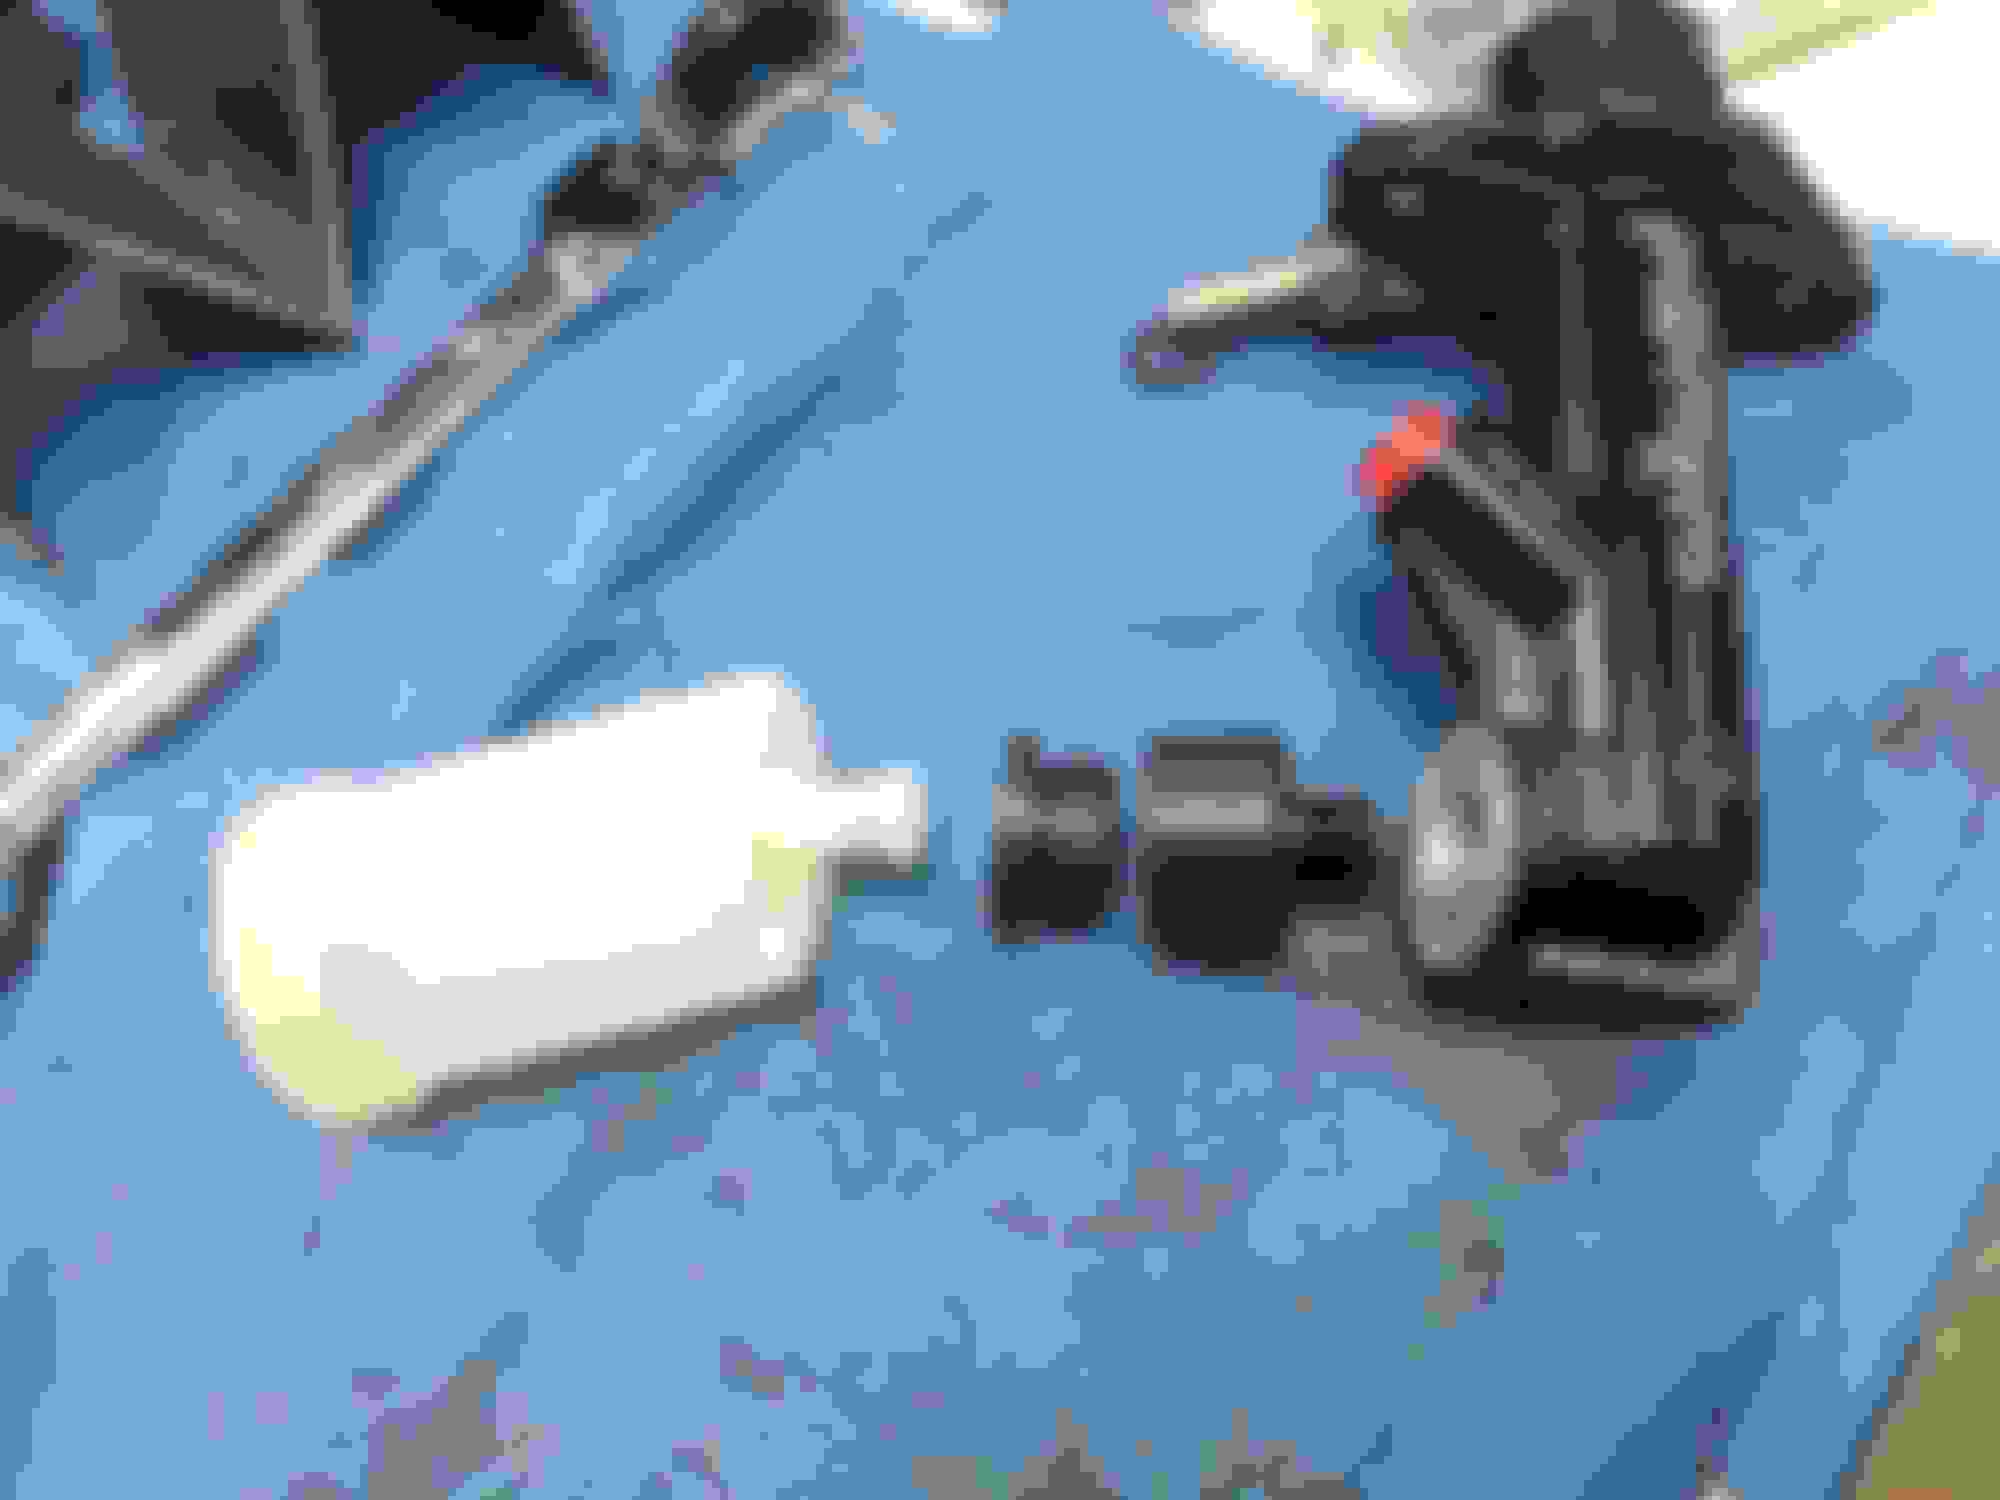
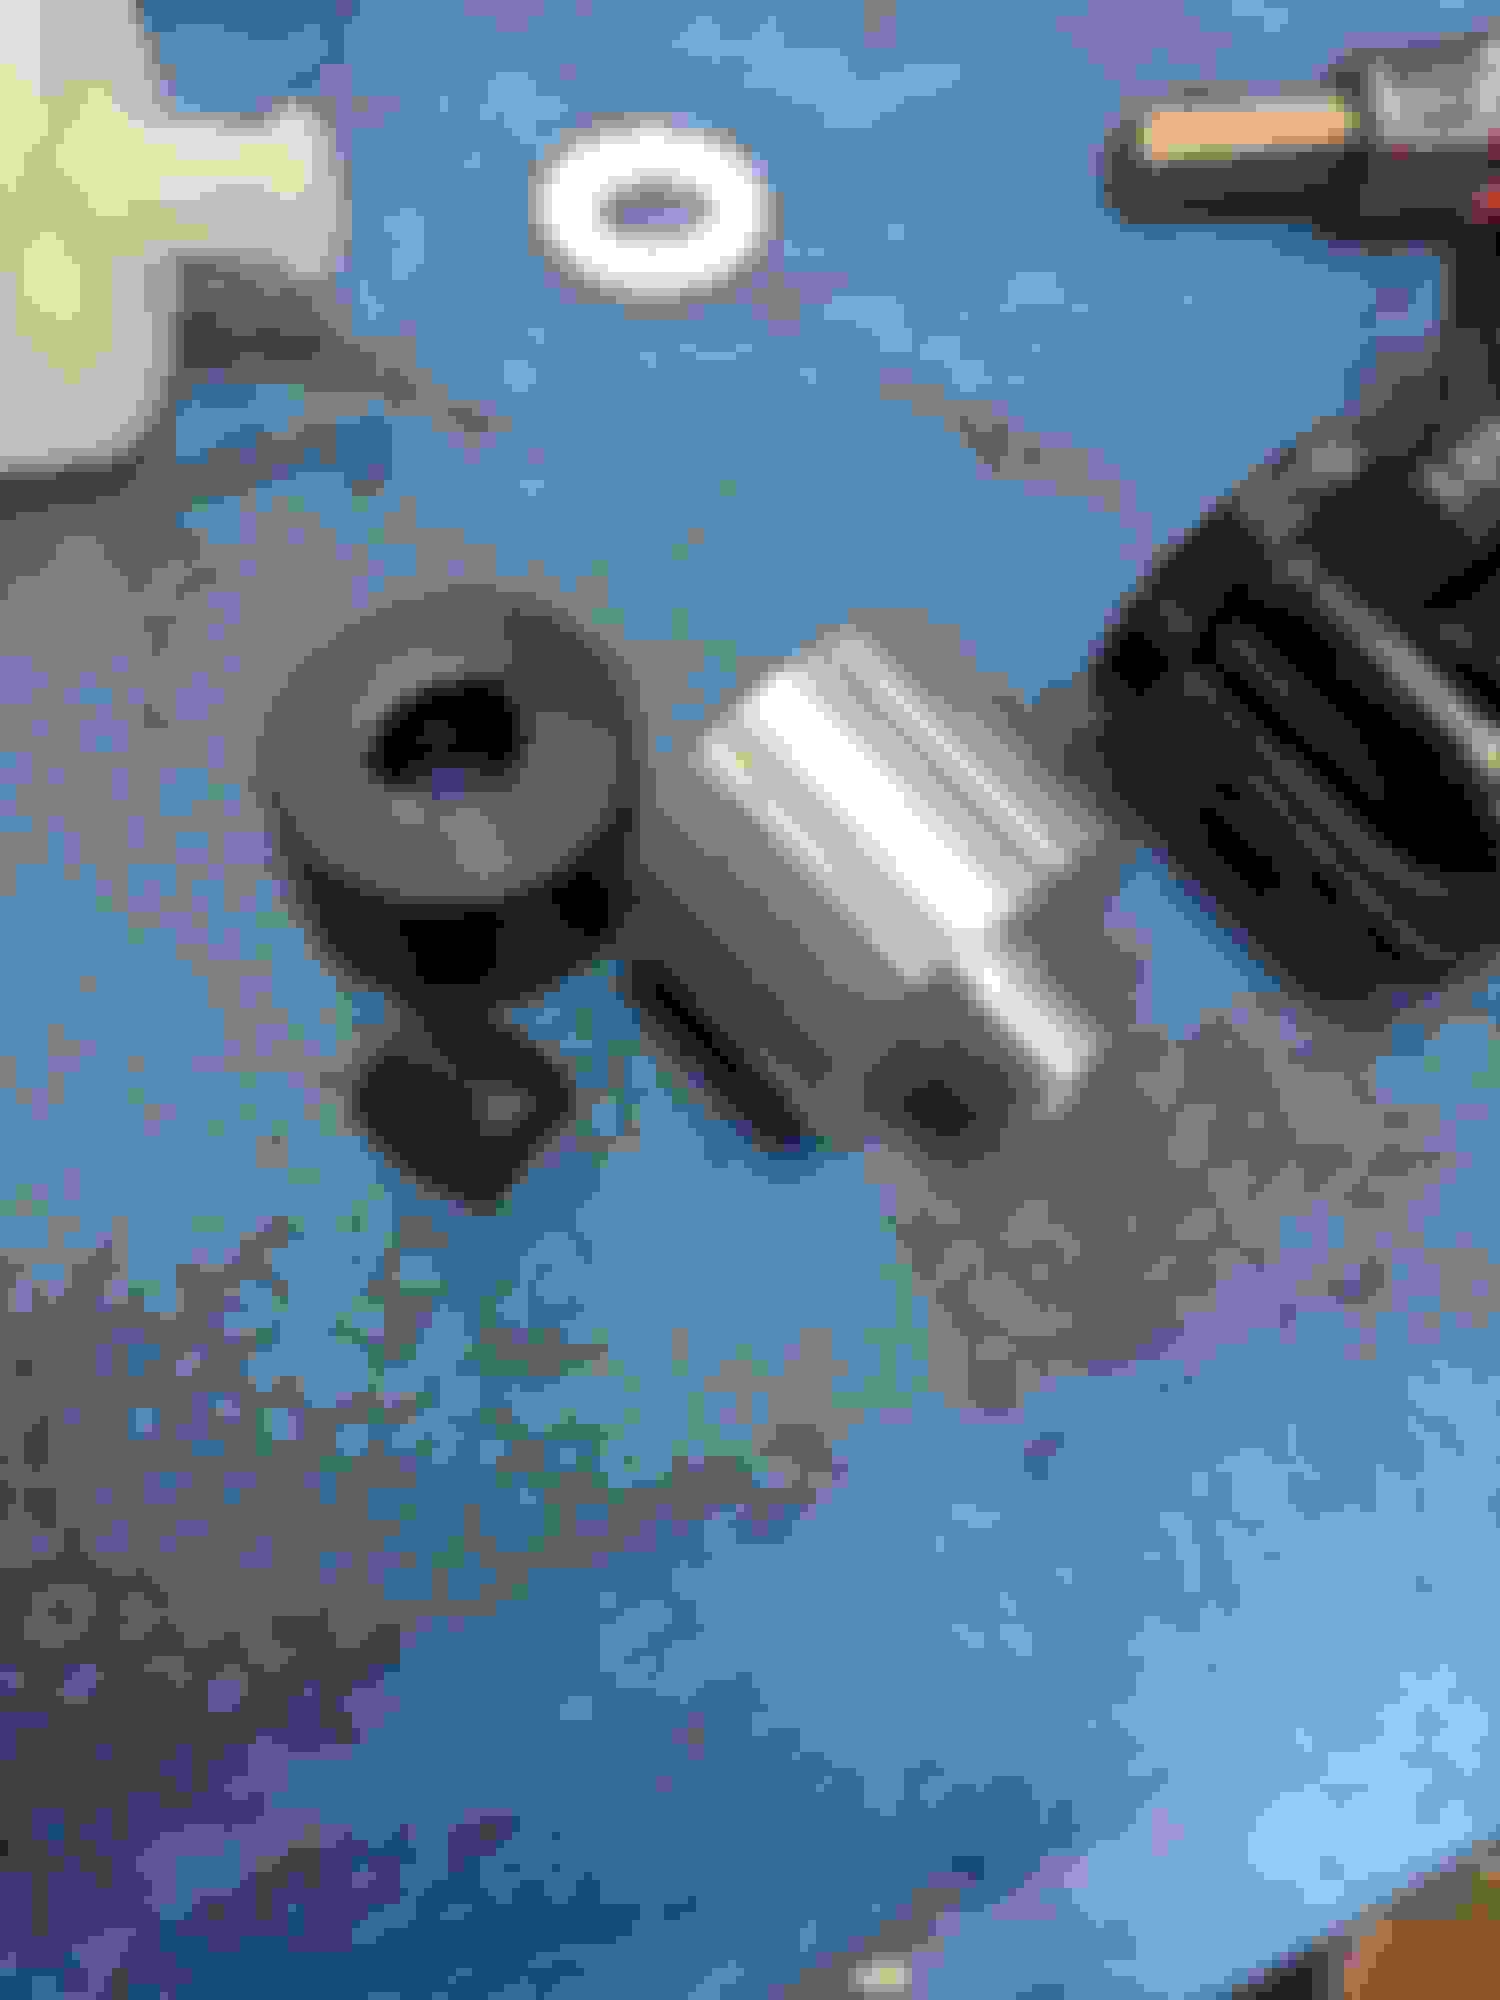
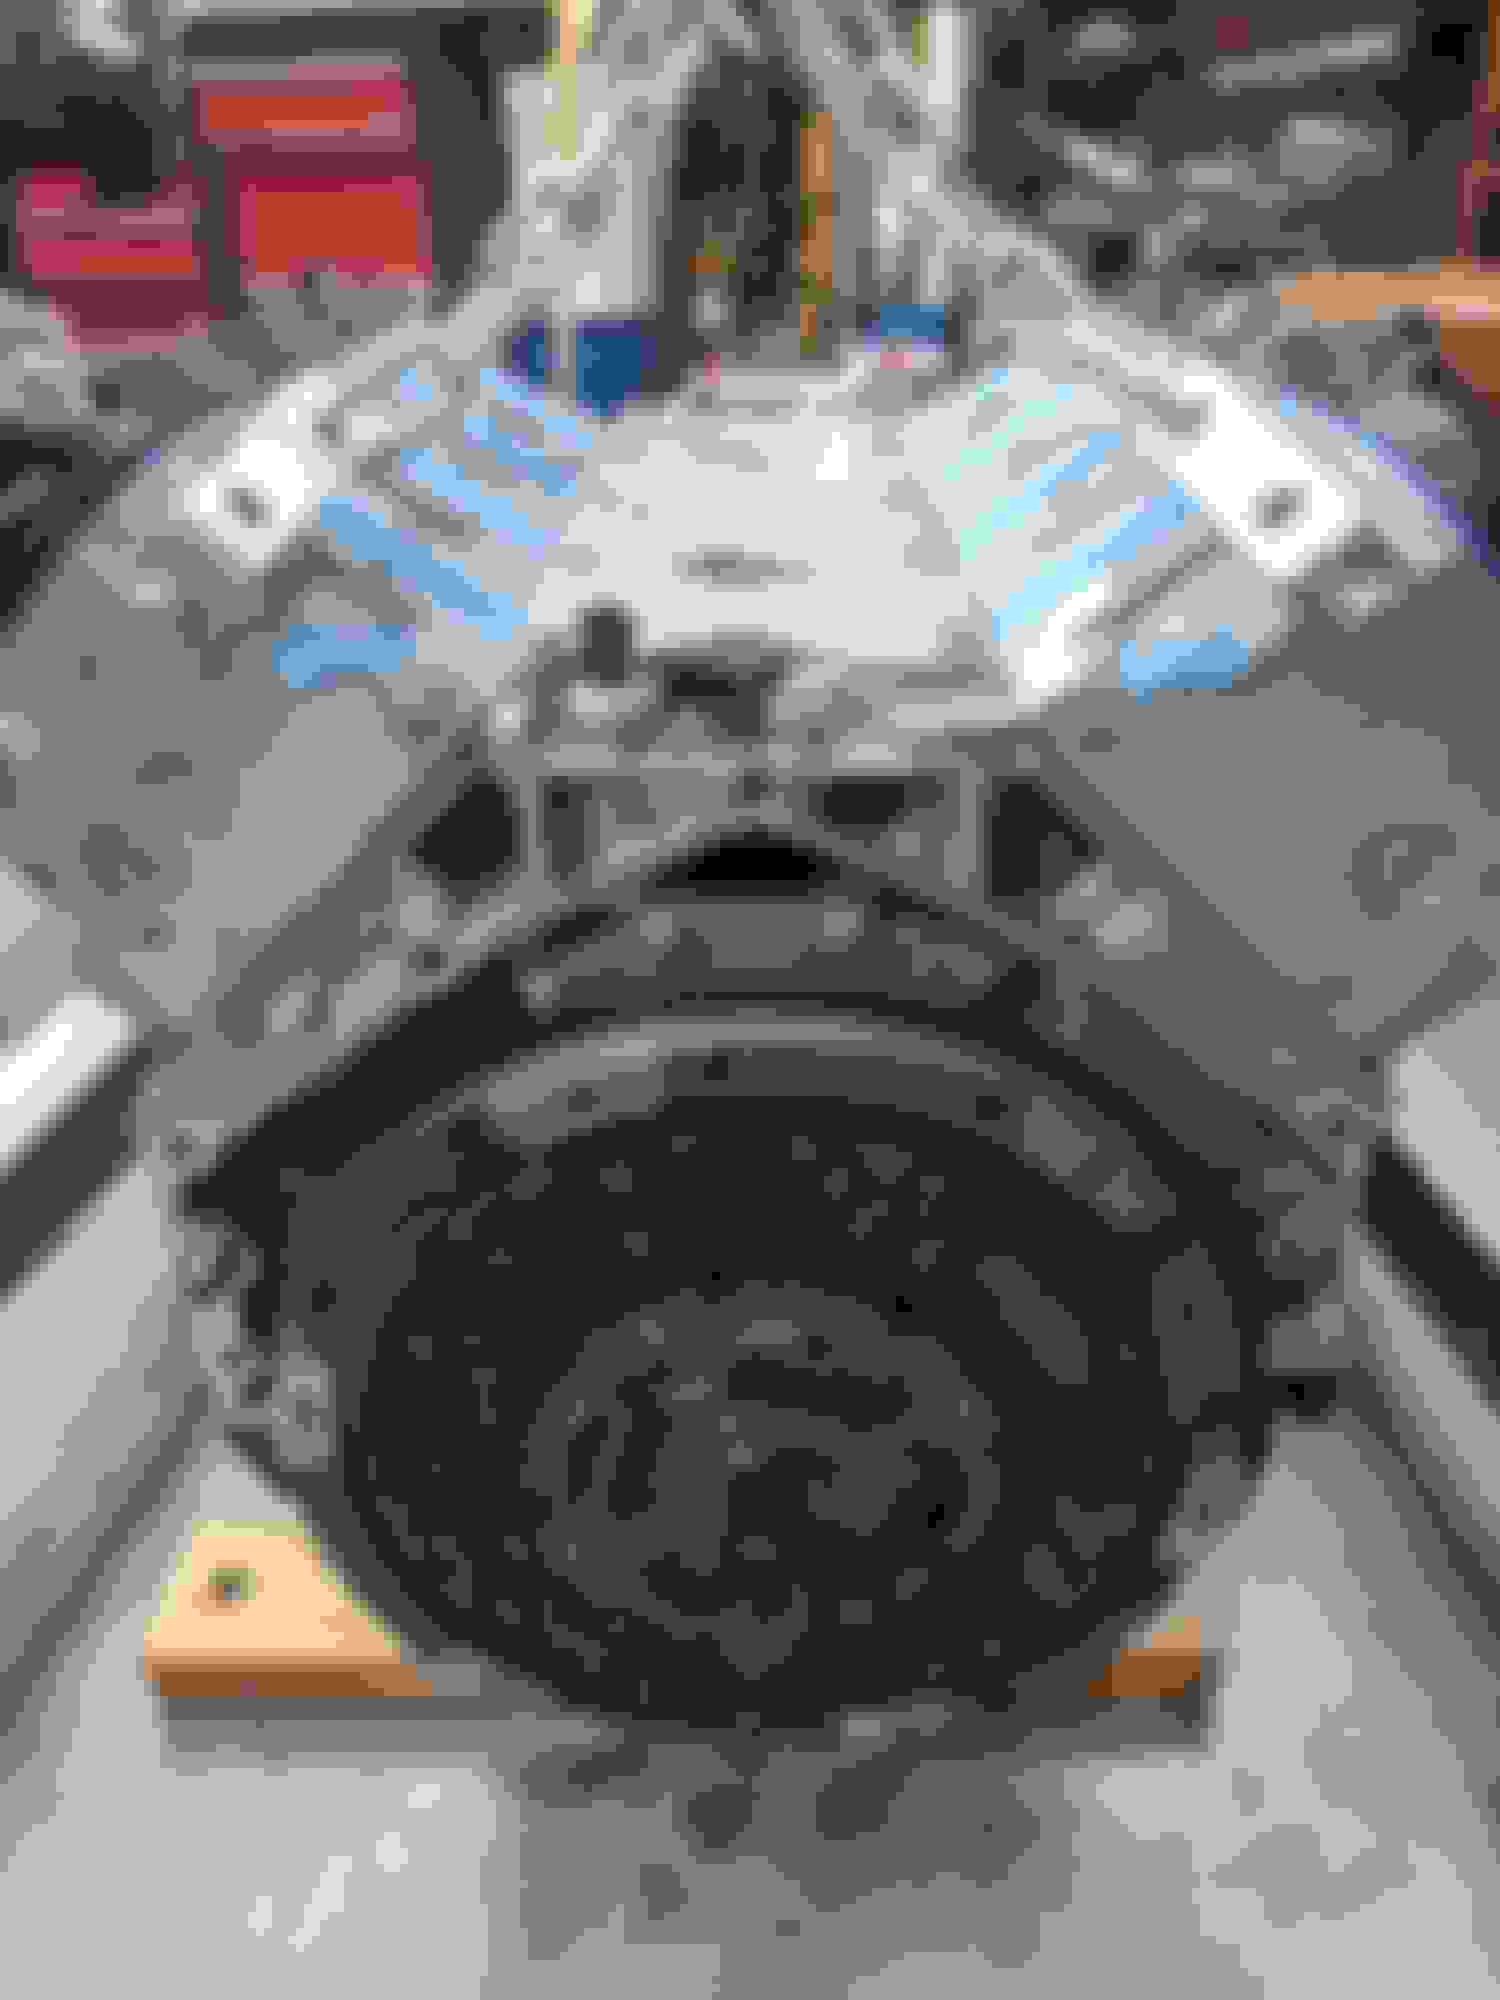
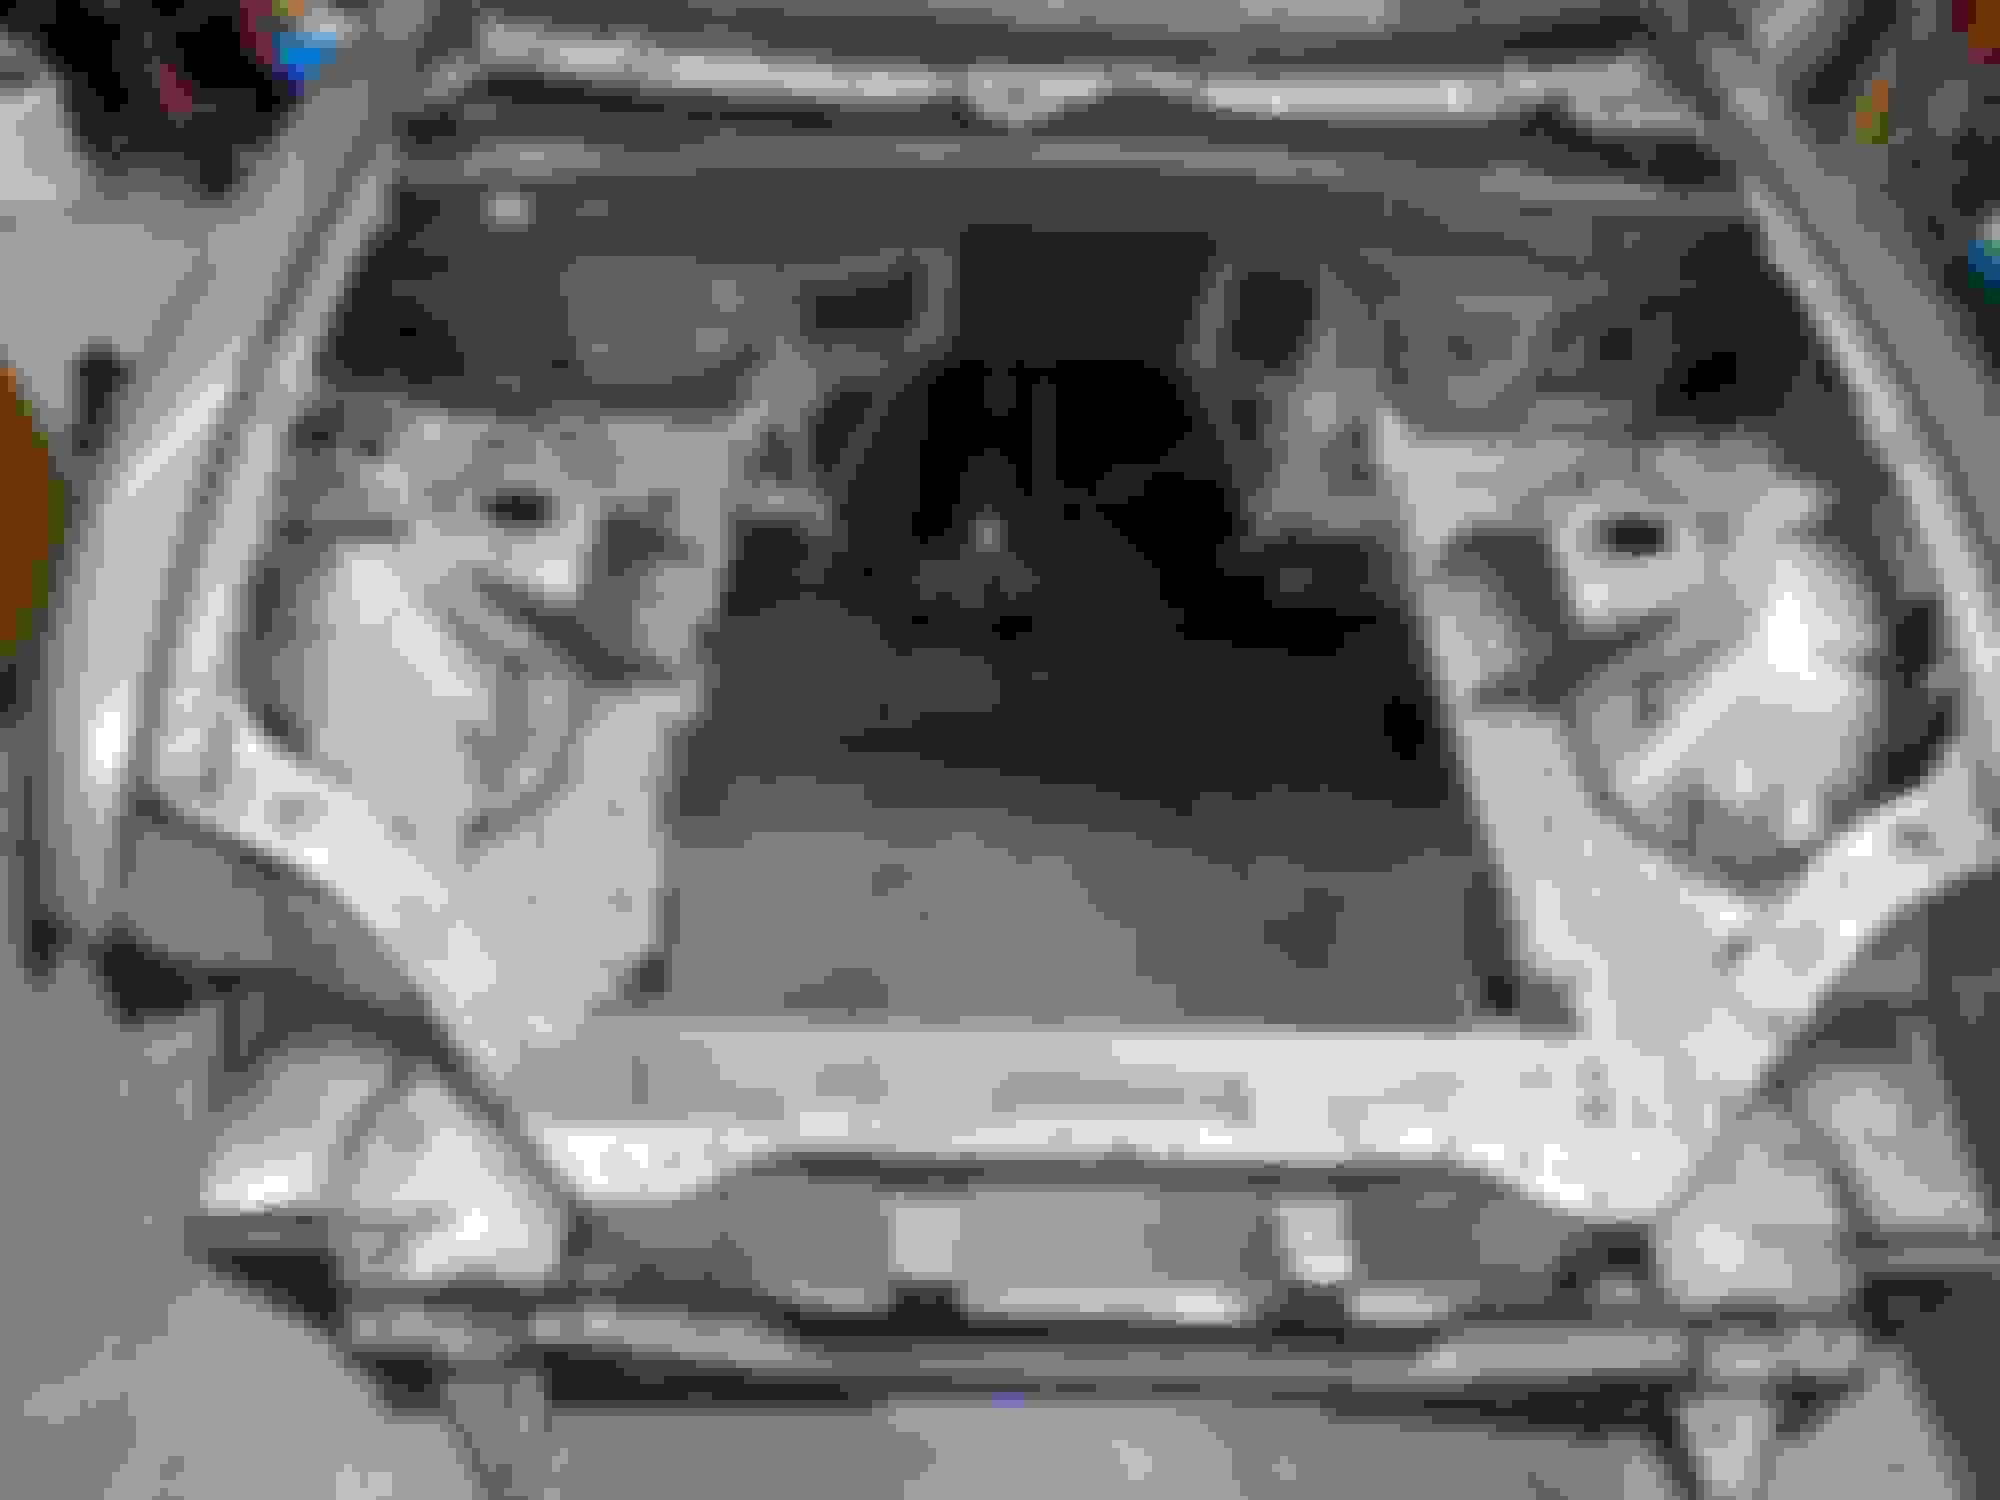
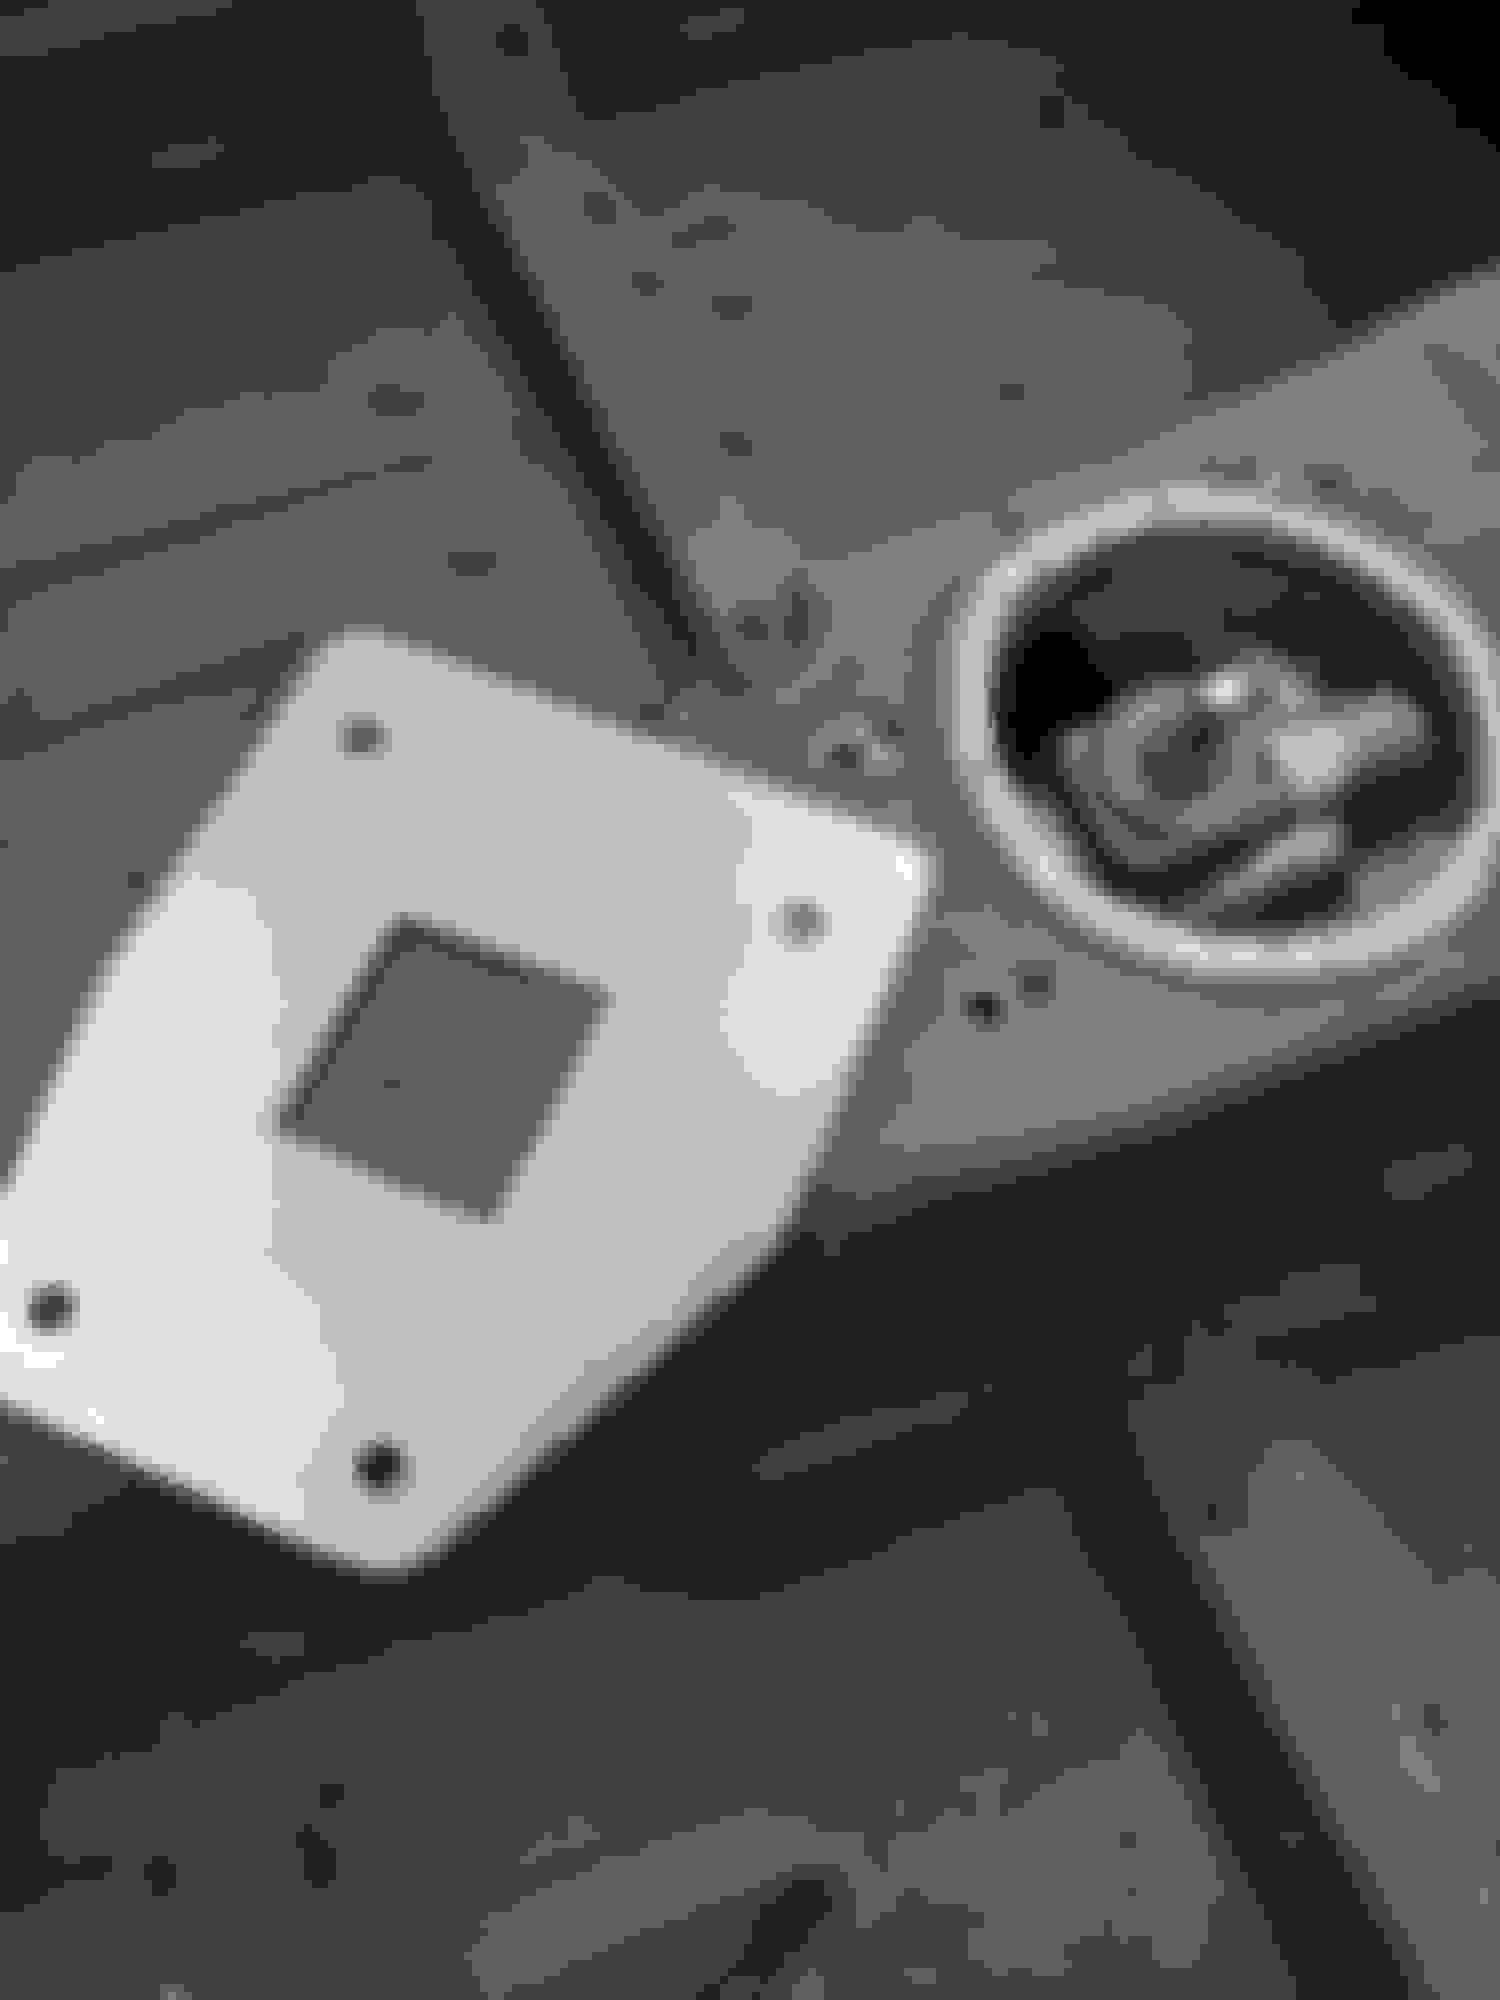
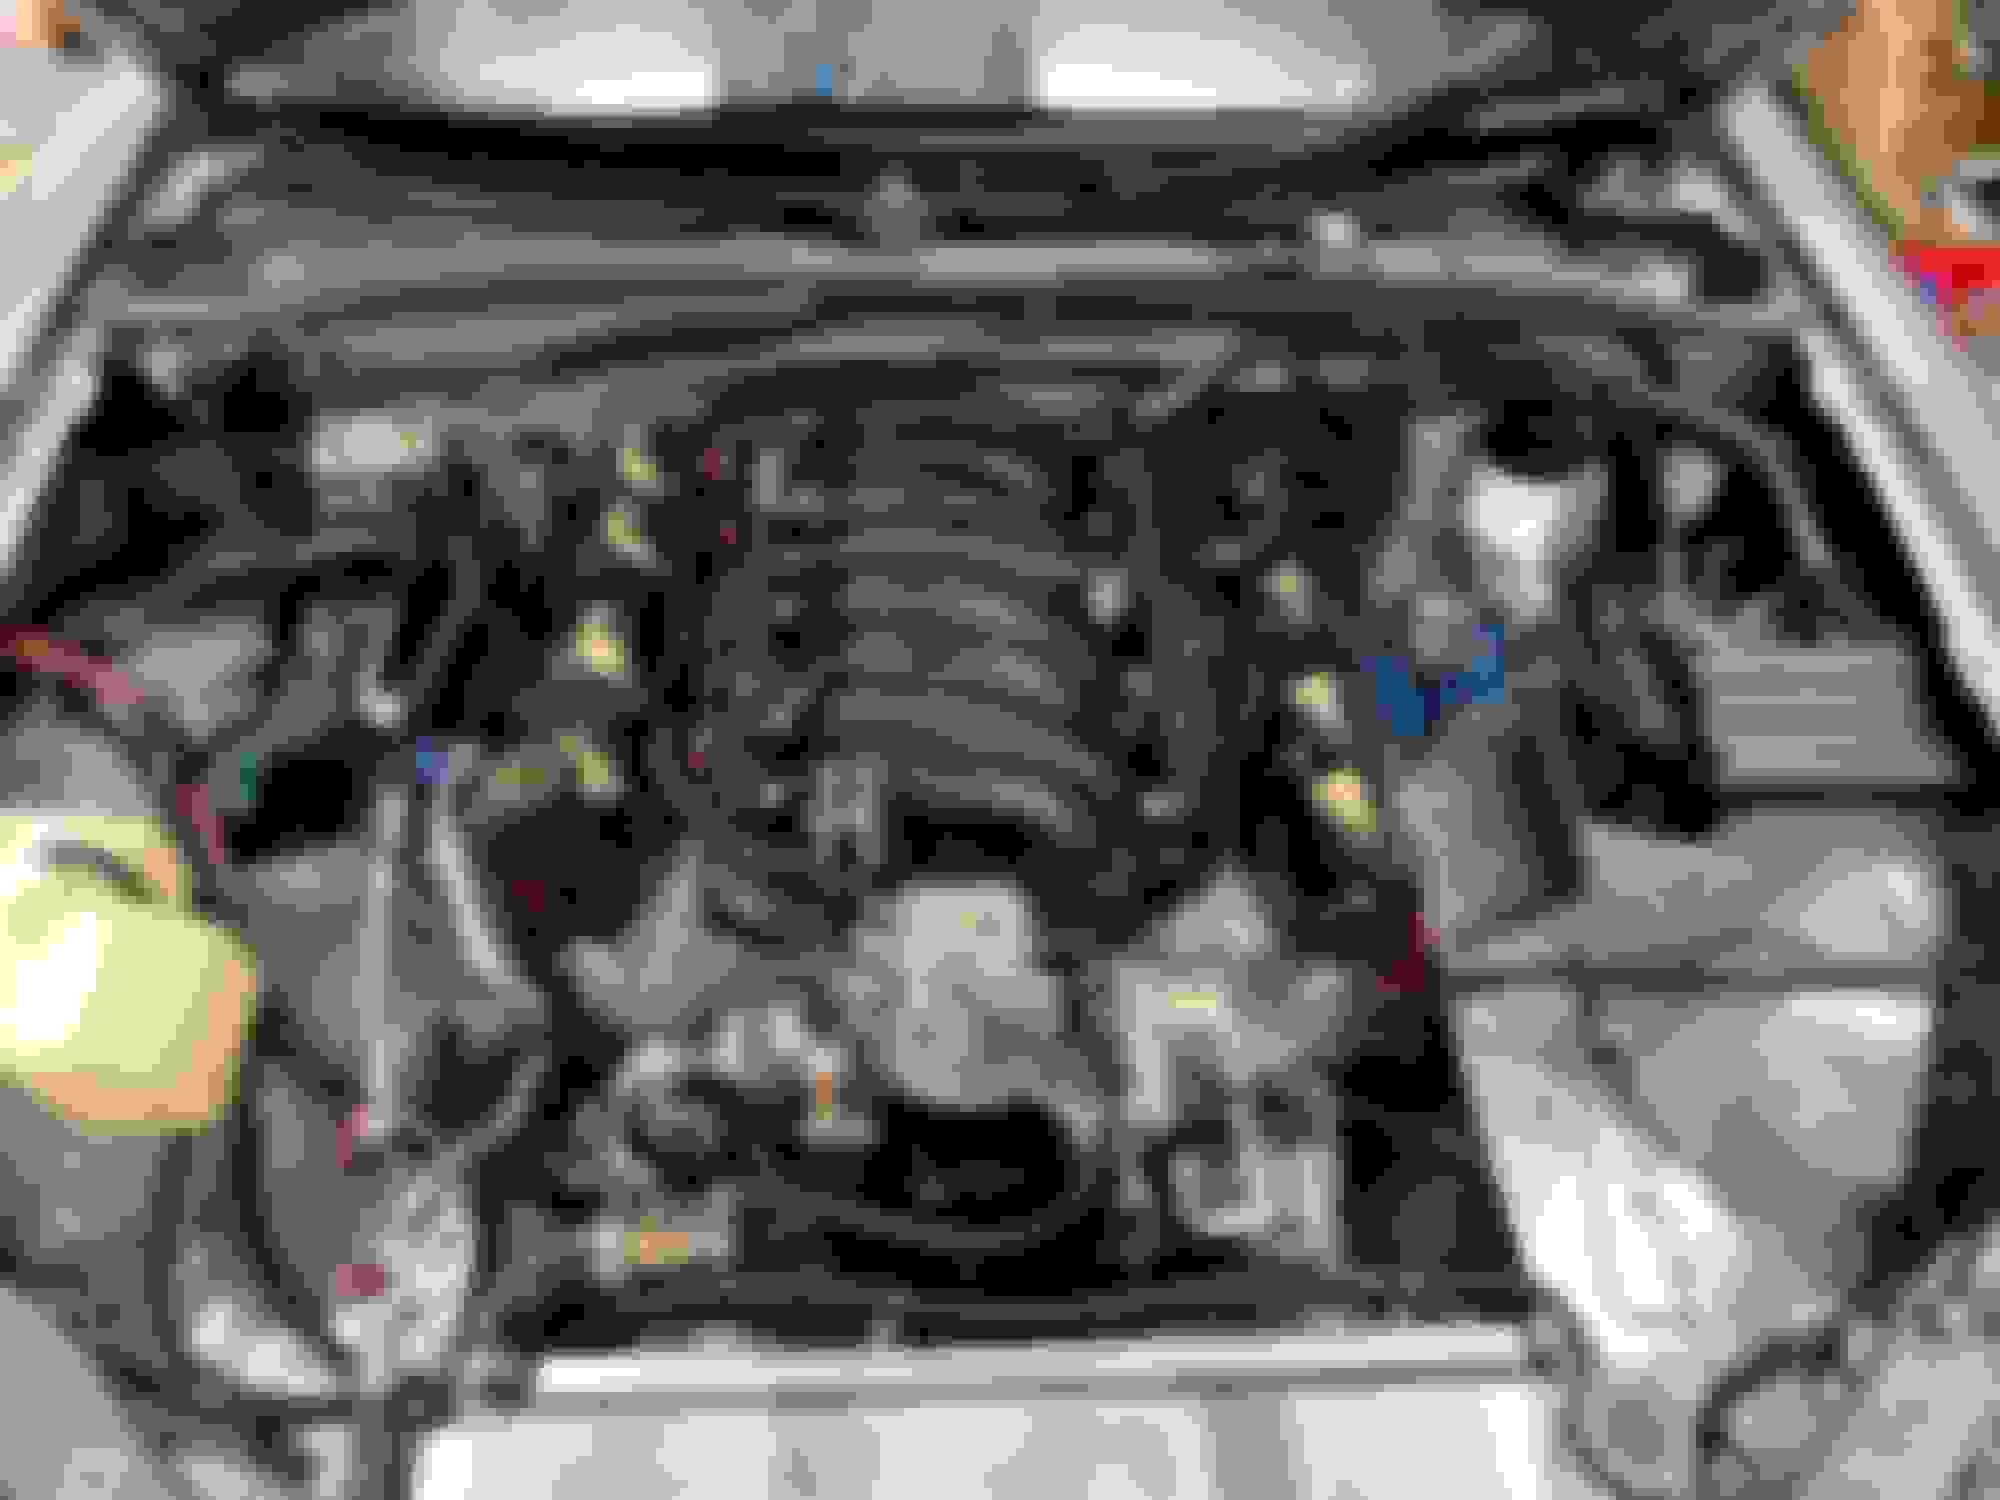
Ok this post is going to be a bit long. I have been working on this thing as much as possible to hopefully get it ready by "Miatas at the Gap" on the first weekend in august. Its a tight goal considering how long this thing has been taking, but dammit, I haven't driven a Miata since September 3rd 2019, and I miss it so much. I've never been to MATG since its about 10 hours from me, but this thing would be perfect for it. I couldn't seem to find a clutch master cylinder with a large enough bore to work with the short Miata pedal and the Chev Colorado slave that also had an internal reservoir, so I had to go with this .81" Wilwood and my own adapter. I made this Delrin adapter to use the factory reservoir and grommet. I also had to make a sealing washer to seal the adapter to the cylinder, and, of course, the only Teflon I had was like 2.5 inch diameter. Luckily cutting PTFE is a dream with a sharp HSS tool. I immediately broke the Delrin adapter because I can't do simple addition and made the CB only about 10 thou shallower than the whole piece. 2 hours on the lathe wasted. I remade it out of 2011-T3 alum. I love free machining aluminum. Any easy to machine material actually. Here is the master cyl including the main adapter. I just copied the basic design that V8 roadsters uses. It's just a piece of 1/4" plate with a pair of threaded holes for the master, and 2 at a weird angle for the clutch pedal studs that poke through the firewall. The latter aren't at 45 degrees like you'd expect. I had to remake the plate after assuming the were. You know how **** always gets into the miata AC system because it doesn't have a cabin air filter? well I tore out the fresh air vent snorkel I replaced that snorkel with a solid piece of steel because it's a god damn convertible and doesn't need an outside air vent. Those swaybar brackets I made a few weeks ago can now be welded on since I can put the control arms back in enough to measure where the end links go. This BMW bar fits so perfectly under the crank pulley and AC. Thank you based BMW. The motor was out, so I took the time to finish putting it back together. I used an M6 Mazda Miata bolt to hold the oil pickup tube in place to appease the Mazda gods. This one took some serious thought. I bought a LUK 04-905 LS7 clutch set for this Miata because it is only $245 for the Clutch, PP, and flywheel that I know will hold the power and be super nice to drive on the street. The downside of the LS7 clutch? It weighs damn near 60 pounds!!!!!! The flywheel weighs 26.5 LBS, The PP weighs 24, and the clutch itself weighs 6.6. I have this same setup on my 3,400 pound corvette C5, and it really does work a trick for the price. I might eventually get a lighter setup, but this will do for now. A friend of mine pointed out that I'd never know what my timing is unless I made a pointer that could be used with a timing light. All I did for this was drill and tap 2 holes in my alternator bracket and bend a strip of .062 nickel into this shape. I wouldn't recommend using commercially pure nickel metal for stuff, but I had it laying around. After a little cleaning, a new rear main seal, a few holes in the bell housing, a new oil pan gasket, and 2 -3AN lines hooked up to the clutch slave, the motor is all back together. It still needs the pushrods and rockers, but those are in storage until its ready to start. This is a little bunny that somehow got in the garage. I wanted nothing more than to keep him, but wild babbits don't belong inside. He was so soft though. Anyway, that same friend recommended welding V-bands to my headers instead of using the 3 bolt flanges. He also suggested keeping my heat under control and using the thinnest filler possible to avoid warping. Doing that and using my jig of a spare V band welded to a piece of steel kept the warping down to only about .005"! I'll never claim to be a welder, but it'll probably hold. I'm done with the front subframe, so I went ahead and painted it. This is the color I plan to paint my engine bay, and I'm pretty happy with it. I seamsealed all the welds on the tunnel and cleaned the engine bay as best as possible. Took about 10 hours to clean the bay and most of the interior with a wire brush and kerosene. It still needs a final cleaning with a more volatile solvent, but I've run out of time for this weekend. Next up is lizard skin and paint! I might take off next Friday to work on this thing some more, but in the meantime, It is nothing but more cleaning.
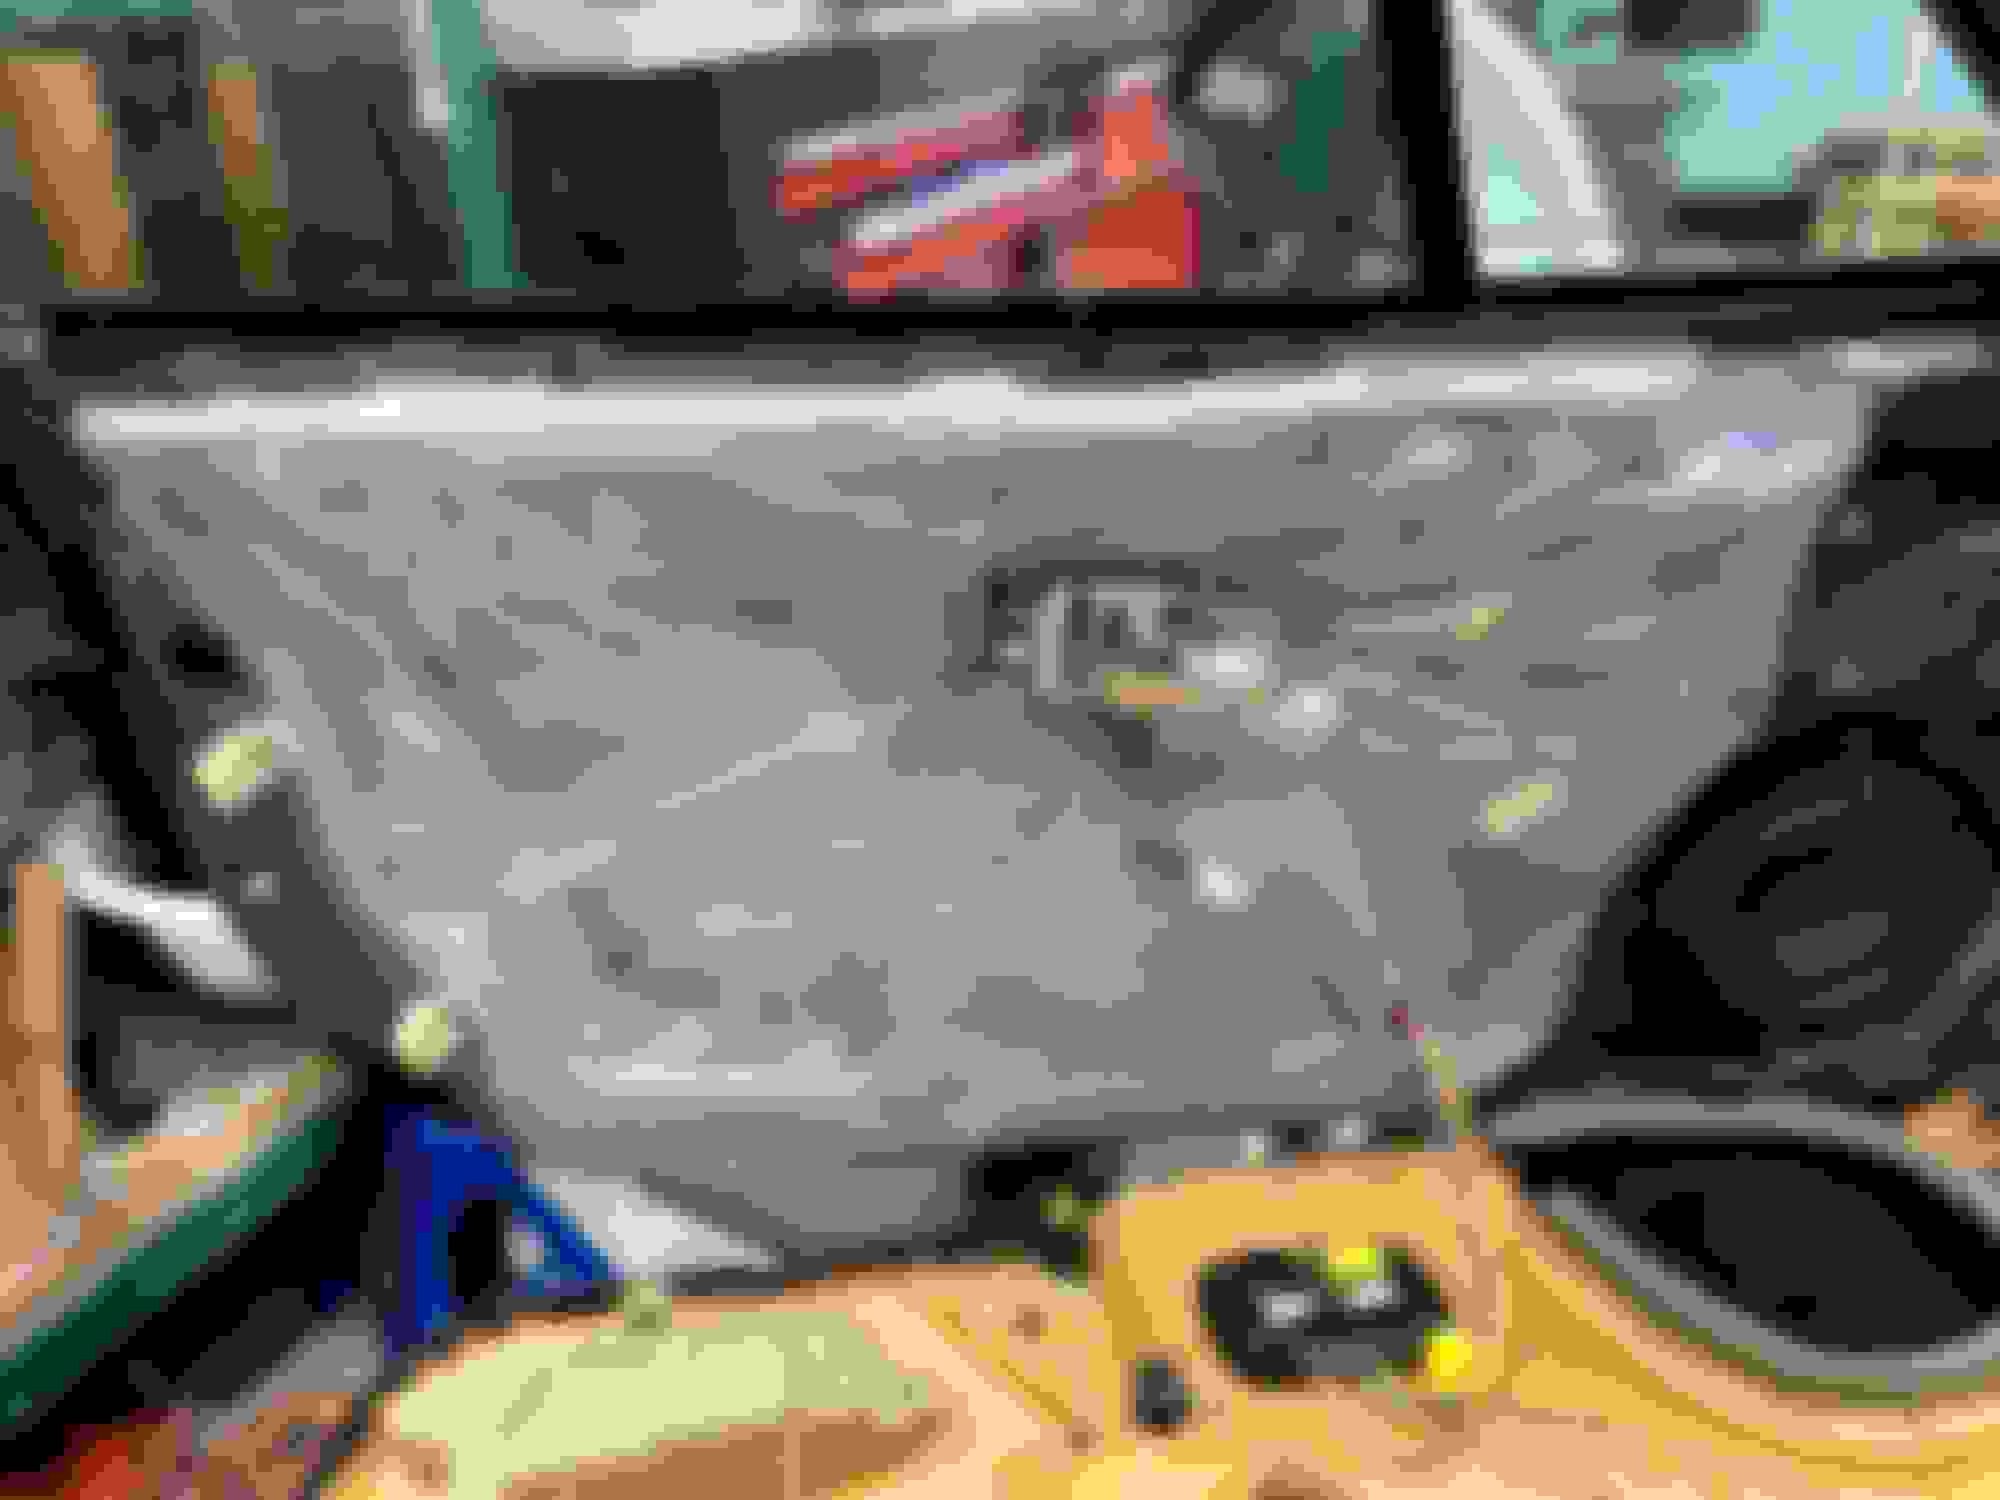
Just a quick update from the week. I keep disassembling this car, but I think its fully apart now. I mean there is literally nothing else left to take off after the door cards and the soft top frame came out in prep for sound insulation. This is my ghetto positive-ish pressure paint booth. After paint. You can see that air filter down there with the shop vac hood behind it. It actually worked pretty well with that and a small fan to inflate my tent. A proper mask with the correct filters is extremely helpful here. I took the doors apart to measure for speakers and while I was in there, I cleaned off the old butyl goop, threw the vapor barriers away and put 80 thou thick Butyl mat on the outer door skins. I will remake the vapor barrier out of the same rubber for even more noise reduction. The factory Blose speakers and amps are being removed and replaced with a really simple budget component system. More on that when I get to it. This stuff has some gravity, but I think a couple pounds is worth adding to the car to make it a nicer place to be. I use the Noico brand rubber because it works the same as the expensive brands. It makes a night and day difference when tapping on the door as far as ringing and echo.
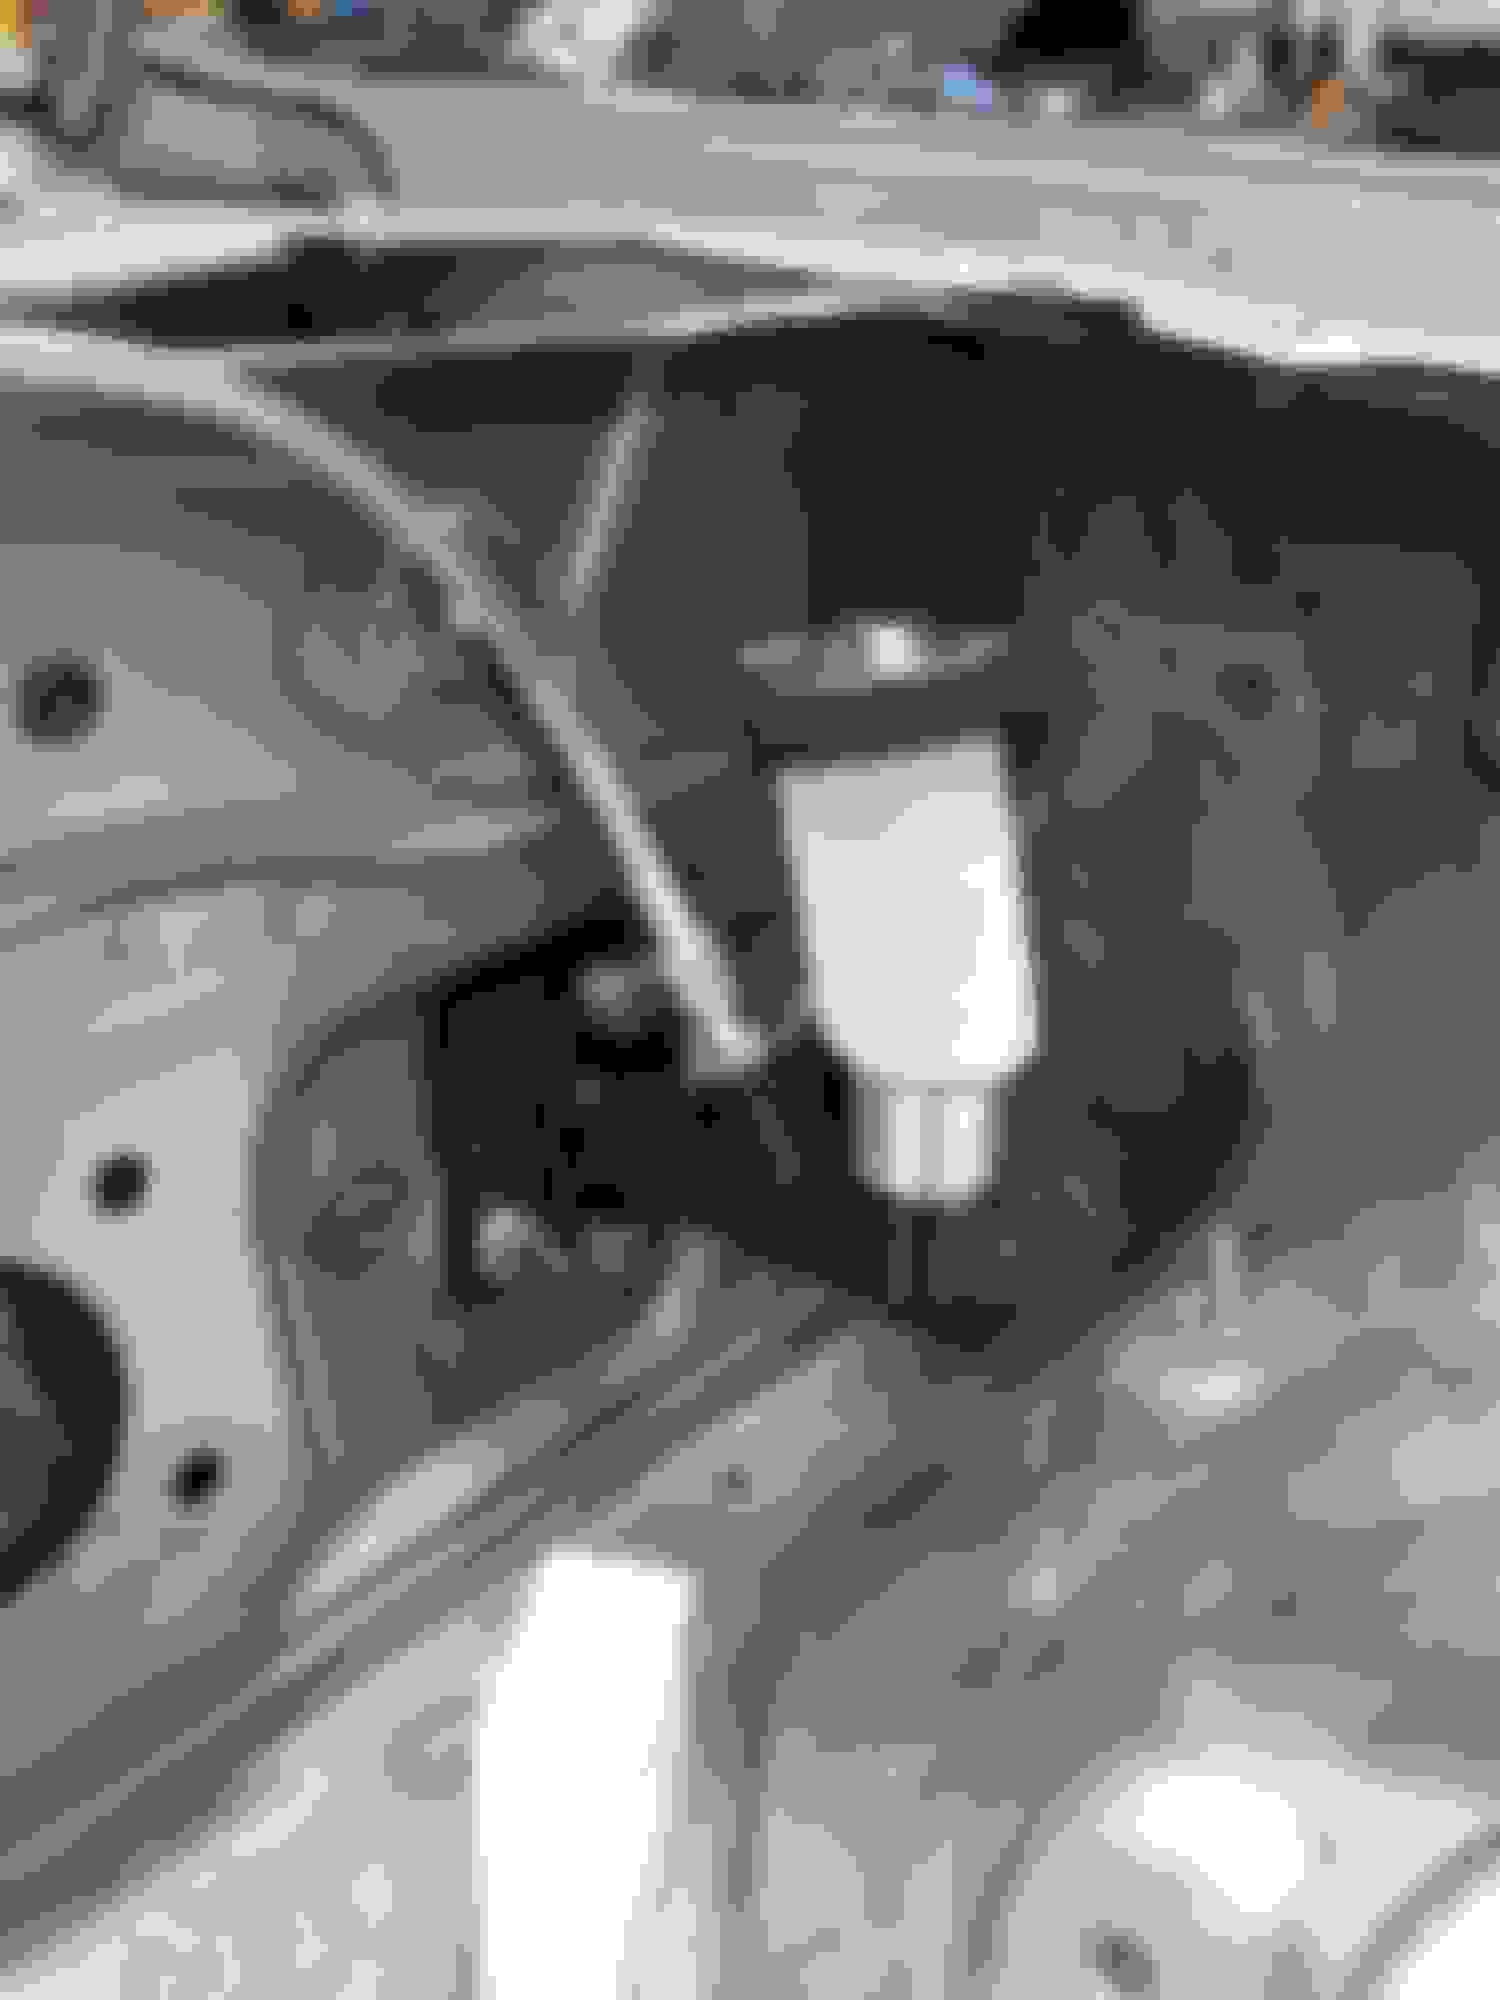
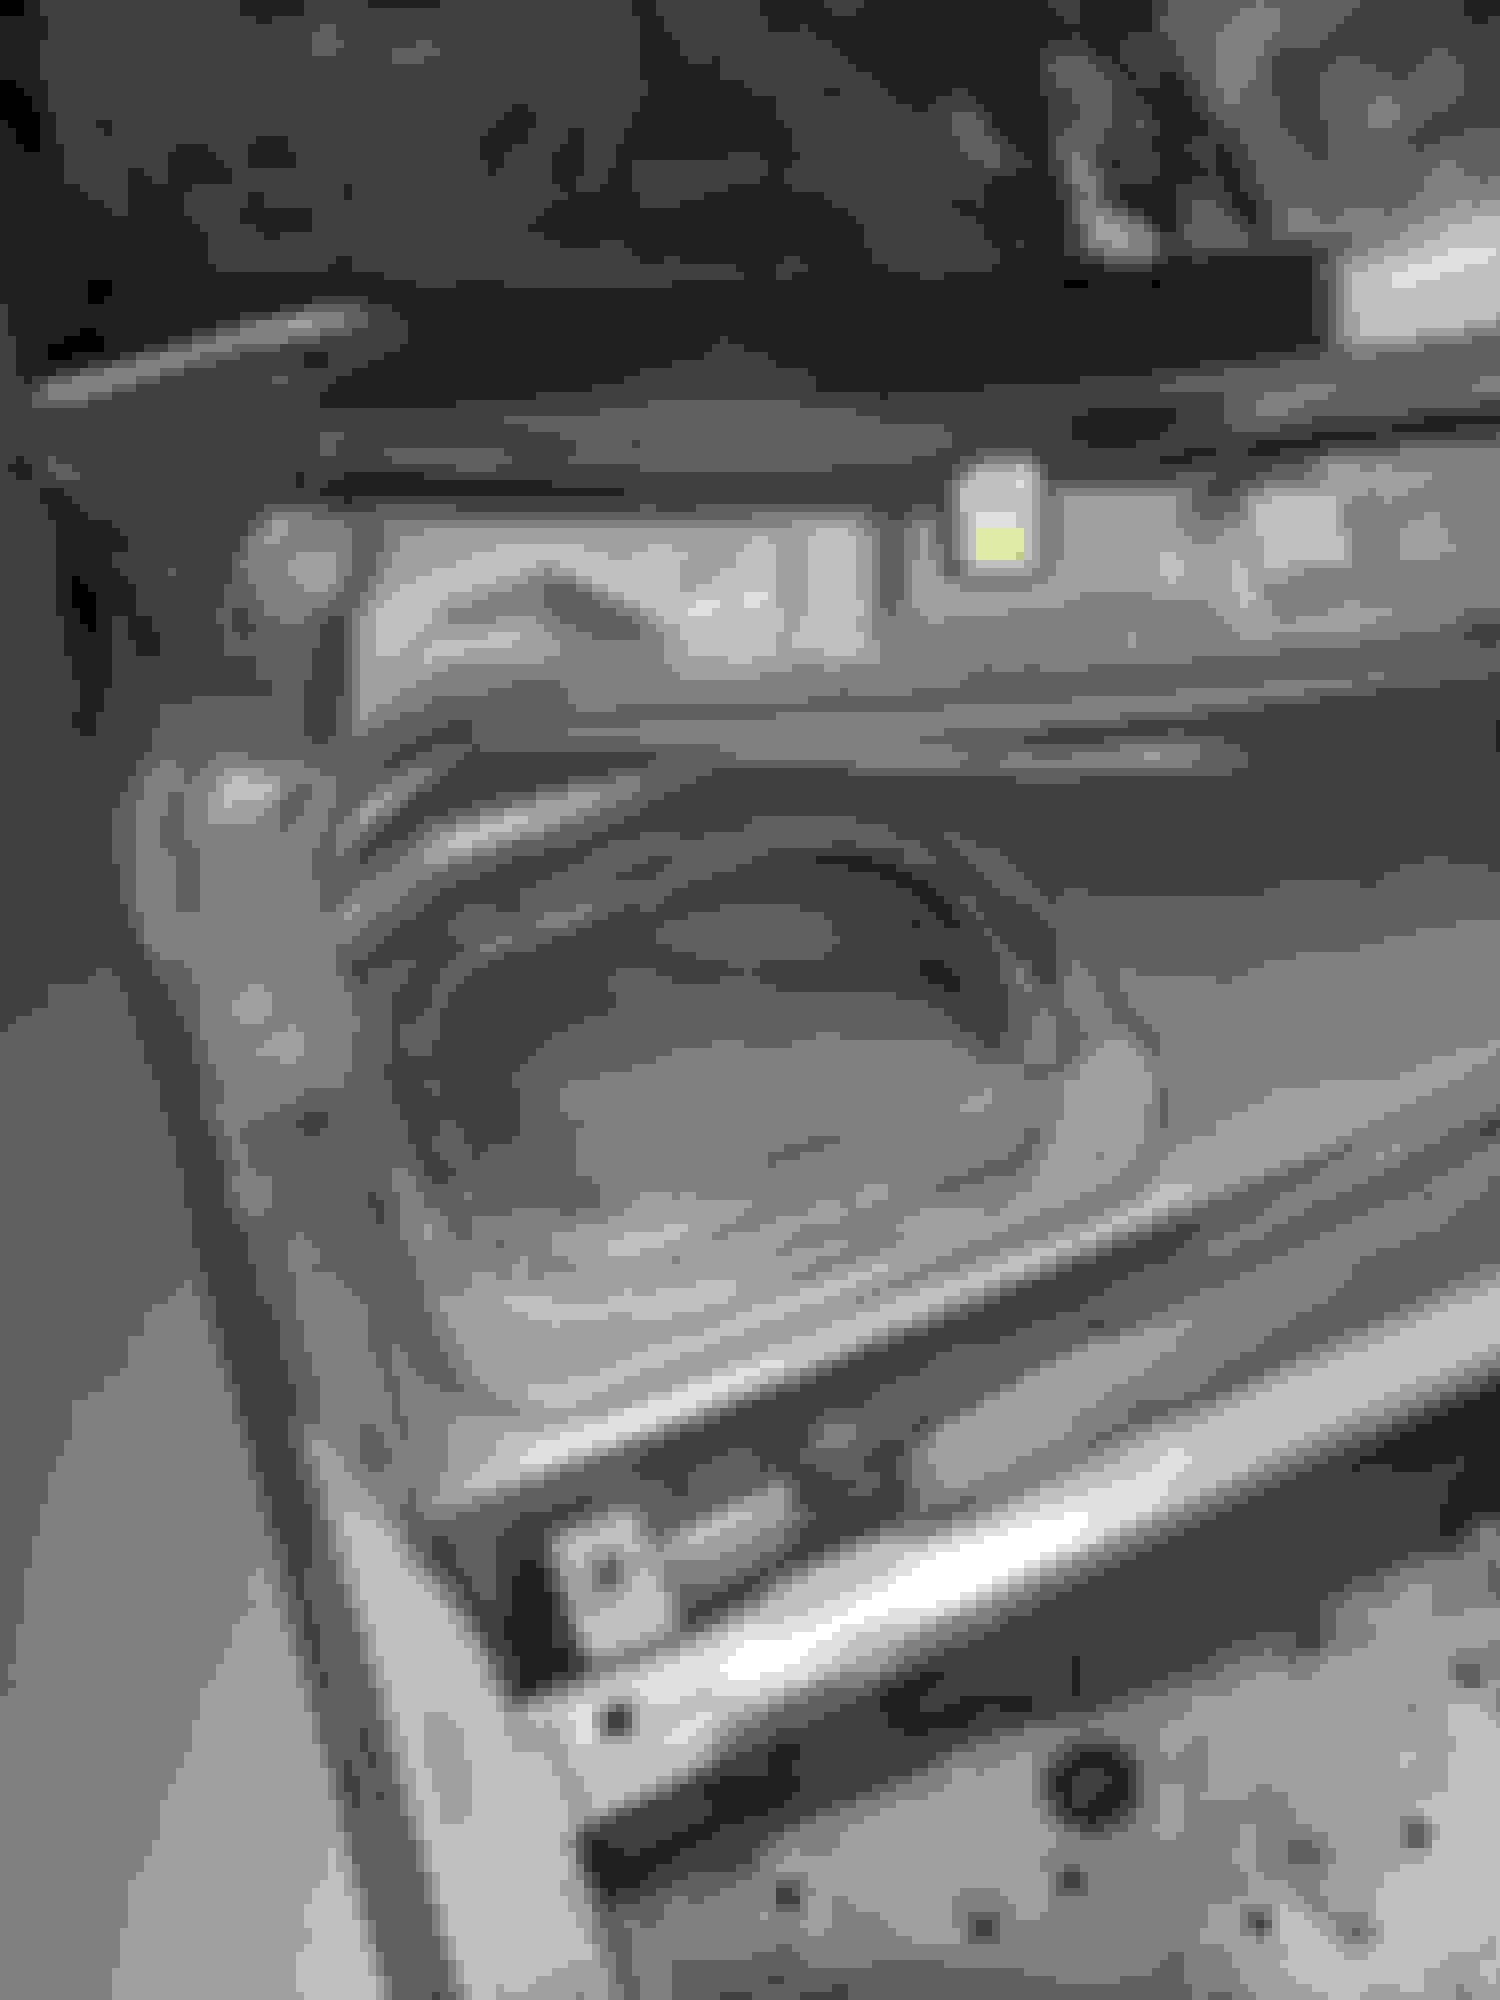
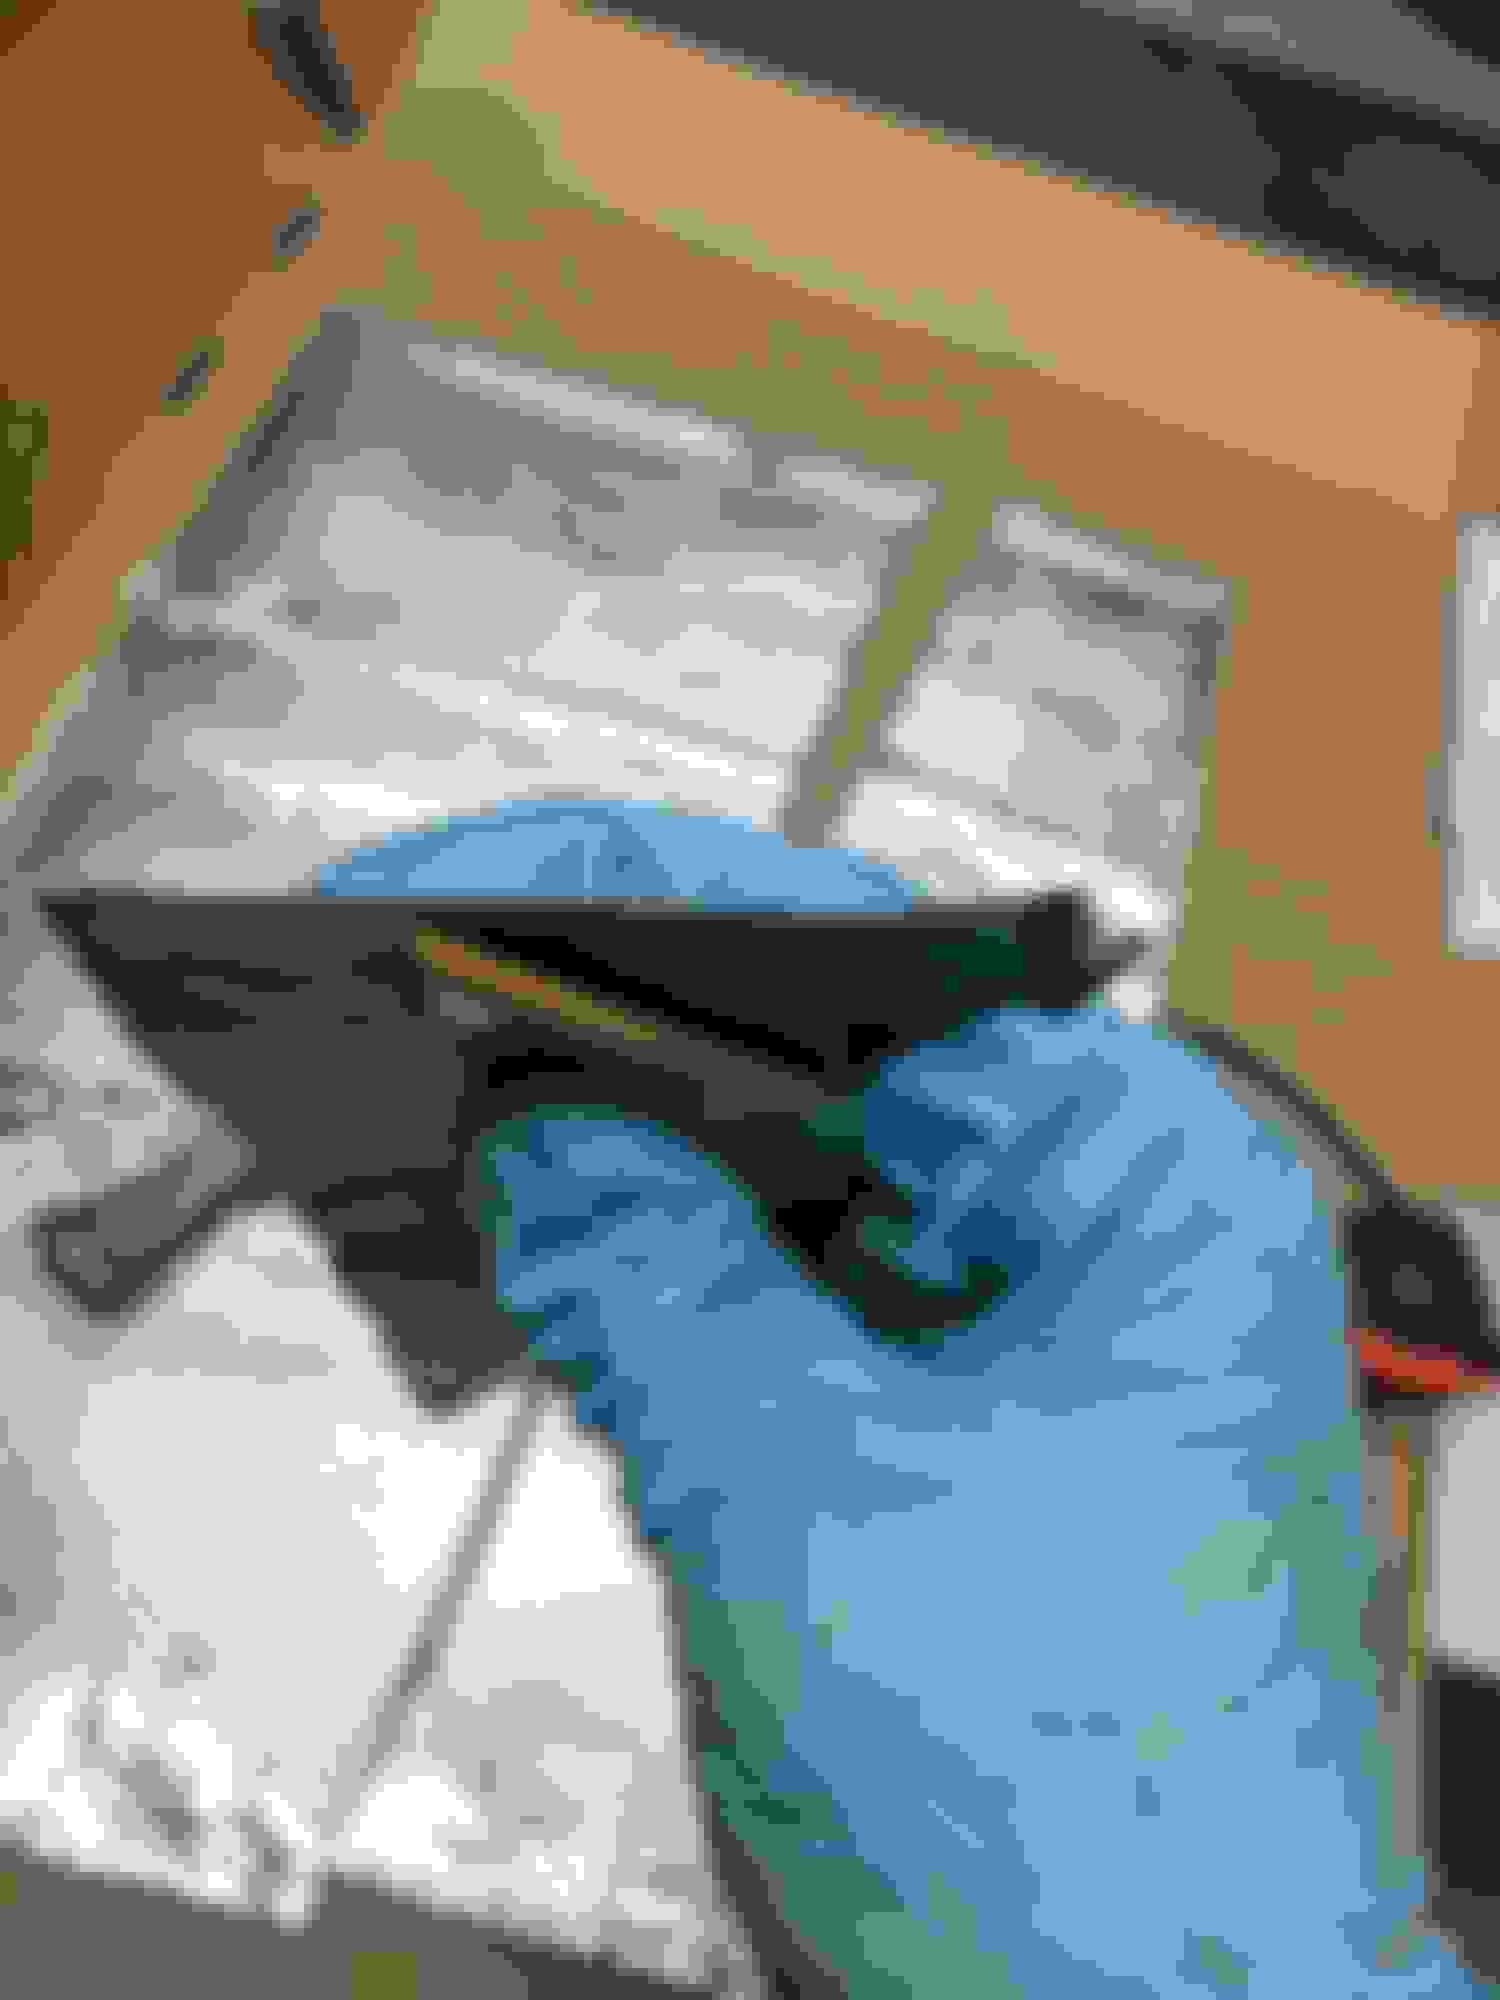
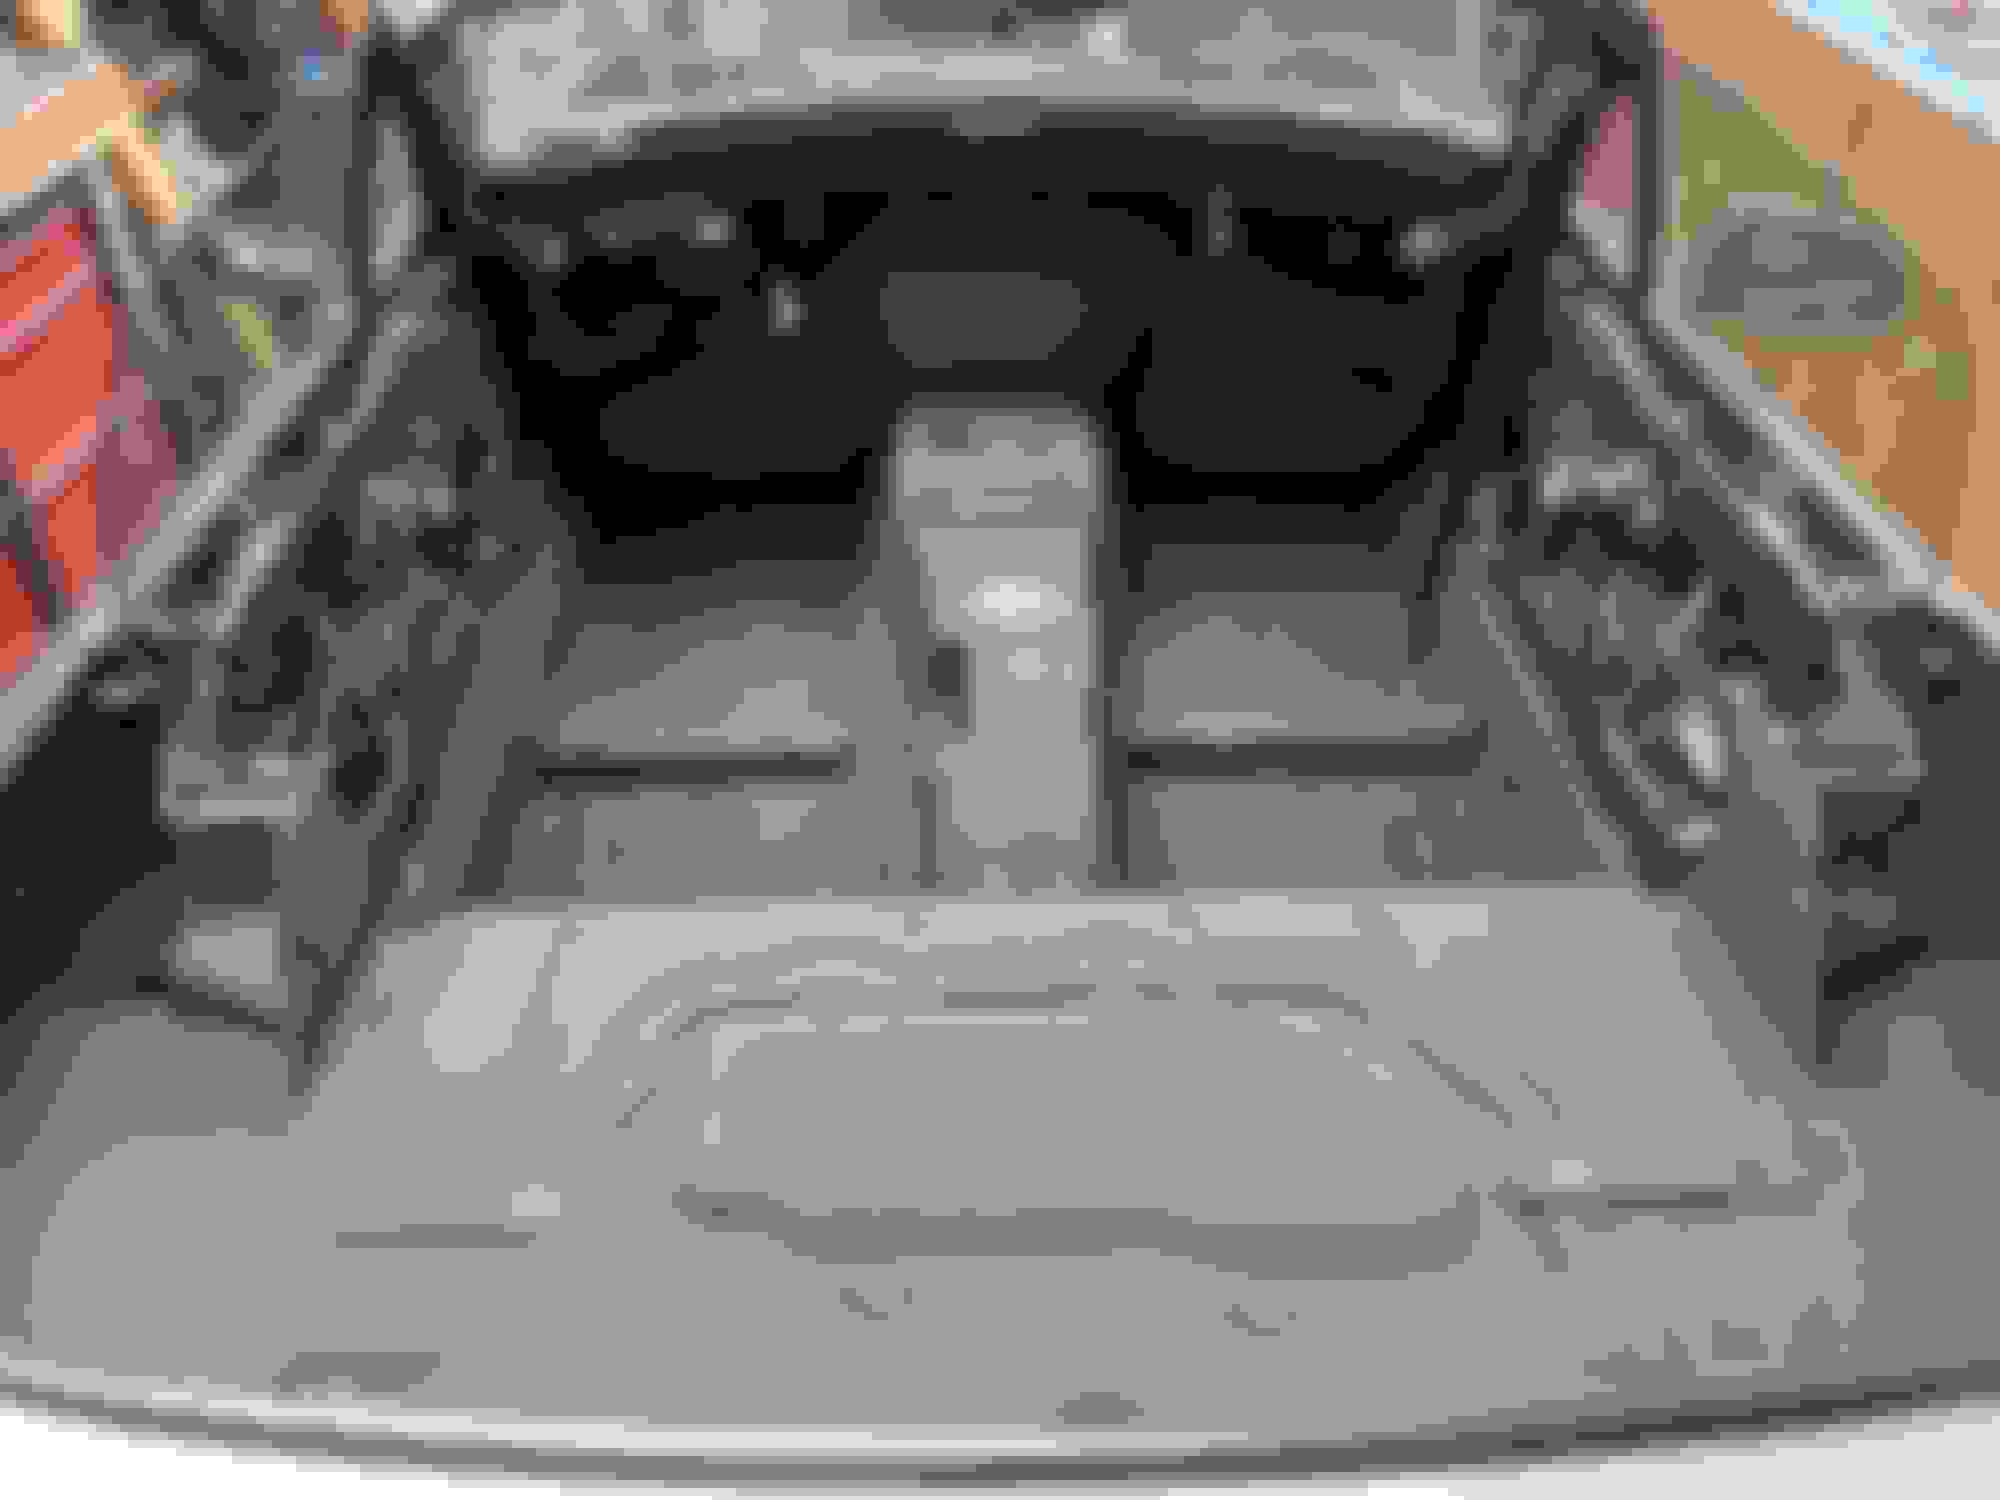
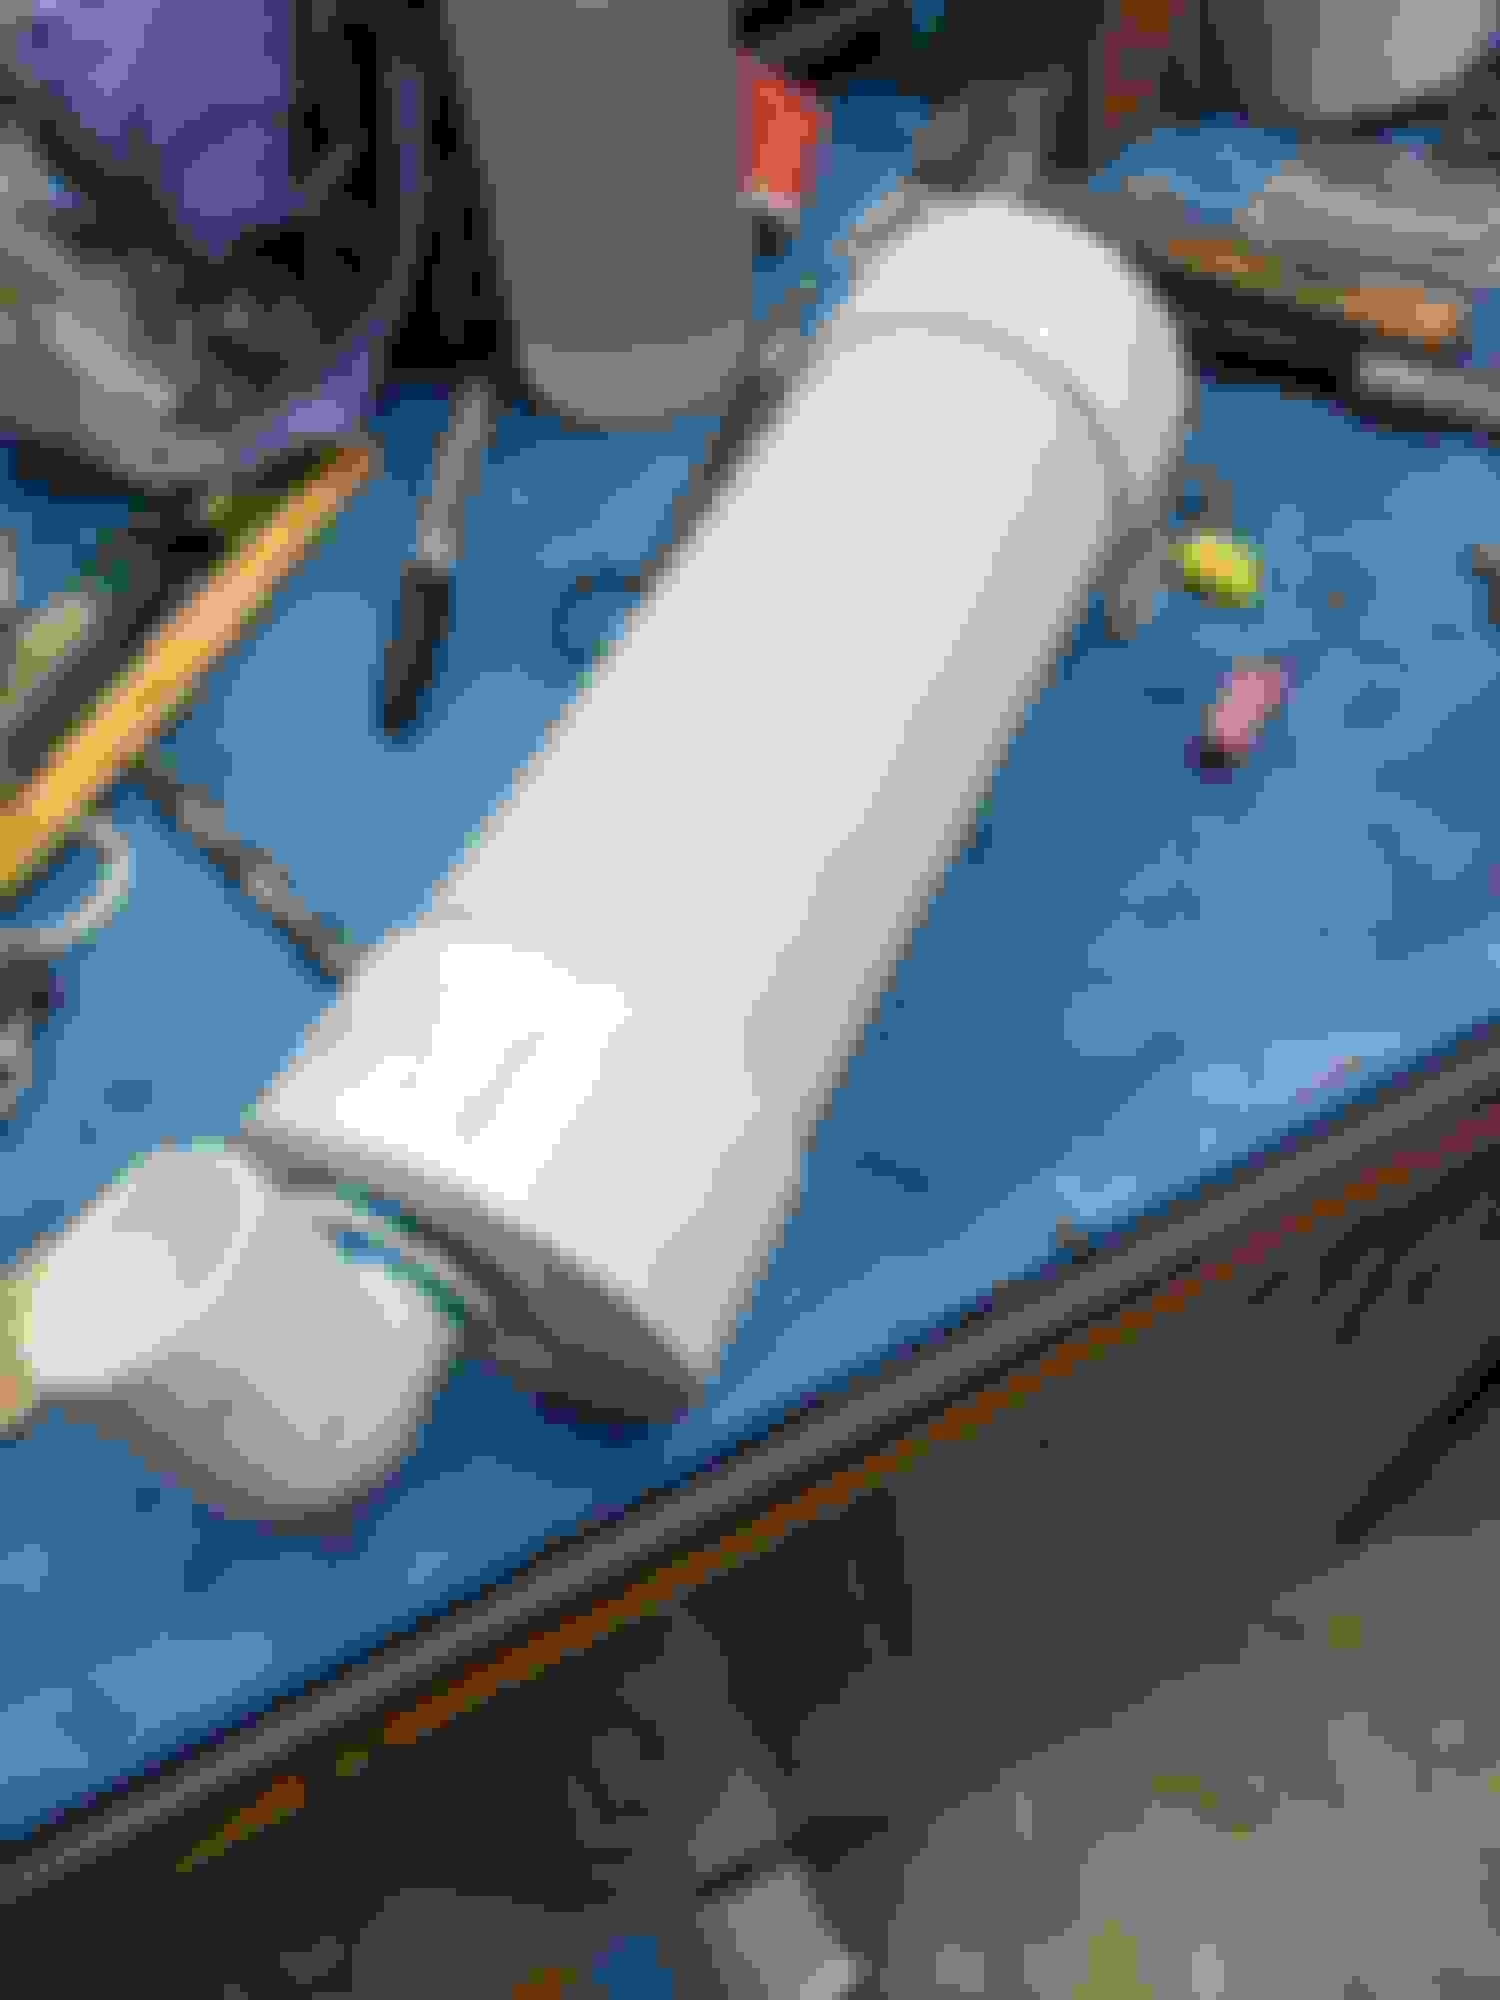
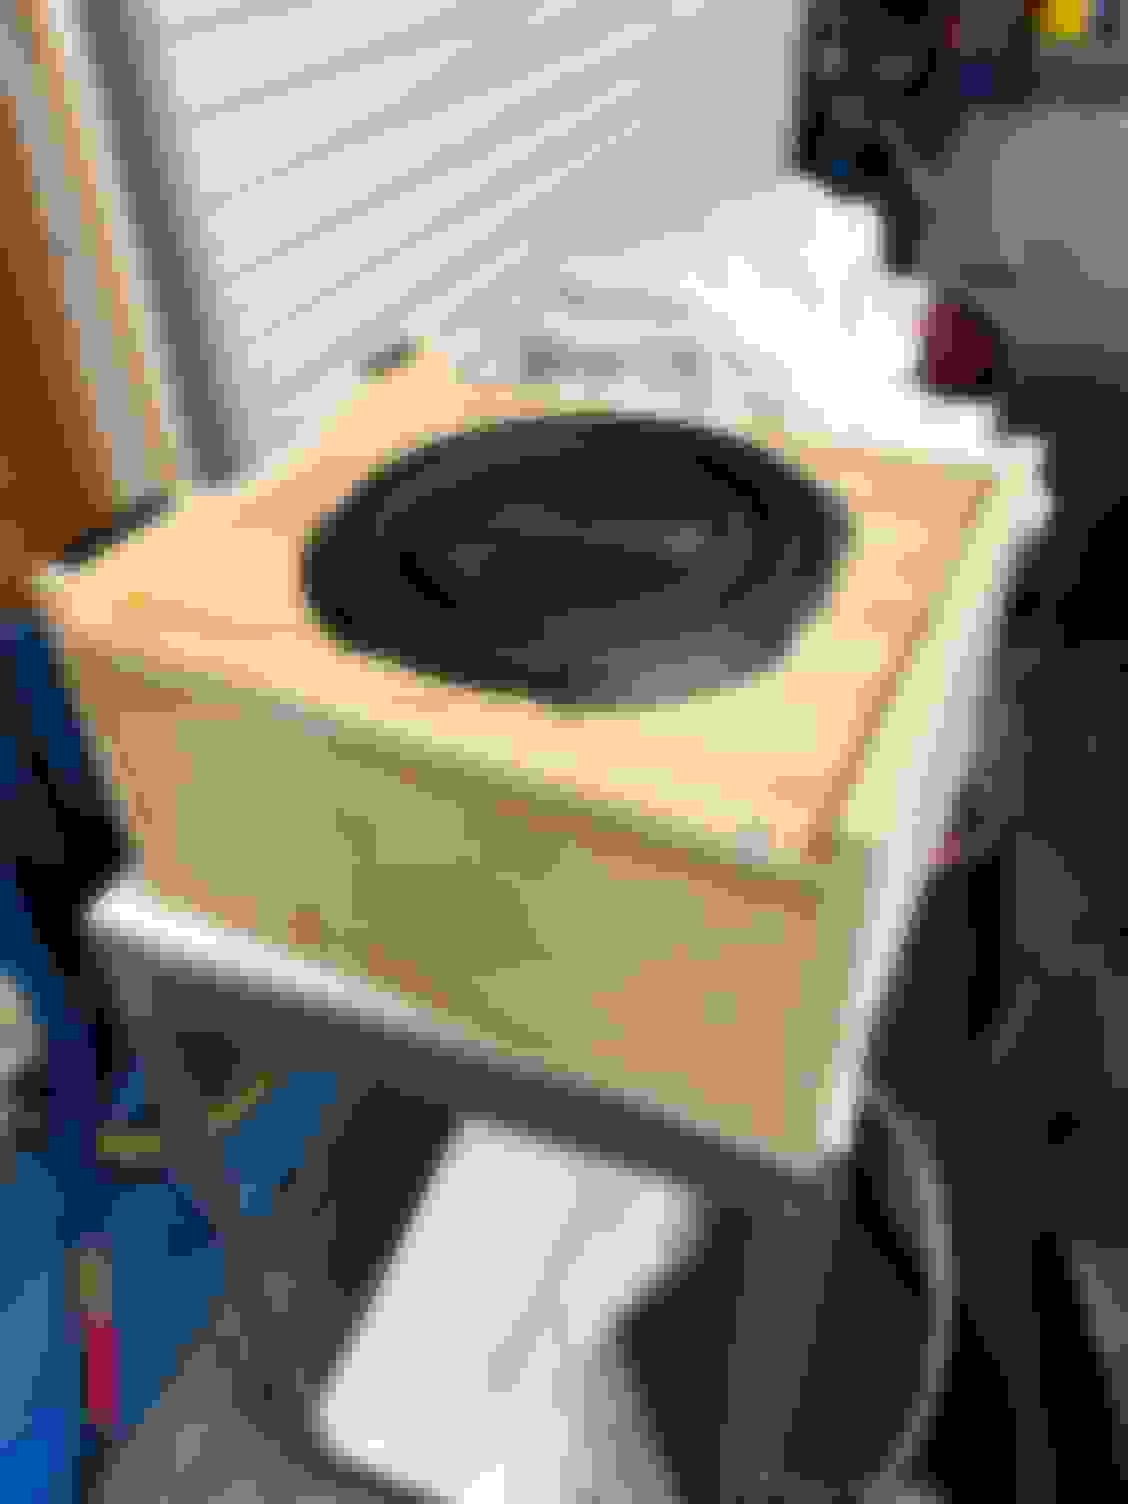
It's been a while since I've updated, but I have been working on this thing as much as possible. The interior tub is now all cleaned, prepped, primed and masked in prep for the lizard skin sound deadening and heat insulation. After the first layer of sound control went down. This stuff is pretty fun to apply actually. All the layers done. Be prepared to lose plenty of tiny holes you mask up with little pieces of painters tape. Silicone plugs are much better. I made an adapter plate to move the miata shift boot. I sealed it off with butyl rubber and secured it with rivet nuts that also hold the boot in place. All assembled. No one will ever know it isn't stock. I needed a place for a washer bottle since I deleted the OG one way back when I re-turbo'd this thing. Yes it just PVC pipe. And it goes up in the cowling. 3" pvc with a street elbow and the factory pump in a hole on the back. Hood barely fits, but it does. There is thin rubber bumpers on the bottom to keep it from rattling. I couldn't see a way to use the factory rad support, so I made my own. Later I added L brackets to the front for a Corolla AC condenser to sit on. The bottom C channel of the radiator was lined in dense high temp foam rubber and it sits over those aluminum pads. Here is that corolla condenser with some brackets made up. They use the factory miata rubbers to isolate it. The griffin rad is a bitch to weld to since it has epoxy around all the tube ends for some reason. I just had to keep the heat to a bare minimum. The 4 big mounts are for the radiator shroud. The 2 small ones were a failed top mount design. I just kinda eye-balled the shroud. It should perform quite well though. The AC blend doors were toast and blowing chunks of foam at me when the car was running, so I decided to rebuild those. Here is the first door covered with some high density foam. The heater core has to be flipped around so the water ports face the correct way, but that's a whole 'nother project. I'm just jumping around here, but it all has to be done. The original throttle cable hole was cut out and now has a head in front of it anyway, so I extendo'd the gas pedal lever with barbell shaped piece I made on the lathe so it would line up with the cruise control cable hole. MSM never had cruise anyway so no loss. Here is the accompanying throttle cable bracket. I had to adjust the gas pedal stop and bend some things, but I have full throttle travel with a stock-ish miata pedal and cable! And I don't have to cut up my corvette's engine covers. This is the AC drier/ pressure switch mounting location. You can see my L brackets for the condenser on the rad support. Also yes that's a bicycle water bottle holder. I mean, if it works... Mocking up the much beefier radiator top mounts. There are some rubber grommets under there, of course. Here is the finished radiator shroud, radiator and 2 massive 11" spal fans that are completely sealed to the rad with more rubber foam. Those things are rated for 1300 CFM each at 0 in/hg, and have the amperage to move some serious air. This thing better not overheat, because I have probably 20 hours in just this damn rad and shroud alone.
This is such a great build. I really like the mix of approaches - the compromises on the little stuff. Love the washer fluid tank. Love the upcycle of the bottle cage.
EDIT: I'm an idiot and accidentally posted this to the wrong thread somehow. Its back in the right spot now though.
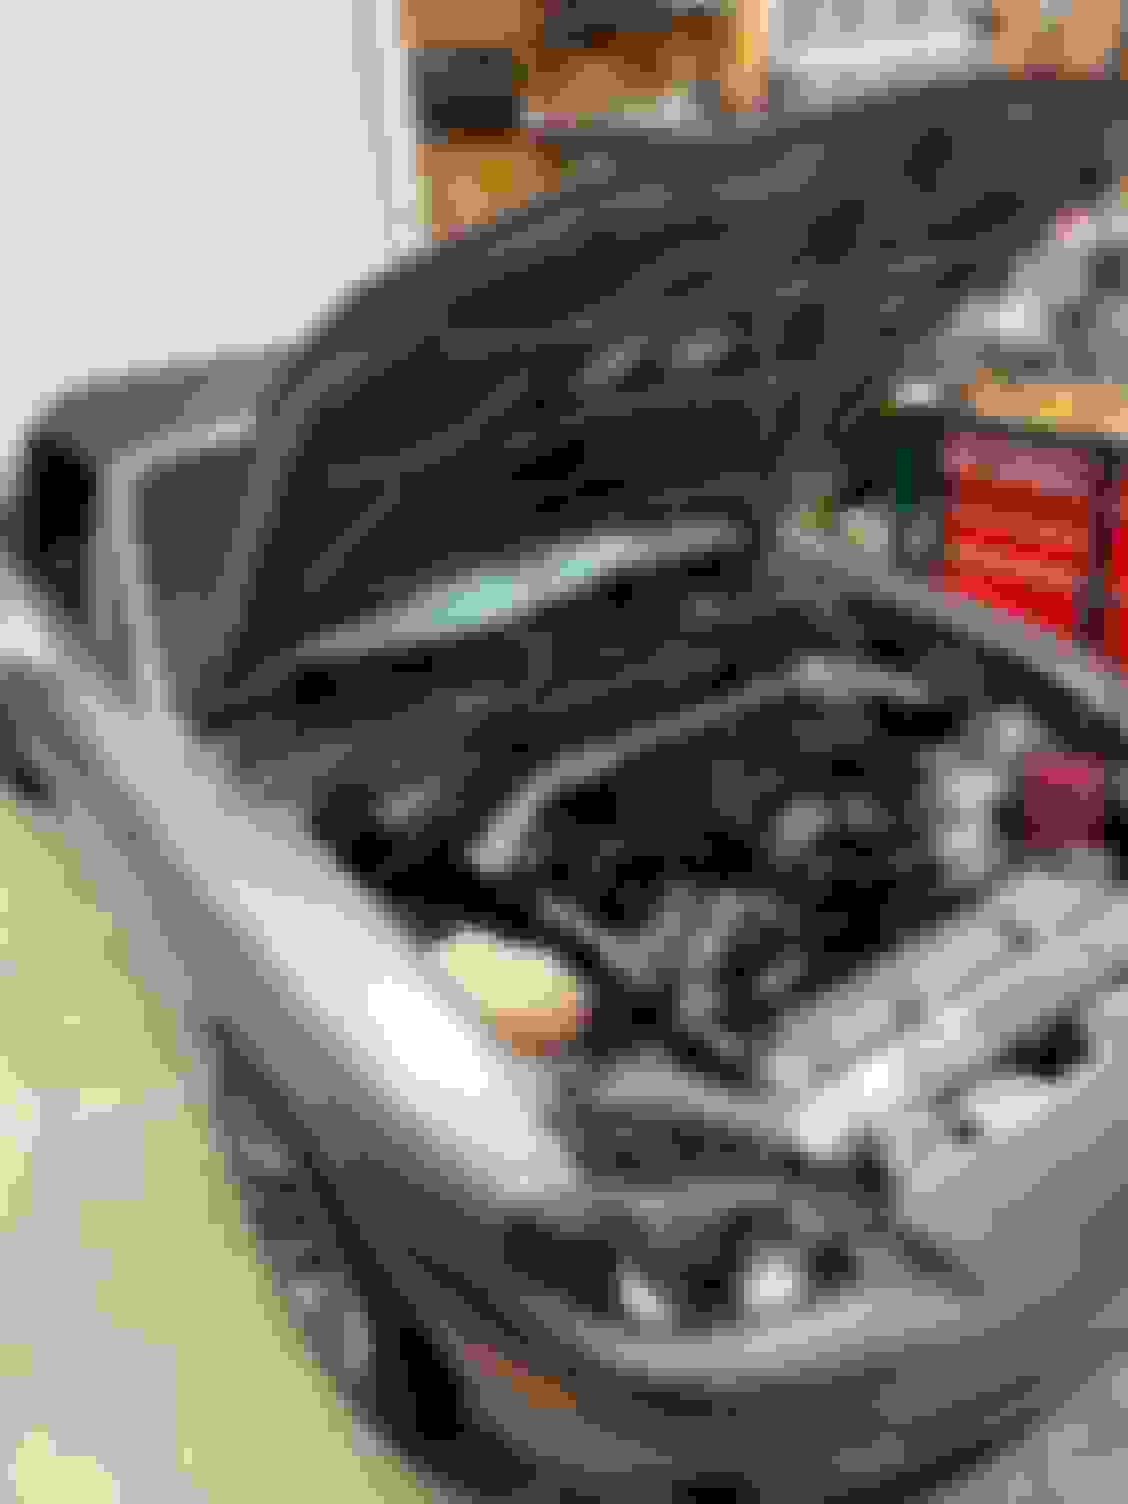
As usual, I don't have enough time to work on this thing, but I'm getting there. My axles with ABS from V8 Roadsters finally got here after a couple months. I don't know if that delay was on DSS or V8R's side, but whatever, they fit. The coilovers and most of the suspension components are installed now. She's finally back on the ground for the first time in probably 8 months or so. Looking like a car again! It took about 4 hours of cutting, measuring, looking, cutting, shifting, eyeballin, scooting, taping, and closing the hood to get to the point where I was happy with the intake. 11.25 degree cuts out of .080" 3.5" OD aluminum are the specs for those Pies if you want to recreate. Here is the final product after I got done welding it all up. There's a little L-Bracket welded to the pipe to keep it from banging around in there when that cam starts hitting. While the bumper was off, I decided to stick some Hella Sharptones on either side of where the "mouth" of the bumper cover will be. I didn't want to look like a Subaru with horns visible behind the grille, so these will be hidden to preserve the stock(ish) look.
V8Motor is online now Report Post
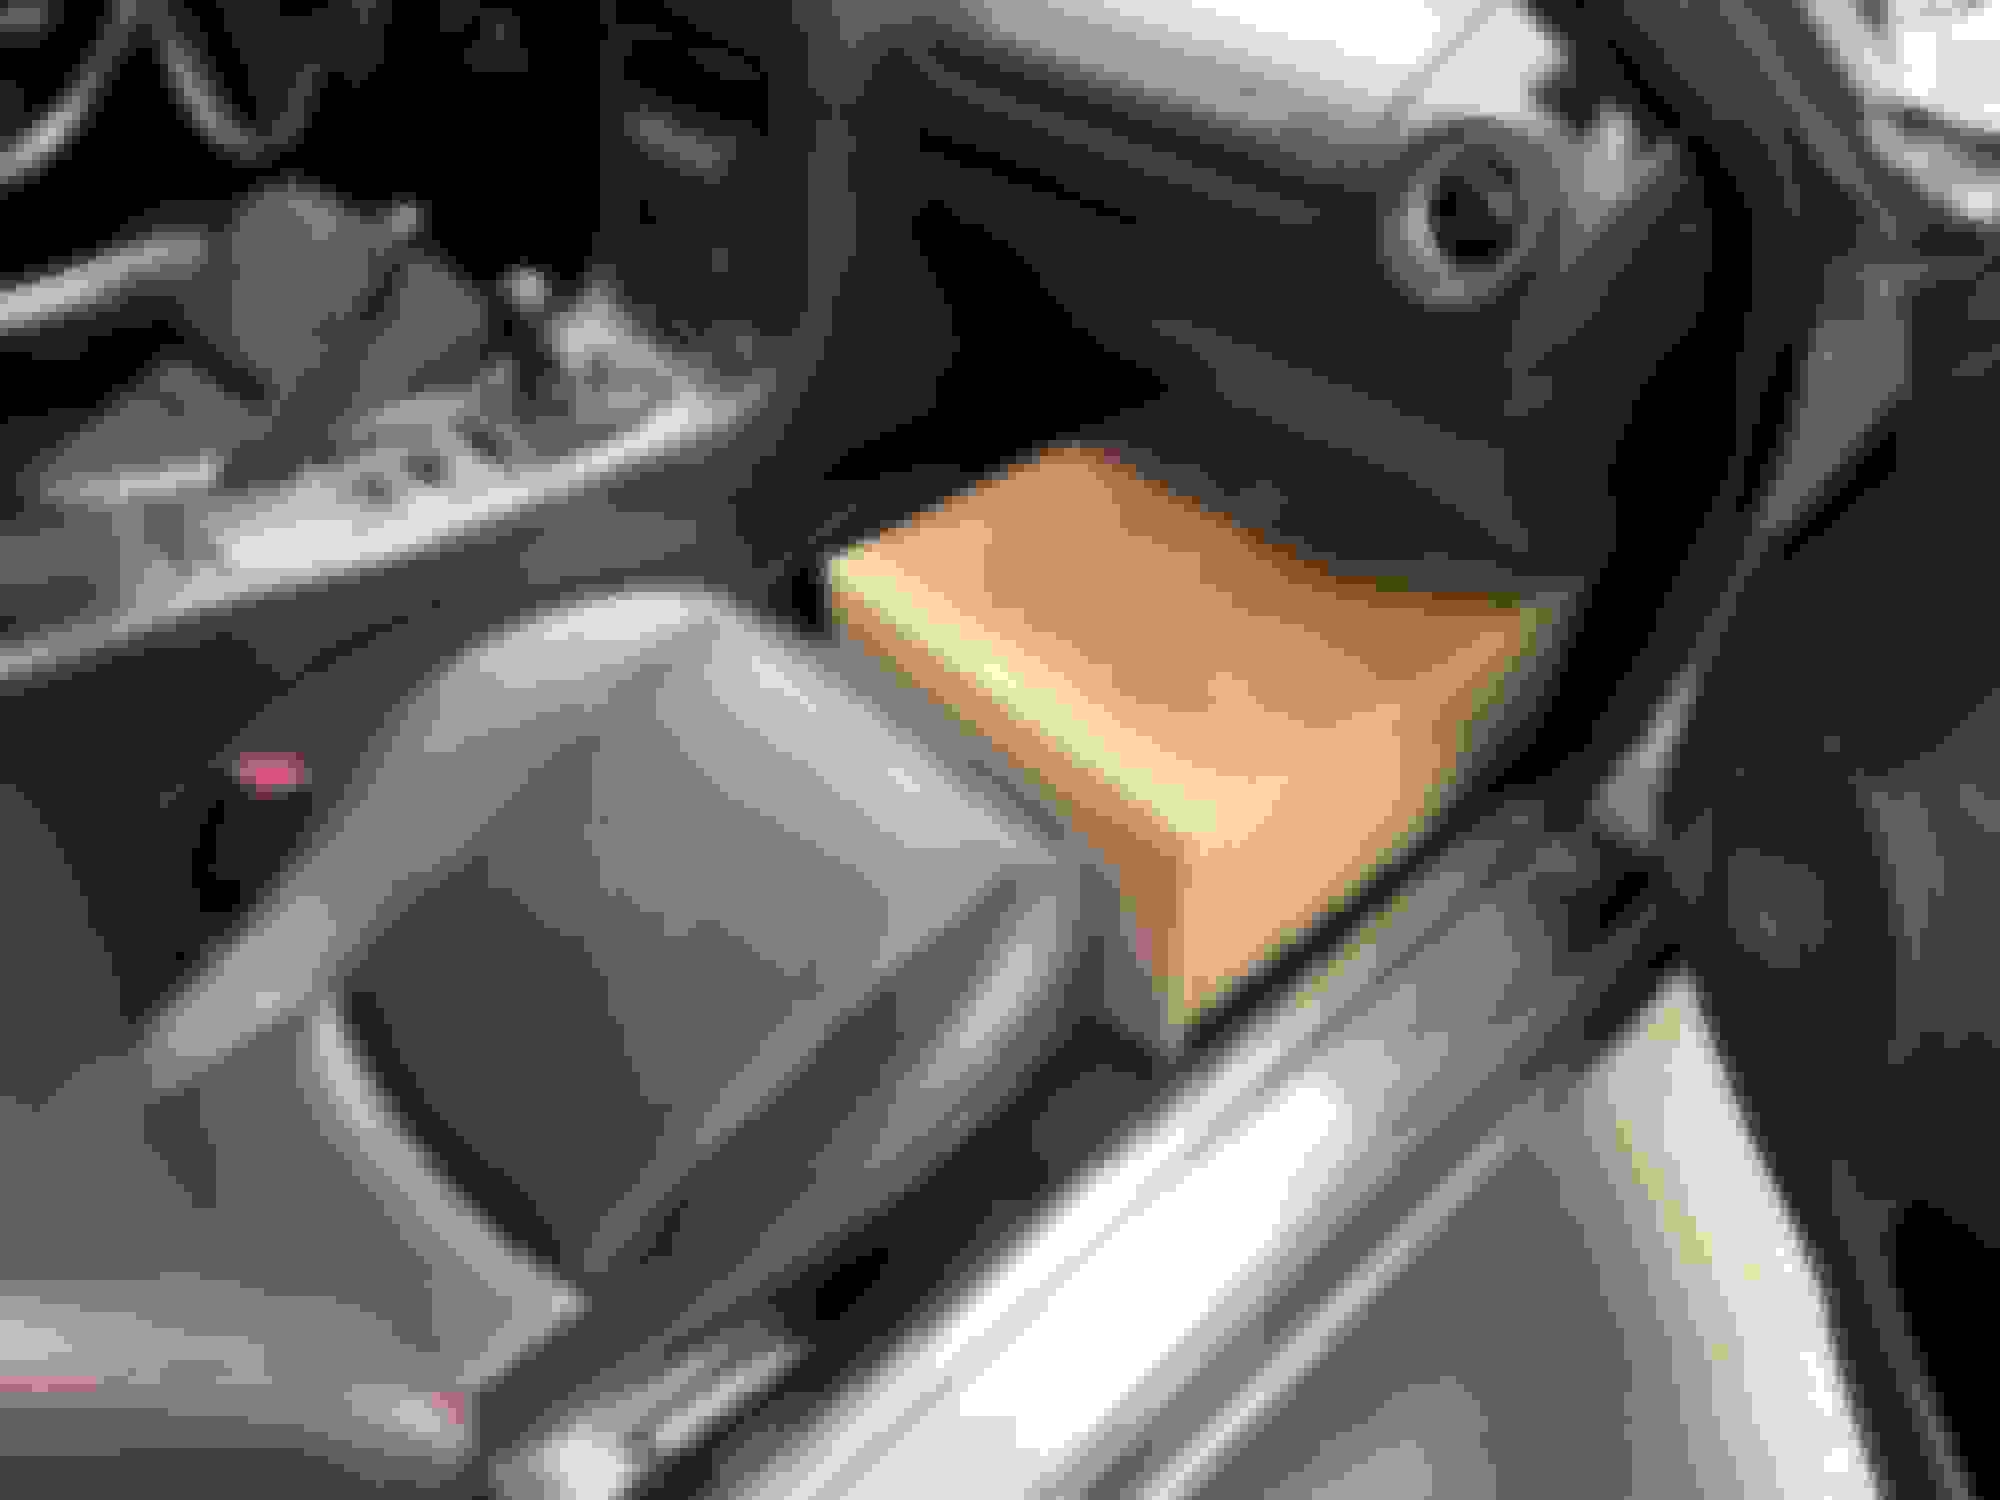
Progress is still happening on this turd, and we are officially at 1 year of me working on it since I bought the LS1 late October 2019. The car was already sitting for a couple months by that point while I was building a new BP4W for it, but I'm glad I came to my senses and went V8 instead. This is a much simpler project 😒 It's time to actually wire this thing. I pulled the neglected harness back out, and finished labeling everything, and cutting out any wires that are for stuff I don't need. It seriously took like 80 hours from a completely wrapped up harness, to this stage. It's worth it though, because I know where everything is now and what it does. After stripping it down, the harness goes back in the car for actually wiring stuff up. I also cut all the wires off the main factory fuse box and pulled them all into the passenger foot well where I'll make a false floor with a power distribution hub. I just really didn't like mazdas way of powering things. You can already see my 1/0 power wire coming from the trunk and running along the passenger sill. The ground wire is under the car bolted to the trans, and a bare bit of frame. I decided the ECU needs to go just to the left of the driver side strut tower brace for clean wiring, ease of maintenance, and ease of assembly. I wanted to put it under the false floor I'm making in the passenger foot well, but it just didn't make sense as far as routing goes. I also stripped the Holley's universal harness apart, because none of the lengths were correct. Also there were a few things I didn't need like MAP, Fuel pressure, etc. I tried some of those fancy crimp butt connectors with heat shrink built in, but I kinda hate them, and they are way too bulky. I'm just going with the old school method of twisted and soldered. Every joint will be covered in glue-lined heat shrink for waterproofing.
Really great progress! I'm at a similar stage to you, where are you running your main power wire through the firewall? I was just going to run mine underneath in the stock location but i like the idea of running it inside.
I'll draw up a wiring diagram (more for myself in the future) when I finish the wiring and before I bundle it all up, but it's basically going like this:
Positive batt terminal > 250A fuse > fused distribution block in the passenger footwell > firewall passthrough grommet > starter
The block will have the 6 or so "high amp" fuses like fans, ignition key, blower...etc.
Also attached to that main power line will be the alternator after it goes through a 150a fuse in the engine bay (3gauge wire passed through the passenger side firewall grommet ), The starter wire (1/0 passed through another sealed firewall grommet. This will probably go through the trans tunnel right next to the starter to keep that high amp path as short as possible), and a blade fuse block that will supply power to things like my head unit, exhaust cutouts, the horns/brake light trigger, and anything else I need fused power for.
The original mini fuse block will still be under the driver's side dash, but I removed quite a few circuits from it to consolidate the wiring as best as I could.
Sorry if this doesn't make much sense right now. It will look really simple on paper once I get it drawn up.
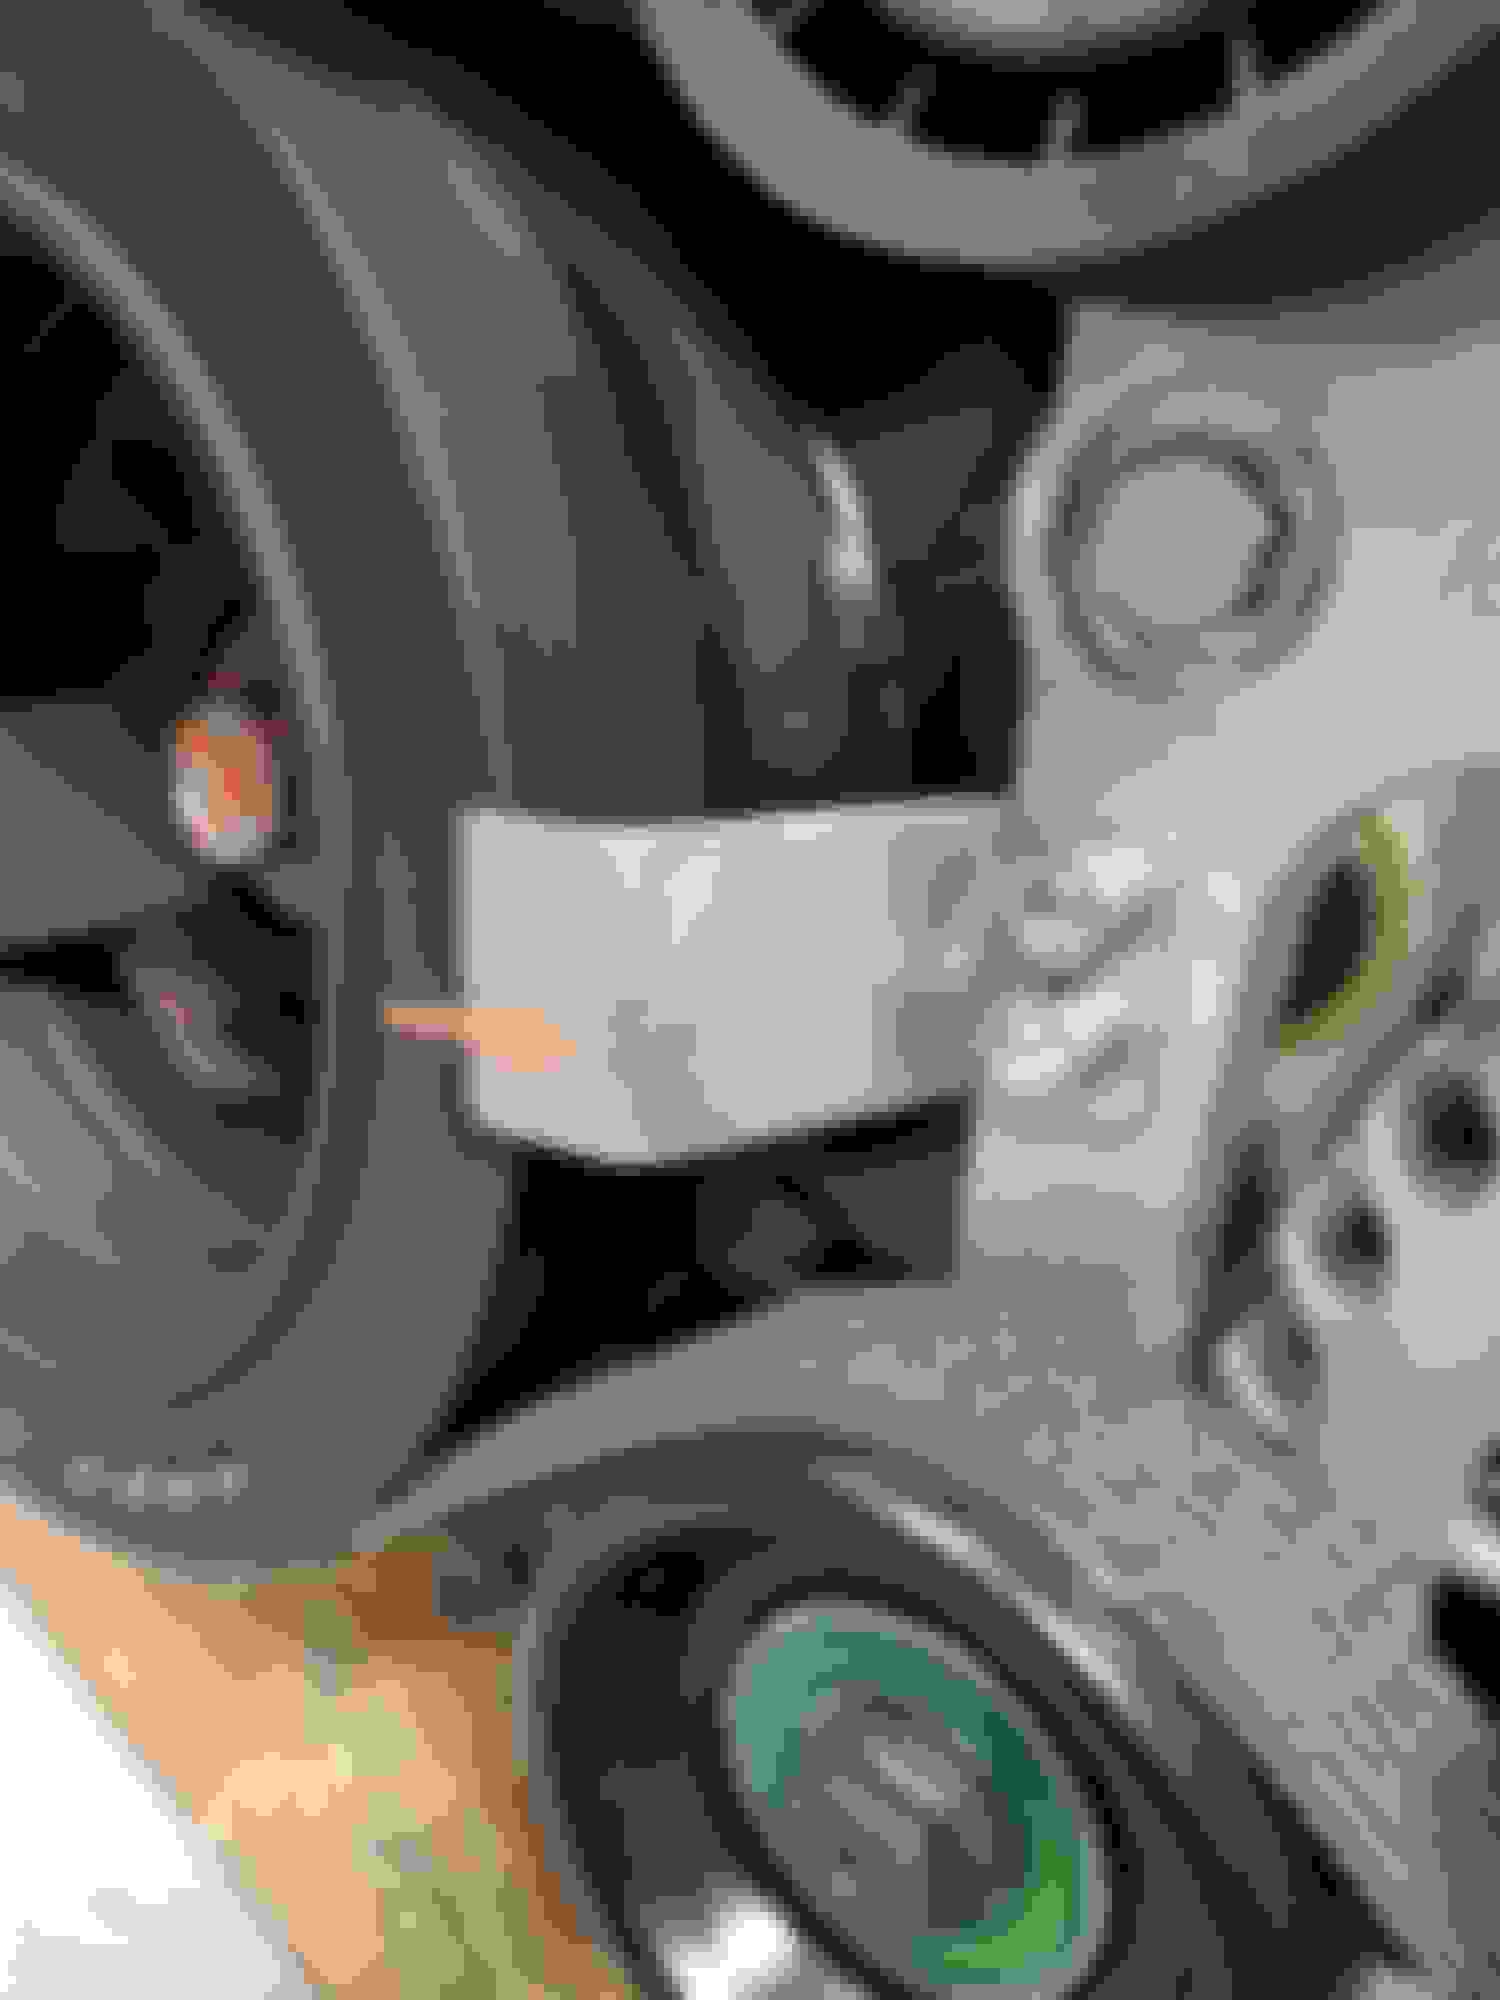
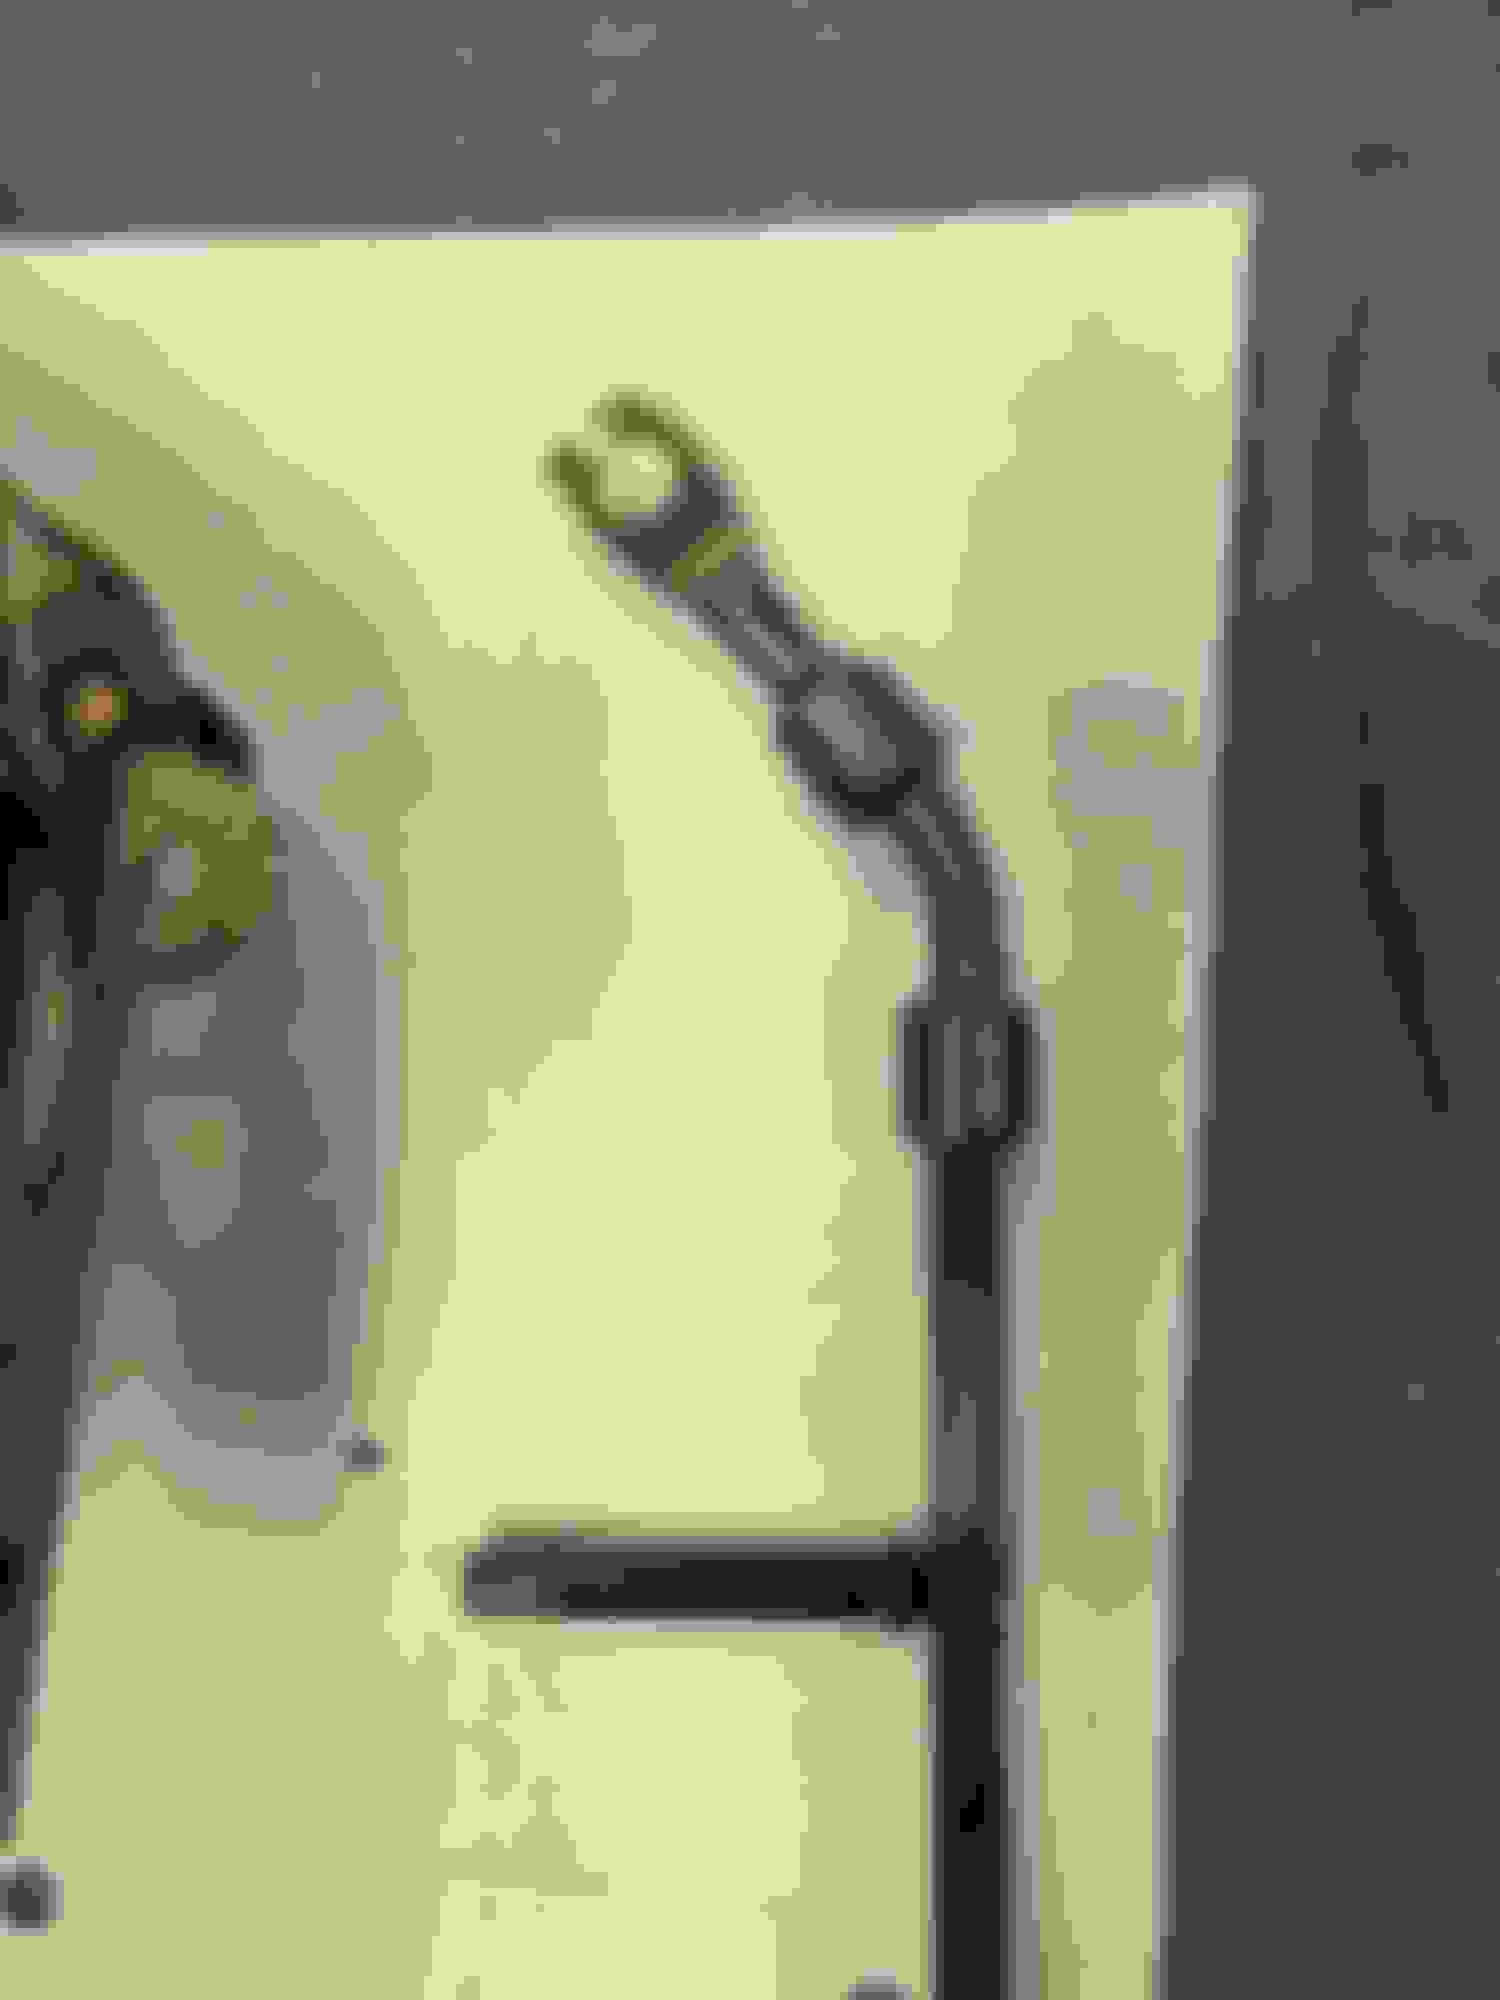
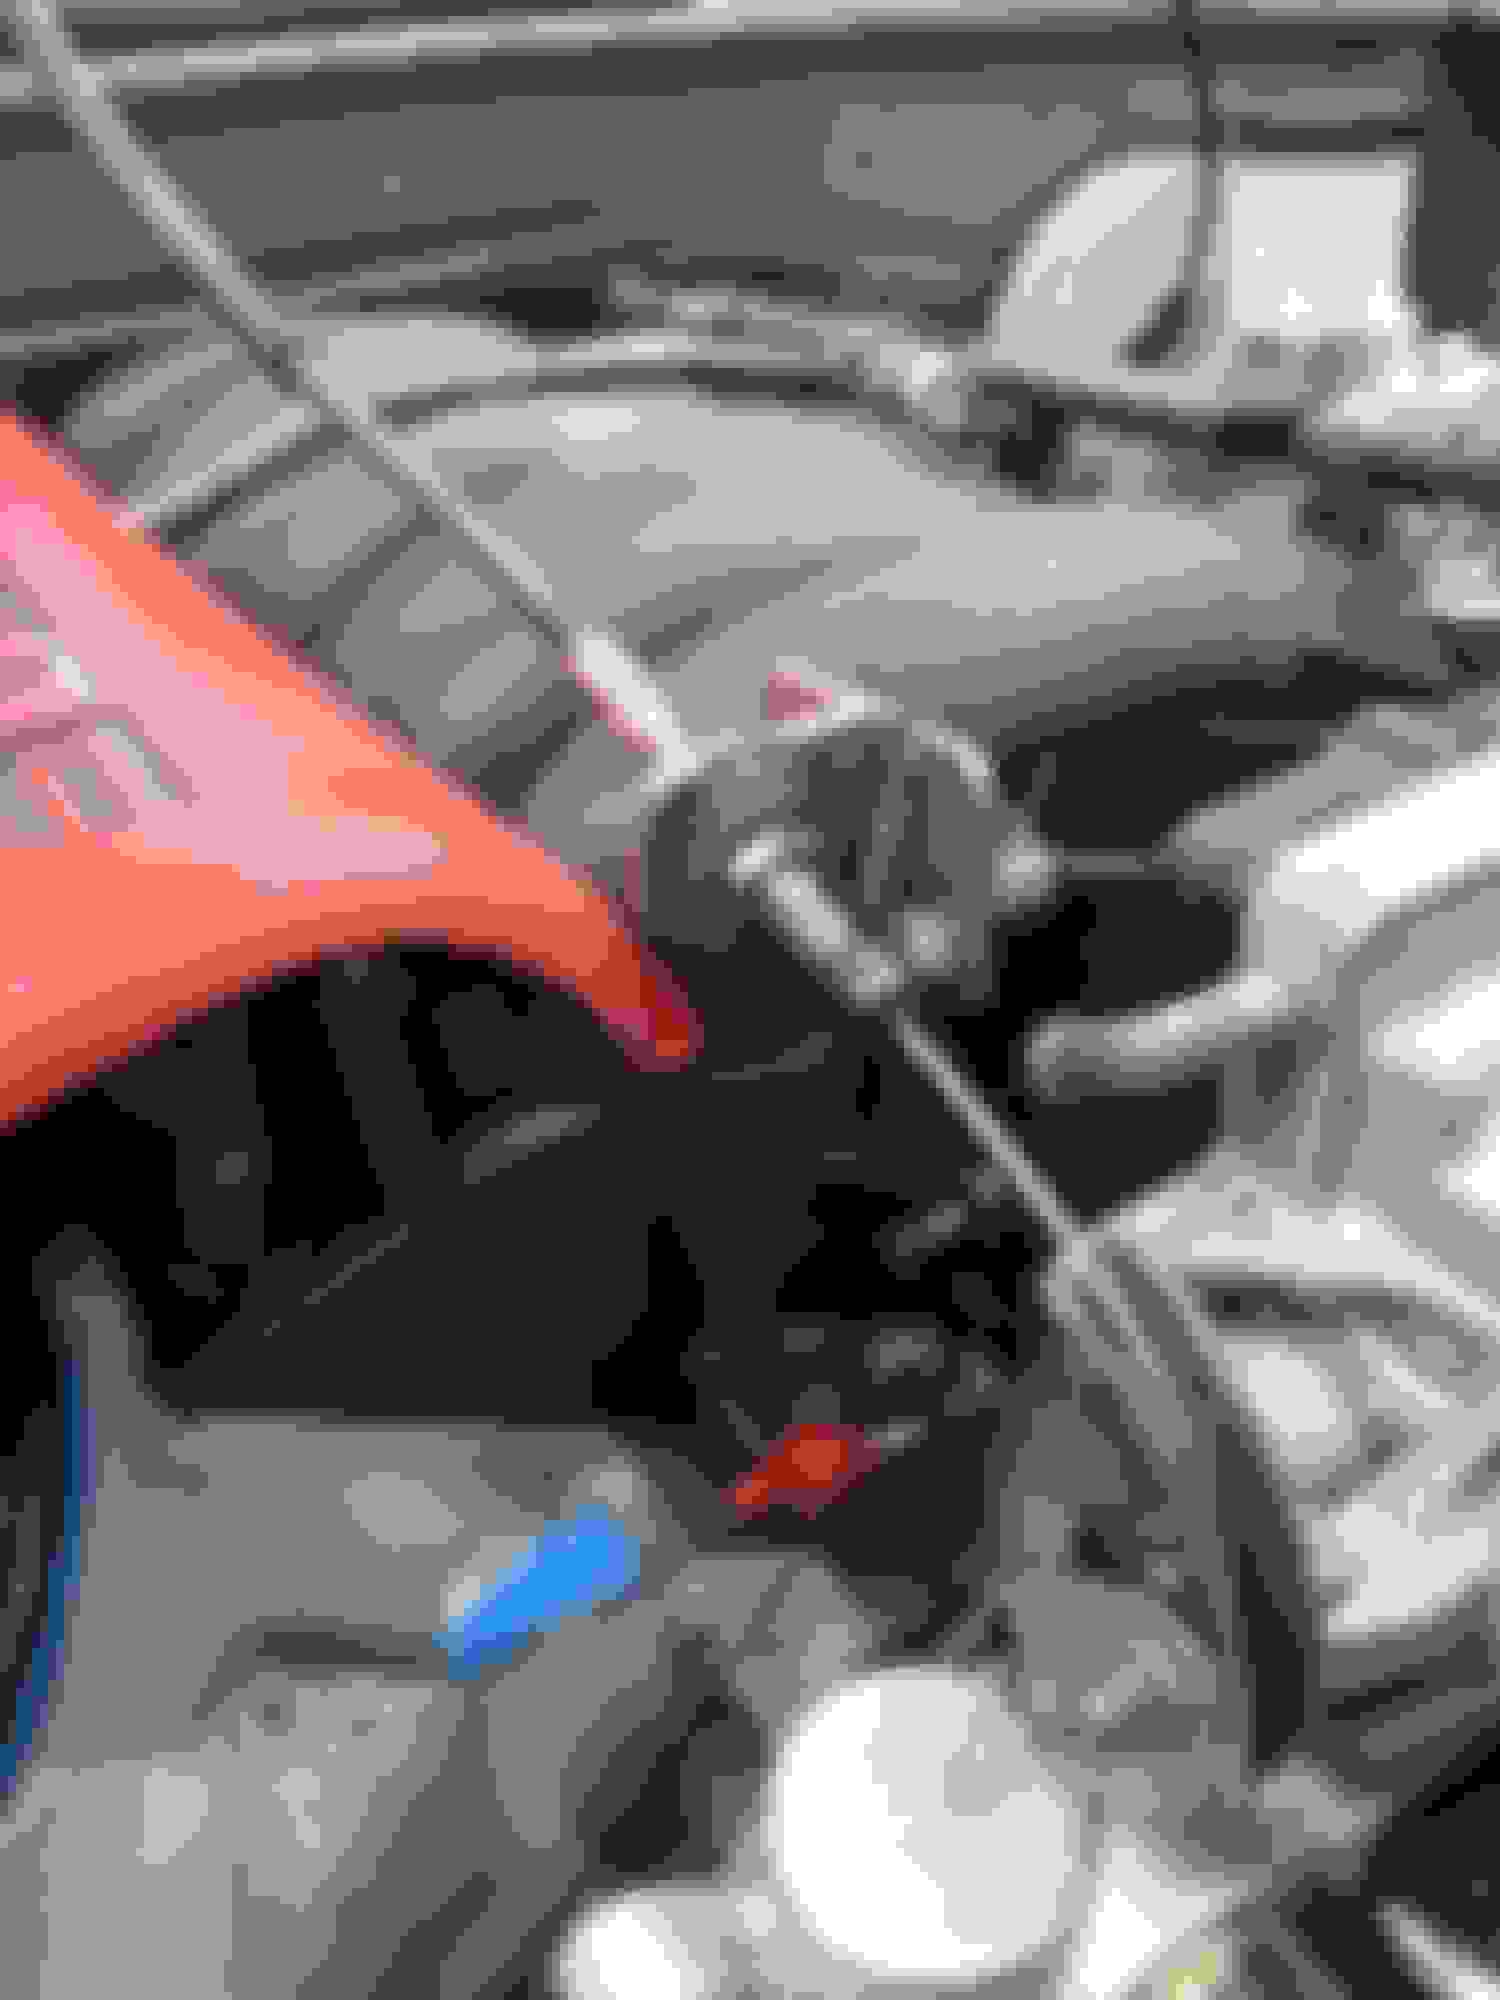
Quick little update for the past two weekends: I needed a main fused power distribution block since I don't like the way Mazda did stuff, and here it is. a big ol hunk of Delrin with some threaded holes and Mini ANL fuses all along an aluminum bus bar. I just did the math on how big of a piece of alu I'd need to use and doubled it for safety. Here it is in the car. Main power up top, and secondary **** on that smaller unit. Small one is only rated for 20A per circuit, so nothing too crazy can go on it. The flat blade type F Body dipstick wasn't working too well, so I made a new one from some aluminum and an old motorcycle clutch cable. I'll have to make a dipper and calibrate it when it's time to add oil. This is the final fuel hose needed. I've been putting it off, but here it is. This is still the same OEM style nylon line, but I have split loom and then a layer of heat shield over it. I still have to pressure test it all, but I really hope that isn't an issue. Last thing I did this weekend was pull a vacuum on the AC lines to see if it holds vac, (it does!) and put the pushrods and rockers in. I probably could have installed the rockers a couple months ago, but I didn't like the idea of those new springs compressed for months on end while the other half weren't.
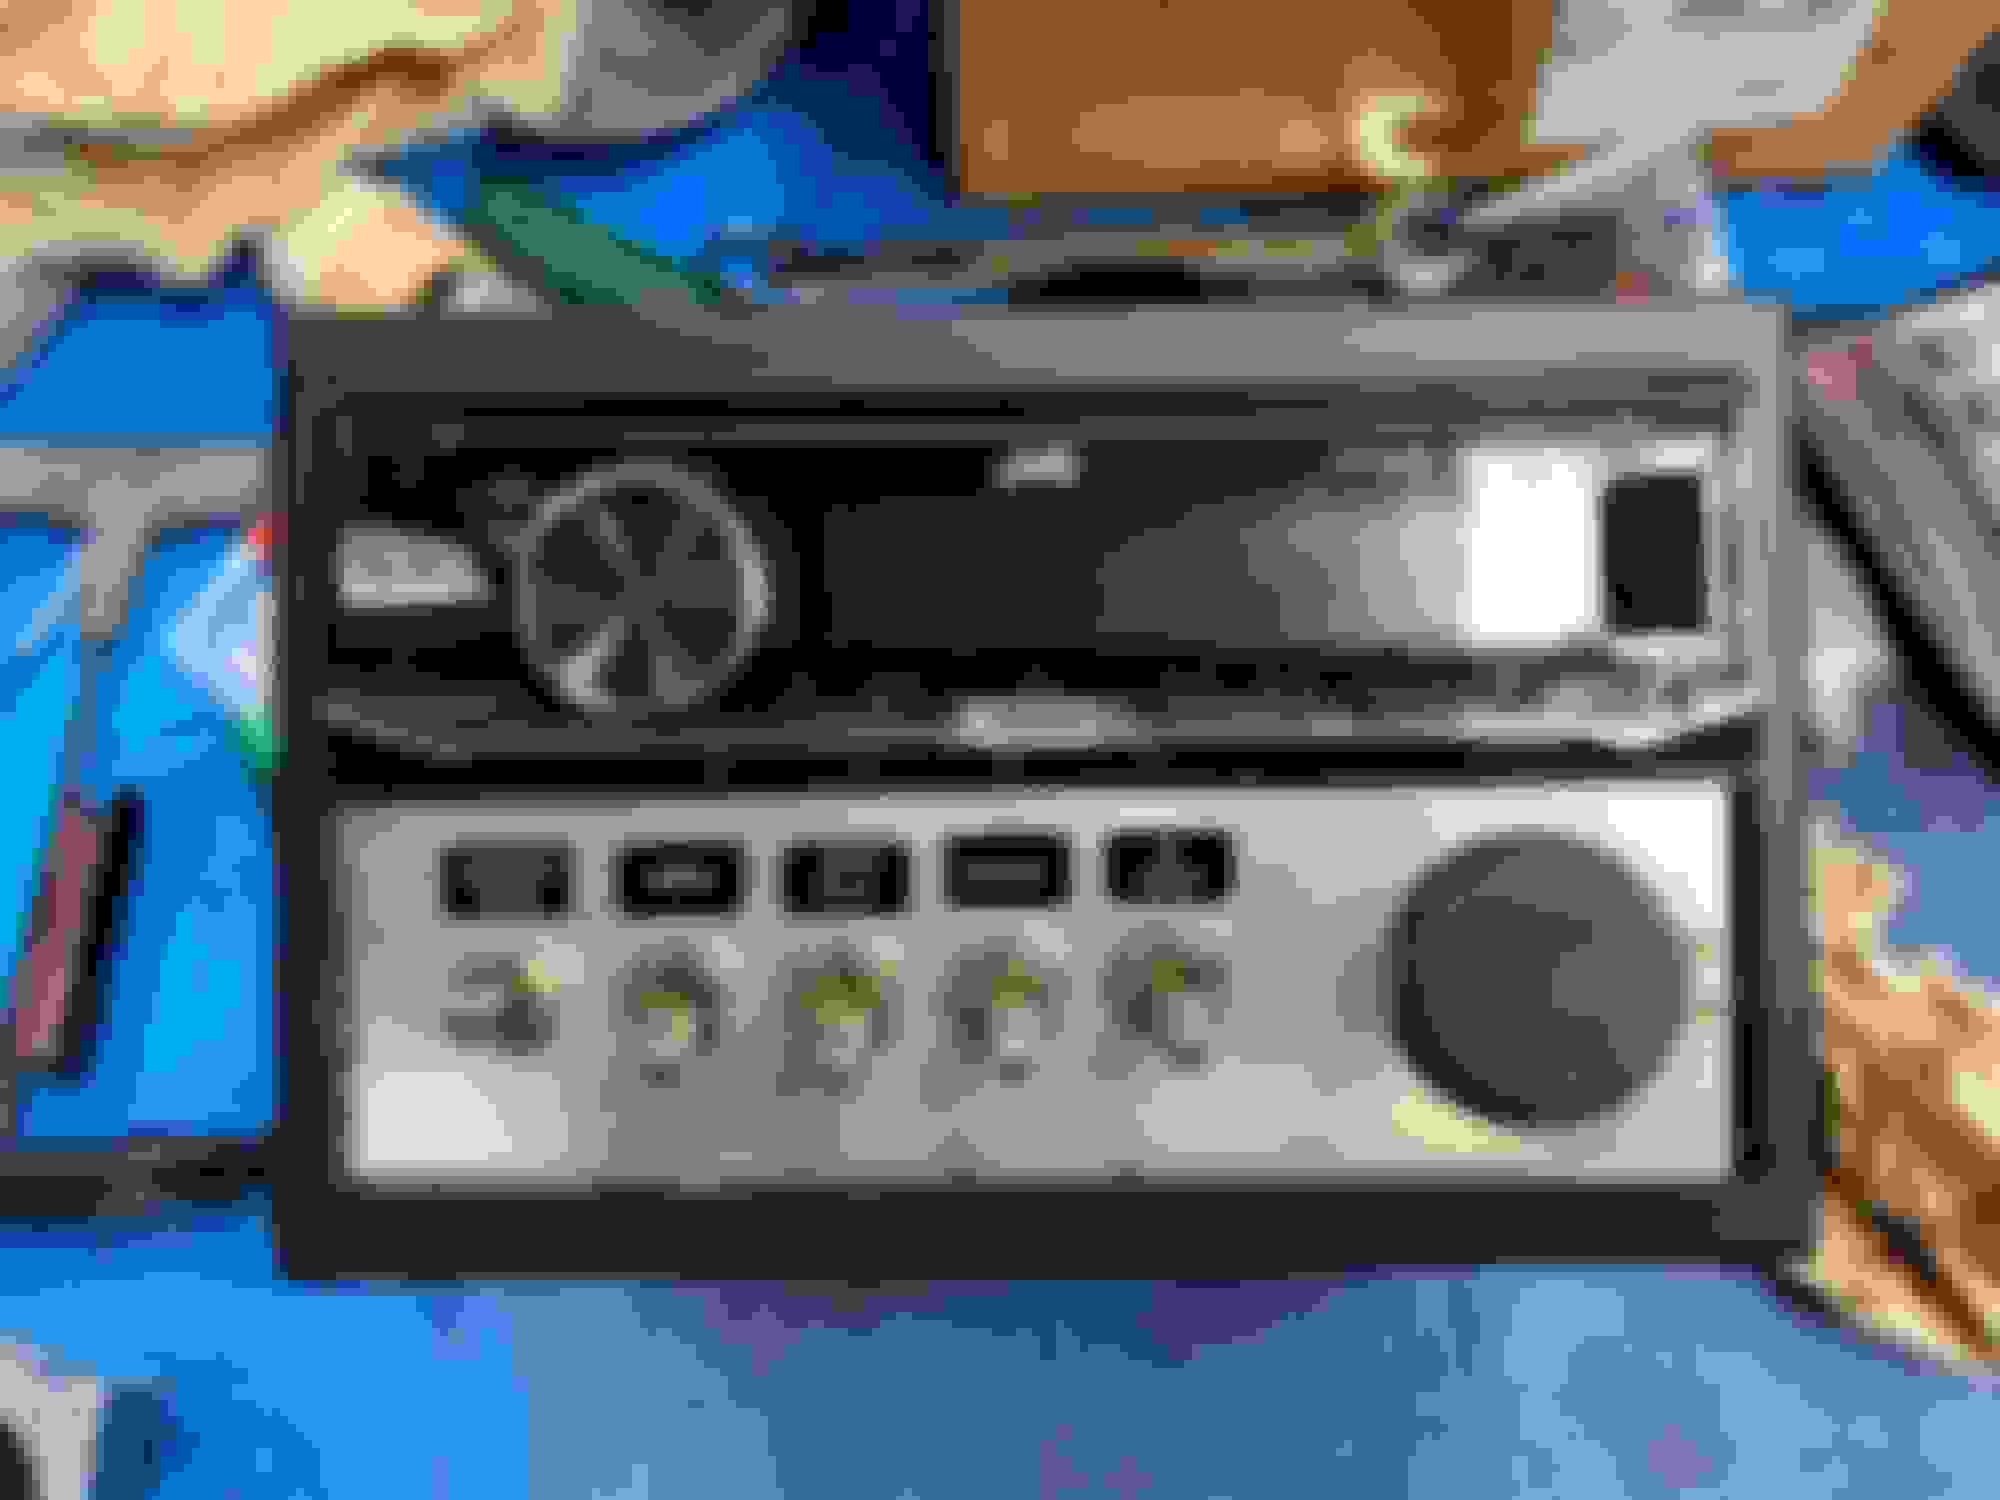
Here I am back after a couple months of ******* off and not working on this thing as much as I should be. Assuming I didn't mess up too bad with my wiring, after that is completed and installed in the car, I just need to reinstall the brakes, the interior, find someone to make me a damn driveshaft, bleed all the fluids, Charge the AC, Make the exhaust, and then tune the engine. I've got so much time sunk into this stupid harness, but it is much closer to completion now. I pretty much had to modify every circuit on this wretched thing. I've been finishing up little bits like wiring in the trinary AC switch and the AC clutch itself. This switch acts as a trigger for my second radiator fan for when the pressure in the system gets to a certain point. Of course, if the coolant temp is already at a point where both fans are already on, it won't do anything different. Moving to the trunk, I made a mount to stack both of my audio amplifiers in the trunk and still retain my space saver spare. This should allow for plenty of ventilation for the amps as well. I painted the amp mount and added a support bar at the top left to triangulate the whole thing. It was incredibly wobbly with the amps actually mounted to it. All the power wires and speaker wire is ran. Signal wires from the head unit are in the main harness I'm making. I ended up only needing 10AWG copper wire for powering the mono subwoofer amp even though it is rated for about 300 watt RMS output. The run from the battery was just so short. Here are the mounts I made to stick the tweeters in the factory locations without modifying the door card, and of course the crossover that will sort all the frequency **** out for me. Here are the 6.5" drivers mounted in BoomMat foam cups and its adapter to fit the factory Bose bolt pattern. Note: I did have to trim the plastic surrounding the grill on the inside of the door card since that spacer sticks everything out a little bit further than stock
Bacc I needed to make a switch panel for a few things. Some of these won't be used at the moment like the Exhaust cutout, Spare switch, and the Nitrous switch, but if I get bored later, they'll be already wired in. The 2 step and Nitrous are just ground inputs for the ECU, so they can actually be used to do anything. Material is 316ss 1.5mm thick. Its a pain in the *** to work with, but aluminum would be too prone to scratching and looking gross. Completed Switch panel with labels that were meant for an airplane I think. Not exactly accurate, but close enough that I'll know what they do. As a side project, I put a trunk popper button into the trunk lid. My ND Miata has one, and it's incredibly useful.
This car had remote keyless entry with a separate fob as most older cars had, and I never really used it because the fob is bigger than the damn key is. With the harness all torn apart, I removed the wireless receiver and all its associated wiring, but the relay and all the hardware for the trunk popper were still all in the car. All I had to do was run 2 wires to the momentary switch I installed, run it down the same loom as the 3rd brake light, Ground one side, and then run the other to the ground leg of the relay that triggers the solenoid that pops the trunk latch. Of course, this thing is hot at all times and technically anyone could just press it and get in my trunk. However, the trunk can be locked with the key barrel if I'm carrying anything valuable back there.
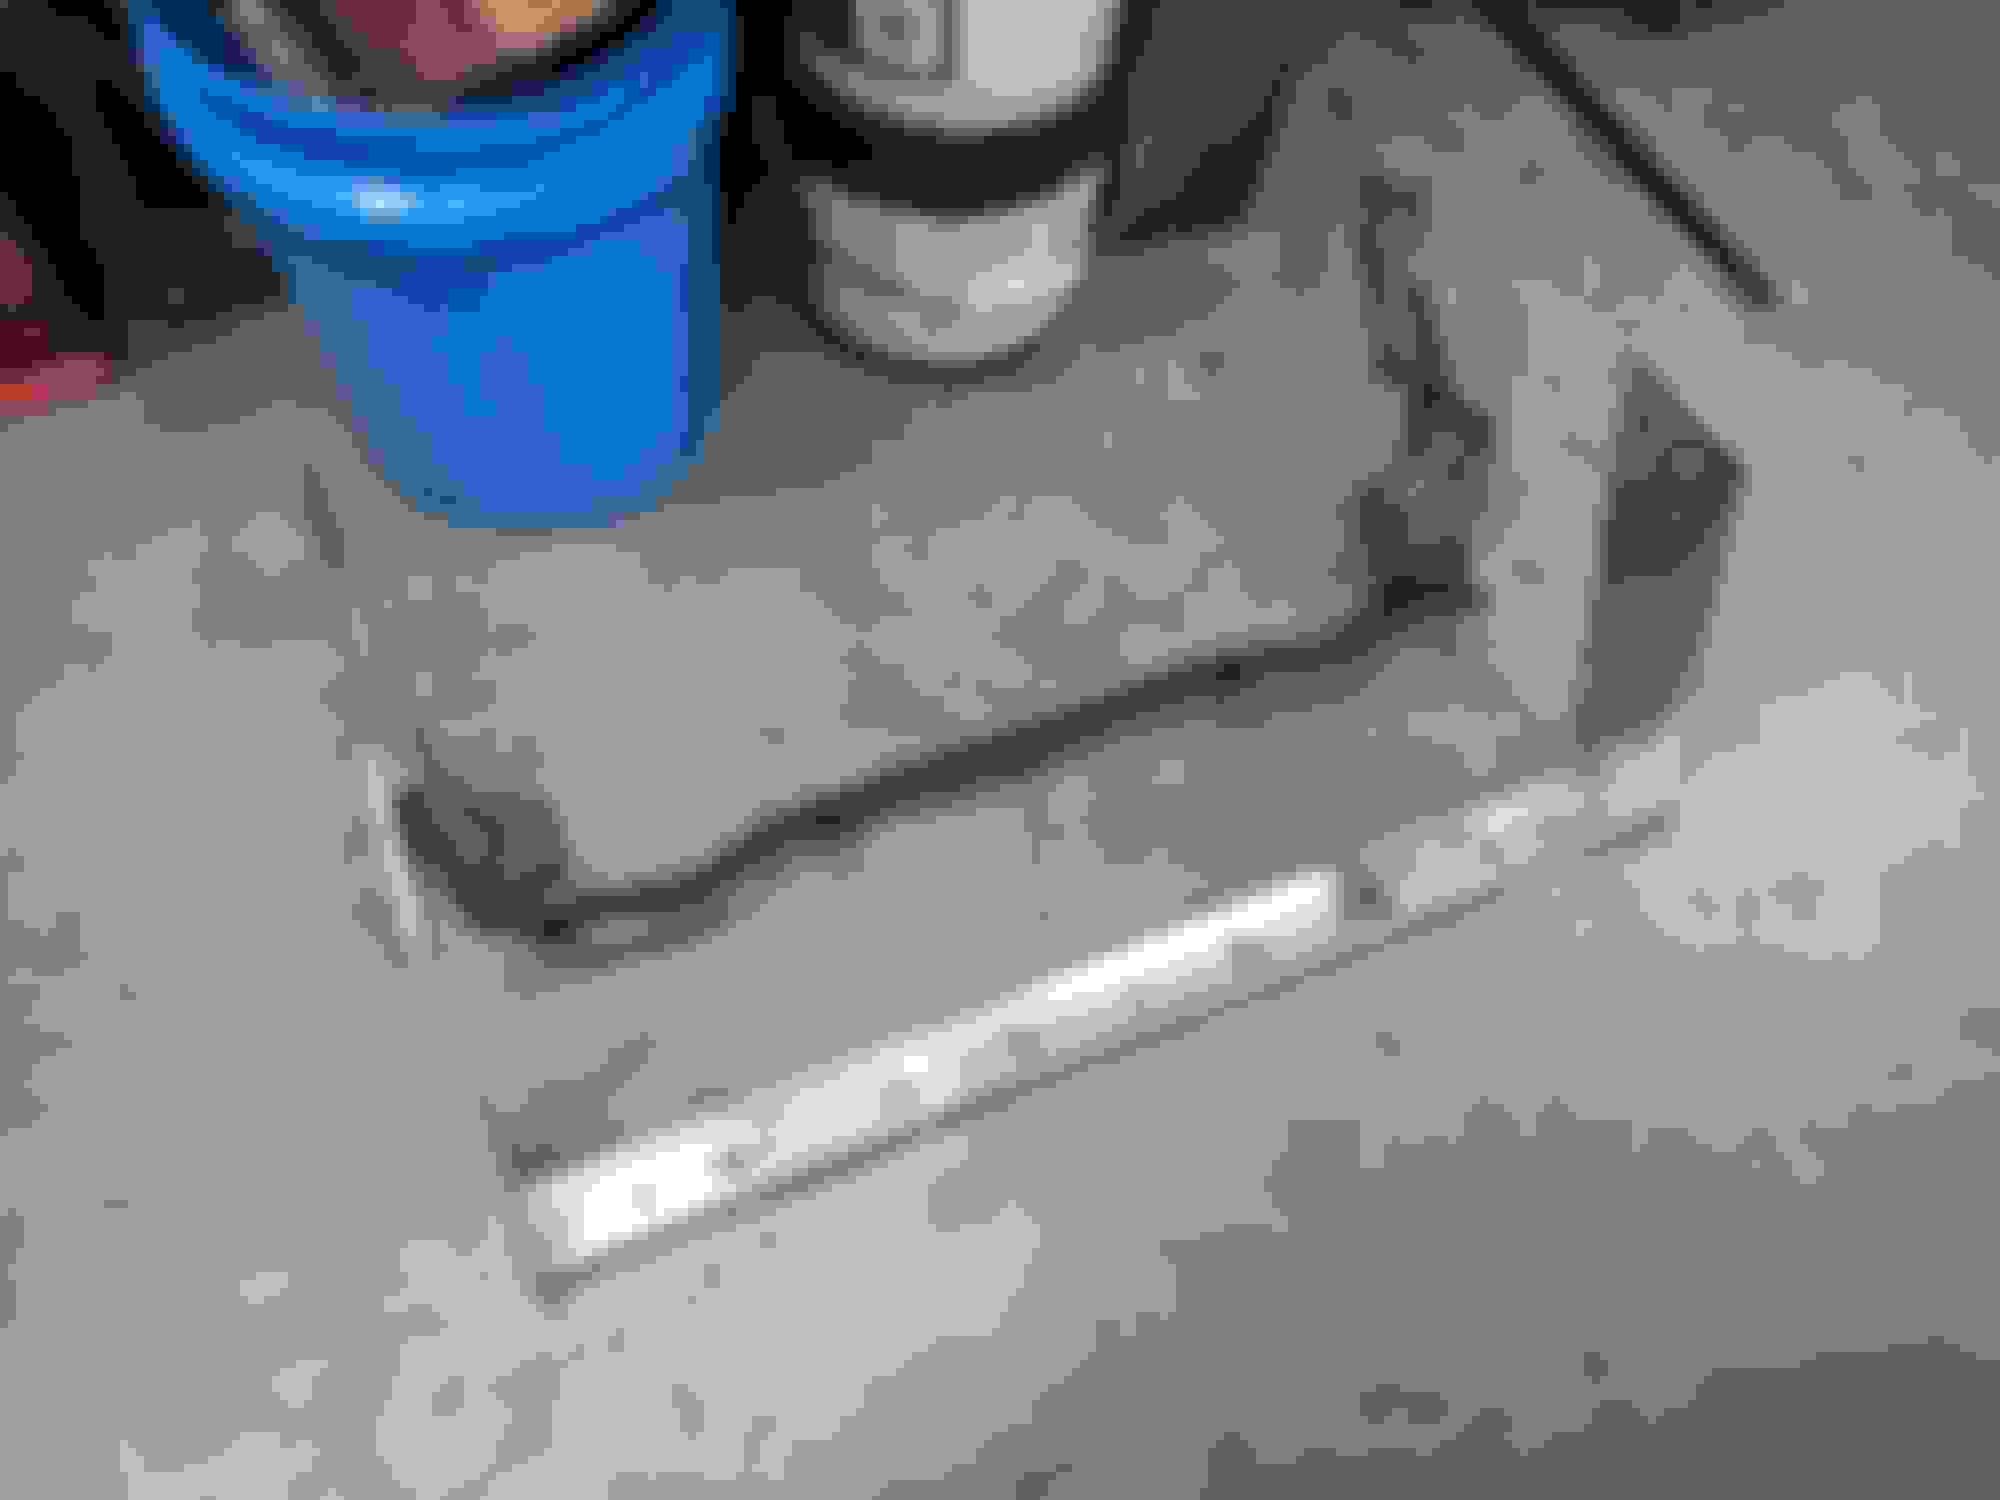
To mount the muffler, I rivet nutted a bunch of M8 nuts un the rear frame rails. Here is the muffler with hangers welded on. It is VERY sturdy with almost no sway. Hopefully that won't cause any issues. These are the pipes I made to snake around the differential. They only have 1/4" of clearance in some spots which was a pain in the *** to work around. This is all the pipes completed minus the headers and the short "downpipes" at the front of the car. Making exhausts is a ******* painful nightmare, but it has to be done. At least it only took 12 hours to do. I lost the hood prop hinge, so I made a new one out of some UHMW Polyethylene I had laying around. And, of course, a spot to put the hood prop.
Bird up The headlights were all fucky so they got a thorough wet sanding and then a coating of Sylvania UV protection. The engine bay and firewall grommets needed tape and protective loom, so that's finally done now that I'm pretty sure all my wiring is correct. Next up is making the lower bumper cover mount/air directing panels. I had to make panels to seal the "mouth" of the bumper to the radiators to make sure the air didn't just go around everything. This only took a couple hours since I installed threaded mounts into my radiator support months ago. And my driveshaft is made and it actually fits! This is from Drift Motion out in Cali. They make an adapter to take the AR5 CV flange and mate it to a regular U joint. They also do custom shafts and had no issue making this for me.
This is basically the last post! Currently all this thing needs is an alignment and a proper tune for the engine, but I've been driving it around and romping on it plenty. I kinda tore up the factory vapor barriers so I made new ones with butyl roofing rubber strips and some thick painters plastic. Now to button up the fuses and relays I just stuck in the passenger footwell. I made a blanking plate to cover it all up and protect that stuff from passengers' feet. Yes they have less leg room now. They'll be fine. Here are all the pieces made up and painted for the blanking plate. A bit of sound deadening should stop it from sounding like a gong. Last piece of the AC system is this thermostat switch for cycling the compressor on and off so the evaporator doesn't freeze up. It's hidden behind the glove box because once it's set, it doesn't really need to be adjusted again. Here is a picture of the assembled interior. I made a subwoofer box. Here it is in the passenger footwell nicely held in place by the seat against my steel plate. For passengers with legs, I've just been unplugging it and sticking it in the trunk. Last thing I did was modify the factory rear subframe brace to fit around the exhaust (by cutting out major parts of it) and the differential mount. Ok its done. That's it. Here she is parked next to my other Miata.
Almost 2 years of planning and working on this thing and she's finally done! I don't know what to do with all this free time I've have now!
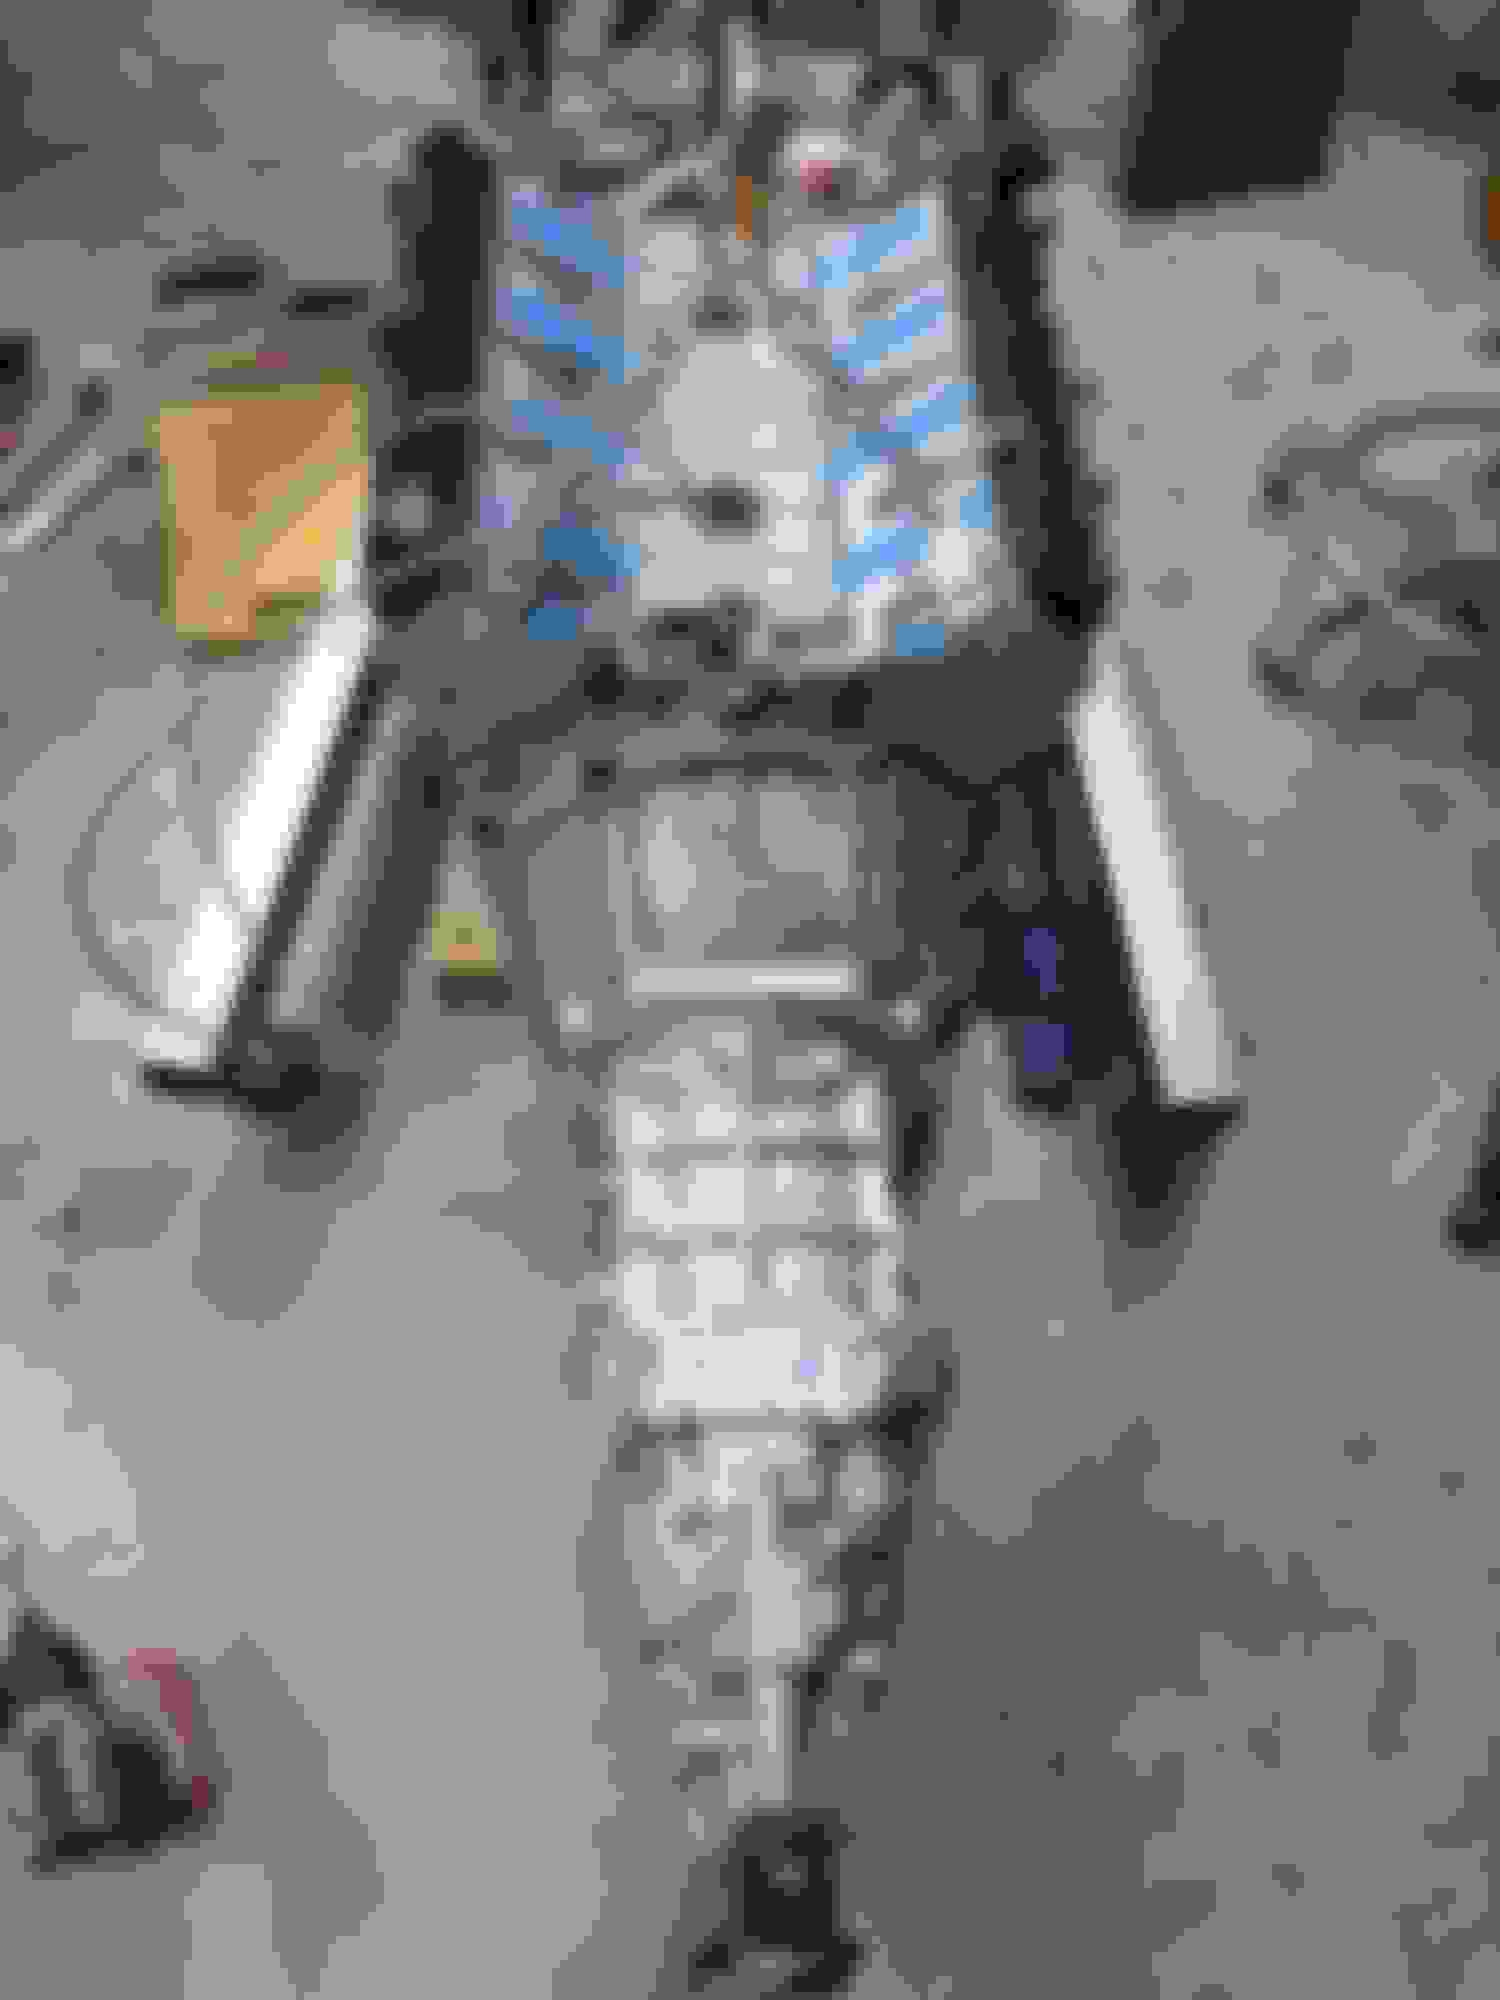
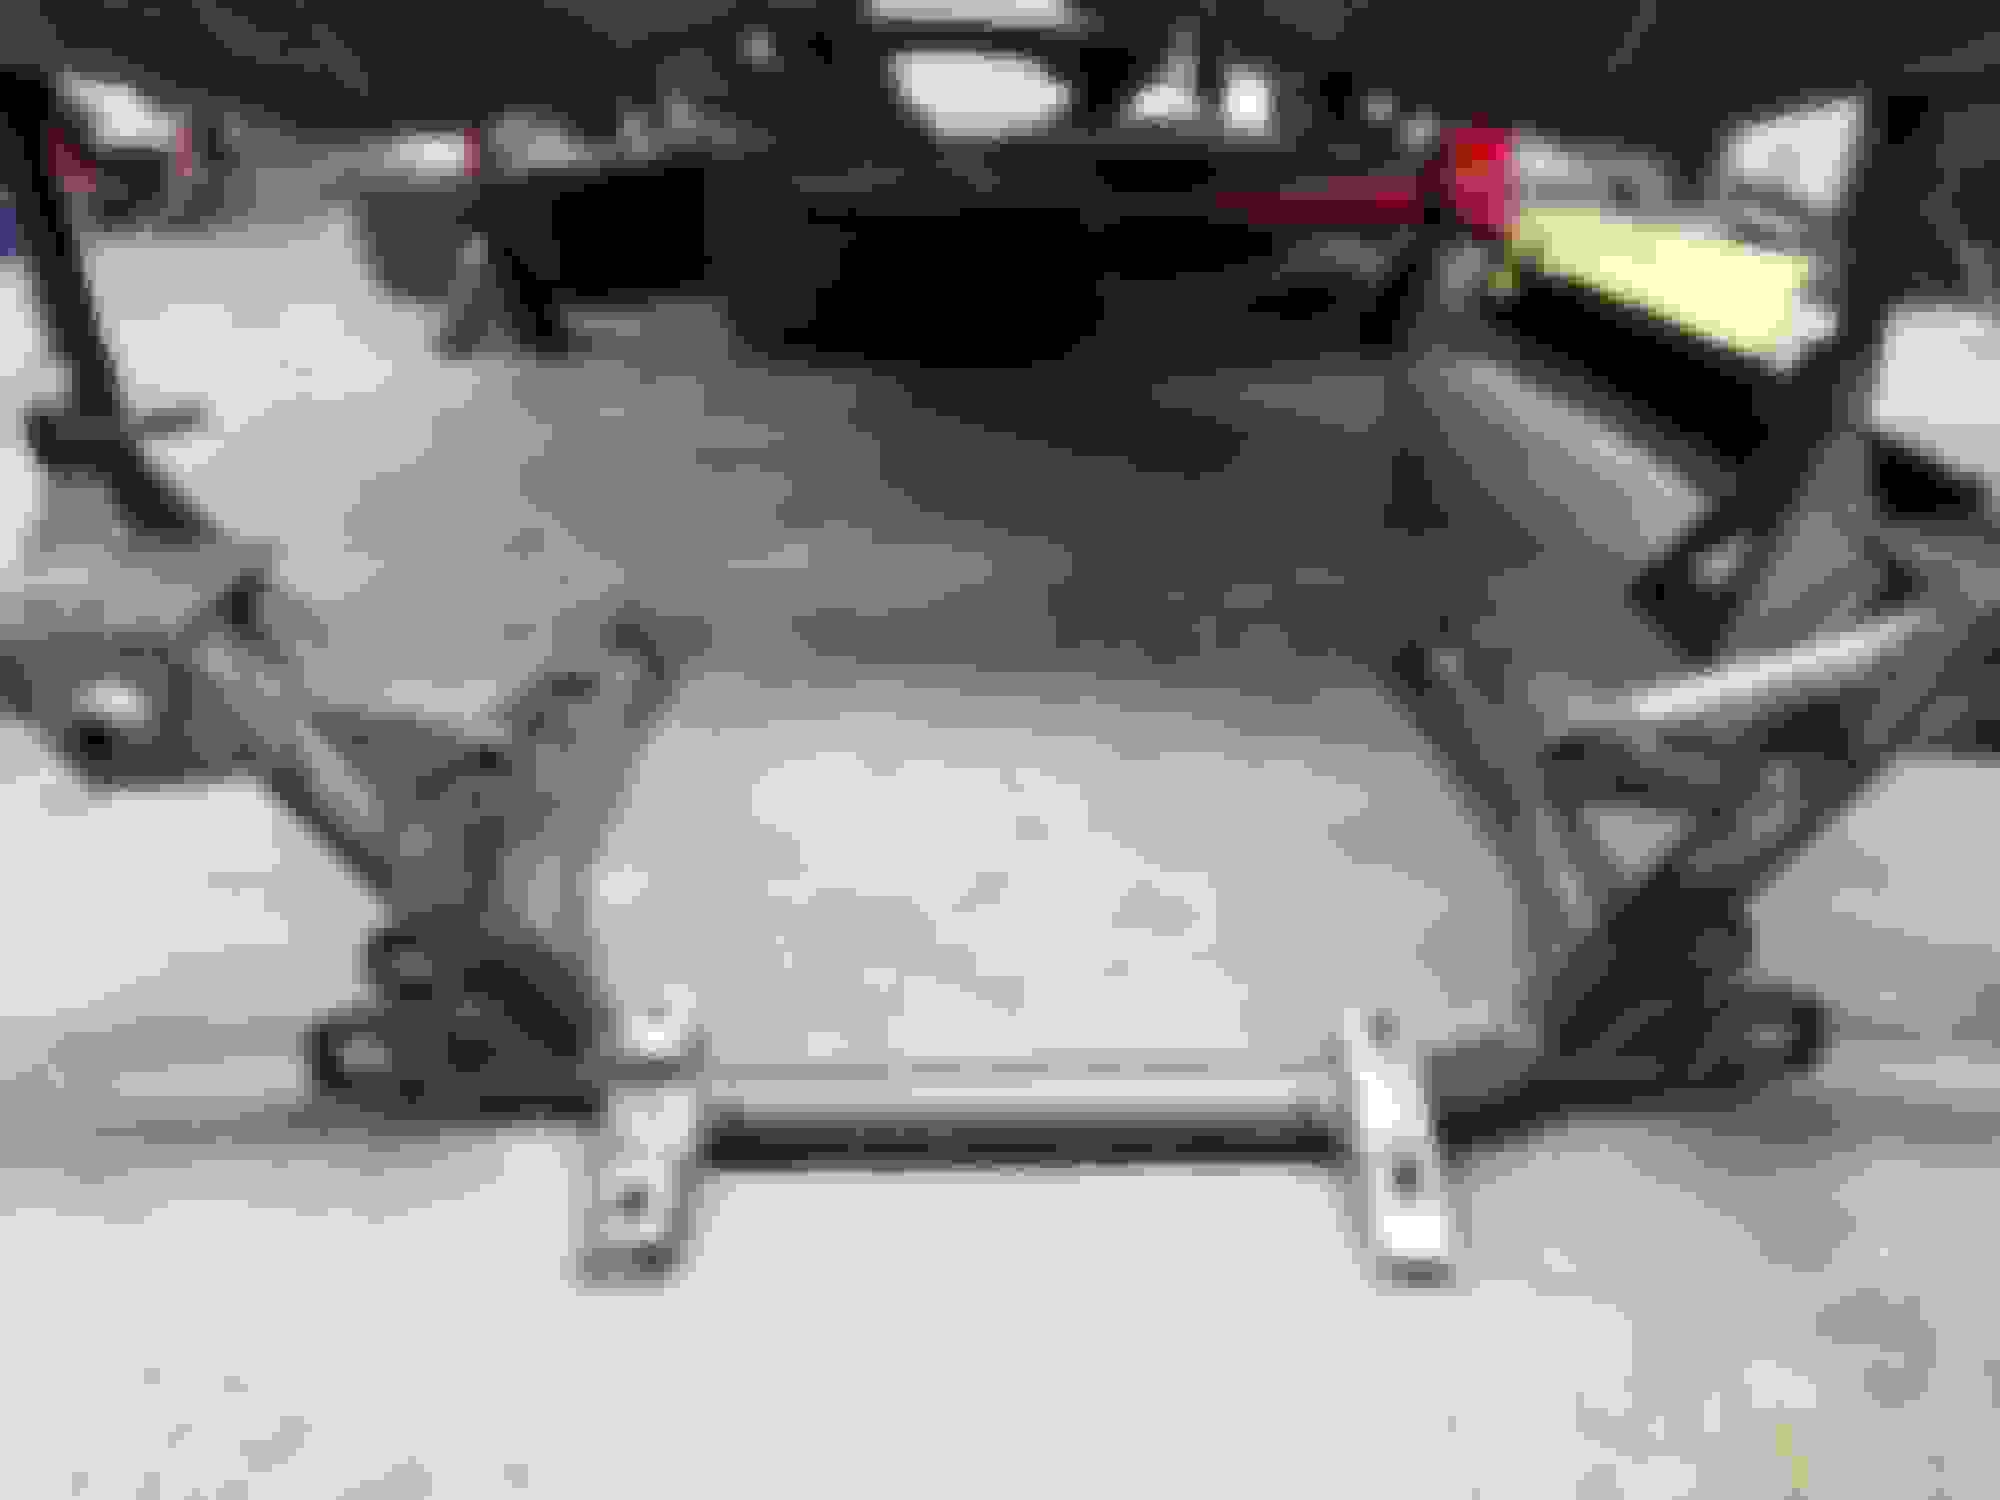
I forgot to mention the front subframe. I bought a V8 Roadsters mount-less tubular frame since I couldn't use the mounts that the more expensive completed V8 frame has. It is a huge help for me since I didn't want to modify the stock unit, and it keeps all the stock suspension geometry. I need to weld in the supports, but it's pretty much finished as it sits.
I also have the AR5 transmission, but I believe it is from a Colorado. My shifter is too far forward, right under the radio. Did you use any adapters, or was the solstice shifter just in the perfect spot?
This isn't my thread - but with my modified K member mount shoving the block almost flush with the firewall in an NA chassis the solstice AR5 shifter landed about 6" rearward from the stock shifter centerline. That was with an Ax15 adapter from Novak.