'99 LS Build

 02-06-2015, 07:16 PM
#27
V8 Miata Participant

Thread Starter
It was a choice between the two and I went with the majority vote. Wish I could drive both to compare them. What did you like better about it?
If you ever need help or something, feel free to hit me up. Im in Apopka.
If you ever need help or something, feel free to hit me up. Im in Apopka.
02-06-2015, 07:31 PM
#28
V8 Miata Follower

i do like your fuel line  , i am all the way out the east side of town ( ucf )
i am still at the very beginning stage of building (all i have is an LS1 +t56)
i am debating if i should build a LS1 FC rx7 instead..... my buddy is giving me a shell for next to nothing
, i am all the way out the east side of town ( ucf )i am still at the very beginning stage of building (all i have is an LS1 +t56)
i am debating if i should build a LS1 FC rx7 instead..... my buddy is giving me a shell for next to nothing
 02-07-2015, 02:31 PM
#30
V8 Miata Participant
Thread Starter
Got my accessories wrapped up, turned out great. Ive gotta give some props to CBM for their alternator bracket as it even came with the spacer for the idler pulley.
[IMG]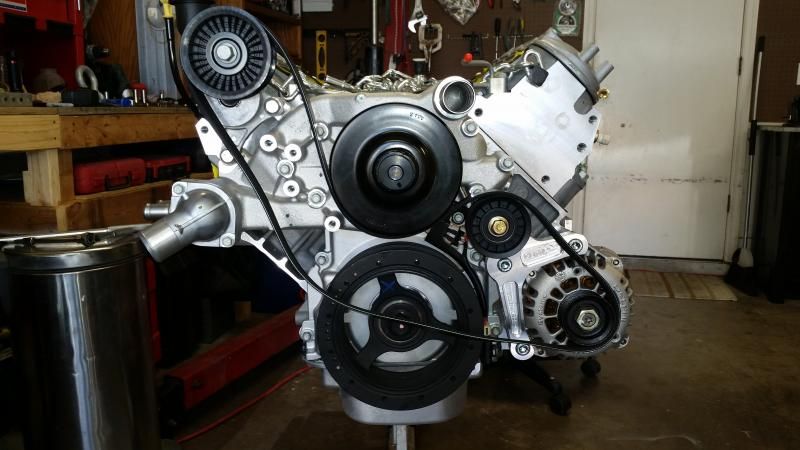 [/IMG]
Parts:
CBM Alternator Bracket
CBM MOTORSPORTS CORVETTE CONVERSION BILLET ALTERNATOR BRACKET
Idler pulley
Belt Tensioner
2005-2013 Chevrolet Corvette Accessory Belt Tensioner - Cooling System - AC Delco, Accessory Drive, Serpentine 05-13 Corvette Accessory Belt Tensioner - 18301-05323095 - PartsGeek
Gates Micro-V Belt (55 1/4")
Cheers
[IMG]
 [/IMG]
Parts:
CBM Alternator Bracket
CBM MOTORSPORTS CORVETTE CONVERSION BILLET ALTERNATOR BRACKET
Idler pulley
Belt Tensioner
2005-2013 Chevrolet Corvette Accessory Belt Tensioner - Cooling System - AC Delco, Accessory Drive, Serpentine 05-13 Corvette Accessory Belt Tensioner - 18301-05323095 - PartsGeek
Gates Micro-V Belt (55 1/4")
Cheers
Last edited by ItsAllRigged; 03-20-2015 at 07:42 PM.
 02-07-2015, 03:48 PM
#32
V8 Miata Participant
Thread Starter
Alternator is an F body unit, told the NAPA dude I needed one for a 2002 camaro 5.7 to fit the CBM bracket.
Water pump is oem corvette style, came bolted on from GM.
Water pump is oem corvette style, came bolted on from GM.
02-27-2015, 12:28 PM
#36
V8 Miata Participant
Thread Starter
Finally was able to get a bunch of work done.
I edited my previous post with the correct belt size, should anyone want to run without power steering. Im going to give it a shot even though a lot of people have tried it and eventually switched back. We'll see...
I got the V8R oil pan installed. Its definitely not a simple bolt on affair which is ok since I had researched others installs of it and was expecting it. But for the money though it seems like it should've fit a bit better. For one, the valley tray (Vette LS3) needed surgery. I ended up cutting about a 3" square away to clear the low profile end of the pan. Also the pick up tube sits right where the dipstick shoots into the pan. Again, not a huge deal but it adds to the list. Lastly, I ended up shimming the pick up tube to sit 1/4" off the bottom of the pan. Out of the box it sat at just over 3/8" which might have been ok but with the known lack of oiling issues the LS3 is notorious for I wanted it to be closer than farther. I should have taken pics but I didn't.
On a positive note, the V8R pan is quite a bit lighter than the OEM unit. I didn't weigh them but I'd say its a couple pounds leaner. It saves much of this weight by not having the threaded holes for the bellhousing like the OEM unit has.
Mounted up the Mcleod clutch as well. Pretty straight forward, no issues. This is the first brand new clutch into any vehicle I've owned. Its definitely a nice piece and thorough intstructions make it an easy install. Even came with ARP pressure plate bolts.
Heres a pic installing the flywheel with my diy flexplate holder.
[IMG]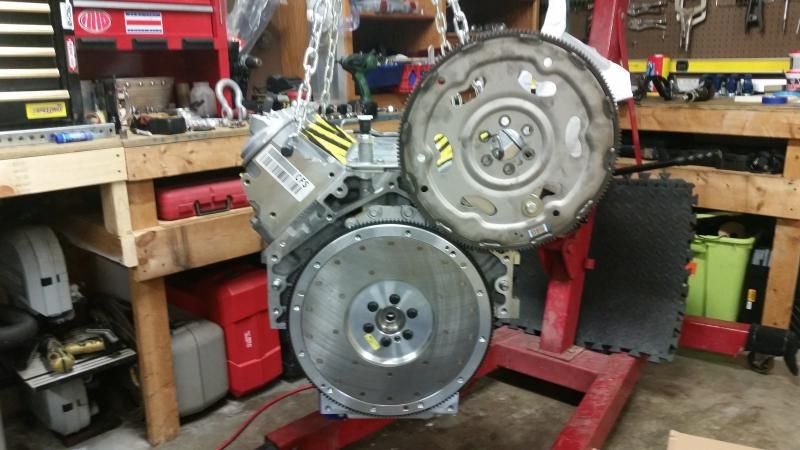 [/IMG]
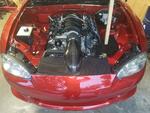
Cut and beat the firewall last night, going to throw the motor in today and see if I was angry enough.
Cheers
I edited my previous post with the correct belt size, should anyone want to run without power steering. Im going to give it a shot even though a lot of people have tried it and eventually switched back. We'll see...
I got the V8R oil pan installed. Its definitely not a simple bolt on affair which is ok since I had researched others installs of it and was expecting it. But for the money though it seems like it should've fit a bit better. For one, the valley tray (Vette LS3) needed surgery. I ended up cutting about a 3" square away to clear the low profile end of the pan. Also the pick up tube sits right where the dipstick shoots into the pan. Again, not a huge deal but it adds to the list. Lastly, I ended up shimming the pick up tube to sit 1/4" off the bottom of the pan. Out of the box it sat at just over 3/8" which might have been ok but with the known lack of oiling issues the LS3 is notorious for I wanted it to be closer than farther. I should have taken pics but I didn't.
On a positive note, the V8R pan is quite a bit lighter than the OEM unit. I didn't weigh them but I'd say its a couple pounds leaner. It saves much of this weight by not having the threaded holes for the bellhousing like the OEM unit has.
Mounted up the Mcleod clutch as well. Pretty straight forward, no issues. This is the first brand new clutch into any vehicle I've owned. Its definitely a nice piece and thorough intstructions make it an easy install. Even came with ARP pressure plate bolts.
Heres a pic installing the flywheel with my diy flexplate holder.
[IMG]
 [/IMG]
Cut and beat the firewall last night, going to throw the motor in today and see if I was angry enough.
Cheers
 03-08-2015, 11:56 AM
#40
V8 Miata Participant
Thread Starter
Got the engine bay and trans tunnel all sealed up and primed. Hoping to finish the fuel and brake lines this week.
[IMG]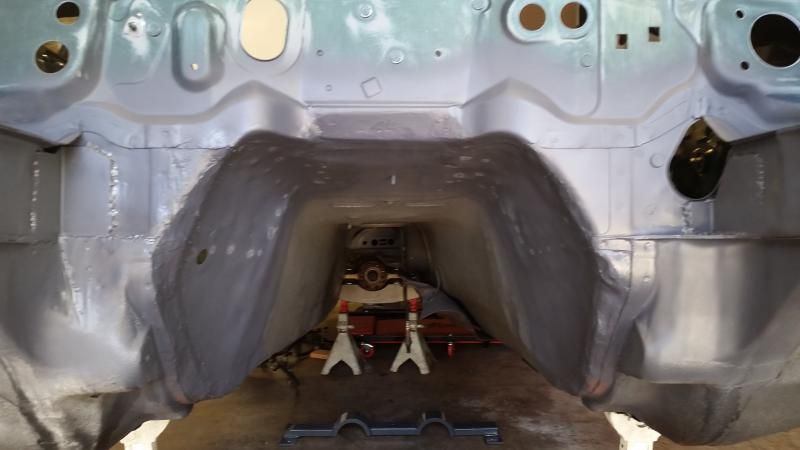 [/IMG]
[IMG]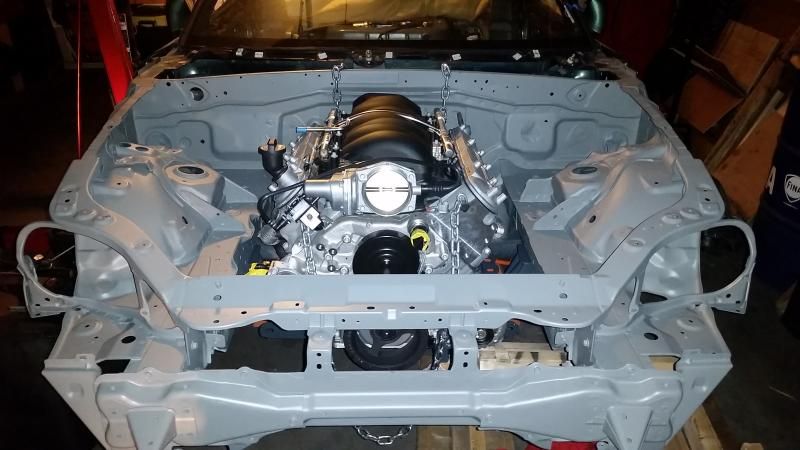 [/IMG]
[IMG]
 [/IMG]
[IMG]
 [/IMG]
03-10-2015, 06:40 PM
[/IMG]
03-10-2015, 06:40 PM
#42
V8 Miata Participant
Thread Starter
Got the pedal mounted. Its tight against the trans tunnel and gusset, not sure if it will clear with carpet and insulation.  We'll see!
[IMG]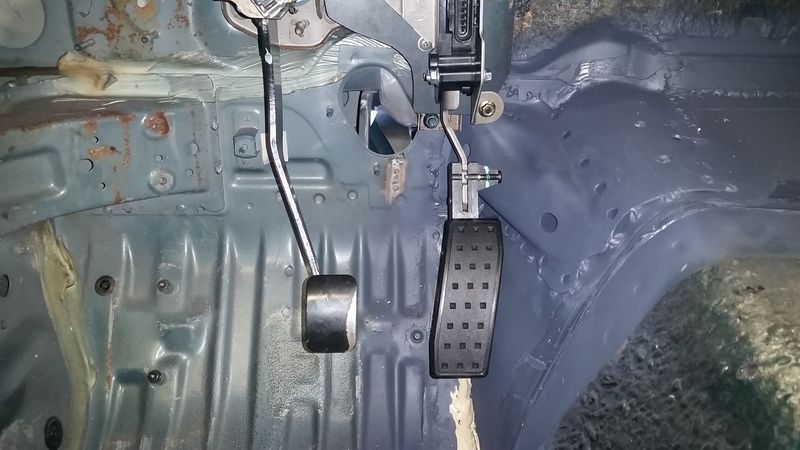 [/IMG]
We'll see![IMG]
 [/IMG]
03-10-2015, 07:09 PM
[/IMG]
03-10-2015, 07:09 PM
#43
V8 Miata Follower
03-10-2015, 07:17 PM
#44
V8 Miata Participant
Thread Starter
I took measurements off the miata pedal and went from there. Moved the gas pedal about a 1/2" closer to the brake pedal to clear the trans tunnel. Right now the mounting plate is just bolted to the mazda bracket. Once I get the car going and confirm the placement works I'll weld it in permanently.
03-11-2015, 10:57 AM
#45
Jim Stainer

I found you don't have to widen the tunnel near as far as the FM book says you do. When I ran into the gas pedal issue I double checked the bell housing clearance and took about have the widening back out of the tunnel so the pedal would clear in it's stock location. But mine is an NA drive by cable so it might be different.
You might want to test fit your steering column before you weld the pedal bracket.
Looks really good Dave!
You might want to test fit your steering column before you weld the pedal bracket.
Looks really good Dave!
03-11-2015, 11:11 AM
#46
V8 Miata Participant
Thread Starter
I too noticed FM's measurements were too wide on the drivers side. I wonder how those guys get the gusset back in with carpet and have enough room for the pedal. But I must say reading your blog definitely helped me not go too far with it!
03-22-2015, 07:46 AM
#47
V8 Miata Participant
Thread Starter
Lizard Skinned the chassis yesterday. Besides all the prep needed to shoot this stuff it went on pretty easy. I used both the sound control and heat formulas so hopefully the cabin will stay quiet and cool.
[IMG]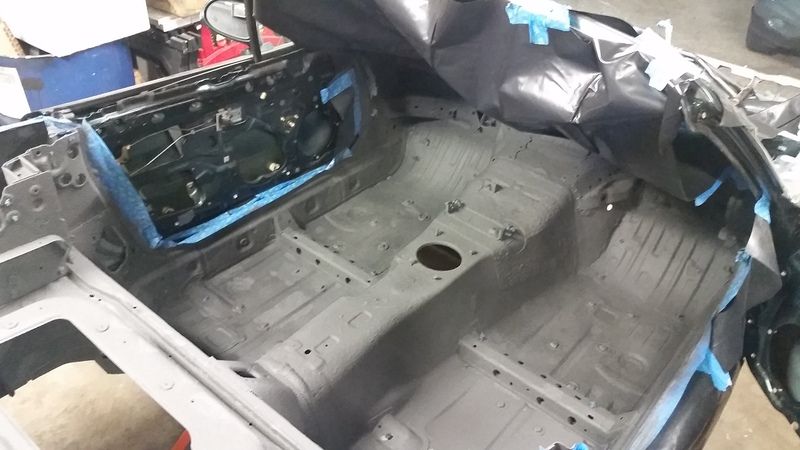 [/IMG]
[IMG]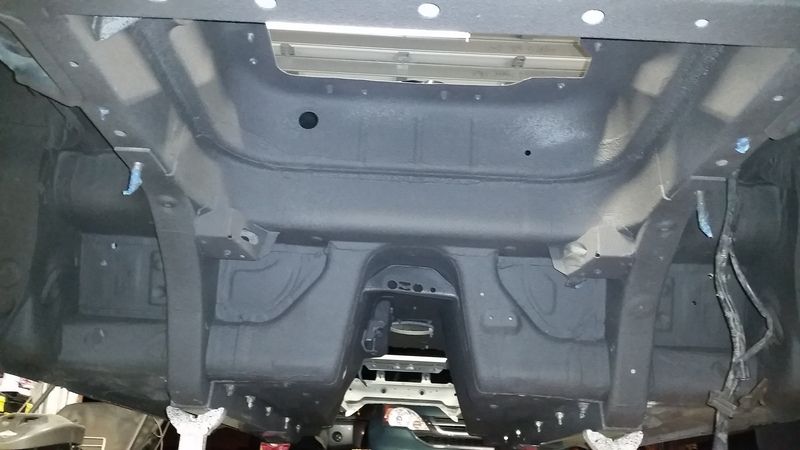 [/IMG]
Im happy that now I can start reassembling and making this look like a car again.
Also got the fuel line ran to engine. I really hope these AN fittings dont leak. So far, this has been the toughest part of the project for me. Getting the hard line routed right, numerous times bending, fitting, rebending.
I went with Pegasus ptfe braided line and fittings for the engine bay. I liked their fittings as they matched the color scheme Im going for and they were easy to put together.
[IMG]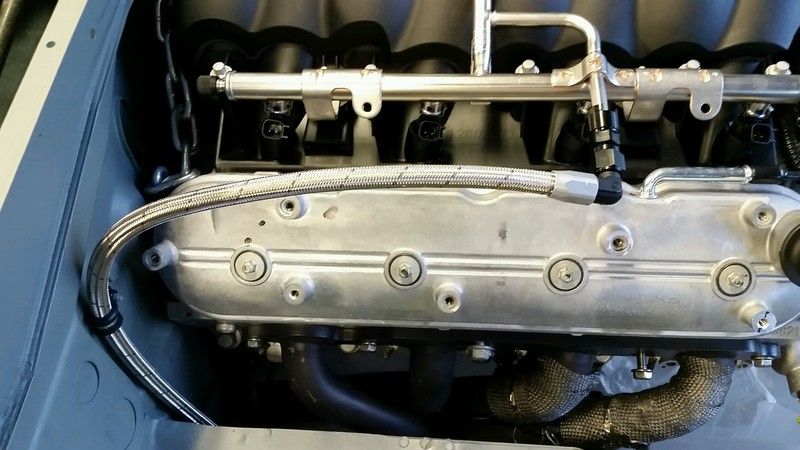 [/IMG]
[IMG]
 [/IMG]
[IMG]
 [/IMG]
Im happy that now I can start reassembling and making this look like a car again.
Also got the fuel line ran to engine. I really hope these AN fittings dont leak. So far, this has been the toughest part of the project for me. Getting the hard line routed right, numerous times bending, fitting, rebending.
I went with Pegasus ptfe braided line and fittings for the engine bay. I liked their fittings as they matched the color scheme Im going for and they were easy to put together.
[IMG]
 [/IMG]


