Well, I'm back in the game!! New mild 302 street build

Thread Tools
 
Search this Thread
 
Rate Thread
 
Old 05-08-2019, 04:51 AM
  #26  
V8 Miata Fanatic
 
jrmotorsports55's Avatar
 
Join Date: Aug 2014
Location: Seven Hills, OH
Posts: 633
Received 15 Likes on 15 Posts
Default

Looks like a good start.
Old 05-08-2019, 03:37 PM
  #27  
V8 Miata Participant
 
5.0MX5's Avatar
 
Join Date: Jan 2010
Posts: 287
Received 11 Likes on 11 Posts
Default

Looks Great. Rockers appear solid which is always a plus.
Old 05-09-2019, 08:31 AM
  #28  
V8 Miata Fanatic
 
ToySnakePMC's Avatar
 
Join Date: Oct 2012
Location: Fuquay Varina, NC
Posts: 550
Received 34 Likes on 32 Posts
Default

Perhaps Montego Blue Mica is the color if it’s a factory color. I have one the same year that I currently use as my weekly airport shuttle car. (It’s a 1.8 Automatic and the exact opposite of my white ‘94, I will say that...). Your donor looks great.
Old 05-12-2019, 12:14 PM
  #29  
V8 Miata Enthusiast
Thread Starter
 
Gunpilot's Avatar
 
Join Date: Apr 2012
Location: Houston, Tx
Posts: 440
Received 67 Likes on 47 Posts
Default Let’s get busy!

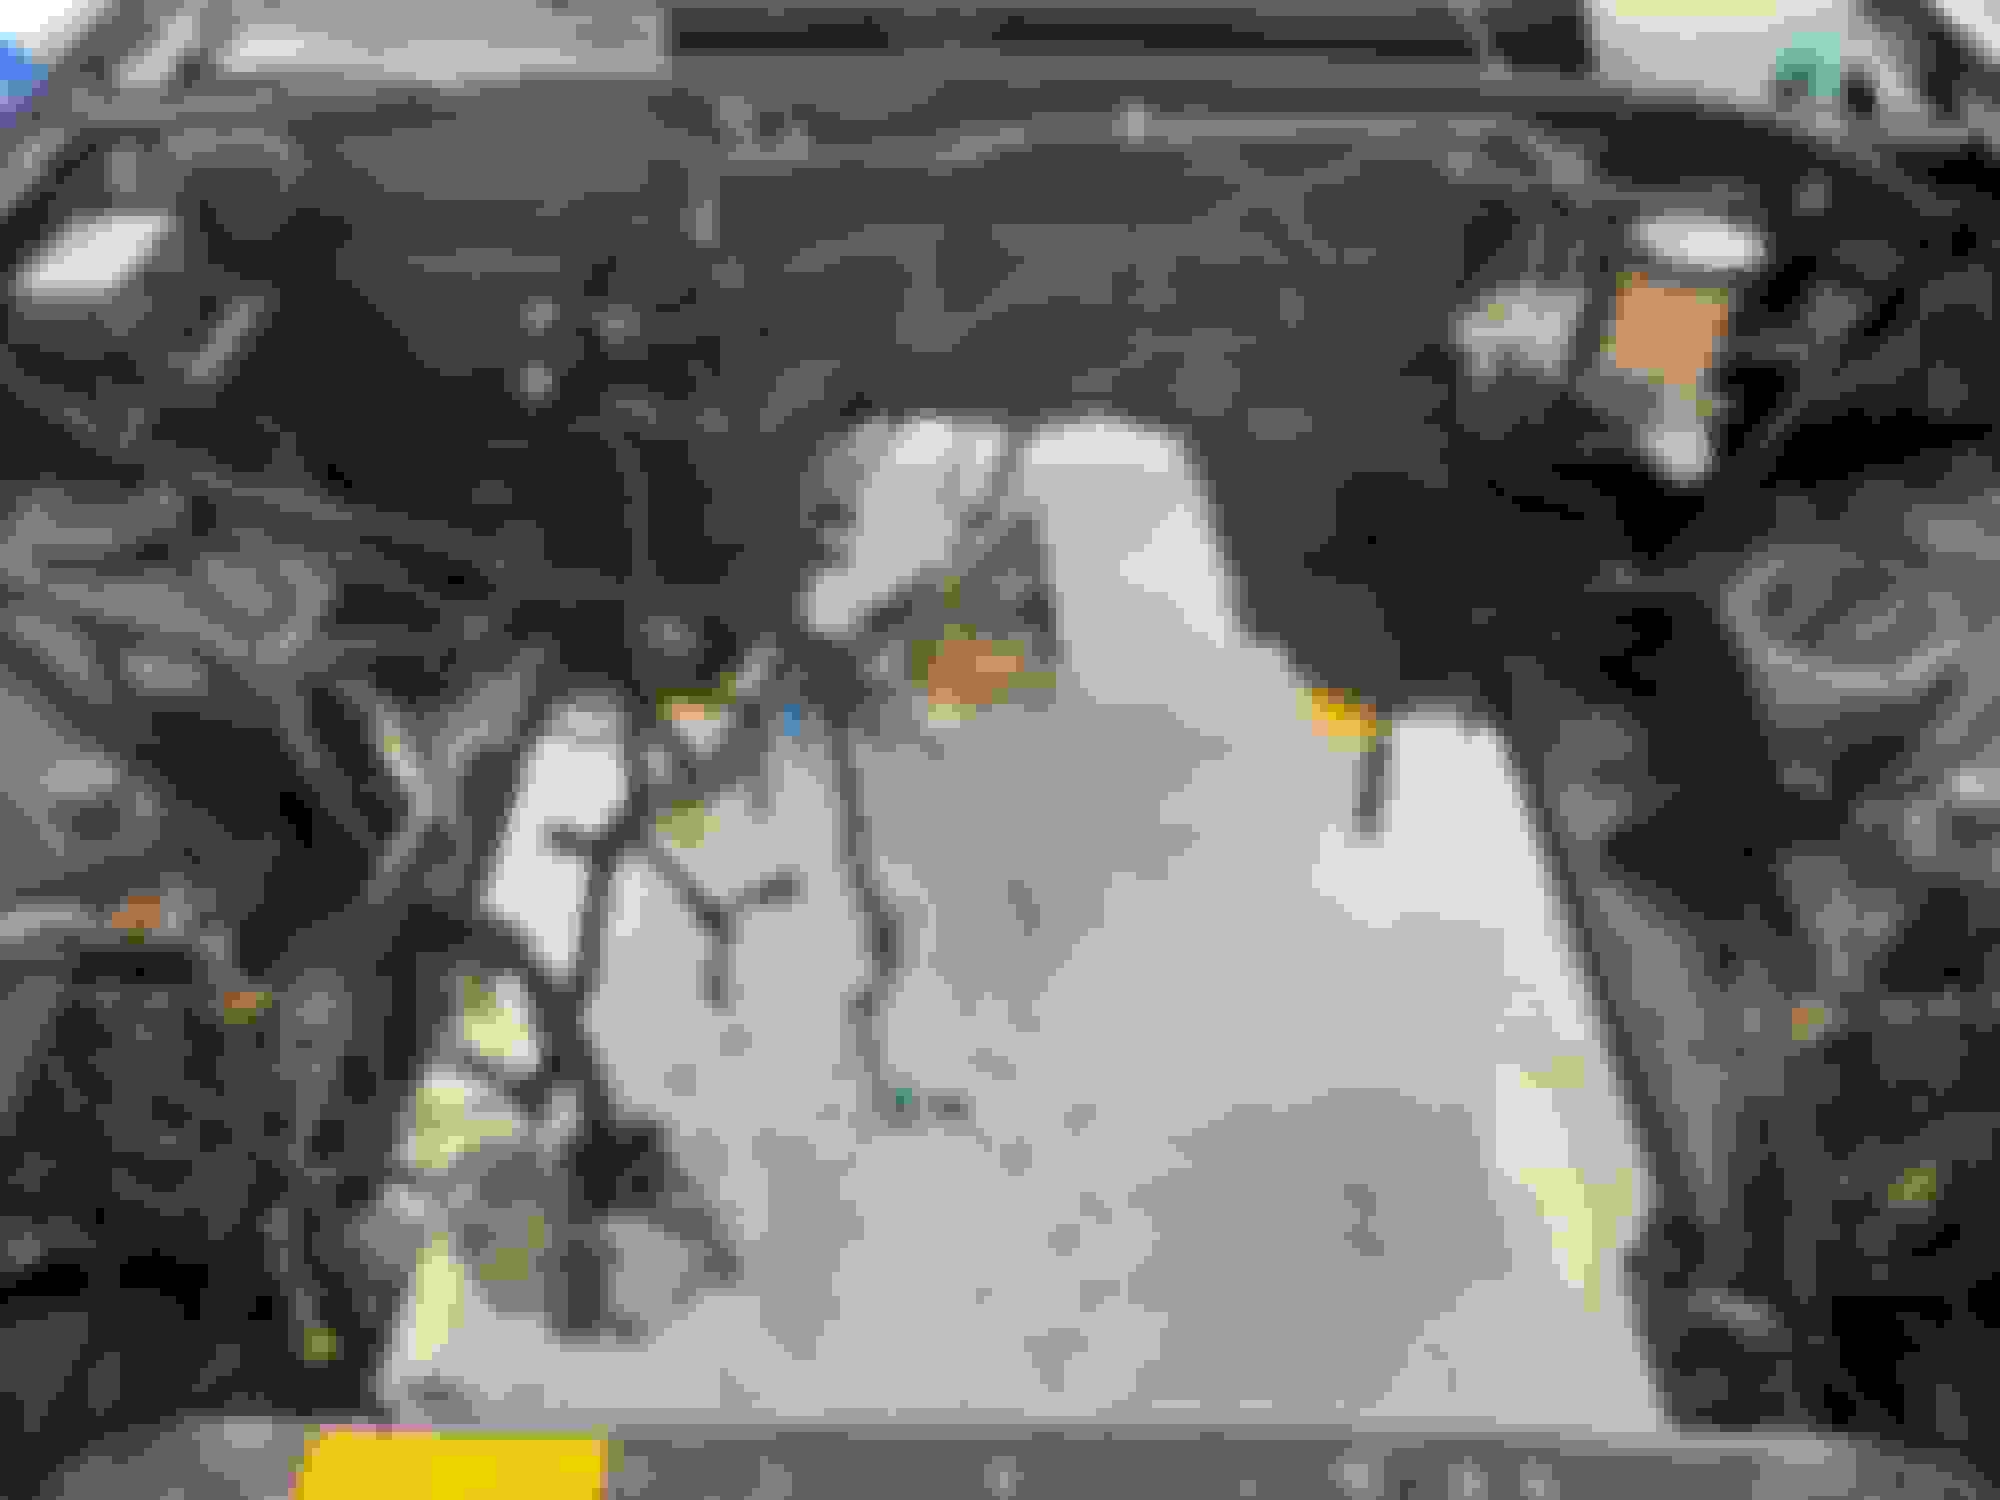
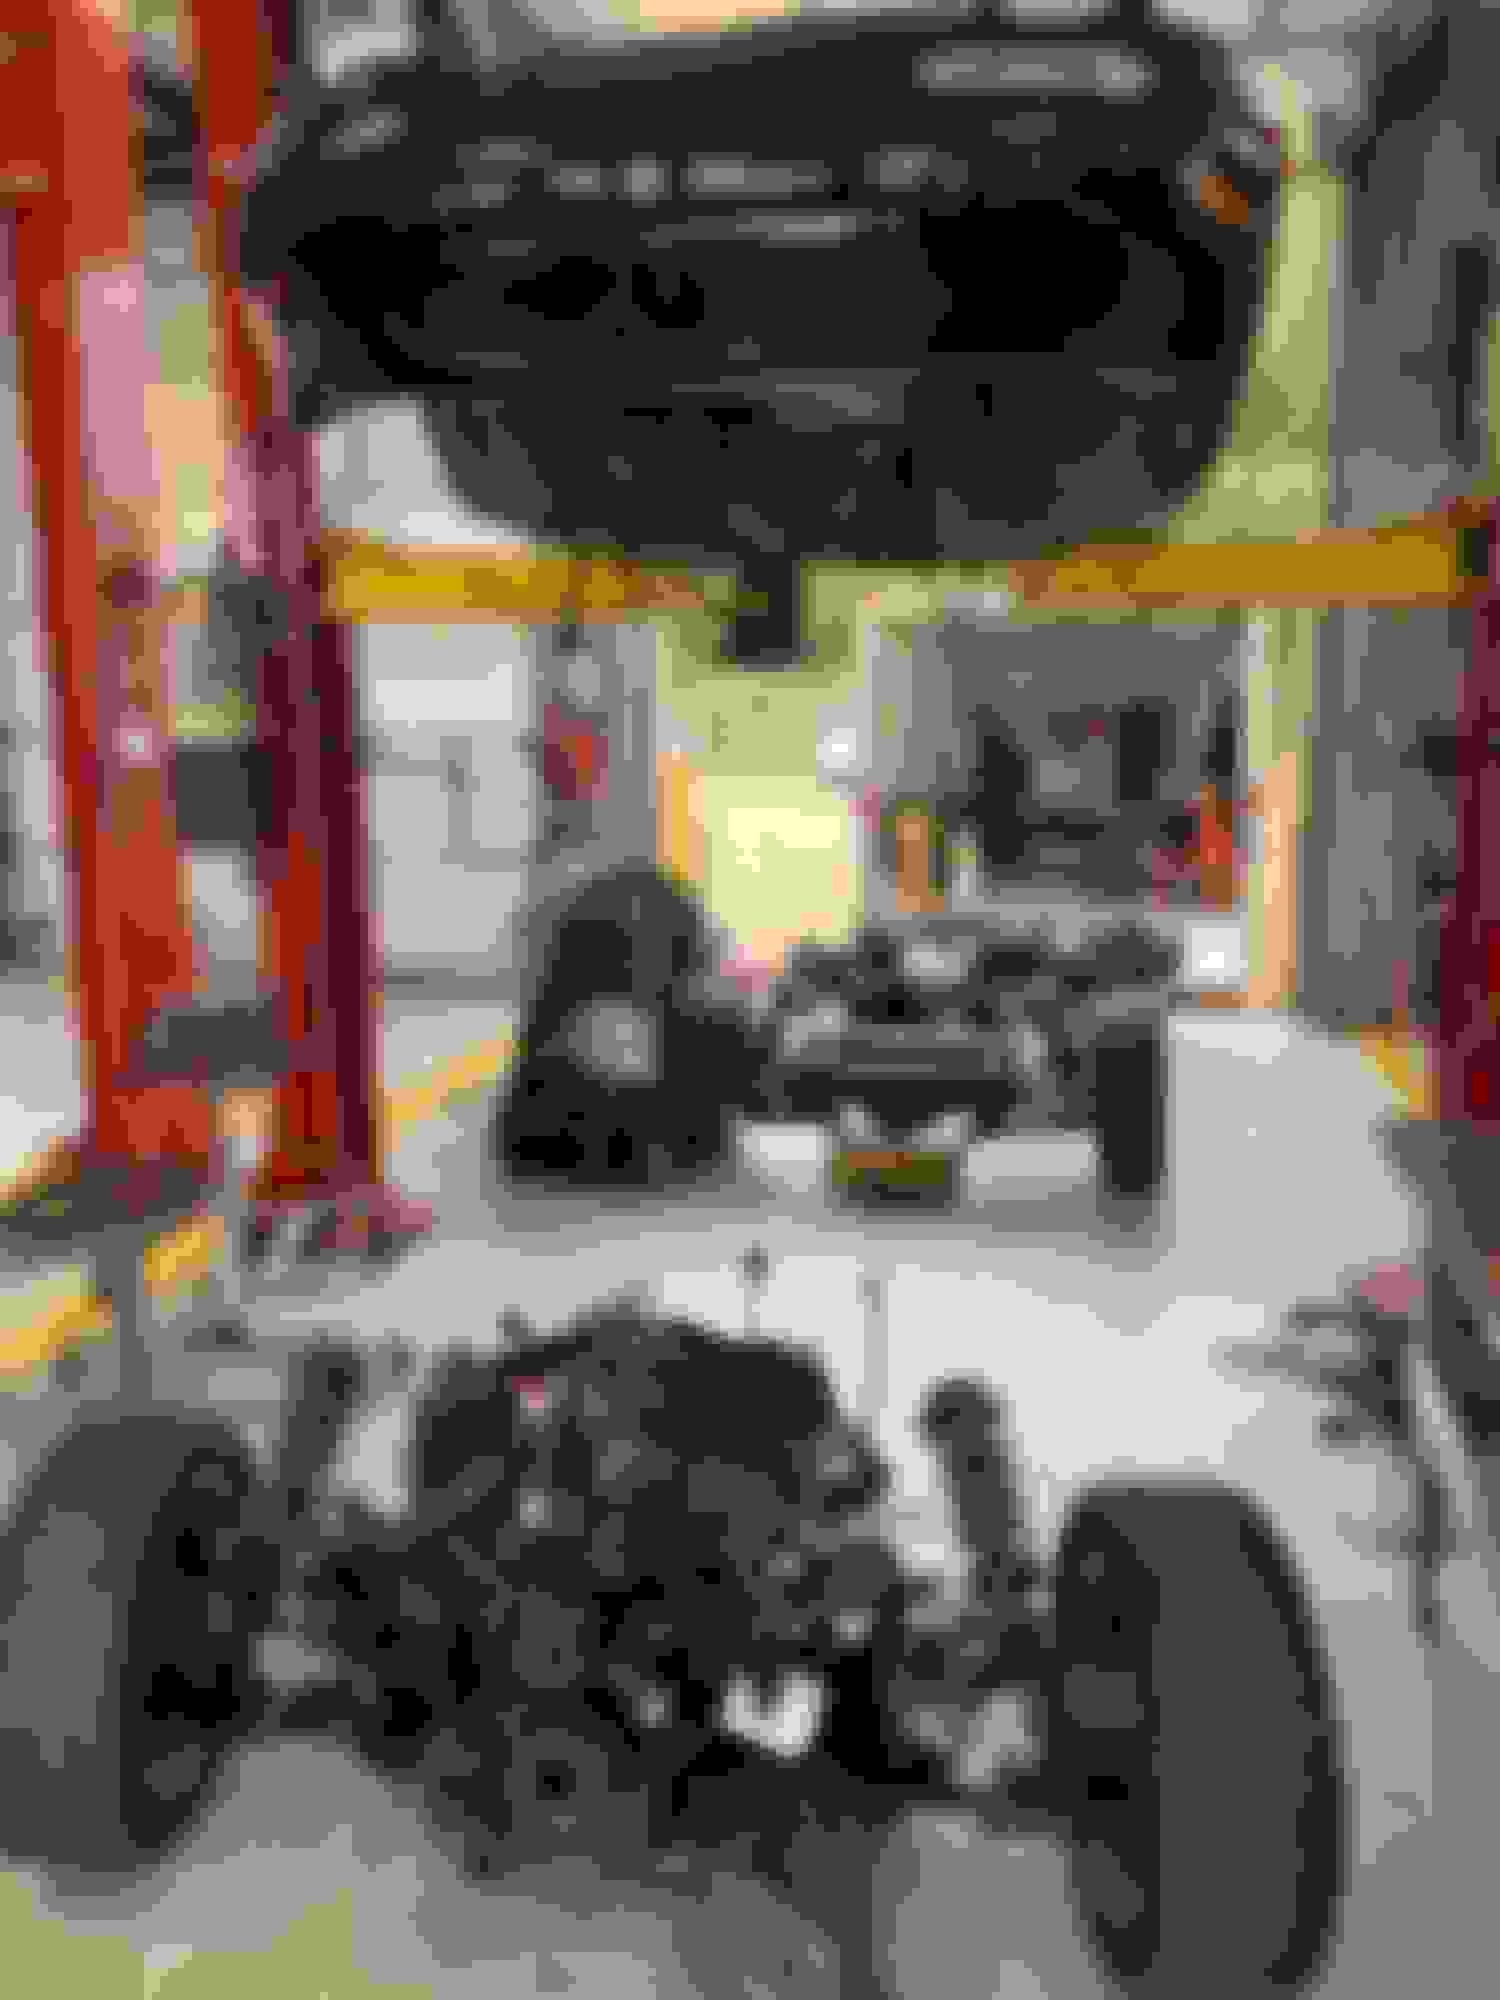
Cleaned up new rear subframe and diff. Removed old one and got this shoved up there. Tackled this first because I knew it would be easy and give me a confidence booster.

Old 05-12-2019, 12:23 PM
  #30  
V8 Miata Enthusiast
Thread Starter
 
Gunpilot's Avatar
 
Join Date: Apr 2012
Location: Houston, Tx
Posts: 440
Received 67 Likes on 47 Posts
Default Fuel system

In my last 302, I had fueling issues when it got hot. Not sure what the issue was, but I was planning a robust fuel system for this one. I believe the in tank pump was a weak point. Once the fuel got hot, the pump got hot and it’s performance went down. To solve this I was going to run an external pump like I did on my LS6 RX-7. For that car I ran a large pump and pulled the fuel from a bottom sump I created. I was planning on adding a sump to the Miata tank, I got a good surprise when i dropped the rear subframe. The tank already has a sump. It also has a drain plug there. The plan is to now thread in an AN fitting where the drain plug goes and pull fuel from there. It’s a 10x1.25 plug, so need to start looking for the correct fitting. Drained old fuel and stunk up the shop. Lol.
Old 05-12-2019, 04:13 PM
  #31  
V8 Miata Enthusiast
Thread Starter
 
Gunpilot's Avatar
 
Join Date: Apr 2012
Location: Houston, Tx
Posts: 440
Received 67 Likes on 47 Posts
Default Engine bay work

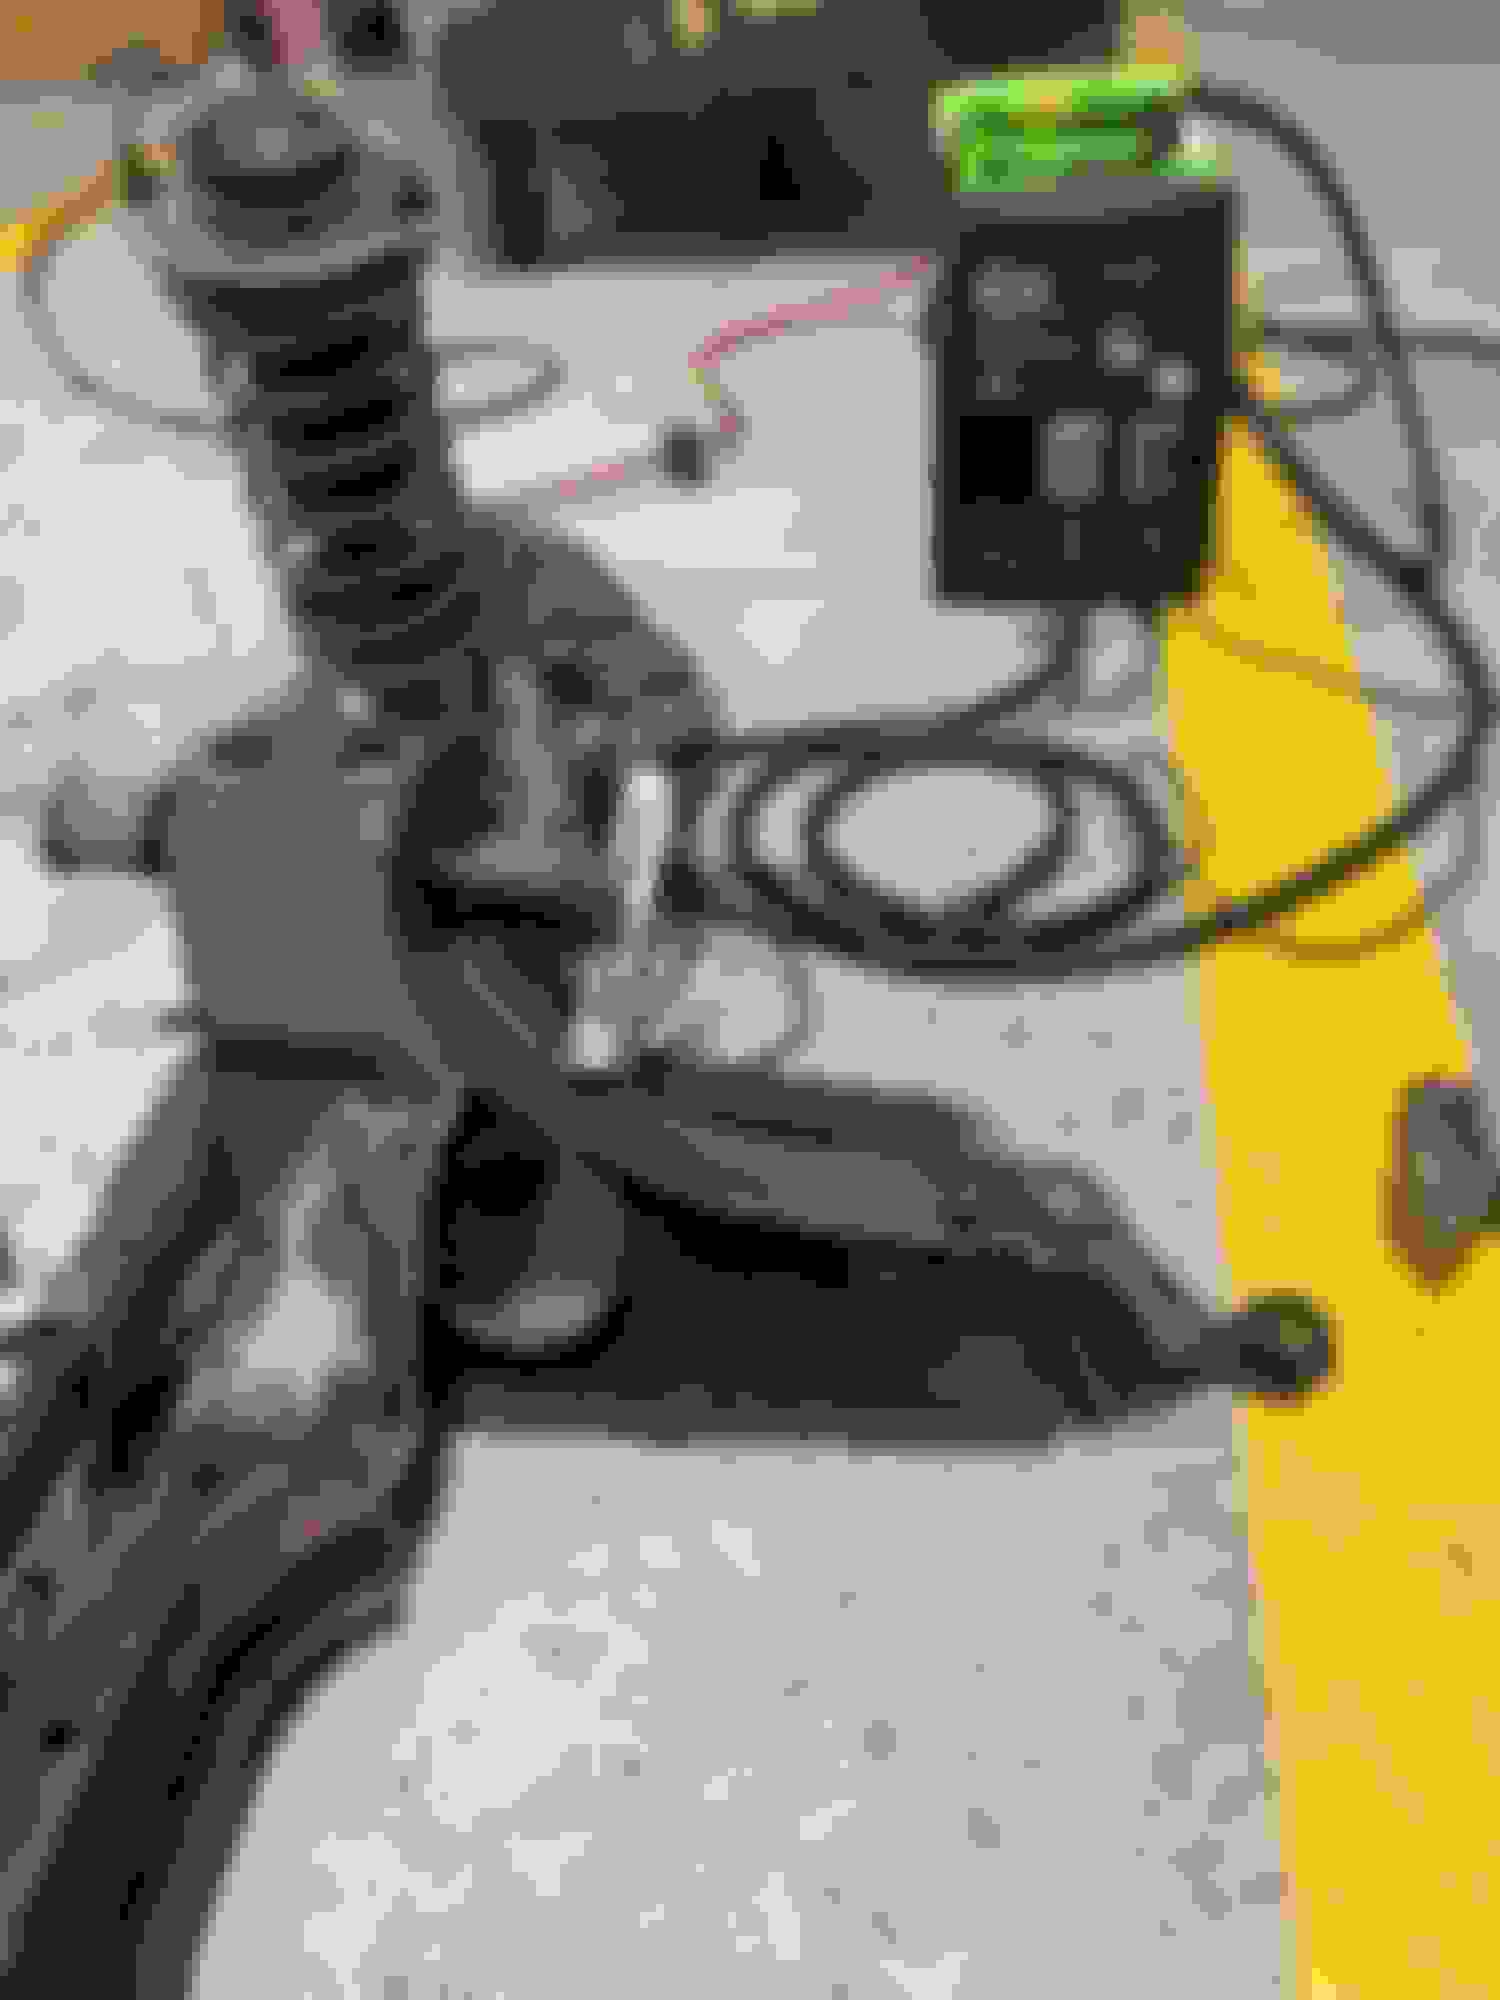
Started re-routine brake lines and removing emissions stuff. Cleaned everything and painted flat black. I like leaving all wires in until I get it running and then slowly remove what is left over.
Old 05-13-2019, 04:53 AM
  #32  
V8 Miata Fanatic
 
jrmotorsports55's Avatar
 
Join Date: Aug 2014
Location: Seven Hills, OH
Posts: 633
Received 15 Likes on 15 Posts
Default

Great progress!
Old 05-15-2019, 09:11 PM
  #33  
V8 Miata Enthusiast
Thread Starter
 
Gunpilot's Avatar
 
Join Date: Apr 2012
Location: Houston, Tx
Posts: 440
Received 67 Likes on 47 Posts
Default Fuel system is ready

Received all the parts for my fuel system. It’s like Christmas.
Old 05-15-2019, 09:16 PM
  #34  
V8 Miata Enthusiast
Thread Starter
 
Gunpilot's Avatar
 
Join Date: Apr 2012
Location: Houston, Tx
Posts: 440
Received 67 Likes on 47 Posts
Default One step forward 2 steps back

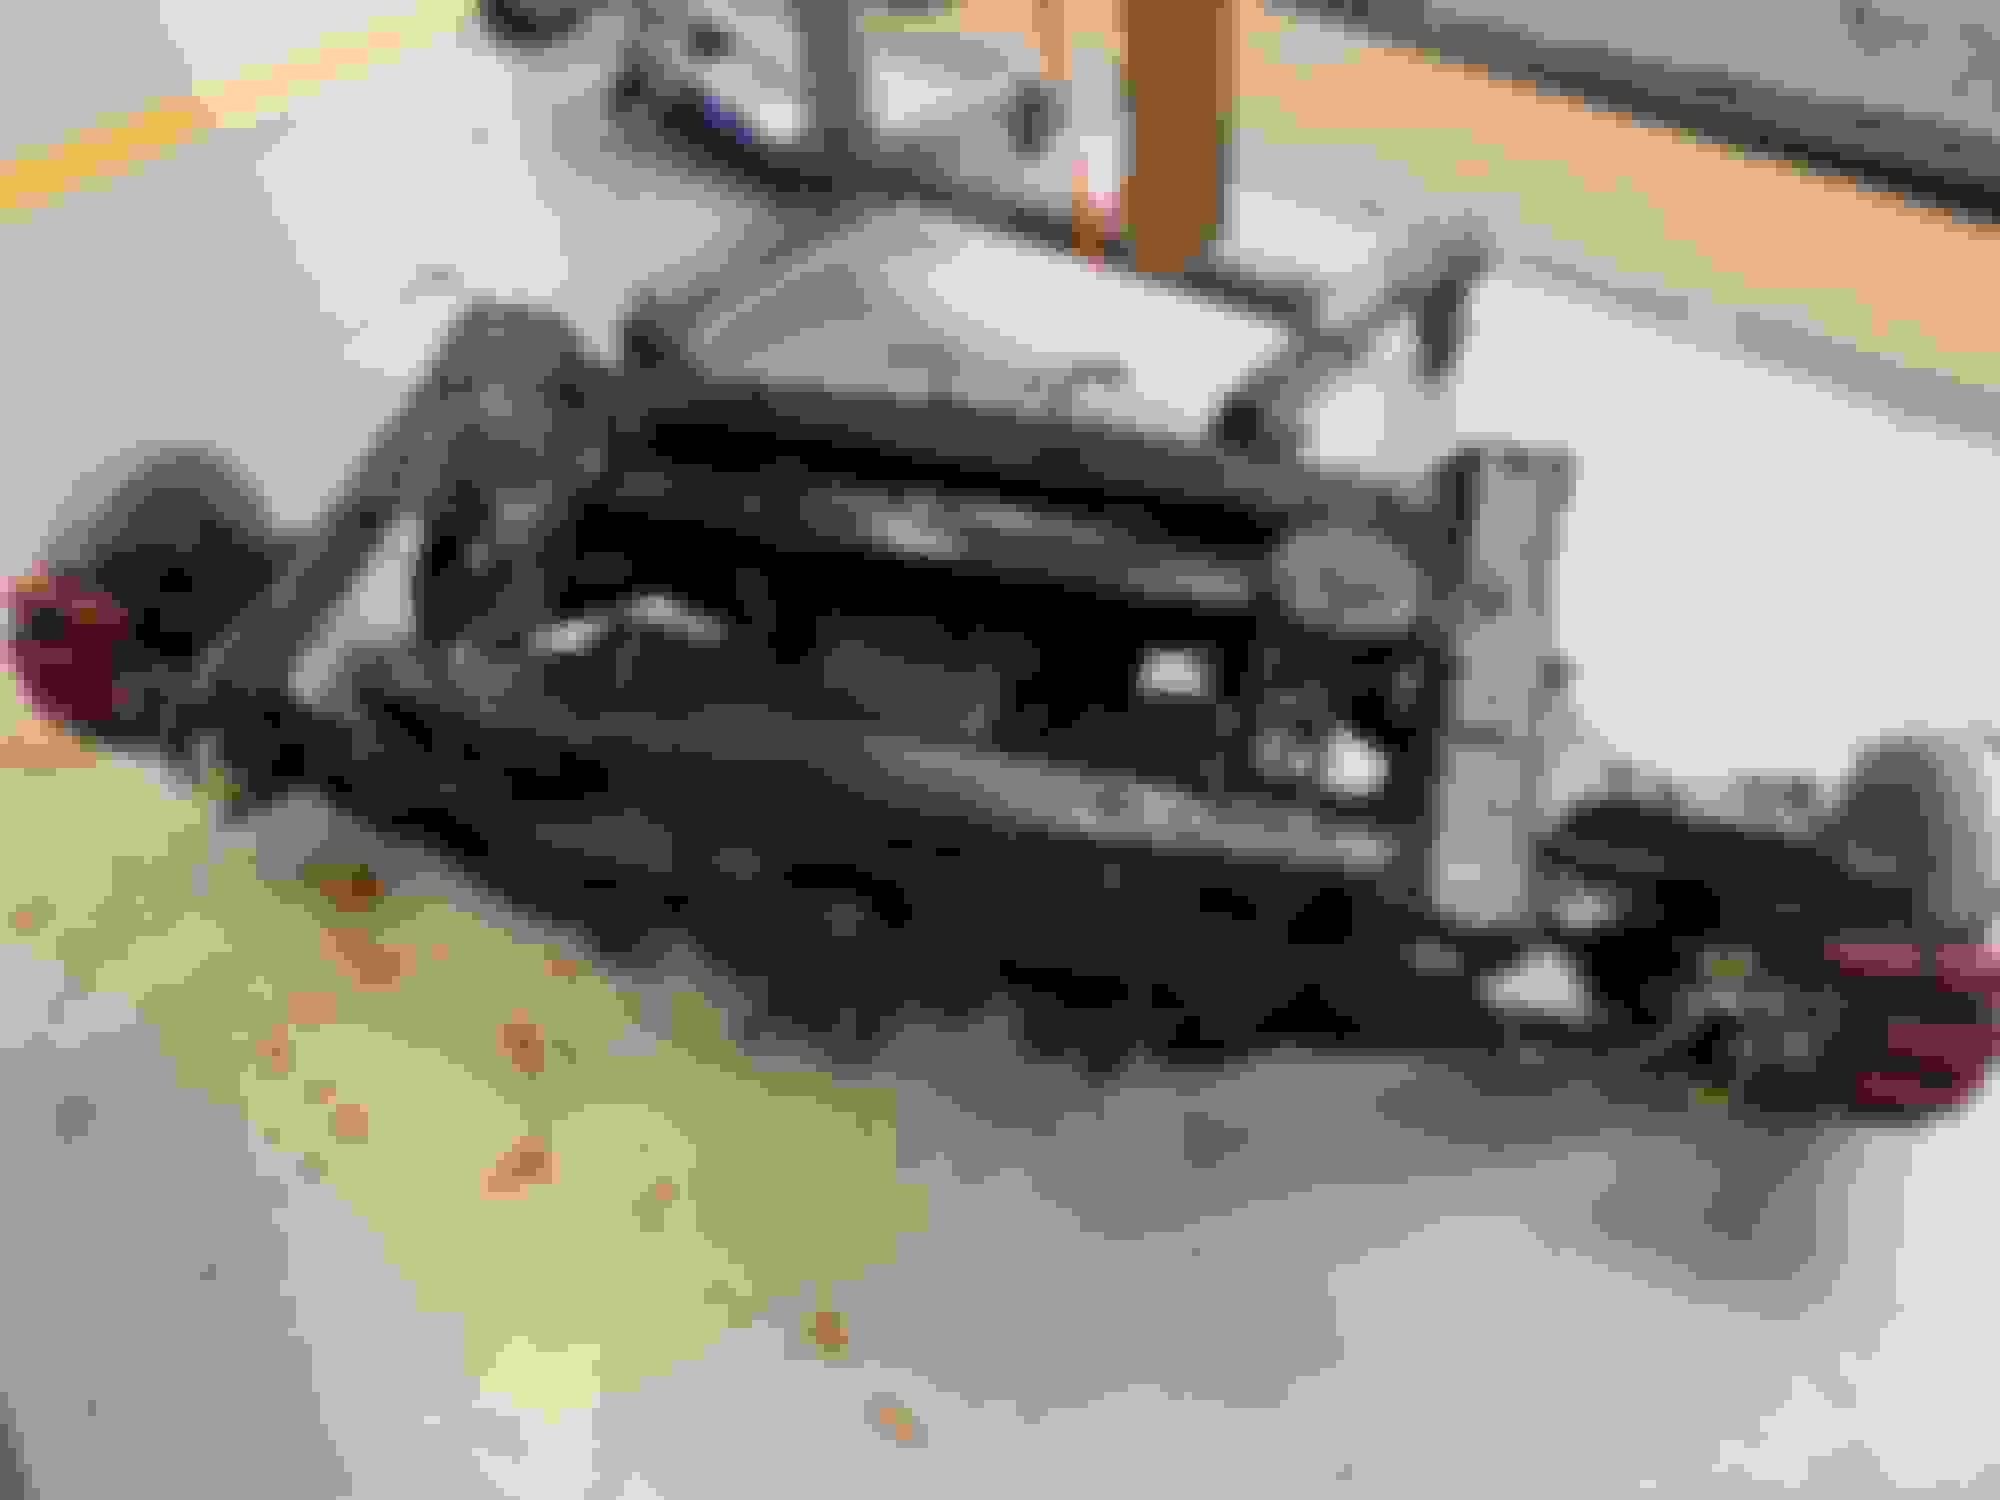
Opened the tank to remove old fuel pump. WOW! Full of rust and nastiness. Had to drop entire rear subframe and remove tank to clean it.


Scraped as much as I could and pressure washed the inside. I then filled it with a WD-40 rust dissolver. It’s loaded in the back of my truck and I’ll let it slosh around for a few days then pressure wash again.

Old 05-16-2019, 07:10 PM
  #35  
V8 Miata Enthusiast
Thread Starter
 
Gunpilot's Avatar
 
Join Date: Apr 2012
Location: Houston, Tx
Posts: 440
Received 67 Likes on 47 Posts
Default Front subframe

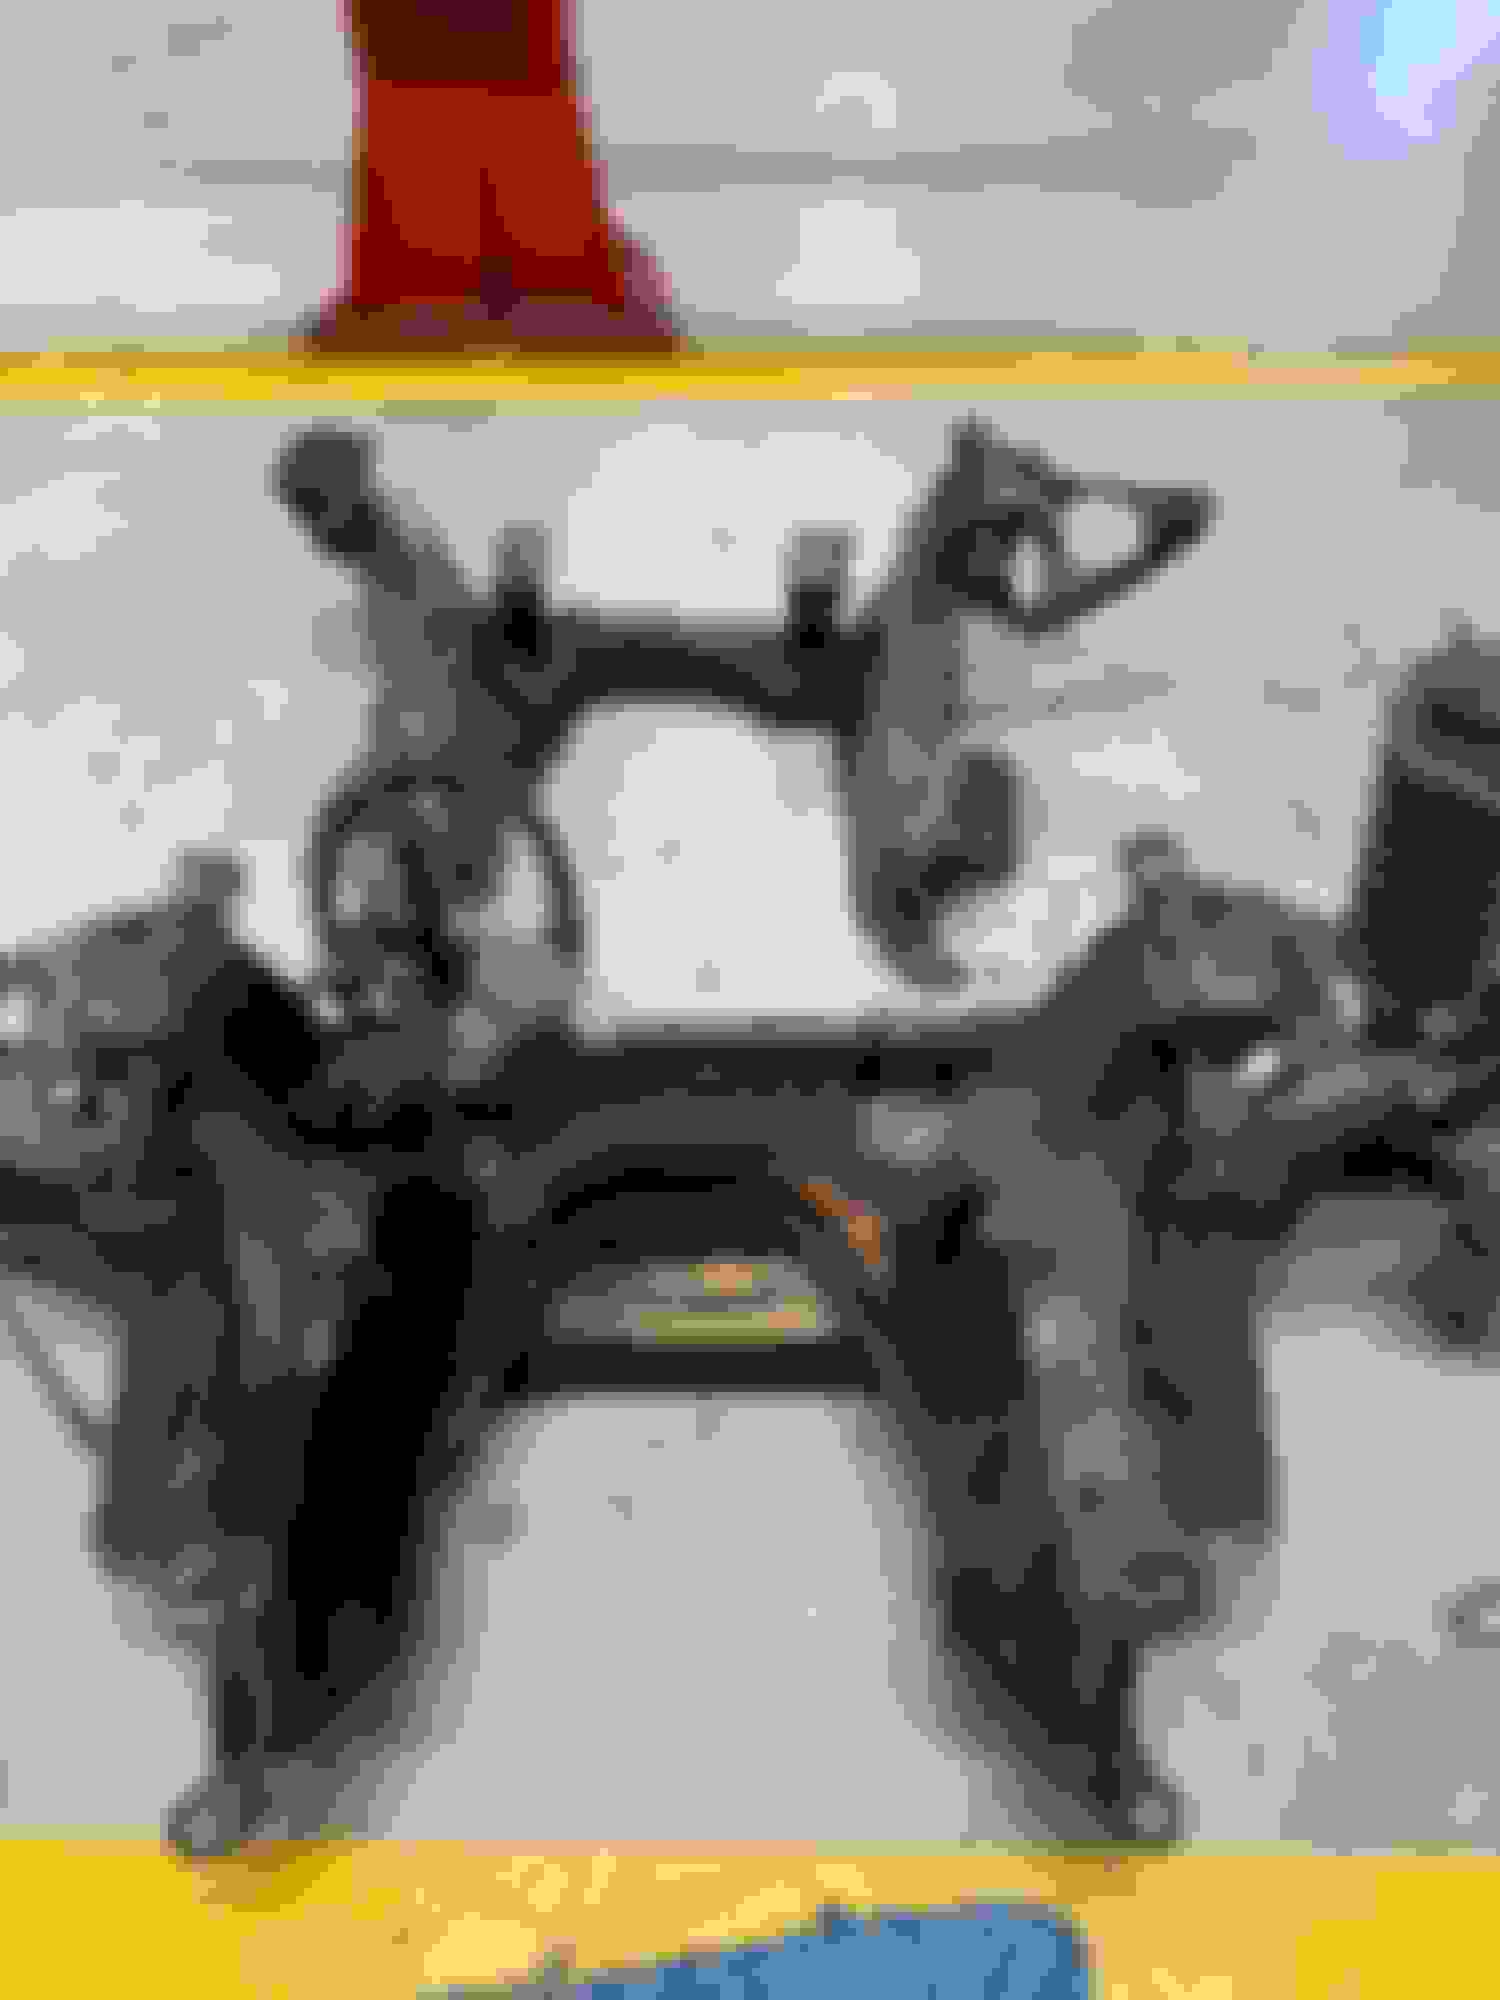
While the tank is soaking, tackled the front subframe. I had an old modified one that was damaged to use as a template. Looks like right side is boxed, and exhaust clearance was added to both sides. Lined them next to each other, made cut lines and broke out the plasma cutter. Welded it up (I’m not a great welder) and gave it some paint. I just need to determine spacing and height for engine mounts. I cut old ones out to reuse.


Old 05-18-2019, 07:09 PM
  #36  
V8 Miata Enthusiast
Thread Starter
 
Gunpilot's Avatar
 
Join Date: Apr 2012
Location: Houston, Tx
Posts: 440
Received 67 Likes on 47 Posts
Default Wiring

What a mess. Time to get to work. Think I have most of it sorted thanks to notes from topdownfun. It’s a 97 Miata and a 94 mustang. Using the CCRM so trying to incorporate that.

Old 05-18-2019, 07:10 PM
  #37  
V8 Miata Enthusiast
Thread Starter
 
Gunpilot's Avatar
 
Join Date: Apr 2012
Location: Houston, Tx
Posts: 440
Received 67 Likes on 47 Posts
Default Got the tranny rebuilt and painted

Tranny is ready to go!
Old 05-19-2019, 05:53 AM
  #38  
V8 Miata Fanatic
 
jrmotorsports55's Avatar
 
Join Date: Aug 2014
Location: Seven Hills, OH
Posts: 633
Received 15 Likes on 15 Posts
Default

Making good progress.
Old 06-01-2019, 09:23 PM
  #39  
V8 Miata Enthusiast
Thread Starter
 
Gunpilot's Avatar
 
Join Date: Apr 2012
Location: Houston, Tx
Posts: 440
Received 67 Likes on 47 Posts
Default Fuel system

Ran my first line. Fitting into the drain plug on bottom of tank fits great. Gonna mount pump and filter in trunk area.
The following users liked this post:
jrmotorsports55 (06-02-2019)
Old 06-02-2019, 09:31 PM
  #40  
V8 Miata Enthusiast
Thread Starter
 
Gunpilot's Avatar
 
Join Date: Apr 2012
Location: Houston, Tx
Posts: 440
Received 67 Likes on 47 Posts
Default Test fit

Initial test fit of modified subframe went well. I had doubts about fabricating and welding in engine mounts. I took my time and measured about a 100 times. Everything looks good. The slots in the engine tabs should give me good front and rear adjustments. Time to finish moc up and lower car over it for clearance and tras tunnel mods.
The following users liked this post:
jrmotorsports55 (06-03-2019)
Old 06-06-2019, 09:39 PM
  #41  
V8 Miata Enthusiast
Thread Starter
 
Gunpilot's Avatar
 
Join Date: Apr 2012
Location: Houston, Tx
Posts: 440
Received 67 Likes on 47 Posts
Default 3 steps back!!!!!

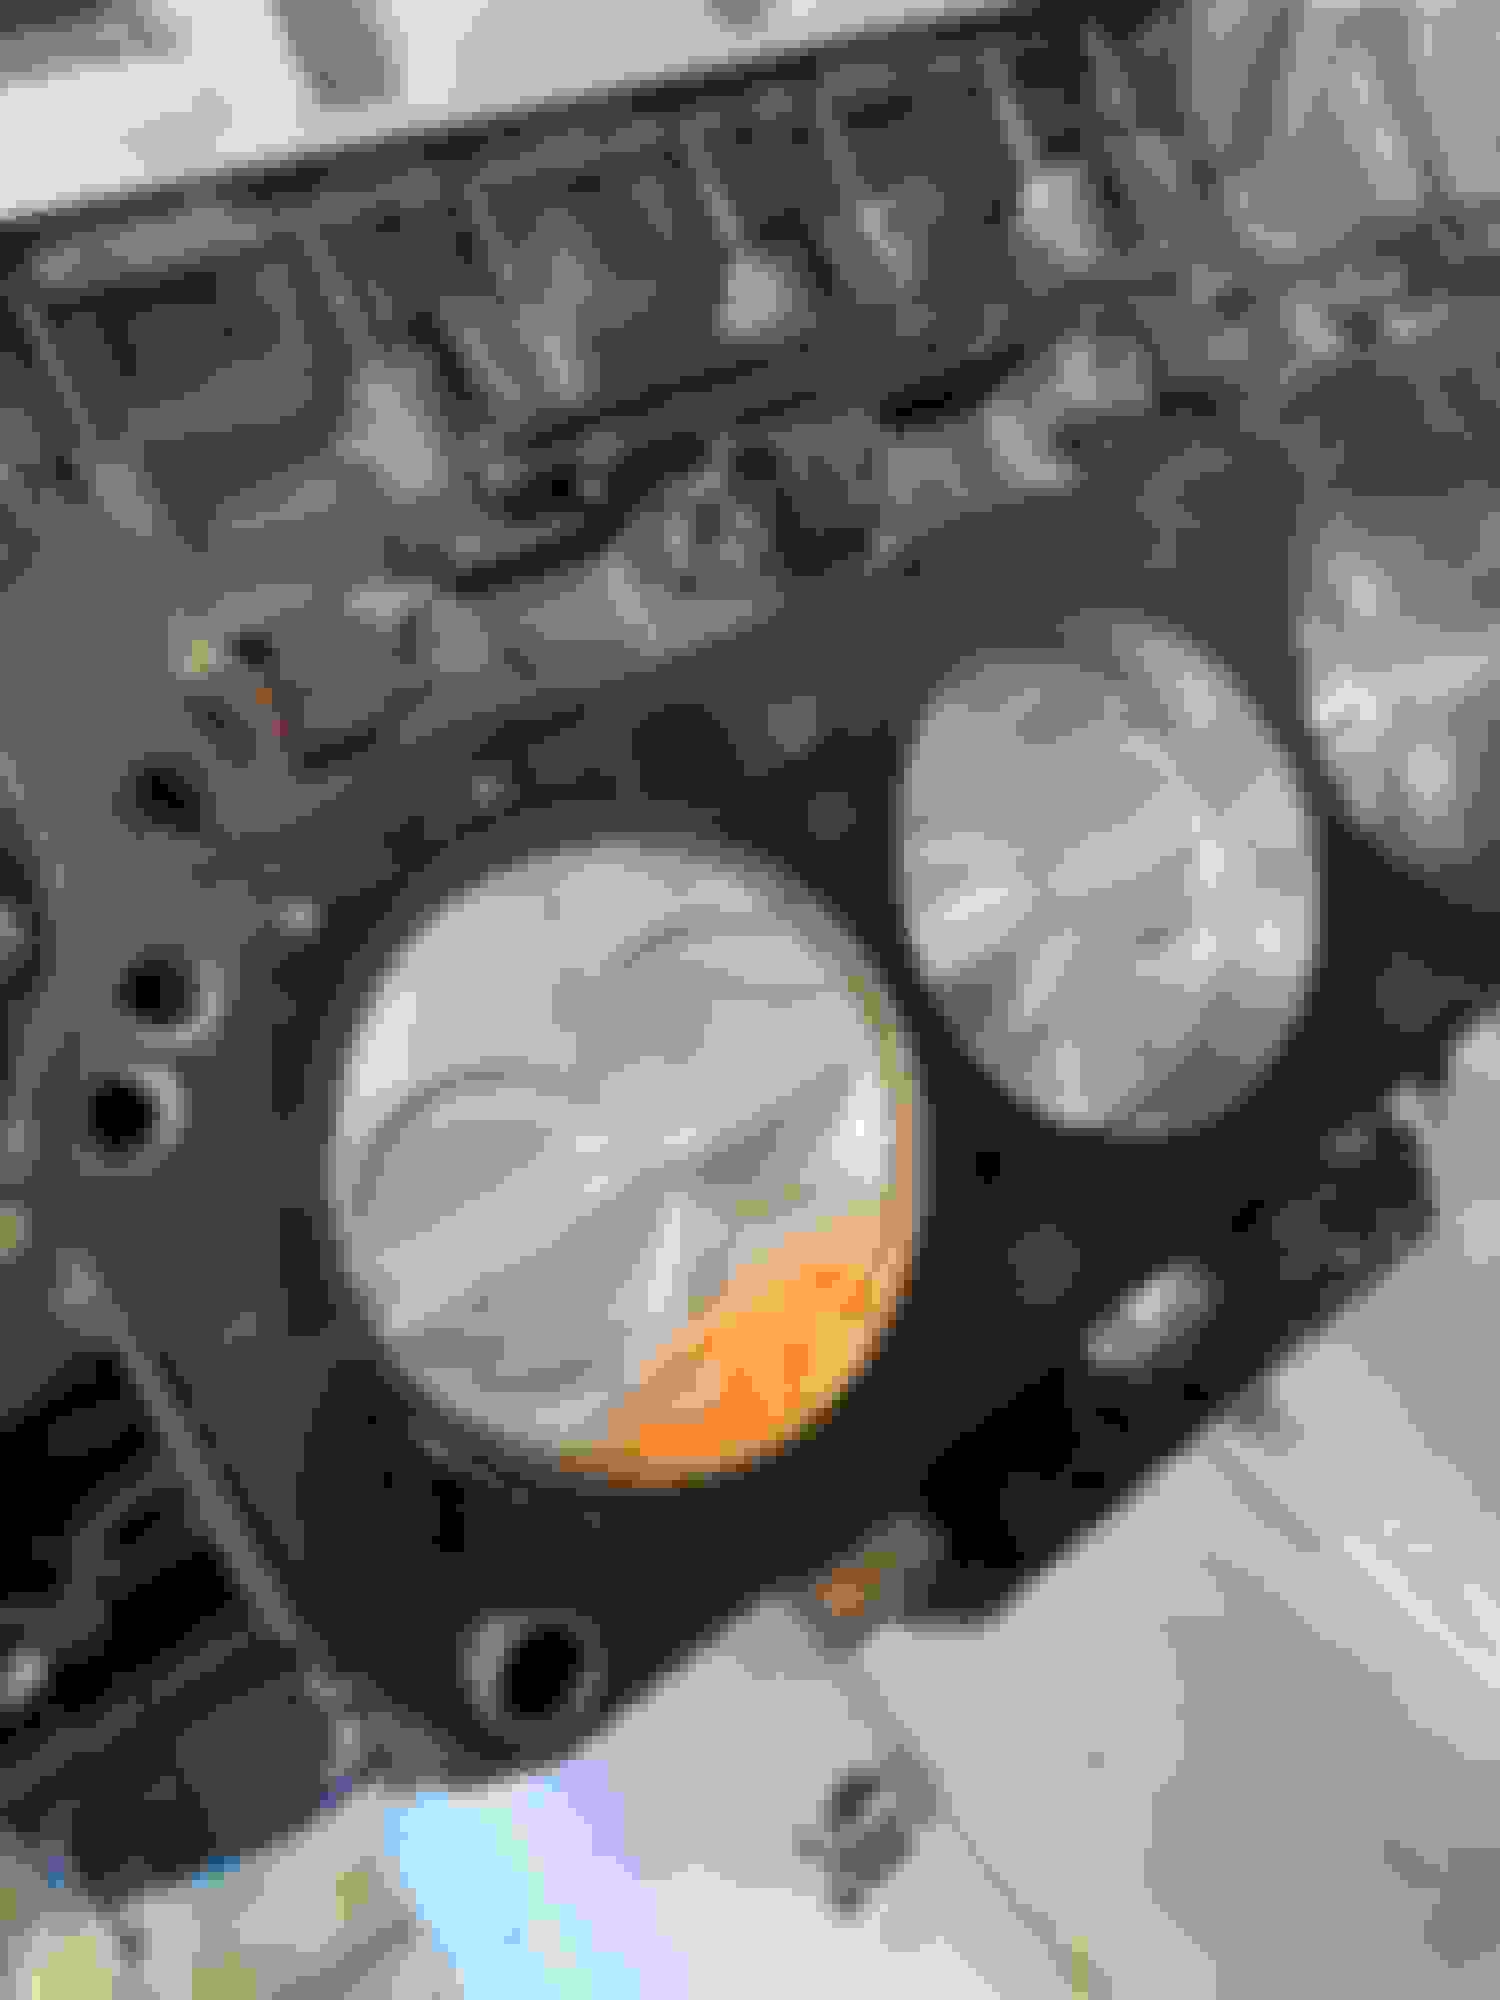
So I had everything in line to test fit the motor, but decided to time the distributor first. I am so glad I did. I could not get the motor to turn a full revolution. Something was causing it to bind. I know everything was good a month ago. Removed valve cover and loosened all rockers. Still binds. Must be crank hitting oil pan. Removed oil pan. All good. Only thing left was to remove manifold and heads. There was the issue. Apparently Mud Dobbers decides to fly down the the intake and make nests. The dirt was preventing the pistons from going full stroke. The engine was inside a shop, but apparently not covered well enough. Mother Nature got me! So now I’m practically rebuilding my motor. SOB!

Old 06-07-2019, 04:56 AM
  #42  
V8 Miata Fanatic
 
jrmotorsports55's Avatar
 
Join Date: Aug 2014
Location: Seven Hills, OH
Posts: 633
Received 15 Likes on 15 Posts
Default

Ugh, that sucks.
Old 06-07-2019, 02:03 PM
  #43  
V8 Miata Fanatic
 
ToySnakePMC's Avatar
 
Join Date: Oct 2012
Location: Fuquay Varina, NC
Posts: 550
Received 34 Likes on 32 Posts
Default

Man, never would have thought mud dobbers nest could do that! Glad you found it when you did..!
Old 06-07-2019, 10:53 PM
  #44  
V8 Miata Enthusiast
Thread Starter
 
Gunpilot's Avatar
 
Join Date: Apr 2012
Location: Houston, Tx
Posts: 440
Received 67 Likes on 47 Posts
Default

Dang things cost me 3 days and $50 in parts. Note to self, tape all holes on an engine that sits. I had it covered, but guess that’s not enough.
Old 06-08-2019, 05:21 PM
  #45  
V8 Miata Enthusiast
Thread Starter
 
Gunpilot's Avatar
 
Join Date: Apr 2012
Location: Houston, Tx
Posts: 440
Received 67 Likes on 47 Posts
Default

Let the fitment begin. Having a lift to lower it onto the subframe with engine and tranny already mounted helps.
Old 06-14-2019, 05:45 PM
  #46  
V8 Miata Enthusiast
Thread Starter
 
Gunpilot's Avatar
 
Join Date: Apr 2012
Location: Houston, Tx
Posts: 440
Received 67 Likes on 47 Posts
Default All fit in and bolted up

Got front subframe installed today. Tomorrow will be fitting hood and adding transmission brace. Then on to finish electrical and fuel lines.
The following users liked this post:
jrmotorsports55 (06-15-2019)
Old 06-14-2019, 08:28 PM
  #47  
V8 Miata Fanatic
 
MX-Brad's Avatar
 
Join Date: Mar 2014
Location: SW Ont.
Posts: 635
Received 37 Likes on 32 Posts
Default

You’re really making progress. Lookin’ good.
Is evap going to dtivers side? It’s a good idea, I’d like to move mine there so I have more room to box in the air filter to make a cold air intake.
Also, the lever on that rad cap will probably make contact with your hood. I had to use a regular flat top cap on mine.
Old 06-16-2019, 11:58 AM
  #48  
V8 Miata Enthusiast
Thread Starter
 
Gunpilot's Avatar
 
Join Date: Apr 2012
Location: Houston, Tx
Posts: 440
Received 67 Likes on 47 Posts
Default

Drivetrain is in!
Old 06-17-2019, 04:55 AM
  #49  
V8 Miata Fanatic
 
jrmotorsports55's Avatar
 
Join Date: Aug 2014
Location: Seven Hills, OH
Posts: 633
Received 15 Likes on 15 Posts
Default

Awesome!
Old 06-26-2019, 03:31 PM
  #50  
V8 Miata Enthusiast
Thread Starter
 
Gunpilot's Avatar
 
Join Date: Apr 2012
Location: Houston, Tx
Posts: 440
Received 67 Likes on 47 Posts
Default Radiator is in

Condenser, radiator, and fans are in. Found some radiator hoses that fit. Getting so close. I have some power steering connections on the way so I can fab my own AN6 lines. I will hopefully get those soon so I can try to start it up this weekend.
The following users liked this post:
ToySnakePMC (07-03-2019)


You have already rated this thread Rating: Thread Rating: 0 votes,  average.

Quick Reply: Well, I'm back in the game!! New mild 302 street build


All times are GMT -5. The time now is 11:09 PM.