When you click on links to various merchants on this site and make a purchase, this can result in this site earning a commission. Affiliate programs and affiliations include, but are not limited to, the eBay Partner Network.
Another long overdue update - making progress in fits and starts. This week had a banner milestone - I finally sold the 1983 GL 5.0L that I initially thought I was good to steal the driveline out of. Glad I didn't as the new couple that owns it really likes it. Now, one less barrier and time-sink between me and a V8 Miata.
Back in February two of my buddies came over and we pulled everything - engine, trans, front and rear subframes. Hitched up Out it comes Lift the engine and roll the car away.
I cut out the rear corners, made templates, and welded in steel covers. I also made a template, cut an oval out of steel, and welded a cover over the holes in the firewall where the air conditioning tubes would go. No more AC in this baby! 2-piece templates Driver side Passenger side Driver welded in Passenger welded in Both sides welded & cover for air conditioning tubes Air conditioning fire-wall cover template
After re-painting the area and thoroughly cleaning the transmission tunnel, it was time to address heat rejection. I had previously acquired Lizard Skin heat formula, and added in some additional glass beads for good measure (more is better, right?). This made it pretty paste-like (no surprise), so I applied it with a scraper and disposable brush. Not the best method to keep it attractive or uniform thickness, but functional. I went all the way down the sides and "roof" of the firewall. Lizard skin with additional reinforcement. Trans tunnel coated Firewall coated
Then it was more paint, and Summit Racing-brand fiberglass-baked reflective covering. It was adhesive-backed but I also added a few rivets for good measure.
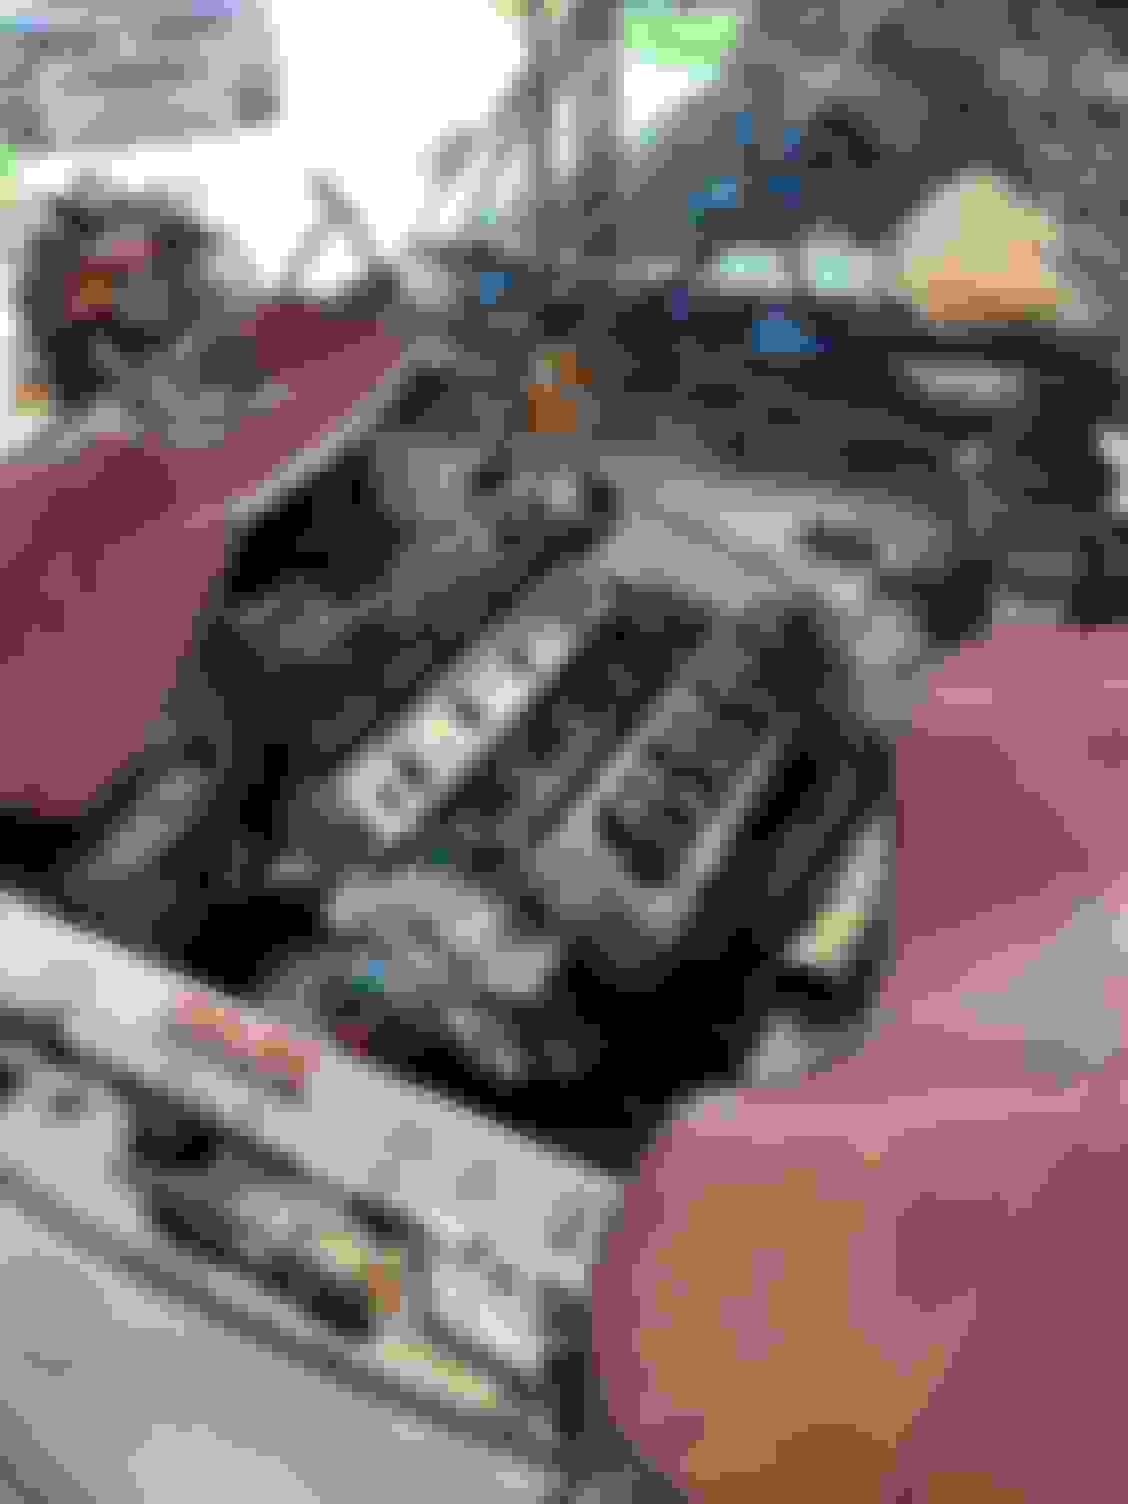
I also started working on the engine mounts on the V8-Roadsters tubular subframe. You will notice that the rubber engine mount on the driver side (sourced from an '70s Dodge truck) is much lower. I did that to remove interference with the steering shaft joint. Now I see why people move the engine to the passenger side.... We installed the subframe and lowered the engine in to figure everything out and take measurements. As you folks have found, a V8 fits!!! Pretty crazy.... That's pretty much how it looks now. Time to get crackin' again! Firewall and tunnel reflective coated Tubular subframe with SBF engine mounts It fits!!!
Updates on progress - the engine and transmission are in!
Well, I have finally had some time to work on the Miata again. I will provide some updates.
First, I found that I could get enough clearance to go with a "stock" oil pan and clear the steering rack (I think my engine may end up a bit farther forward than some, but the shorter SN95 accessory drive helps me). I took a stock pan and from pictures cut out and welded in a crank scraper and anti-slosh baffles. Hopefully that is enough for decent oil control. Oil pan with cut out parts All welded in
In June I took care of the fuel system - DW pump with their remote relay kit (direct wired to battery). I pulled the old pump and cut off the stock pressure regulator. That allowed me to use the return again. I then swapped the fittings from the "pressure" line to the "return" side, as I am going to use the stock hard line as the fuel return. Then I am running a new AN line from the pump (via the bulkhead) to the throttle body. I replaced the stock fuel filter with a filter with AN fittings. Earls fitting adapting the hard line to AN noted. Seems to work fine. Glad to see the gas tank was perfectly clean when I opened it up!! Earls fittings Clean gas tank New pump and new fuel level sender Stock pressure regulator removed
Next up was the clutch. I lifted the engine back up and installed the clutch (which I had bought as a McLeod kit with a Ford Racing flywheel). Then I dropped it back in and started working on the bellhousing. Taking inspiration from several slave cylinder designs, I used a piece of angle, bolted it through the bellhousing with a back-up plate, and then welded in a support that bolts to the T5. I noted before installing the brace that the slave wanted to move around a bit just bolted to the angle. I also used a Toyota truck master cylinder. With some adjustment to the mount hole spacing, I could get it to line up with the stock studs. I opened up the hole in the firewall just a bit, but fortunately it fit into the bracket behind the firewall without additional cutting. I used a flexible stainless / teflon hose from the MC to the slave. It's a lot longer than it needs to be since it is reaching to the driver side and not the passenger side of the transmission. Clutch kit installed. Toyota clutch MC Re-drilled mount holes. Lower hole has been enlarged MC through the firewall and pushrod re-installed to clevis. From the engine compartment with flexible line
I built this to cradle the T5 during installation. Basically a cheap transmission lift. Also worked out well when my son's new (to him) BRZ clutch quit working. Another week spent working on a car other than the Miata.... Wood carrier bolted to jack. Eyes for strap.
I finally got the rebuilt 8.8 bolted into the rear subframe, and the assembly back in the car. That was a milestone! Differential bolted into subframe Back in the car from the rear Back in the car from the front
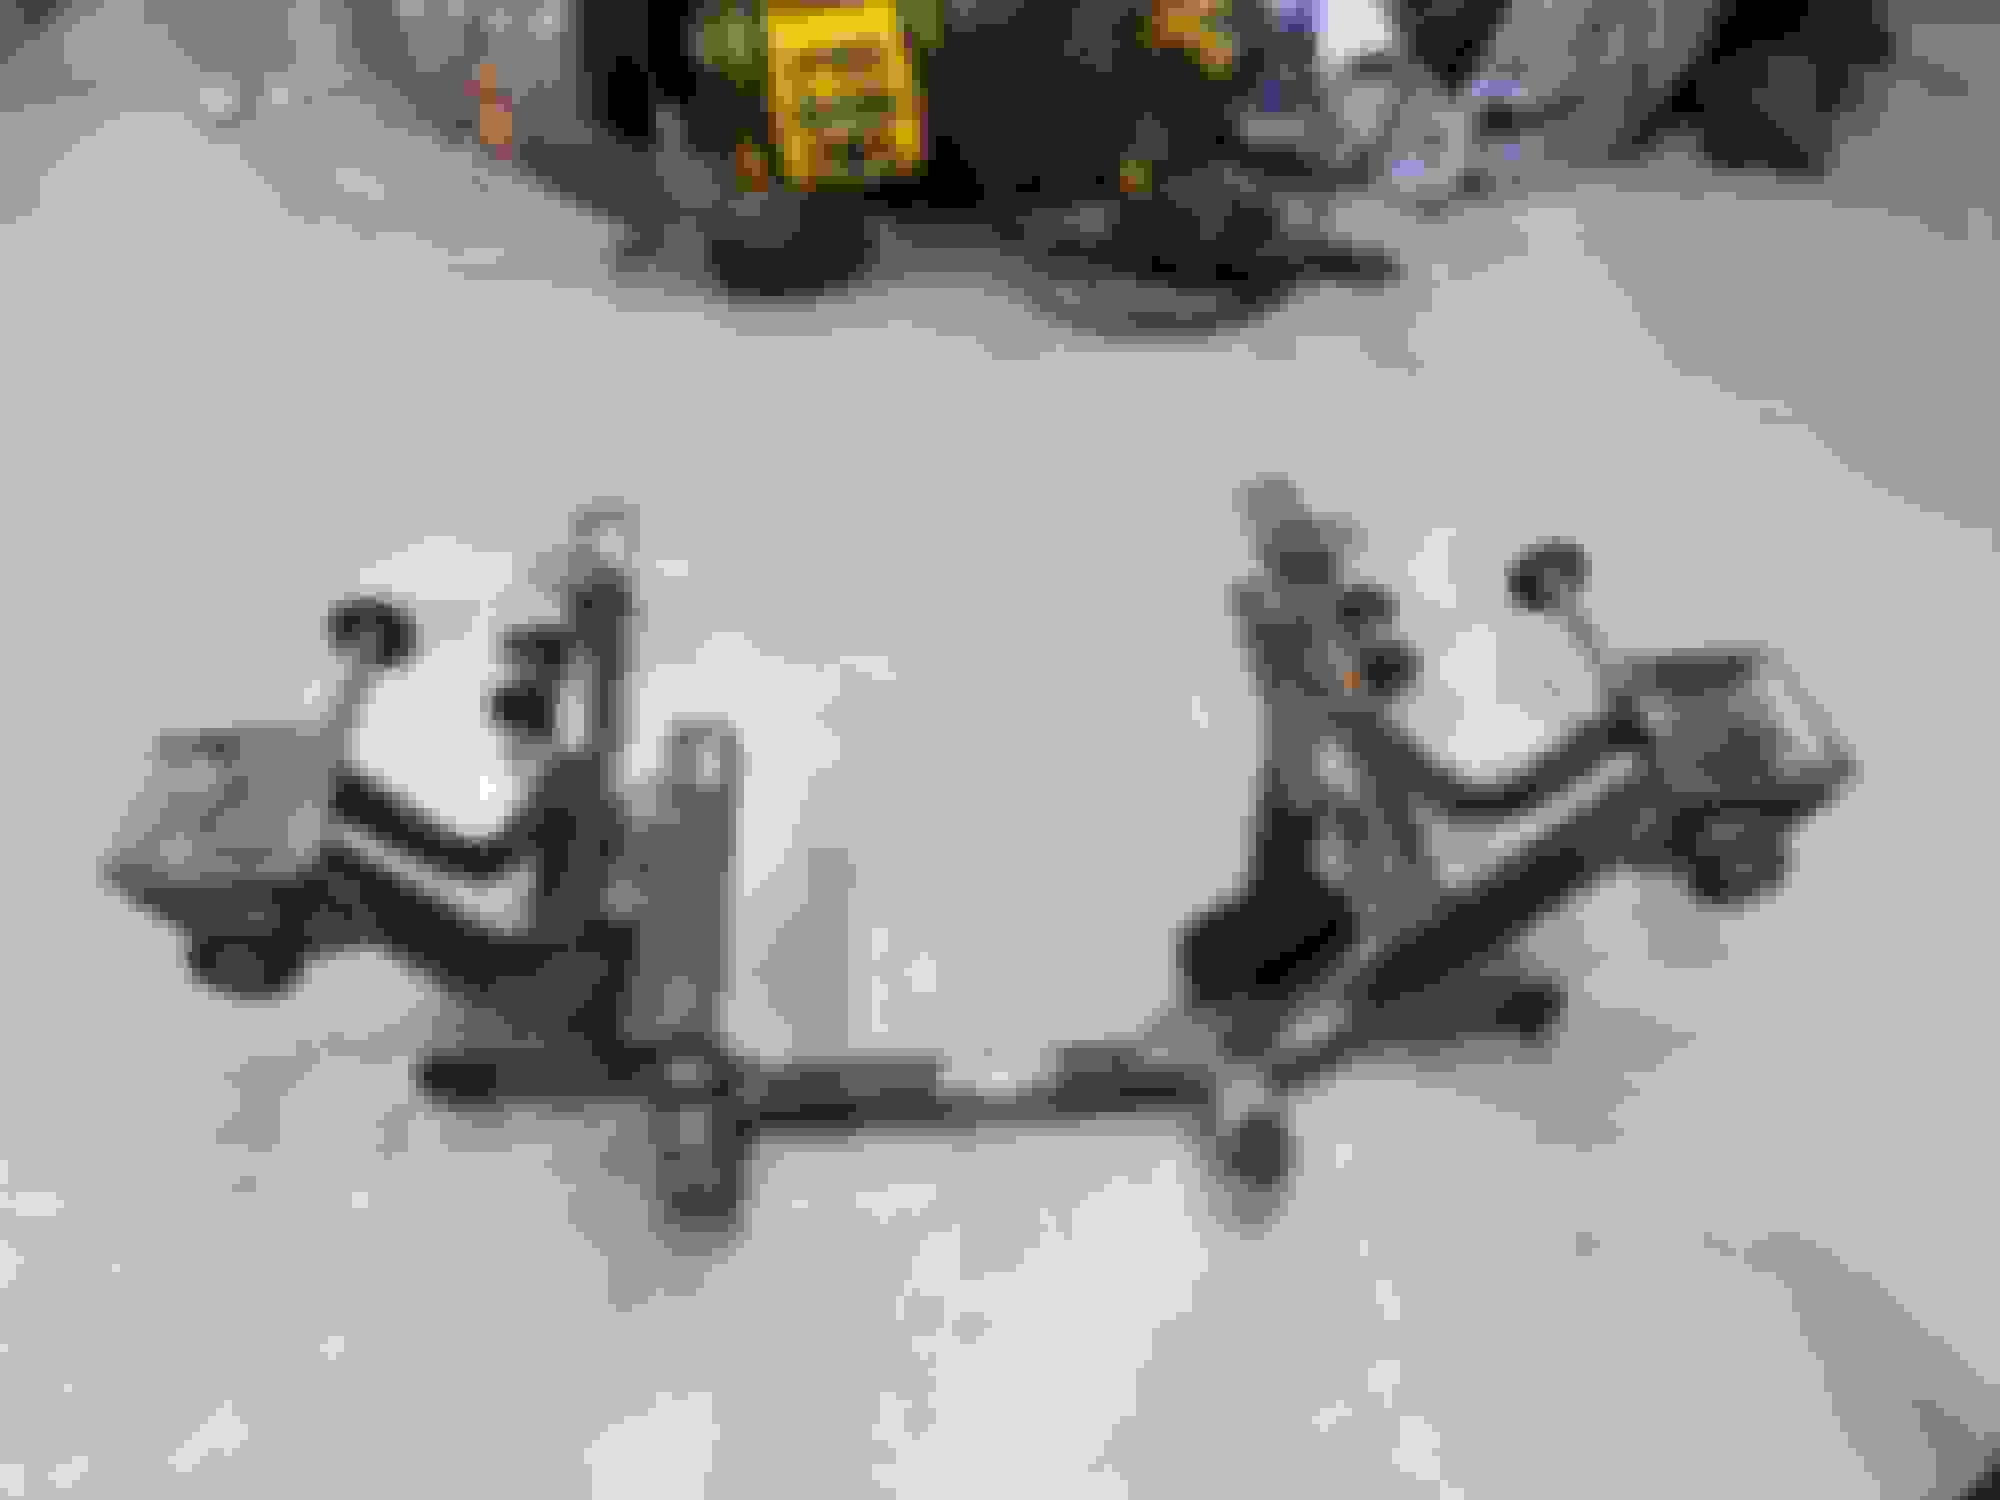
After looking at a lot of pictures, I had hopes that Tri-Y headers would fit, since I am using a tubular front subframe (V8 Roadsters). I bought a pair from JBA as I liked the "Y" junctions they use. I thought these might be a good compromise between shortie and full-length headers given our tight confines. No go. On the driver side they would hit the steering shaft and on the passenger side, which I thought would be easy (I did not offset the engine to that side), it hit the "tubular" subframe (see circle in picture). It also hit the floorboard. In other words, they were not long enough / did not hang low enough. Bummer. Summit Racing was kind enough to take them back unused. JBA Tri-Y Both manifolds
Most recently I have tackled the T5 mount. I have seen a lot of designs and weighed pros and cons of each. I ended up with a design that will direct the exhaust pipes over the mount, so they will never drag. It is solid - it is a 1" X 2" tube that bolts to the frame rails on both sides, and has a brace on each side to the transmission tunnel. I liked how the Vorshlag mount bolts to the transmission tunnel and does not get in the way of the exhaust pipes. That said, I wondered about the long-term strength of the transmission tunnel and noted that most mounts bolt / weld to the frame rails. So I did both. The T5 sits on a standard poly transmission mount. Before paint top Before paint side Painted and installed from the front Painted and installed from the rear
I also measured up for and purchased a custom driveshaft from Henderson Driveline near Grafton, OH. Great folks to work with!! Glad I saved the Thunderbird driveshaft since they ended up re-using the old yoke to mate to the differential. I have another design of header on the way (trying shorties this time), and will start working on the exhaust system next. I wired the starter in the meantime while I had plenty of room to work on it.
I almost forgot! Once I got the T5 fully mounted, with the Summit Racing shifter on top, I went to work on a shift handle adapter. Revision 1 used the "Tri-Ax" handle. That didn't work (too much interference with the center console cover). So I did a from-scratch handle starting with flat stock, with a brace welded to the back, and two M12-1.75 bolts welded together (since that is the thread for my shift ****). Once I get the seat back in we'll see how the reach is, but hopefully it falls easily to hand. Also used some aluminum backed insulation to close up that big hole in the transmission tunnel. I ended up re-using the factory shifter cover from below to hold everything in place. Re-use Miata shifter cover with extended bolts and insulation-backed aluminum