When you click on links to various merchants on this site and make a purchase, this can result in this site earning a commission. Affiliate programs and affiliations include, but are not limited to, the eBay Partner Network.
Oh, and I'm sorry about the broken pictures. Freakin' Photobucket decided to cut off linking to 3rd party sites and try to charge $400/year for that feature after it being free for as long as I can remember. Bastards.
I will get it fixed once I get my pics downloaded.
Close on the new place this Friday. The shop has been too far for me to use for months now. But the car is there waiting. The plan is still to dedicate 2018 to get it done. I downloaded all my photobucket pics. I will get all the links fixed as soon as I can.
YAY! I have finally taken care of all the broken pictures. The thread is back to complete in preparation for next year when I actually get back on this project.
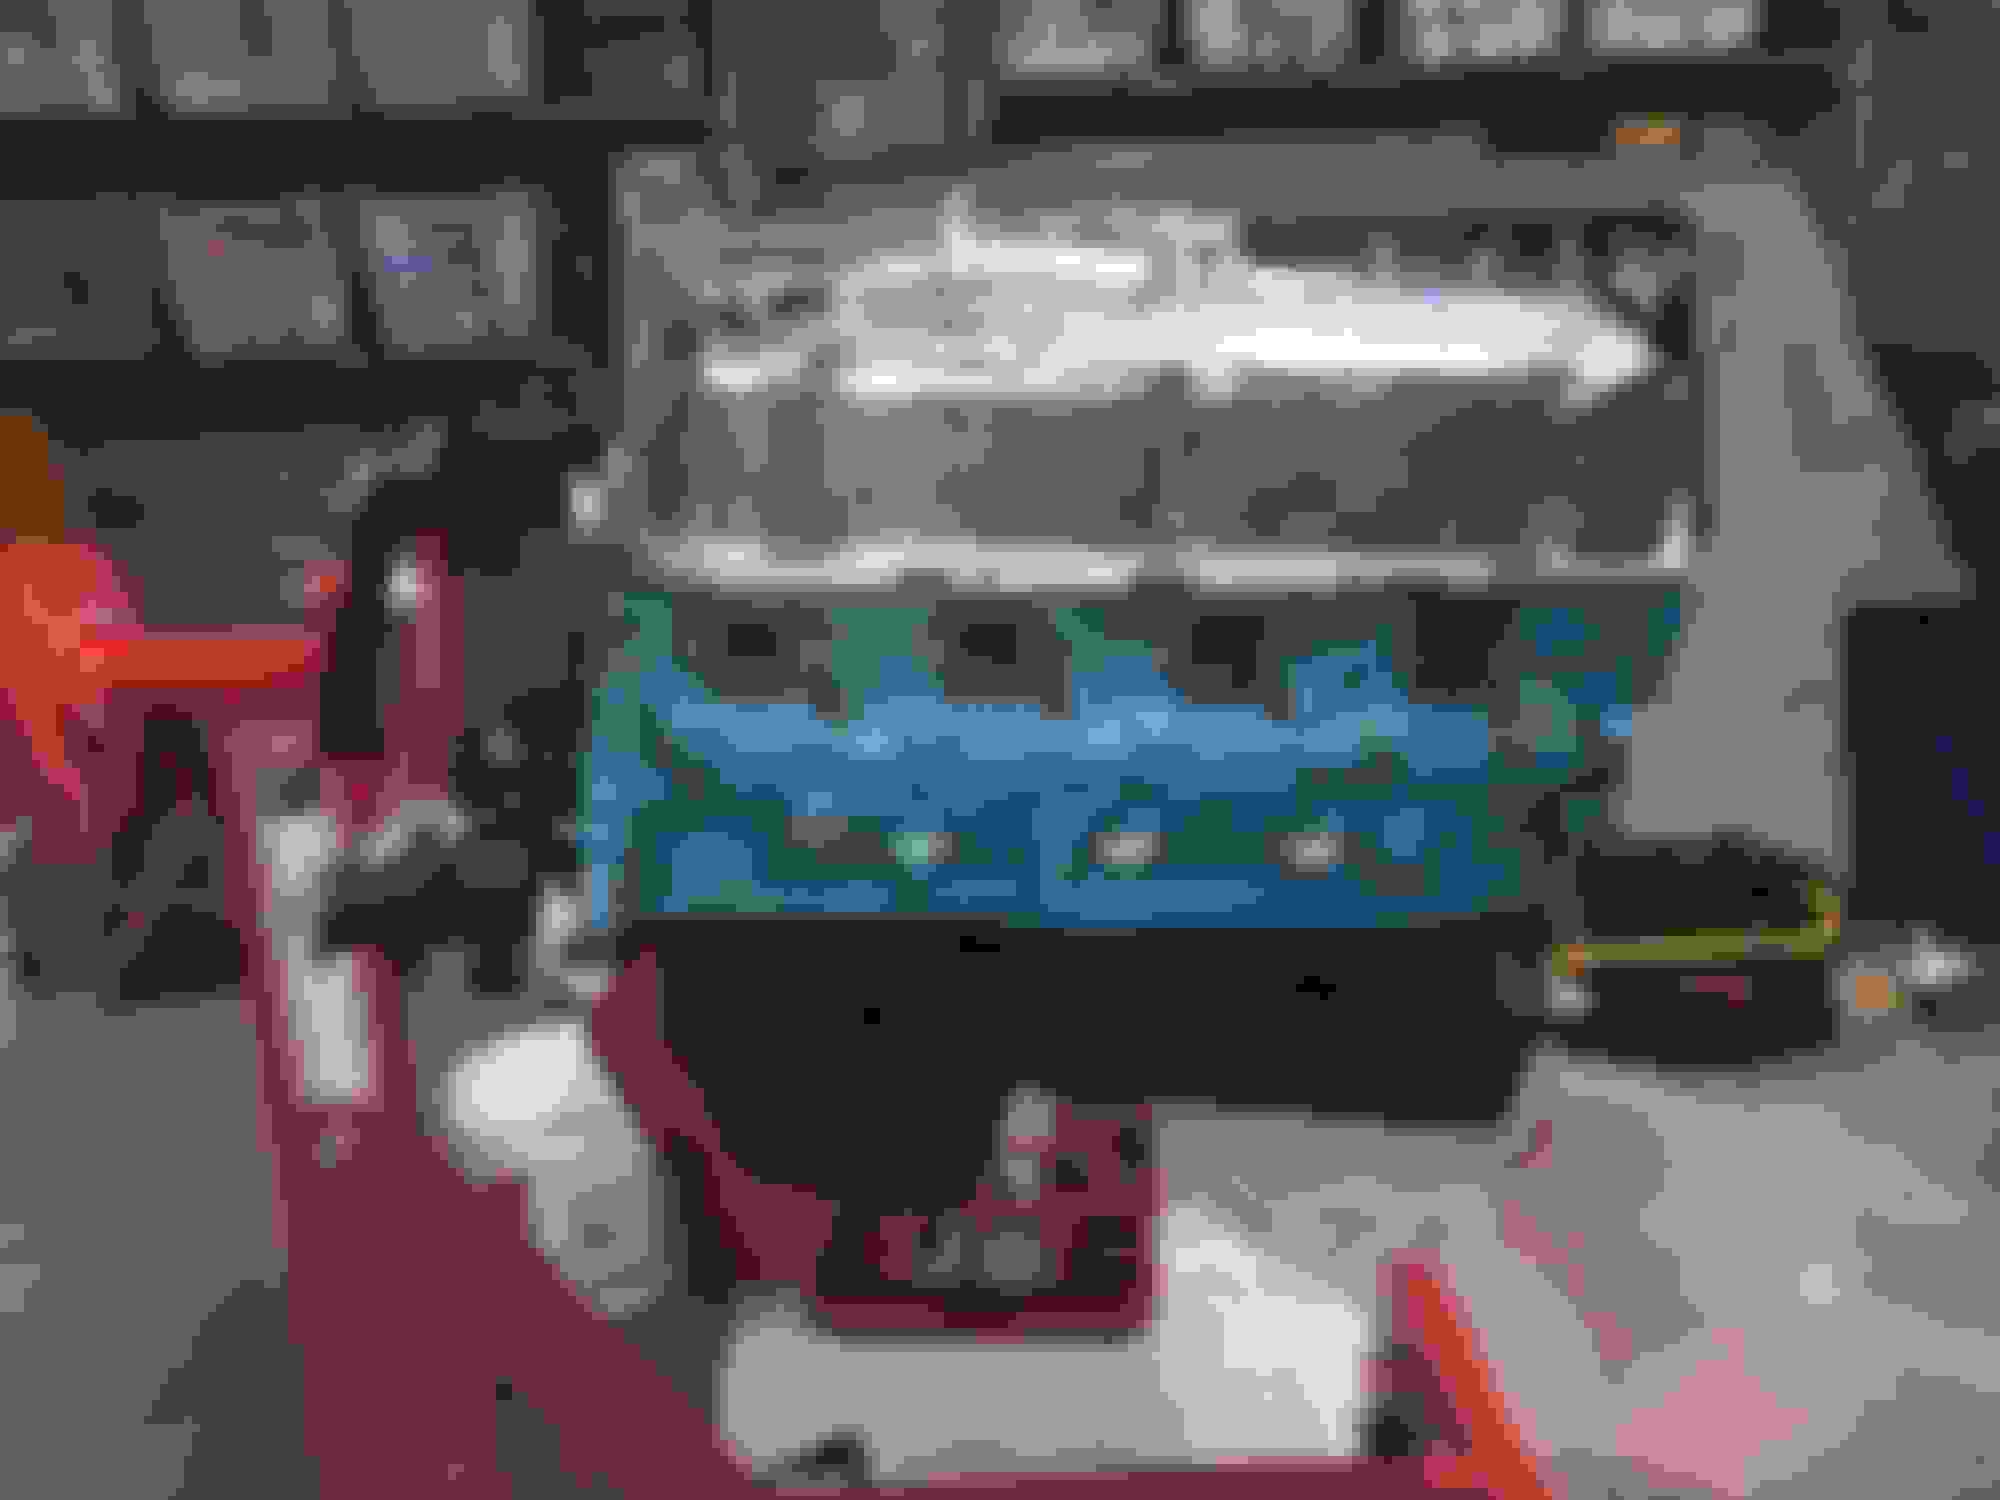
Well, well .... life has been full of surprises the last couple years and has really thrown a wrench in my plans for this car (and other projects). But, progress is moving forward, finally. I have setup a temporary shop in my little garage while I wait for construction of the new shop and garage addition to my house. For now, with the space restrictions, I figure it is a good time to get the engine together and possibly put it on a test stand and run it. I have been going back and forth about whether I should upgrade it with fuel injection and such, but I have decided that it will stay the way it is. Just clean it up, paint it and dress it up a bit. It is a solid engine and it will give me a good amount of power to get a good feel for the car when completed. I most likely will replace it in the future, but for now, let's just move forward.
Here are some pics as it sits.
I am really looking forward to being back in the shop on a regular basis and the fact that the shop will finally be on my property will really make a difference. The only problem at the moment was all the rain that we have had here in Greenville this year. All the construction is way behind. My project is supposed to be done by now and hasn't even started. Current start is the first week of July. But we'll see if that actually happens. For now, I'll do what I can.
Got started on the engine over the last couple weeks.
It took me many many runs at cleaning this engine. I took the intake off and plugged all the openings. I used simple green and many rounds of mineral spirits. I then went a little over the top and went over the entire block and worked all the surfaces with an assortment of carbide burrs to remove all the knife edges that were left from the original casting. Cleaned again, taped again and primed 3 times.
After letting the primer harden for 24 hours, I ran over it all with an abrasive pad. For two reasons, to remove any fuzz from the crappy rags I used to clean the block and to see if anything actually rubbed off from contaminates still on the block. I was really happy that the majority of the primer held strong. The only issues I had was not from leftover dirt, grease or oil, it was from the silicone sealant I used years ago when replacing the freeze plugs. Apparently paint doesn't stick to that at all. So I got out the picks and little dremel wire wheel and cleaned it all away. Reprimed and ready for paint.
I thought a lot about what color I was going to go with. My original plan was to paint the car some version of a dark green. I love green. But I want to use the carbon fiber hood and trunk lid to create some cool racing stripes and thought they would get lost in the dark color. So, I have decided to go with a burgundy or darker read. So, with that in mind, I went with Red Fire for the engine. It is better than I even thought it would be.
This was one coat. I was thinking, ok, not bad. But it got so much better.
Two more coats and it looks great.
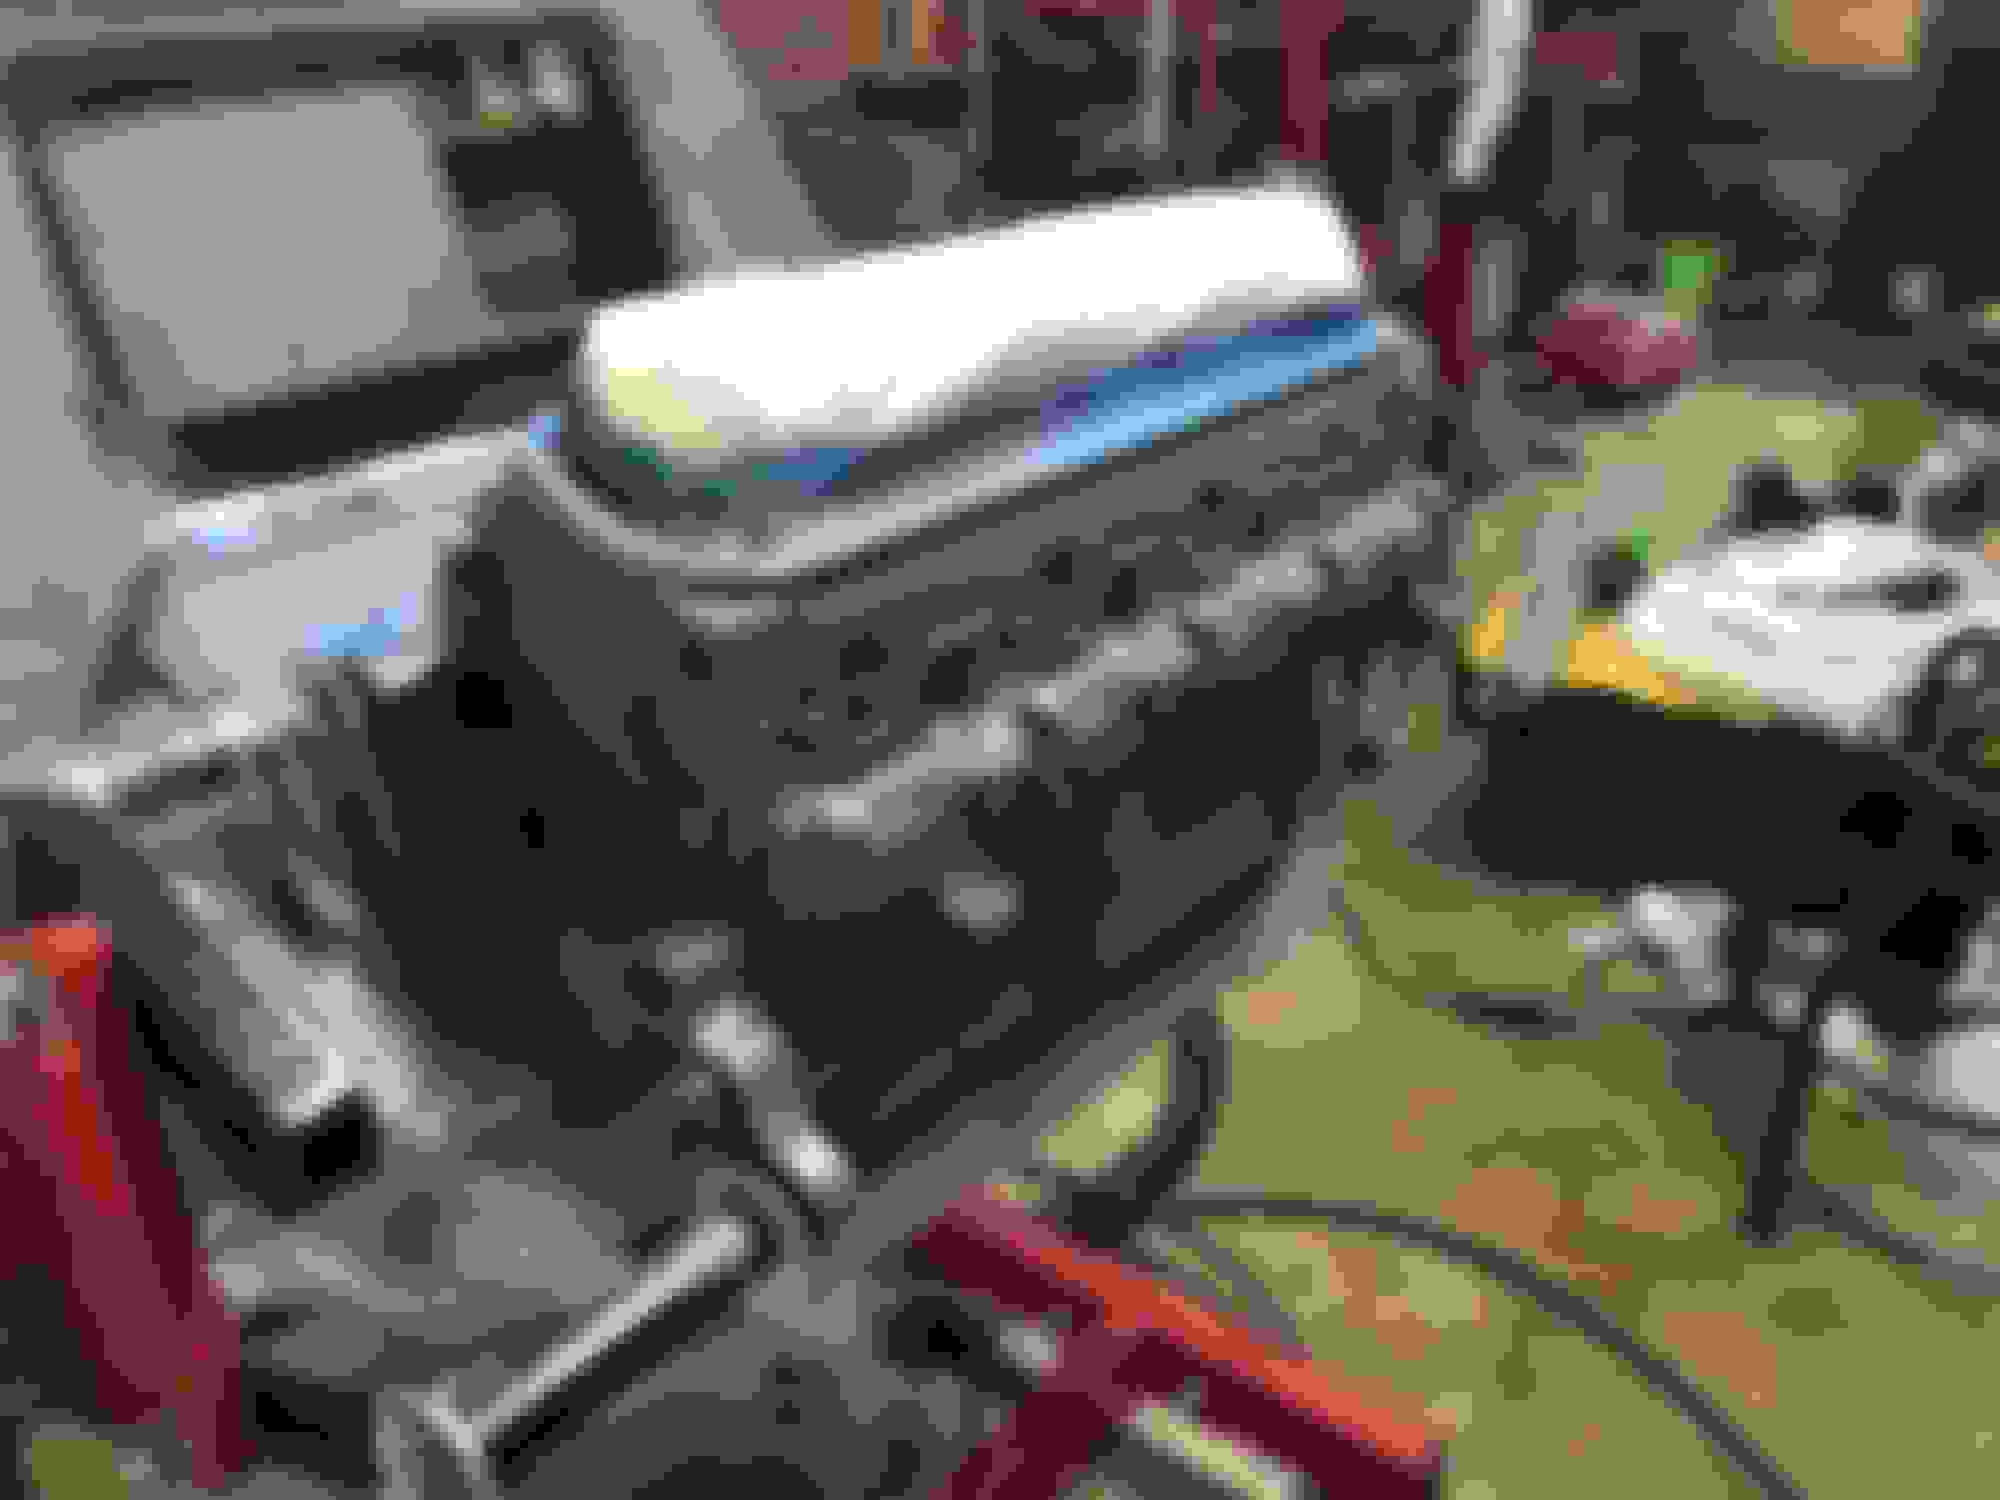
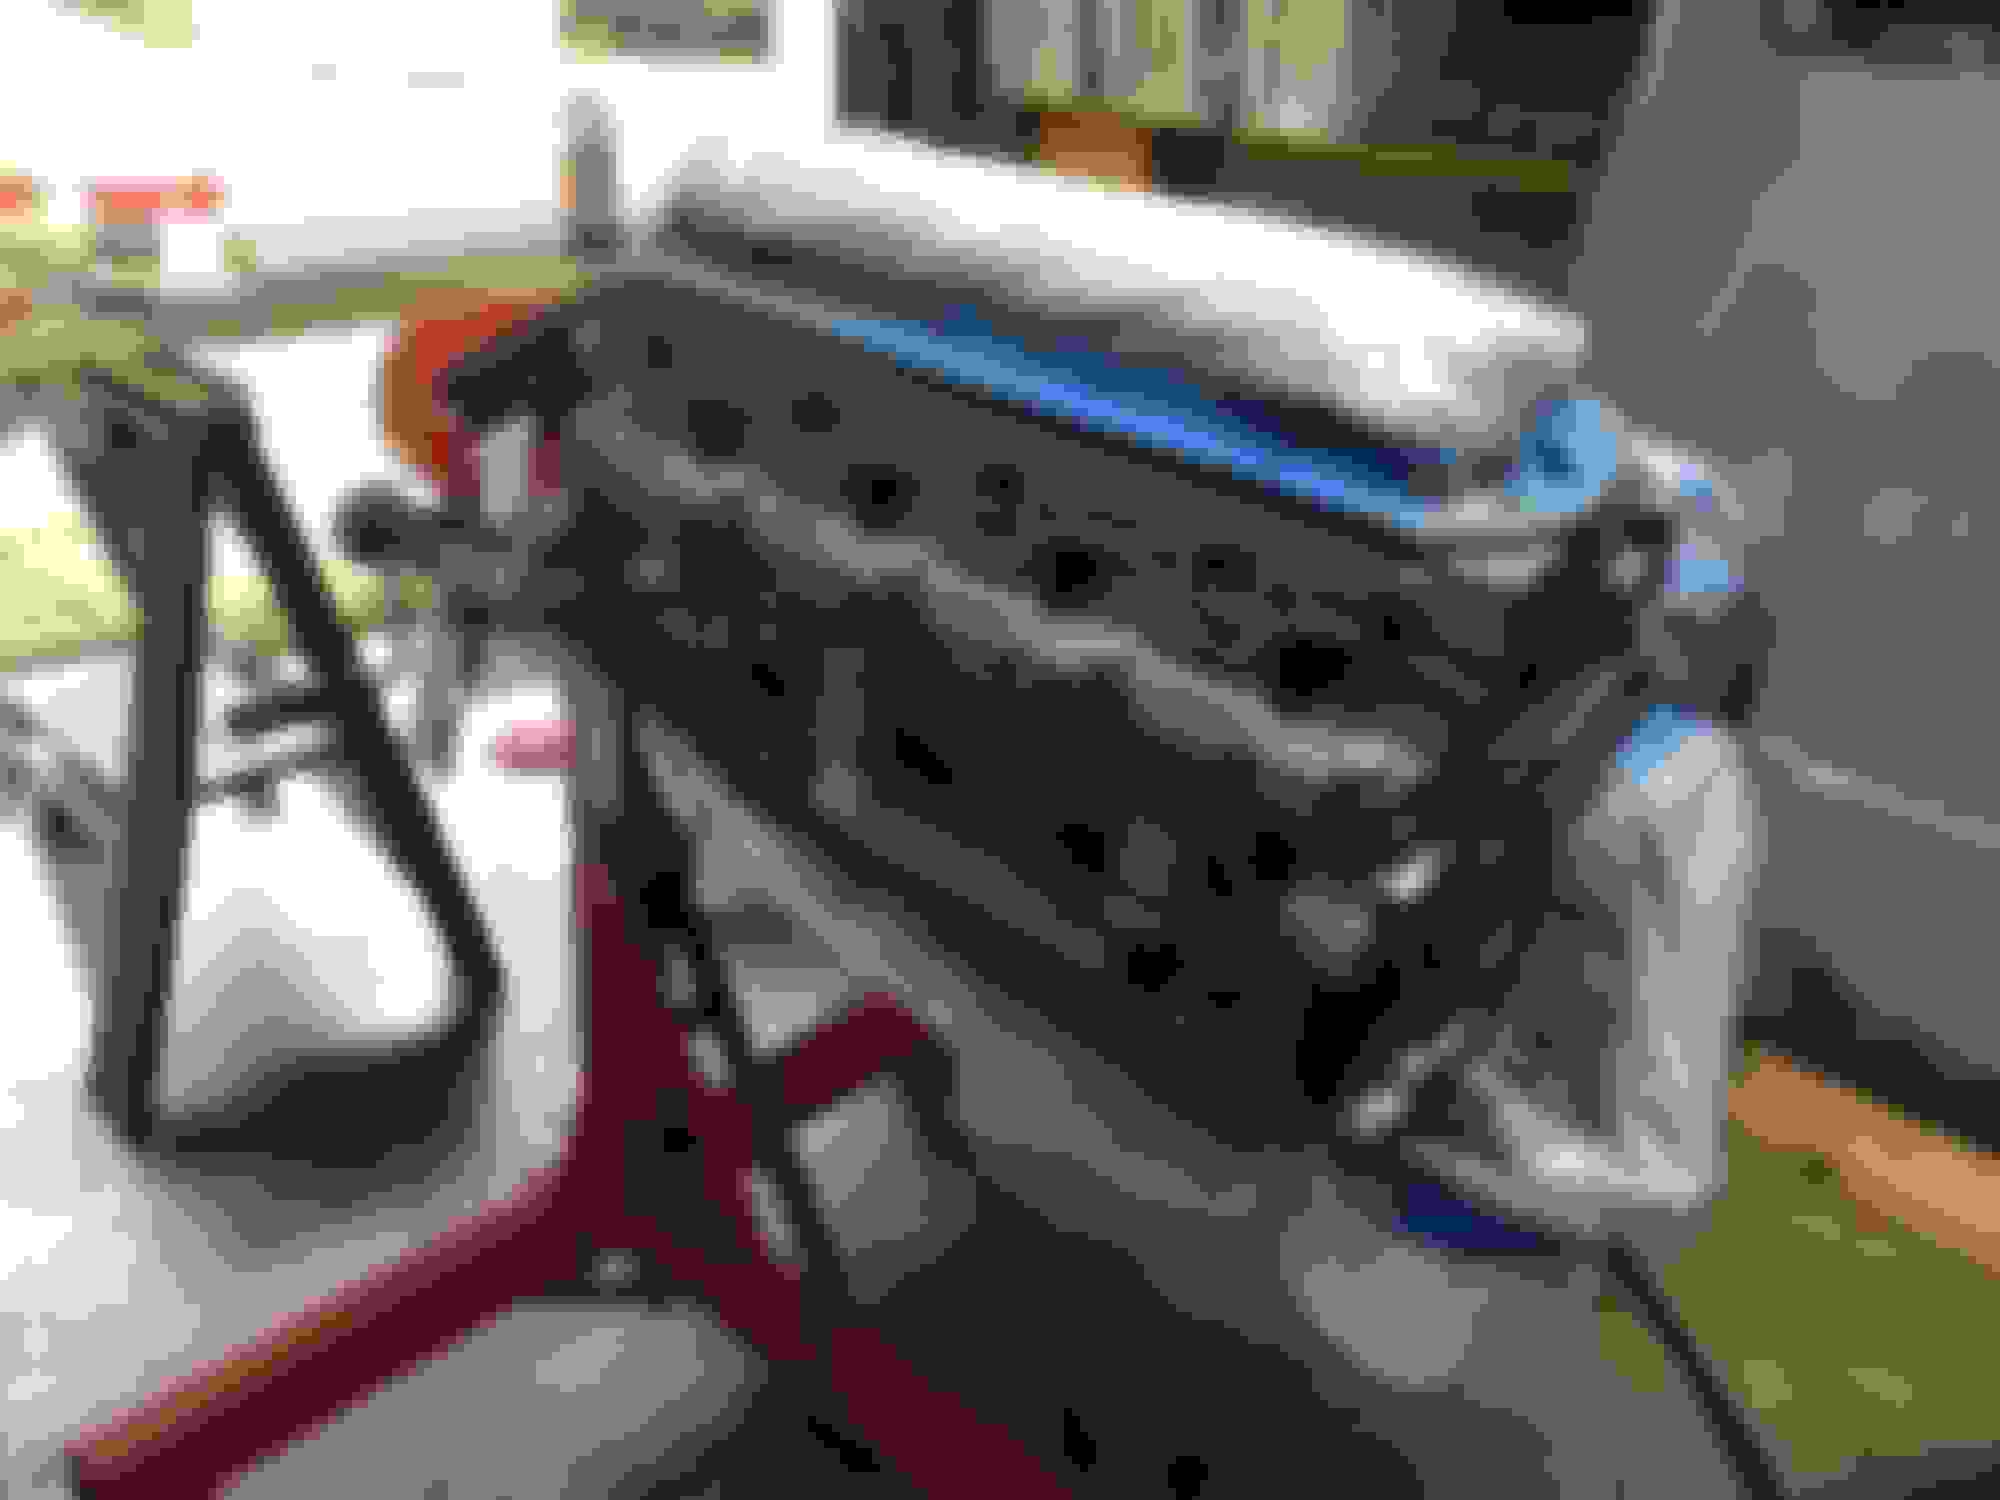
And the block. I love it. The entire engine and accessories will be either this or black. No chrome in this engine bay.
I know this build has been going on for way too long. Believe me, I hate it. But finally after waiting the last 3 months for the construction of my shop to be permitted, it is finally time to start construction. I will finally have my shop right downstairs and this project can finally get the time it needs. For anyone interested in the construction of the shop, visit this page for updates. I will be working over the next couple months (during construction) on small items for the car (small temporary shop, small items). Then we will get rolling.
Finally, it is about time to get back to it. After a separation, divorce and new shop build, I have finally moved the shop home along with the MX-5. So, another week or so of getting the shop semi-organized so I can actually move around and find stuff, I will be back on the car build.
Here is an updated picture of the engine.
The car is on a cart at the moment so I was in an odd spot. It was too wide (at 72" with the flares) for any of the trailers from uhaul and it didn't have wheels so it wouldn't fit on a car hauler. So, I used my little trailer. It has a 4x8' deck and can haul 1750lbs. I knew it could handle the weight of the car. I just needed to make sure it was secure. Here it is ready for the trip.
I had no problems during the 2.5 hour drive. I stopped regularly to check everything. Being a little over cautious. And here she is at home.
I figure another week or two and I will be posting updates. See you soon.
Spent the afternoon getting geared up on the miata. I cleaned out the inside. I had a bunch of parts piled inside for the transport. Then had to hunt down the containers with all the nuts and bolts. I figured it would not hurt to go ahead and mount the rear subframe. So I went through it and got all the fasteners snuggled up and we got installed under the car. I think the next step will be to install the front subframe and then get back to the bodywork. I’ll get more done this week as I get back into gear working on this project.
Quick update from the weekend. Getting going on this is starting slow and this weekend was a prime example. I had two small goals. 1. Clean all the adhesive off the car that was put there by all the tape I used to secure all the panels during transport. 2. Install the front subframe.
Task #1 went alright but took forever. I just know that the longer that adhesive stays on there, the harder it is to get off. You can see in the images in one of my previous posts, I taped all the seams and such to make sure I didn't have any issues on the trip. Worked well, just left a mess.
Task #2 was an issue. Such an easy task, but quickly found that I didn't have the bolts/nuts I needed. I had them, just where were they. The shop is not organized yet. A lot of stuff just got jammed into bins for the move and I had no idea where they were. So, I spent a couple hours going through all the bins and inventorying them. Found the bolts and nuts. Got the subframe in. But it took half the day.
The next couple steps are to clean and paint the engine bay and get the gaps right on the front end. I want to get the gaps set because I think I am going to have to work some of them with some fiberglass to get them right. Then back to the bodywork on the rear. This weekend will be split between the car and upgrading my blast cabinet. I need to get it upgraded so I can work on the suspension. I think I am going to reuse the stock control arms. So I am going to blast and paint them. (new bushings and coilovers)
Good afternoon in the shop. I am trying to get geared up and moving full speed on this. It's been tough. After being out of touch from my shop and my projects for over a year and a half, it is really hard to get back in the groove. Especially since the first project I need to finish on the MX-5 is body work. Something I am not very experienced with. But, here we go.
I figured the job that has been bugging me for a long time and has also intimidated me is getting the panel gaps fixed on all the new body panels. So, time to tackle that. The back edge of the doors looked good but the front edge was a major issue. But before I tackled them, I needed to get the front end semi-straight. I started with getting the entire front clip squared up so the gaps around the hood were better. Once that was good, well, somewhat good. I started working on the major issue. The gap between the new fenders and the front edge of the doors. The issue is that if you mount the fender and have the gap at the top alright and then mount the bottom so it isn't sticking out, the gap is almost closed by the time it gets to the bottom. Here is the driver side with the fender mounted as good as I can get it.
You can't see the top in that pic, but it is about perfect and the bottom is completely closed. I know, the obvious answer is to move the bottom forward, but if I did that, the gap in the middle would be half and inch. So, I pushed it back to what you see, then began to sand the edge back to make a gap. I started to use a reciprocating saw blade (not in a saw, just by hand) to carve the edge back, but that was chipping out the edge (you will see that on the passenger fender. Will need fixed). I tried a hack saw blade and that didn't do too well. I finally took 80 grit sand paper and wrapped it around the saw blade and slowly worked the gap until I liked it. Here is an image of the process on the passenger side.
Here is the passenger and driver side done.
I need to do more work at the bottom to blend the panel into the rocker, but that will happen when I get back to filler work. I then figured it would be a good break to work on the trunk lid. It has been bugging the crap out of me for a very long time. It is not heavy enough to stay closed and I have never really tightened it. So I squared it up, installed the latch and got it to shut decent. Once I install some rubber bumper things (whatever they are called), it will be a really good fit. BTW, I installed the arm on the latch and I can access it via the license plate light hole.
While I was back there, I went ahead and threw a couple bolts in the bumper to tighten it up and see what projects are waiting there. First, this gap.
This is a result of the fender flares being added. The issue is that I can't cut it back because as you can see it is the same edge as the bottom lip of the flare itself. So cutting that would cut the bottom of the flare. So, my plan is to extend it back and fade it out to the corner. I'm thinking I will take a strip of fiberglass and bond it on and then blend it down and smooth it out.That is my thought at the moment. Any ideas, I'm open to advise.
The other issue is the wheel wells.
Not only are they open, the lower edge of that bumper is not supported. I will be working on this after the bodywork is smoothed out. I would like to line the entire wheel well somehow and tie it into the edge of the bumper.
Then to the front. I tightened up the front bumper and where it meets the fenders, there is something odd. This is the driver side.
Besides the gel coat being chipped, it fits pretty well. No issue here. But, this is the passenger side.
An obvious issue. And this is not an installation issue. This is tight. This is a mold issue. There is just missing material. I will have to work this back to fiberglass and add material and get it to match up.
And to make sure I wasn't way out of alignment, I dropped the lights in. It looks like I will have to slide the hood back a bit, but everything looks even. I should be able to get all the gaps acceptable.
BTW, I am not sticking with those mirrors. Any suggestions? No chrome. Either something that can be color matched or black would be good. Should I go with the fender mounted or something more standard. Would love to hear your opinions. This coming week I will be in the shop at least 3 days (2 evenings and at least one weekend day). Progress should be picking up.
It has been so long. I had a lot of stuff to get out of the way before getting back to this. But it is finally time. I am still working on the new addition to the house, but I am going to split my time between that and this. So, back to the bodywork. I need to get that done so I can get some paint on this. I can't begin putting it all together until the paint is taken care of. I am going to try to paint it myself. We'll see how that goes.
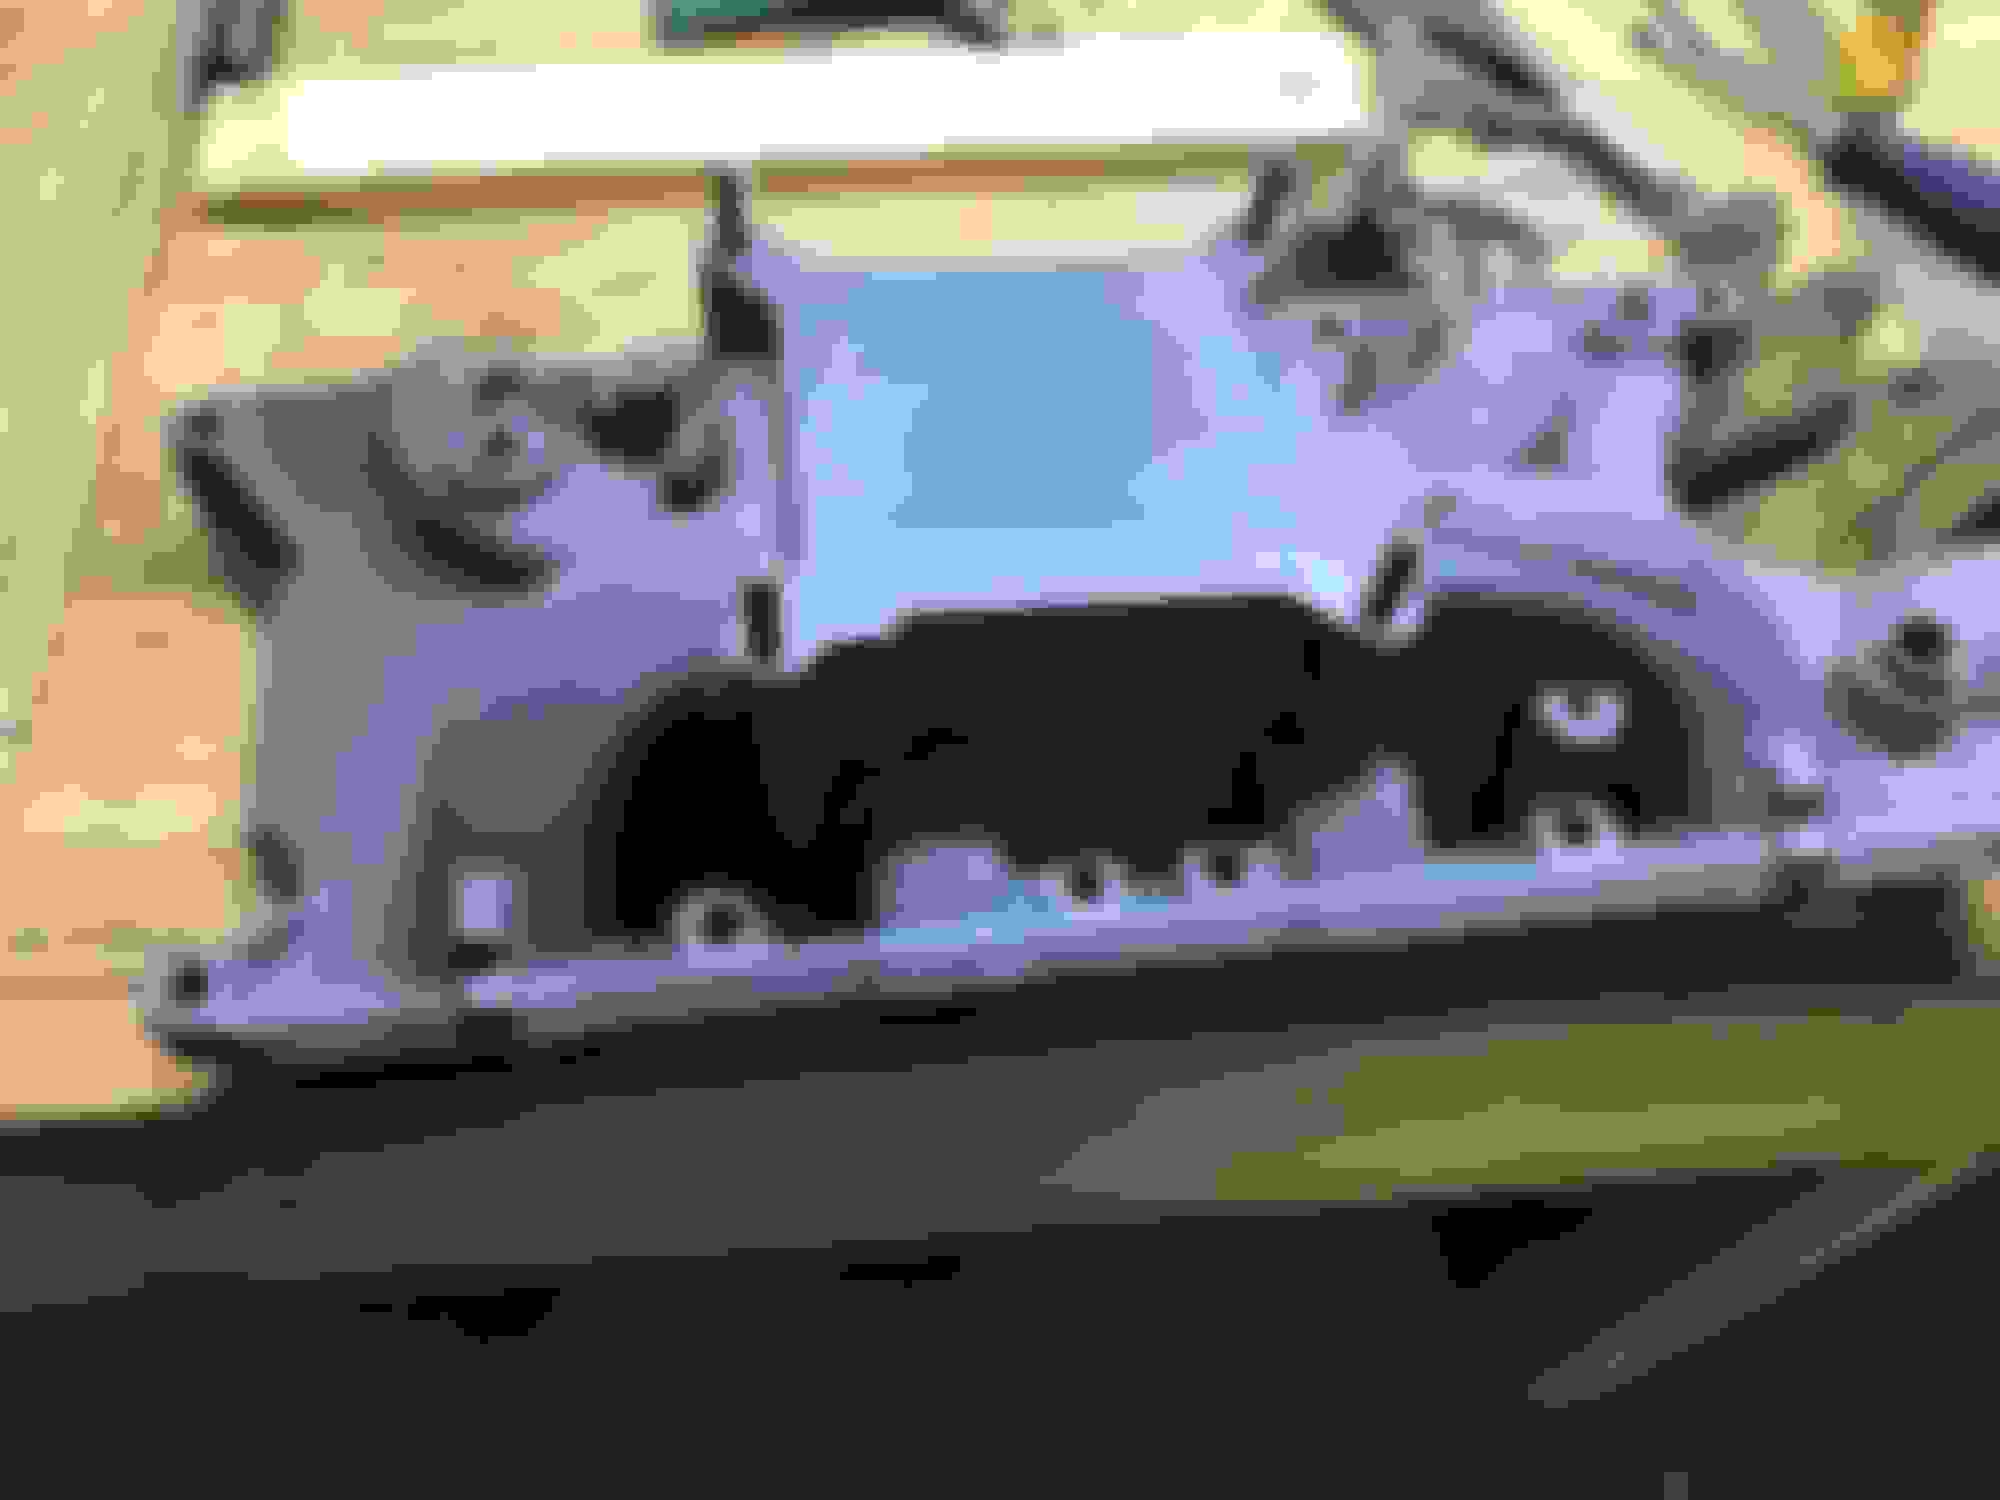
First thing today. The transmission has been sitting on the floor in the garage and I didn't notice that it was up against a box I has sitting on the floor. The box had tree fertilizer spikes in it and the box had gotten wet. Apparently whatever is in that fertilizer, the aluminum on the transmission case did not like it. Here is what it looked like.
I took a dremel and little wire cone to it and it cleaned up pretty well.
I then got back to the front bumper repairs. This passenger side was way out of alignment (I'm pretty sure I posted before pictures way back when). I cleaned it up, sanded it and laid down some more layers of fiberglass and resin to build it up.
Also laid in some small patches to build up some chips on the driver side of the front bumper / nose.
The next two pictures are of the gap (passenger side first) between the rear quarter and the new bumper. The gap on the passenger side is larger than the driver side. But both gaps are too big to leave the way they are. I replaced the rear corner on the passenger side and then added the flare over it. I think that is why the passenger side is larger. But I took measurements along the back and the gap along the top of the bumper between the bumper and the finish panel is all even. So, I thought it through and I have ordered some fiberglass rod stock (square) that I am going to cut down and bond into that area to fill in the gap. Then use fiberglass mat and filler to smooth it all out. The rod is on order.
Then jumped back to the rear passenger side where I am still trying to get the new fender flare smoothed out. Sanded it down and then added another thin coat to fill in the low spots.
It is cooler than ideal in the shop so the resin and filler are slow to go off. So that is it for today. I'll get back at it tomorrow.
All of the resin and filler cured well overnight. I sanded it all down and fitted the nose back on to see where I stand. Looking better. The driver side looks like it is ready for the next step.
The passenger side is looking much better, but still needs work. The edge fades off toward the seam. Needs built up some more. Giving it another round of fiberglass, then I think it can be finished off with filler and high build primer.
Also on the list is the front driver side corner of the hard top. When it got shipped from Ohio, it appears it took a hit.
Also, the top rear corners of the windows on the hard top are all chipped (is this common?). Going to sand and fill these before I get into paint.
I went ahead and did another round of filler on the passenger rear quarter along with the areas on the windows that were chipped. I also did another layer of fiberglass on the front driver side and the hard top corner. All that is curing. The filler is ready to be sanded but the fiberglass will need a couple hours. I did better today with the quantity of hardener. I could bump up the quantity on the resin.
I started to plan out the paint booth/tent. I'm going to build my own that can be broken down and stored. Made from PVC pipe and plastic. I am buying a decent extraction fan that is explosion proof so I can keep it vented to the outside and not overwhelm my garage and house. I'll order everything this week and have it all when it is time. I still need to reinforce the hood. It is beautiful, but there is a spot dead center in the middle of the cowl that is rather thin. I want to add another layer or two of carbon fiber to that area to keep it from flapping in the wind or vibrating like crazy from the engine. I also want to put hood latches in (already have them, Aerolatches. Basically locking hood pins.), just really nervous about cutting into that hood. Well, that decision/task is coming soon.
The work is ramping up. It's nice being back at it.