
$2018 GRM challenge turbo miata build. with added insanity.


Thread Starter
V8 Miata Noob
Joined: Nov 2017
Posts: 13
Likes: 0
From: albemarle north carolina
Challenge budget so far:
purchased 1999 Miata from John for 800
sold engine, sensors, and top to yupididit for 660
sold/traded torsen rear to self for noisy open rear and 200 recoup
bought 04 3400 from Buick rondevous from Patrick for 75 (going to pick up next weekend)
bought 98 camaro 3800 T5 and bellhousing/shifter/hydraulic throwout bearing from adams auto parts: 132.50
bought 3500 intake and exhaust manifolds from pull-a-part 106.75
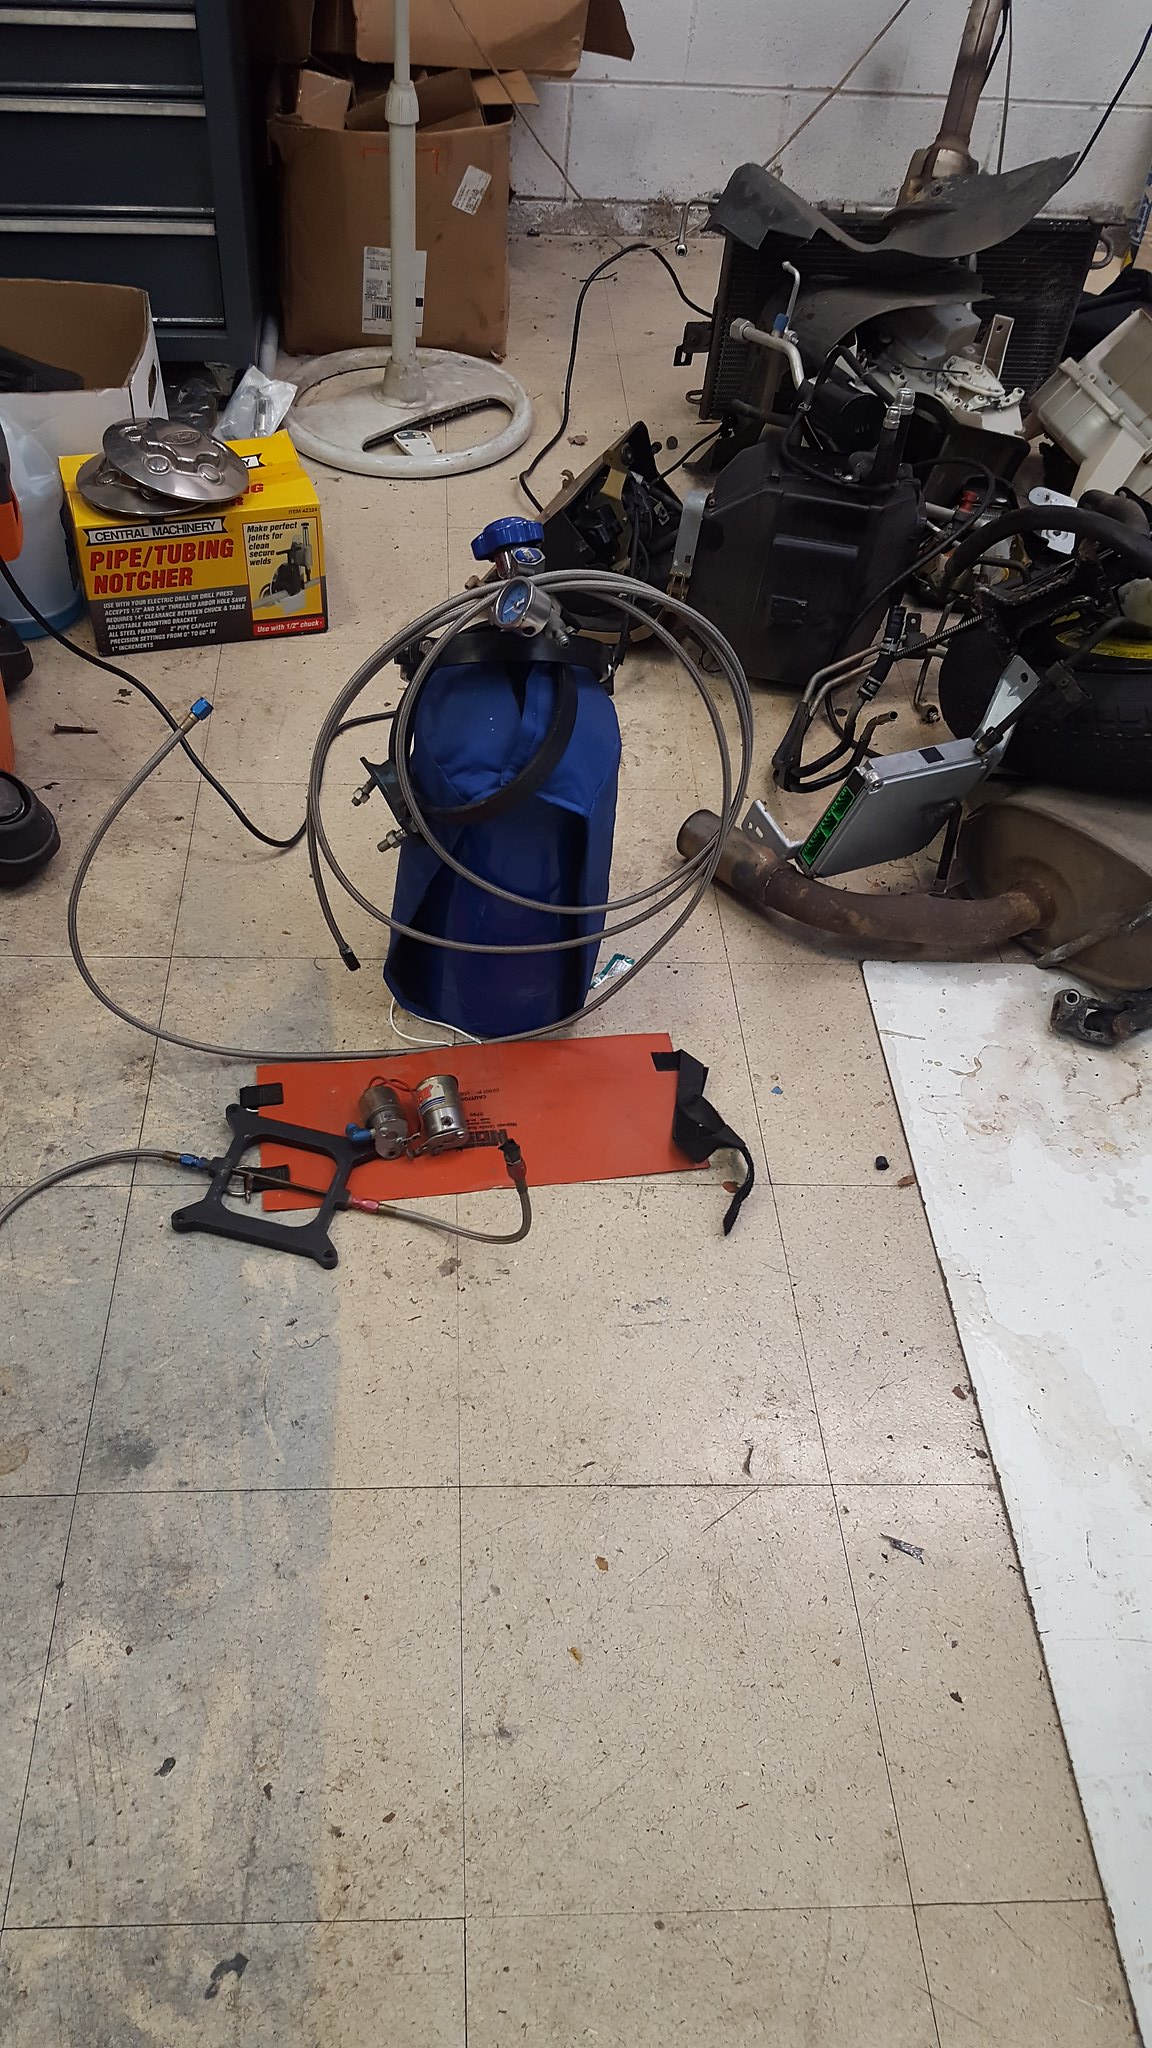
bought used nitrous kit with bottle heater and chopped up feed line and no pills for a 4bbl from a yardsale in a trailer park near fayetteville: 25
used and abused hoosier SM7 slicks: 20 for the set
Apexi SAFC $25 from craigslist in Raleigh
current total: 384.25recoup total: 800
ok, so this car wasn't supposed to happen. I had thought about it, and decided against it. But when dad got back from his RV trip out west after $2017 with the AMC, he was bit hard by the challenge and wanted to build a 2018/2019 car with me. So I ventured my idea of a turbocharged NB Miata with a 3400 gm v6. He loved the idea, and layed $1000 on the table for me to work with. With my wife out of work right now, that's ALL we have to work with. Just cant financially do it right now otherwise.
But I don't want to miss what may be my last opportunity to build a race car with my father. Hes in his 70s now, and I love spending time with him. We've built a few together over the years, and I always enjoy it. Its helped me to be the halfway decent father and husband that I am, as we always talk about a lot more than the metal in front of us. And hes a great guy to go on road trips and junkyard crawls with. So I jumped at the opportunity. We negotiated some deals to cover our gas to Ohio and back to pick up Patrick 3400, I sourced a trans in greenville SC while delivering a door to Tuna55 (thanks again for picking it up!), and started some threads learning about how to do this.
See, ive never turbocharged anything before. Or stuffed an American engine in a Japanese car without a kit. (SBC RX7 don't count). Or made something OBD2 compliant. So, this should be suitably difficult to be entertaining.The basic plan, as it sits, is thus:
so...well, what the hell. Why not?
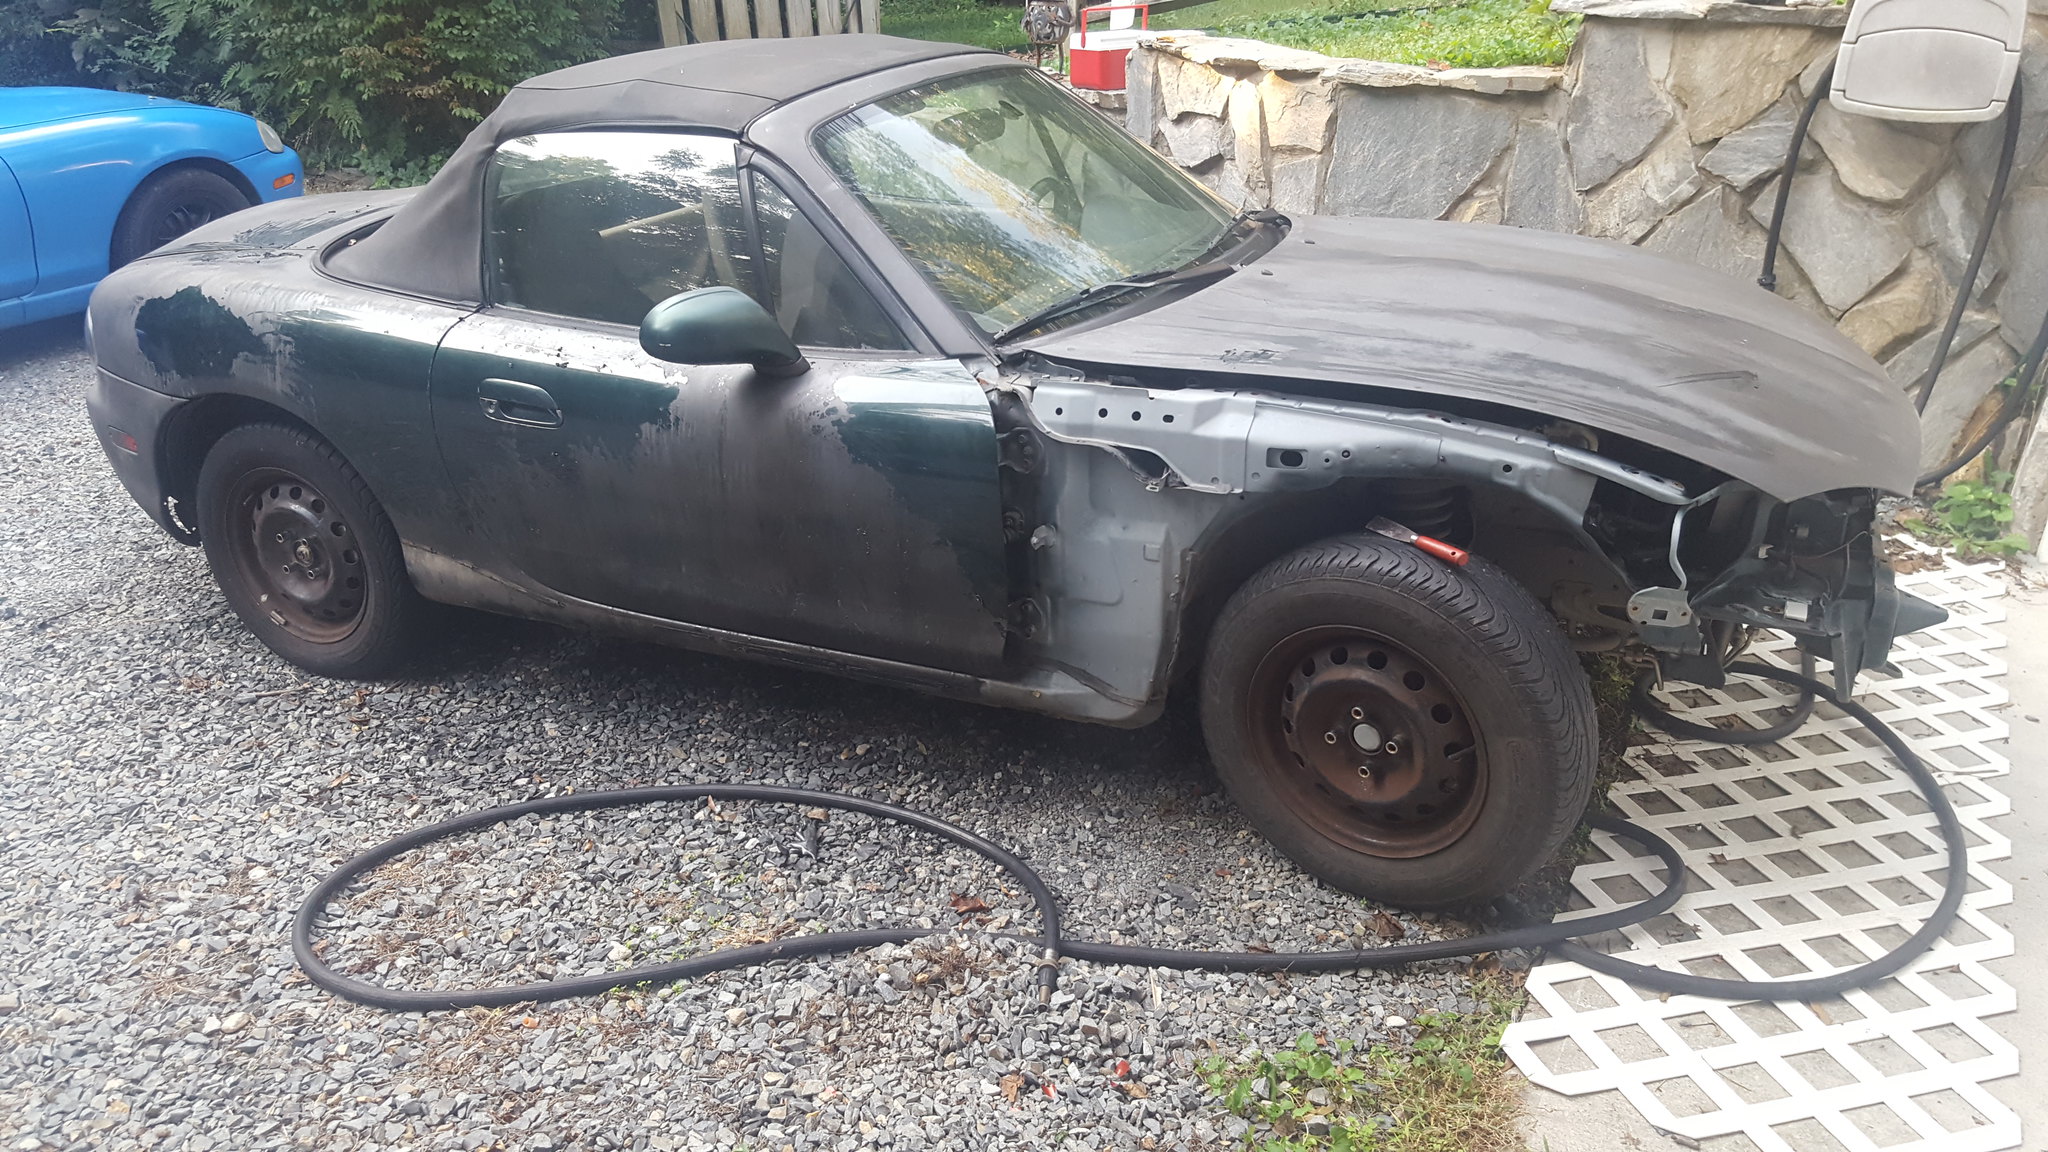
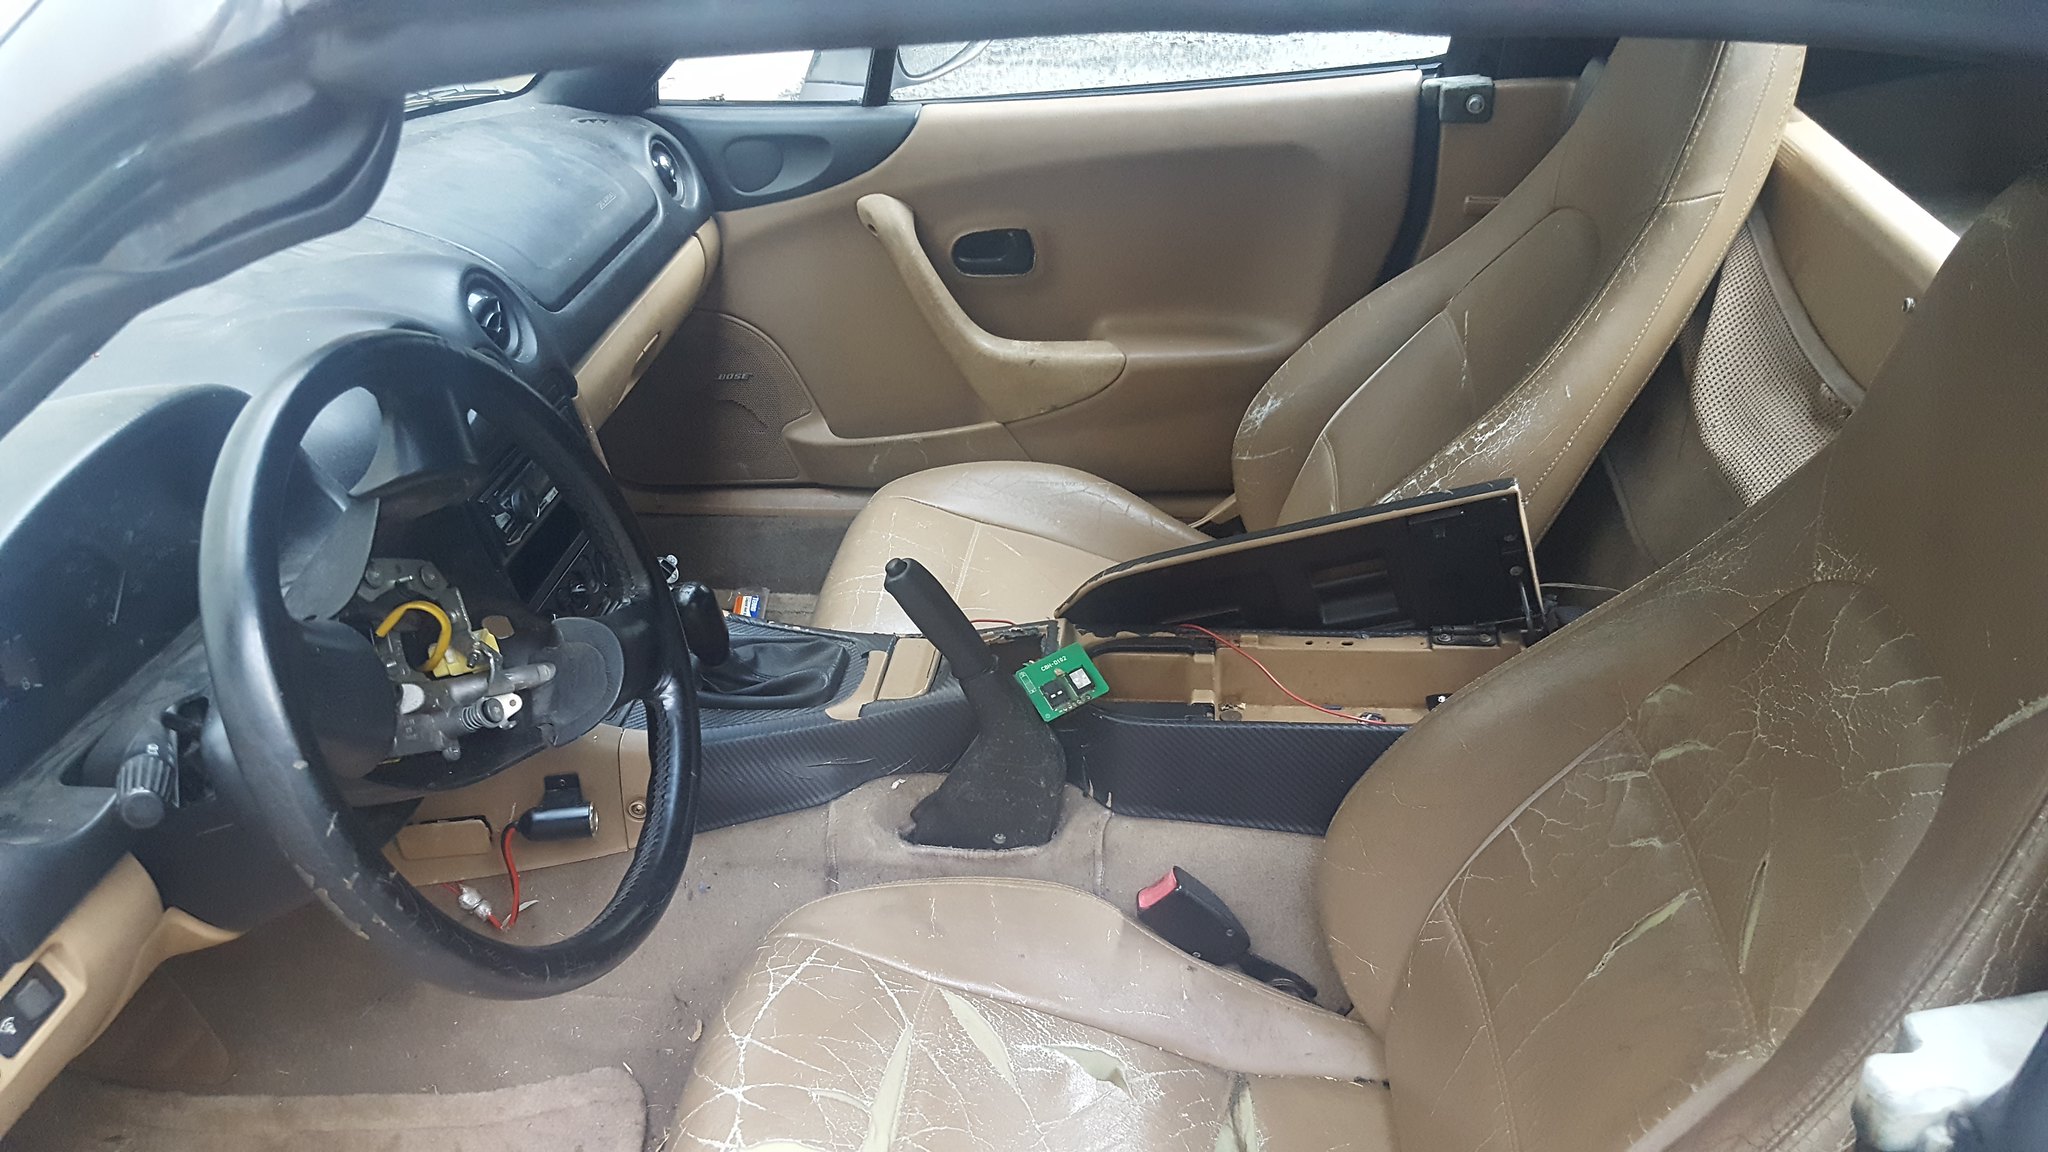
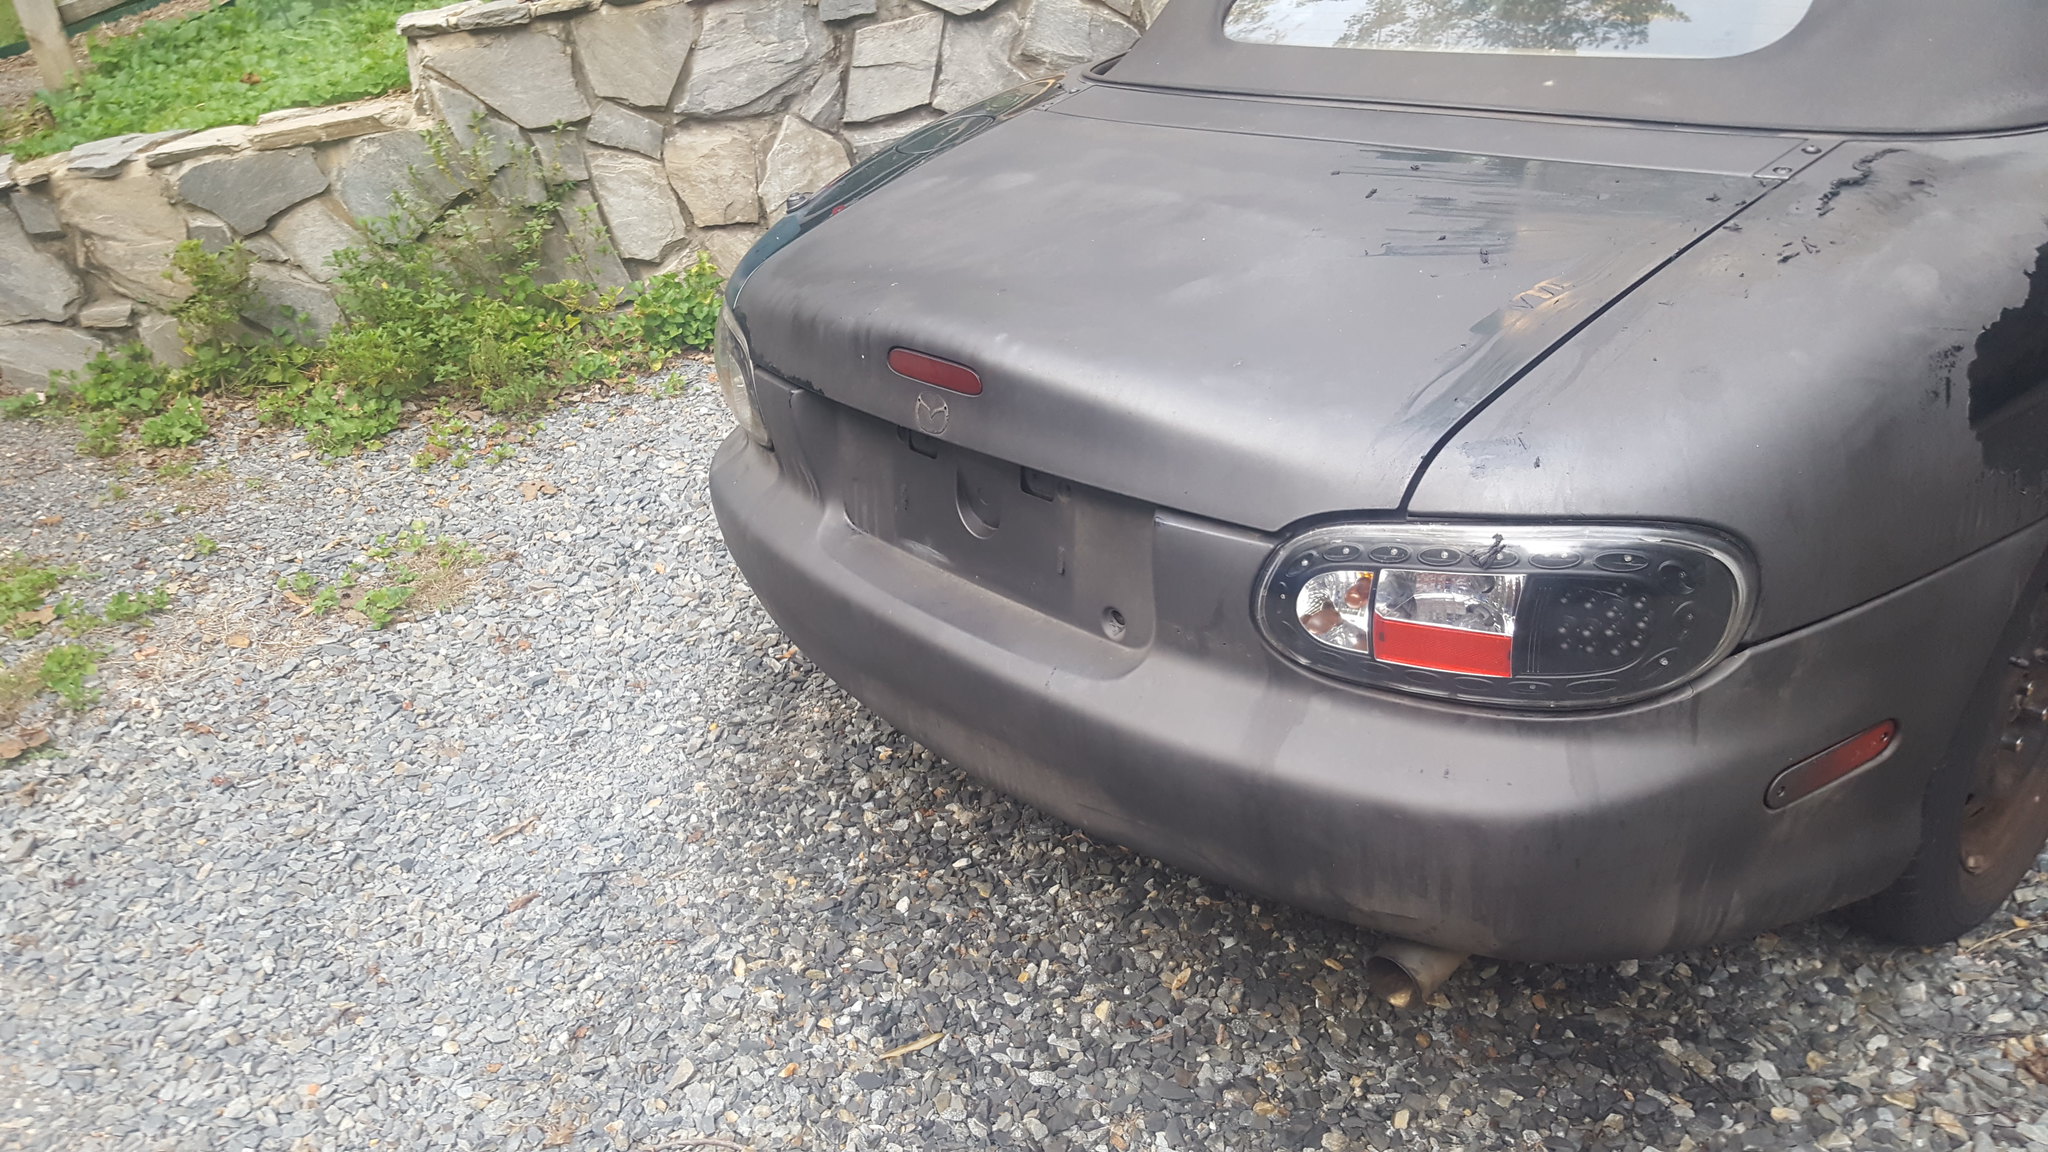
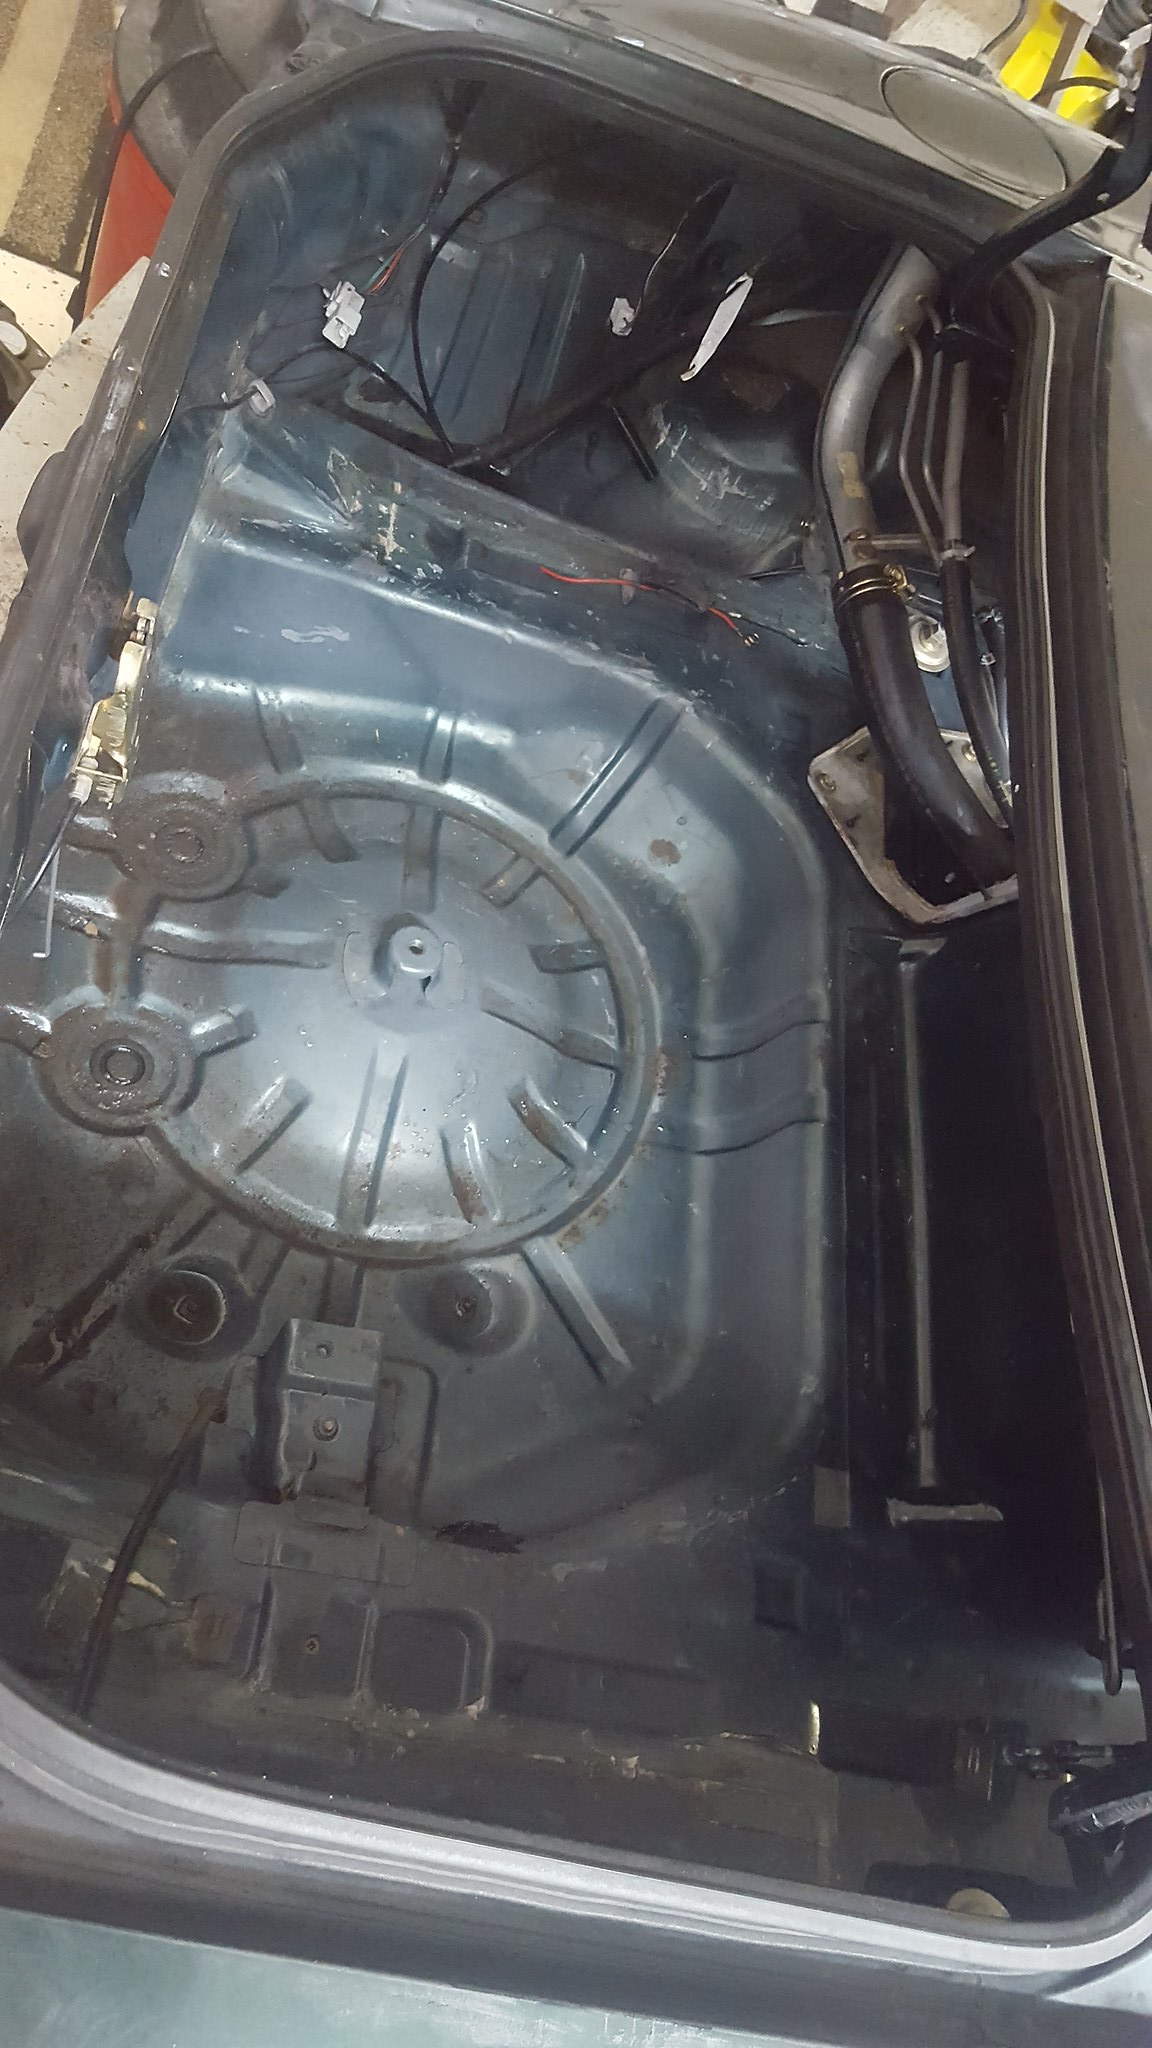
Here's some pictures of how I bought the car, but not shown are the small appearance package, broken headlights, mangled right front fender, or front bumper cover. I hadn't planned a challenge build at first, so initial documentation is pretty pathetic.
by https://www.flickr.com/photos/150940429@N02/, on Flickr
by https://www.flickr.com/photos/150940429@N02/, on Flickr
by https://www.flickr.com/photos/150940429@N02/, on Flickr
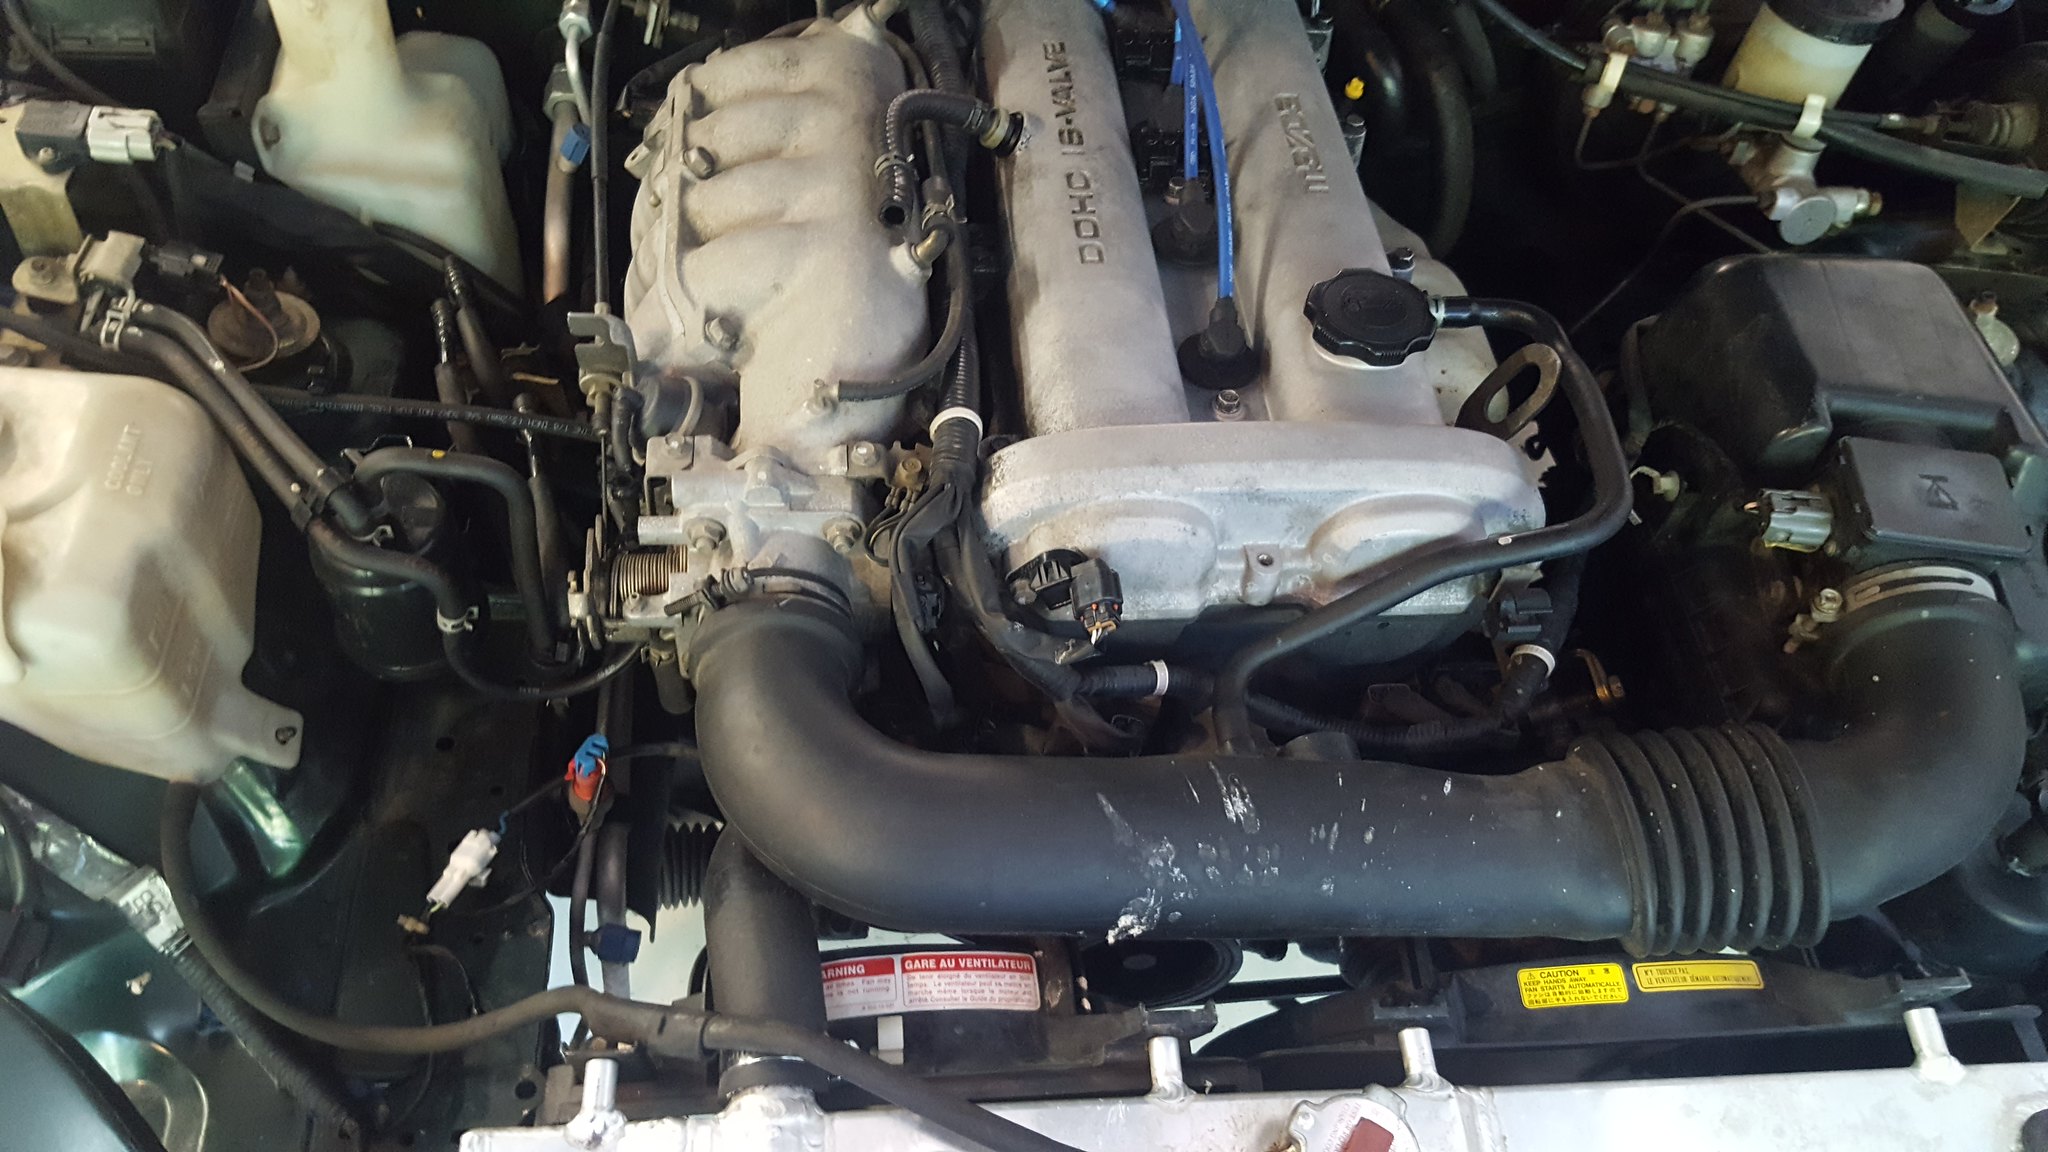
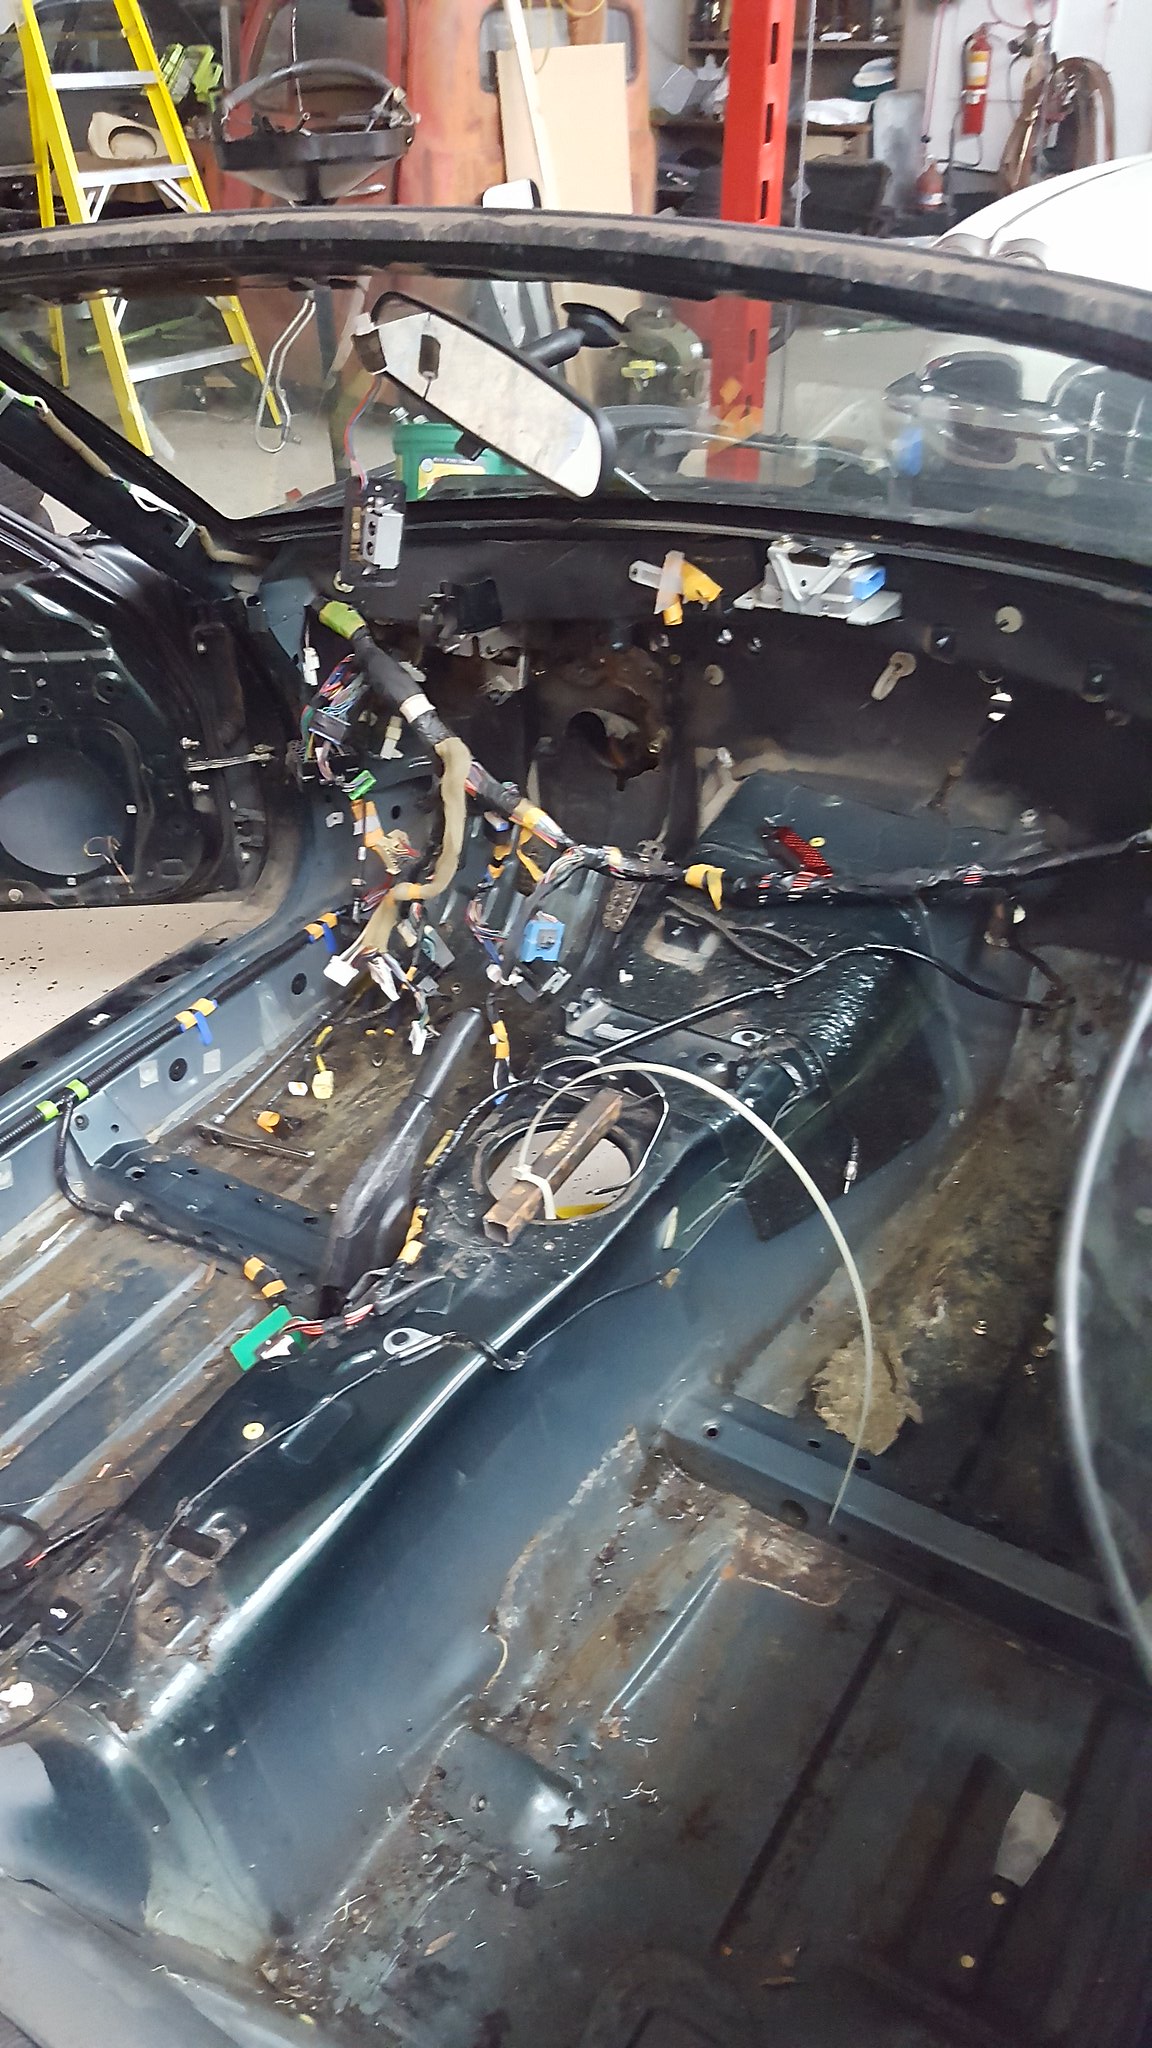
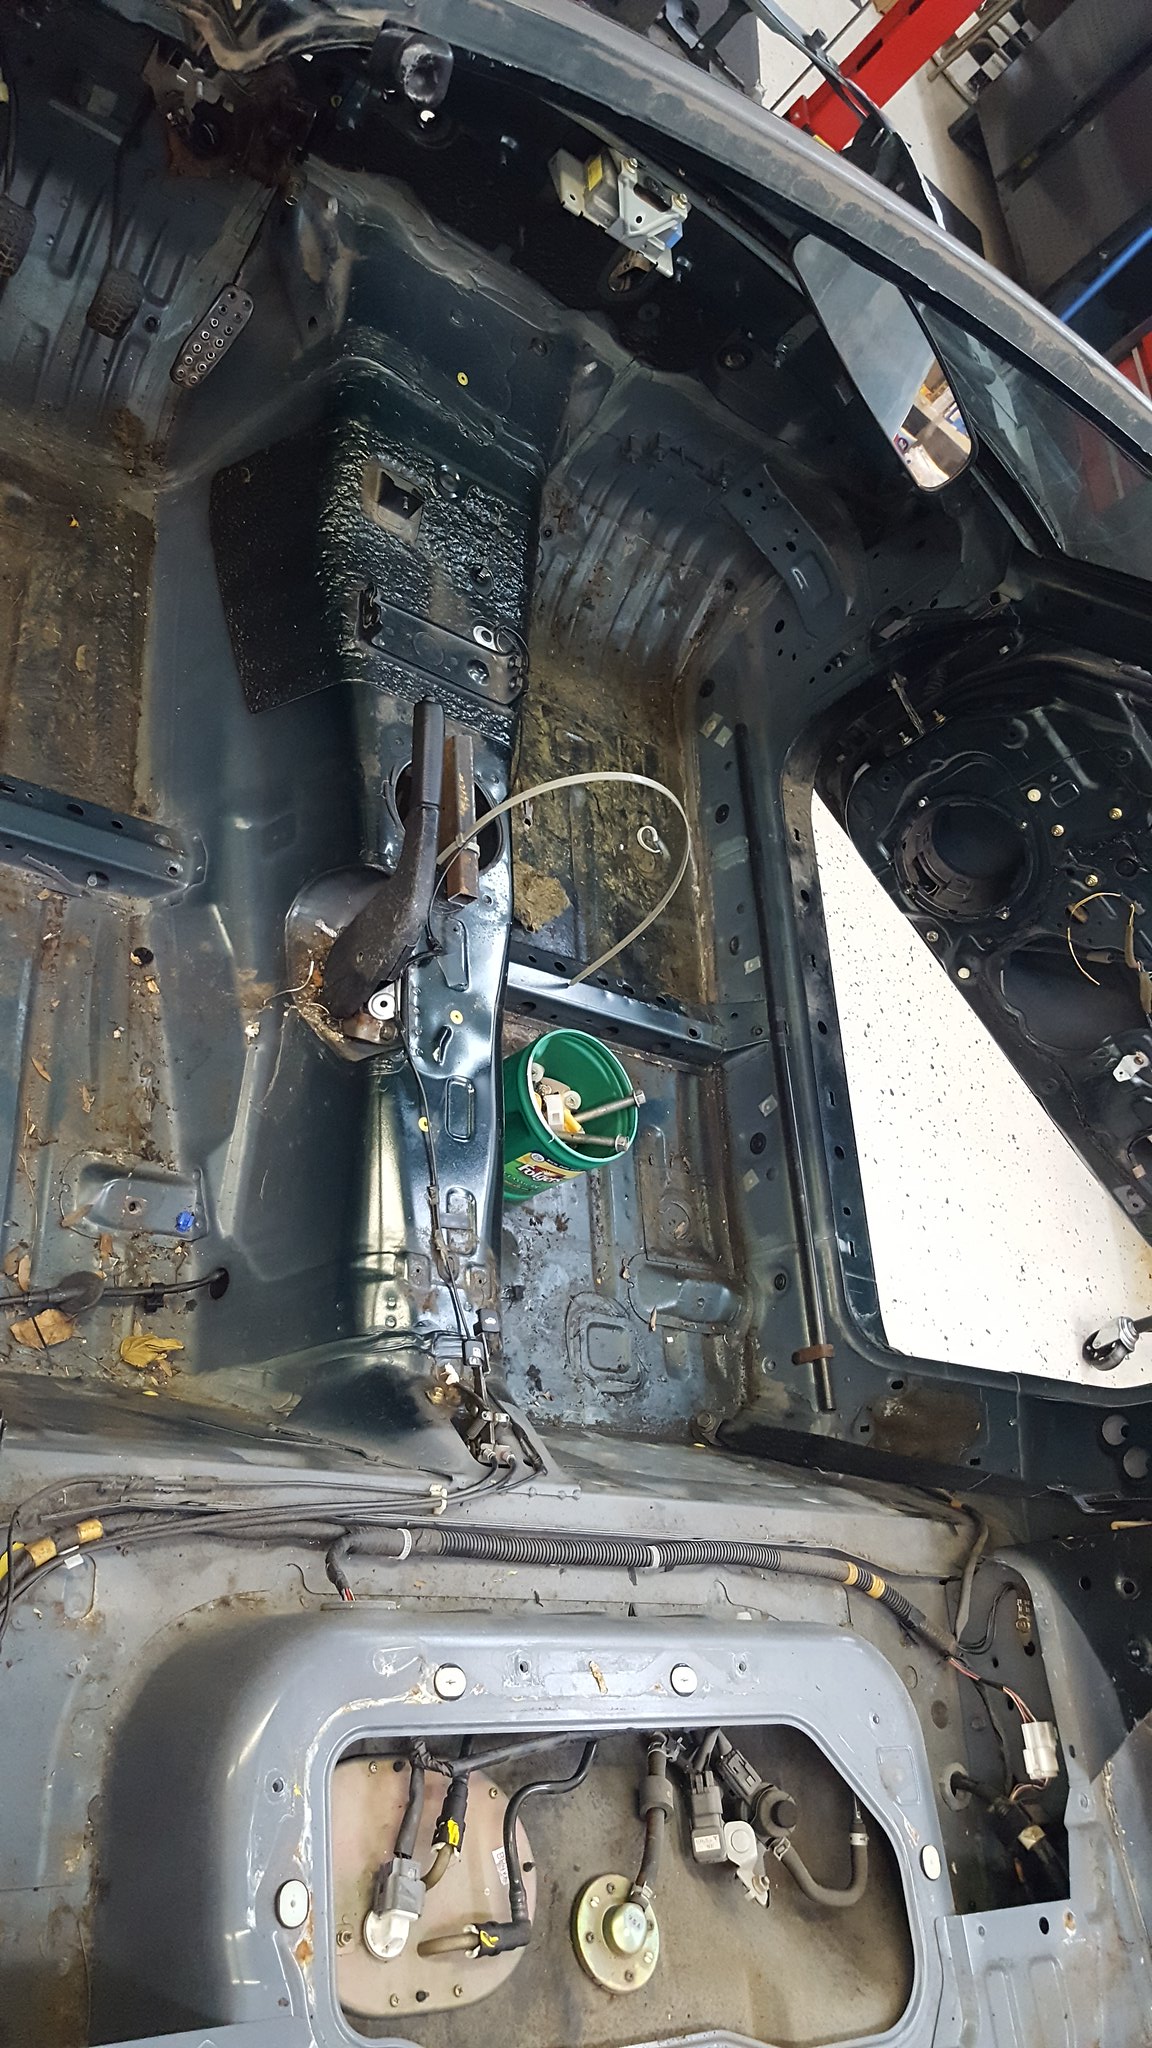
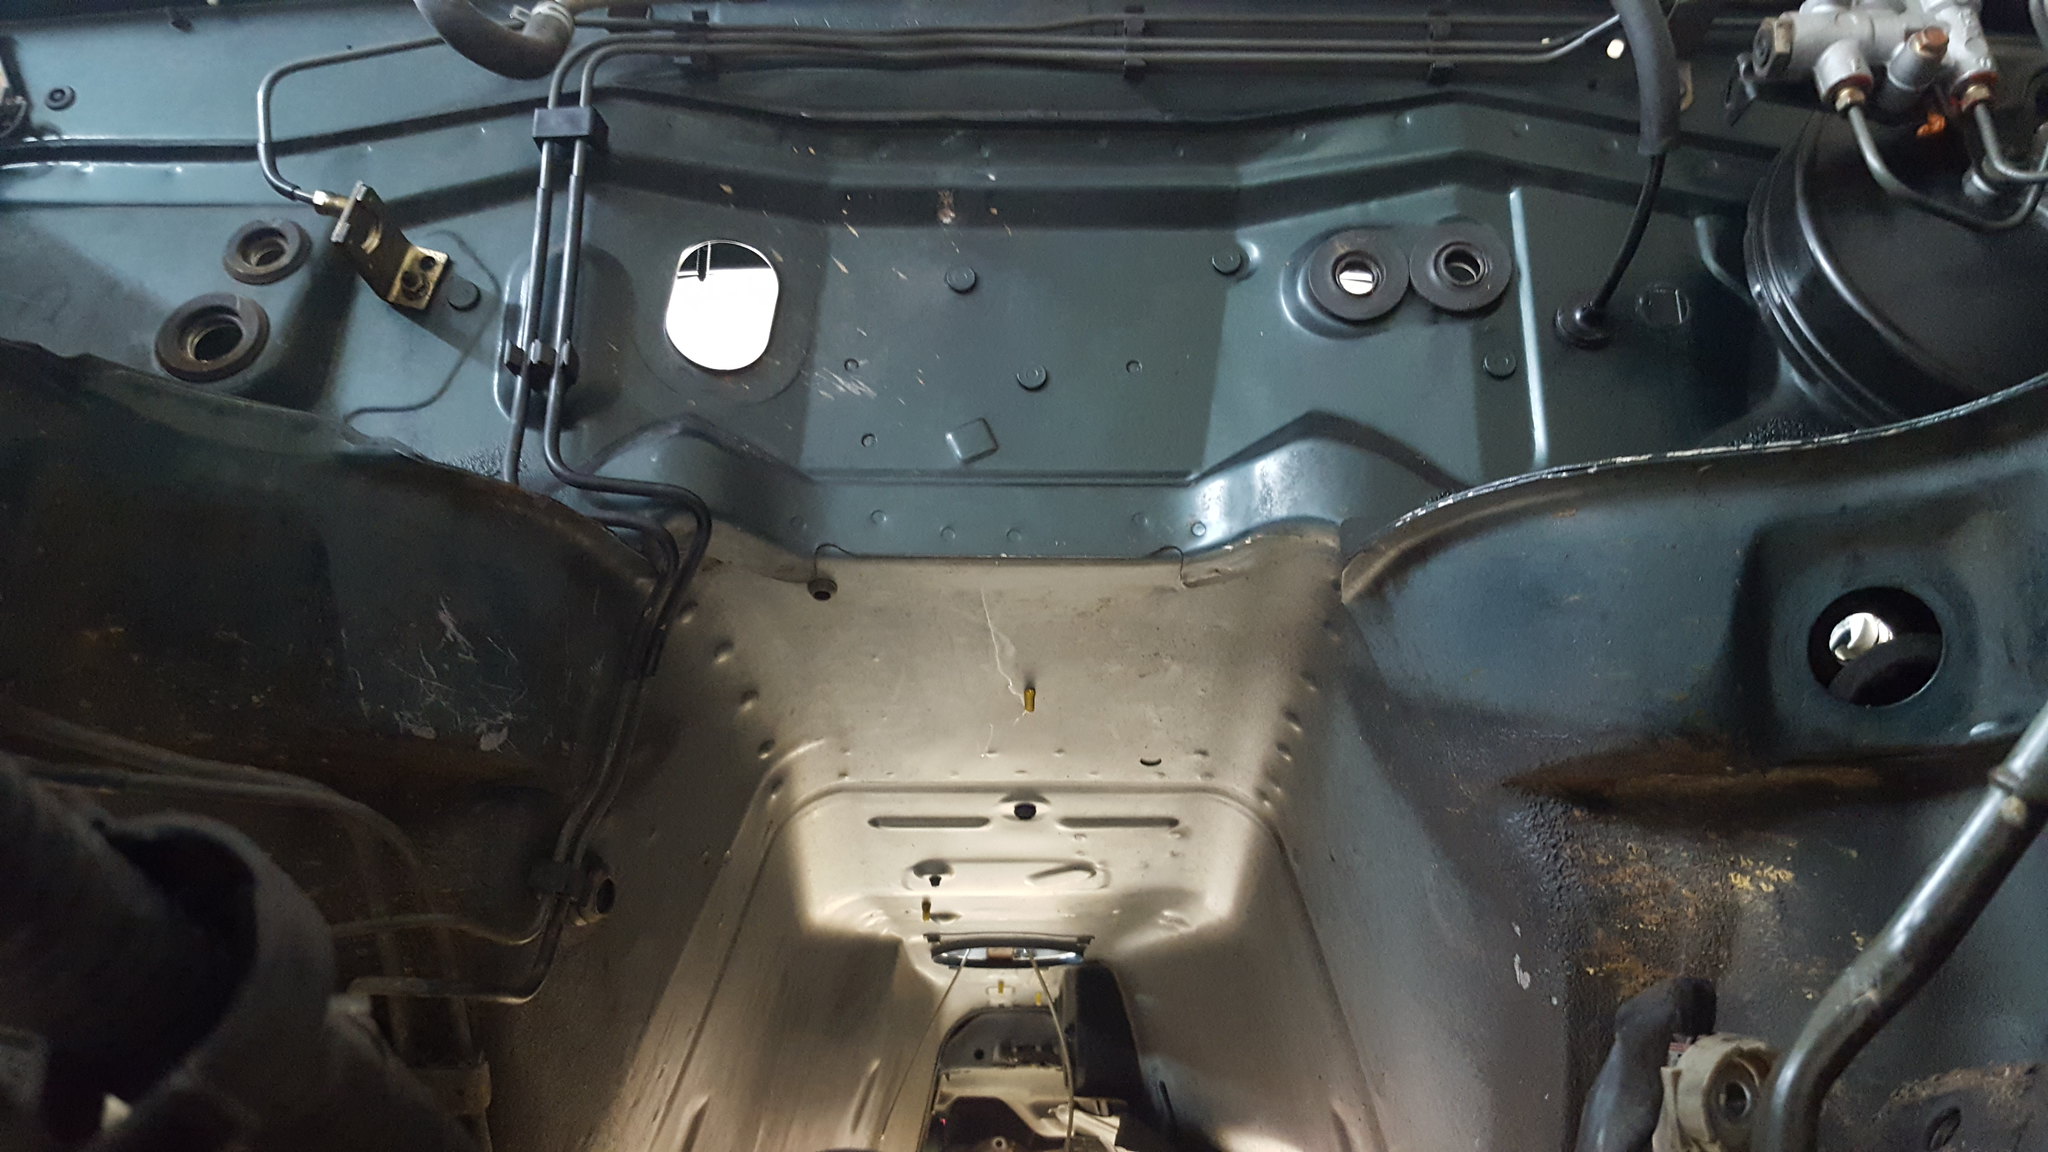
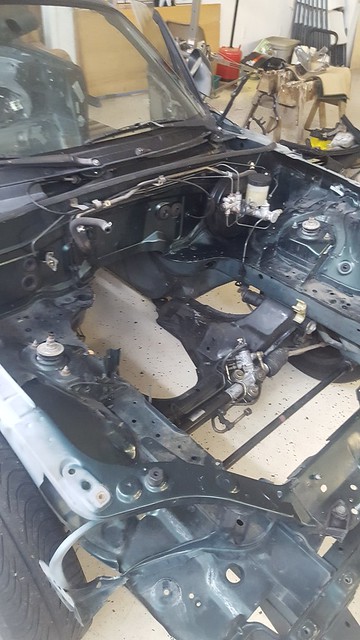
by https://www.flickr.com/photos/150940429@N02/, on FlickrStripping for parts:
by https://www.flickr.com/photos/150940429@N02/, on Flickr
by https://www.flickr.com/photos/150940429@N02/, on Flickr
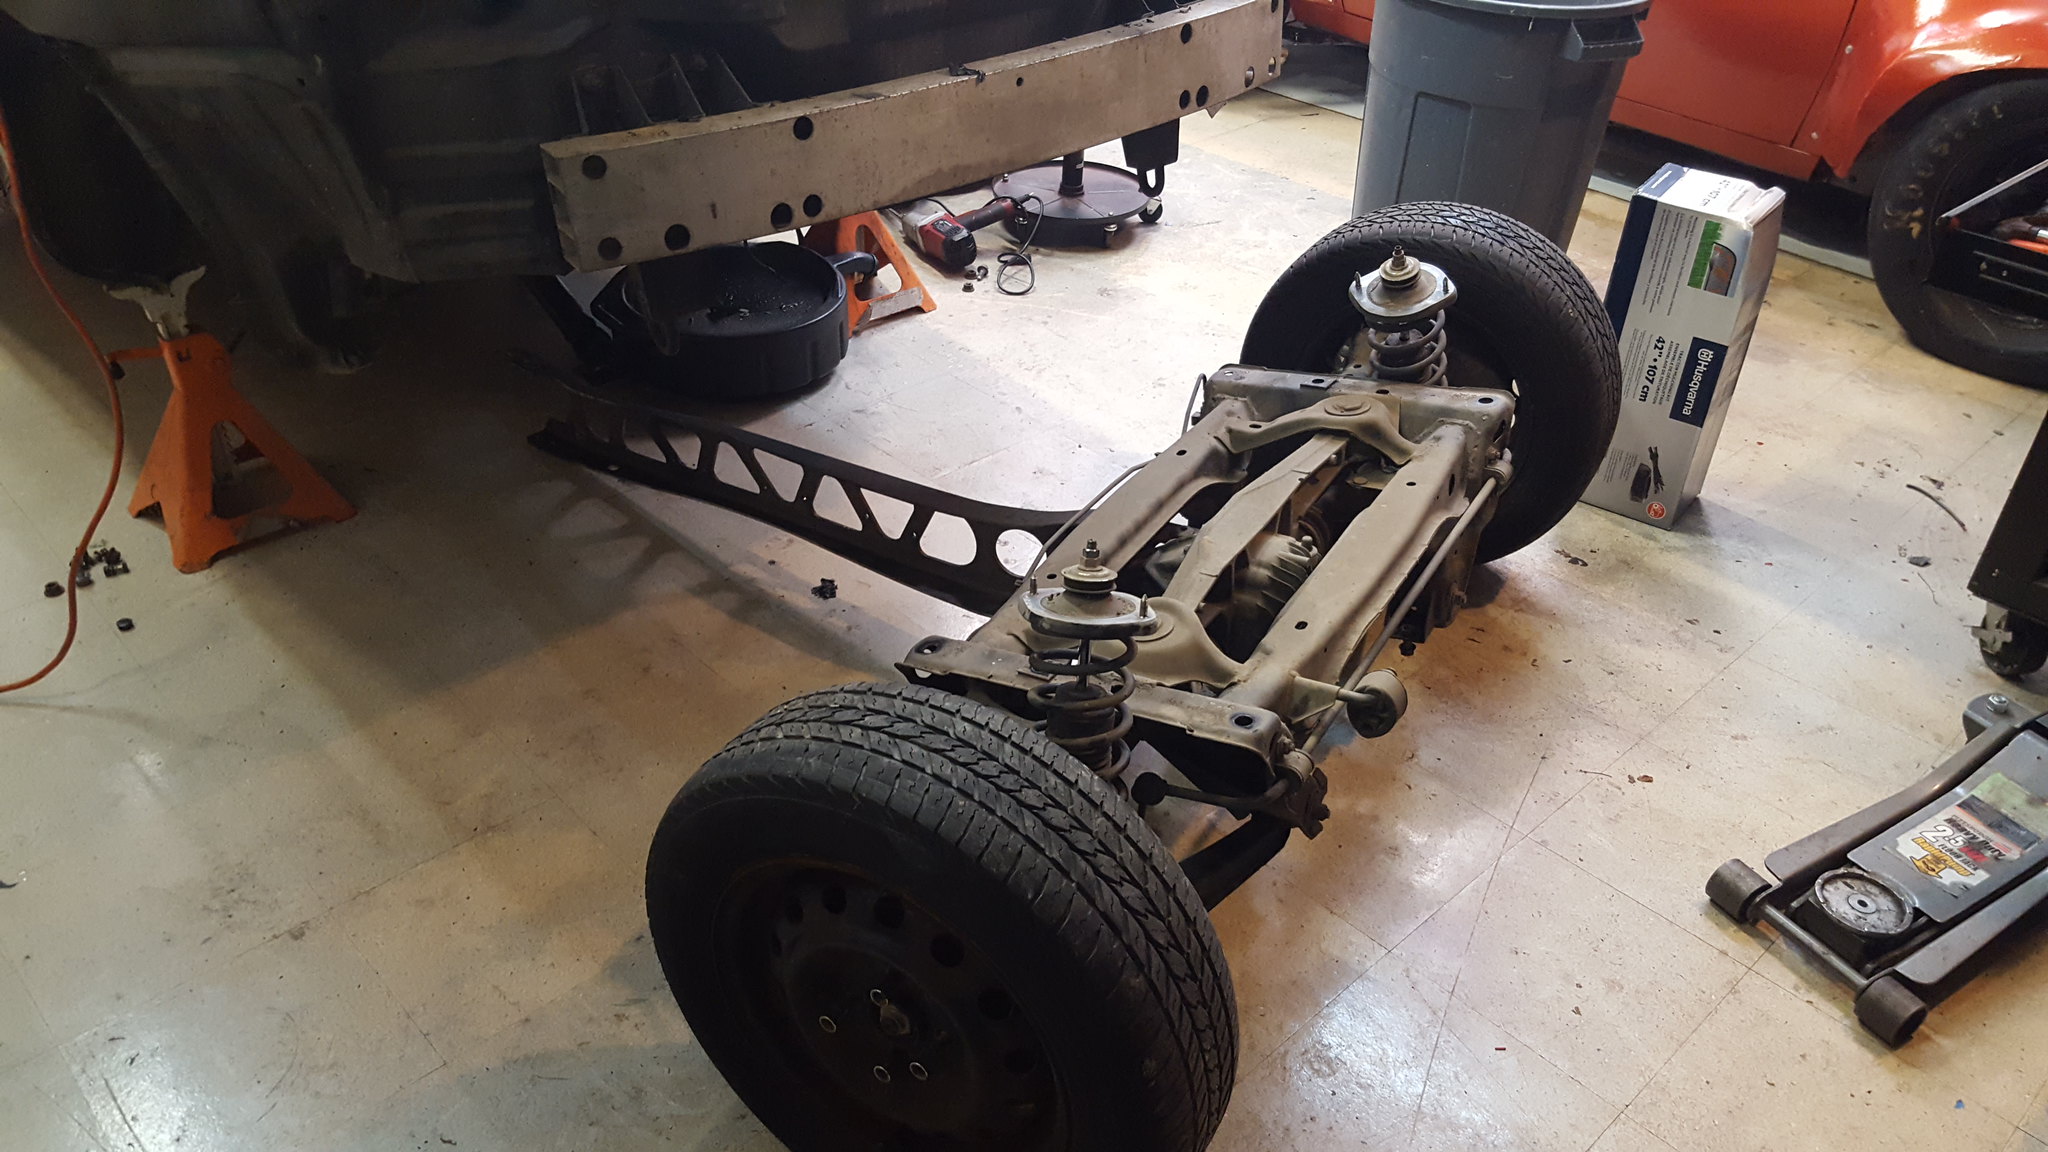
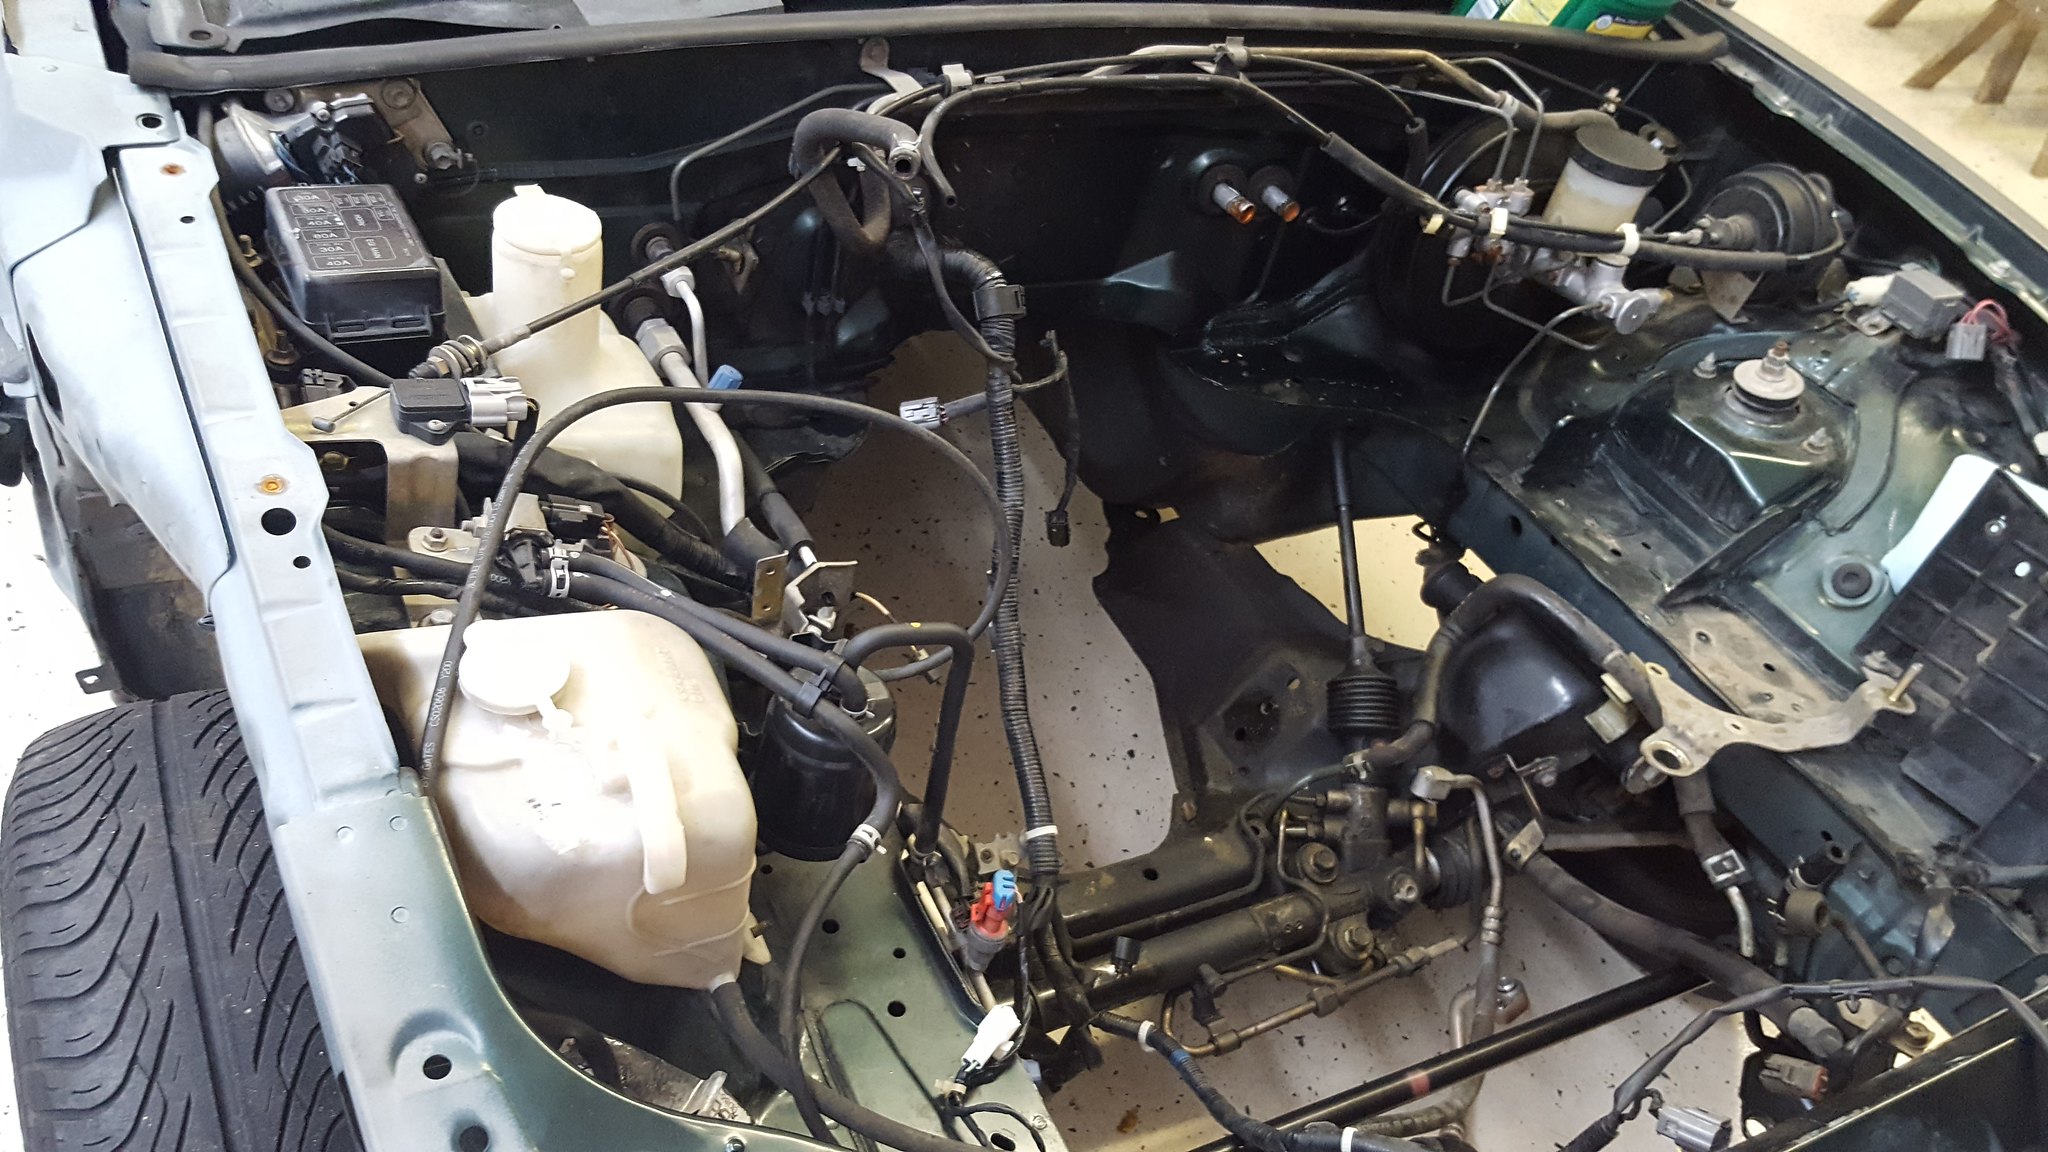
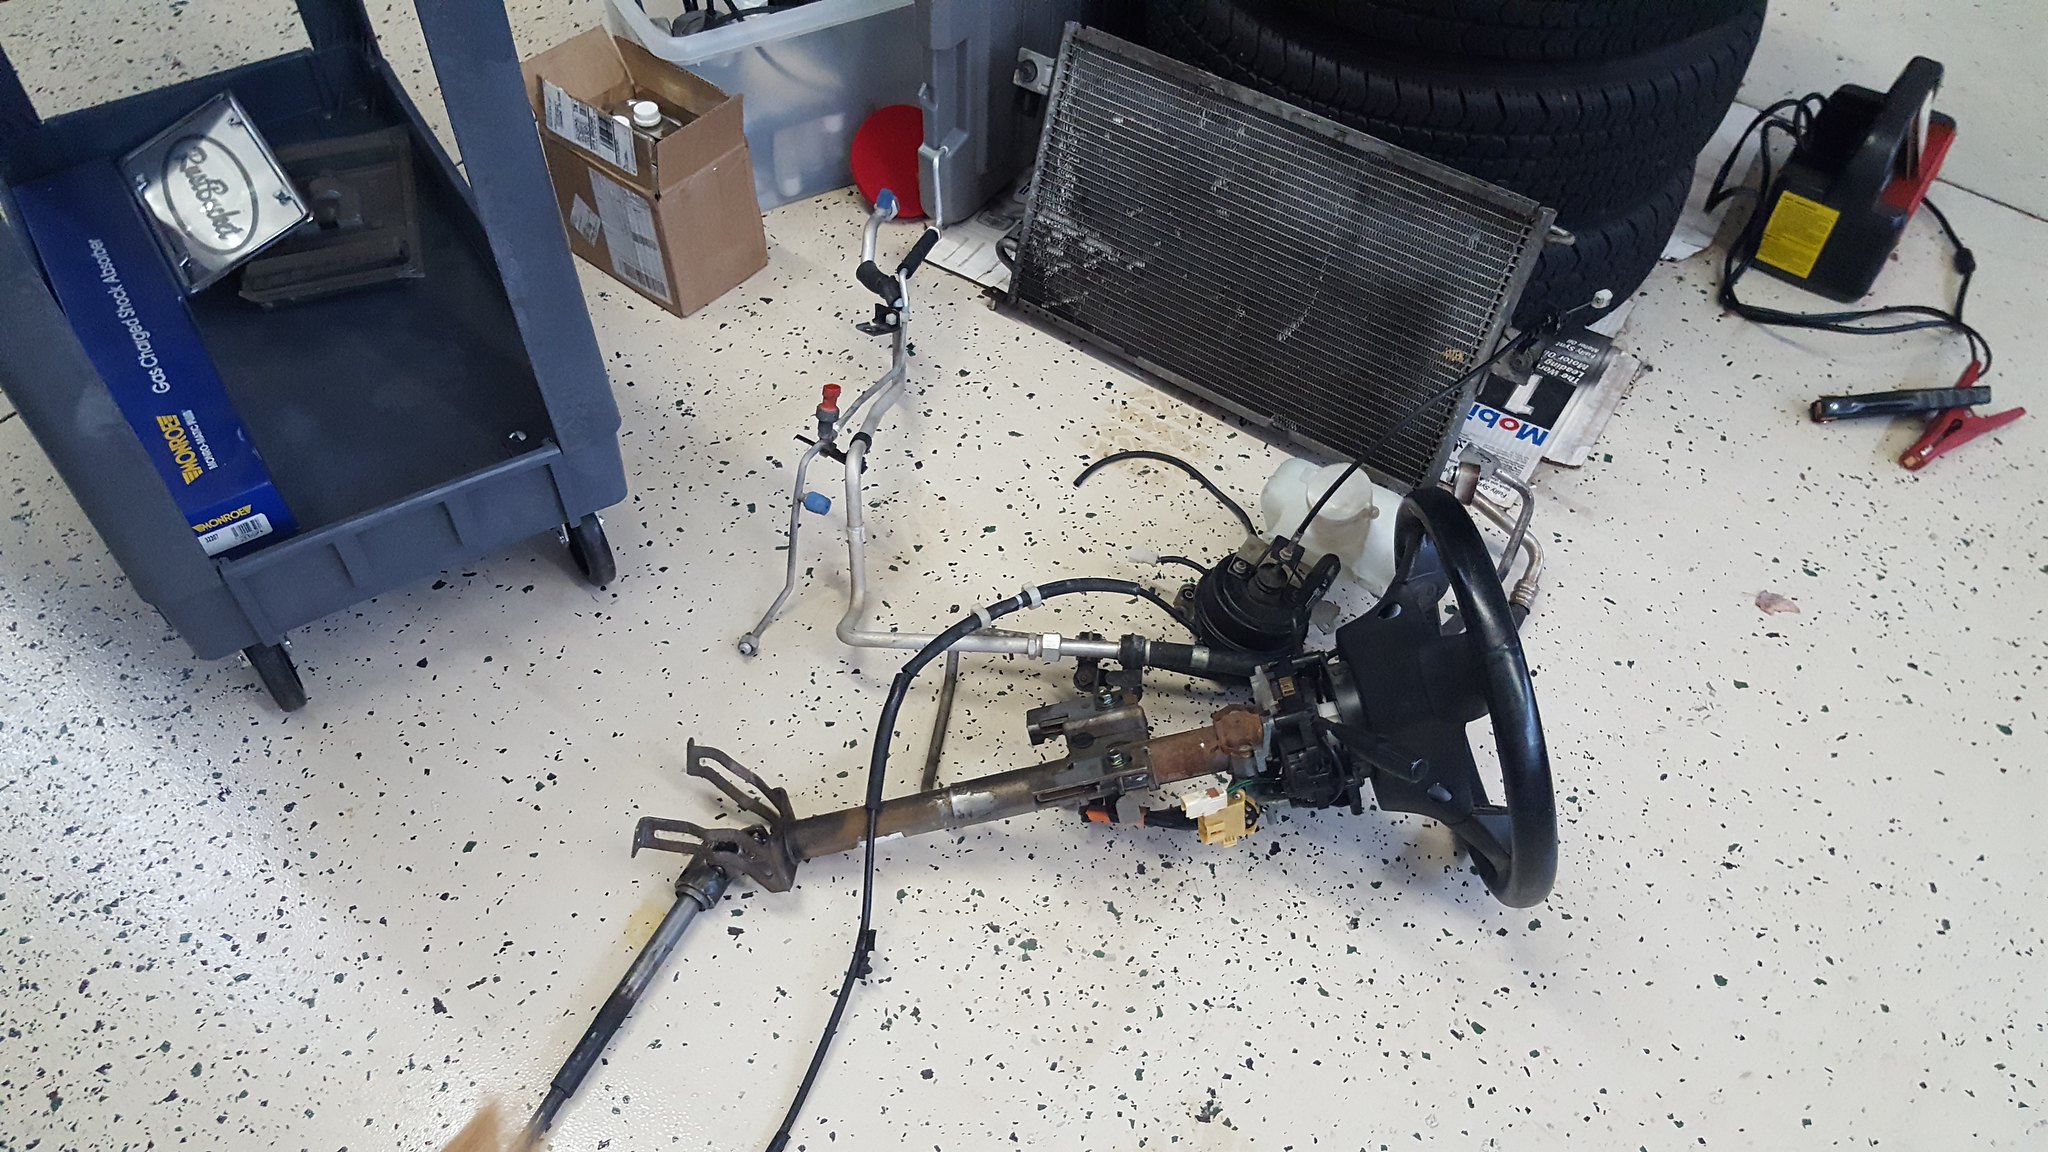
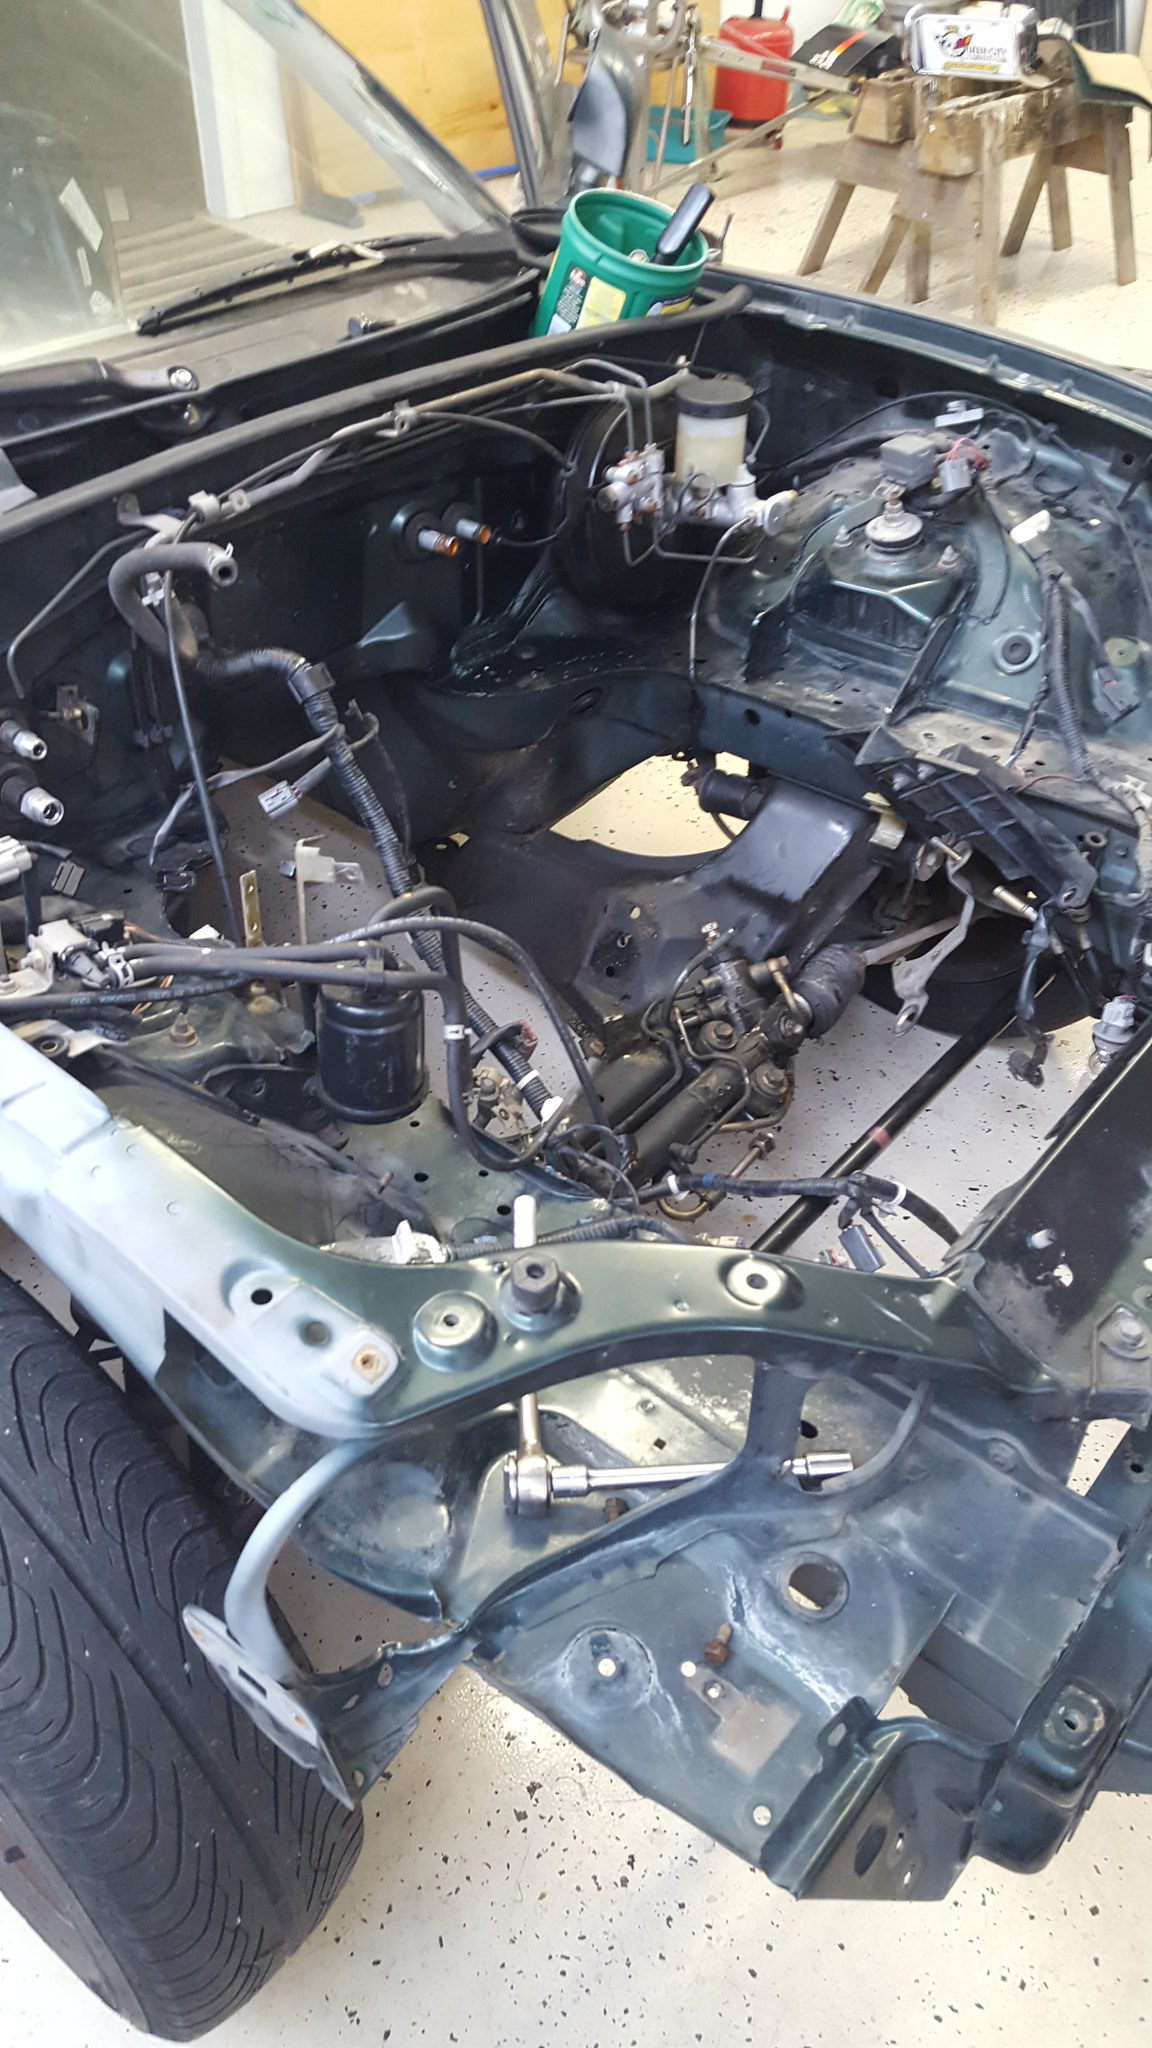
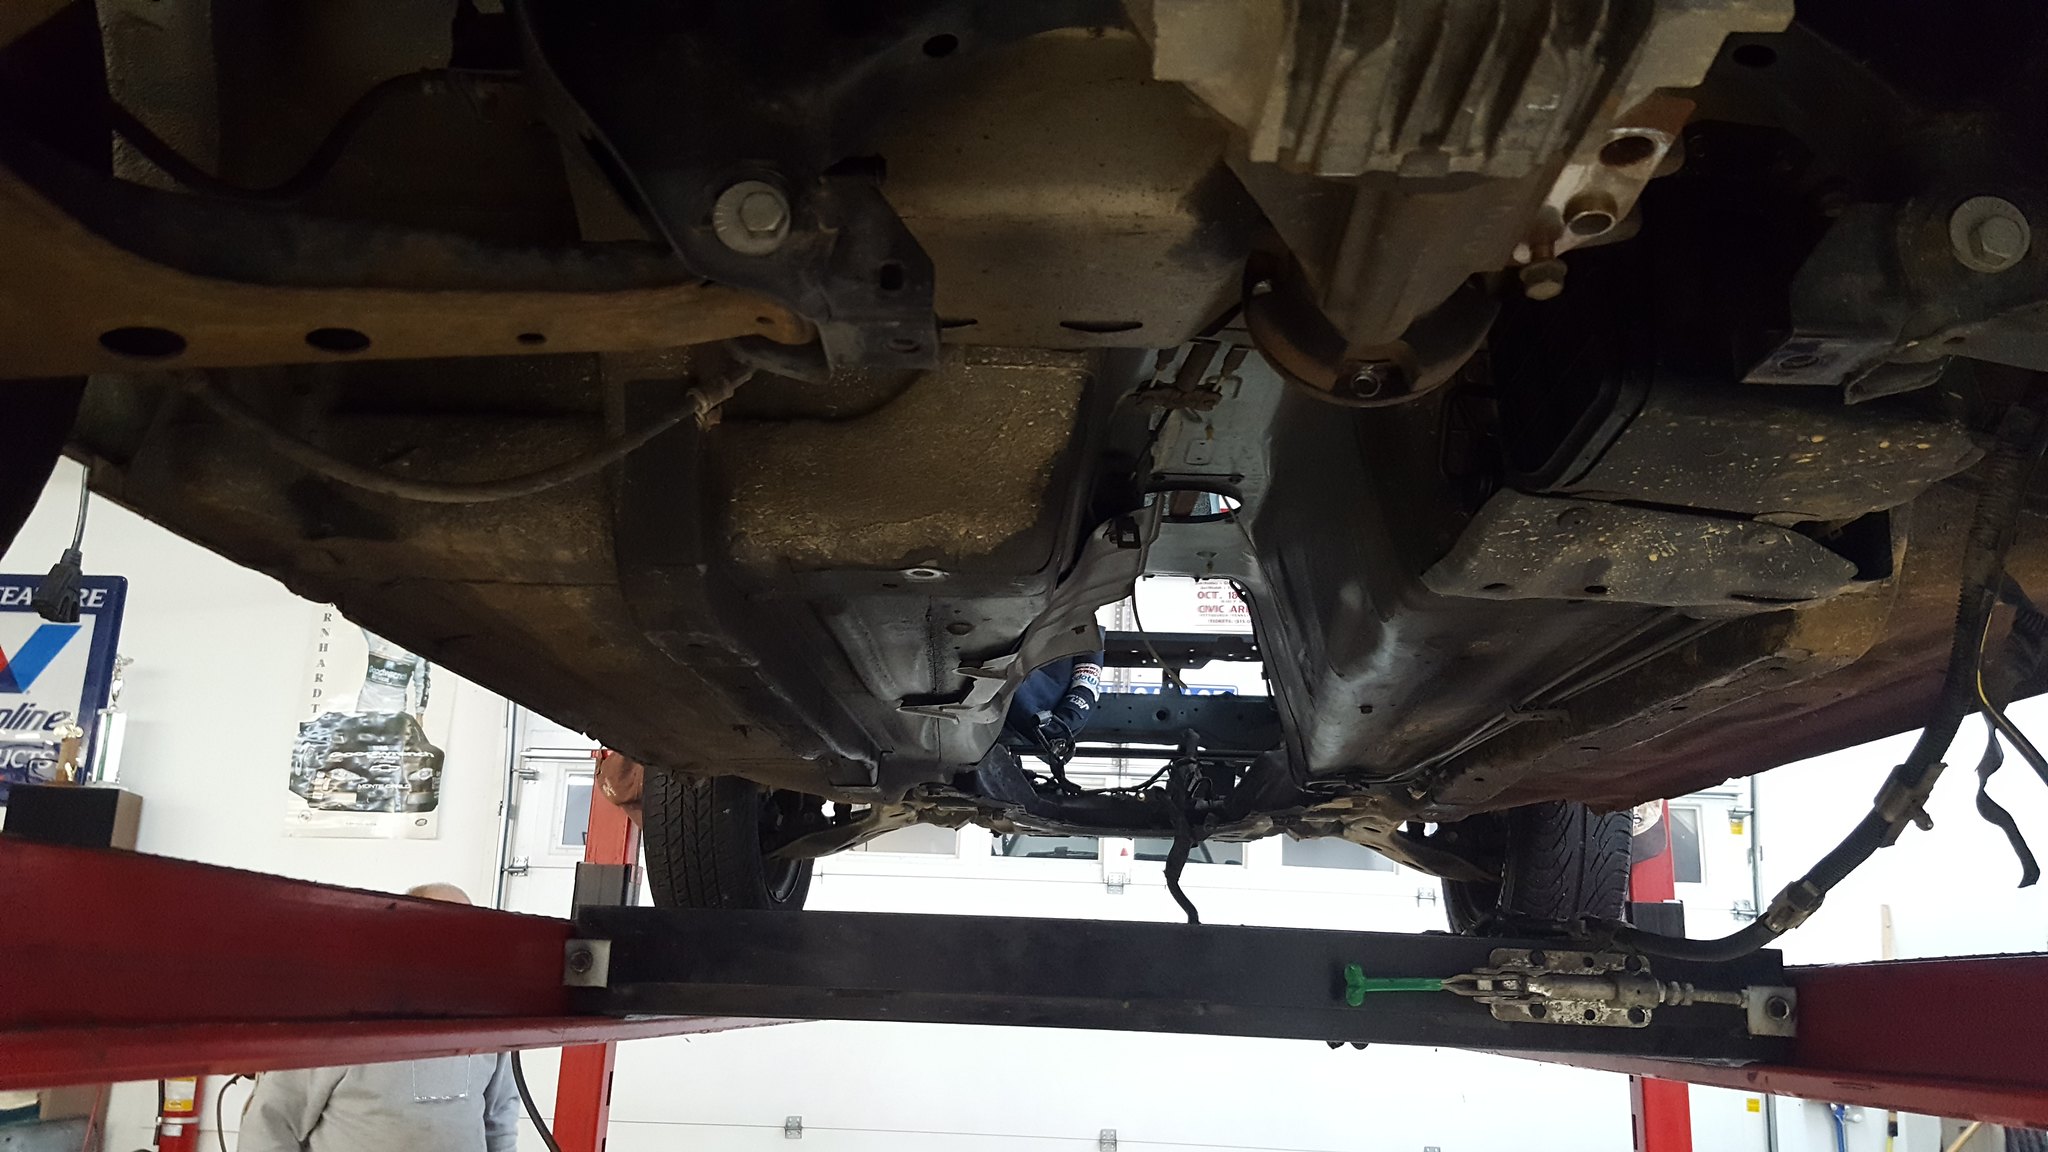
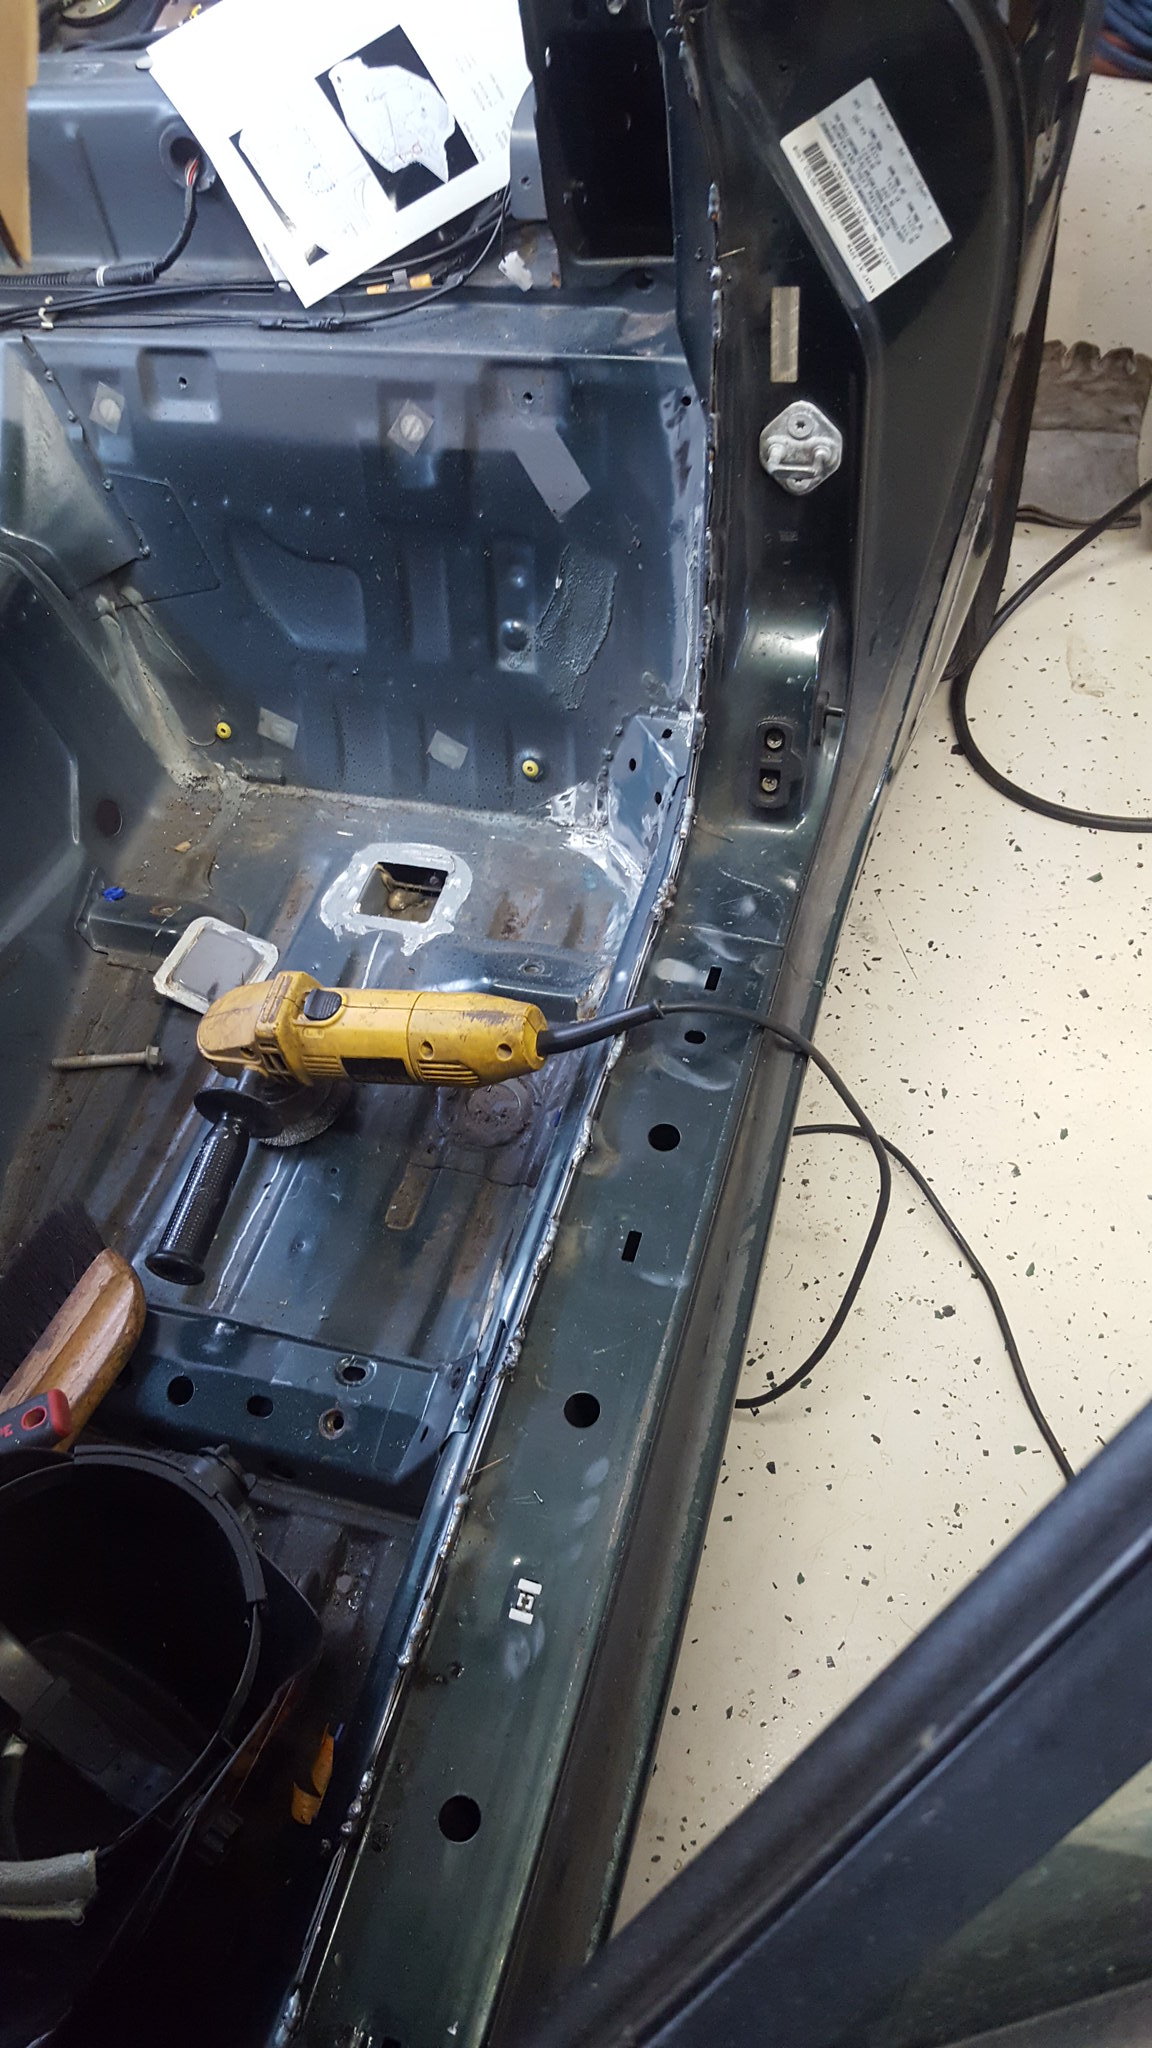
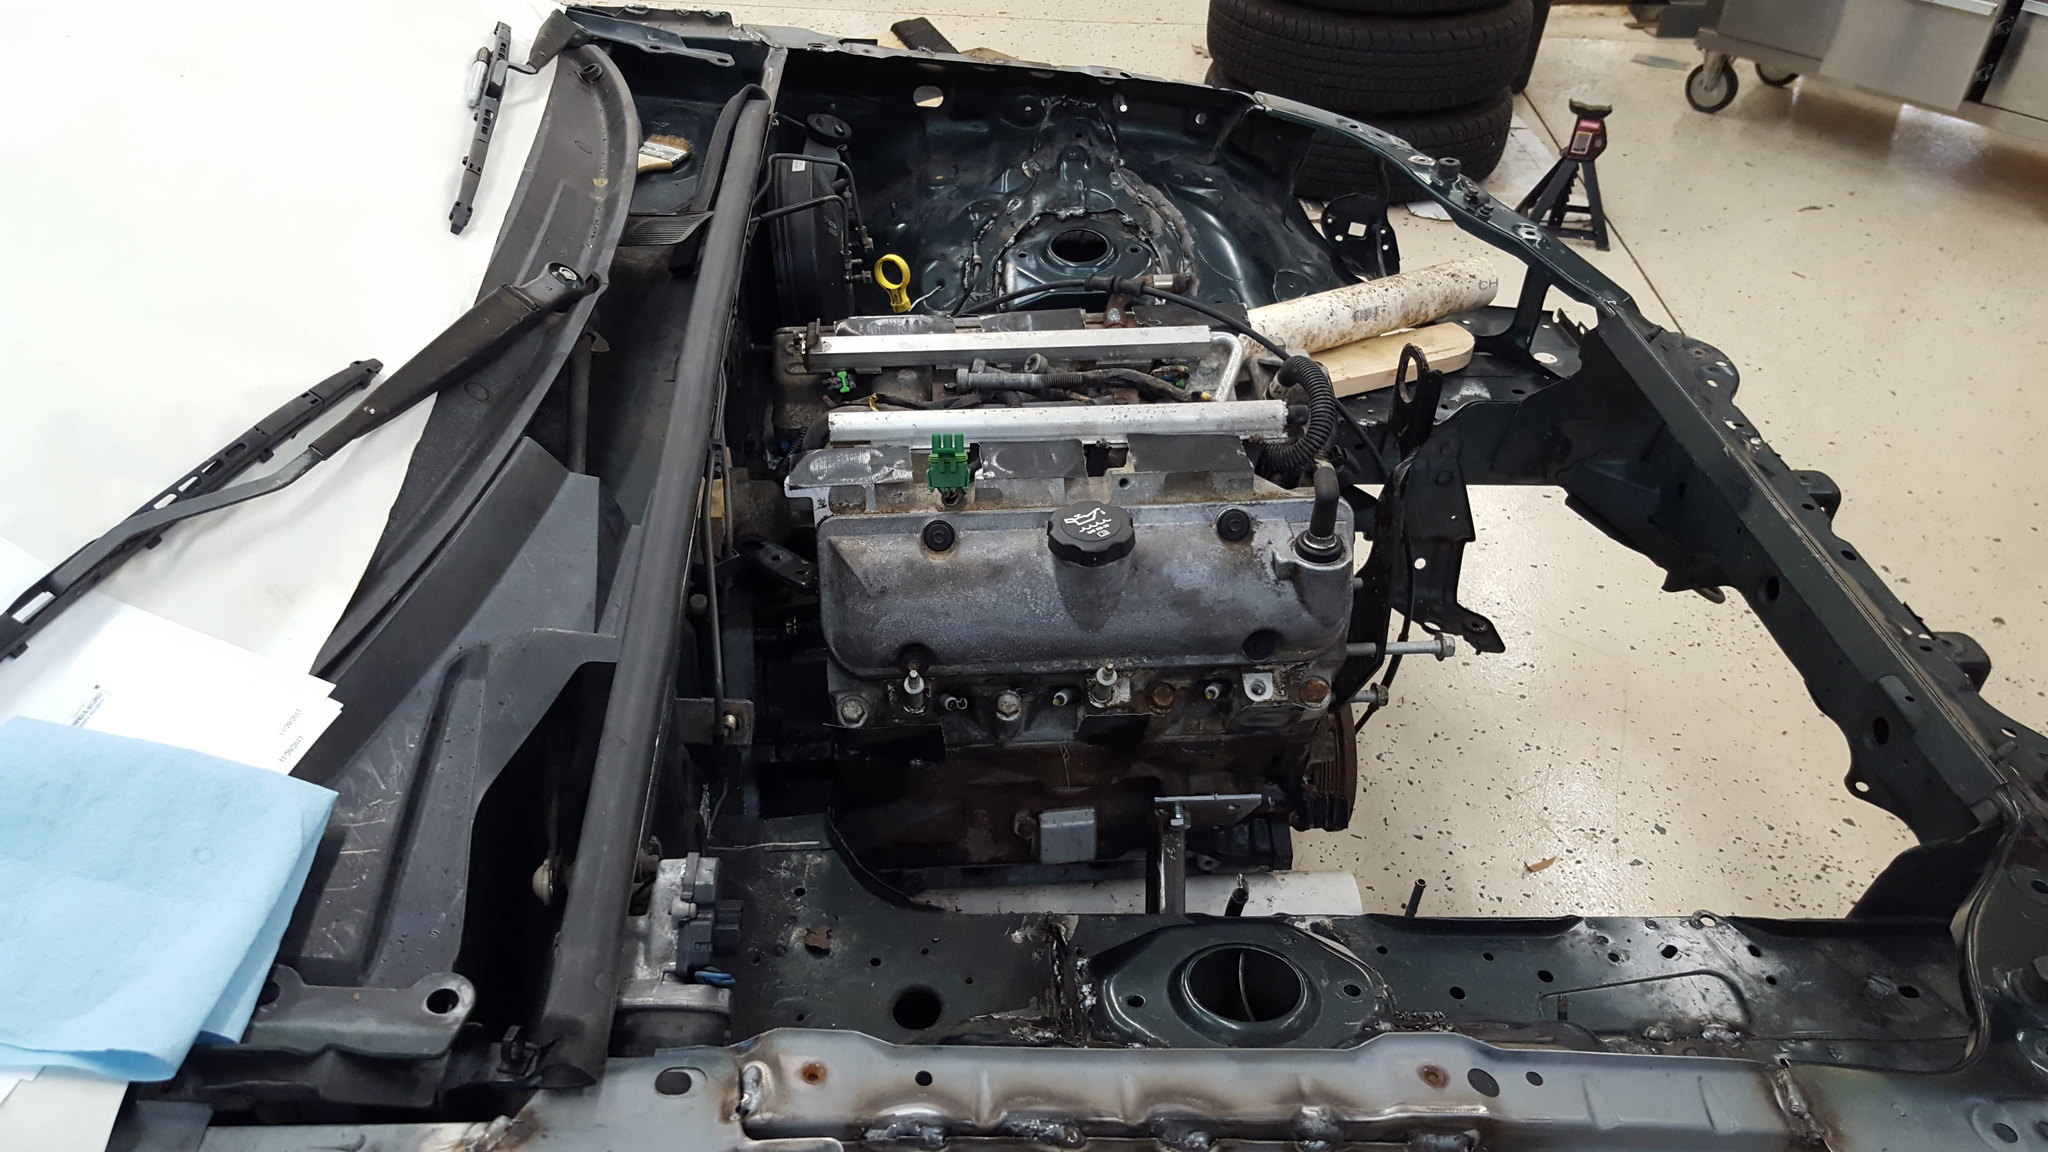
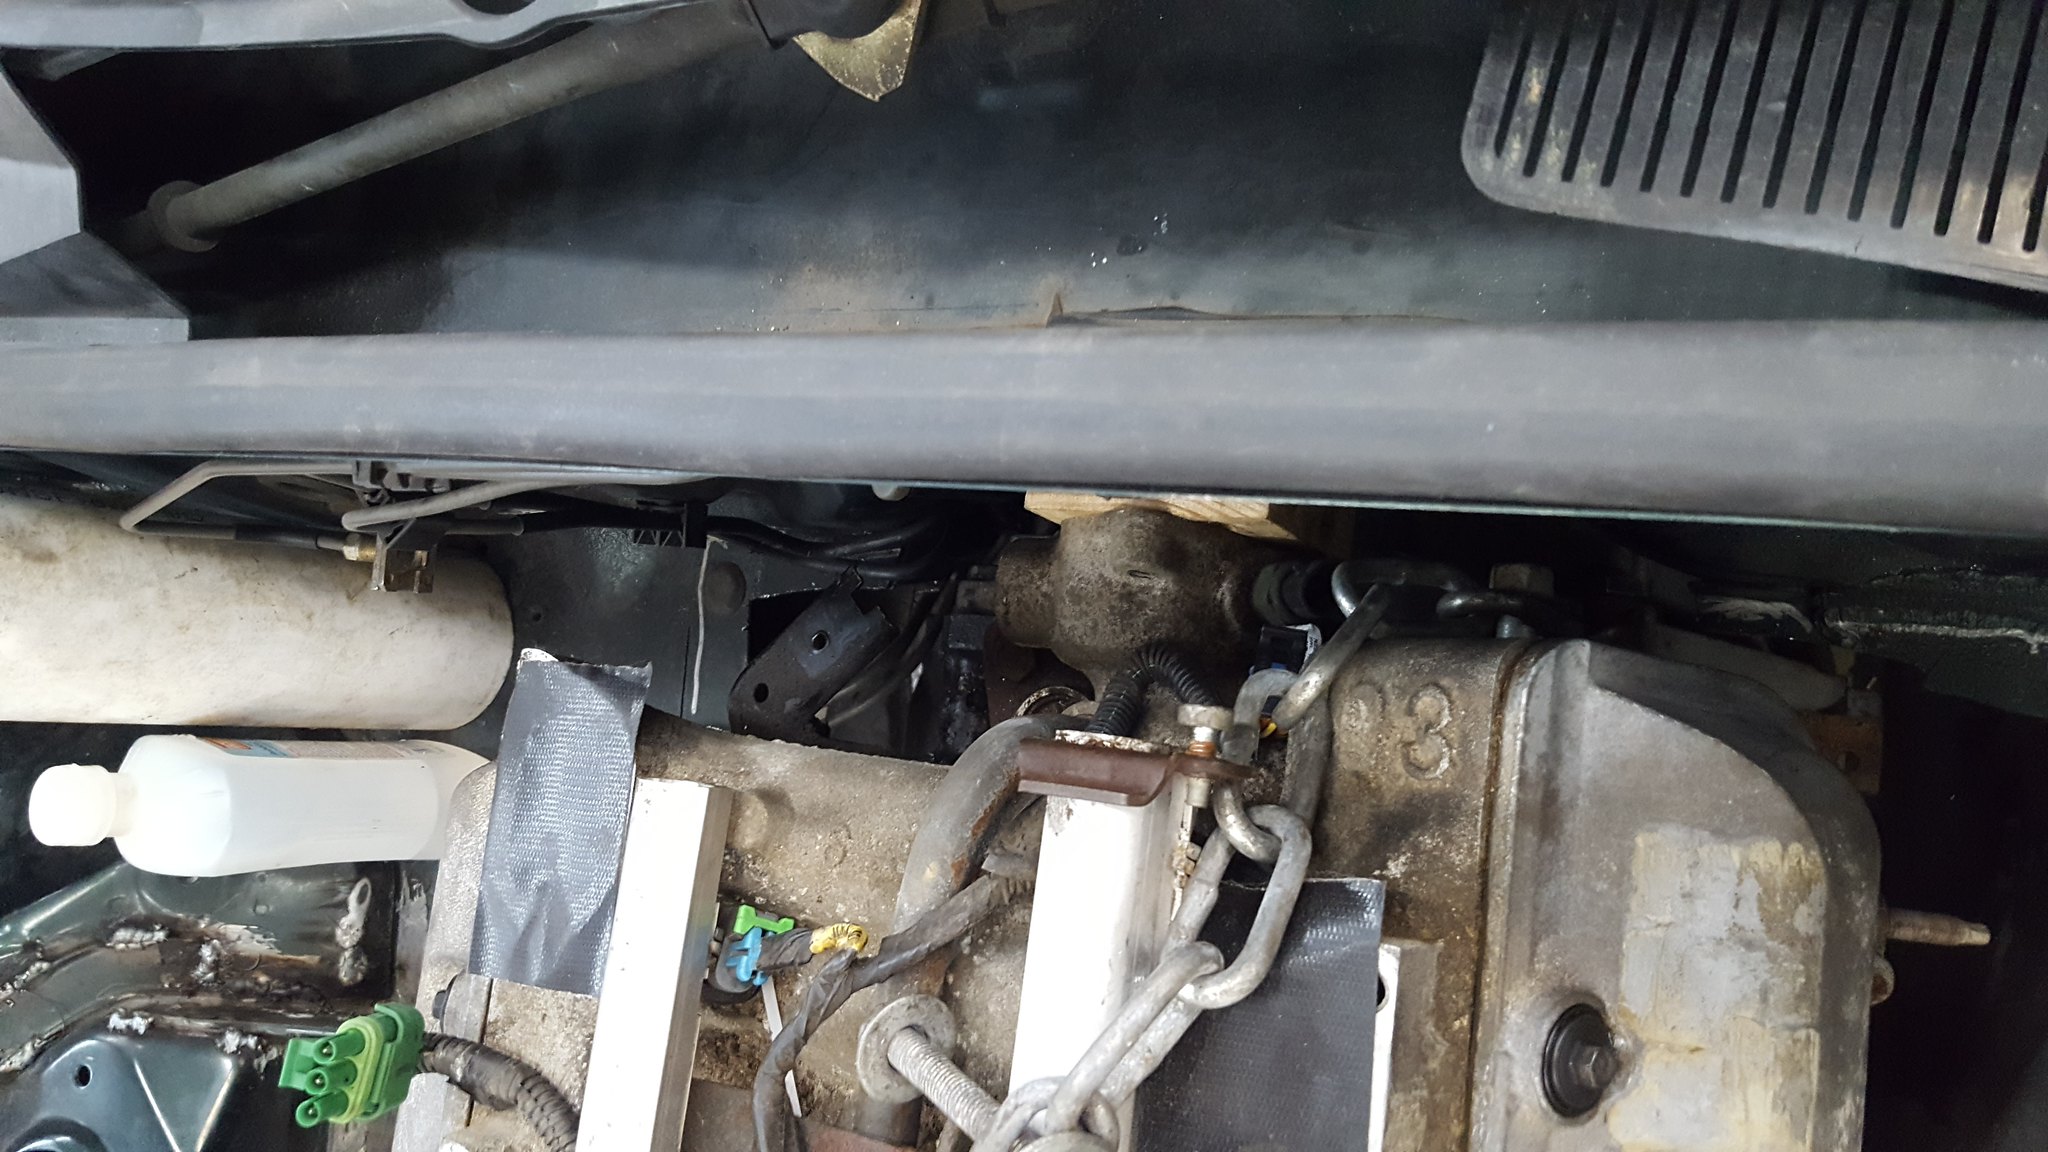
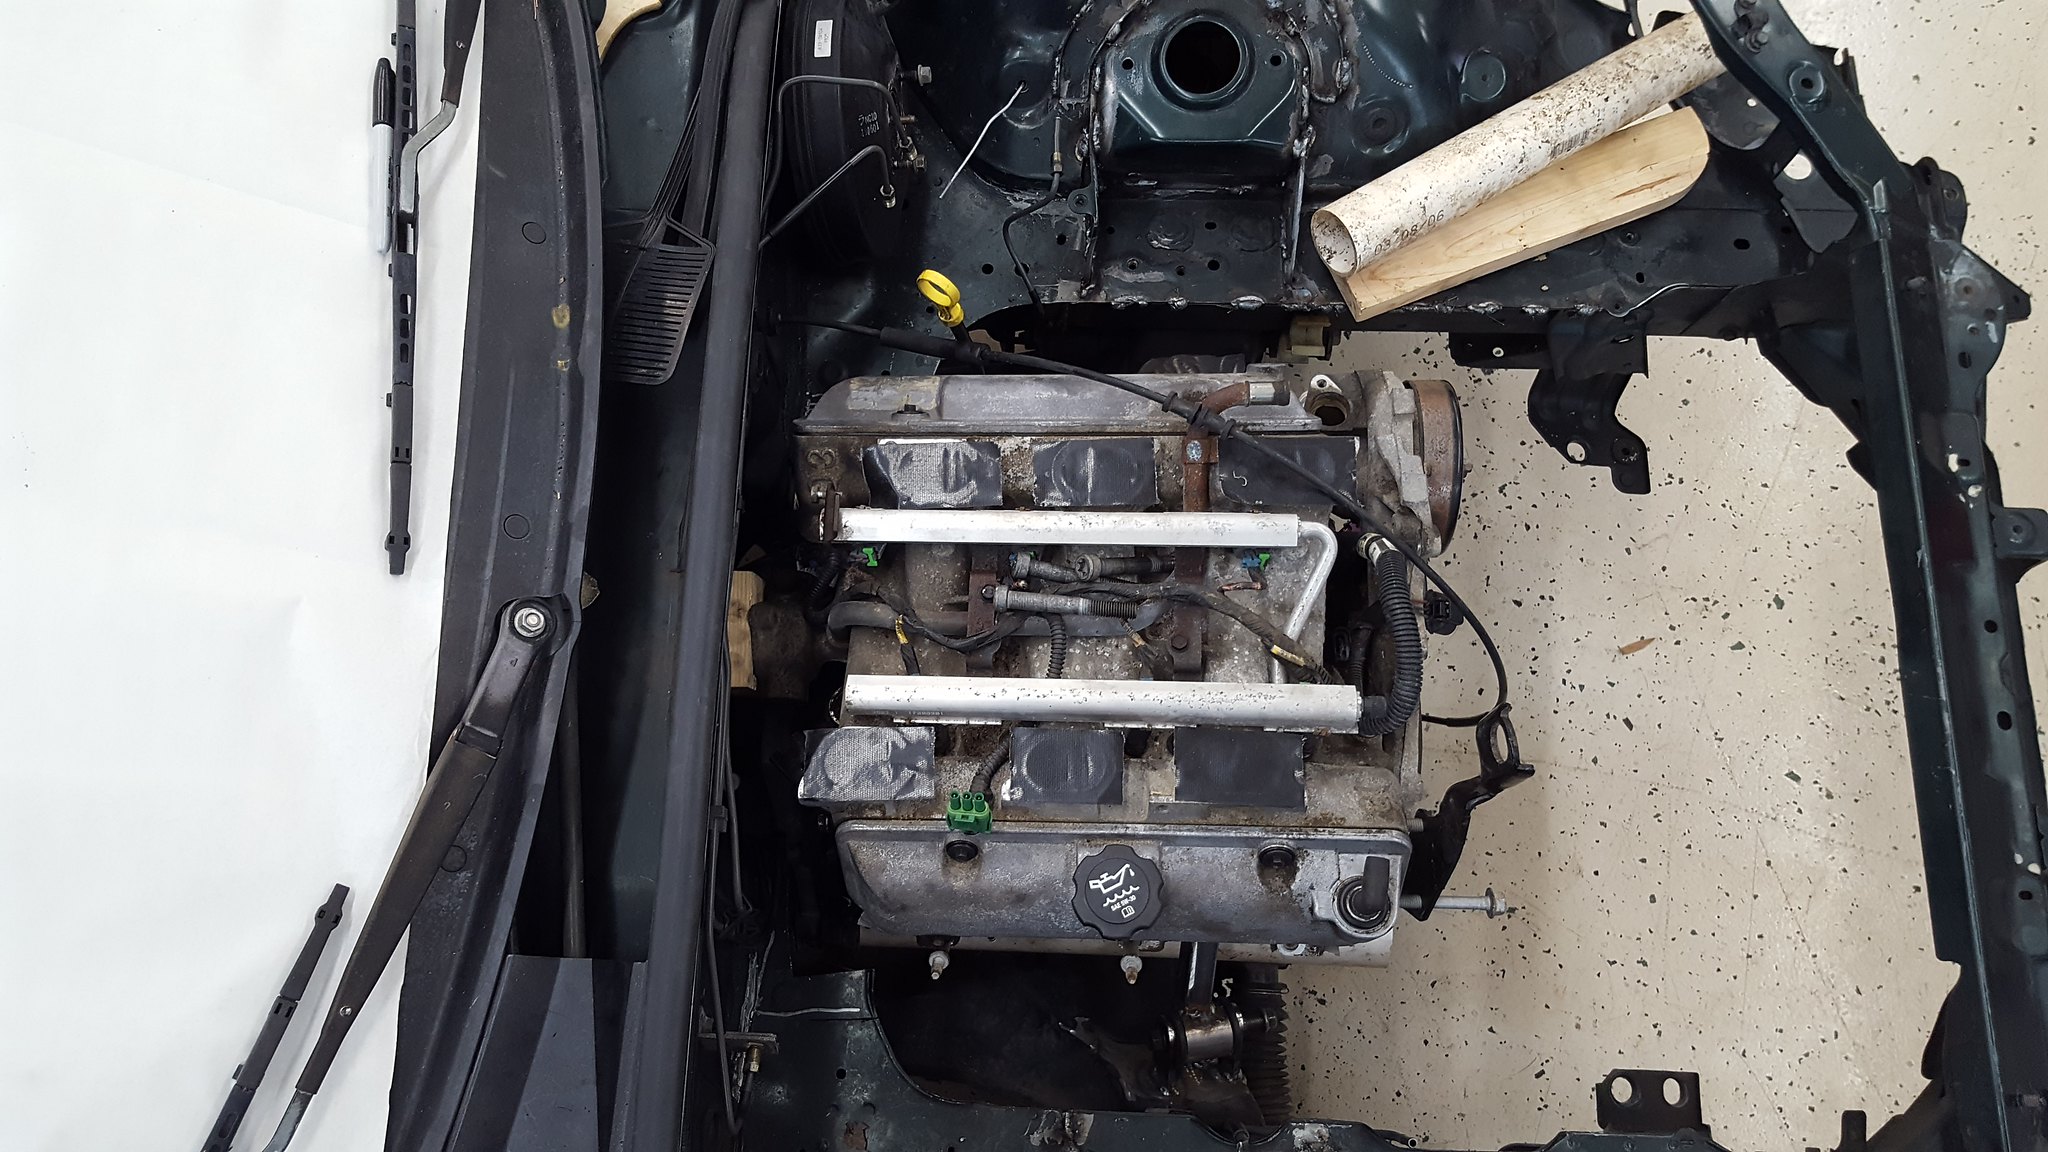
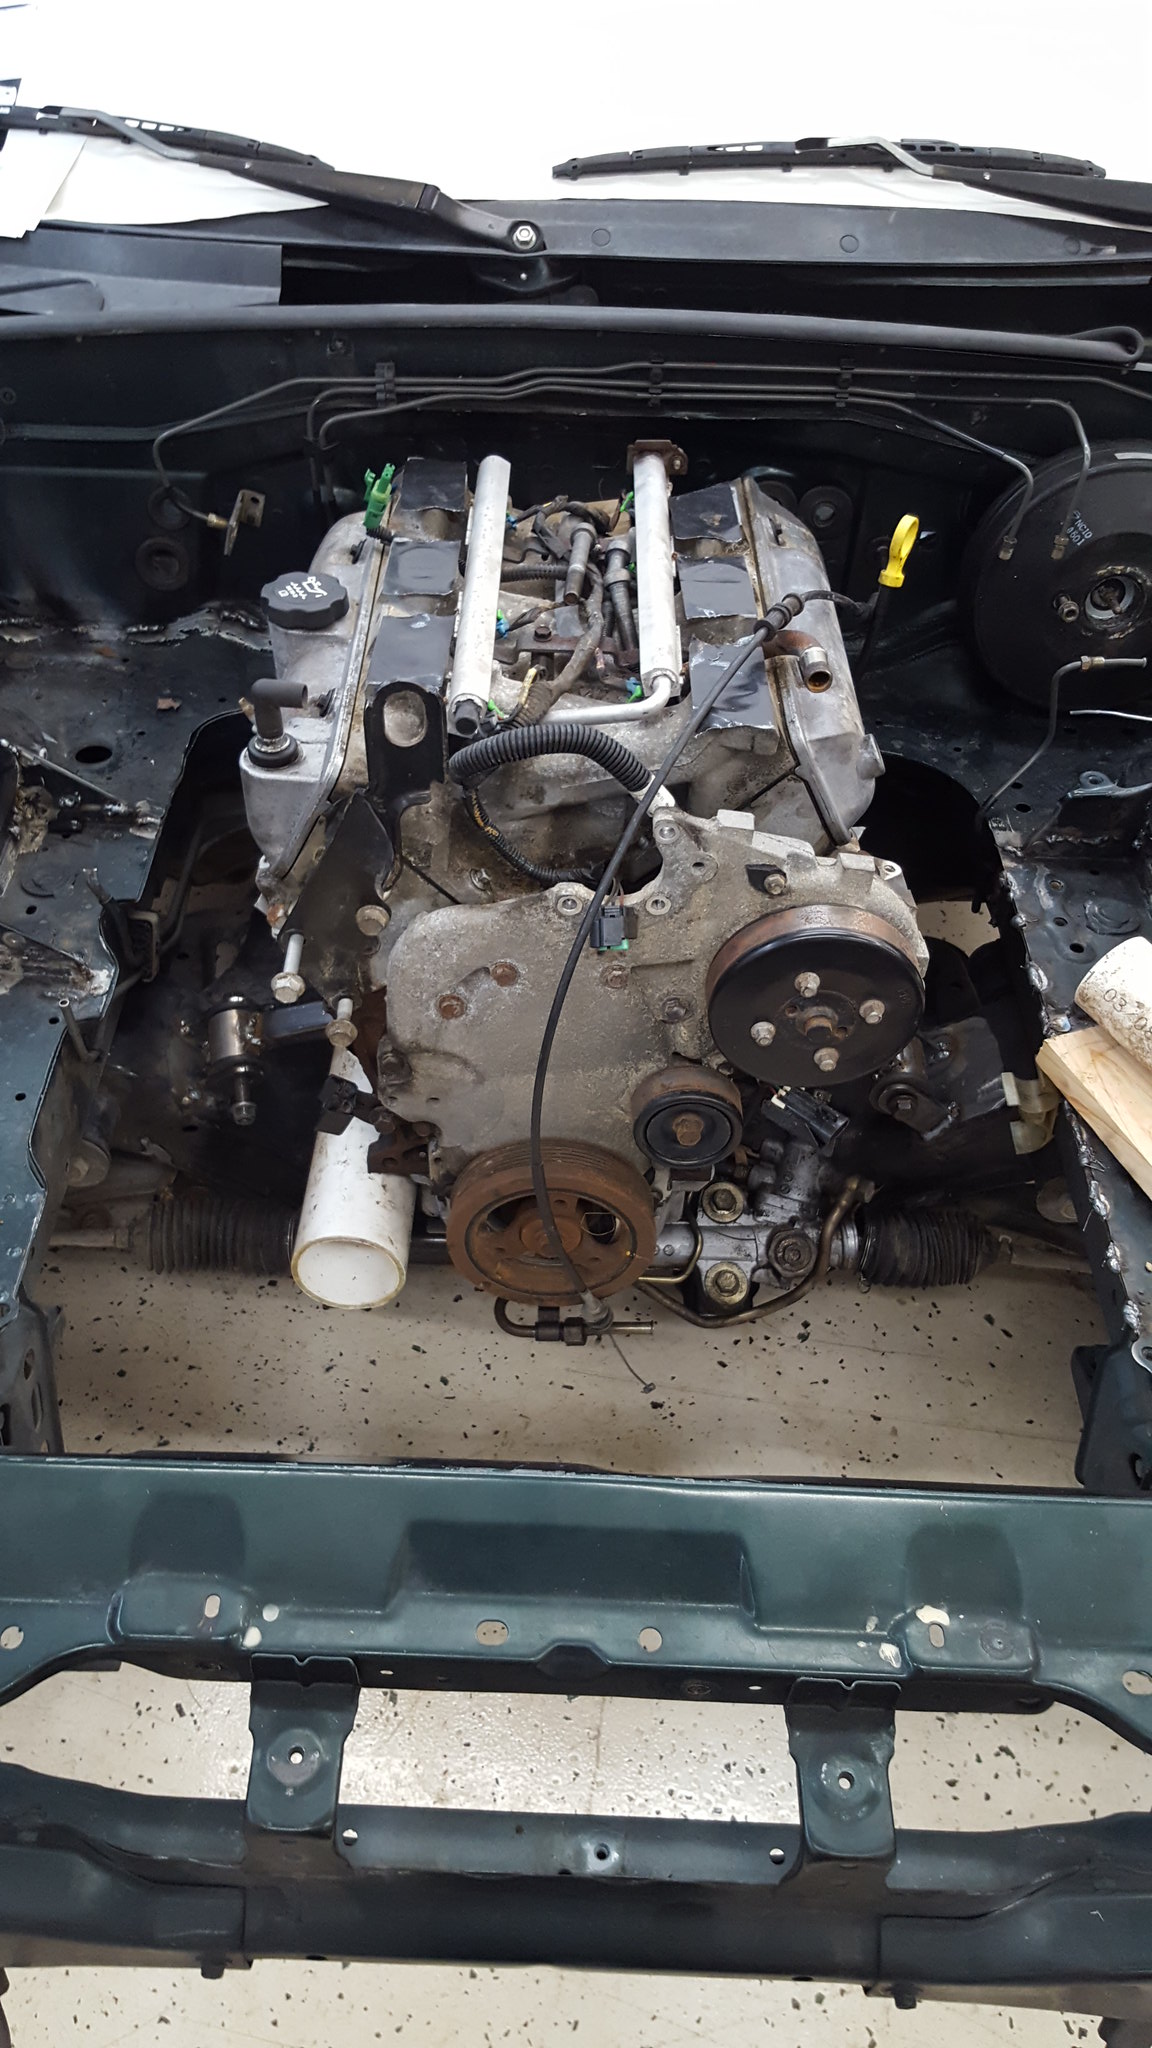
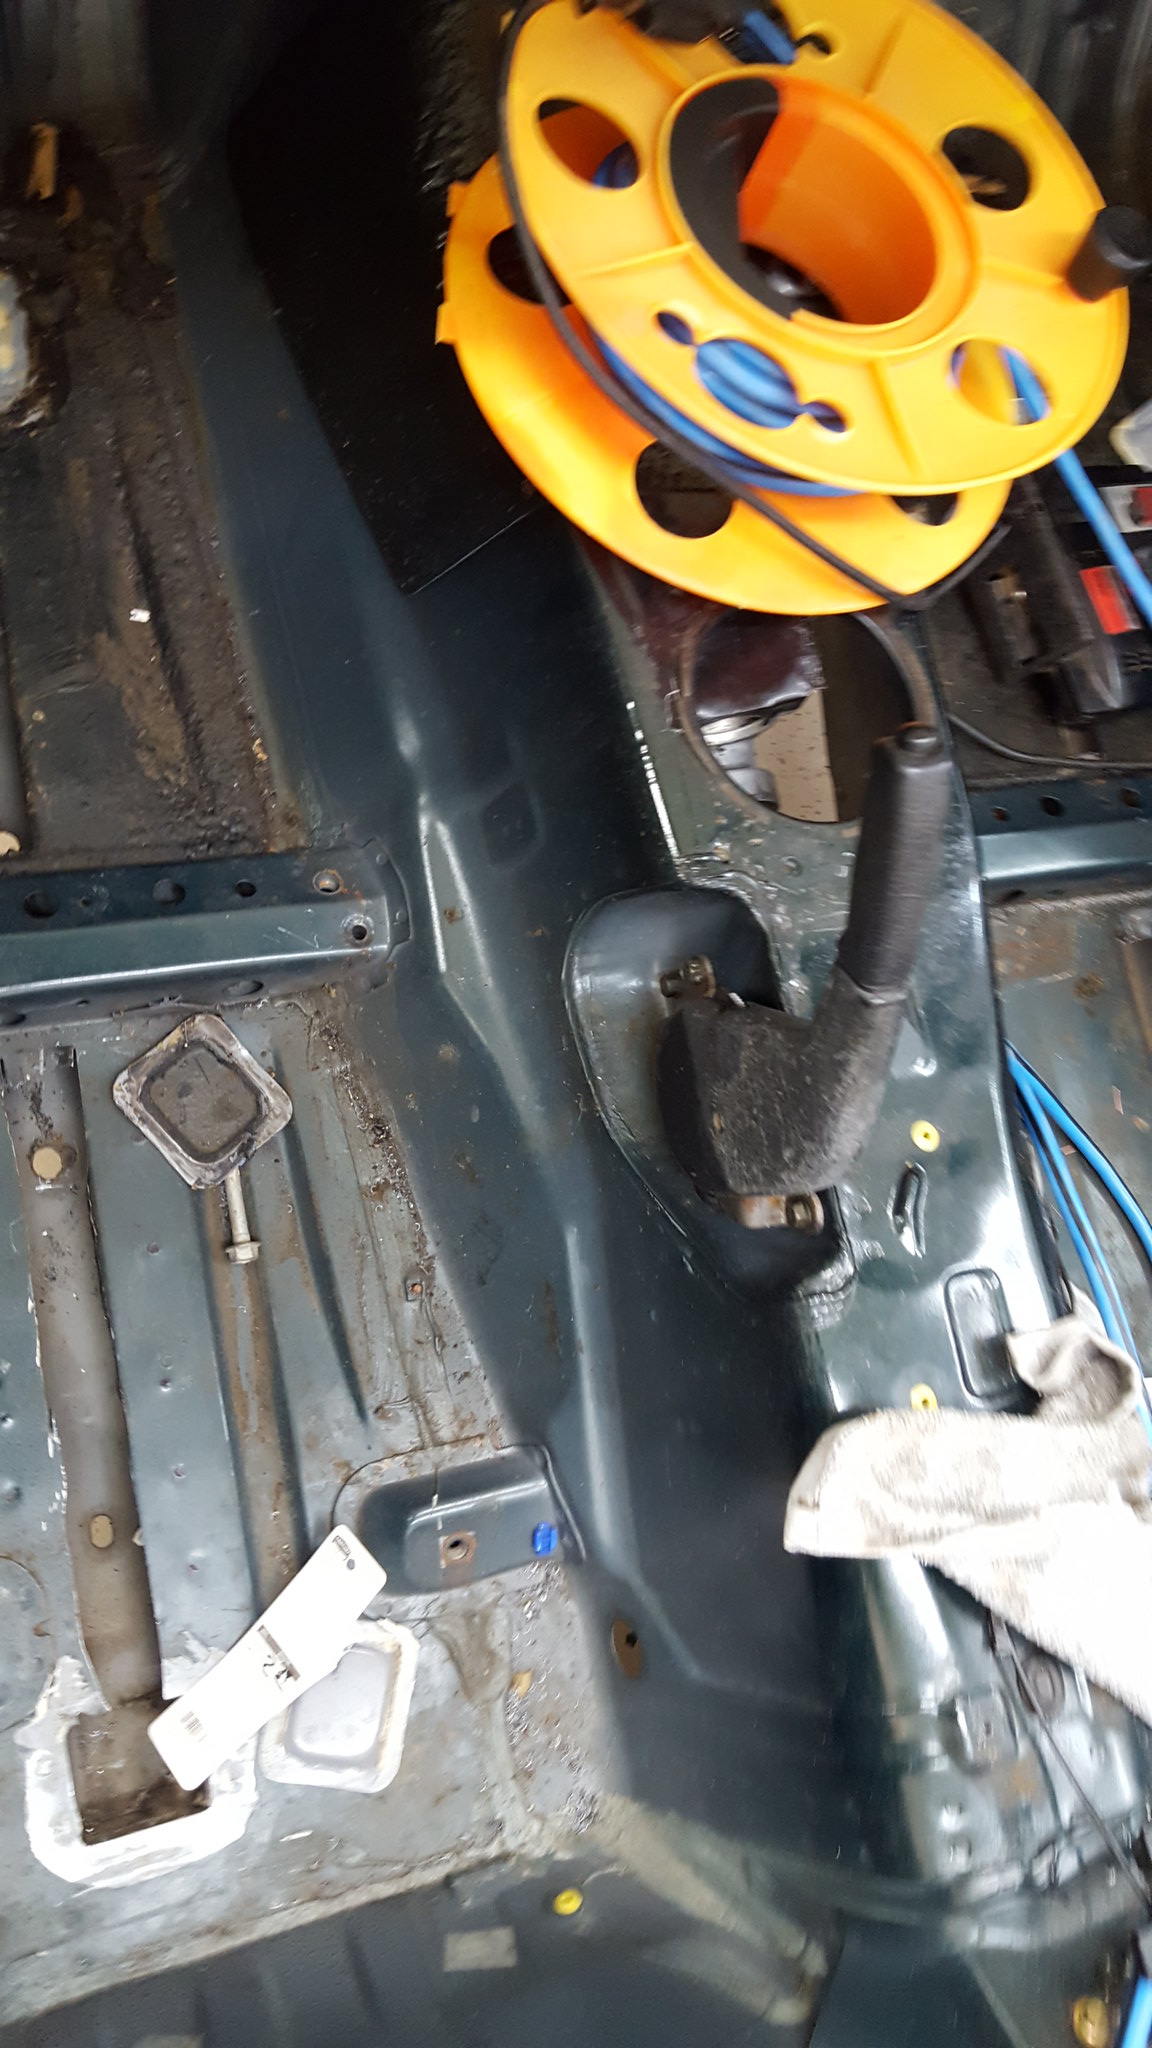
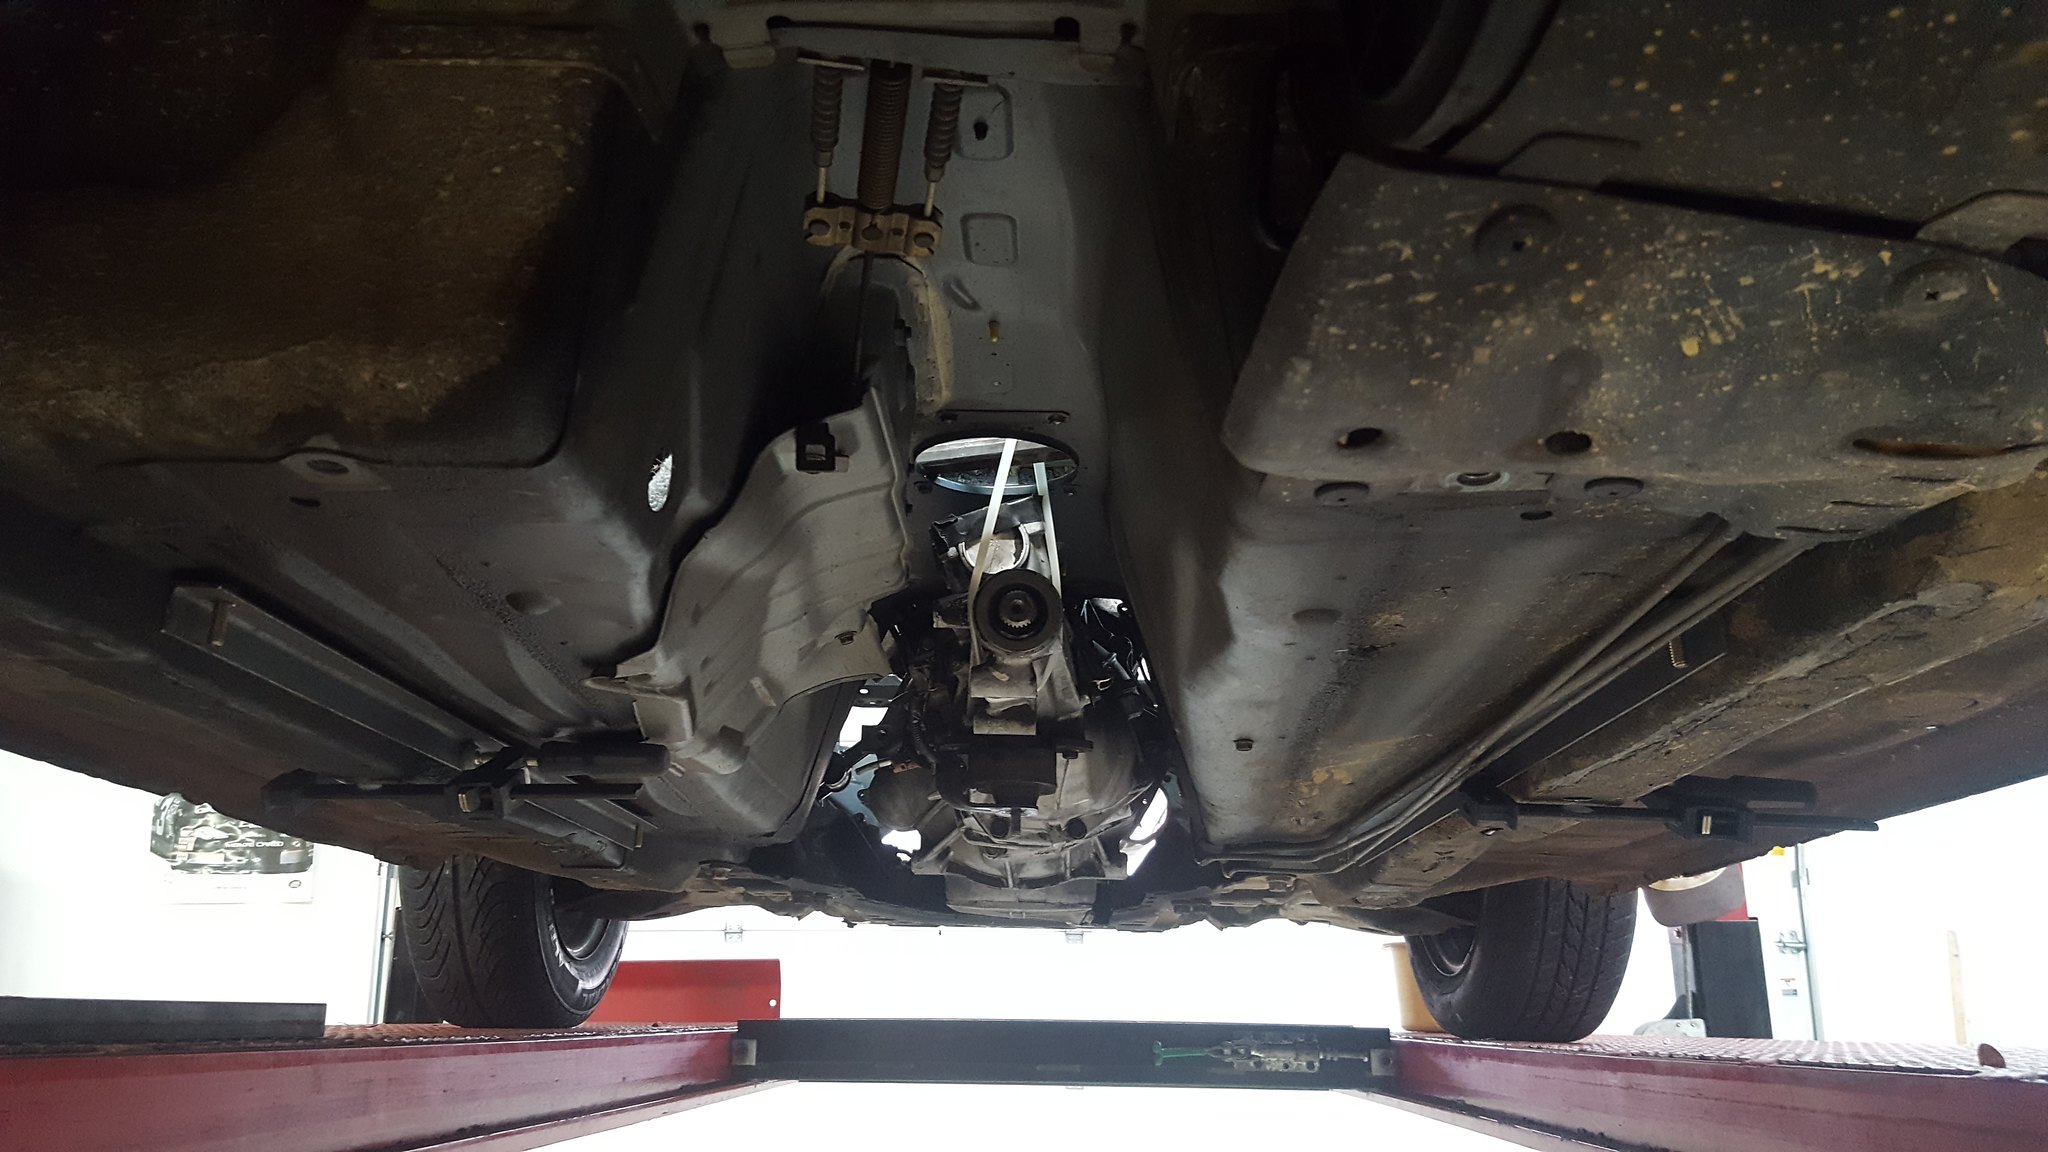
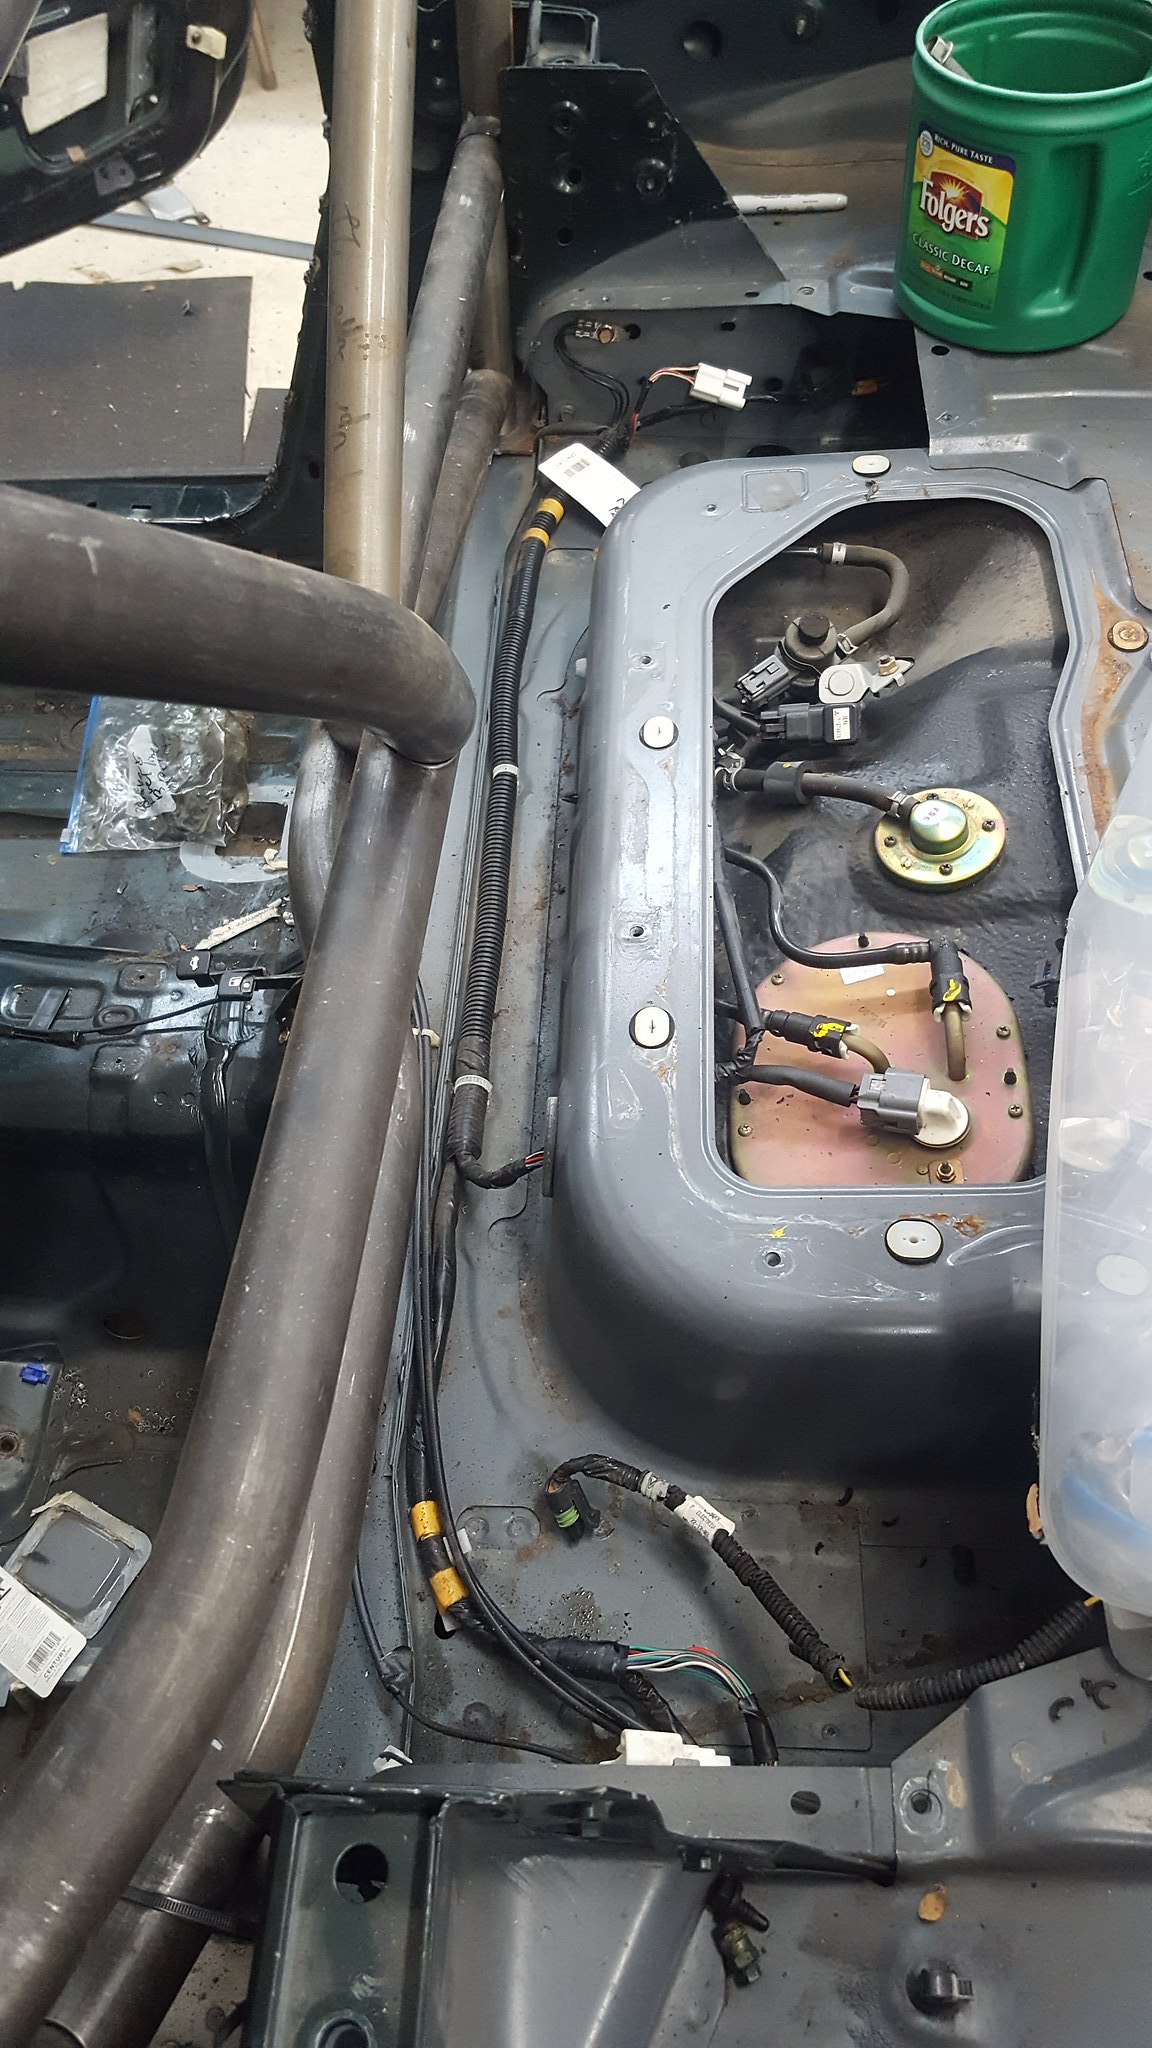
by https://www.flickr.com/photos/150940429@N02/, on Flickrwe moved it to dads place a few days ago. Much bigger shop, with a lift. And my dad. Him and I spent an hour today getting some more stripped out in preparation for depowering the rack and seam welding the chassis per flyin miatas recommendations on their page.
by https://www.flickr.com/photos/150940429@N02/, on Flickr
by https://www.flickr.com/photos/150940429@N02/, on Flickr
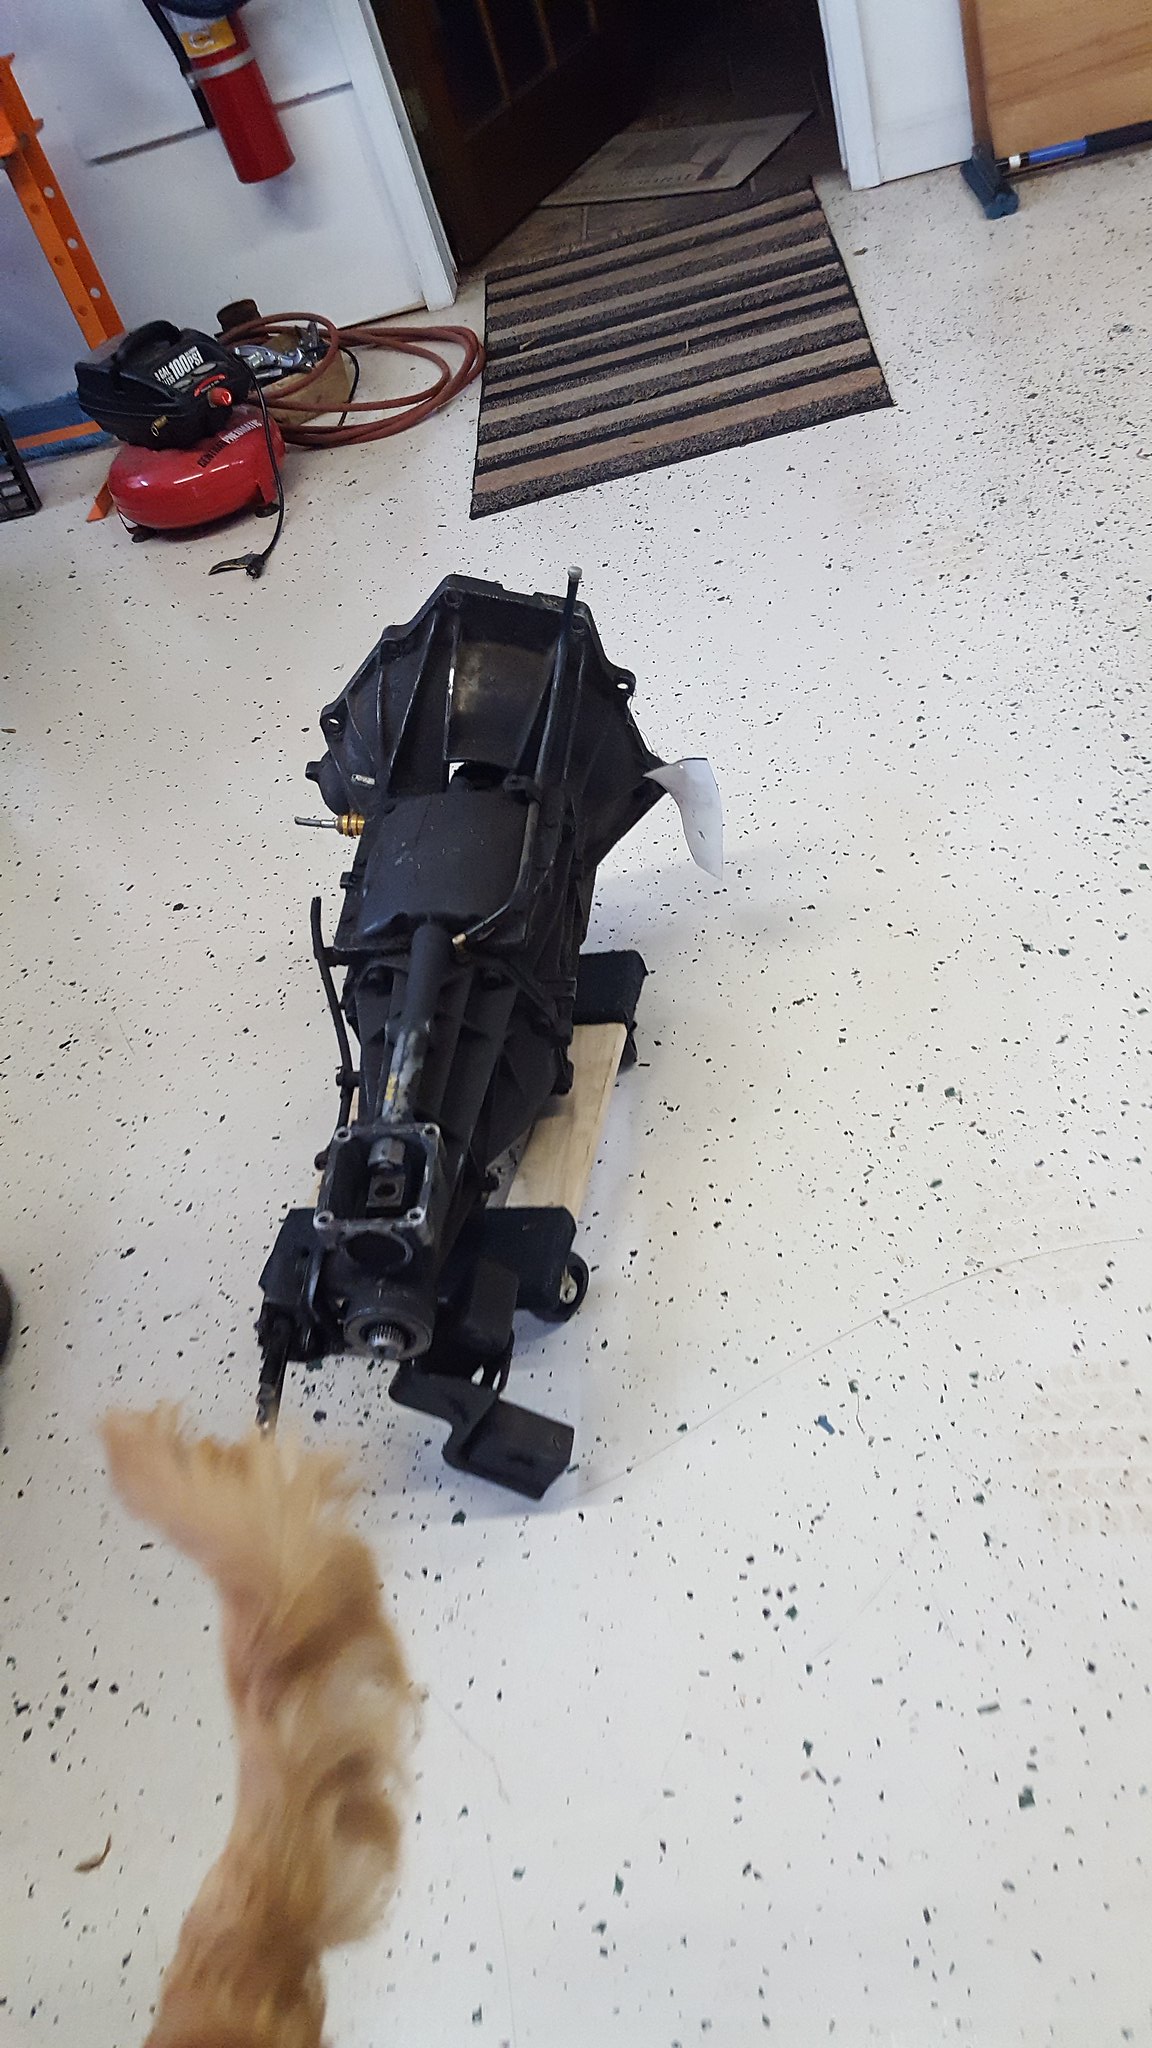
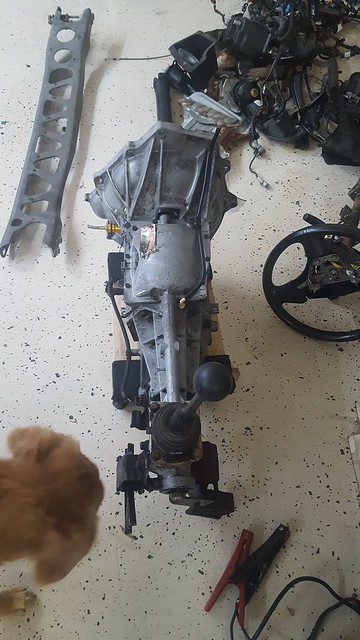
by https://www.flickr.com/photos/150940429@N02/, on Flickrnew trans (shifter is in the trunk):
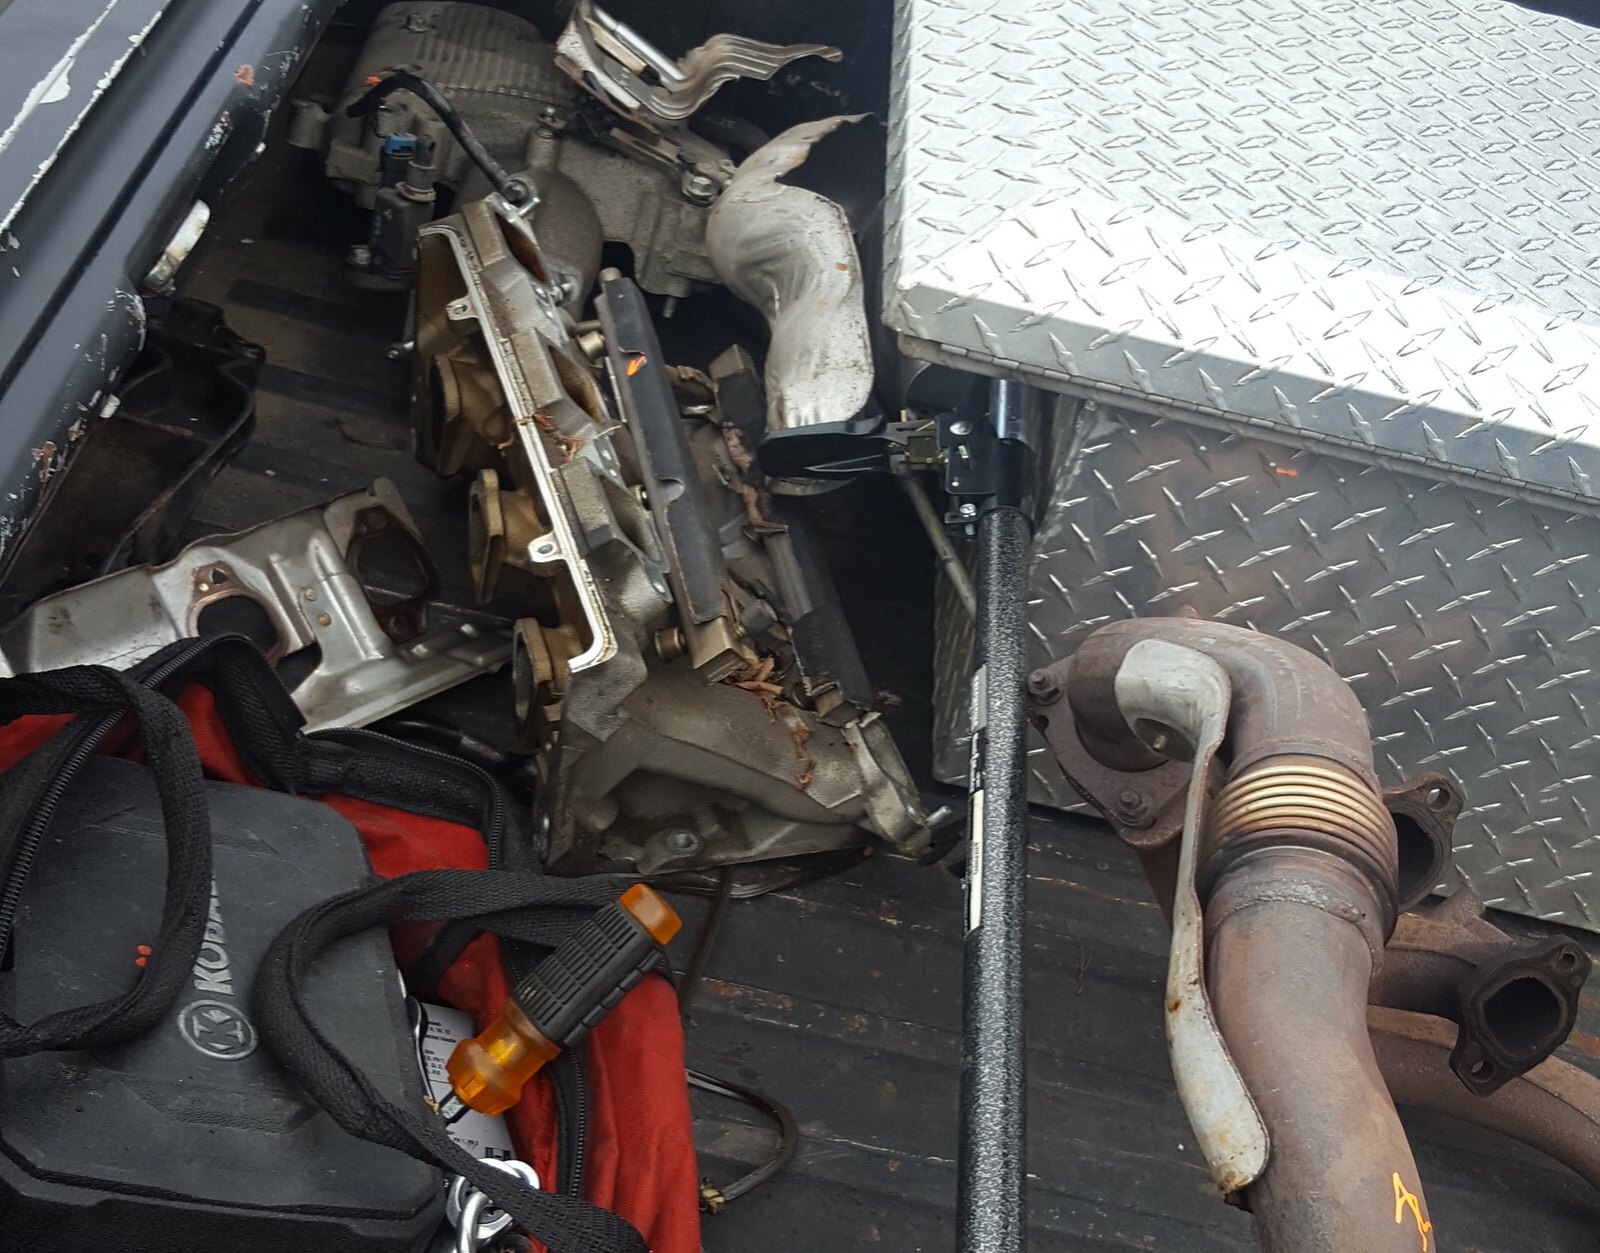
by https://www.flickr.com/photos/150940429@N02/, on Flickrpile of pull-a-part 3500 stuff:
by https://www.flickr.com/photos/150940429@N02/, on Flickr
by https://www.flickr.com/photos/150940429@N02/, on Flickruntil next time friends.
purchased 1999 Miata from John for 800
sold engine, sensors, and top to yupididit for 660
sold/traded torsen rear to self for noisy open rear and 200 recoup
bought 04 3400 from Buick rondevous from Patrick for 75 (going to pick up next weekend)
bought 98 camaro 3800 T5 and bellhousing/shifter/hydraulic throwout bearing from adams auto parts: 132.50
bought 3500 intake and exhaust manifolds from pull-a-part 106.75
bought used nitrous kit with bottle heater and chopped up feed line and no pills for a 4bbl from a yardsale in a trailer park near fayetteville: 25
used and abused hoosier SM7 slicks: 20 for the set
Apexi SAFC $25 from craigslist in Raleigh
current total: 384.25recoup total: 800
ok, so this car wasn't supposed to happen. I had thought about it, and decided against it. But when dad got back from his RV trip out west after $2017 with the AMC, he was bit hard by the challenge and wanted to build a 2018/2019 car with me. So I ventured my idea of a turbocharged NB Miata with a 3400 gm v6. He loved the idea, and layed $1000 on the table for me to work with. With my wife out of work right now, that's ALL we have to work with. Just cant financially do it right now otherwise.
But I don't want to miss what may be my last opportunity to build a race car with my father. Hes in his 70s now, and I love spending time with him. We've built a few together over the years, and I always enjoy it. Its helped me to be the halfway decent father and husband that I am, as we always talk about a lot more than the metal in front of us. And hes a great guy to go on road trips and junkyard crawls with. So I jumped at the opportunity. We negotiated some deals to cover our gas to Ohio and back to pick up Patrick 3400, I sourced a trans in greenville SC while delivering a door to Tuna55 (thanks again for picking it up!), and started some threads learning about how to do this.
See, ive never turbocharged anything before. Or stuffed an American engine in a Japanese car without a kit. (SBC RX7 don't count). Or made something OBD2 compliant. So, this should be suitably difficult to be entertaining.The basic plan, as it sits, is thus:
- 2018/2019 GRM challenge
- 3400 v6 5 speed
- 325+ hp at the wheels
- 2400lbs with driver
- OBD2 compliant
- NC street legal and inspected
- sticks like superglue between your fingers
- reliable
- blue
so...well, what the hell. Why not?
Here's some pictures of how I bought the car, but not shown are the small appearance package, broken headlights, mangled right front fender, or front bumper cover. I hadn't planned a challenge build at first, so initial documentation is pretty pathetic.


Thread Starter
V8 Miata Noob
Joined: Nov 2017
Posts: 13
Likes: 0
From: albemarle north carolina
i have googled my butt off for the last week, and am finally starting to get some good grips on the fabrication and execution of this. as well as the late 660 engines. turns out that the 3500 parts i picked up are from the first of the VVT engines, and therefore not able to be used. so ill need to return them for store credit when i get back into town.
additionally, this will not be anywhere near as simple as i initially thought. theres going to be major crossmember surgery due to the oil pan being integral on the 3400 and having crossbolted mains. to properly swap the intake 180 degrees, all the rwd accessories need to be swapped in for the fwd stuff.
however, ive found references that just the upper intake can be flipped and prevent half the issues, but no actual pictures or how tos. so no guarantee that its actually possible.
there will need to be some flanges and wings and protrusions cut out in the engine bay for clearance.
PPF will need dealt with due to the camaro trans not actually using the torque arm in the same manner, and concerns about stress on the t5 in that manner.
cooling may be troublesome as well, though i found an LFX swap thread where they angled the radiator, stuffed a bigger radiator in, and vented the hood.
so, areas of research that need to continue at this time (y'all are welcome to play along at home and post links to informative stuff, or personal experience)
1. additional chassis bracing and rigidity mods on challenge budget
2. cooling upgrades, preferably bigger radiators and mounted in was to provide more space for intercooler and turbo
3. PPF/rear end shennannigans
4. crossmember mods for clearance and strength.
Thread Starter
V8 Miata Noob
Joined: Nov 2017
Posts: 13
Likes: 0
From: albemarle north carolina
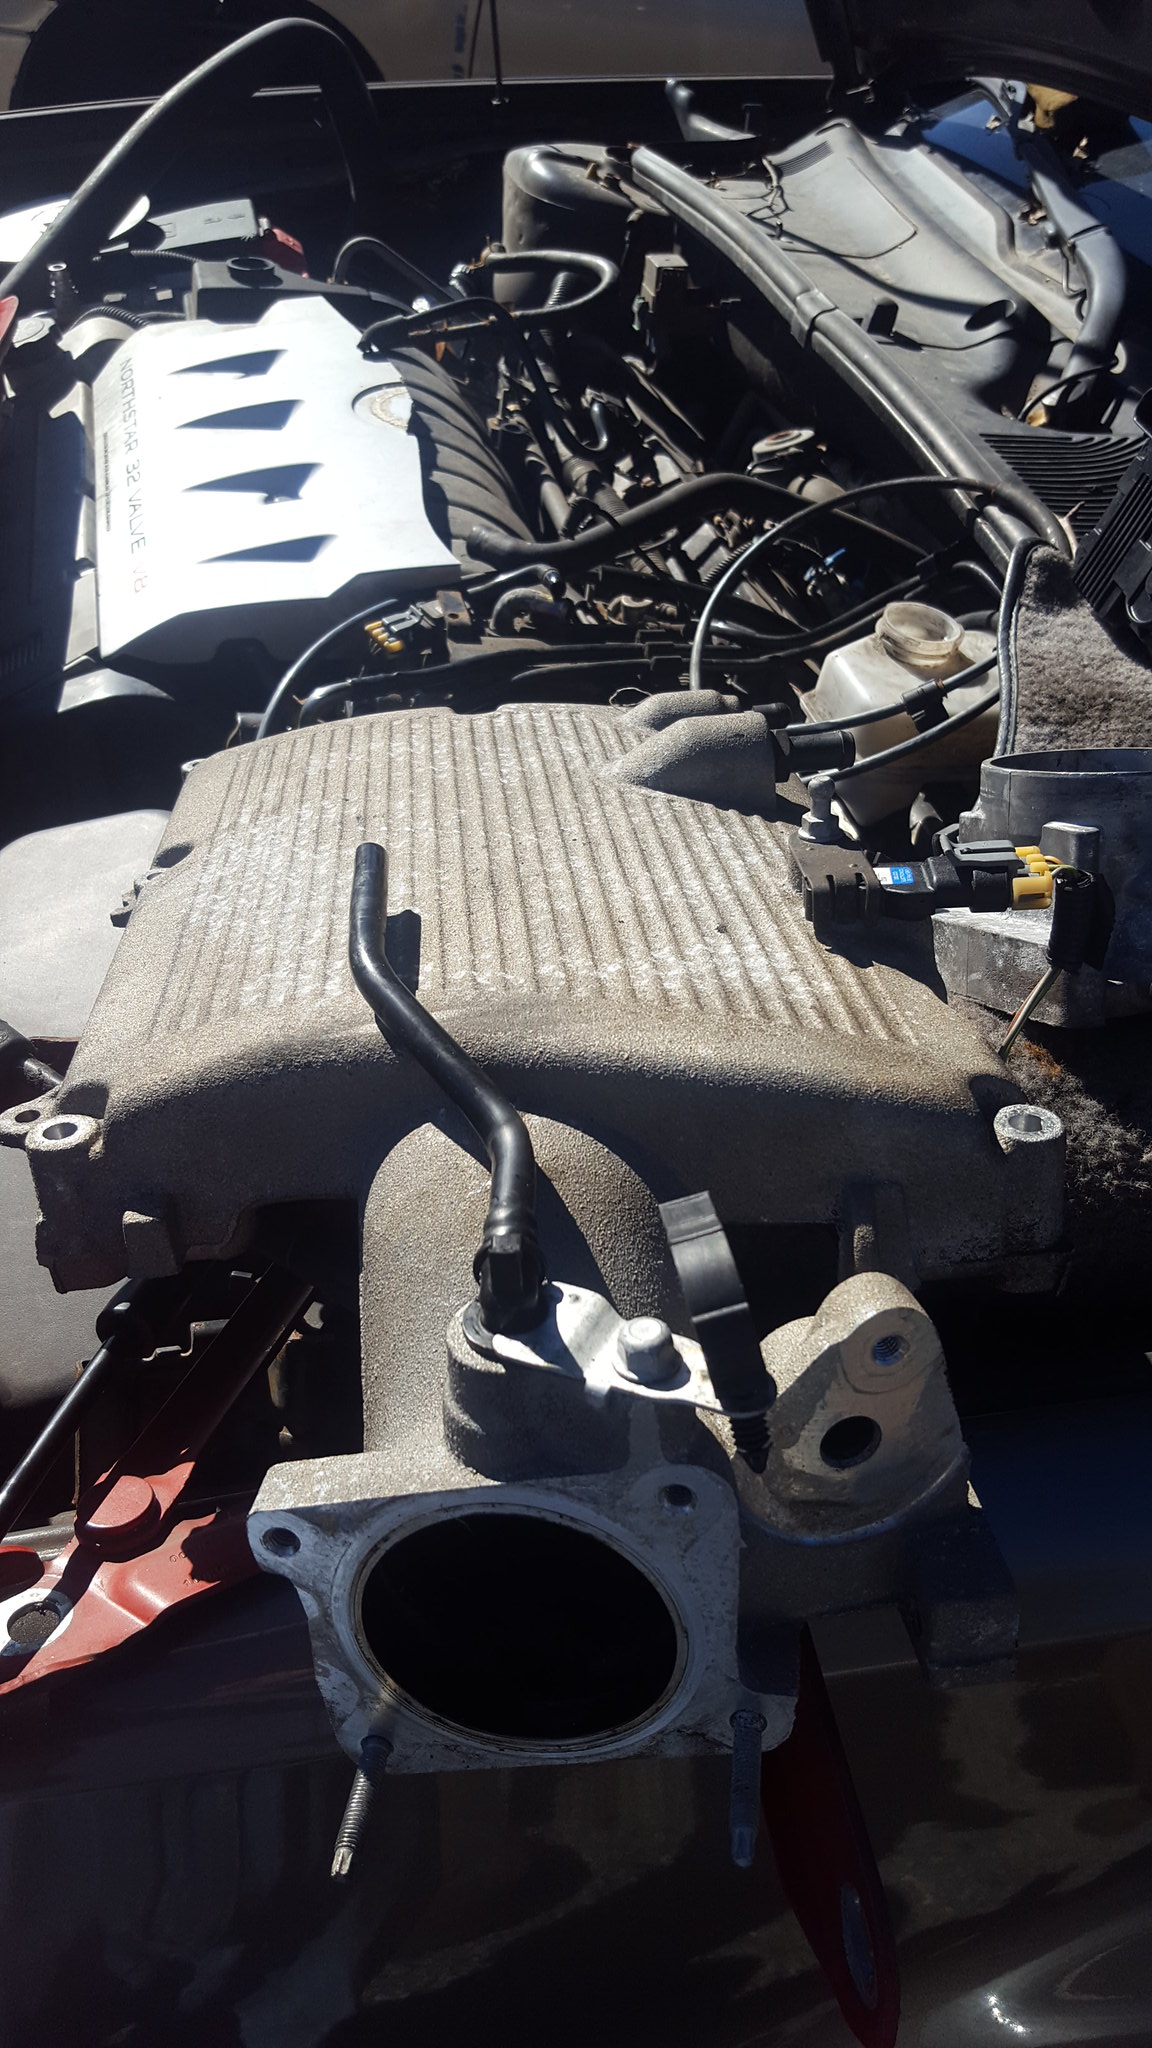
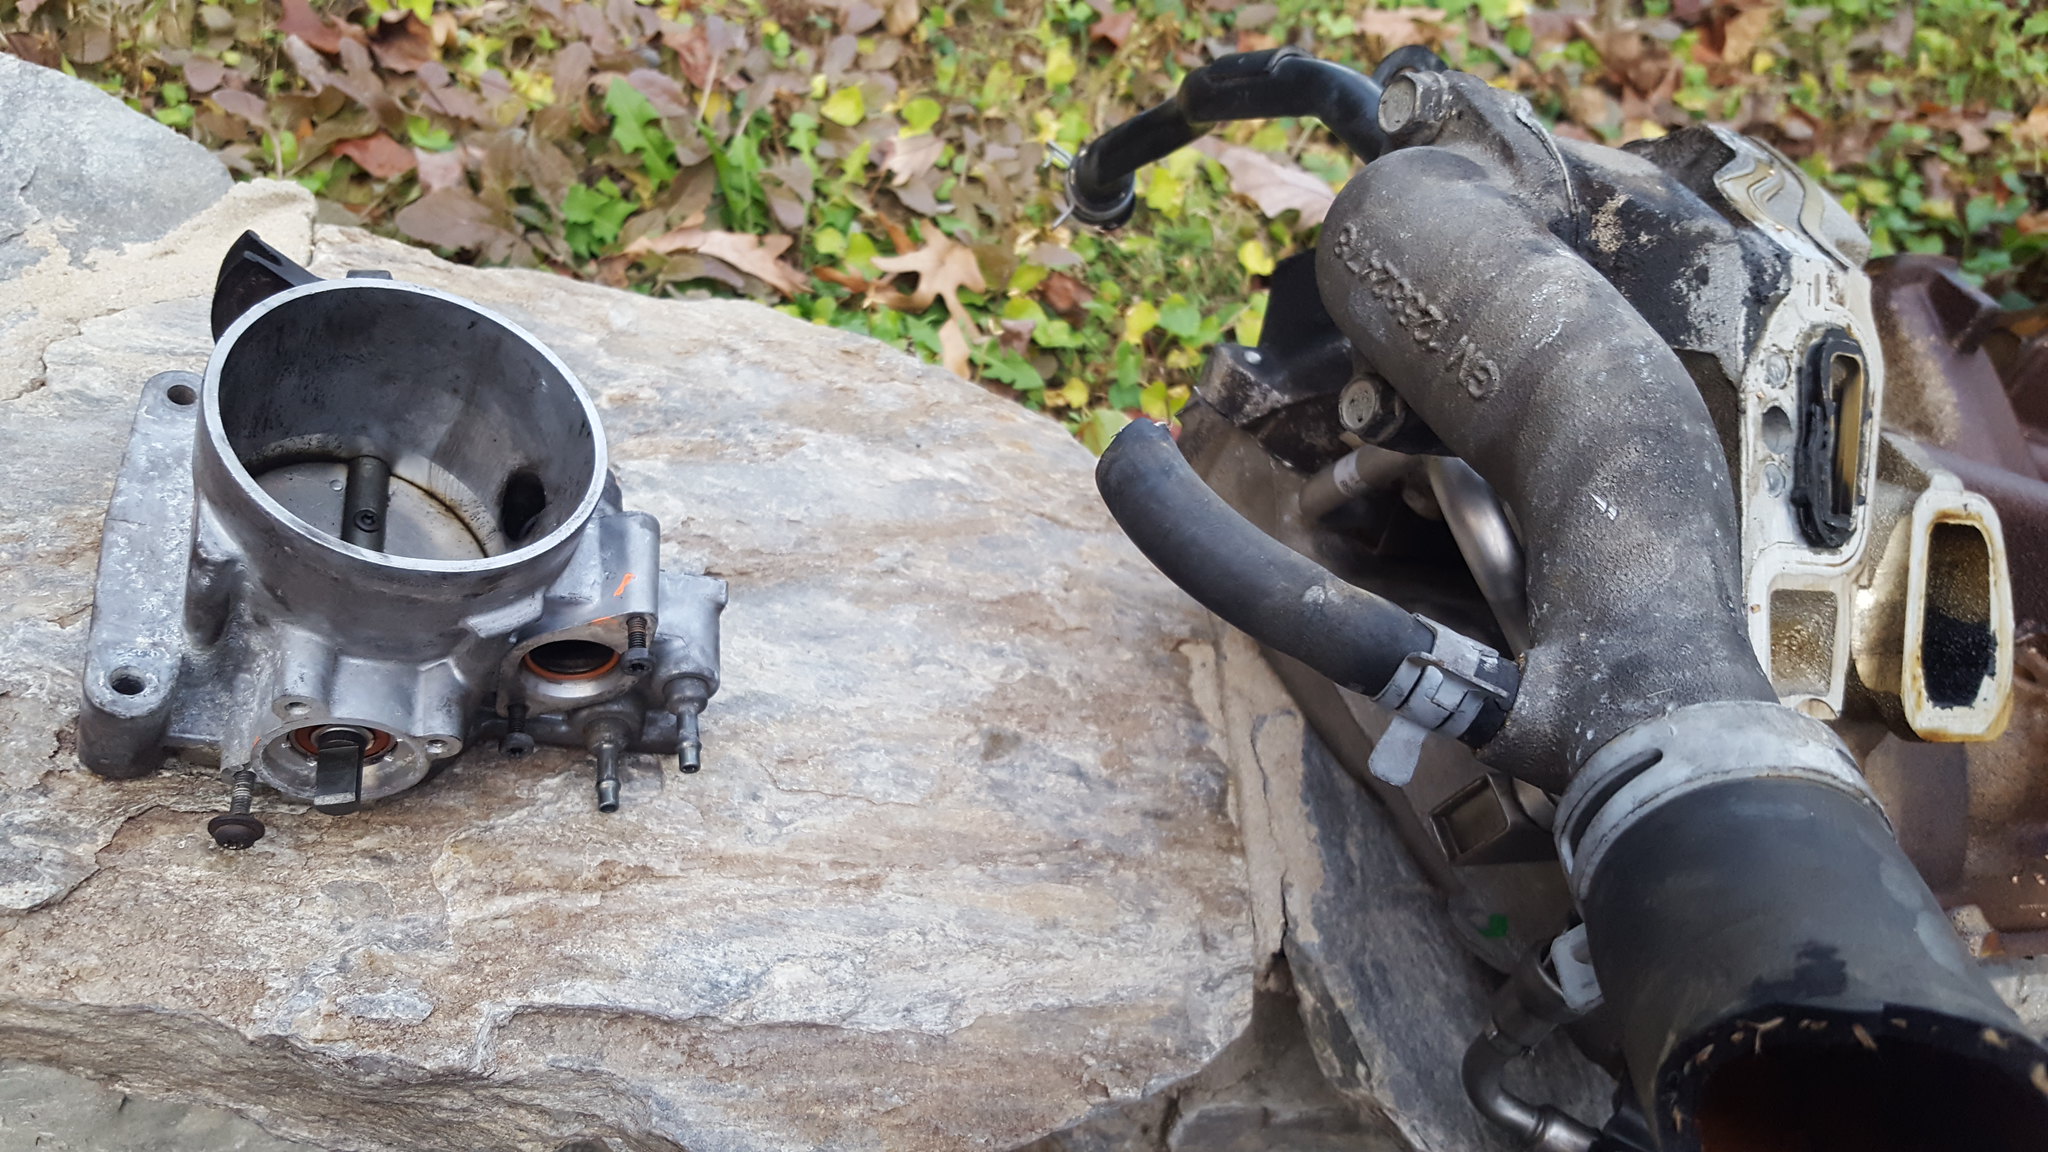
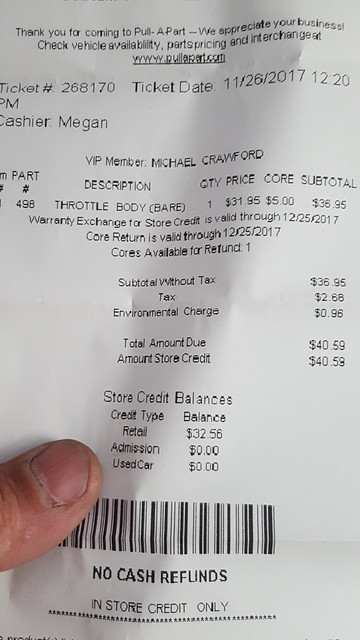
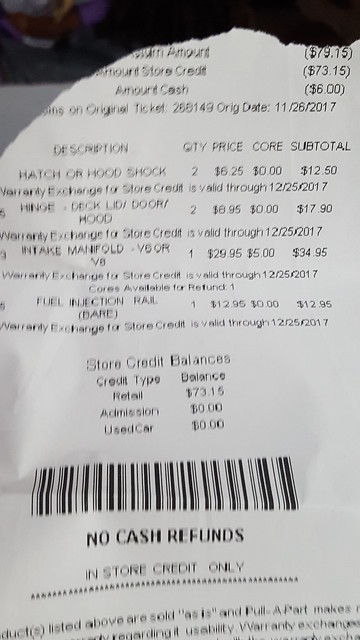
Challenge budget so far revious total: 384.25recoup total: 800this update:returned the 3500 intake and exhaust manifolds to pull-a-part: -106.75bought correct intake manifold from non VVT 3500: 34.95bought 3500 fuel rail and feed line: 12.95bought big throttle body from an alero: 40.59current challenge budget:365.99recoup total: 800ok, so thanksgiving has came and went. With it was a LOT of research. See, research for me tends to be relaxing and enjoyable. I like burying myself down deep and incomprehensible rabbit holes to see where they lead.One of these holes was about the 3500 top swap. Turns out that there are 2 (at least) different versions of the 3500: VVT and non-VVT. The parts I had picked up were of the VVT variety, which will not work with the 3400 were using. So, I returned them and got the correct version. While there, I started looking at throttle bodies. The 3500 was drive by wire in all versions. The 3400 never was. So, needed to come up with a cable driven throttle body. Also, the 3500 intake allows for a much bigger throttle body, which will probably be beneficial in this application. So, while wandering the rows looking for an 04-05 3500 Malibu, I started nabbing throttle bodies that were cable driven and used a visually identical IAC and TPS. I grabbed one from a 6.0 ls, and one that was in an Oldsmobile alero with a twin cam v style engine. Dunno what size....clockwise: 3500, lsx, alero
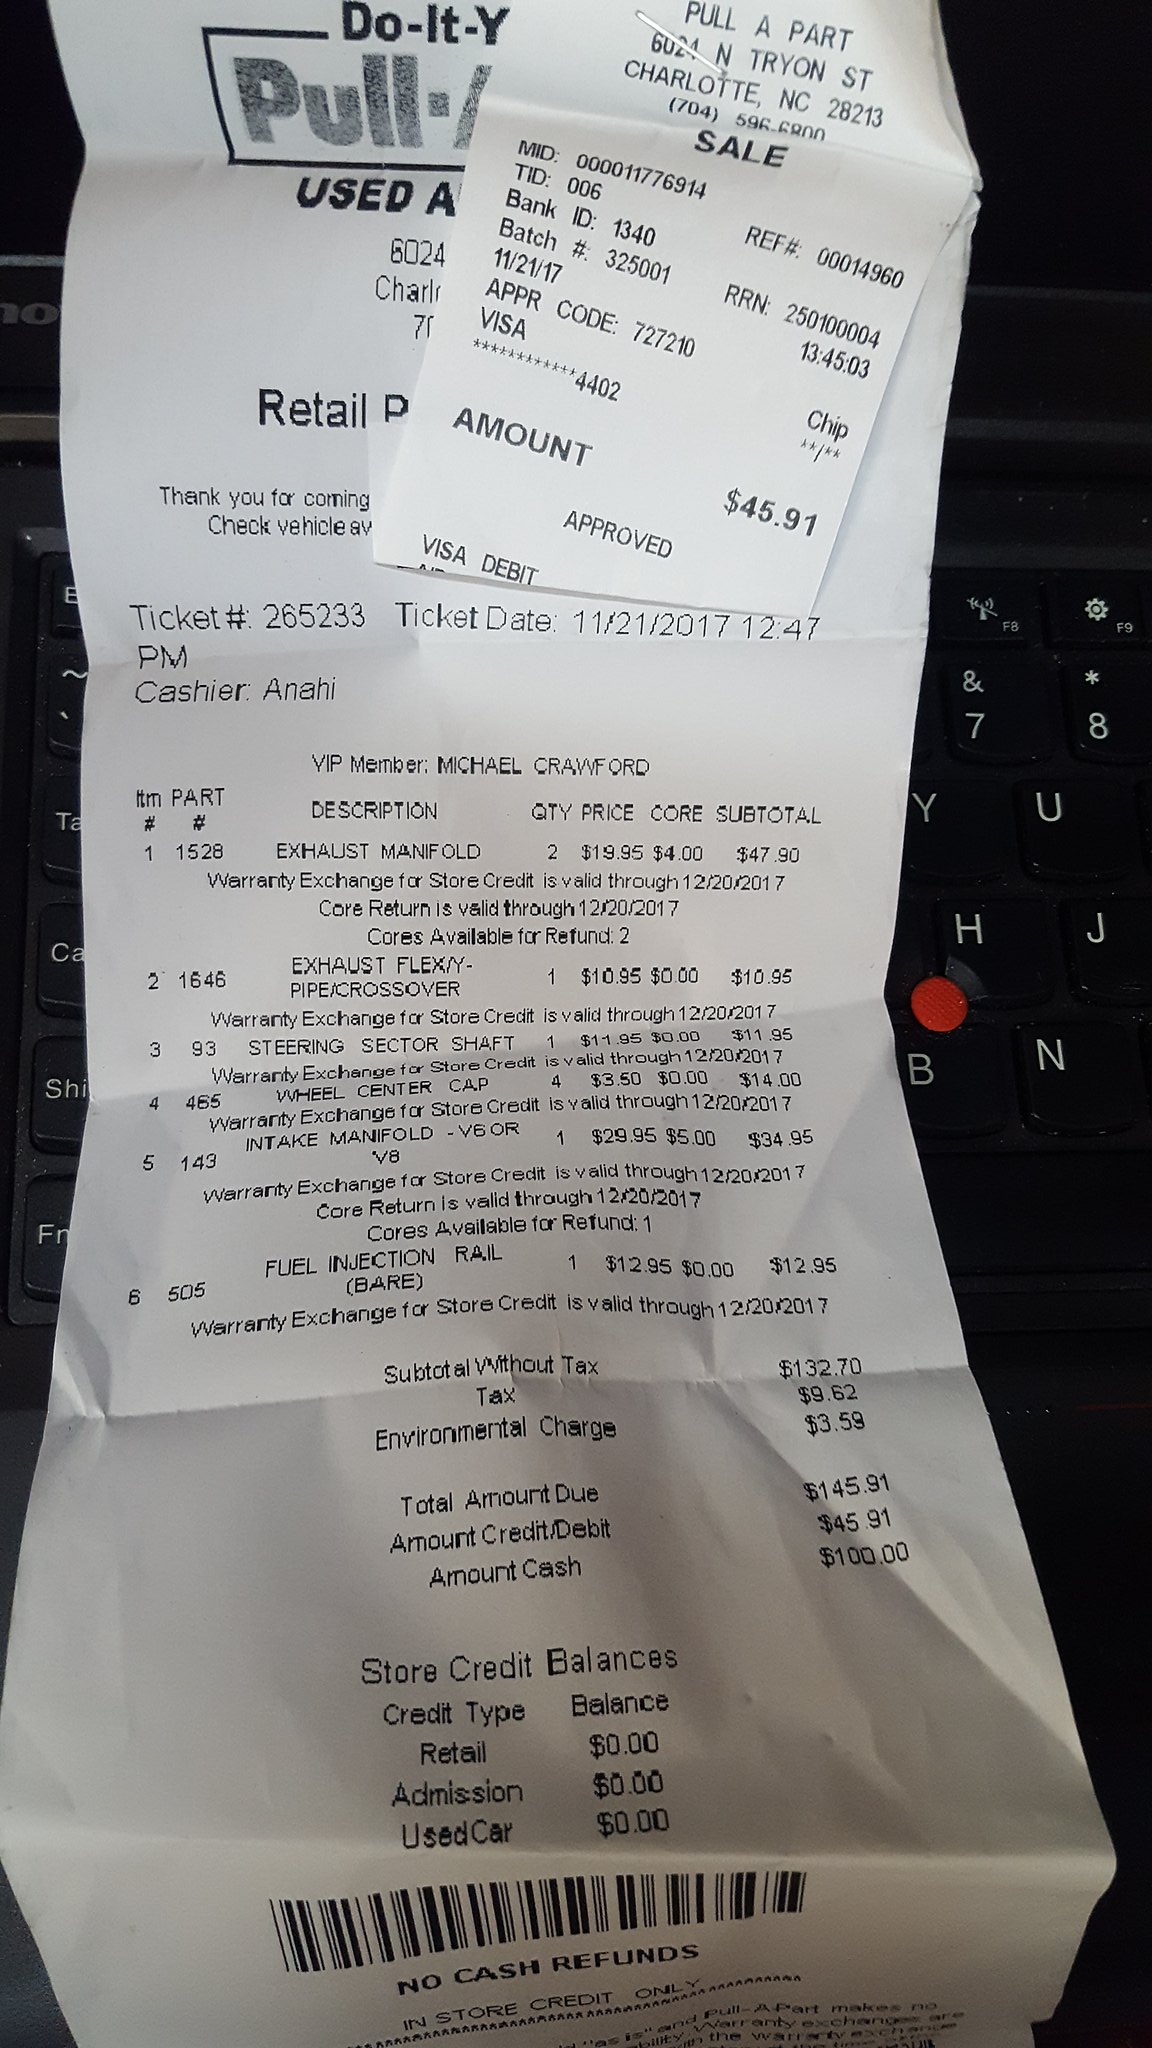
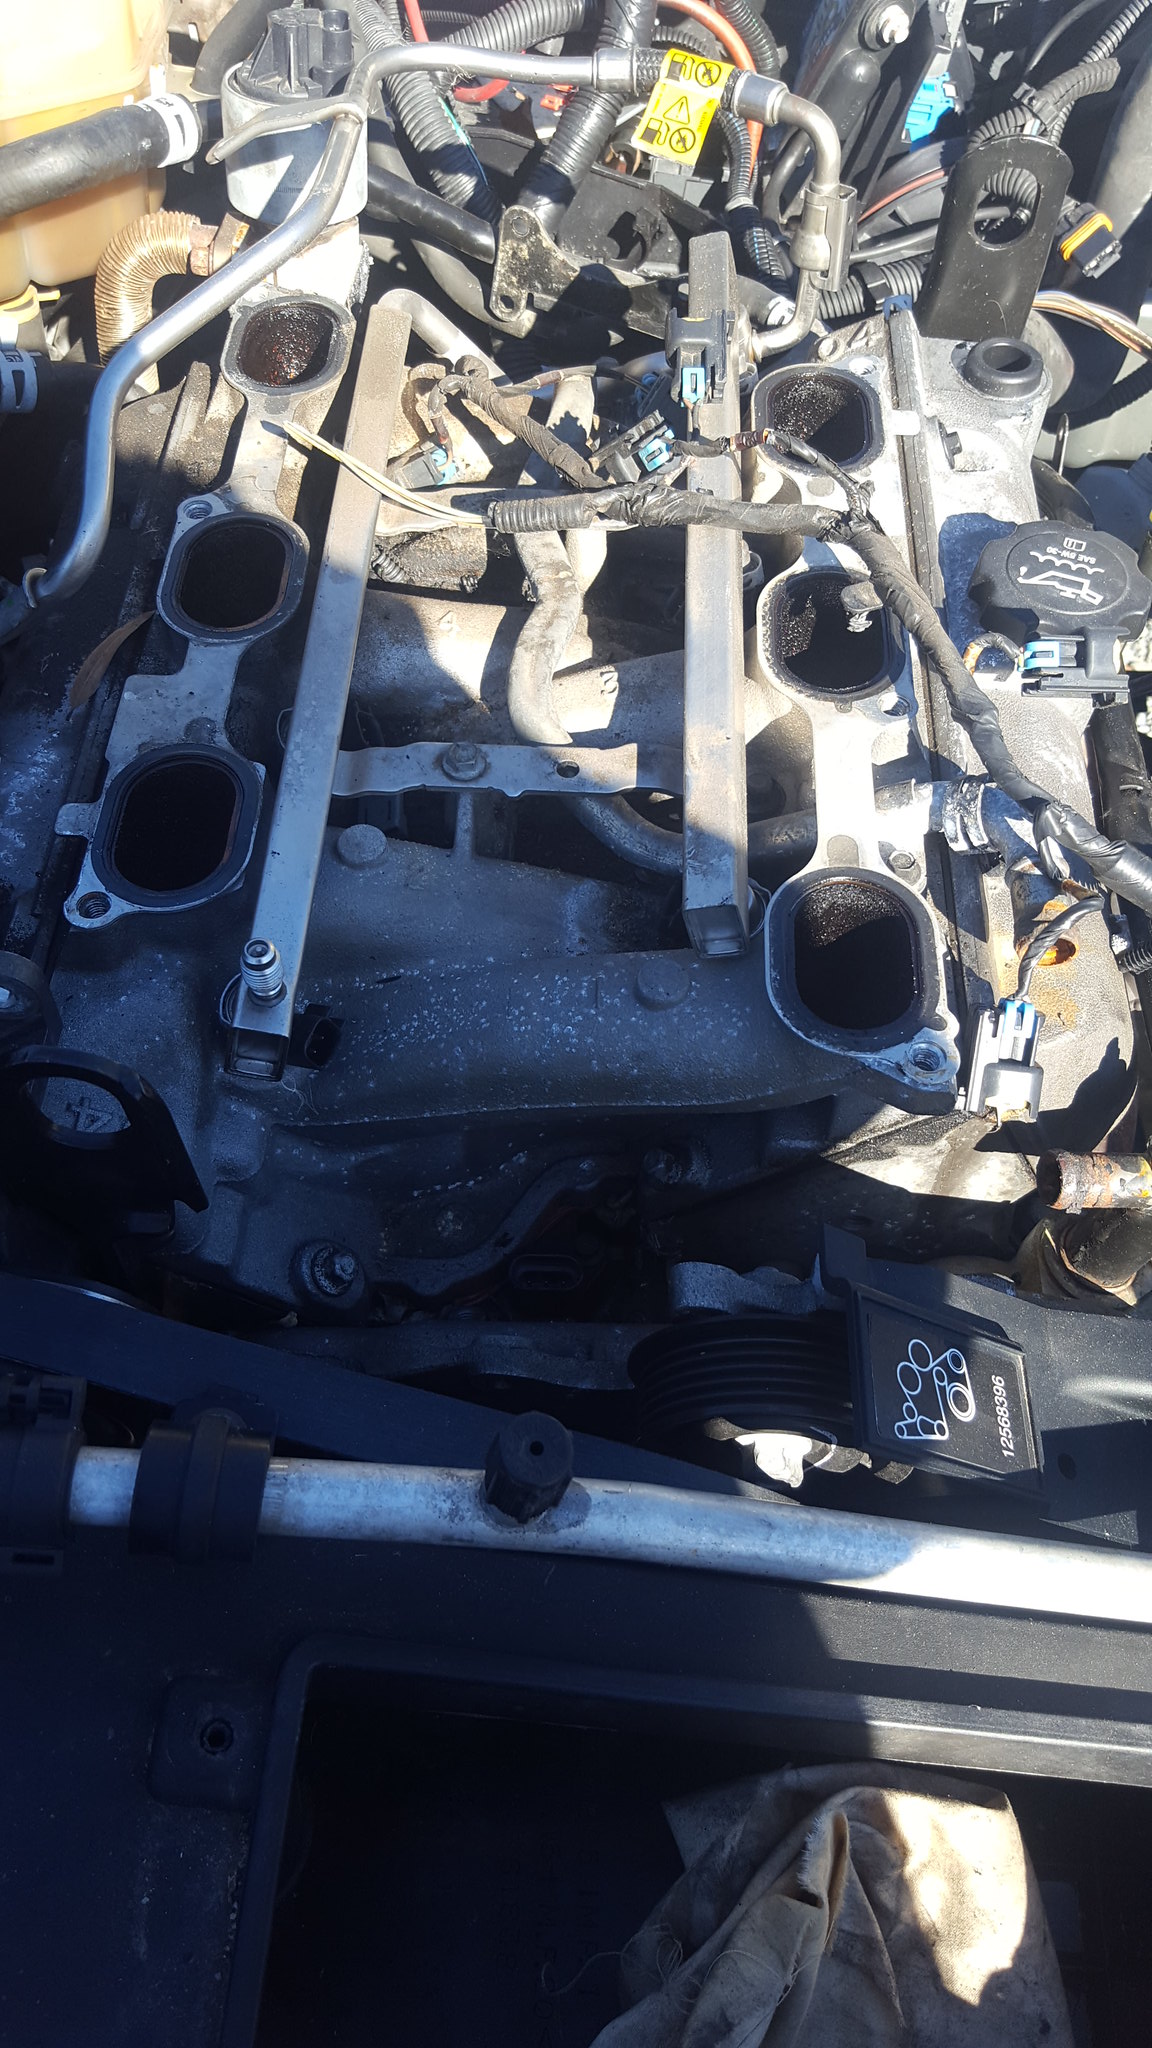
by https://www.flickr.com/photos/150940429@N02/, on Flickralero throttle body was within 1/16 of the 3500 according to a tape measure, so I went with it. Its 1/16 bigger. Different mounting pattern, but nothing too bad to work with.Proof of intake pulling:
by https://www.flickr.com/photos/150940429@N02/, on Flickr
by https://www.flickr.com/photos/150940429@N02/, on Flickr
by https://www.flickr.com/photos/150940429@N02/, on Flickr
by https://www.flickr.com/photos/150940429@N02/, on Flickr
by https://www.flickr.com/photos/150940429@N02/, on FlickrI didn't get the exhaust manifolds, as im fairly certain im making my own log manifolds from junk long-tube SBC headers and scrap 3/8 plate. Im also fairly certain that the fwd manifolds wouldn't come remotely close to fitting.So, Monday while my wife and daughter were doing girl scout stuff, dad and I finished stripping the challenge car to a pretty bare tub. We pulled everything that didn't make it roll, steer, or stop.
by https://www.flickr.com/photos/150940429@N02/, on Flickr
by https://www.flickr.com/photos/150940429@N02/, on Flickr
by https://www.flickr.com/photos/150940429@N02/, on Flickr
by https://www.flickr.com/photos/150940429@N02/, on Flickr
by https://www.flickr.com/photos/150940429@N02/, on Flickr
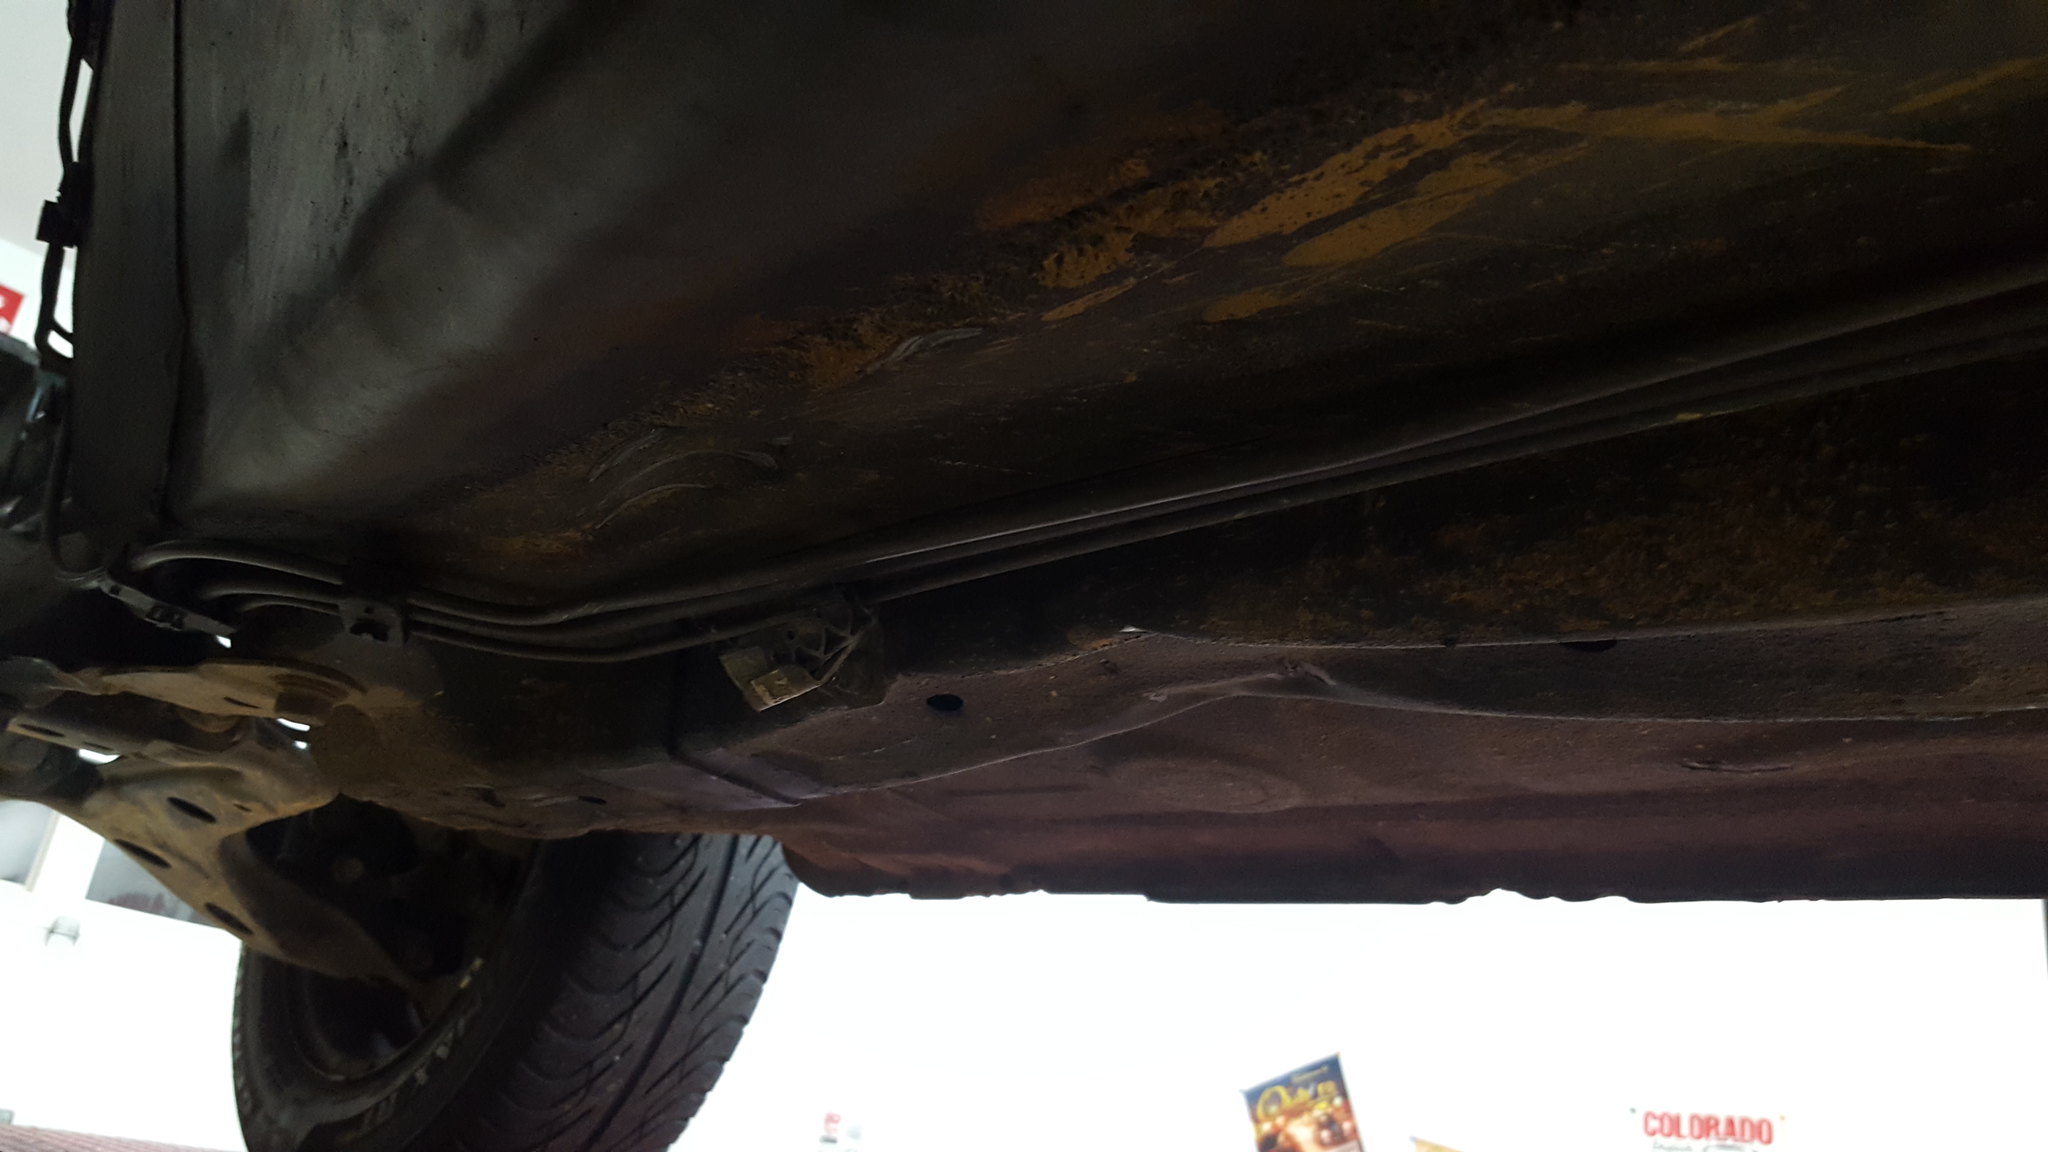
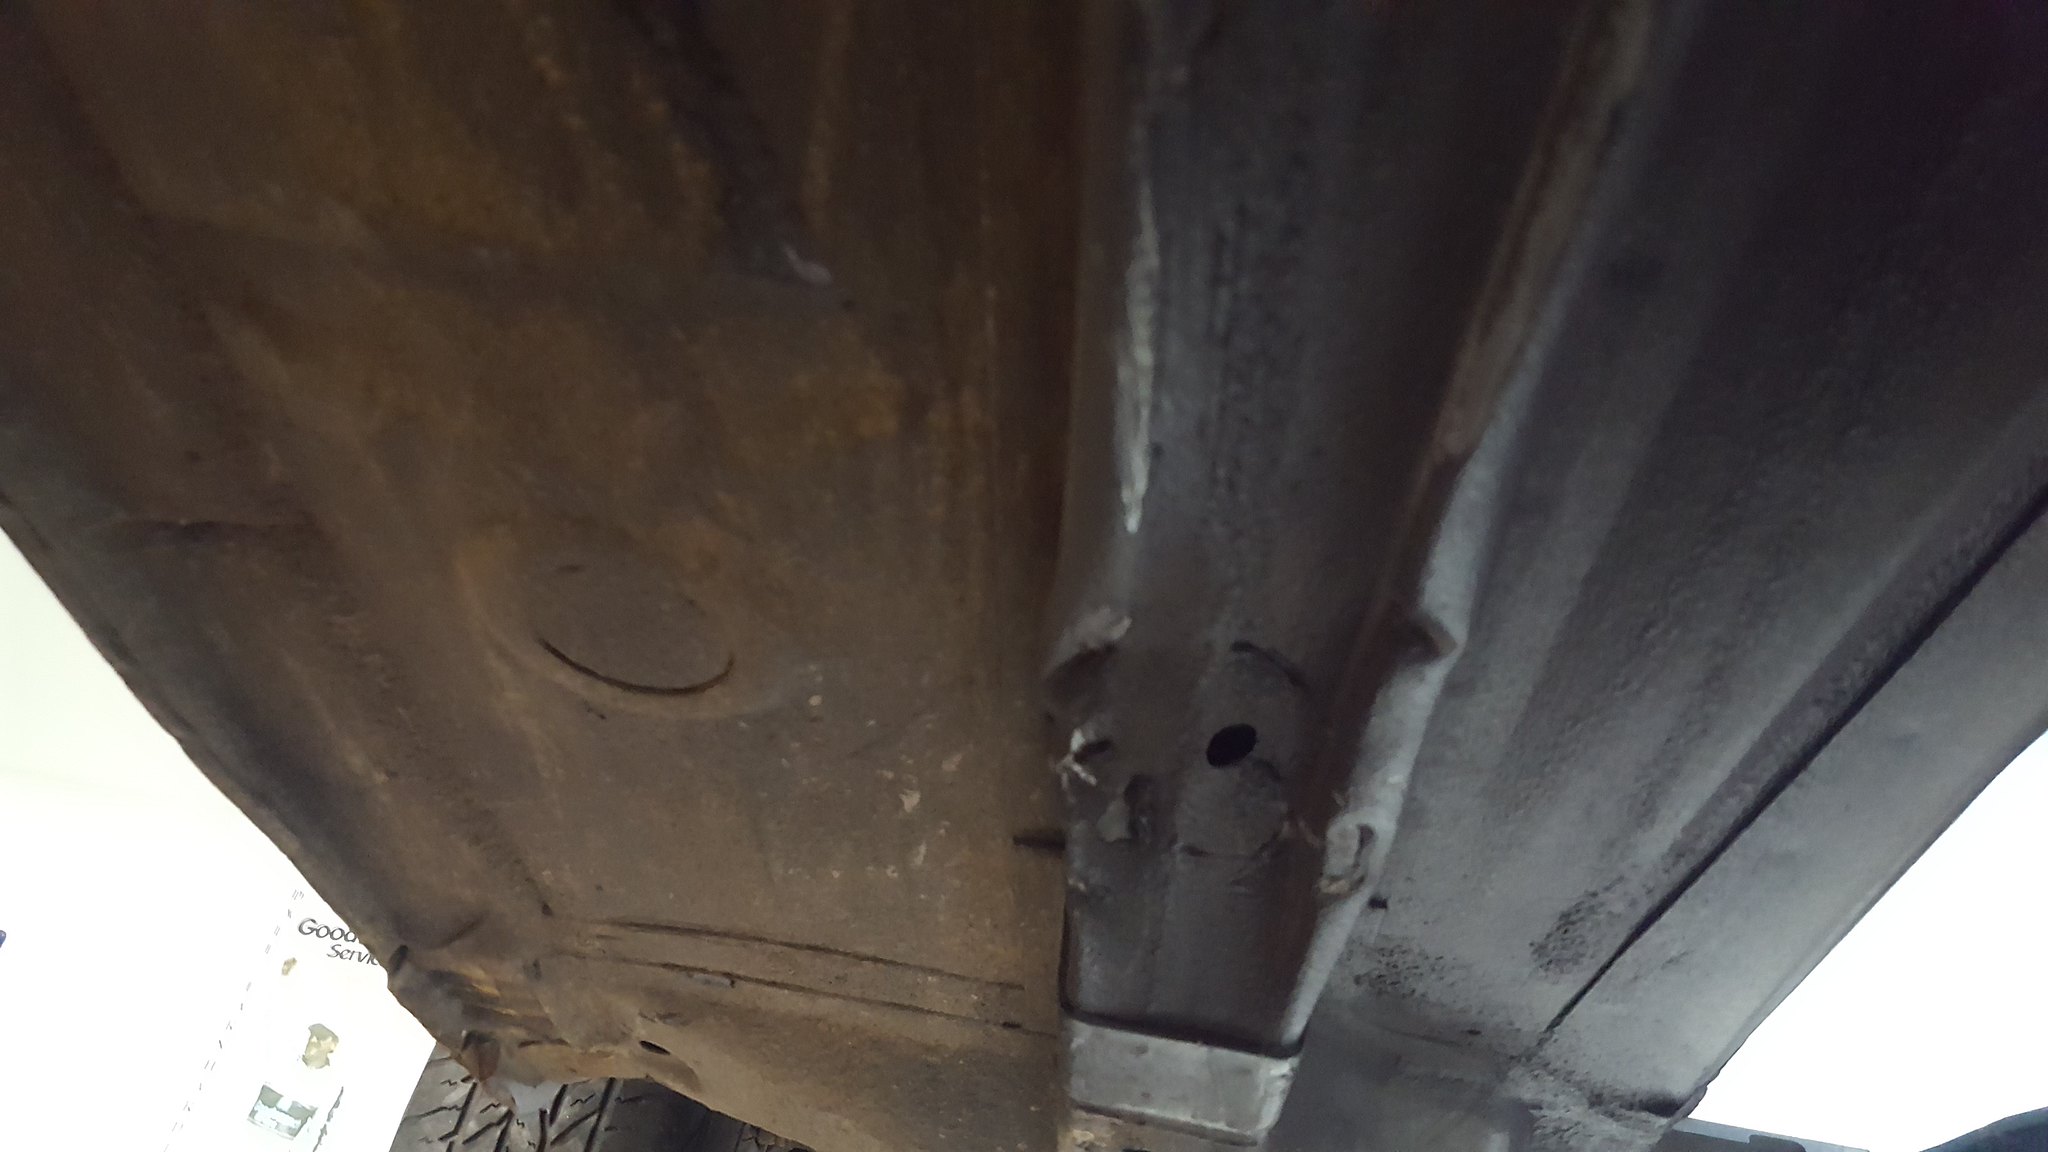
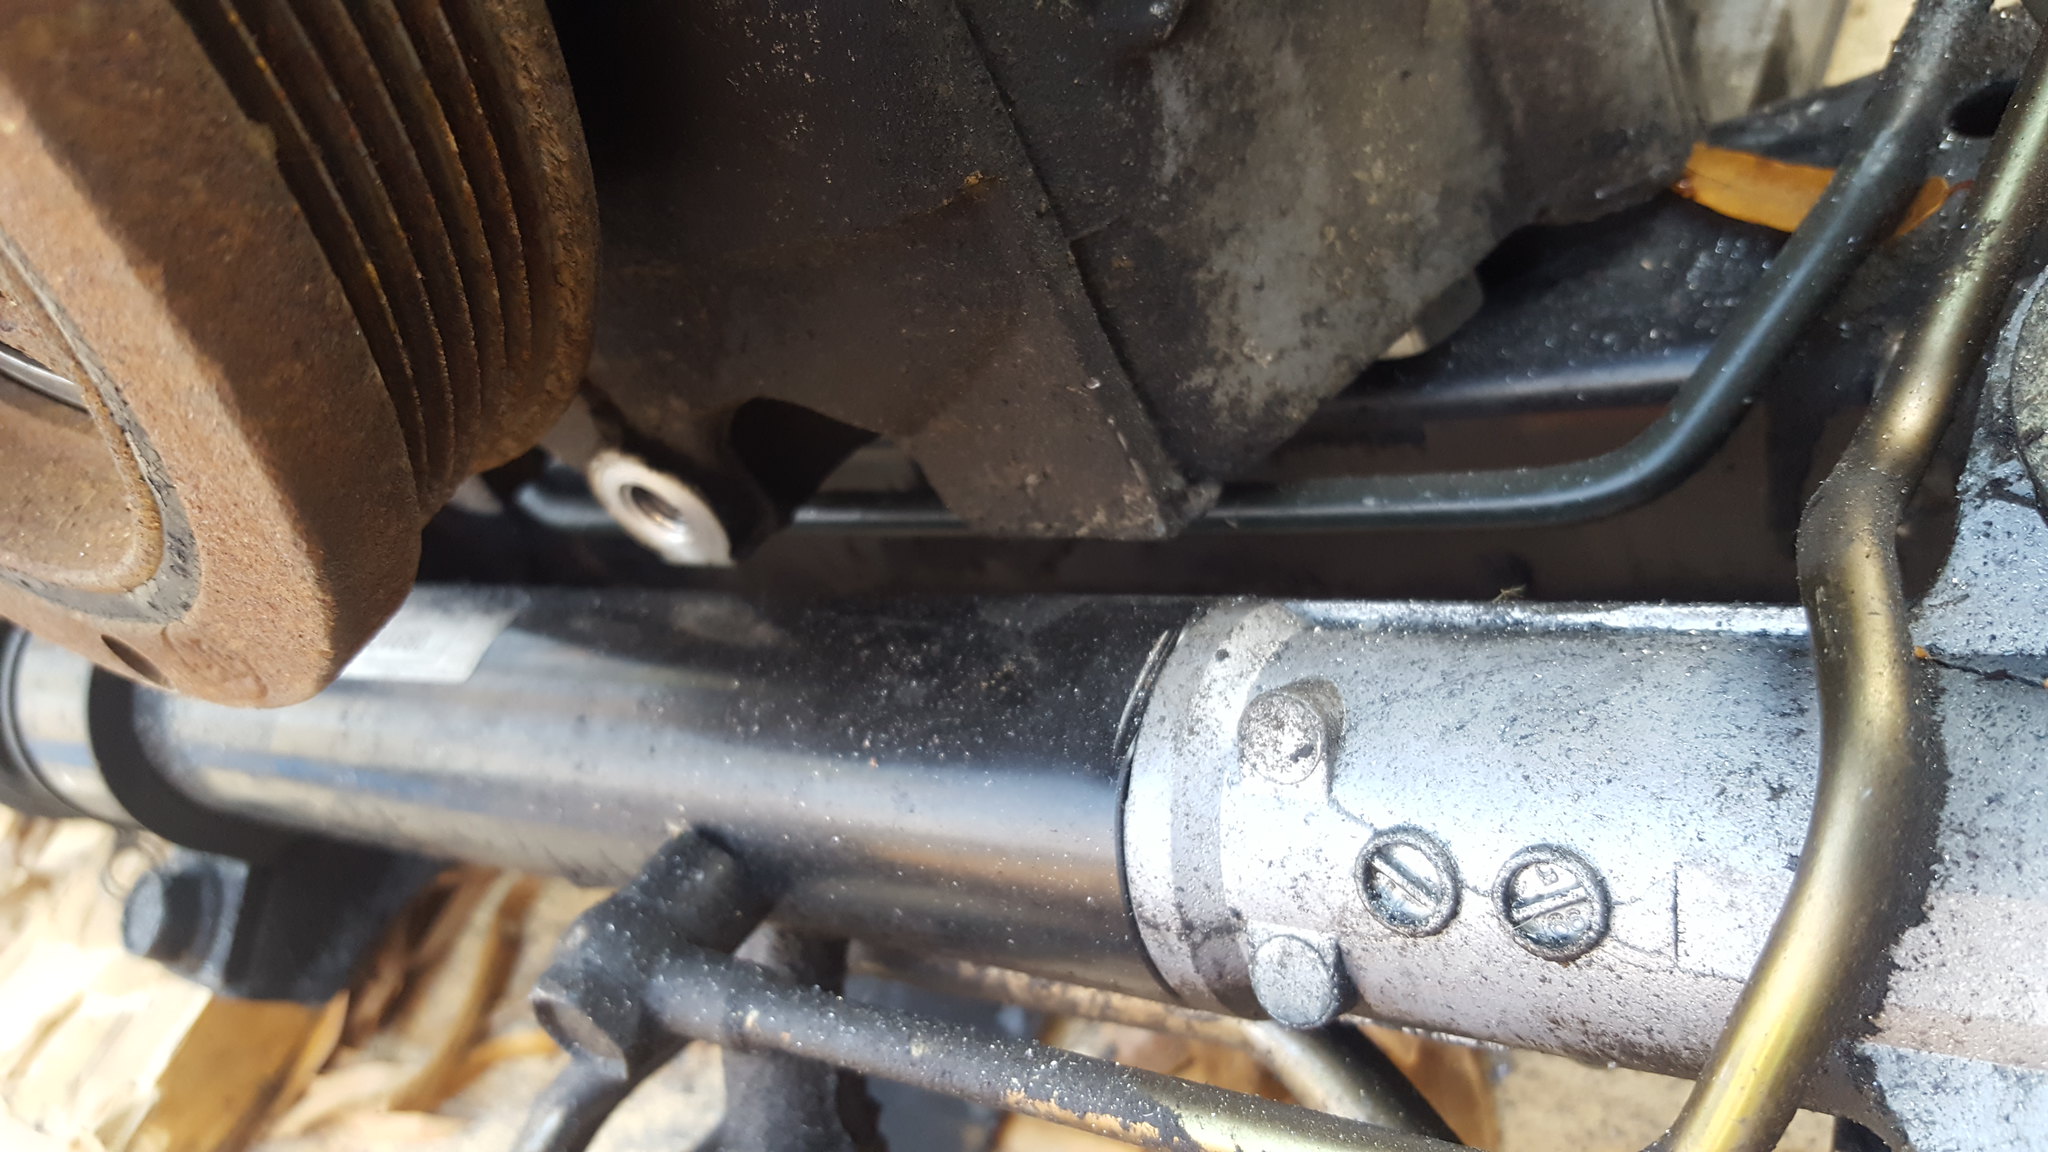
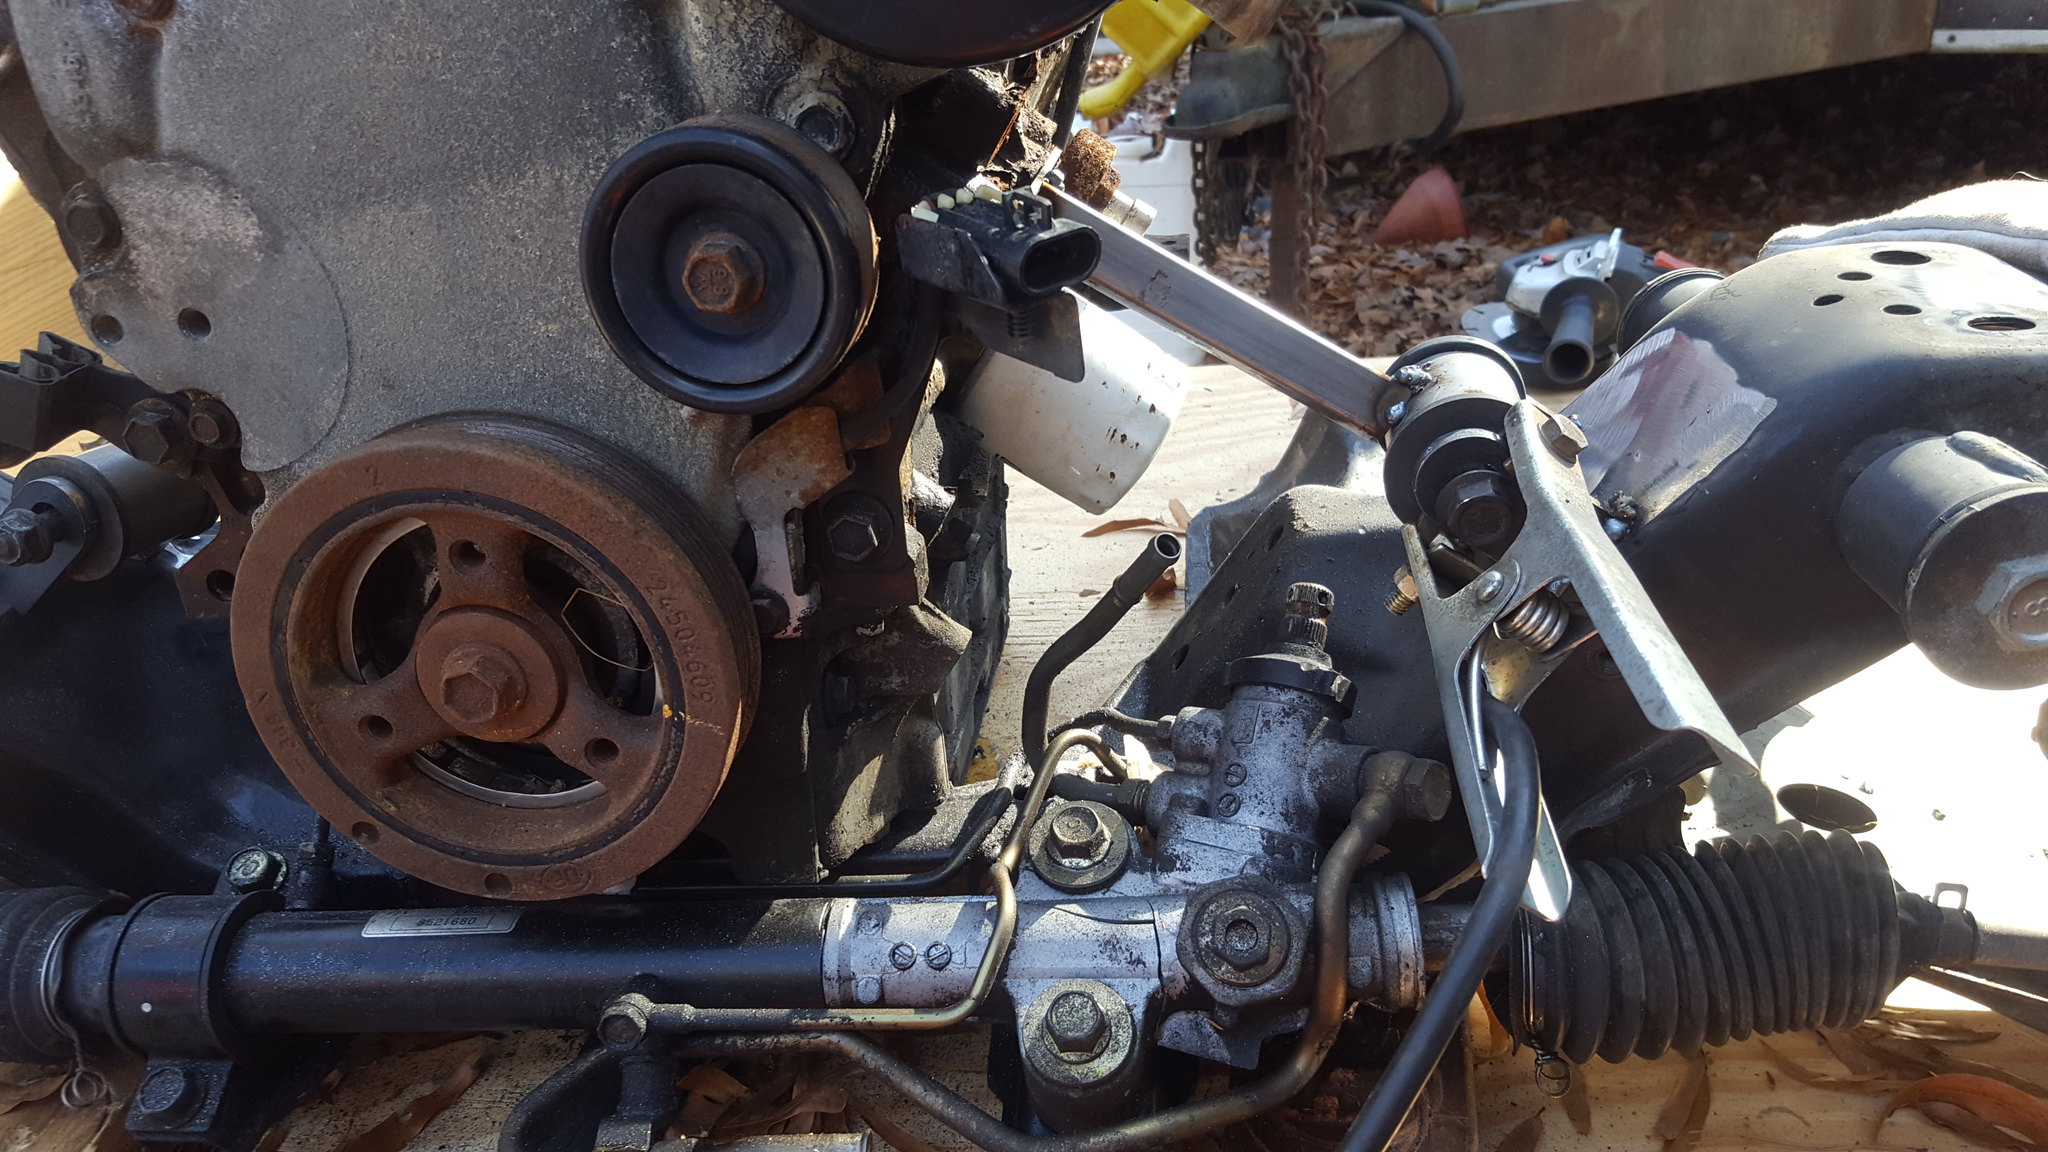
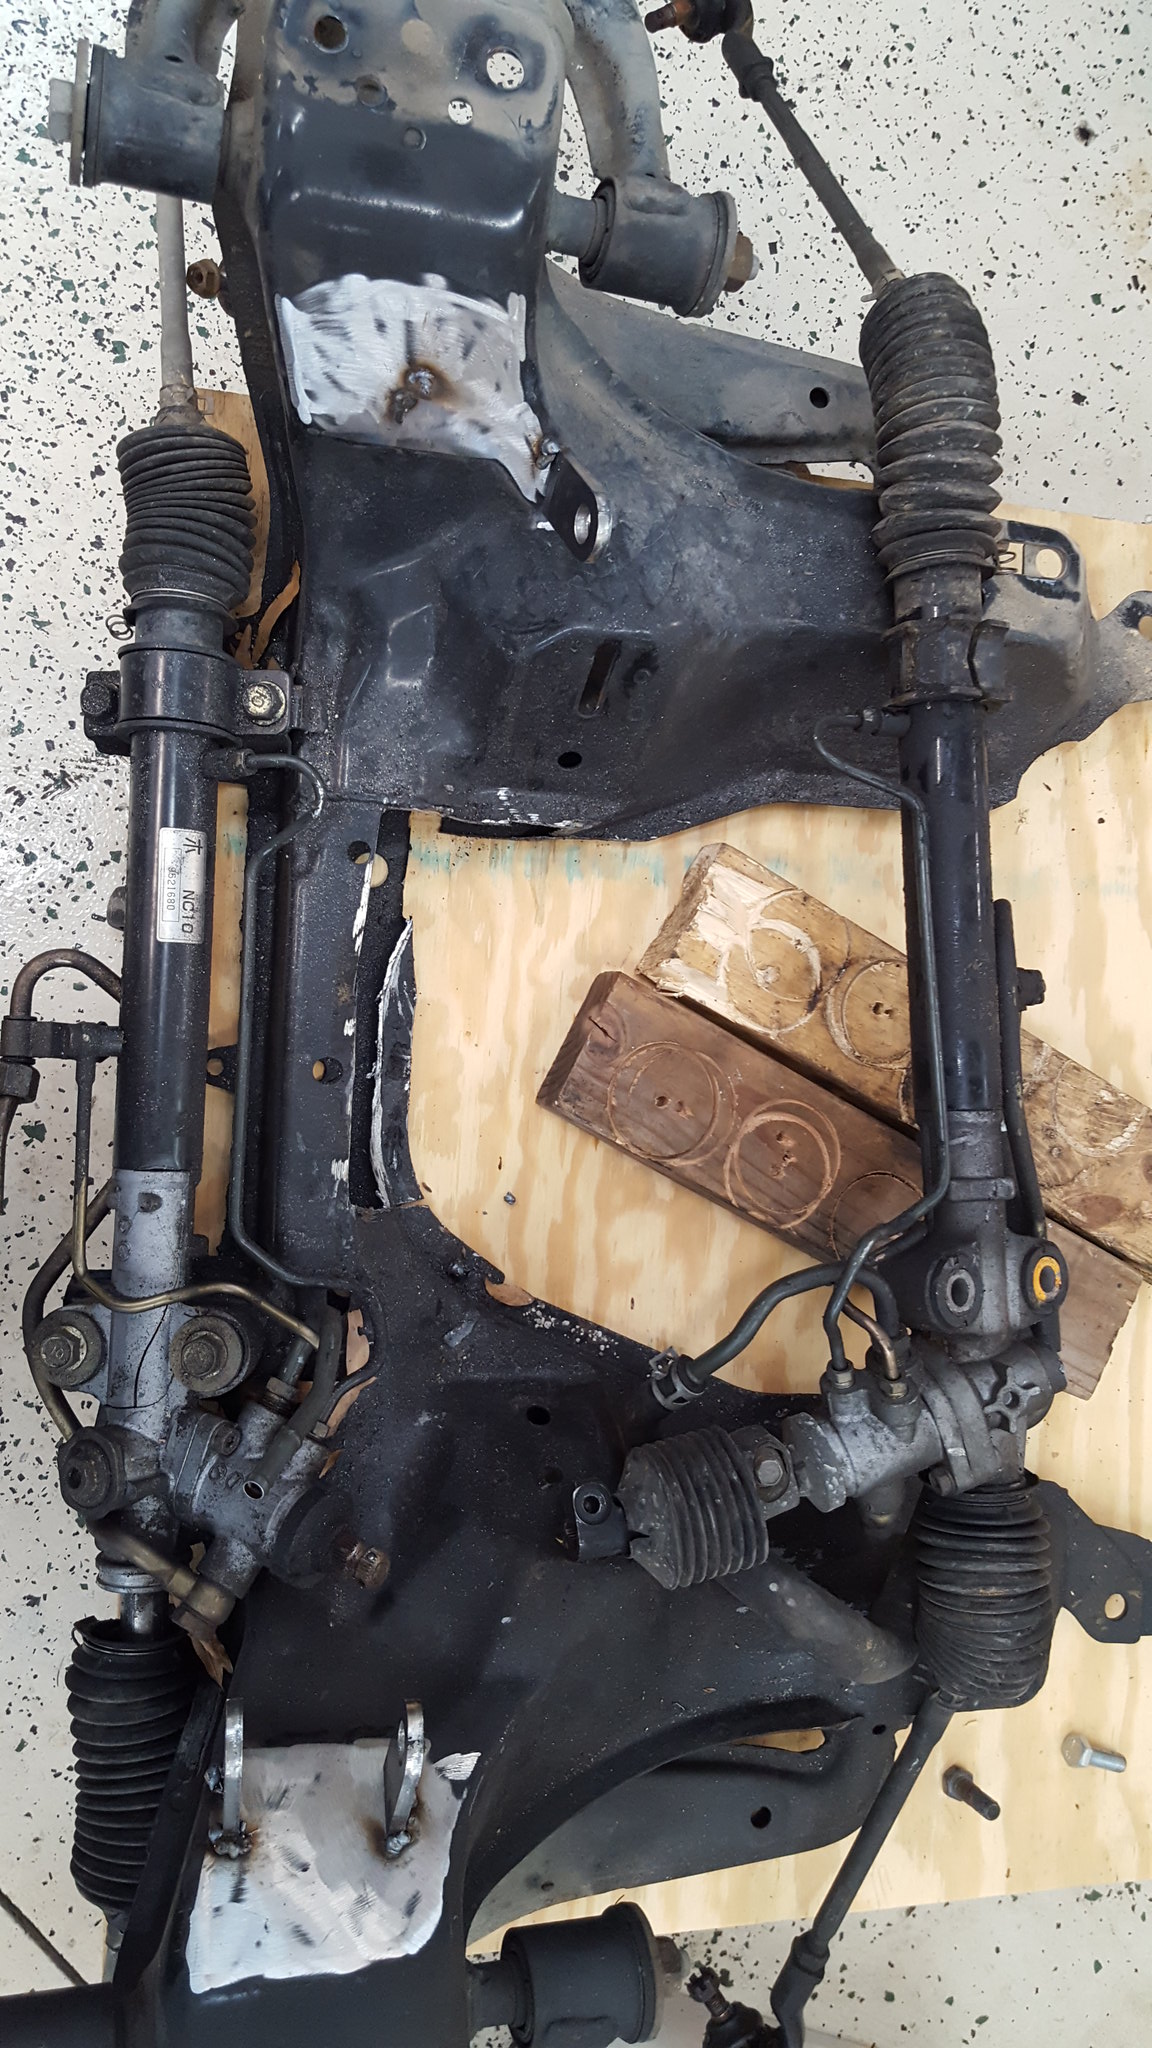
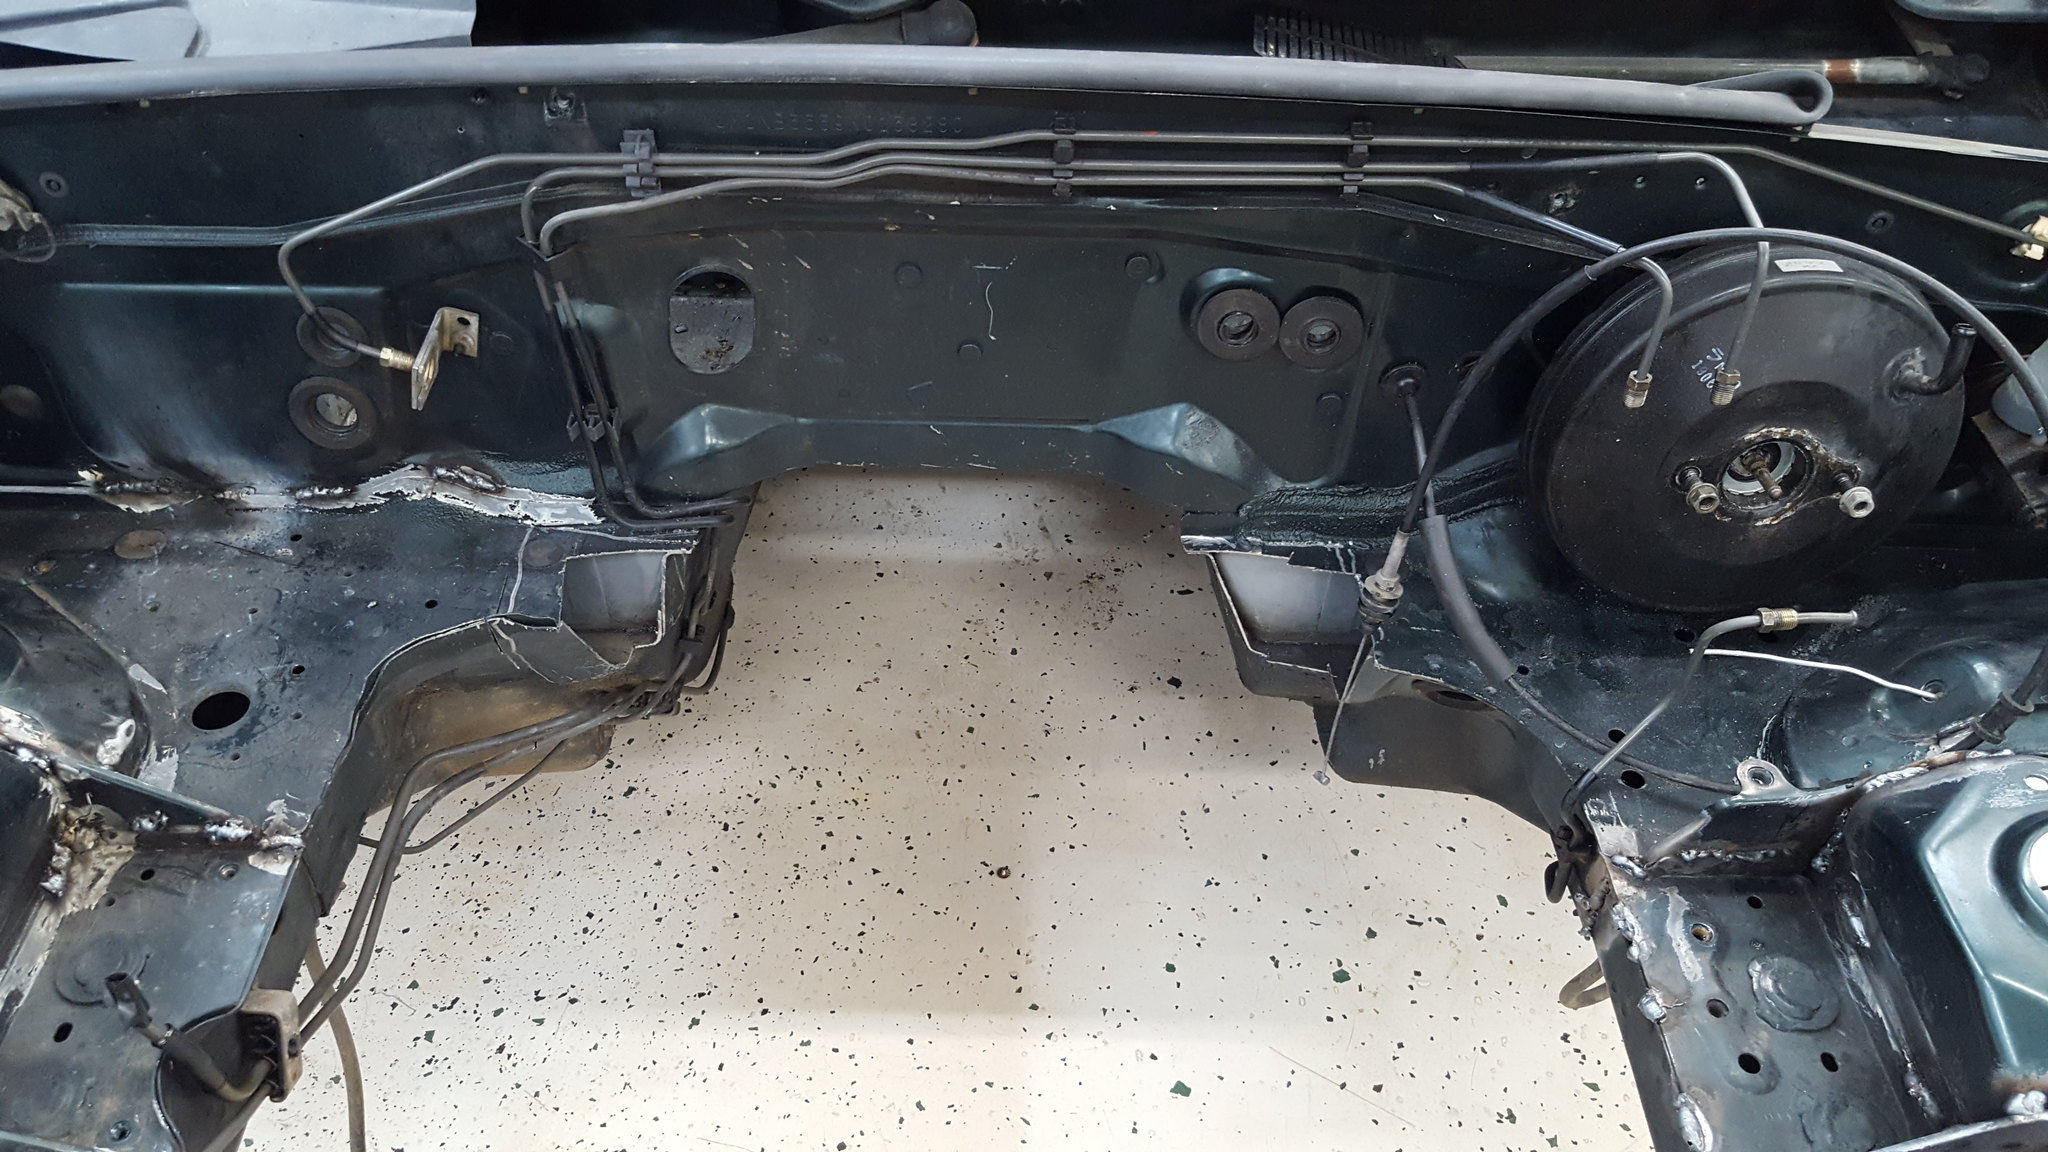
by https://www.flickr.com/photos/150940429@N02/, on Flickryesterday, dad did a bit of pressure washing. Pictures it doesn't really look much different, and it didn't touch that freaking plastidip nightmare, but its altogether a much nicer thing to work on now.We also found some �minor� damage: steering rack broken, frame rail and floor pan damage...
by https://www.flickr.com/photos/150940429@N02/, on Flickr
by https://www.flickr.com/photos/150940429@N02/, on Flickr
by https://www.flickr.com/photos/150940429@N02/, on Flickr
by https://www.flickr.com/photos/150940429@N02/, on Flickruntil next time
revious total: 384.25recoup total: 800this update:returned the 3500 intake and exhaust manifolds to pull-a-part: -106.75bought correct intake manifold from non VVT 3500: 34.95bought 3500 fuel rail and feed line: 12.95bought big throttle body from an alero: 40.59current challenge budget:365.99recoup total: 800ok, so thanksgiving has came and went. With it was a LOT of research. See, research for me tends to be relaxing and enjoyable. I like burying myself down deep and incomprehensible rabbit holes to see where they lead.One of these holes was about the 3500 top swap. Turns out that there are 2 (at least) different versions of the 3500: VVT and non-VVT. The parts I had picked up were of the VVT variety, which will not work with the 3400 were using. So, I returned them and got the correct version. While there, I started looking at throttle bodies. The 3500 was drive by wire in all versions. The 3400 never was. So, needed to come up with a cable driven throttle body. Also, the 3500 intake allows for a much bigger throttle body, which will probably be beneficial in this application. So, while wandering the rows looking for an 04-05 3500 Malibu, I started nabbing throttle bodies that were cable driven and used a visually identical IAC and TPS. I grabbed one from a 6.0 ls, and one that was in an Oldsmobile alero with a twin cam v style engine. Dunno what size....clockwise: 3500, lsx, alero
by https://www.flickr.com/photos/150940429@N02/, on Flickralero throttle body was within 1/16 of the 3500 according to a tape measure, so I went with it. Its 1/16 bigger. Different mounting pattern, but nothing too bad to work with.Proof of intake pulling:
by https://www.flickr.com/photos/150940429@N02/, on Flickr
by https://www.flickr.com/photos/150940429@N02/, on Flickr
by https://www.flickr.com/photos/150940429@N02/, on Flickr
by https://www.flickr.com/photos/150940429@N02/, on Flickr
by https://www.flickr.com/photos/150940429@N02/, on FlickrI didn't get the exhaust manifolds, as im fairly certain im making my own log manifolds from junk long-tube SBC headers and scrap 3/8 plate. Im also fairly certain that the fwd manifolds wouldn't come remotely close to fitting.So, Monday while my wife and daughter were doing girl scout stuff, dad and I finished stripping the challenge car to a pretty bare tub. We pulled everything that didn't make it roll, steer, or stop.
by https://www.flickr.com/photos/150940429@N02/, on Flickr
by https://www.flickr.com/photos/150940429@N02/, on Flickr
by https://www.flickr.com/photos/150940429@N02/, on Flickr
by https://www.flickr.com/photos/150940429@N02/, on Flickr
by https://www.flickr.com/photos/150940429@N02/, on Flickr
by https://www.flickr.com/photos/150940429@N02/, on Flickryesterday, dad did a bit of pressure washing. Pictures it doesn't really look much different, and it didn't touch that freaking plastidip nightmare, but its altogether a much nicer thing to work on now.We also found some �minor� damage: steering rack broken, frame rail and floor pan damage...
by https://www.flickr.com/photos/150940429@N02/, on Flickr
by https://www.flickr.com/photos/150940429@N02/, on Flickr
by https://www.flickr.com/photos/150940429@N02/, on Flickr
by https://www.flickr.com/photos/150940429@N02/, on Flickruntil next time
revious total: 384.25recoup total: 800this update:returned the 3500 intake and exhaust manifolds to pull-a-part: -106.75bought correct intake manifold from non VVT 3500: 34.95bought 3500 fuel rail and feed line: 12.95bought big throttle body from an alero: 40.59current challenge budget:365.99recoup total: 800ok, so thanksgiving has came and went. With it was a LOT of research. See, research for me tends to be relaxing and enjoyable. I like burying myself down deep and incomprehensible rabbit holes to see where they lead.One of these holes was about the 3500 top swap. Turns out that there are 2 (at least) different versions of the 3500: VVT and non-VVT. The parts I had picked up were of the VVT variety, which will not work with the 3400 were using. So, I returned them and got the correct version. While there, I started looking at throttle bodies. The 3500 was drive by wire in all versions. The 3400 never was. So, needed to come up with a cable driven throttle body. Also, the 3500 intake allows for a much bigger throttle body, which will probably be beneficial in this application. So, while wandering the rows looking for an 04-05 3500 Malibu, I started nabbing throttle bodies that were cable driven and used a visually identical IAC and TPS. I grabbed one from a 6.0 ls, and one that was in an Oldsmobile alero with a twin cam v style engine. Dunno what size....clockwise: 3500, lsx, alero


Thread Starter
V8 Miata Noob
Joined: Nov 2017
Posts: 13
Likes: 0
From: albemarle north carolina
Challenge budget so far:
previous challenge budget: 445.90
recoup total: 800
new money: 75 for 15x6 stock nb wheels
37.72 gasket kit for 3400 from ebay
200 for � spec miata cage (main hoop, rear downtubes)
traded stock trans for replacement steering rack cause ours is busted
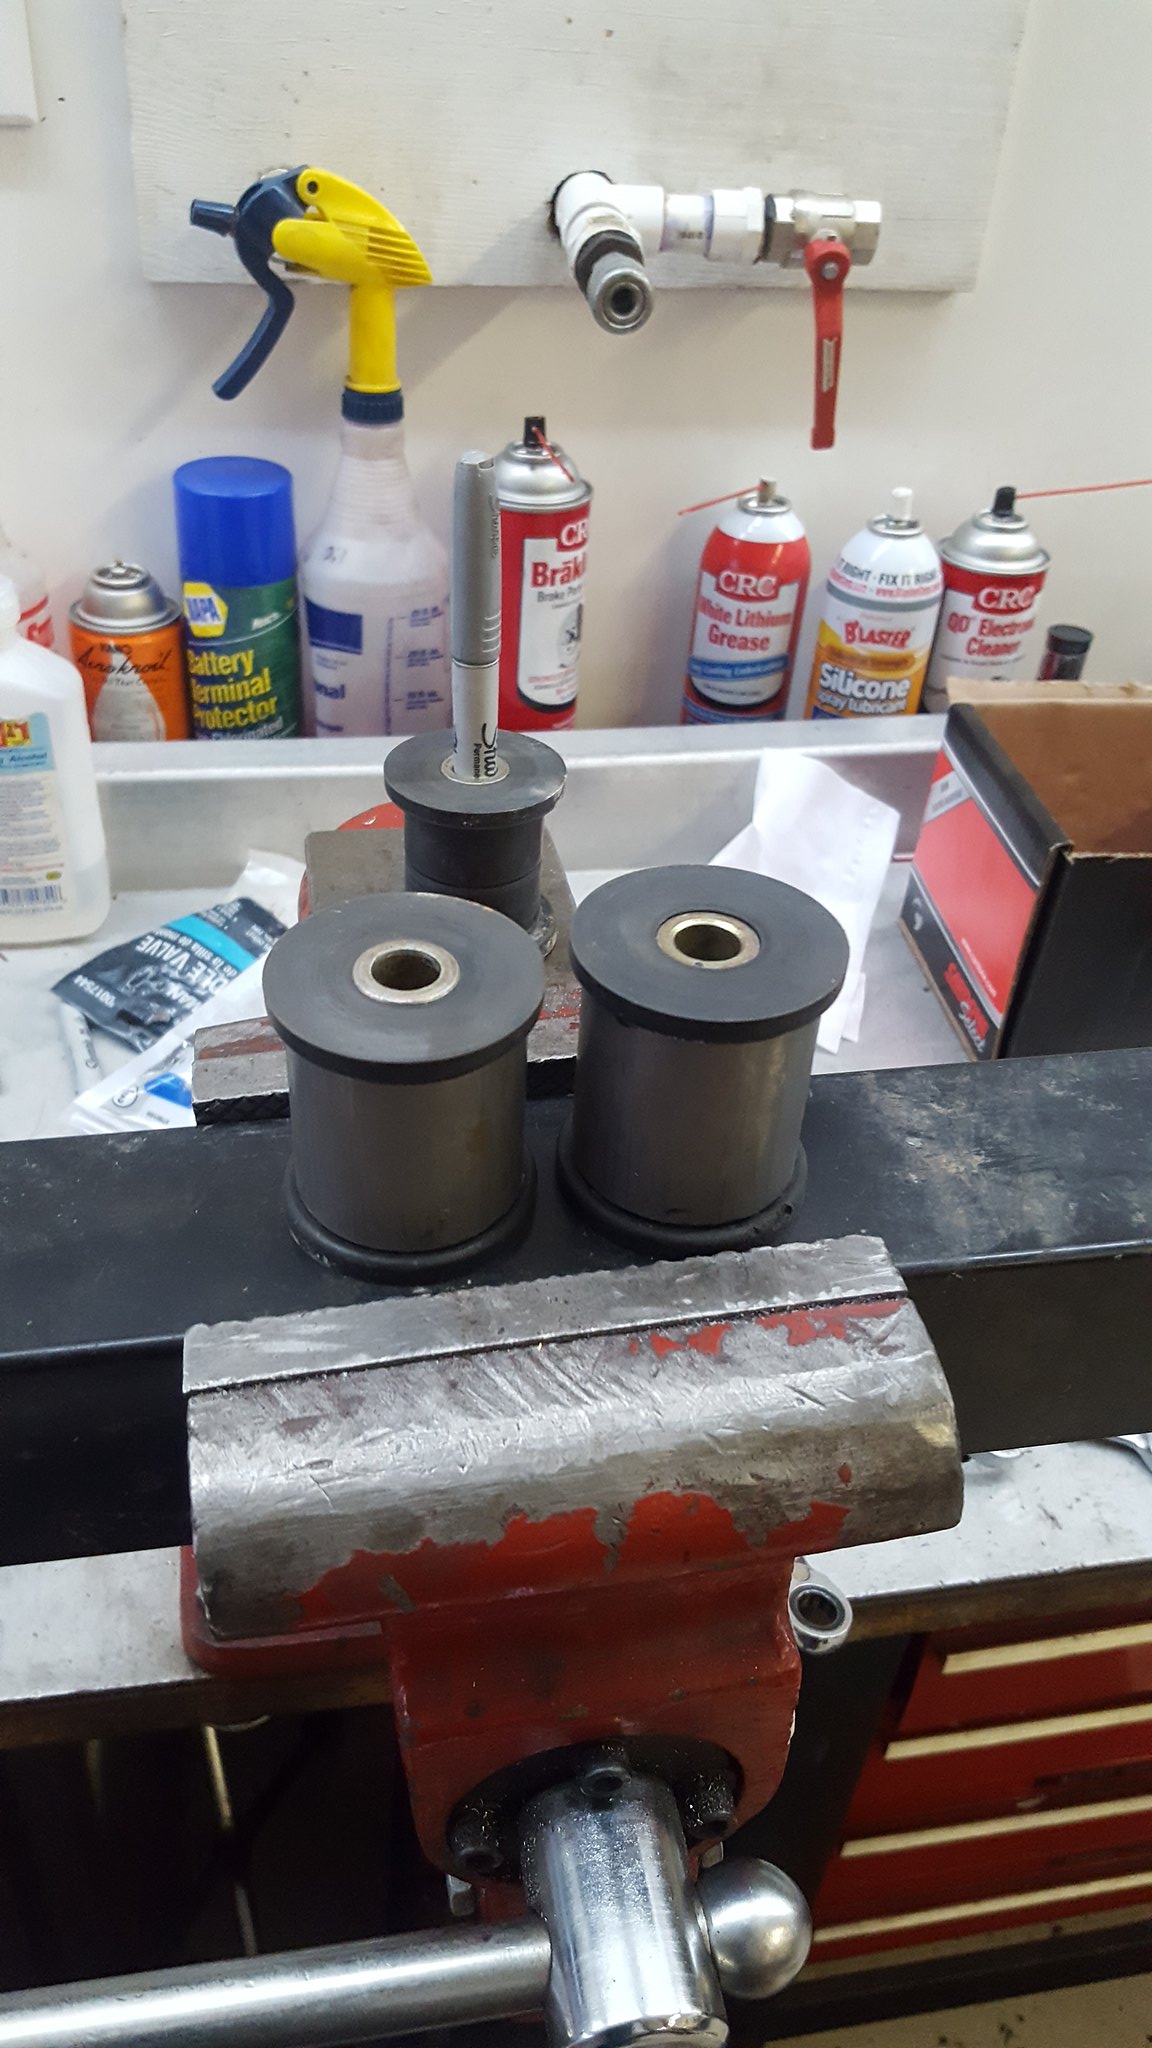
found some poly bushings and sleeves I a ziplock baggie in the bottom of my gauge box. No idea what they are from, or where I got them. But they fit inside some scraps of roll cage tubing.
2.00 bought a new spool of welding wire: 20
new total: 780.62
ok, when we left off, I had dropped out the crossmember for making the motor fit. I thought I had it sorted out via pictures, so I set the crossmember up on the sawhorses, and made engine mounts. While going through my quickly expanding gauge collection, I found a ziplock baggie of miscellaneous poly bushings. Couple sway bar end links, some mount bushings, bumpstops, and I think 4 control arm bushings. Couldn't tell you what this stuff is from, as I haven't been to the bottom of that box in years. Leftovers from something. But the “control arm bushings” fit inside the scraps from last years roll cage build. So im using them.
by https://www.flickr.com/photos/150940429@N02/, on Flickr
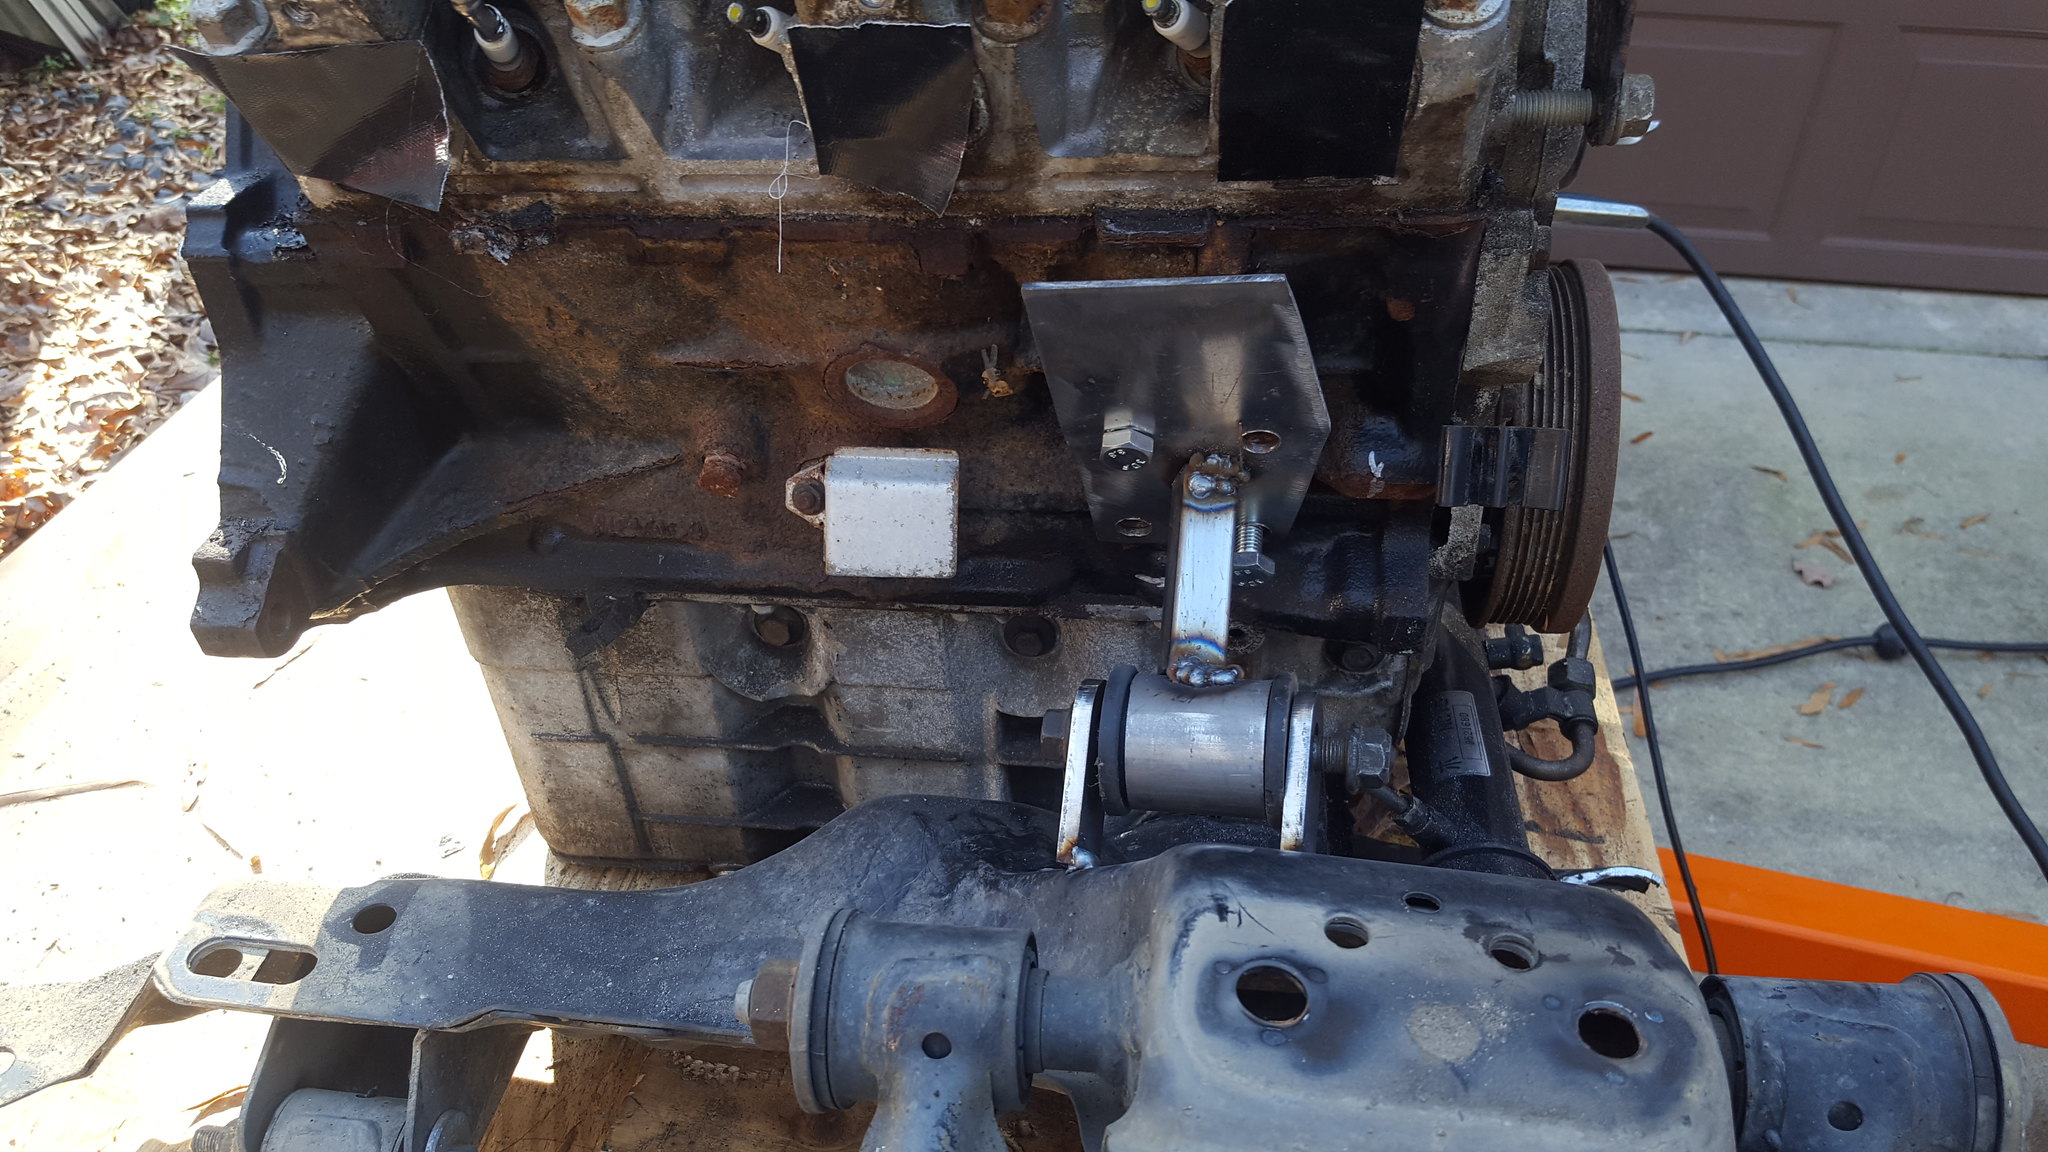
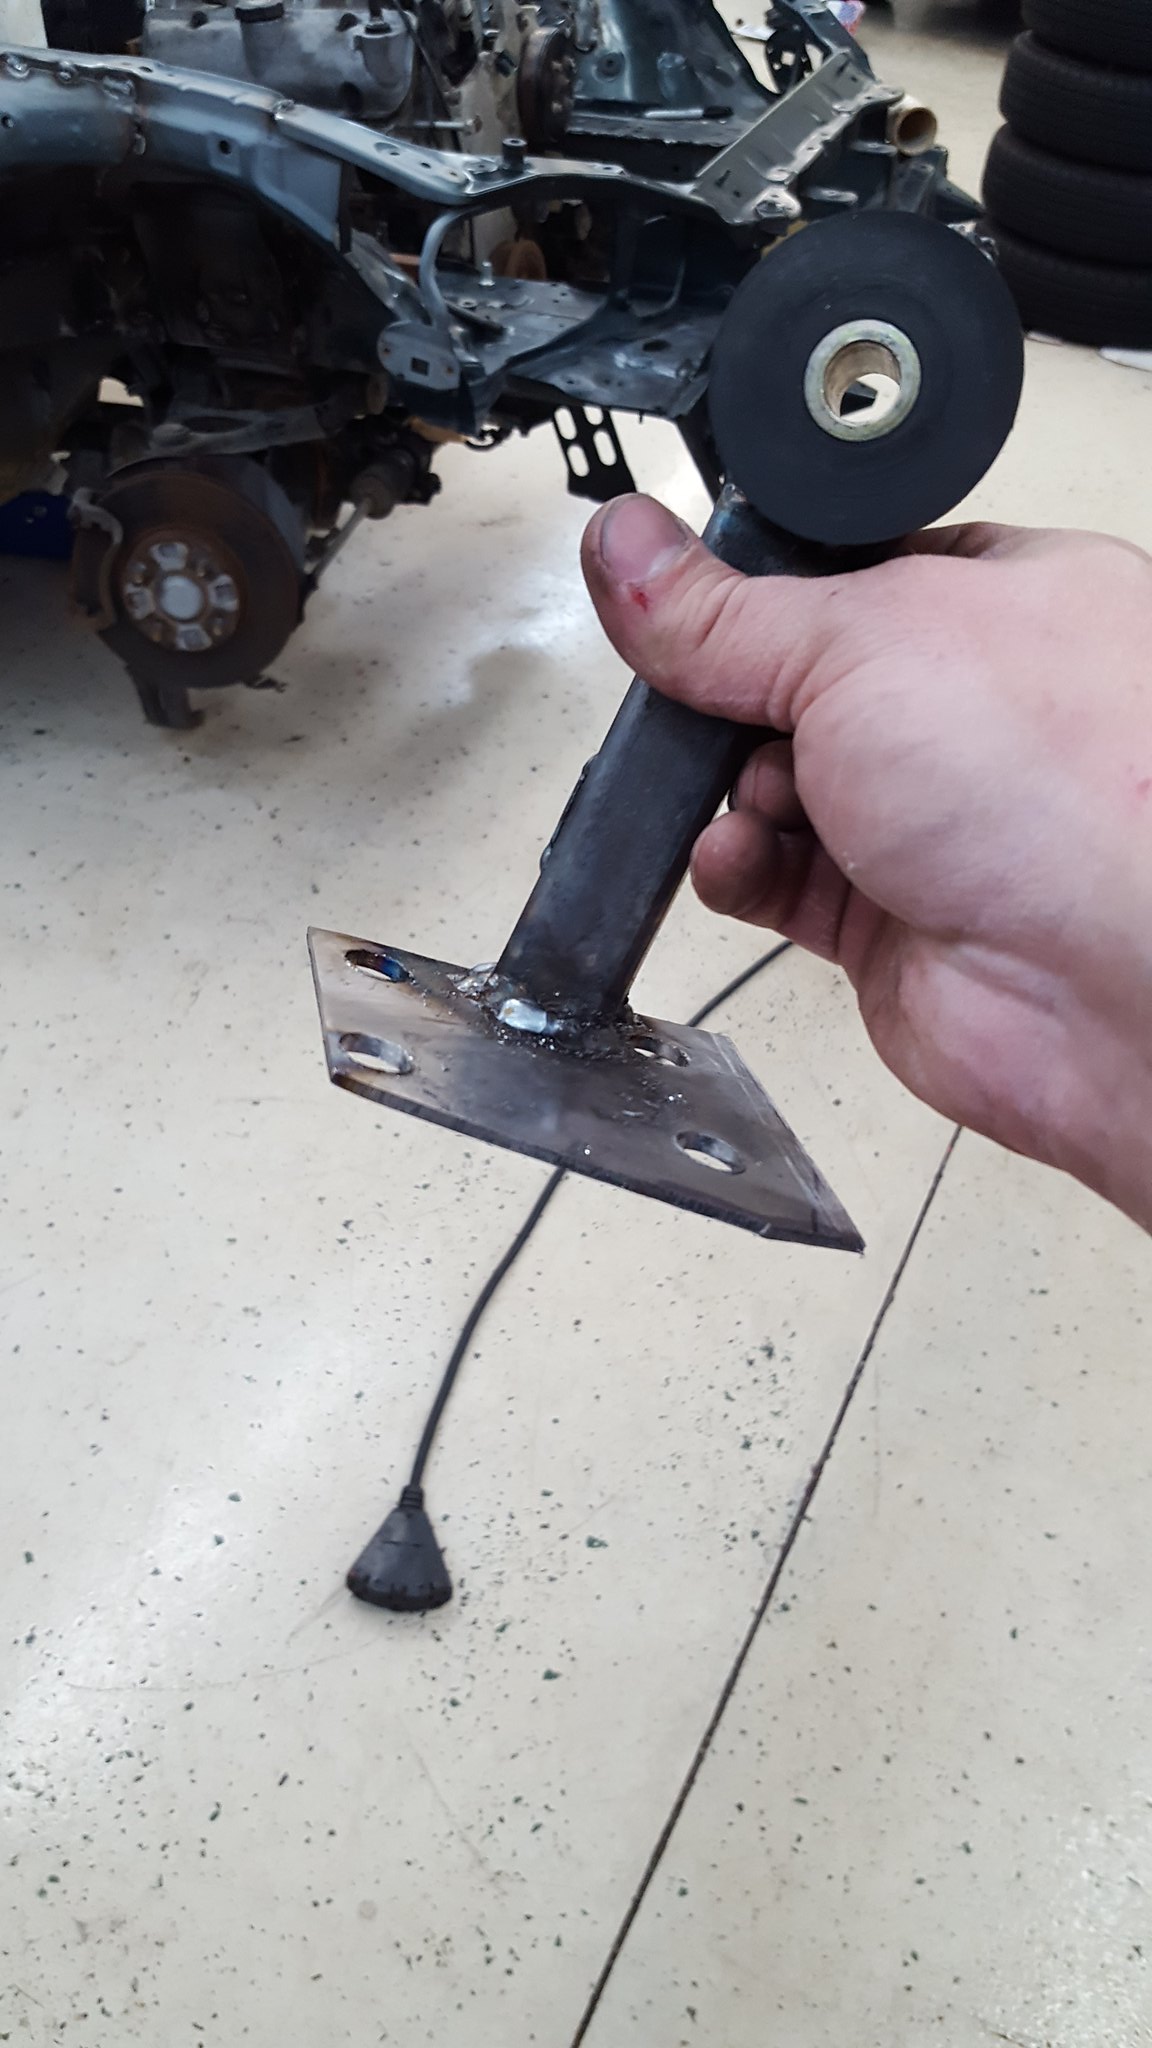
went ahead and made some 1/8 plate that mount to threaded bosses in the block, and then some tabs to weld to the crossmember.
by https://www.flickr.com/photos/150940429@N02/, on Flickr
to get the engine where I thought it needed to be, I notched the crossmember by an inch or so, and spaced things with various nuts/bolts/chunks of wood.
by https://www.flickr.com/photos/150940429@N02/, on Flickr
by https://www.flickr.com/photos/150940429@N02/, on FlickrI then tacked the tabs, the tube, and the plates all together. Didn't fully weld because I wanted to confirm clearance.
by https://www.flickr.com/photos/150940429@N02/, on Flickr
by https://www.flickr.com/photos/150940429@N02/, on Flickr
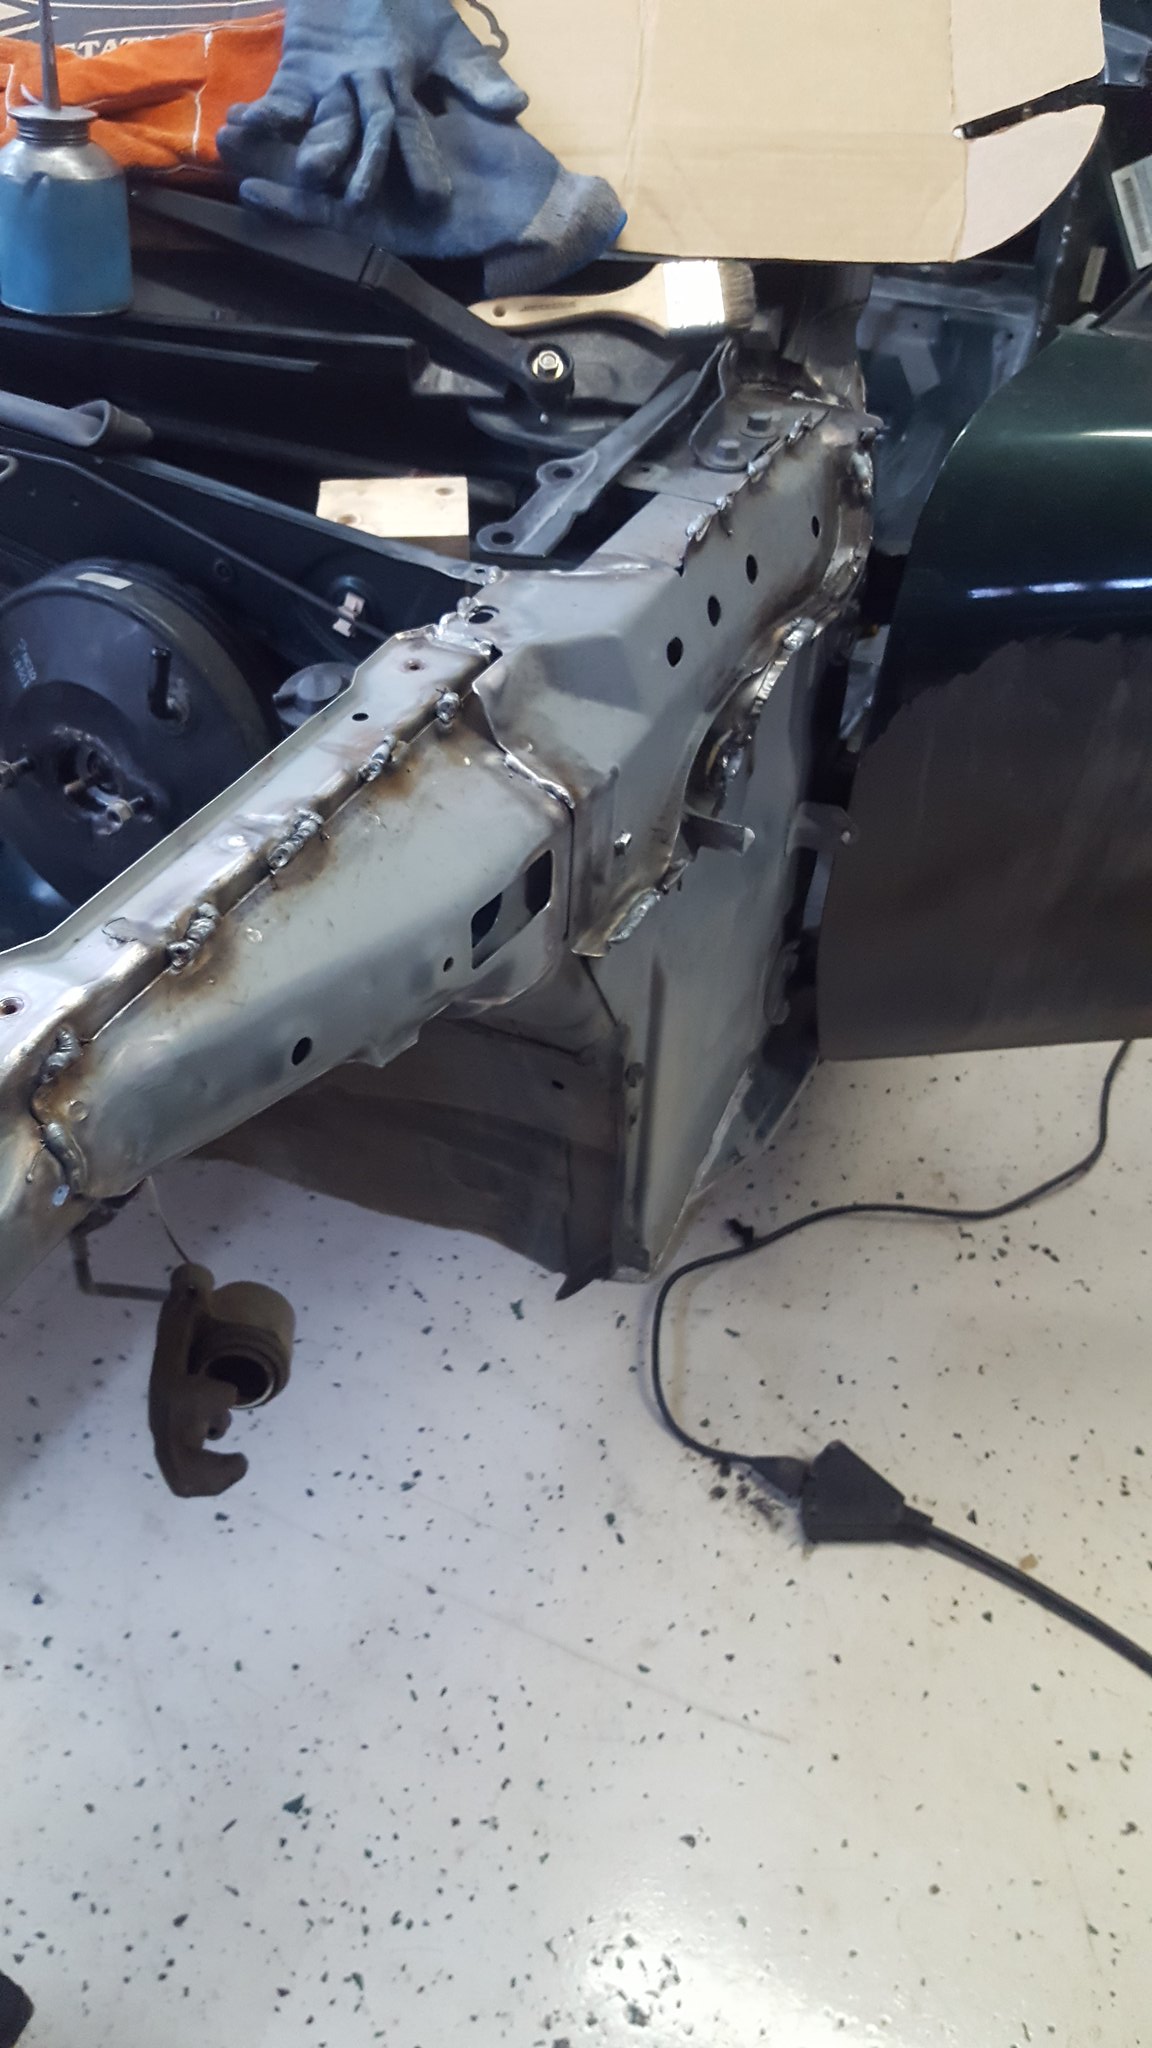
while ive been obsessing about drive-train placement, crossmemeber strength, etc, dads been seam welding per the flyin miata recommendations. Hes having a good time, and this is his first time doing sheetmetal with a MIG. Hes now got almost all of it done and ready to go outside for grinding down, seam sealer, and paint.
by https://www.flickr.com/photos/150940429@N02/, on Flickr
by https://www.flickr.com/photos/150940429@N02/, on Flickr
by https://www.flickr.com/photos/150940429@N02/, on Flickr
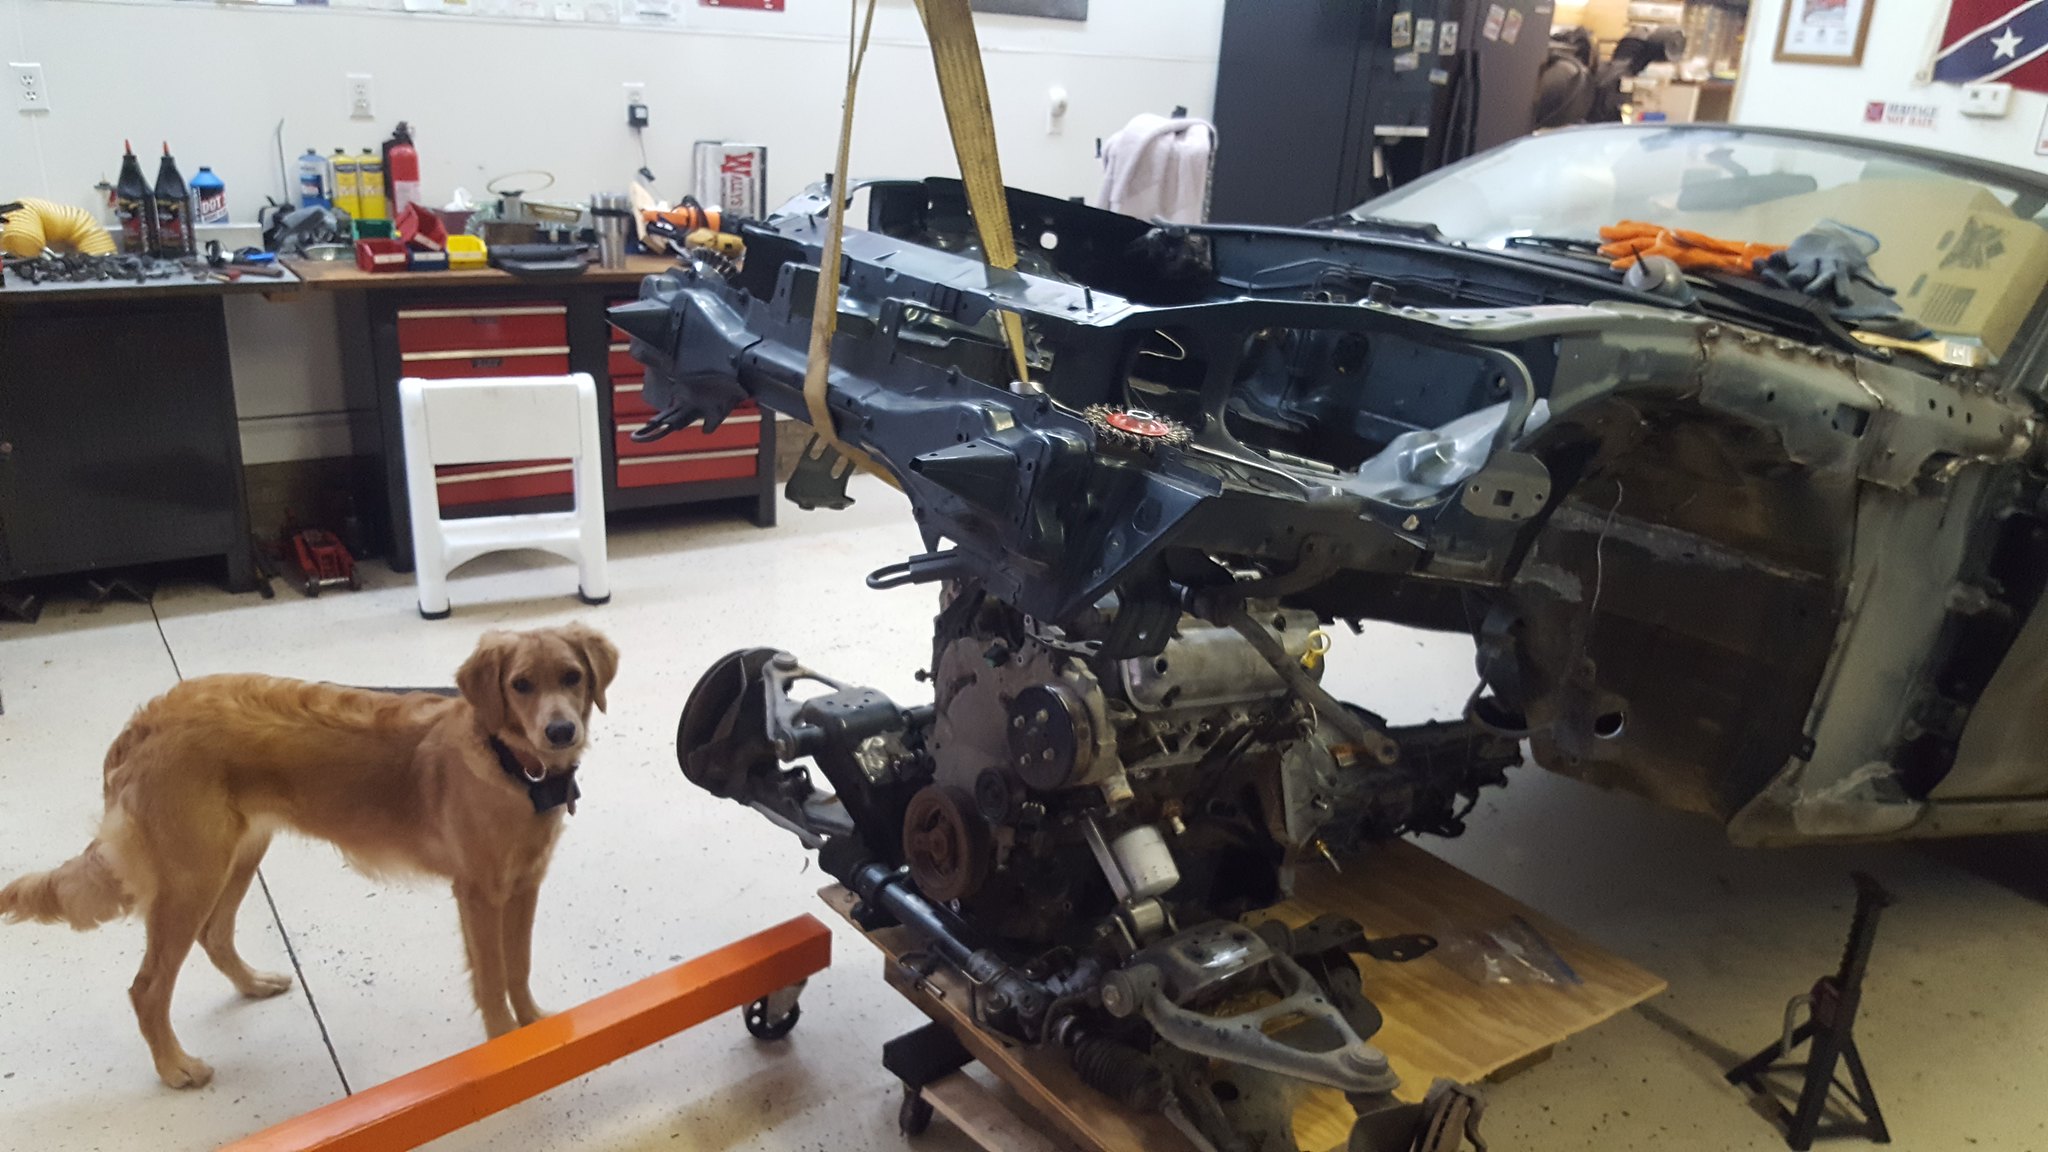
we then jockeyed things around, put the engine and trans on a sheet of plywood on 6x6 chunks on refrigerator dollies. We wrapped a tow strap around the front of the car and hooked to the cherry picker, and went to see how it worked.
by https://www.flickr.com/photos/150940429@N02/, on Flickr
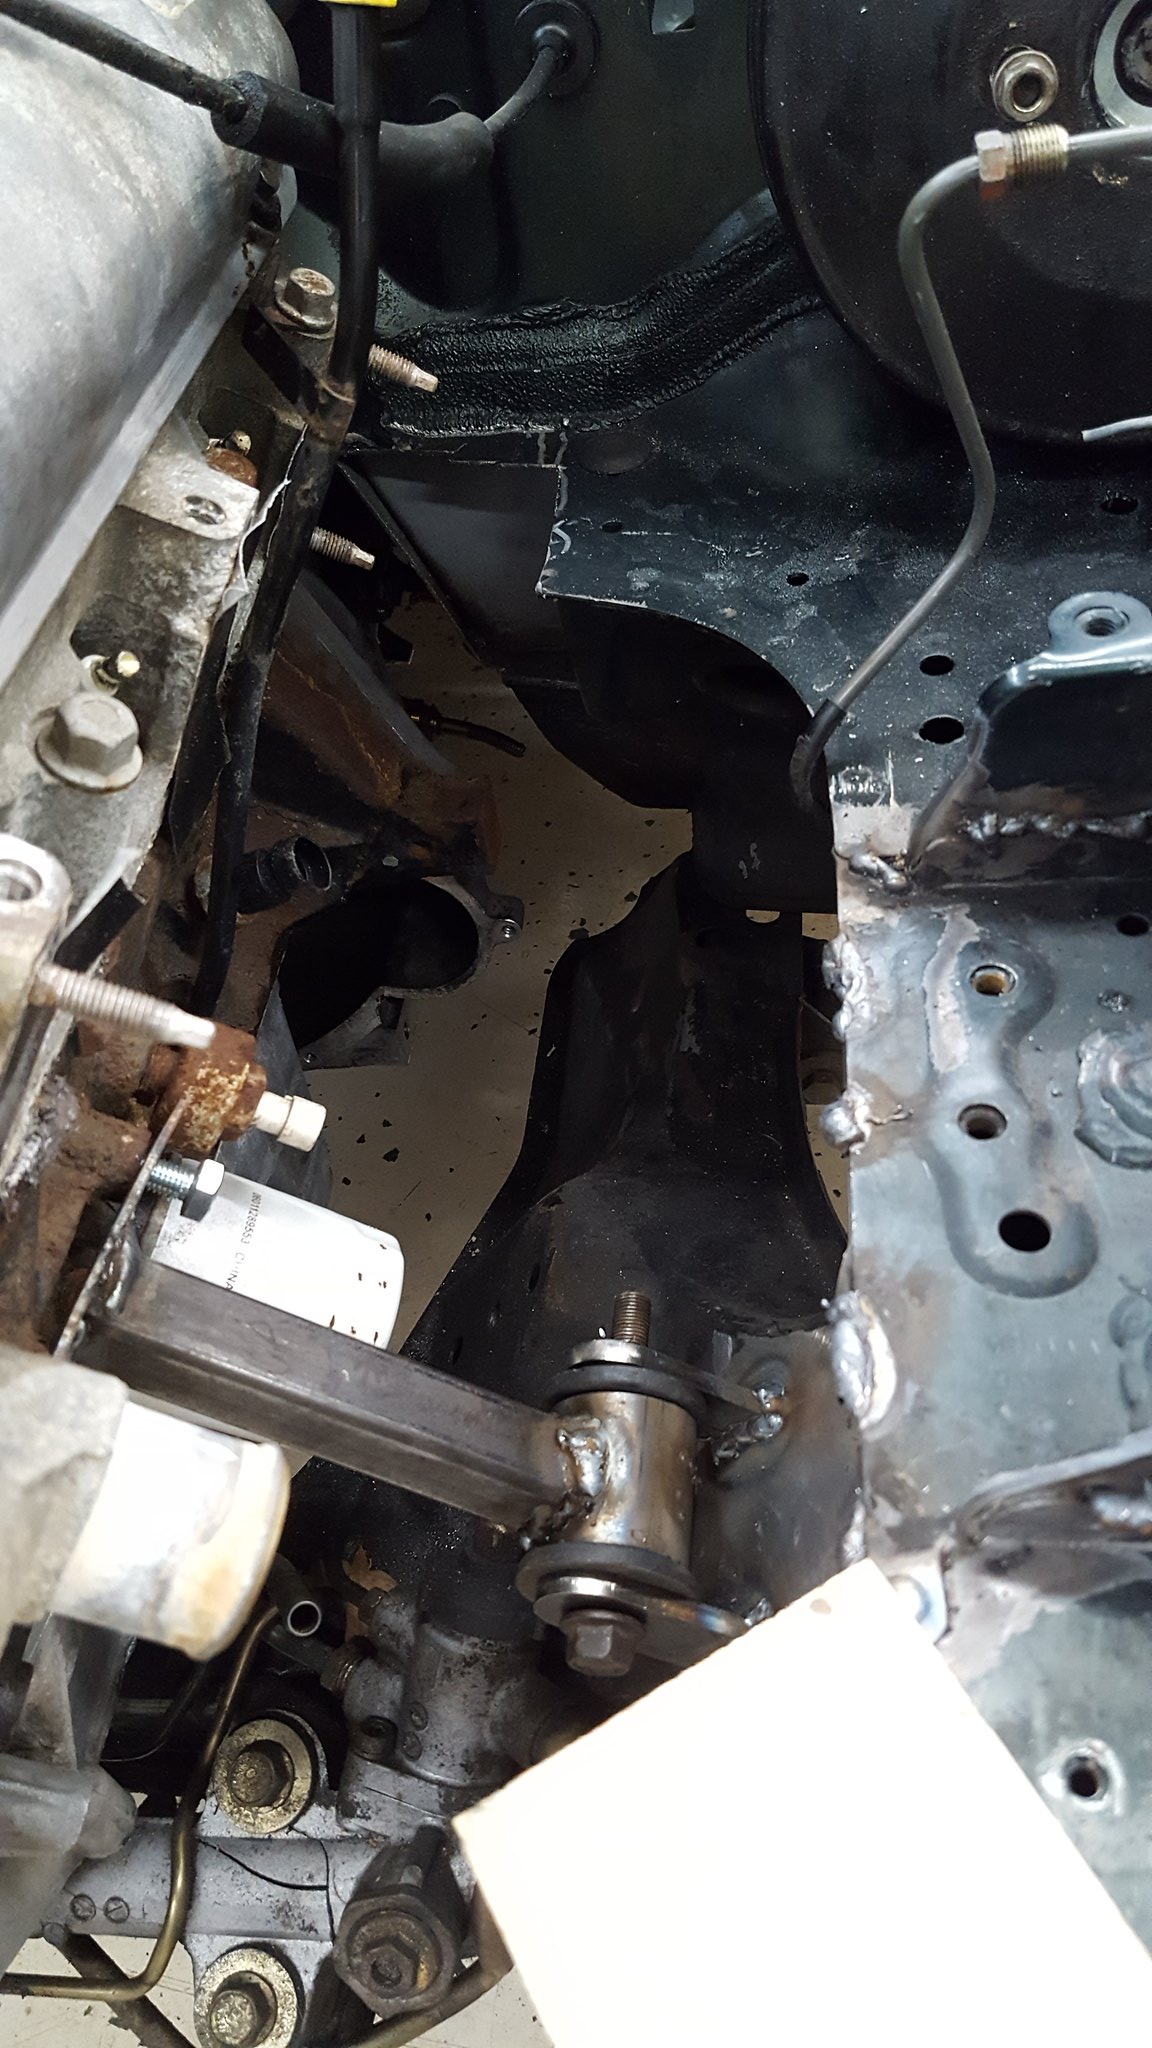
it did not go as planned. We fouled the ears on the firewall, and the engine was about 6 inches behind the plane of the firewall. No bueno. So we pulled it all back apart, and used the portaband to chop the ears out of the engine bay, and knocked the motor mounts I spent all day building apart. When I get back from the in-laws this weekend, were going to try test fitting again. Dads also starting in on the 2x2 framerail reinforcements, as well as the prep for the � cage.
previous challenge budget: 445.90
recoup total: 800
new money: 75 for 15x6 stock nb wheels
37.72 gasket kit for 3400 from ebay
200 for � spec miata cage (main hoop, rear downtubes)
traded stock trans for replacement steering rack cause ours is busted
found some poly bushings and sleeves I a ziplock baggie in the bottom of my gauge box. No idea what they are from, or where I got them. But they fit inside some scraps of roll cage tubing.
2.00 bought a new spool of welding wire: 20
new total: 780.62
ok, when we left off, I had dropped out the crossmember for making the motor fit. I thought I had it sorted out via pictures, so I set the crossmember up on the sawhorses, and made engine mounts. While going through my quickly expanding gauge collection, I found a ziplock baggie of miscellaneous poly bushings. Couple sway bar end links, some mount bushings, bumpstops, and I think 4 control arm bushings. Couldn't tell you what this stuff is from, as I haven't been to the bottom of that box in years. Leftovers from something. But the “control arm bushings” fit inside the scraps from last years roll cage build. So im using them.
went ahead and made some 1/8 plate that mount to threaded bosses in the block, and then some tabs to weld to the crossmember.
to get the engine where I thought it needed to be, I notched the crossmember by an inch or so, and spaced things with various nuts/bolts/chunks of wood.
while ive been obsessing about drive-train placement, crossmemeber strength, etc, dads been seam welding per the flyin miata recommendations. Hes having a good time, and this is his first time doing sheetmetal with a MIG. Hes now got almost all of it done and ready to go outside for grinding down, seam sealer, and paint.

we then jockeyed things around, put the engine and trans on a sheet of plywood on 6x6 chunks on refrigerator dollies. We wrapped a tow strap around the front of the car and hooked to the cherry picker, and went to see how it worked.
it did not go as planned. We fouled the ears on the firewall, and the engine was about 6 inches behind the plane of the firewall. No bueno. So we pulled it all back apart, and used the portaband to chop the ears out of the engine bay, and knocked the motor mounts I spent all day building apart. When I get back from the in-laws this weekend, were going to try test fitting again. Dads also starting in on the 2x2 framerail reinforcements, as well as the prep for the � cage.

Thread Starter
V8 Miata Noob
Joined: Nov 2017
Posts: 13
Likes: 0
From: albemarle north carolina
Apparently the forum software here and miataturbo wont allow flickr links to show the p8cture if the picture security settings are set to private. Other forums dont care. Odd.
Thread Starter
V8 Miata Noob
Joined: Nov 2017
Posts: 13
Likes: 0
From: albemarle north carolina
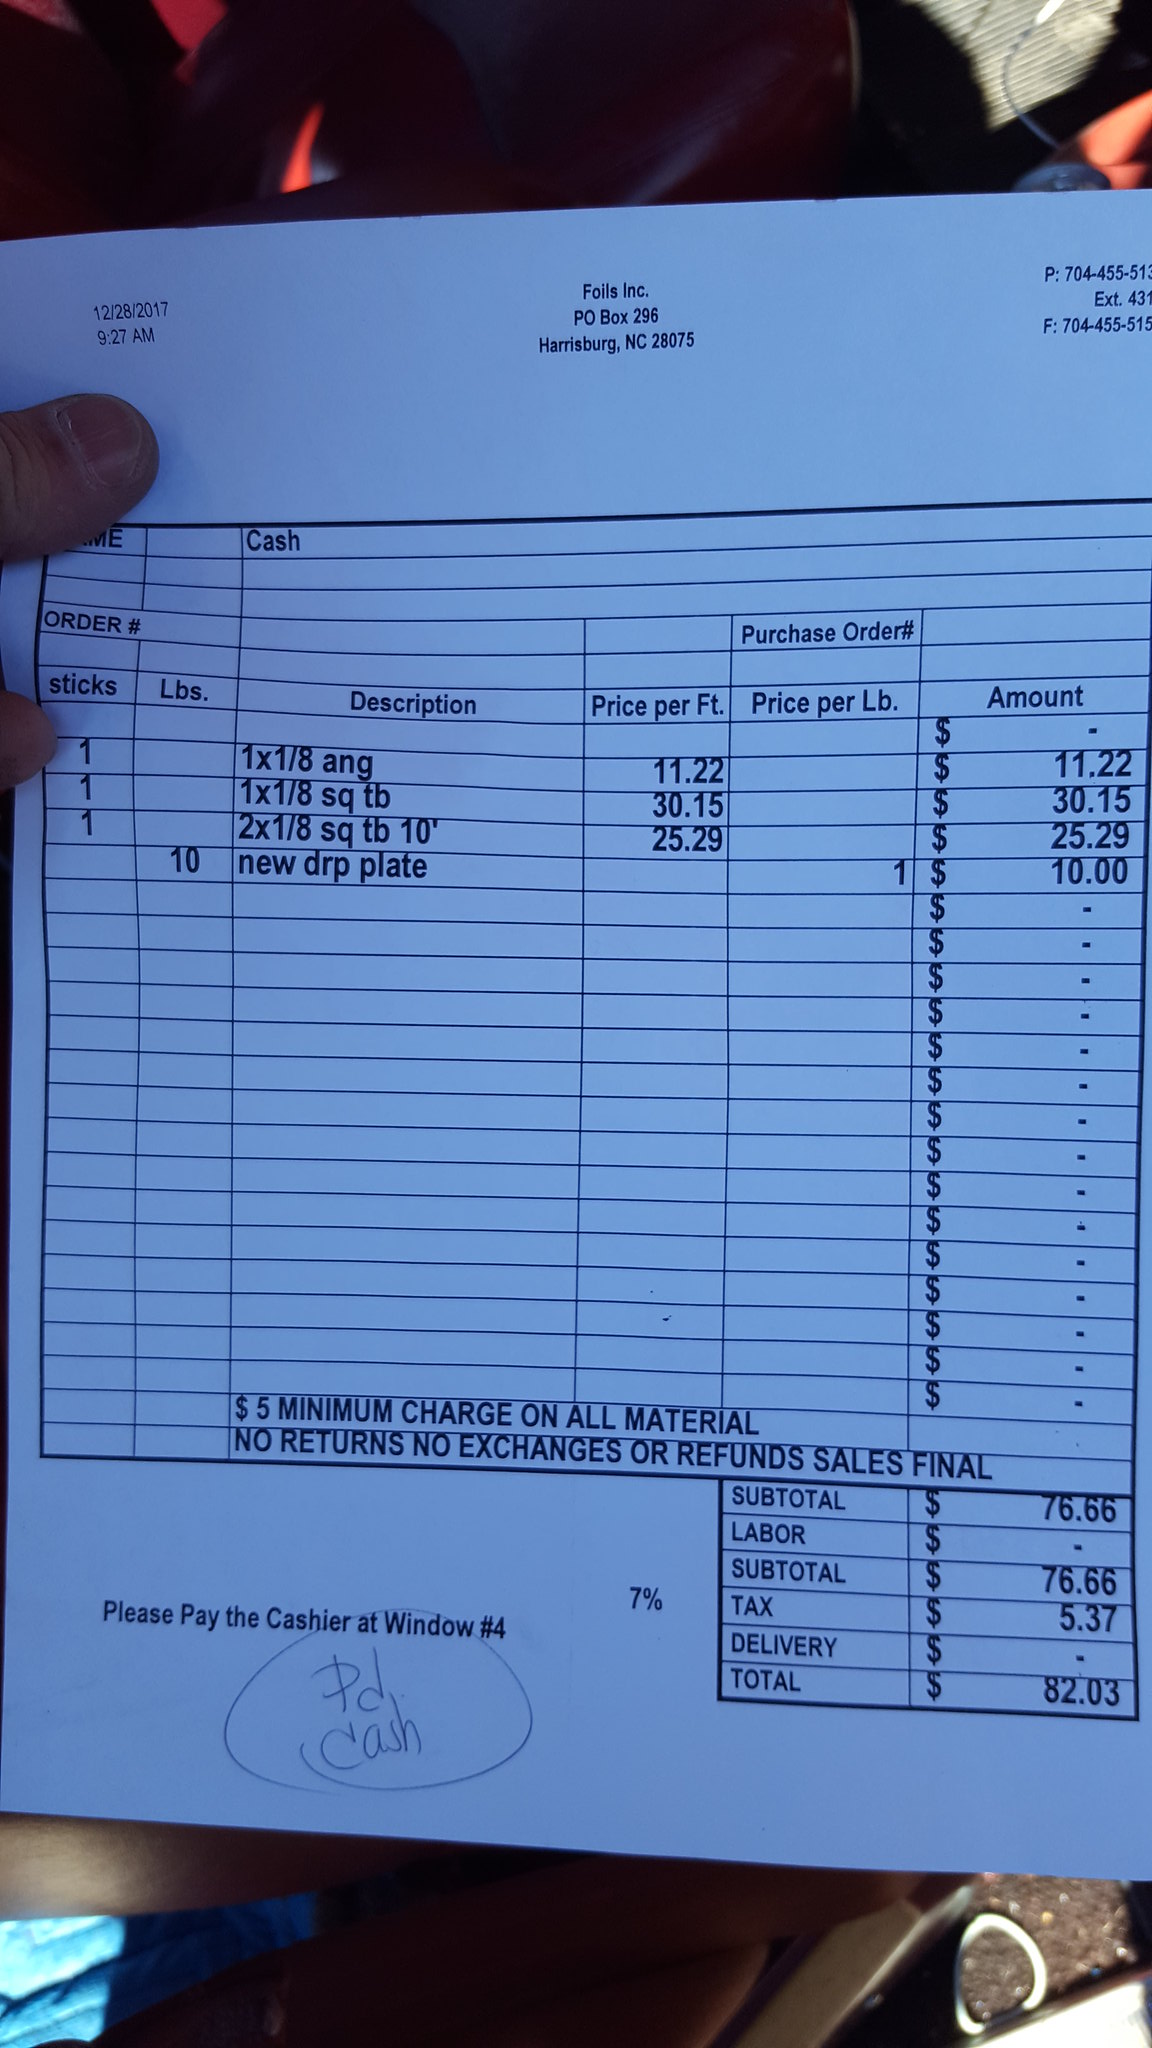
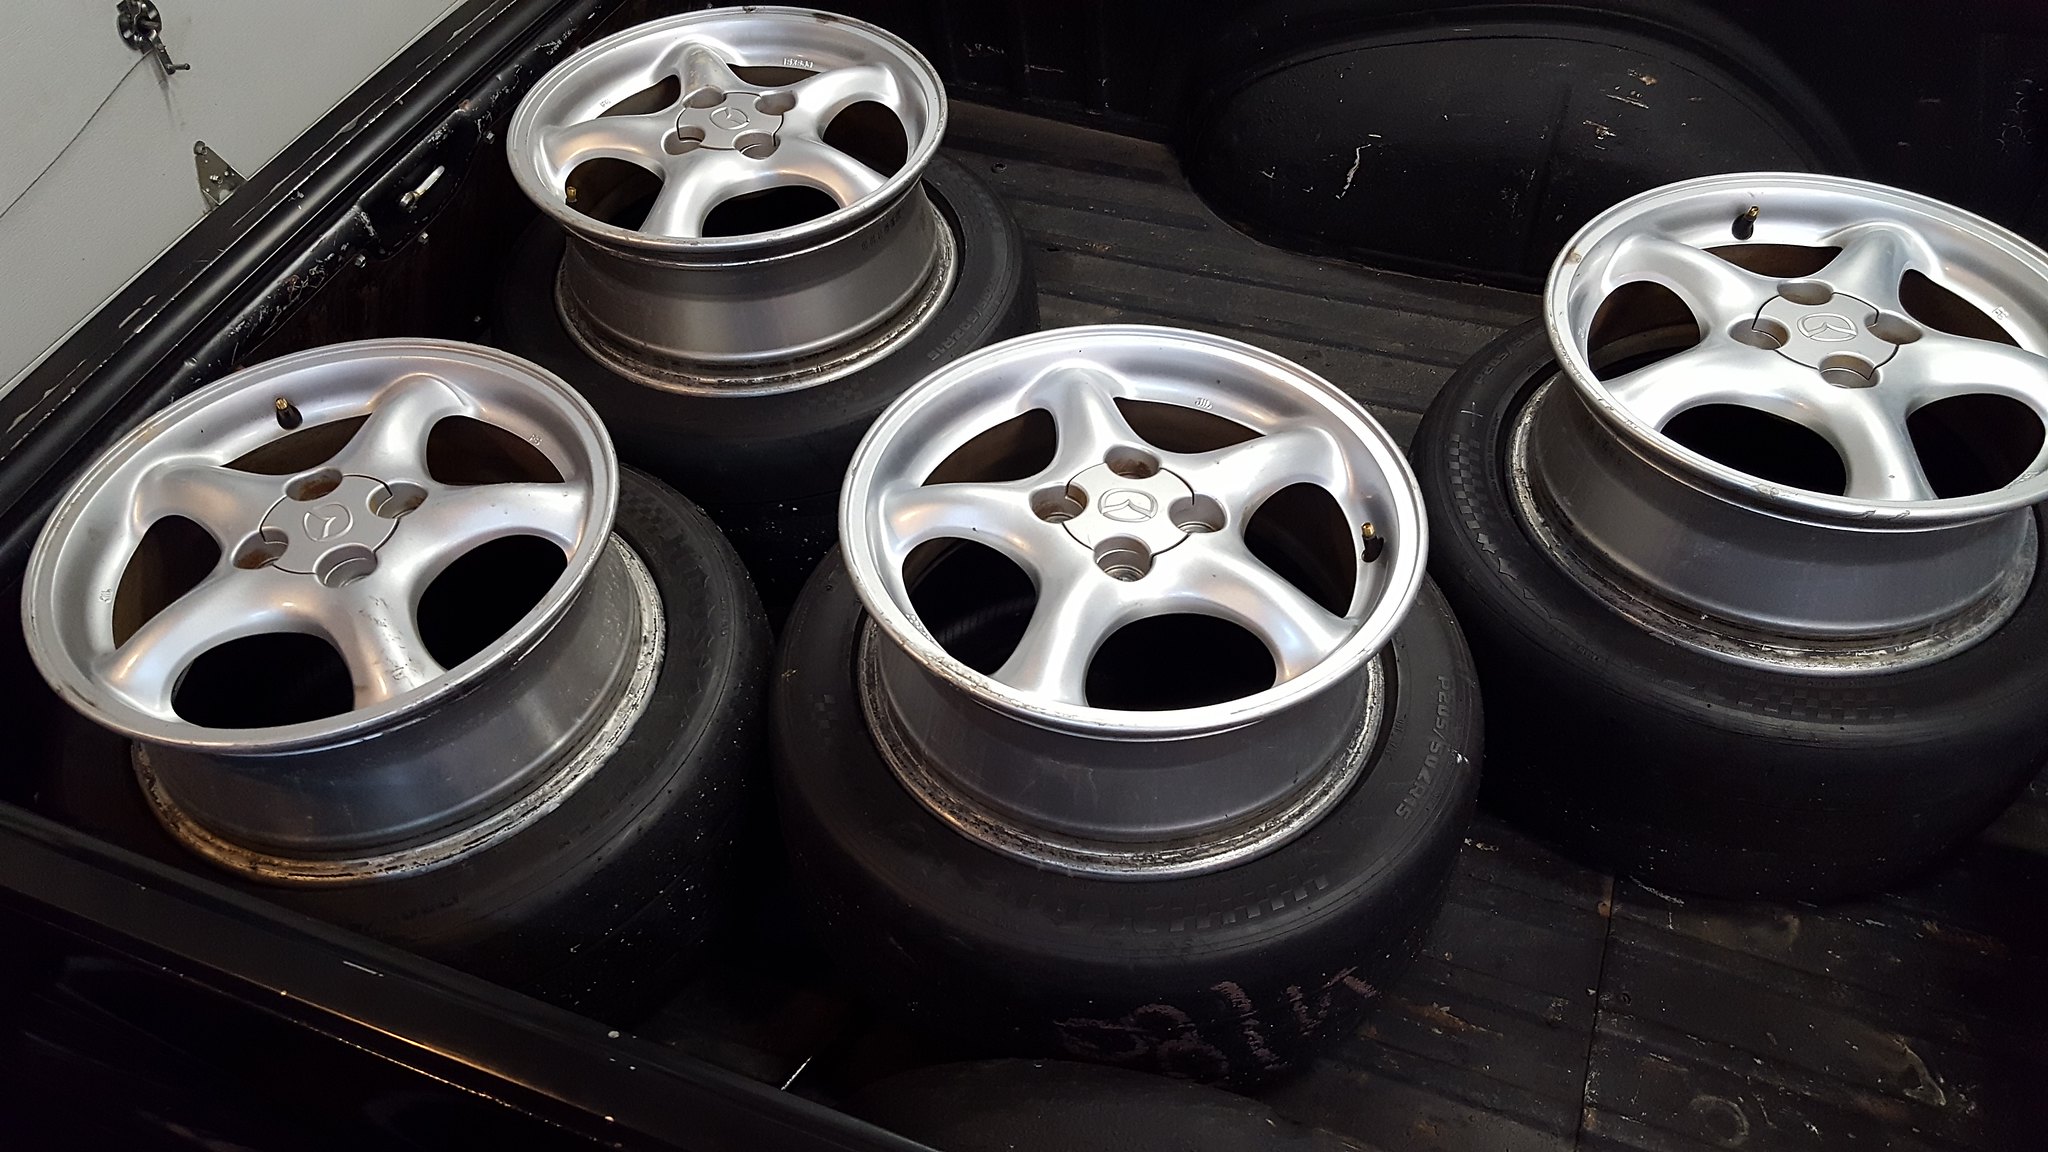
Challenge budget so farrevious challenge budget: 780.62 recoup total: 800new money: 20 feet 1x1x1/8 angle iron: 11.22 20 feet 1x1x1/8 square tube: 30.15 10 feet 2x2x1/8 square tube: 25.29 10lbs 1/8 plate steel: 10.00 modify oil pan: 8 according to stevejb weld: 2.50 (6.99 pack, used about 1/2) new total: 868.78to start with, I figure well talk about parts acquisition.I finally got stuff picked up and pictures taken of parts that I talked about, but didnt document proof of.Nitrous kit from the trailer park yard sale:
by https://www.flickr.com/photos/150940429@N02/, on Flickrspec miata cage (still have to grab the roughly 20 feet of tubing he has but couldnt find when I was there)
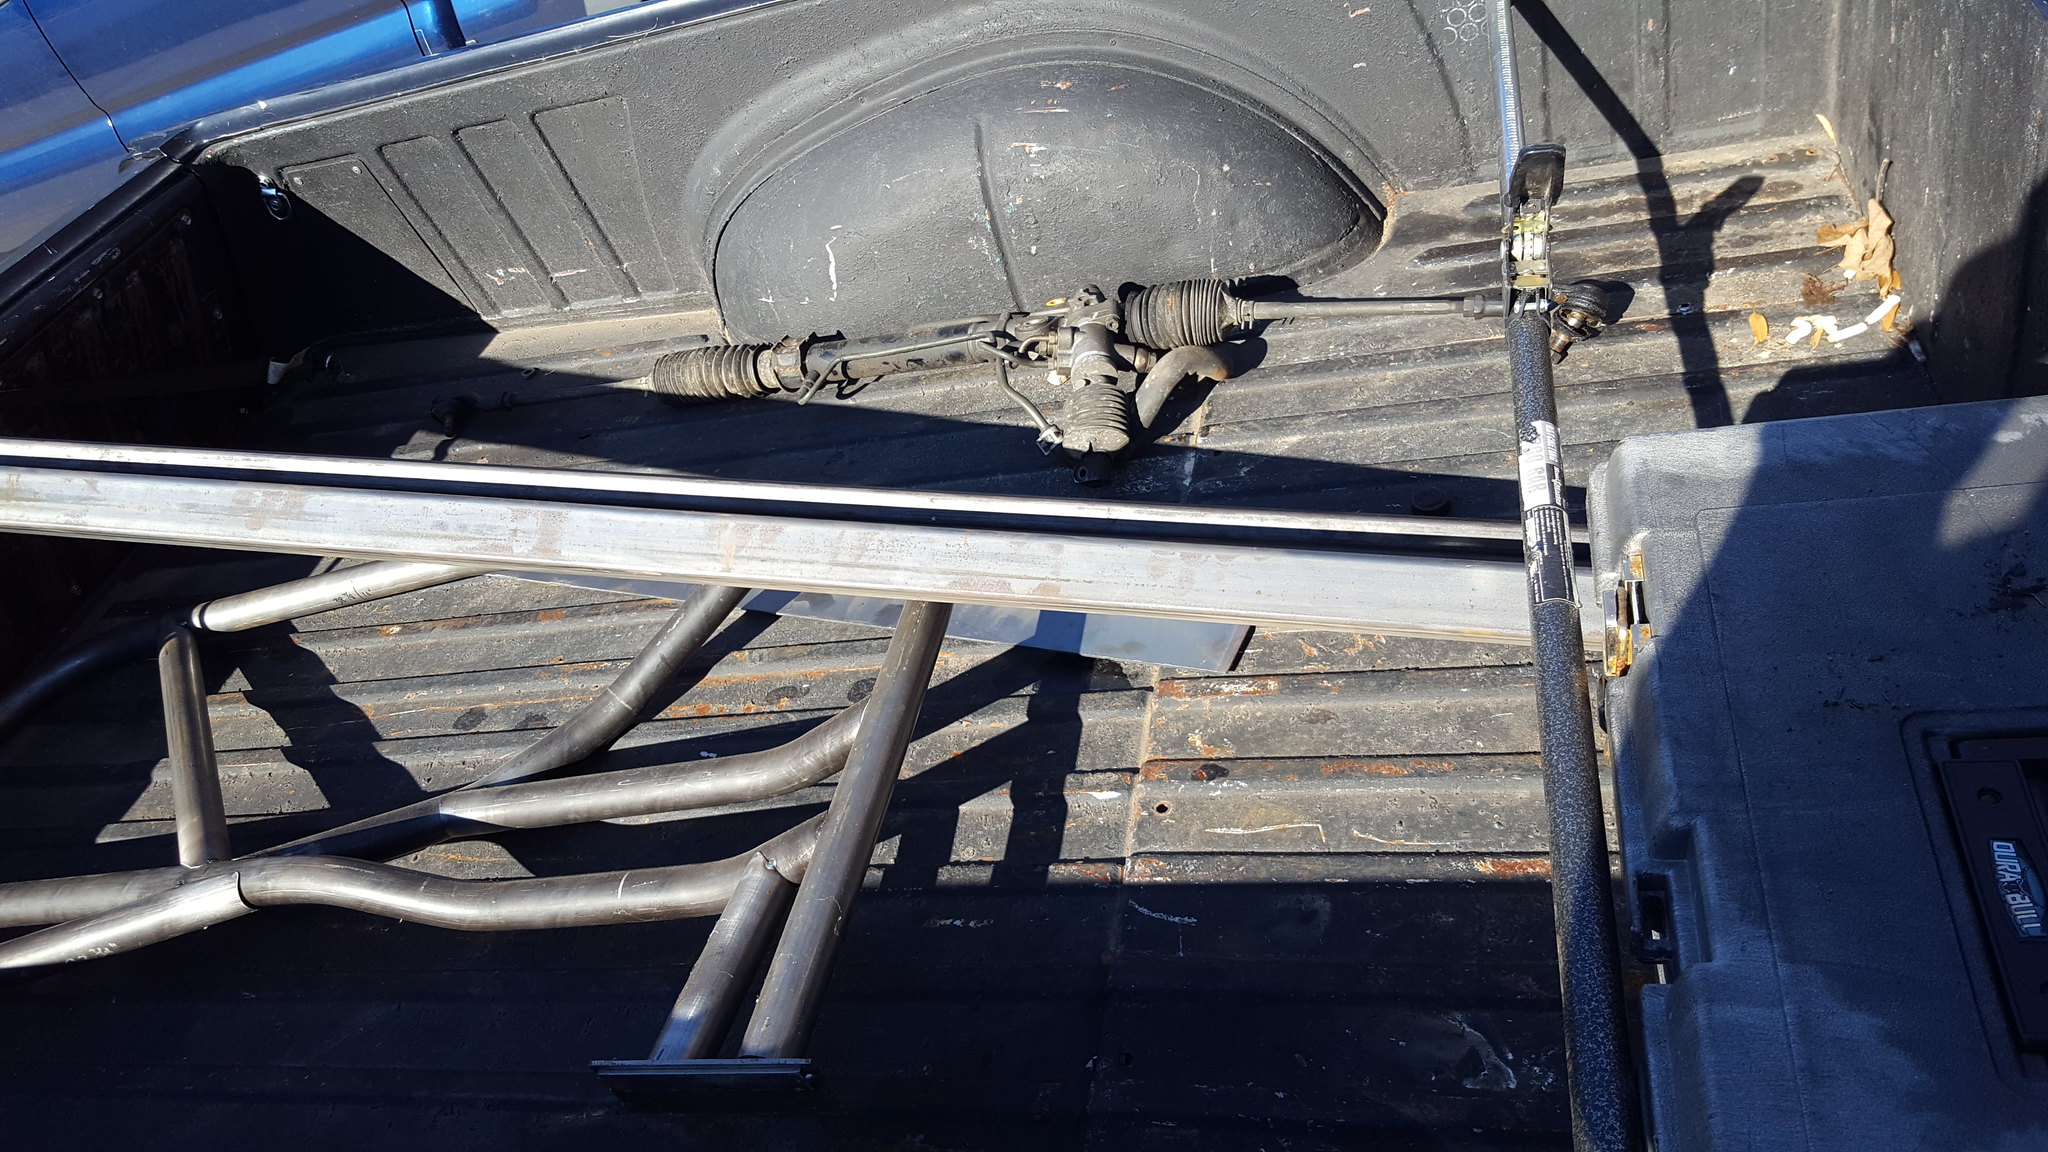
by https://www.flickr.com/photos/150940429@N02/, on Flickr steel order and steering rack
by https://www.flickr.com/photos/150940429@N02/, on Flickr
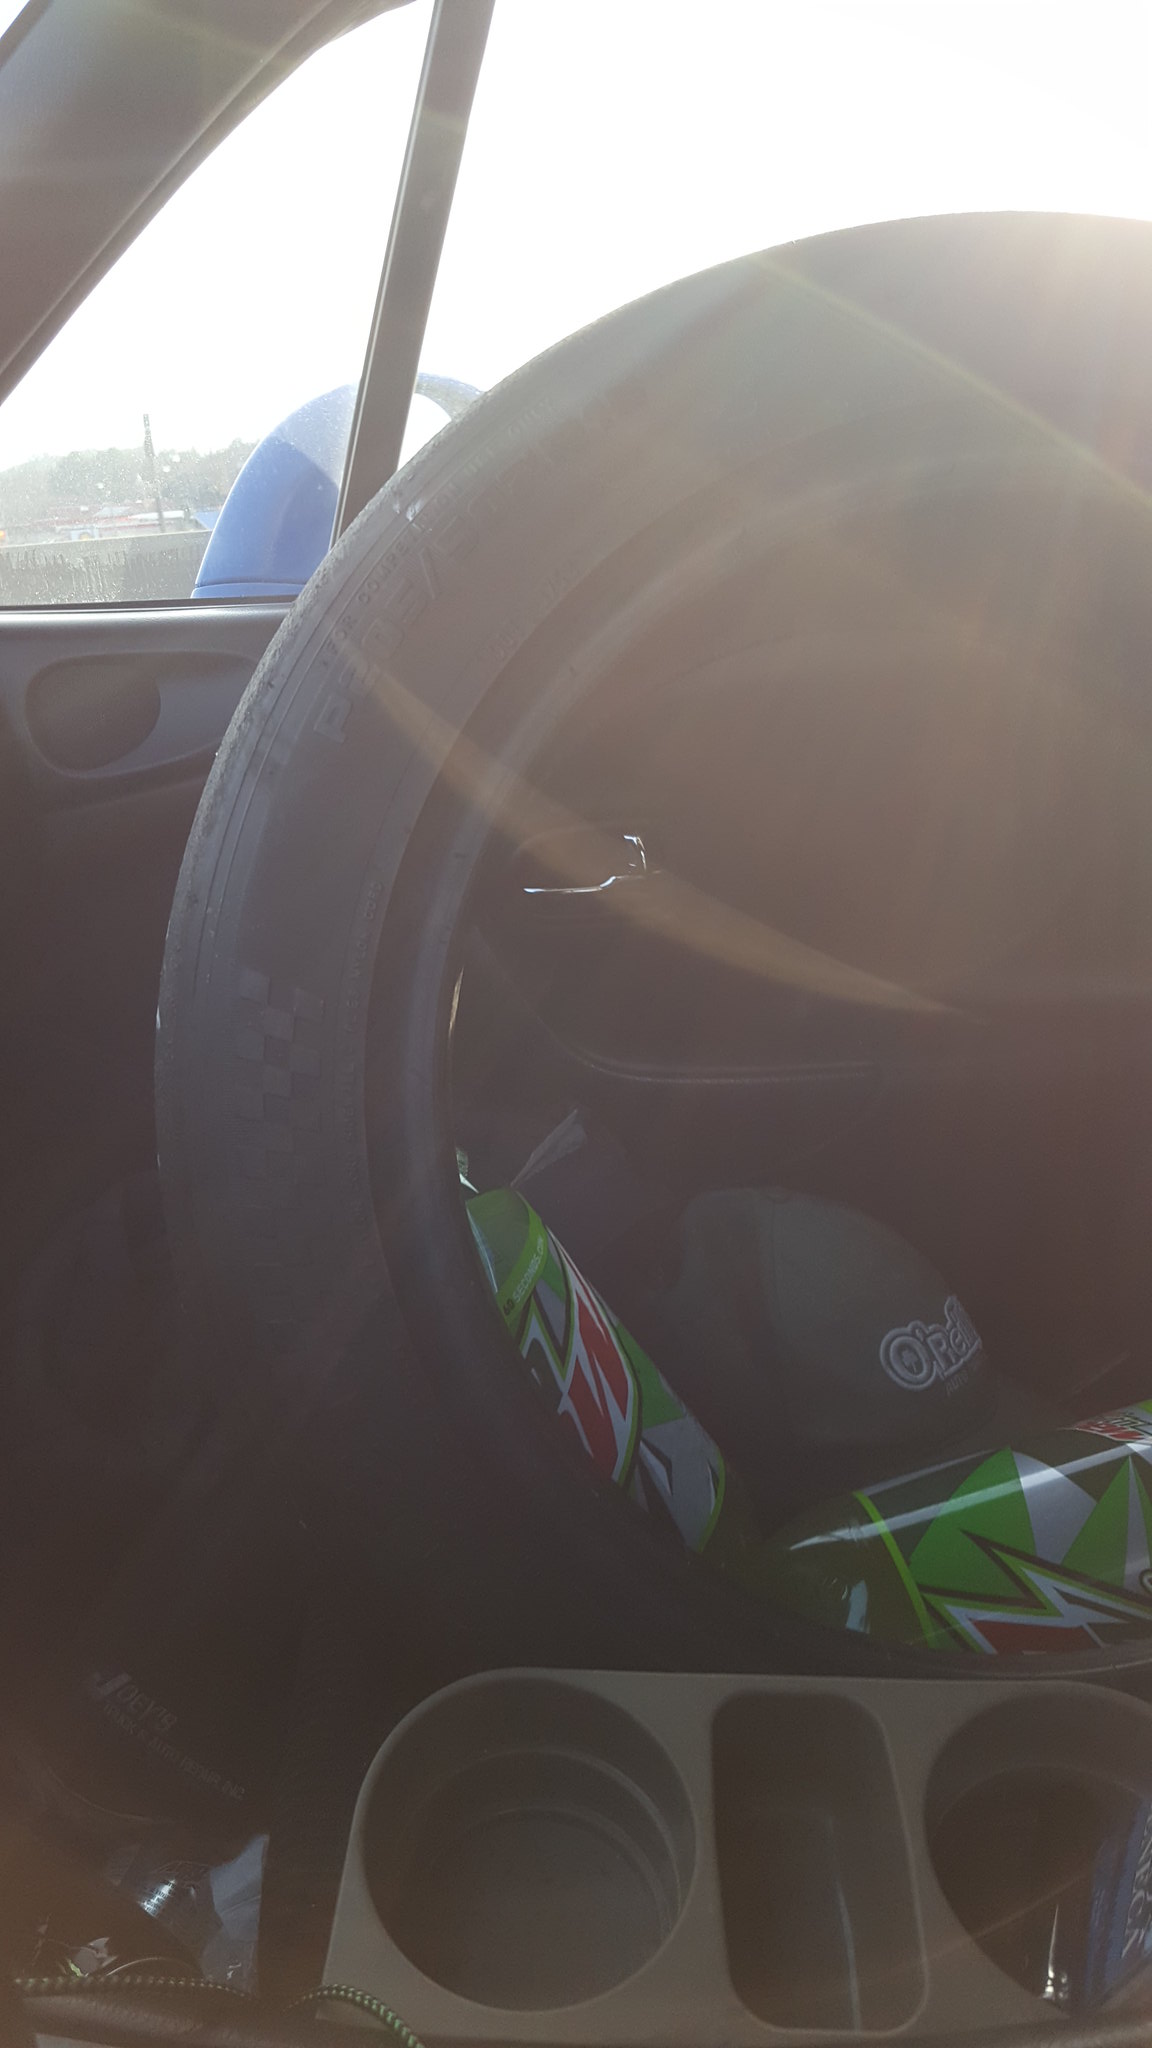
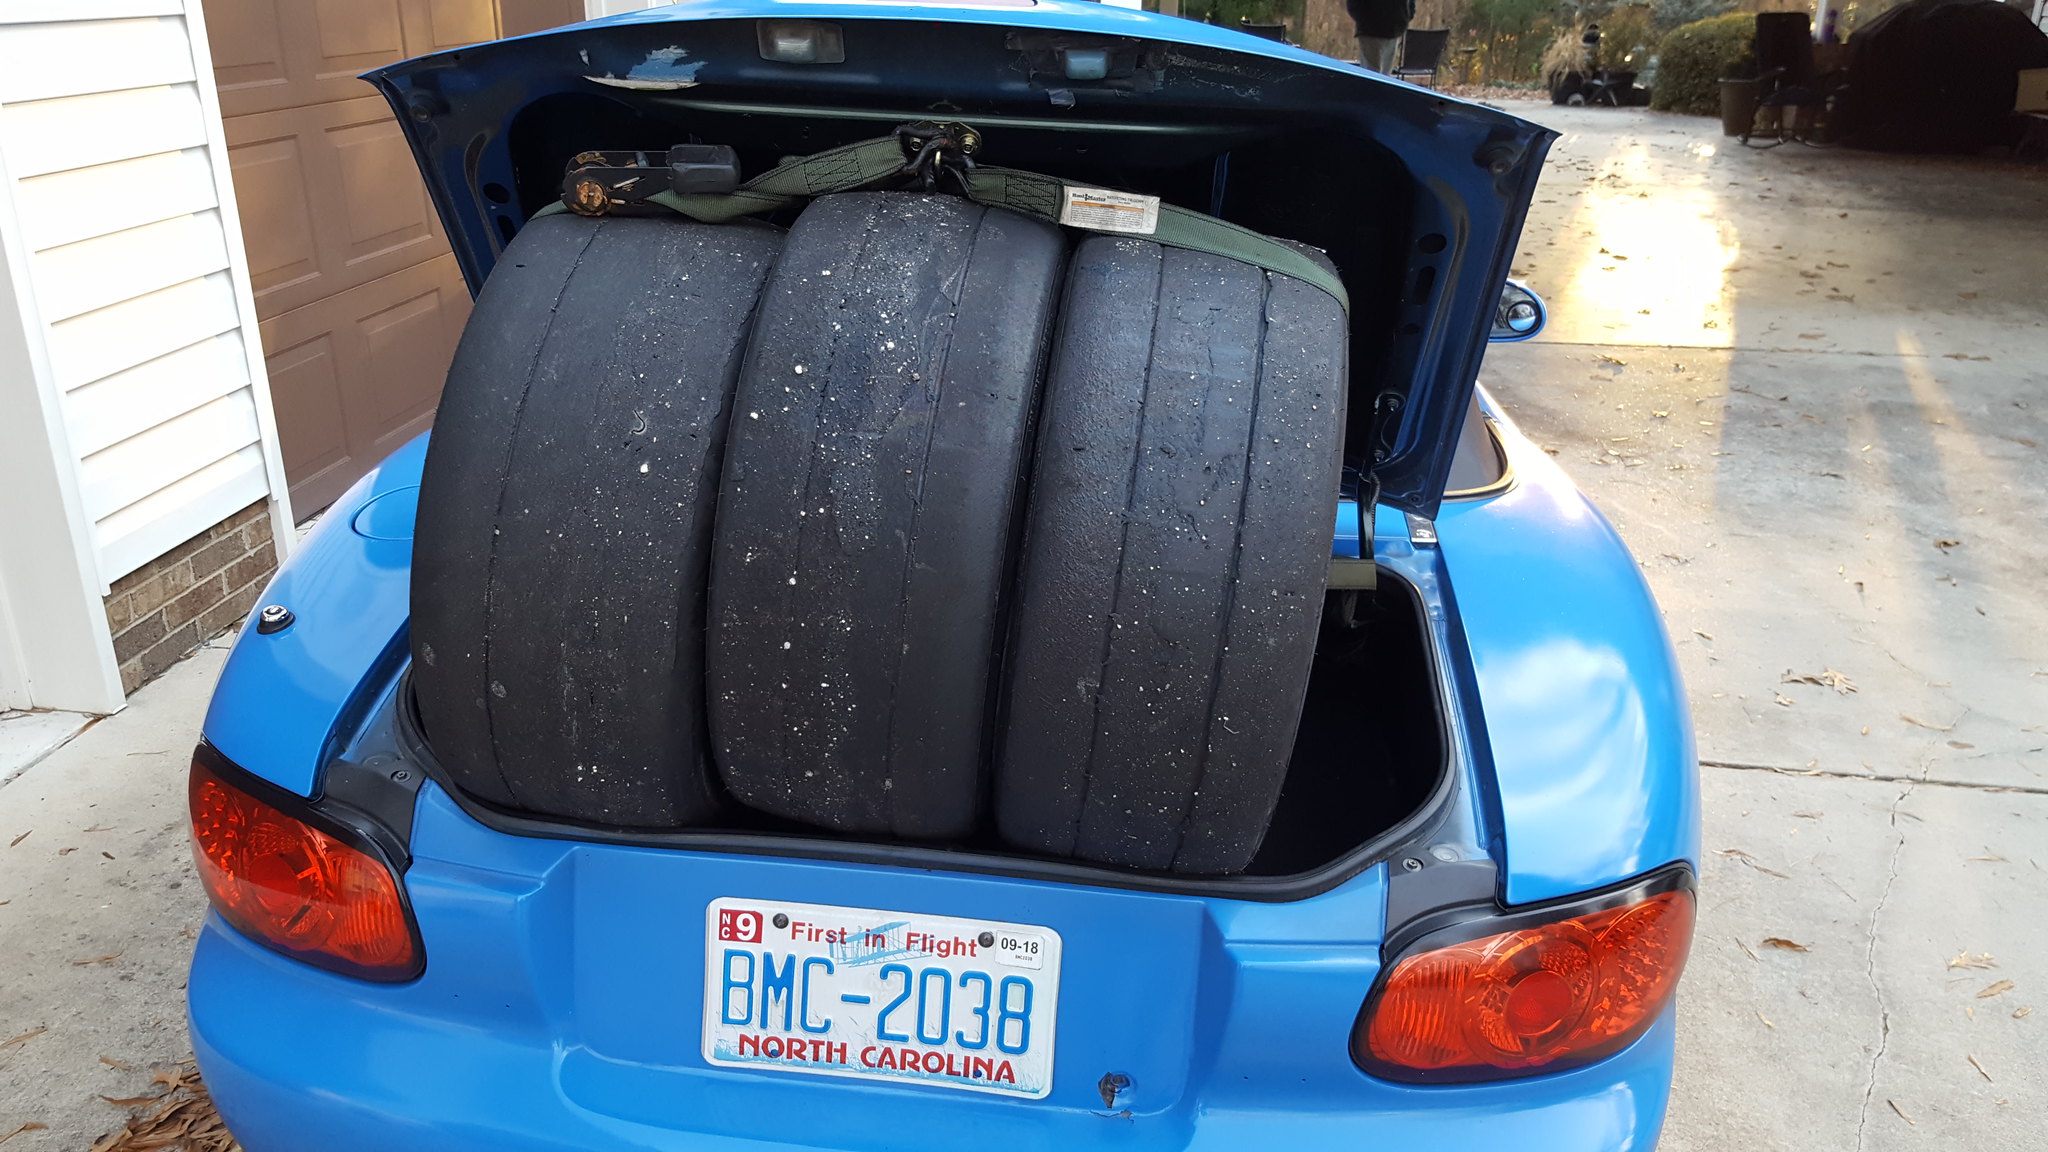
by https://www.flickr.com/photos/150940429@N02/, on Flickrslicks (drove 150 miles like this. Stampie drive far greater. Hes cooler than me) hoosier is my co-pilot
by https://www.flickr.com/photos/150940429@N02/, on Flickr
by https://www.flickr.com/photos/150940429@N02/, on Flickr wheels:
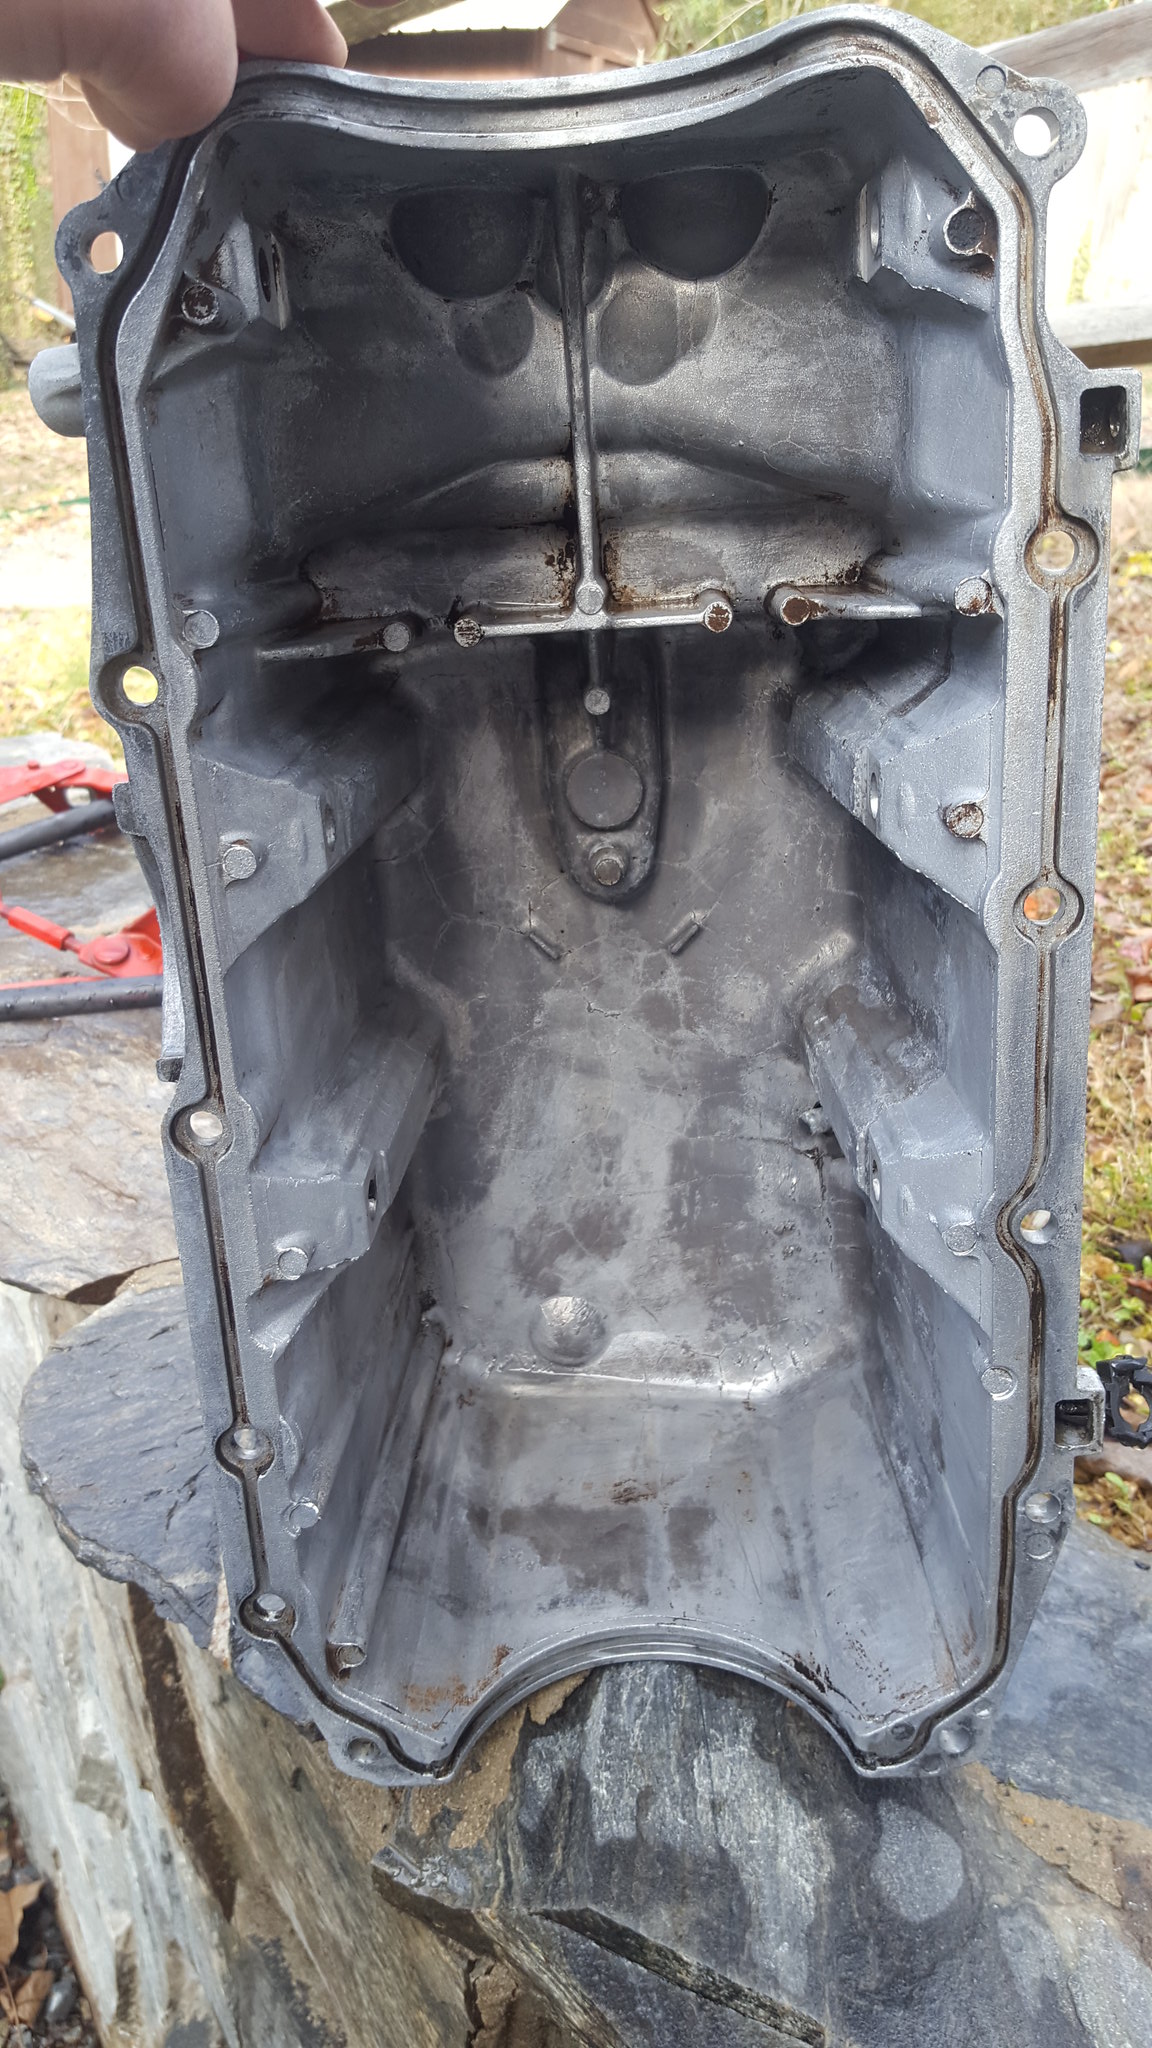
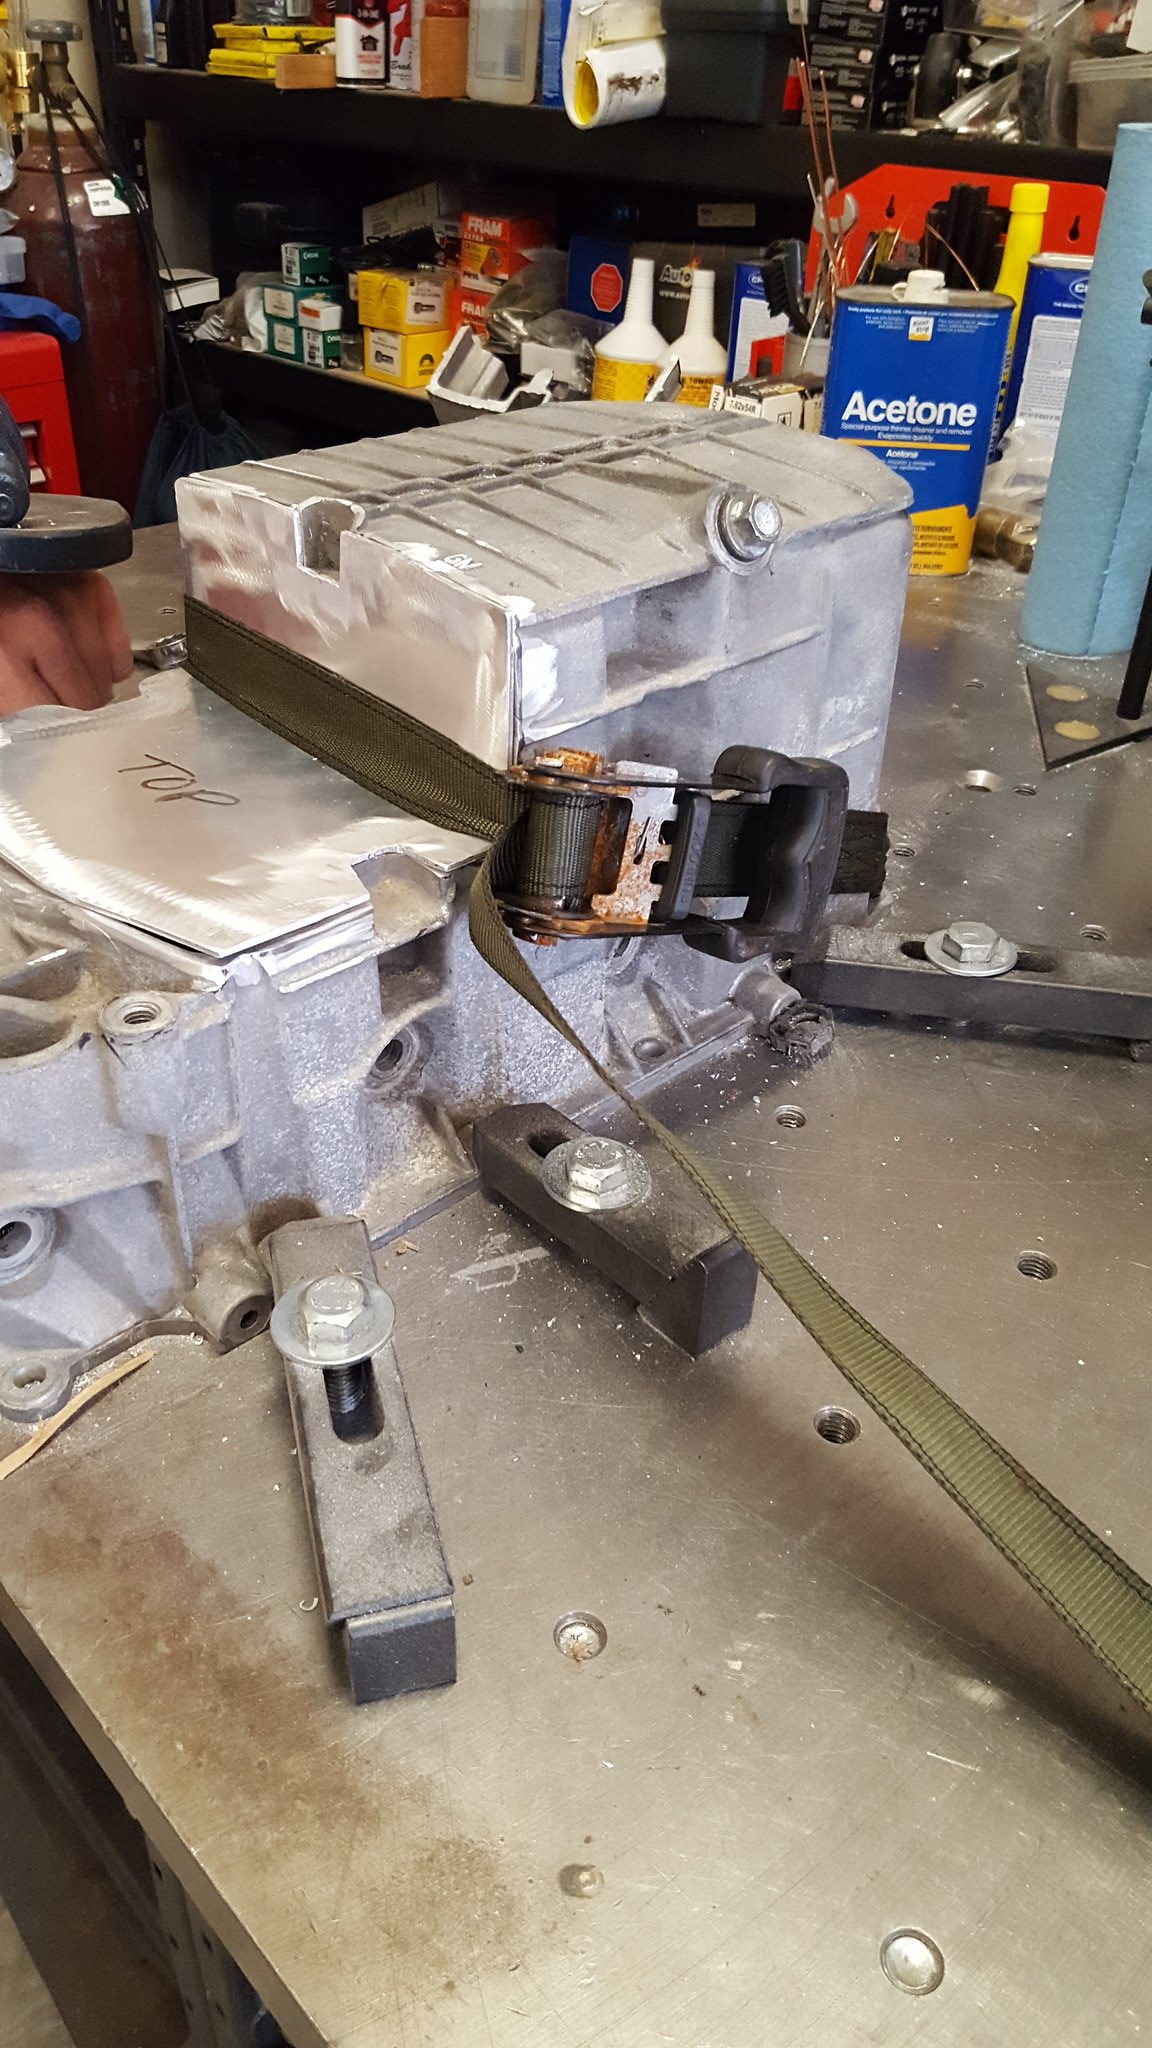
by https://www.flickr.com/photos/150940429@N02/, on Flickr ok. now that thats out of the way....I had decided when we left off that either the crossmember needed to be radically restructured, or the oil pan. We were about 2 inches shy of where we needed to be. The decision came down to notching the pan AND the crossmember. Pan first.Stafford1500 (steve from last years challenge car insanity) offered to cut and weld it if I got it clean enough and brought it to him. So we pulled the pan off, and after about 6 freaking hours of cleaning with screwdrivers, wire brushes, superclean, overn cleaner, and a pressure washer, it was clean enough for me to work with. Steve said that it was far cleaner than it needed to be for what we did.
by https://www.flickr.com/photos/150940429@N02/, on Flickr
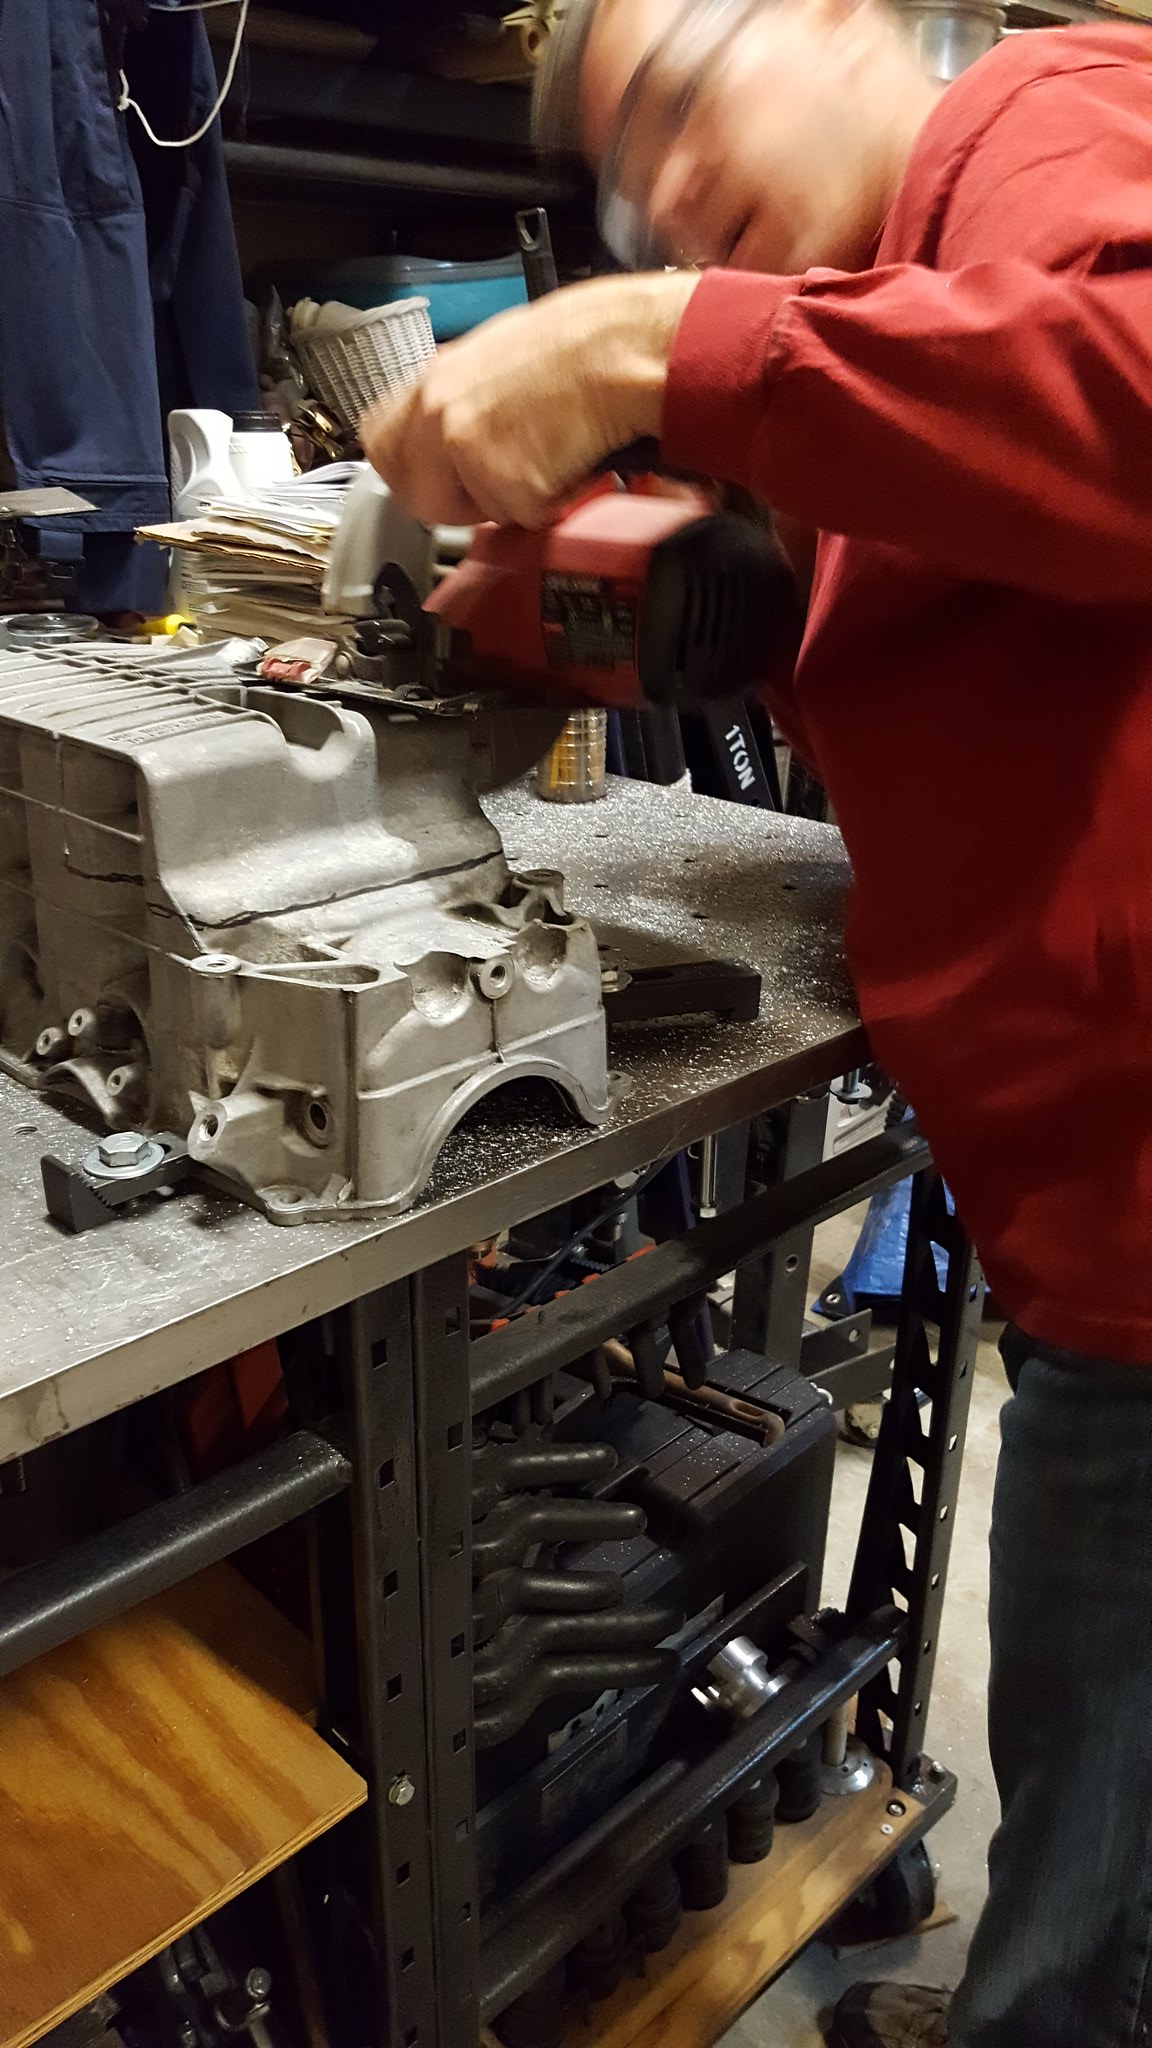
by https://www.flickr.com/photos/150940429@N02/, on FlickrAnyway, we marked out a 3 inch notch with a sharpie, and mounted it to steves surface plate. He proceeded to cut the majority of it with a handheld circular saw. With a wood blade. At face level. *****.
by https://www.flickr.com/photos/150940429@N02/, on Flickrwe dressed the edges with a flap wheel, emeroy paper, etc. while I was doing that, steve cut a chunk of aluminum plate from a sheet that he had standing in the corner of the shop, after making a good cardboard template. Steve has so many awesome tools at his disposal. And such neat projects of his own. Makes this project look like a carburetor rebuild.
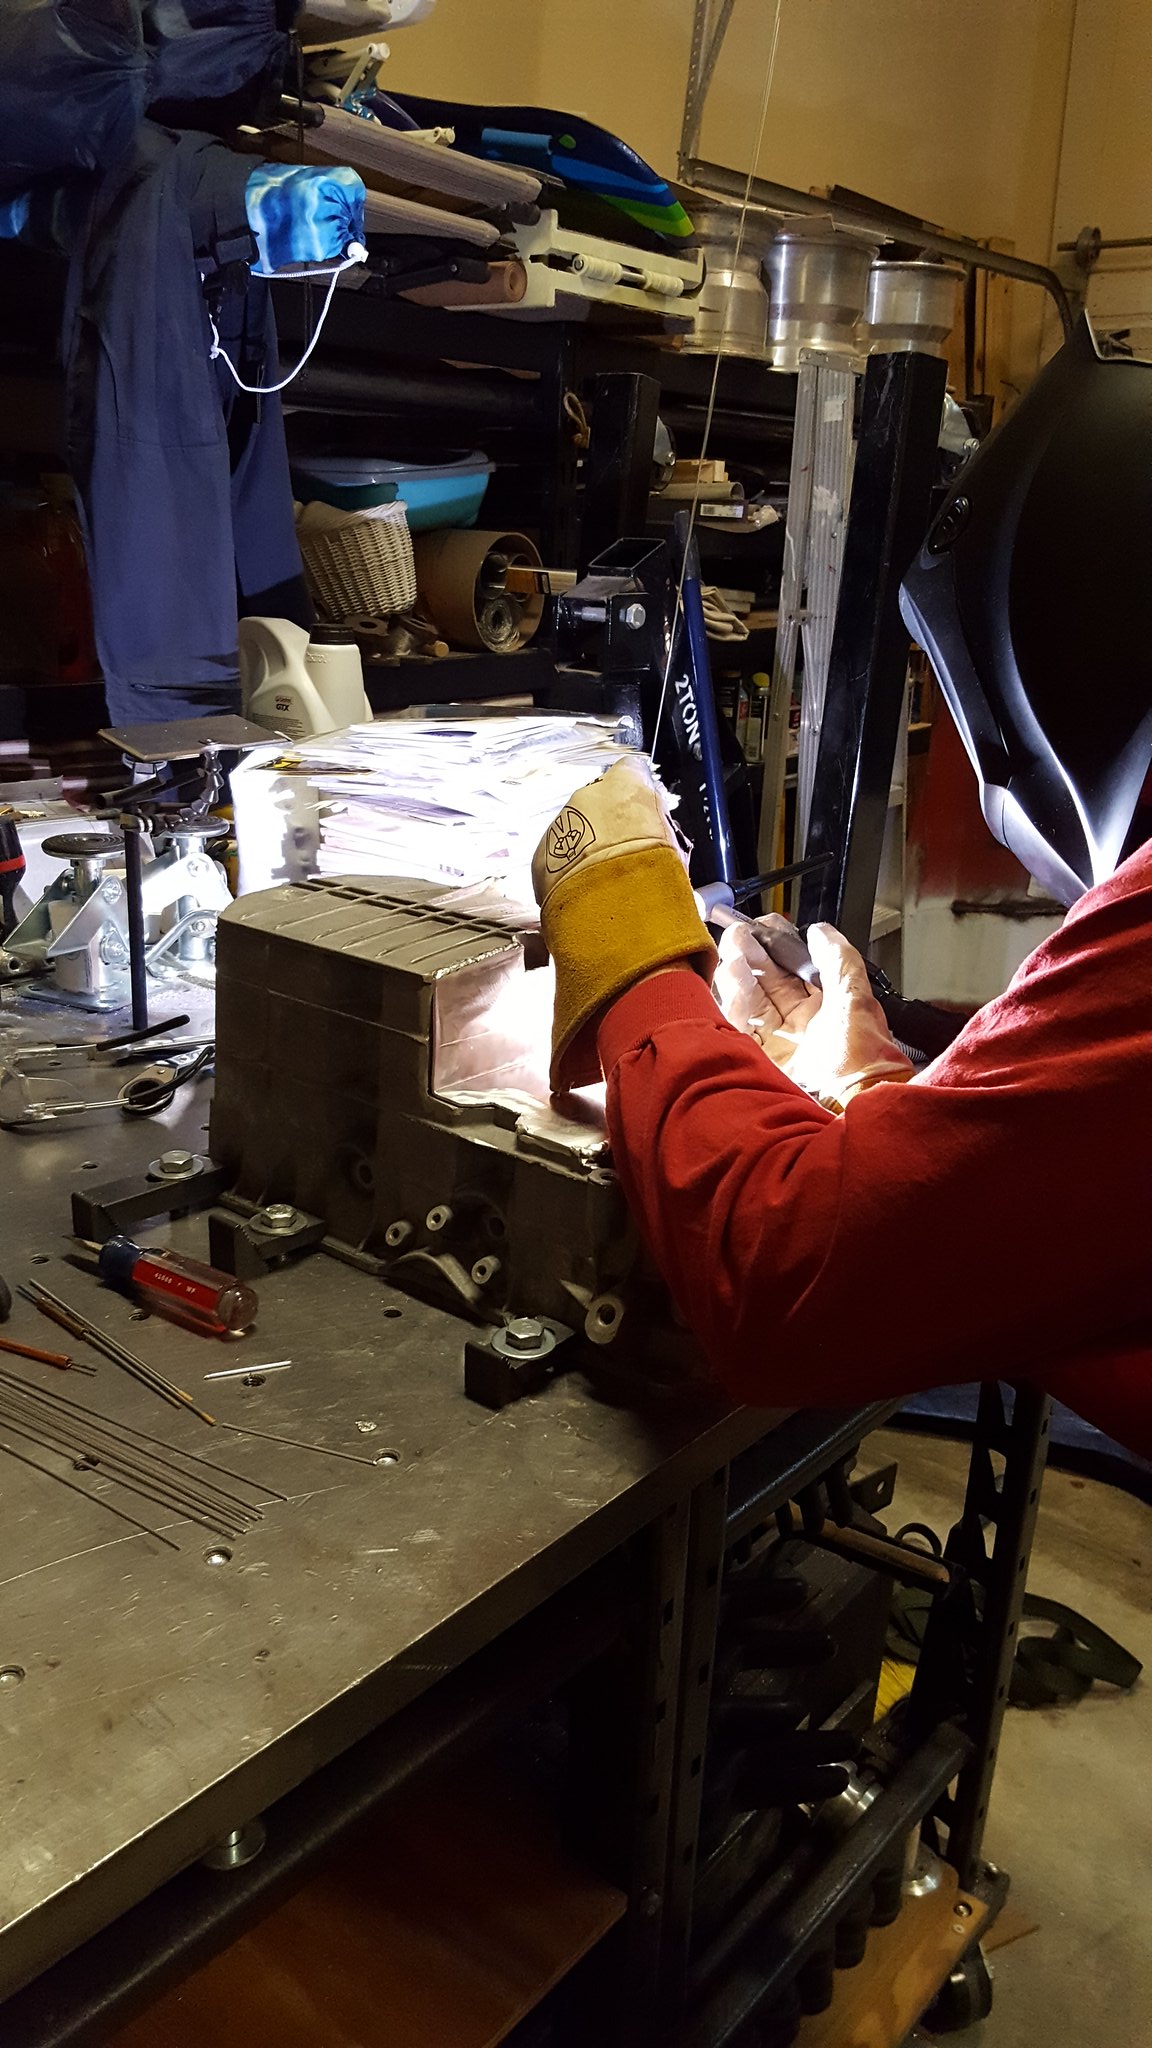
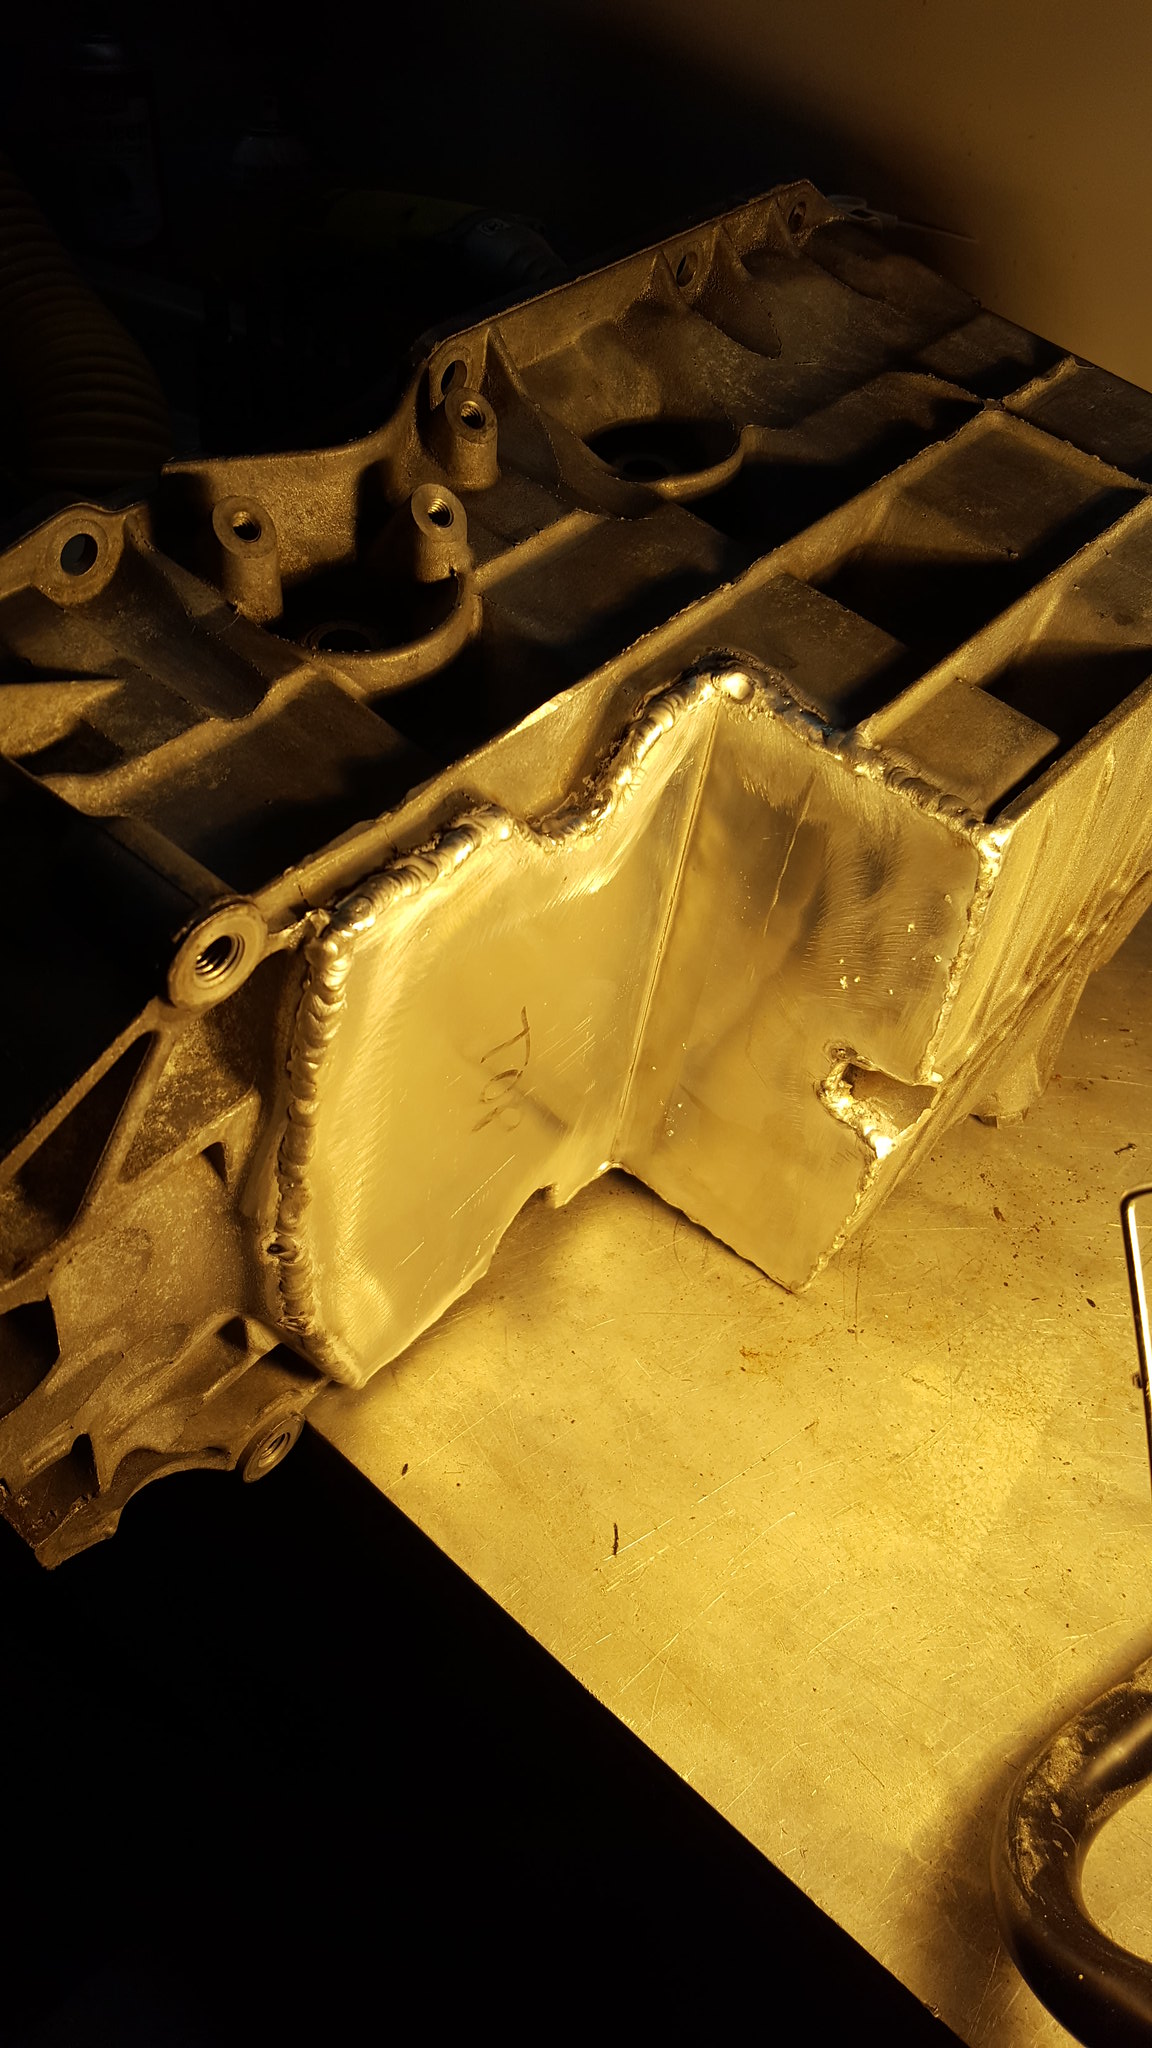
by https://www.flickr.com/photos/150940429@N02/, on Flickrafter getting the plate cut and fitted, we ratchet strapped it down and steve welded it up. (I say that like its easy. TIG is freaking black magic. Two hands, a foot, and talent all at the same time. I can barely chew and breath at the same 10 minute span.
by https://www.flickr.com/photos/150940429@N02/, on Flickr
by https://www.flickr.com/photos/150940429@N02/, on Flickrwhen we got all finished and unbolted from the table, we found that there was very minimal warping. Like .002 corner to corner on the rails. Close enough!
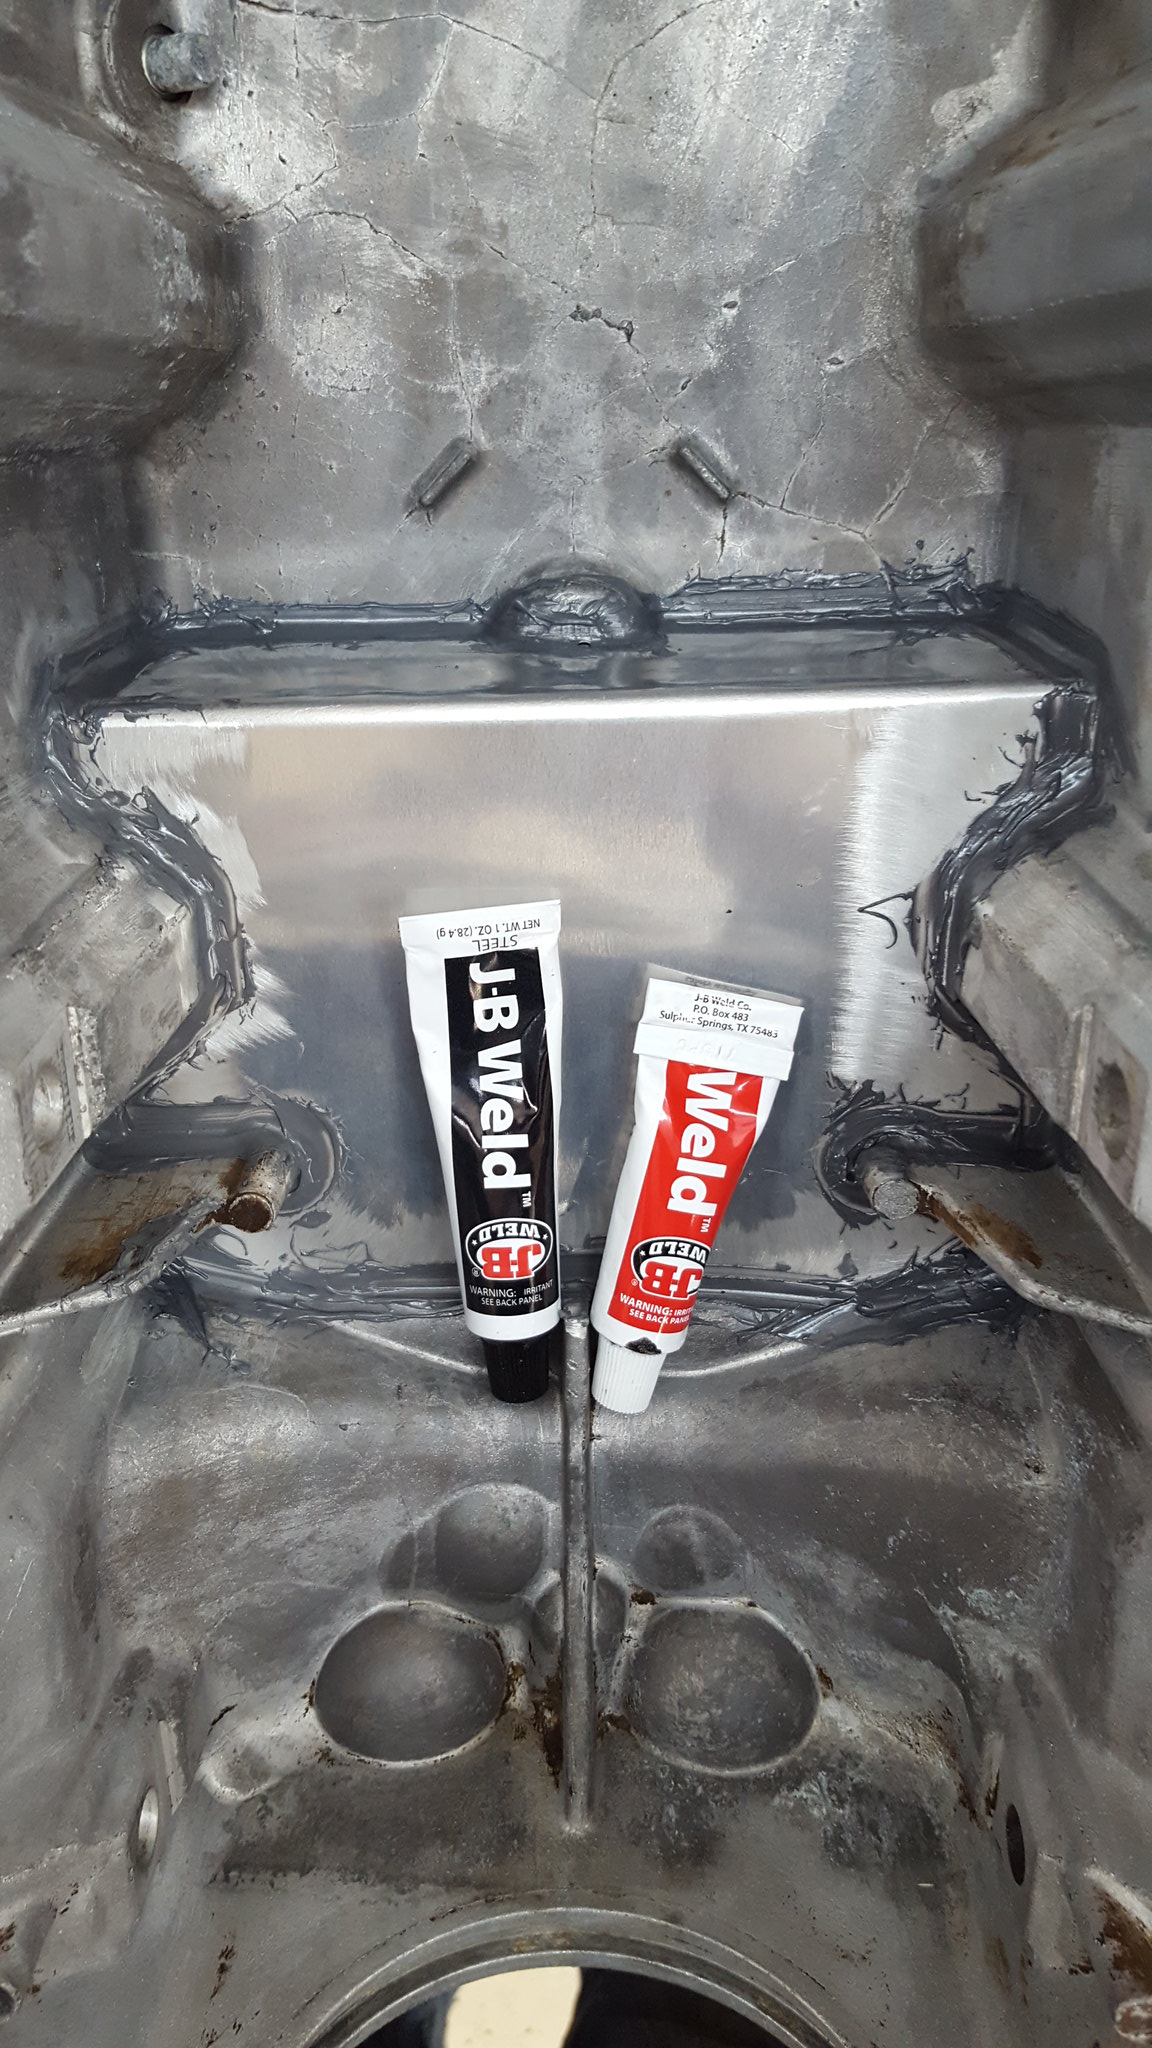
by https://www.flickr.com/photos/150940429@N02/, on FlickrTook it home, and decided that since im a belt AND suspenders guy, it �caulk� the inside of the pan with jb weld reduce the chance of leakege. Stopped by oriellys and grabbed 2 packs of the good stuff.
by https://www.flickr.com/photos/150940429@N02/, on Flickrtook it over to dads place, where he promptly took over. He custom cut a few popsicle sticks, and caulked every seam in the pan with � of one pack of jb weld.
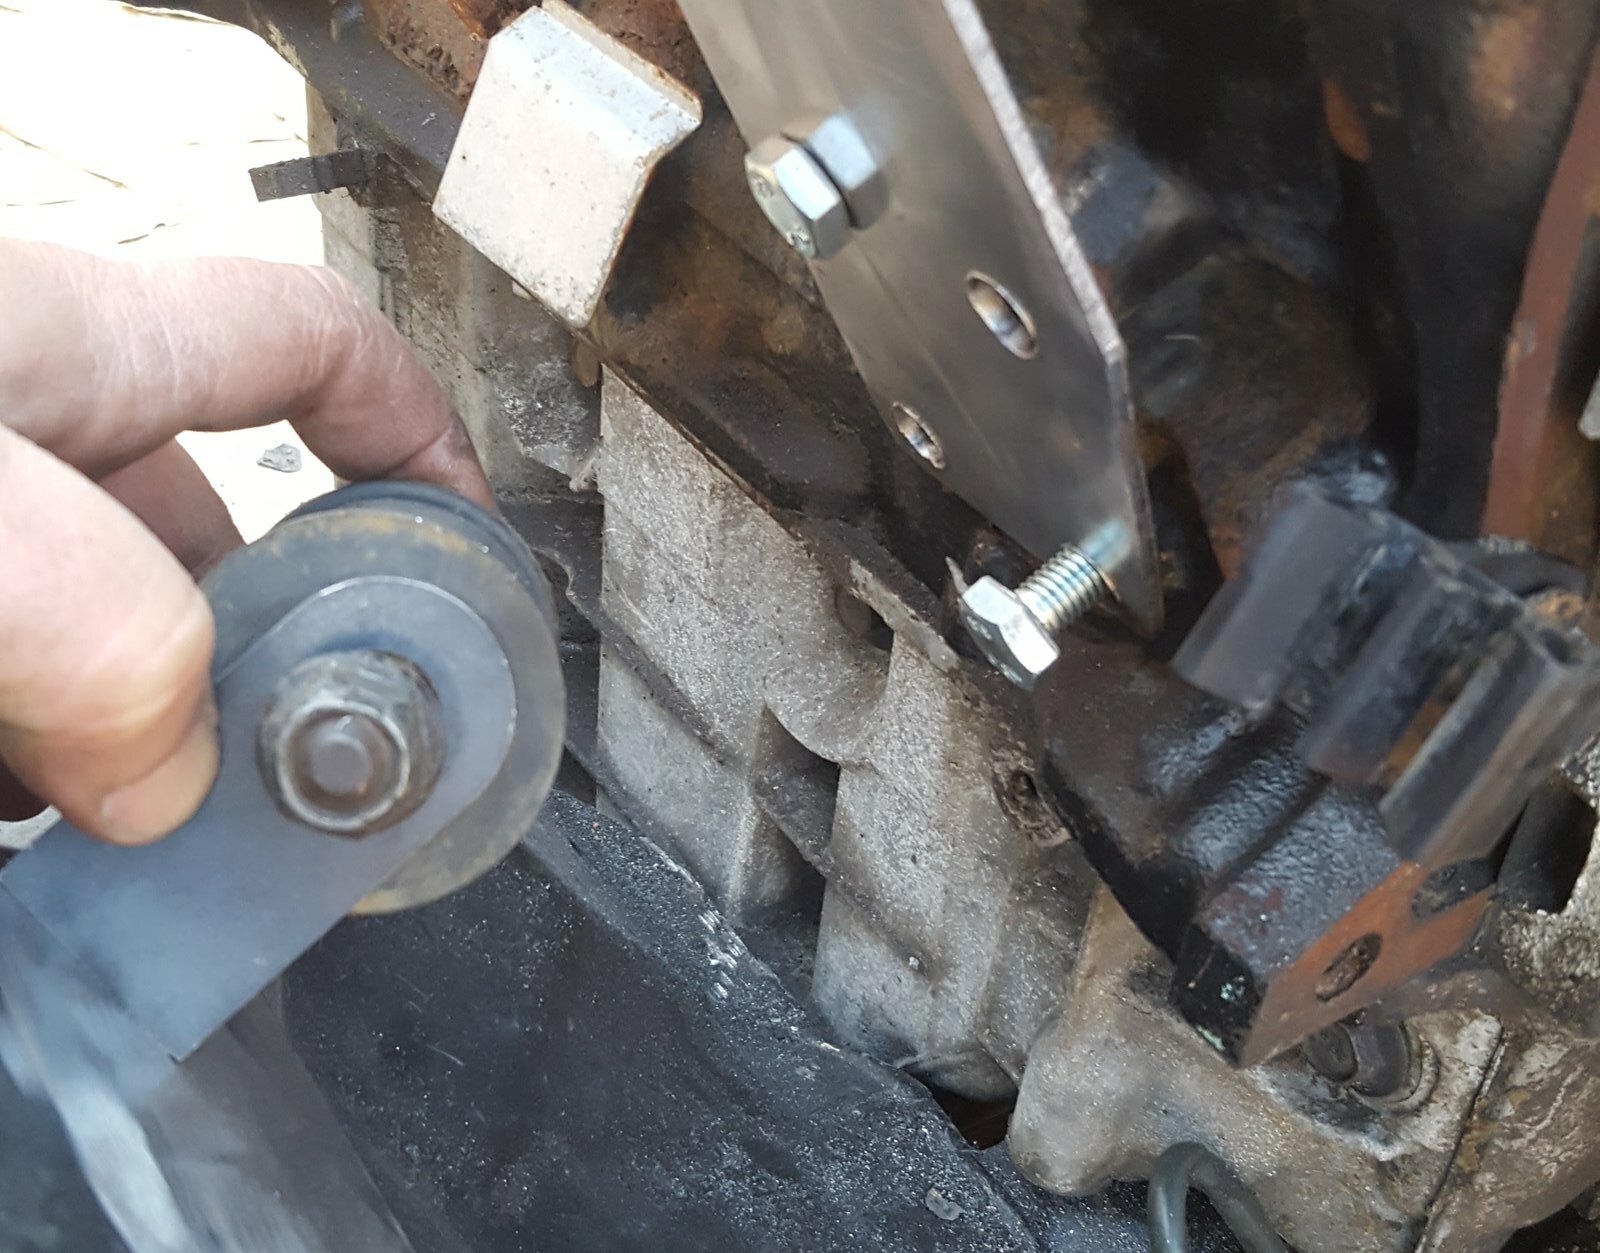
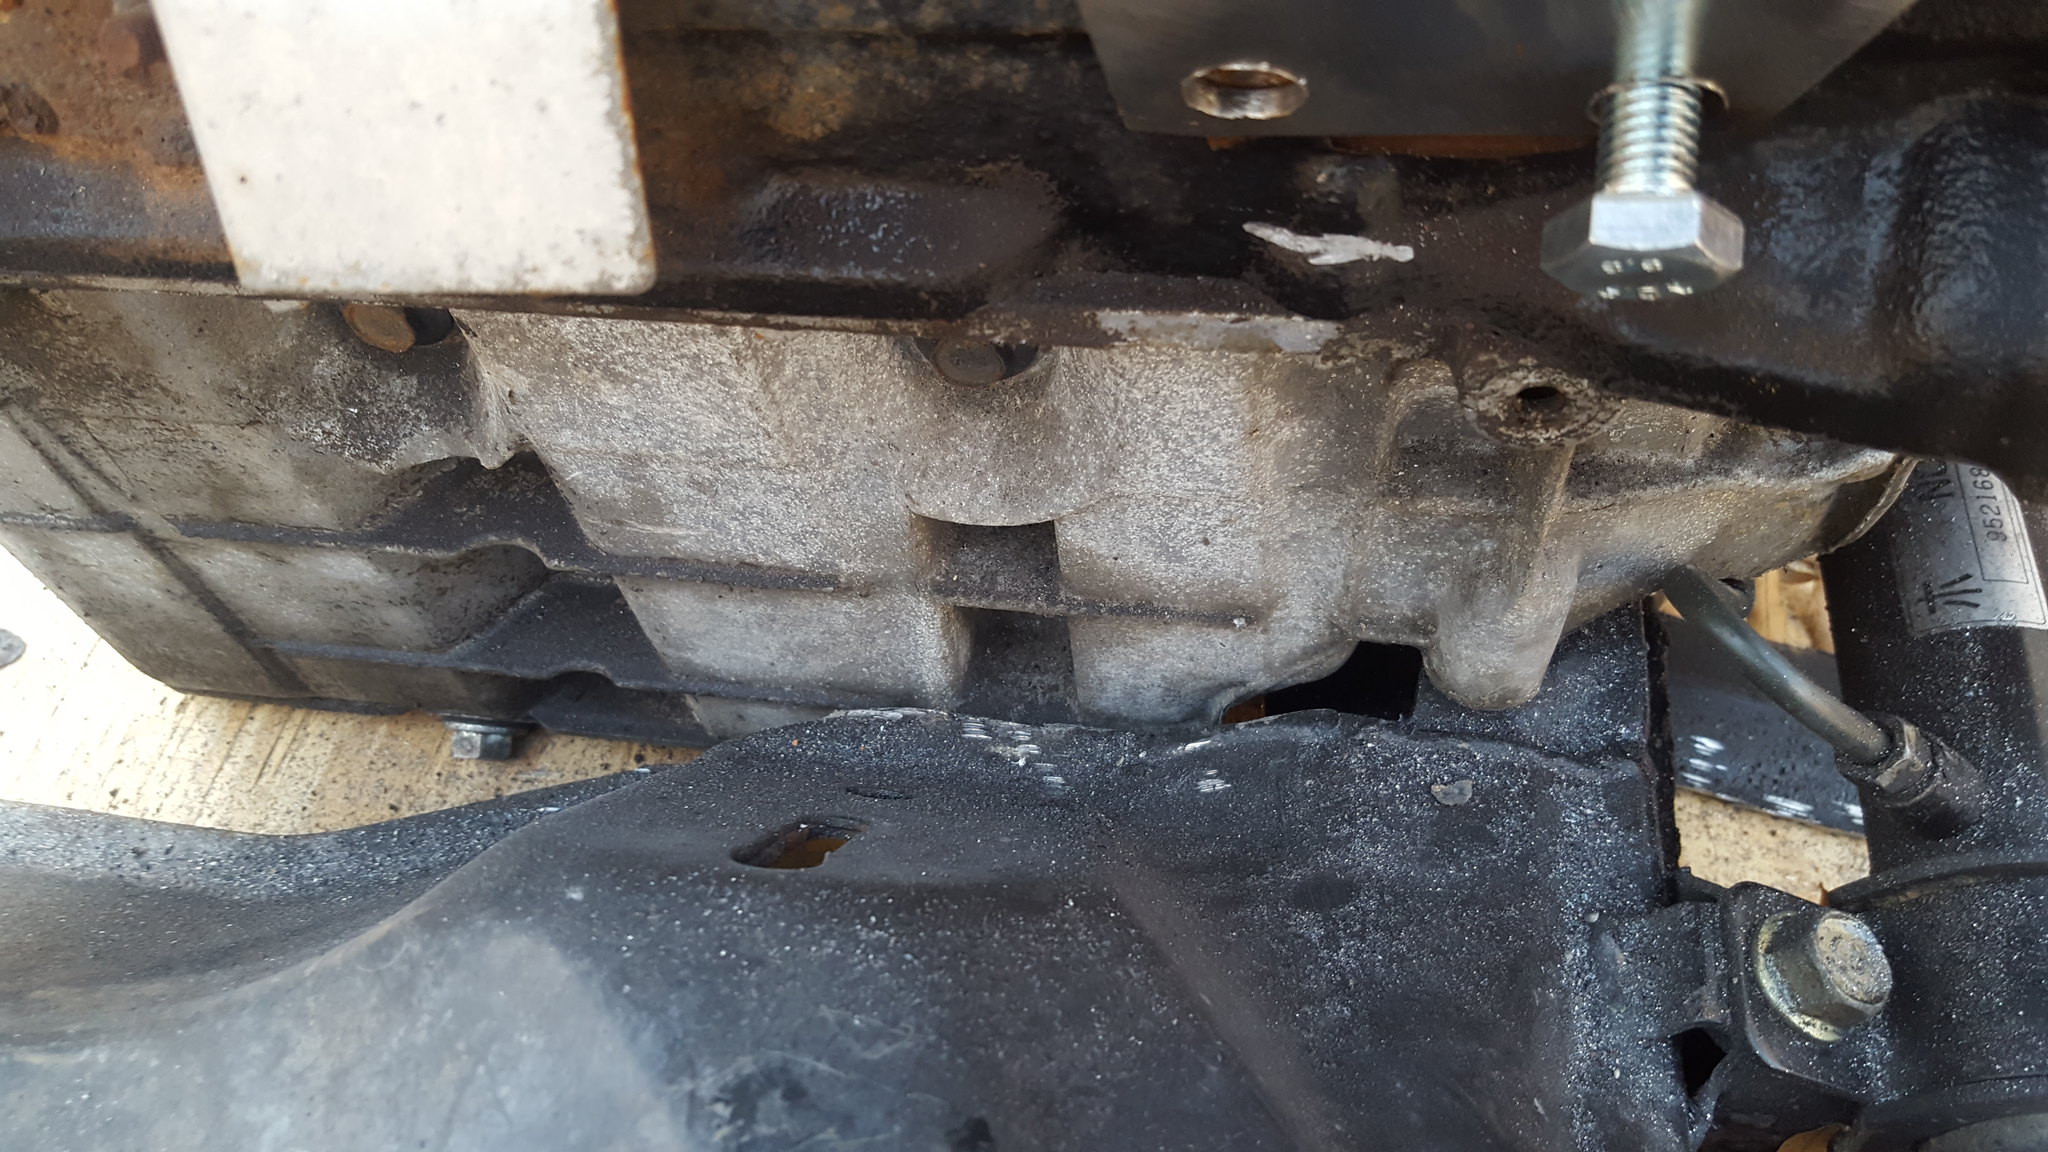
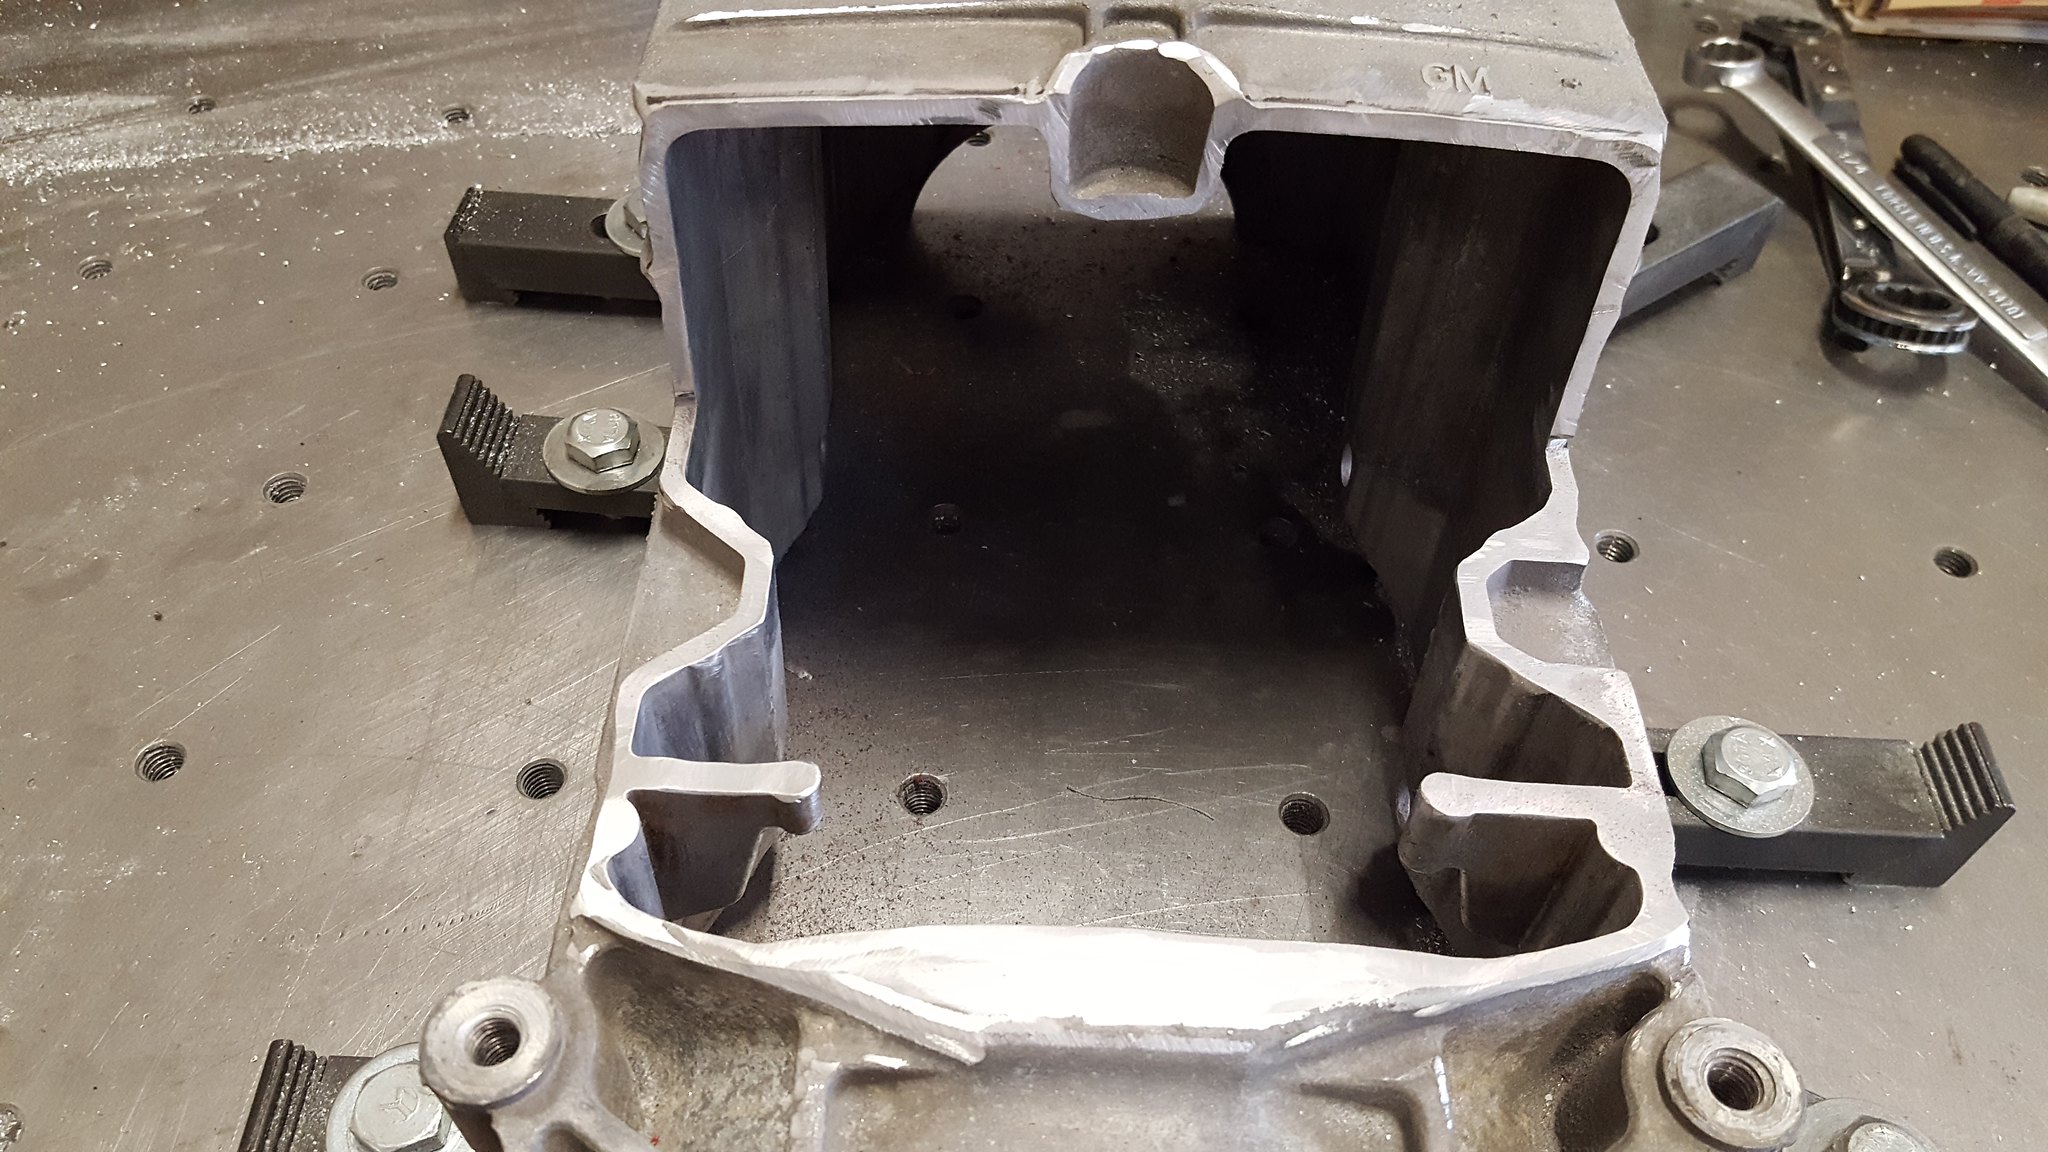
by https://www.flickr.com/photos/150940429@N02/, on Flickrthat brings us up to today. After the weld fully cured, we bolted the pan back to the engine. It cleared the stock oil pump pickup, and all the holes still lined up. Definitely successful....I also noticed that this engine has a factory windage tray. Which also cleared! Score on both counts!I did finally take a picture of how much I notched the crossmember. Theres a little clearance on the flange on the drivers side to do, but thats purely for piece of mind. Ive got about � at the tightest spot. We have also nipped the edges of the wings like the v8 guys do. Only the drivers side turned out to be necessary. Passengers I just made extra work.
by https://www.flickr.com/photos/150940429@N02/, on Flickr
by https://www.flickr.com/photos/150940429@N02/, on Flickr
revious challenge budget: 780.62 recoup total: 800new money: 20 feet 1x1x1/8 angle iron: 11.22 20 feet 1x1x1/8 square tube: 30.15 10 feet 2x2x1/8 square tube: 25.29 10lbs 1/8 plate steel: 10.00 modify oil pan: 8 according to stevejb weld: 2.50 (6.99 pack, used about 1/2) new total: 868.78to start with, I figure well talk about parts acquisition.I finally got stuff picked up and pictures taken of parts that I talked about, but didnt document proof of.Nitrous kit from the trailer park yard sale:


Thread Starter
V8 Miata Noob
Joined: Nov 2017
Posts: 13
Likes: 0
From: albemarle north carolina
dad and I slipped everything into place. And stared. And readjusted. And stared. And playind with angles. Snad stared. Eventually we decided we were happy with the compromises we were making, and held the drivetrain in place with a jack and ****** of wood. Then got to making mounts.
by https://www.flickr.com/photos/150940429@N02/, on Flickr
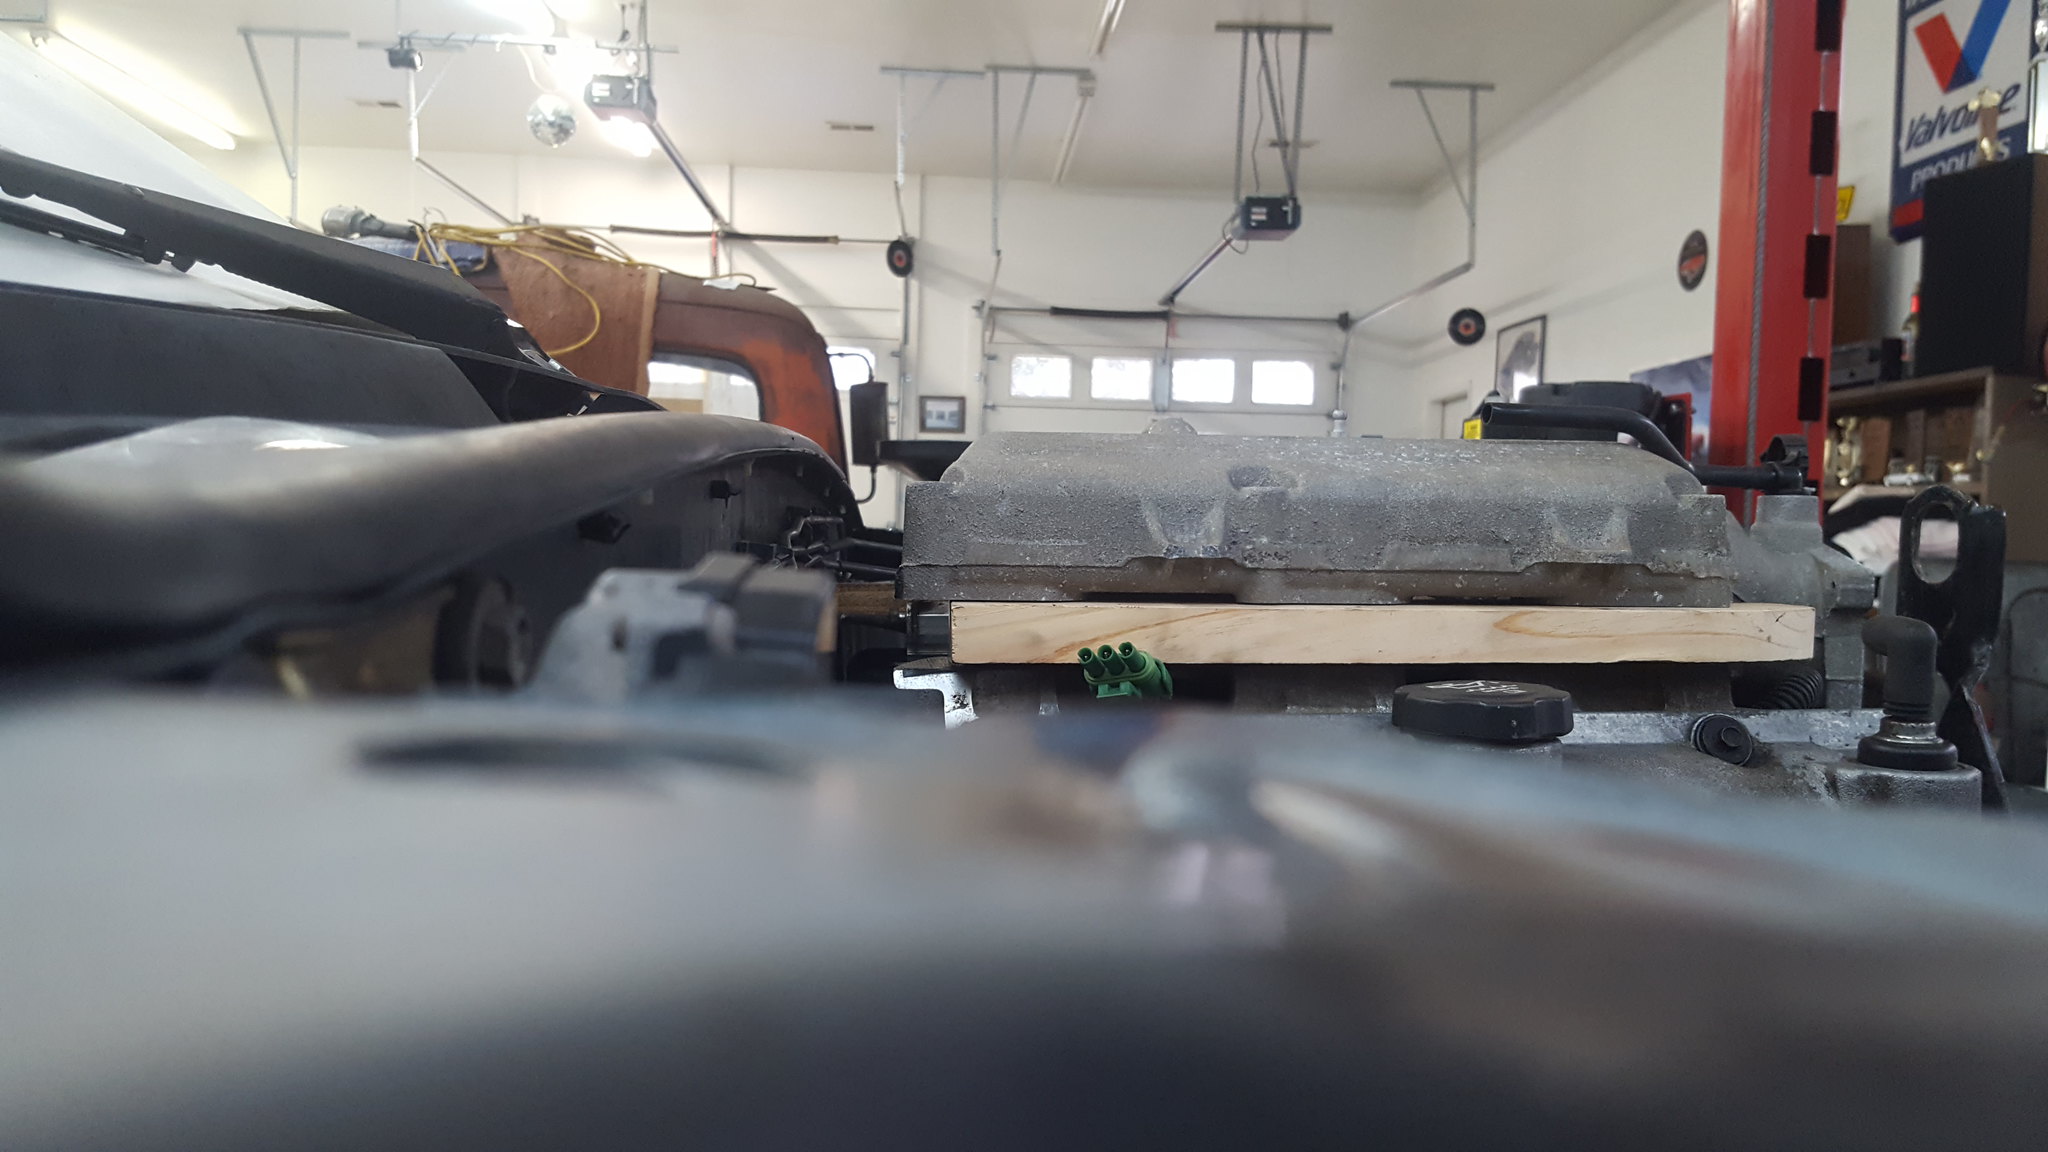
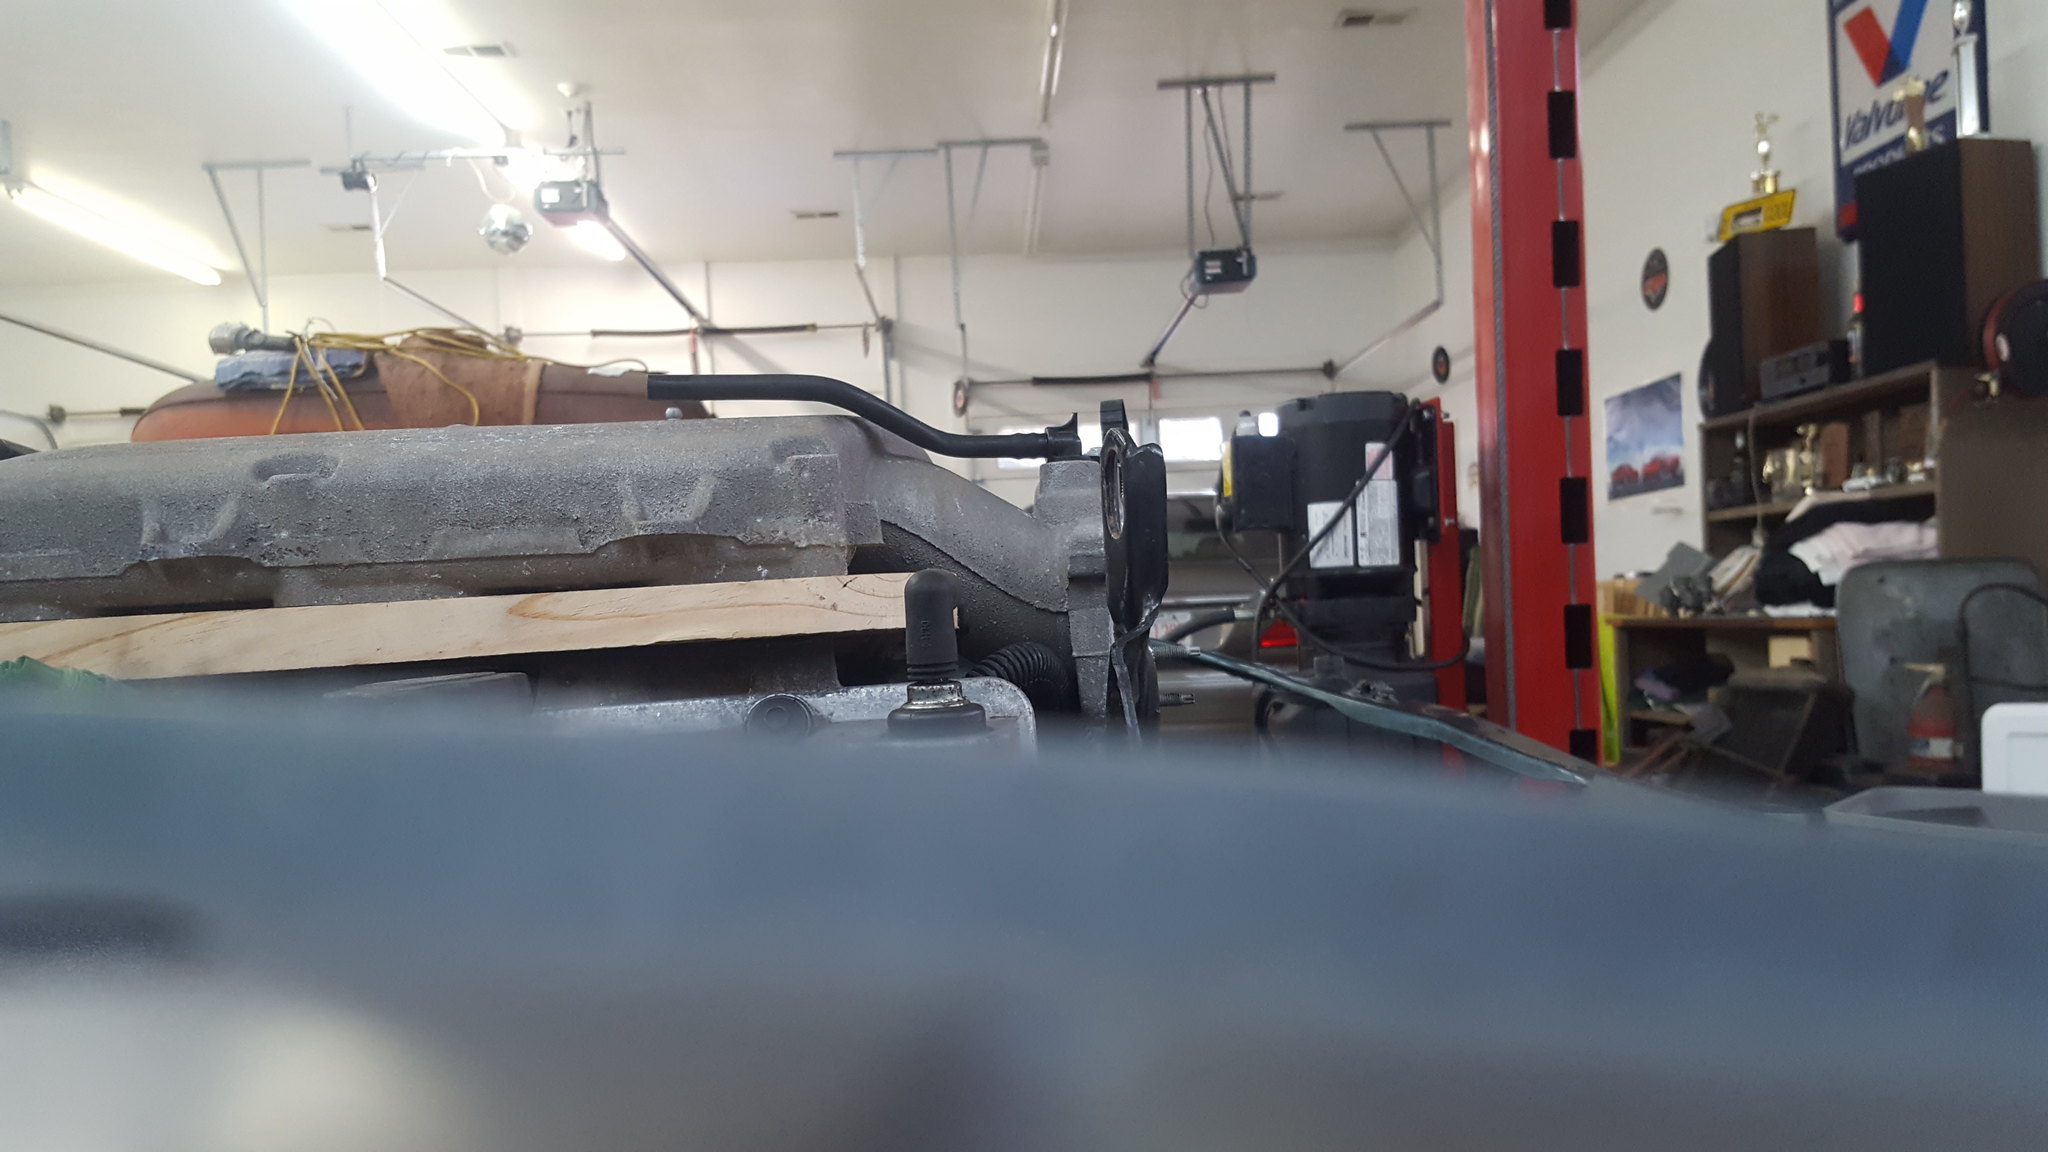
by https://www.flickr.com/photos/150940429@N02/, on Flickrend of the dar pictures. Feels like a huge milestone. The intake MAY clear the hood, but no promises. Fairly good exhaust clearance, lower intake in factory orientation with the thermostat hosing above the bellhousing. Mocked up with a block of wood � thicker than the housing to ensure clearance. Passengers side head exhaust port is in front of axle centerline, drivers side is at. It just wasnt worth the extra effort and complication to go slightly firther back. Chifter is at the extreme forward edge of the factory shifter hole, so we will have to monkey with some doglegs and such.
by https://www.flickr.com/photos/150940429@N02/, on Flickr
by https://www.flickr.com/photos/150940429@N02/, on Flickr
by https://www.flickr.com/photos/150940429@N02/, on Flickr
by https://www.flickr.com/photos/150940429@N02/, on Flickr
by https://www.flickr.com/photos/150940429@N02/, on Flickr
by https://www.flickr.com/photos/150940429@N02/, on Flickrup nest is the 2x2 framerails, and butterfly brace/trans mount. Then exhaust.

Thread Starter
V8 Miata Noob
Joined: Nov 2017
Posts: 13
Likes: 0
From: albemarle north carolina
spent part of the day today doing chassis stuff.
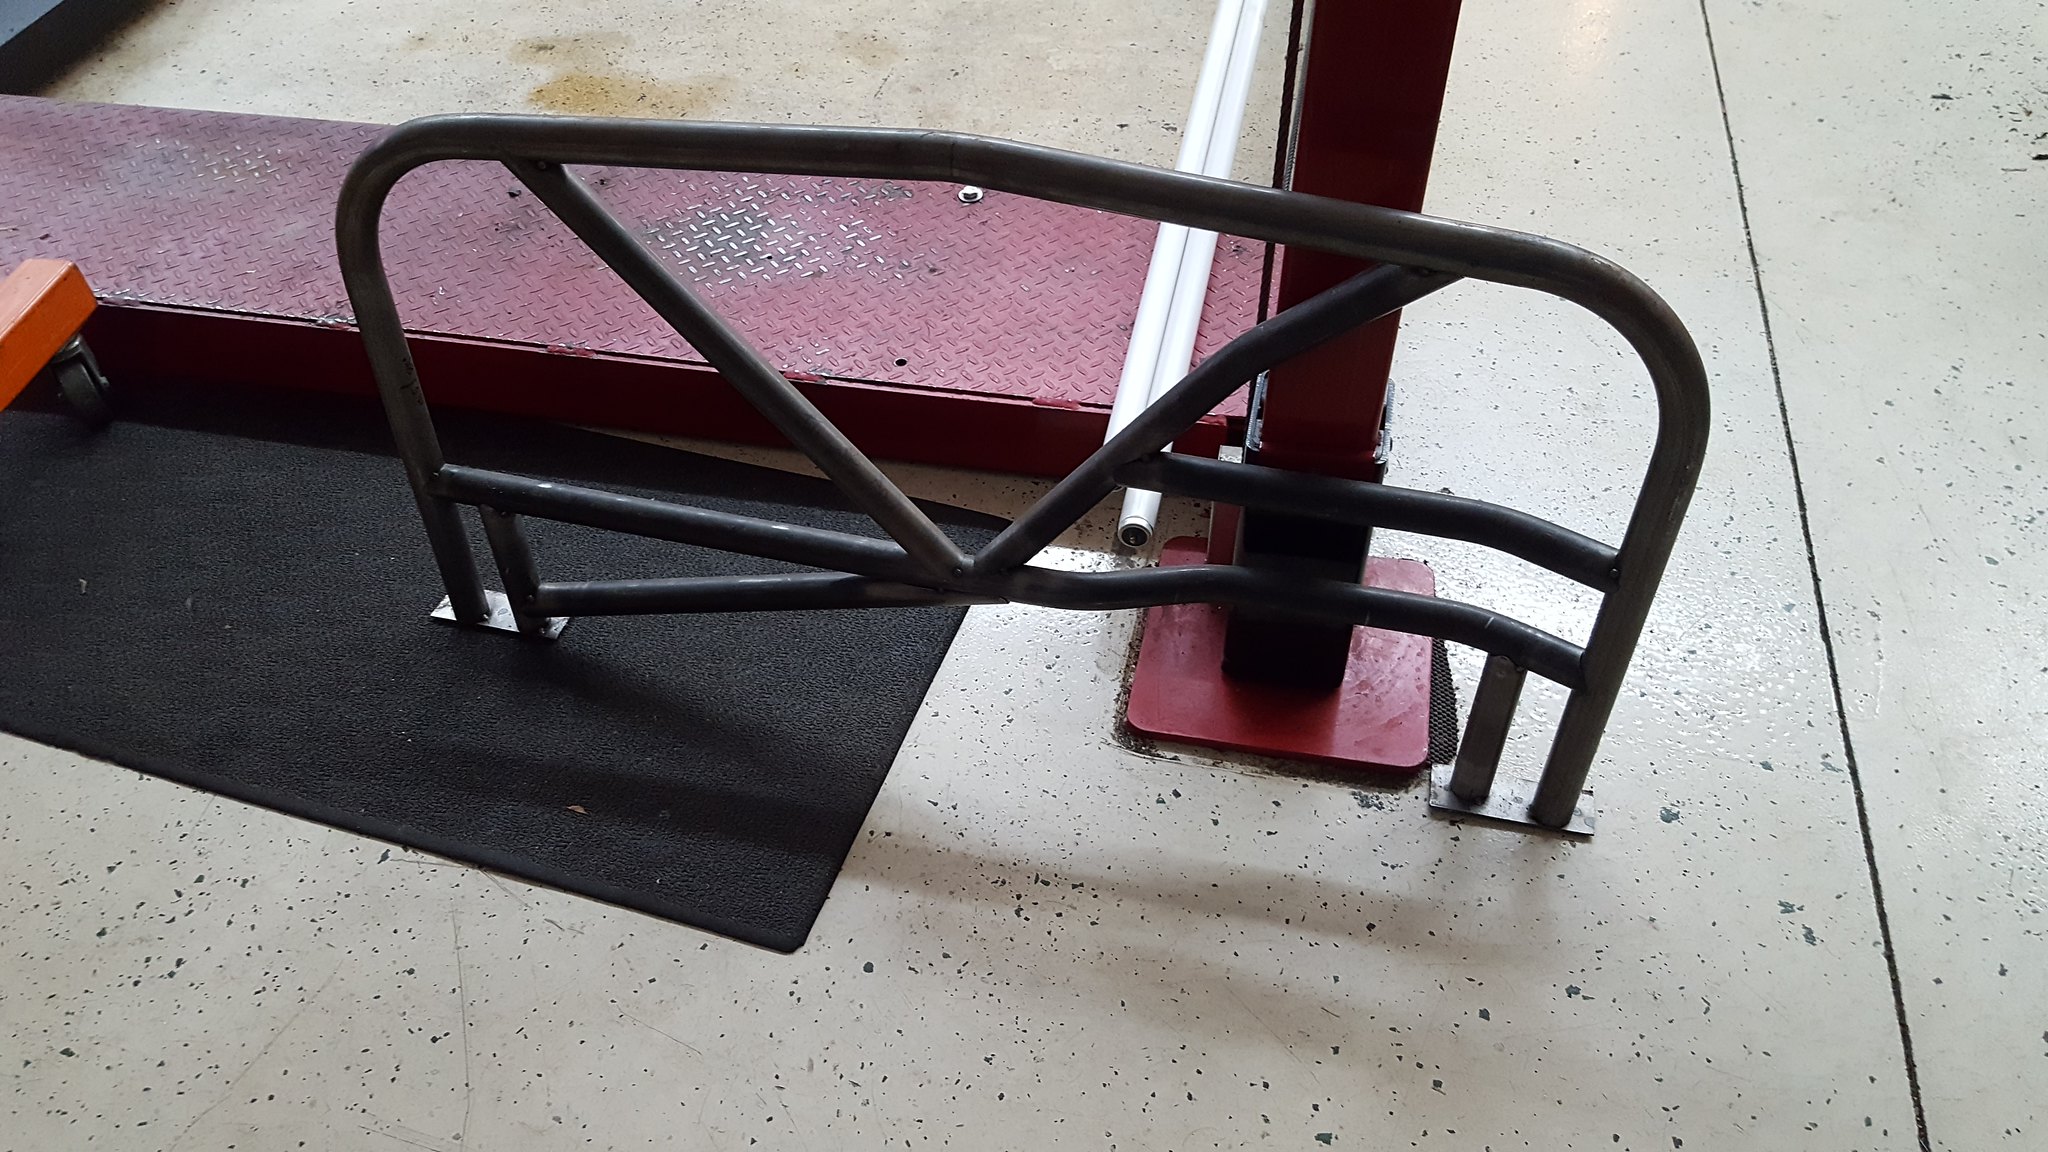
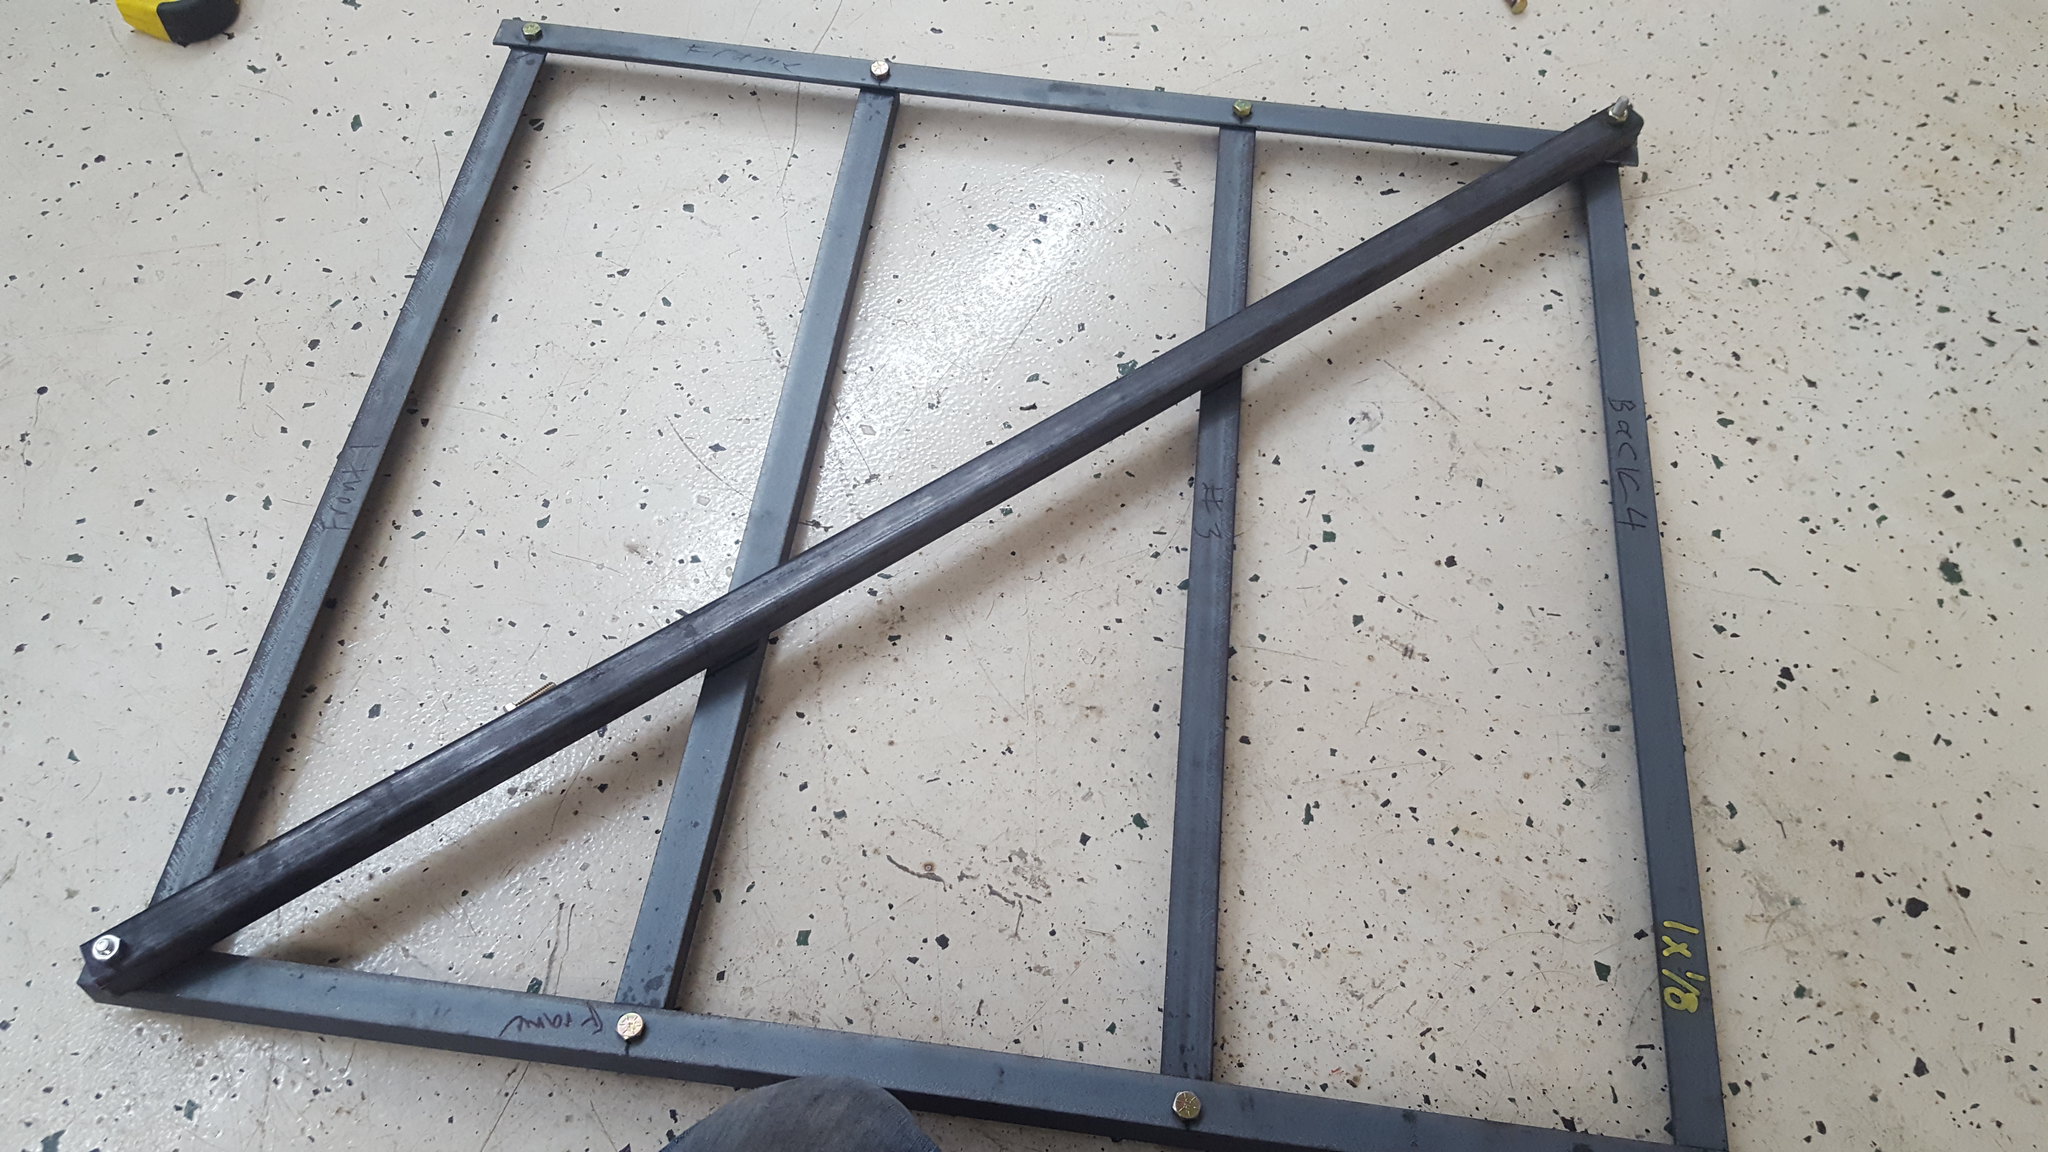
started my butterfly brace/trans mount. the long side pieces will be welded to the 2x2 rails that have yet to be put on. the bolts will all be welded into place, thereby creating studs. theres also another 1x1 tube that i need no fab in before all the welding and such happens. will weigh about 10-15 lbs when done, which is far heavier than id like. but it'll be bombproof. i think. suggestions/feedback on this thing? remember, im making it all up as i go along, and im sure no engineer.
by https://www.flickr.com/photos/150940429@N02/, on Flickr
by https://www.flickr.com/photos/150940429@N02/, on Flickr
by https://www.flickr.com/photos/150940429@N02/, on Flickr
also, while i was working, i managed to knock over my entire pile of crap onto mu right foot. 3/8 plate, 1x1 tube. 1x1 angle, and a roll cage. 6 hours later my damn foot still hurts. so, to solve the problem, i cleaned the shop. part of this was finding a home for the roll bar segment. ZIP TIES!!!
by https://www.flickr.com/photos/150940429@N02/, on Flickr
by https://www.flickr.com/photos/150940429@N02/, on Flickr
will need to trim some flanges on the seat belt towers for it to sit where i want it. then, build my floor plates, rear downtubes, etc. but i LIKE this design. Its a whole lot better than the hard dog ace in my daily. however, i purchased the ace as it was the furthest from my head i could get and still have it pass the broomstick test with my unhelmeted noggin. the ace is in a daily. this is a race car that'll be driven to events. not to work....
lastly, started looking at hood clearance/upper intake mounting. to put the throttle body forward will require me cutting the timing cover for clearance, which wont leave me a place to mount an idler for the belt, or space it up 3/4 of an inch. this would make the intake poke through the hood considerably, and i think the throttle body as well. having the plenum through the hood could be visually awesome. throttle body, not so much. leaving it in the factory orientation may work, but that will require some more mockup and staring. the intake tube would be routed through the cowl where the wiper linkage lives, then out to the front of the car. or something. dunno yet. but im sure it will stick up above the hood now....
by https://www.flickr.com/photos/150940429@N02/, on Flickr
by https://www.flickr.com/photos/150940429@N02/, on Flickr
started my butterfly brace/trans mount. the long side pieces will be welded to the 2x2 rails that have yet to be put on. the bolts will all be welded into place, thereby creating studs. theres also another 1x1 tube that i need no fab in before all the welding and such happens. will weigh about 10-15 lbs when done, which is far heavier than id like. but it'll be bombproof. i think. suggestions/feedback on this thing? remember, im making it all up as i go along, and im sure no engineer.

also, while i was working, i managed to knock over my entire pile of crap onto mu right foot. 3/8 plate, 1x1 tube. 1x1 angle, and a roll cage. 6 hours later my damn foot still hurts. so, to solve the problem, i cleaned the shop. part of this was finding a home for the roll bar segment. ZIP TIES!!!
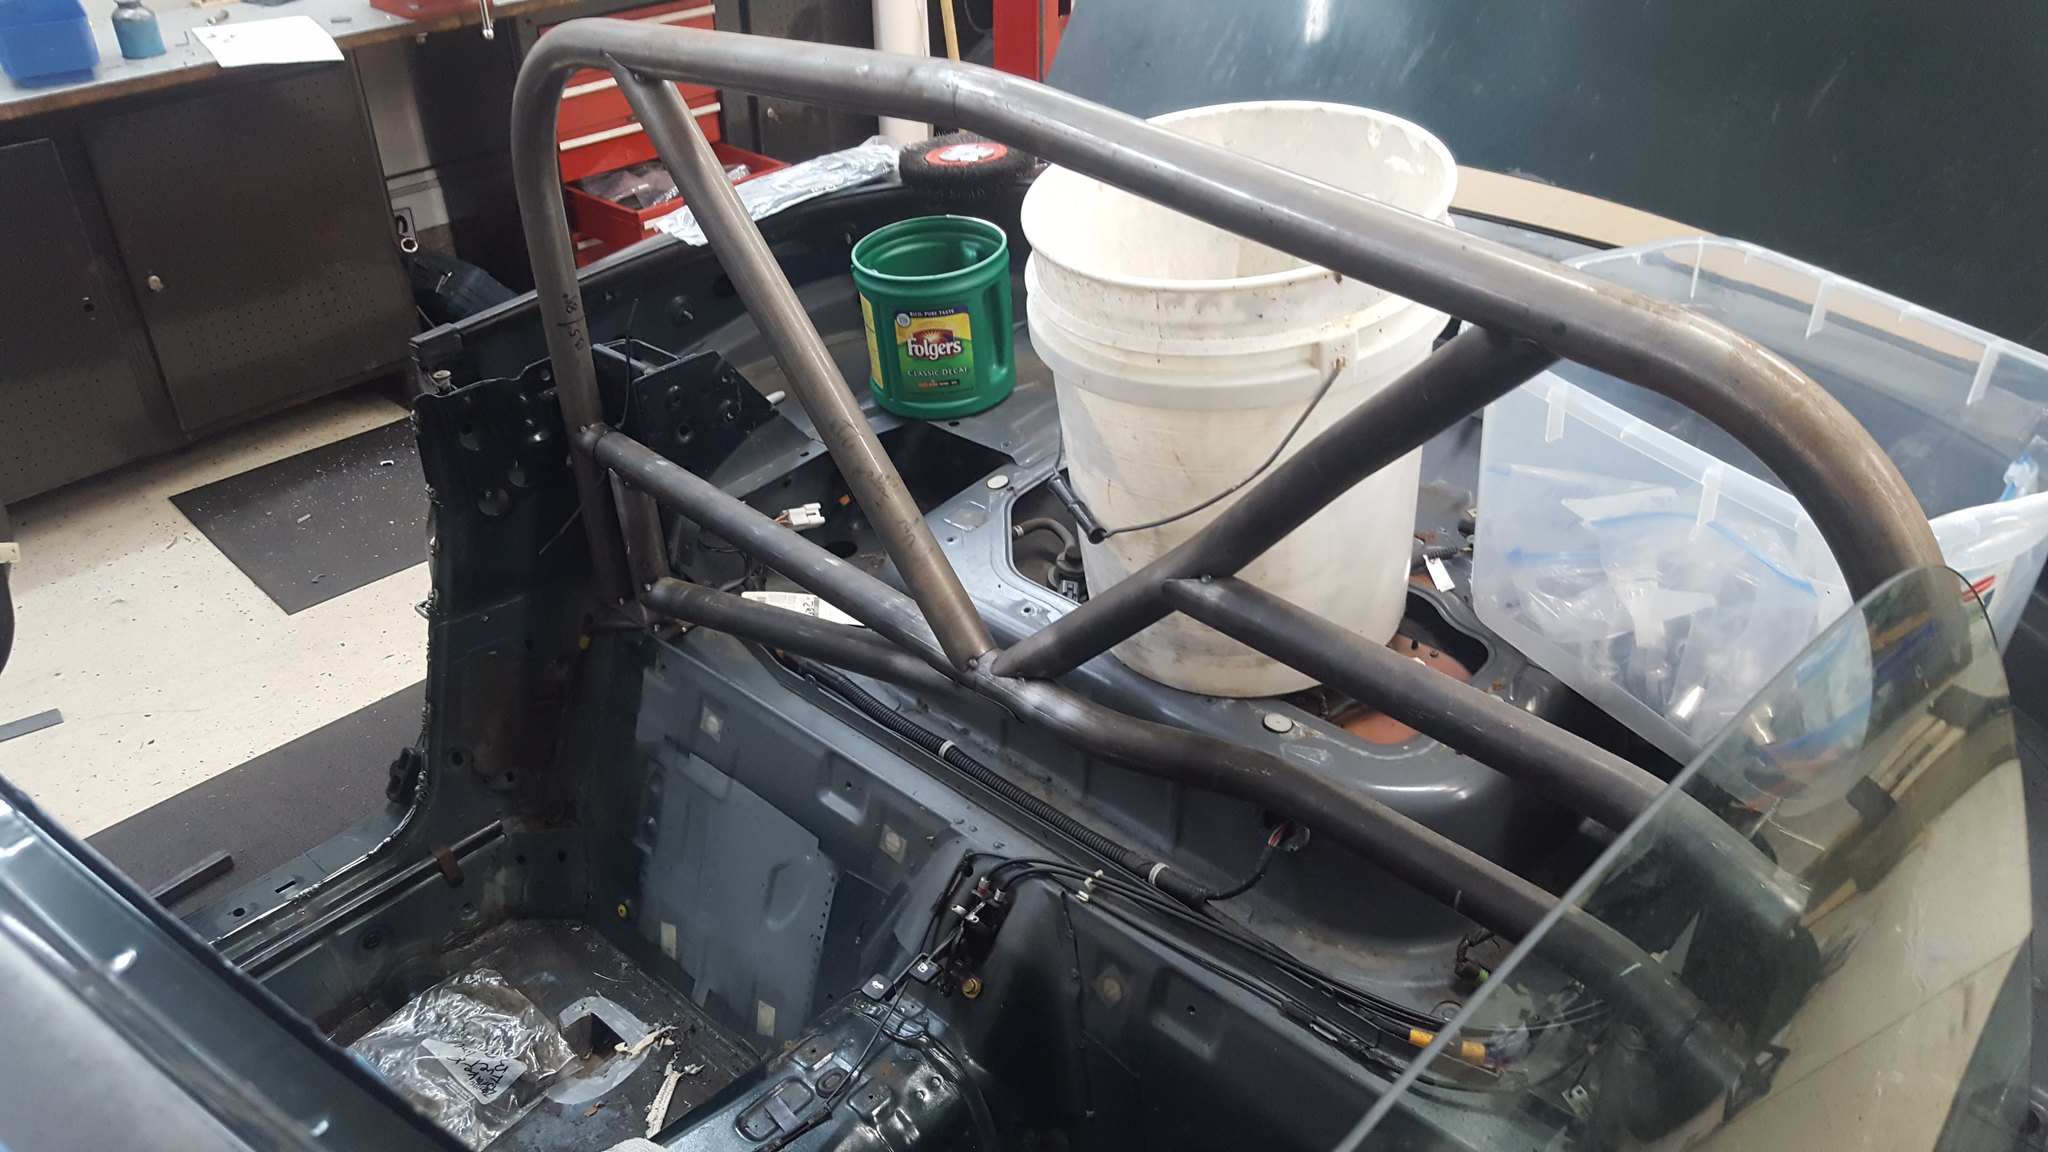
will need to trim some flanges on the seat belt towers for it to sit where i want it. then, build my floor plates, rear downtubes, etc. but i LIKE this design. Its a whole lot better than the hard dog ace in my daily. however, i purchased the ace as it was the furthest from my head i could get and still have it pass the broomstick test with my unhelmeted noggin. the ace is in a daily. this is a race car that'll be driven to events. not to work....
lastly, started looking at hood clearance/upper intake mounting. to put the throttle body forward will require me cutting the timing cover for clearance, which wont leave me a place to mount an idler for the belt, or space it up 3/4 of an inch. this would make the intake poke through the hood considerably, and i think the throttle body as well. having the plenum through the hood could be visually awesome. throttle body, not so much. leaving it in the factory orientation may work, but that will require some more mockup and staring. the intake tube would be routed through the cowl where the wiper linkage lives, then out to the front of the car. or something. dunno yet. but im sure it will stick up above the hood now....

Thread
Thread Starter
Forum
Replies
Last Post
Feffman
Area Member Gatherings for V8 Miatas
0
Oct 30, 2017 05:09 PM
miatainthe10s
General Motors V8 Miata Build Threads
35
Jun 21, 2015 06:10 PM
Currently Active Users Viewing This Thread: 1 (0 members and 1 guests)


