When you click on links to various merchants on this site and make a purchase, this can result in this site earning a commission. Affiliate programs and affiliations include, but are not limited to, the eBay Partner Network.
I haven't posted a build thread in forum in years but I figured I might as well post one for my current miata project.
This is basically a 100% DIY garage fabricated miata swap. I haven't used a swap component built by any company. I used to do custom fabrication for a living so I saw no need to buy anything..
A run down of swap:
currently running a iron block 5.3
CD009 transmission
8.8 IRS
Megasquirt MS3x
Flex fuel
(future plan is aluminum 6.0 or 6.2 with a procharger)
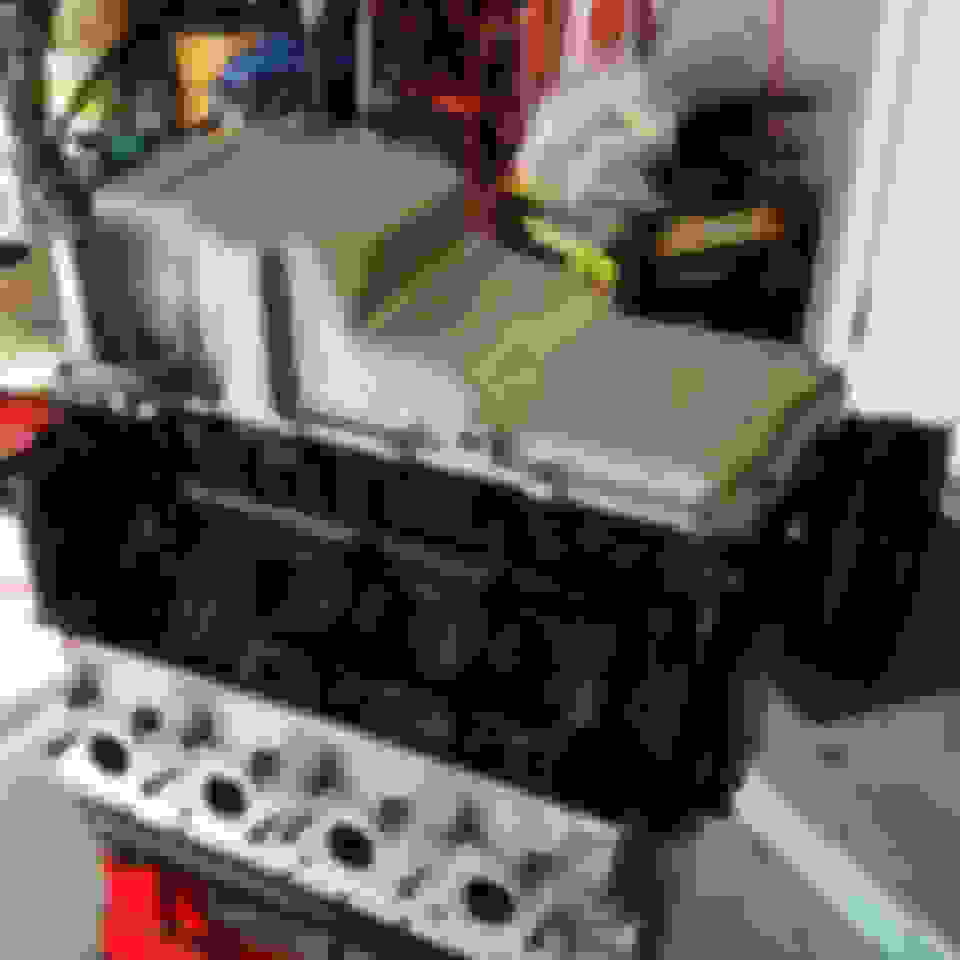
Oil Pan:
Oil pan is something I debated on for a while. My last LS swap i bought and modified a ls1 pan but that was a pain to do without warping. Plus your'e still buying a pan. So it was either cut basically the whole bottom off a truck pan or buy something. The new holley pans are pretty affordable so that's what i went with. They do not come with baffles and their baffles are as expensive as the pan so i copied it and built it myslef.
Intake manifold:
LS6 intake with truck throttle body all cleaned up and painted. I tried one of the ebay low profile sheet aluminum intakes and they do not clear the hood. oh well this one isn't shinny but probably performs better.
CD009
I bought a super cheap $300 CD009 for this project and an autosport engineering adapter plate.
I would not recommend anyone use a Autosports engineering adapter when a Collins adapter exists. It came with random amount of hardware that included 3/4 of the bolts needed to bolt the adapter to the trans pump, no bolts to connect it to the bell housing, and a clutch kit that was just completely incorrect for the application. So i end up having to buy the hardware my self and contact them about the clutch. They did return the clutch for the difference in the full kit over just the adapter plate.
All in all i did end up with a much better and stronger clutch custom built by Monster so when i do install the procharger i won't need to mess with the clutch. But this is still pretty annoying for a kit i paid over $1k for.
accessories:
For my accessories i did something i've rarely seen done with an ls swap. I used the factory power steering pump and built a bracket to fit it along with a gen3 alternator so no ecu is required to run it. I pressed the factory pulley off the pump and pressed on a 2000 chryster van power steering pump pulley because they use the same size belt as the ls and are the same bore as a miata. The water pump and AC compressor are from a CTSV
Btw none of this is in chronological order so the last pic also includes drive shaft and fuel system which i'll get to later... but it is also a great completed pic of frame rails and mount
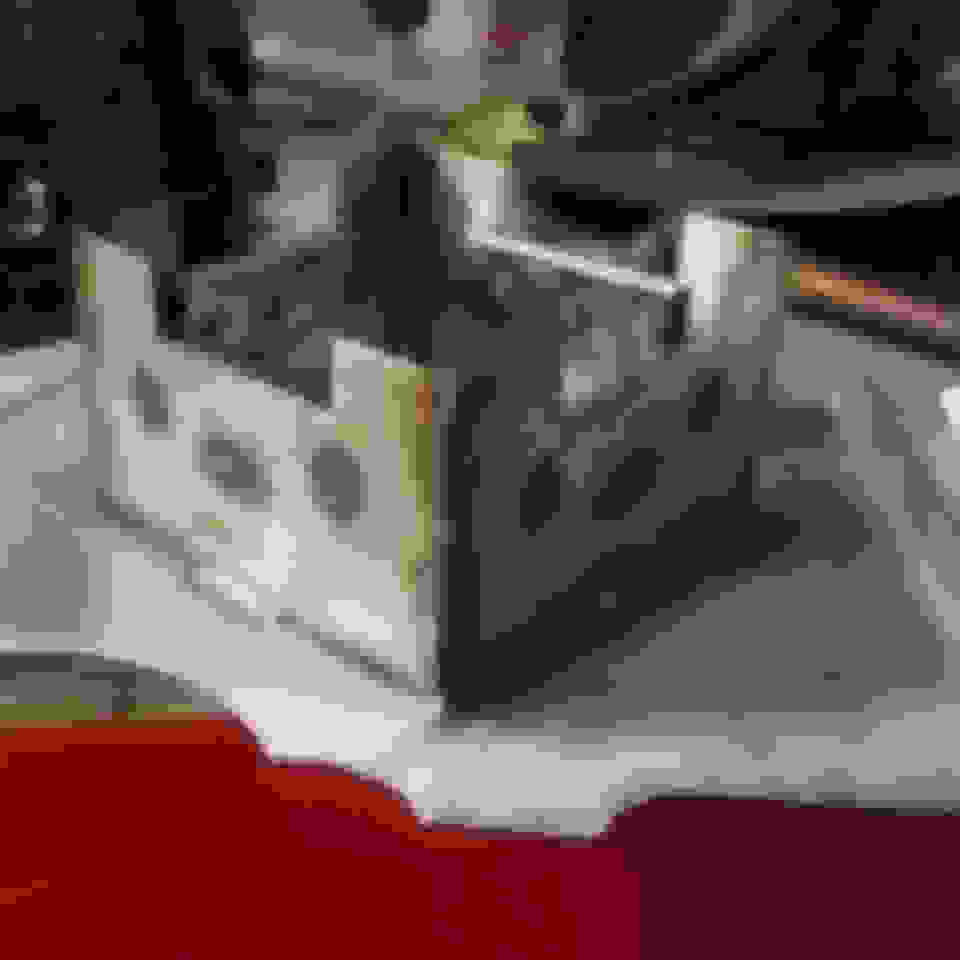
Rear subframe with 8.8 mounts. This is a early 90's tbird iron 8.8. i reuilt it and installed a LSD with new clutches. The design for the front and rear mounts were stolen from a couple other diy projects i've seen. The axles are from Martin at Monster Miata.
This is my temporary driveshaft. Its a mustang driveshaft with a conversion ujoint up front to fit the cd009 yoke and shortened close to a foot and welded back together. This will end up getting balanced and used as an emergency backup after i get a high hp rated shaft built.
I built this shifter base and pivot for the cd009. We'll see how it work when the car is driving. it goes between gears on jack stands so that's good at least lol
Suspension:
i did a complete rebuild on all my old suspension. all new ball joints, tie rod ends, poly bushings, bearings, arp studs, and coated with por15
I used Fly'n Miata VMaxx coil overs and sway bars with the v8 front sway bar.
Wheels and Tires:
I'll be running a couple different sets of tires. I plan to use this car in road trips and DD so i wanted a small cheap set to keep from burning through my expensive tires just cruising down the highway.
Konig Dekagram 15x9 with 245/40 Hankook RS4
Stock NB 15s with 195/50 Hankook Ventus v2
some interior pics. totally out of any kind of order lol
Got some home depot special insulation for the floor and carpet.
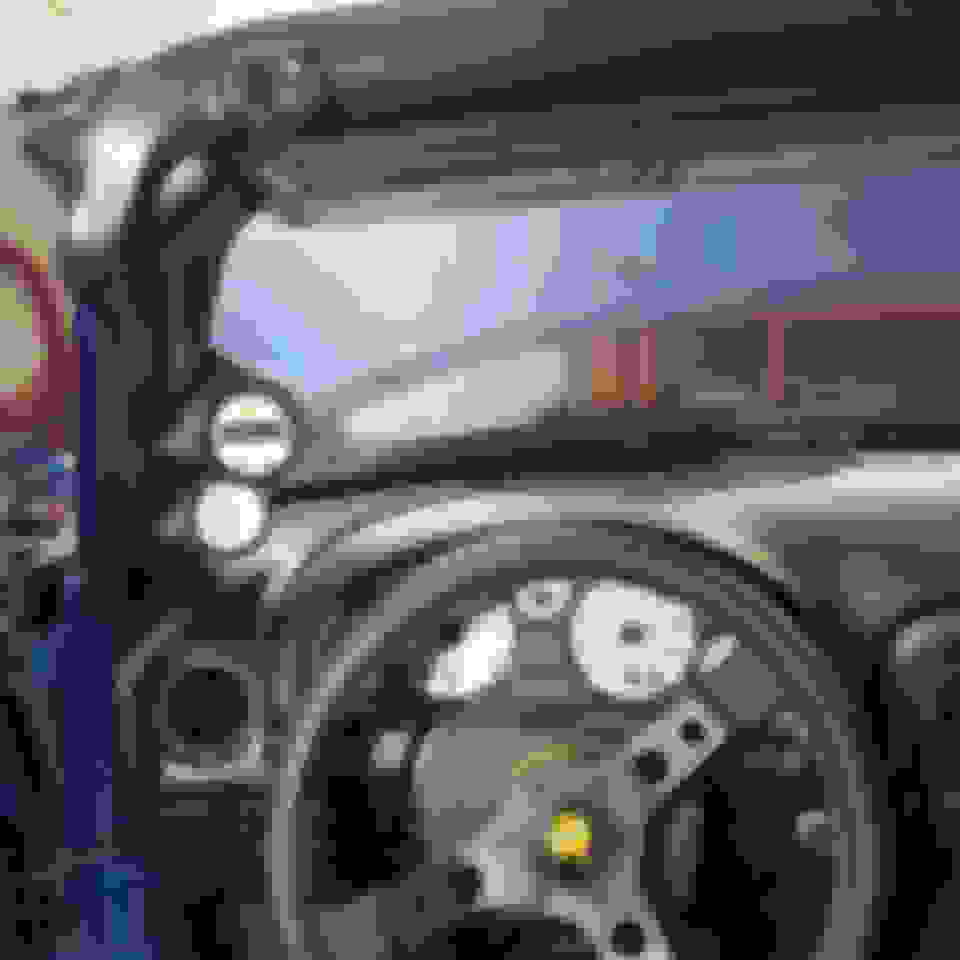
White face guages out of a NB. With the help of a my friend who knows a million times what i do about building a computer my megasquirt will completely power these
AEM wideband and autometer boost gauge... currently showing no boost lmao
corbeau fixed back seats and some custom rails. probably the hardest thing of this entire swap was installing these seats. i originally put them on factory rails which would work perfect if you were 5'4 but im just tall enough that i was worried about a side impact hitting my head on the metal top rails or not passing tech... so my seats are mounted as low as possible with no adjustability.
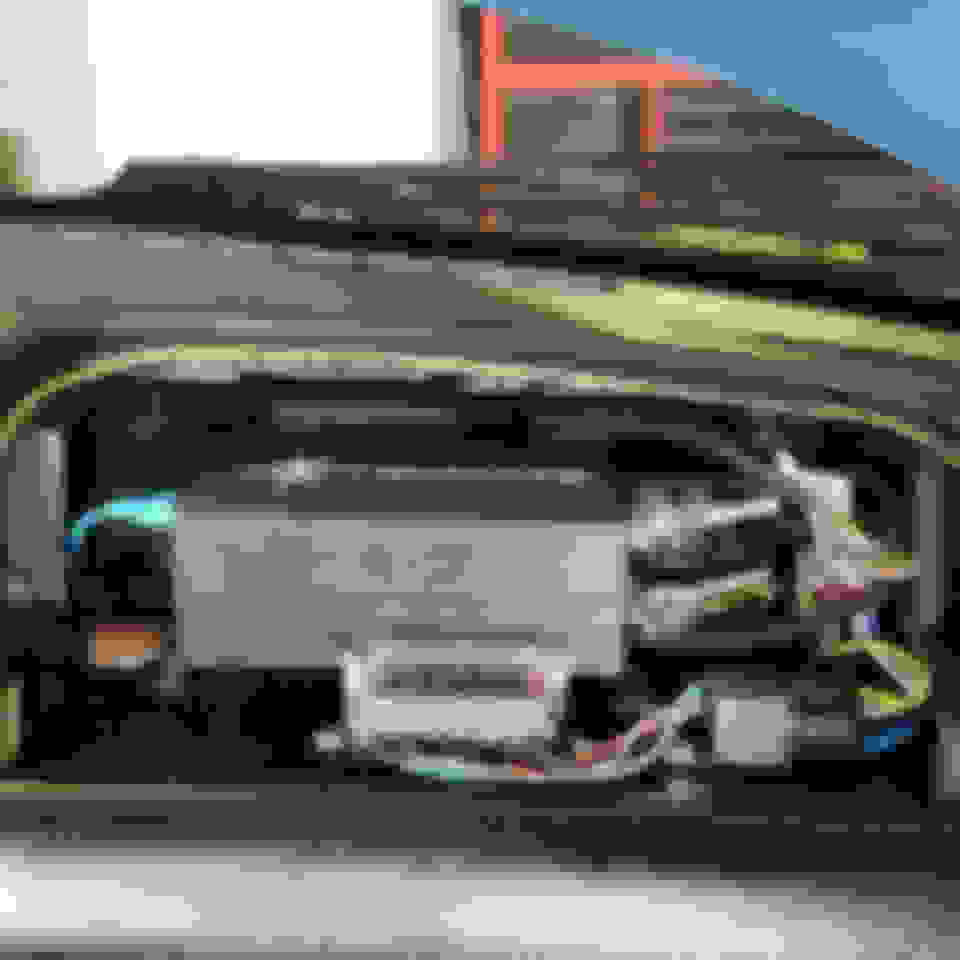
ECU, Wiring, and speed sensor. All hand built by my friend and myself. i put my friend first because if it wasn't for him this would have been much more difficult for me.
Probably the least exciting to see with the fewest pics but took the longest to accomplish especially considering we also stripped the factory harness apart and deleted a bunch of unneeded crap. I really wish a miata came with separate engine harness.
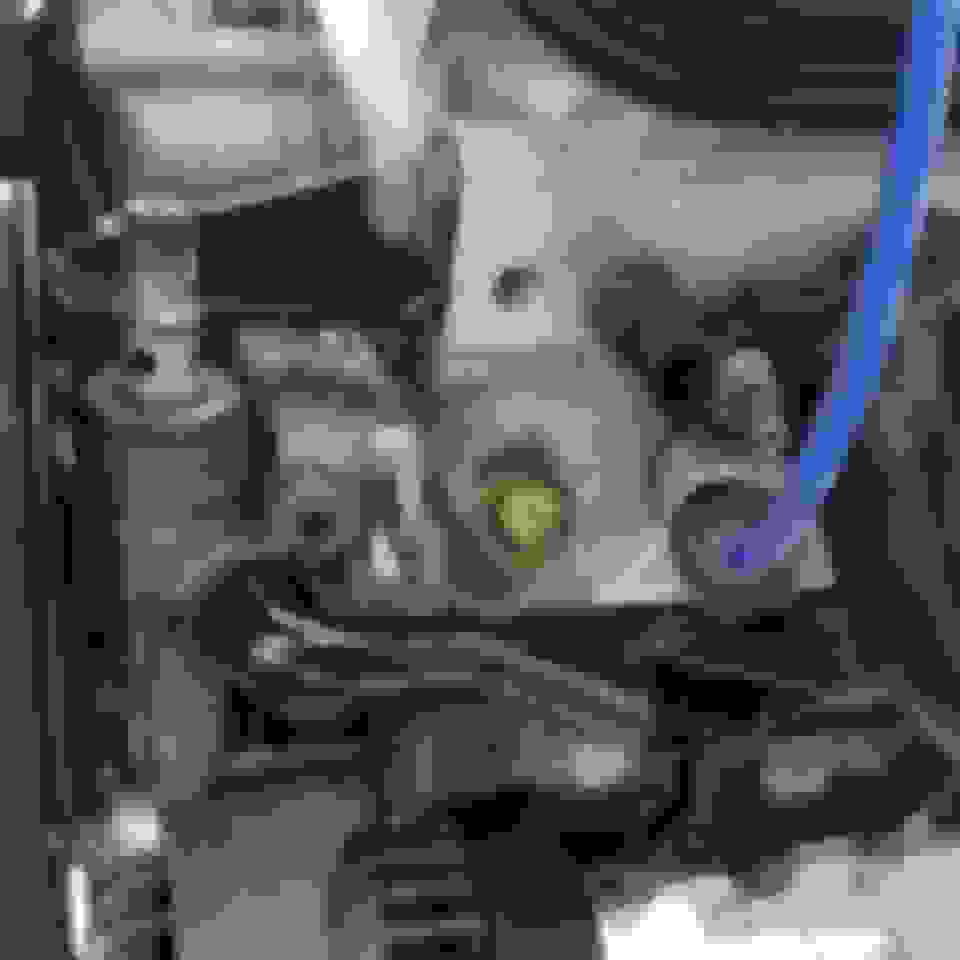
Cooling system:
Currently I'm using a radiator designed for the 4 cylinder just modified. if this isnt up to the task i'll build a dual pass later on. The forward lean is to clear the Procharger.
out front is a NB condenser for some updated ac performance and a little power steering cooler to replace the factory hard line thing.
Last edited by Turbo Turtle; Apr 12, 2020 at 06:25 PM.
Exhaust:
This post will catch up with where i currently am on the car. These are pontiac g8 manifolds. When i bought these manifolds i thought they would fit much better than they do. If i would have known there was going to be this much modification required i would have went ahead and built a set of long tube headers since i plan to eventually anyway but hindsight is 20/20 i guess. Either way these will work fine and still be cheaper and more simple that building long tubes right now.
This is the passenger manifold, it completed now and i should be able to get the drivers side manifold finished tomorrow and be able start on the rest of the exhaust.
This is such a great build. Nice to see more people using truck motors from junkyards and fabing their own stuff. These kinds of builds really lower the entry cost into a V8 Miata - and its a lot of fun to see the ingenuity out there. How do you like the CD009 trans? I briefly considered that before i went AR5. I'm also not bold enough to include PS and AC on my first go around.
This is such a great build. Nice to see more people using truck motors from junkyards and fabing their own stuff. These kinds of builds really lower the entry cost into a V8 Miata - and its a lot of fun to see the ingenuity out there. How do you like the CD009 trans? I briefly considered that before i went AR5. I'm also not bold enough to include PS and AC on my first go around.
i haven't driven the car yet to say how i feel about the trans. I haven't seen much bad said about them though. The plan was always a t56 but they are just too expensive now.
i haven't driven the car yet to say how i feel about the trans. I haven't seen much bad said about them though. The plan was always a t56 but they are just too expensive now.
They sure are. $1200 is about entry for a ragged on T56 that pops out of gear where I am. If I can every justify the cost of an upgrade I'll probably just go right for the TKO so it's new.