
5.0 + NA in Texas


Thread Starter
V8 Miata Fan
Joined: Feb 2014
Posts: 99
Likes: 3
From: San Antonio
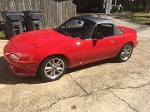
Well it finally happened. The little Miata gave so much but it was finally defeated by the rain. That's right, the car drown in the rain last night. Flooded the car and fried the ECU. I know it's a cheap fix. But I think the car wanted to die and be reborn as a fire breathing Monster. So who am I to deny it of its dying wish?
Well here it is in all of its 4 cylinder glory.
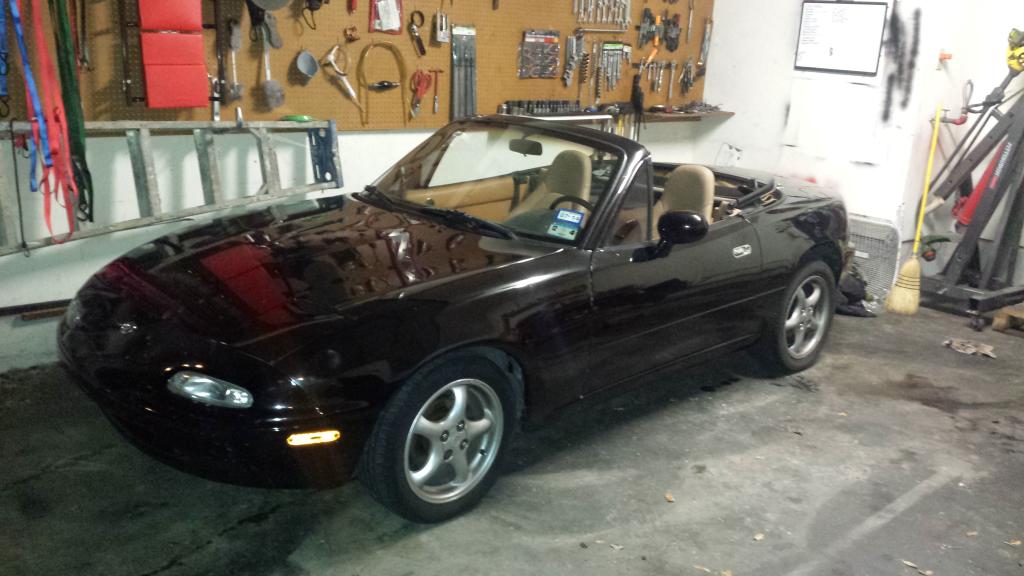
On another note I found some 1993 honest to God Cobra heads. I could have gone big with some aluminum heads but I am already over budget on the motor. The heads should be out of the machine shop in s few days. I should have the motor completely rebuilt in a week and ready for paint.
Sorry about the slow pace of this build. But it is all about the journey and I an enjoying every moment of it!

Thread Starter
V8 Miata Fan
Joined: Feb 2014
Posts: 99
Likes: 3
From: San Antonio
Yes I do have updates! I got a job as a tech at a local BMW indy shop which has been keeping me very busy. I have found a little time to make some progress.
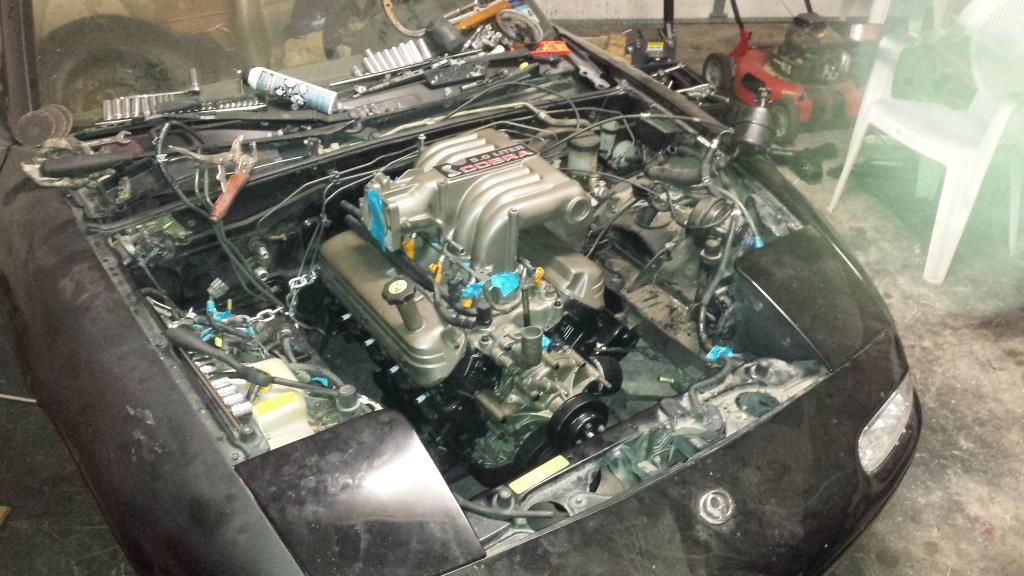
I built the 5.0 with 1993 gt40 heads and intake. Trick flow stage 1 cam and the rest stock. I received a modified harness from McCulley Racing Motors. Great guy who does awesome work.
So I test fitted the motor over and over. Finally got the motor mounts right. Next step is to install the tranny and modify the crossmember. 2nd is to hook up the wire harness. 3rd is to fabricate enough exhaust to try a test start on the motor. I will post pictures shortly.
Thread Starter
V8 Miata Fan
Joined: Feb 2014
Posts: 99
Likes: 3
From: San Antonio
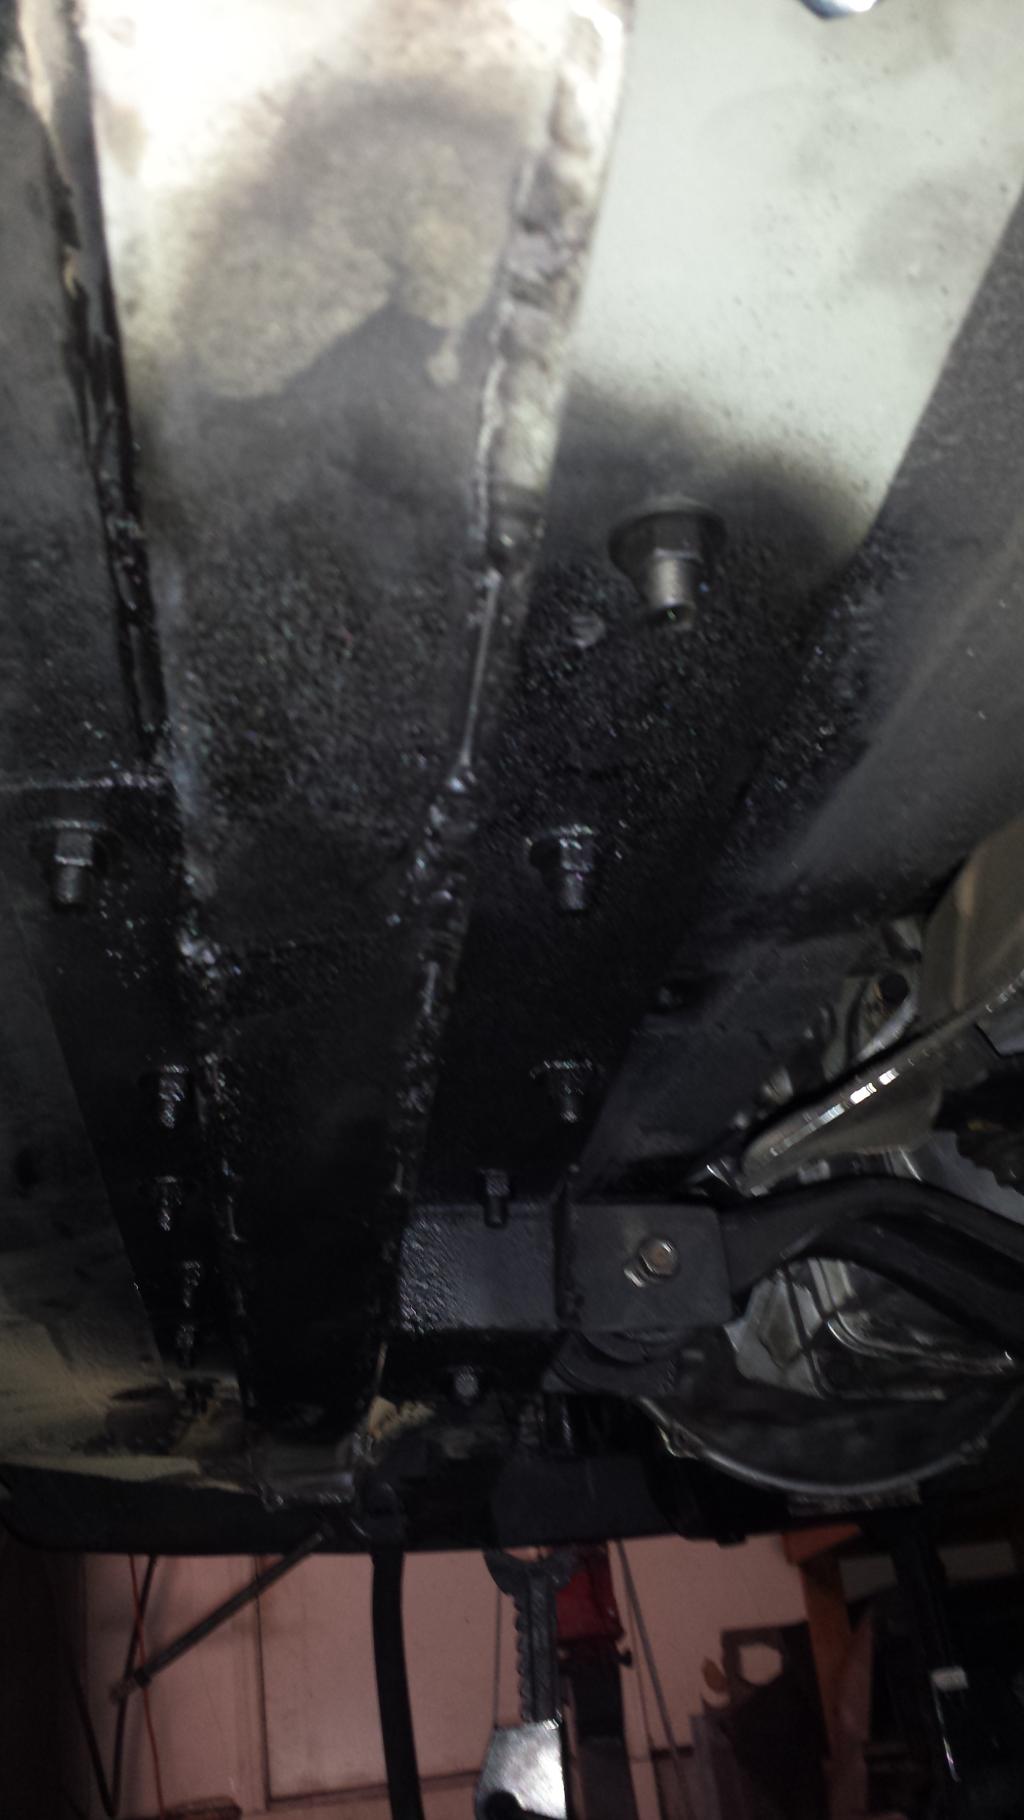
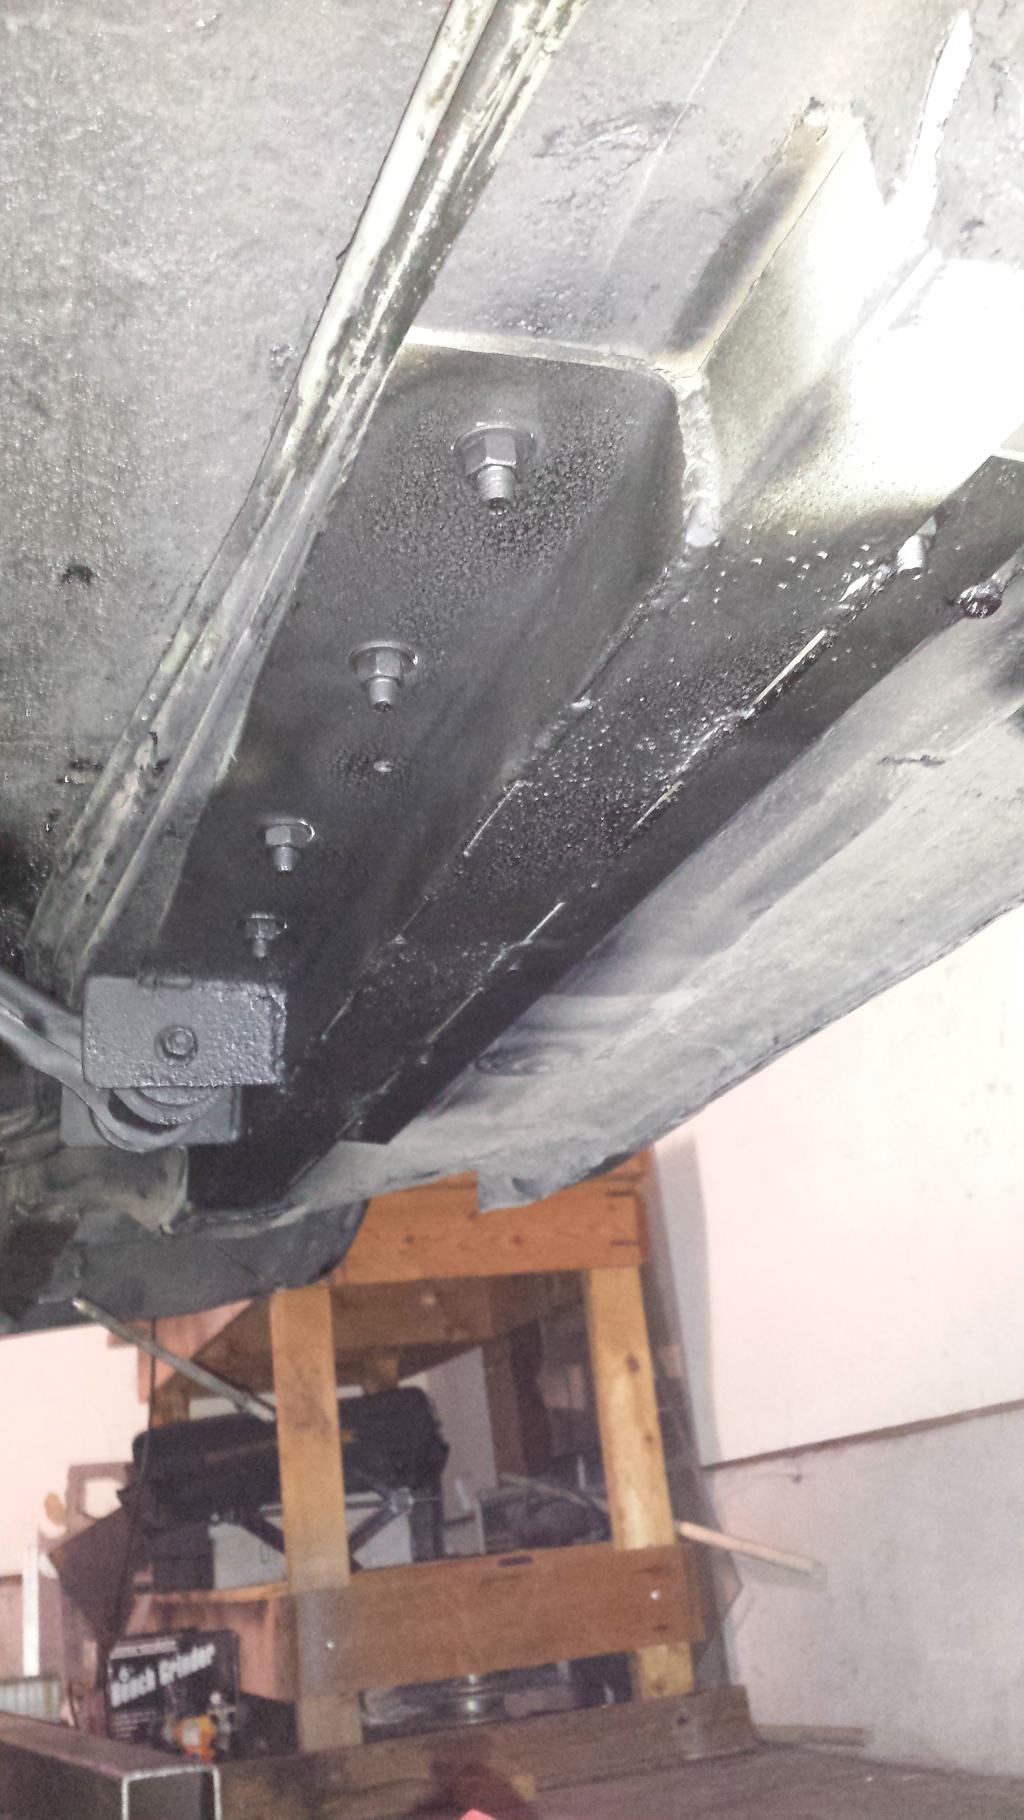
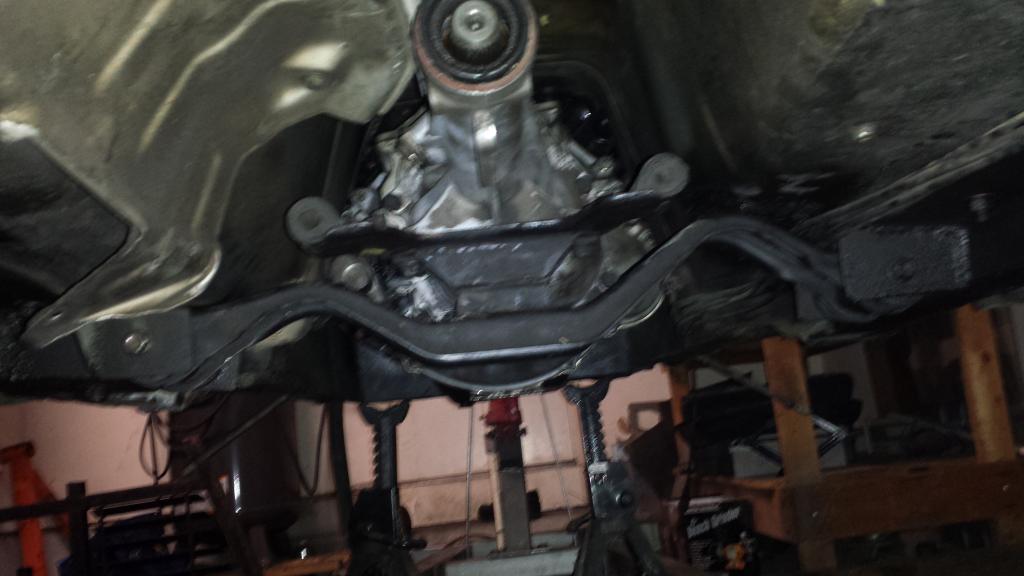
These pictures are of the sub-frame before I lowered the mounts 1 inch.
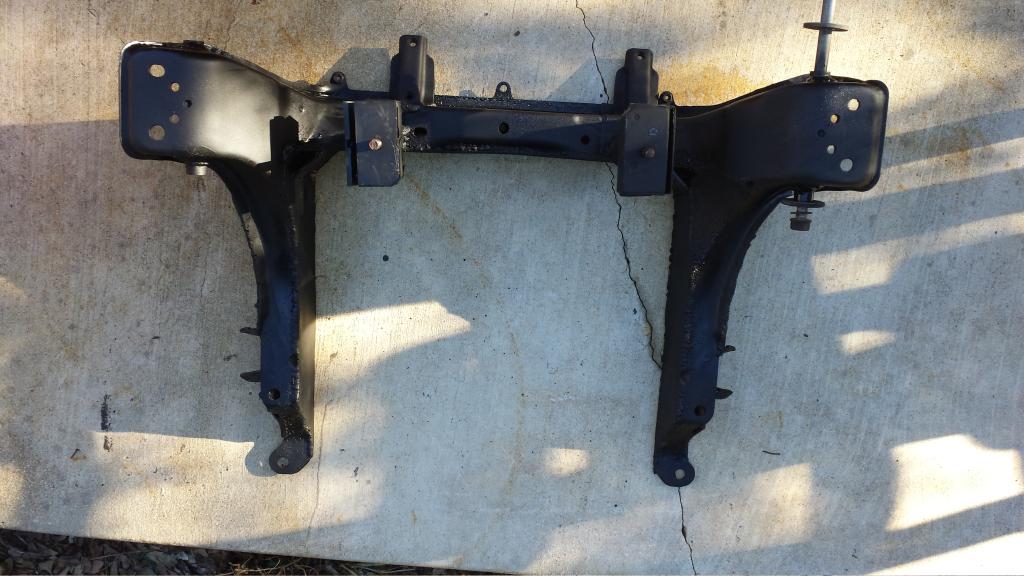
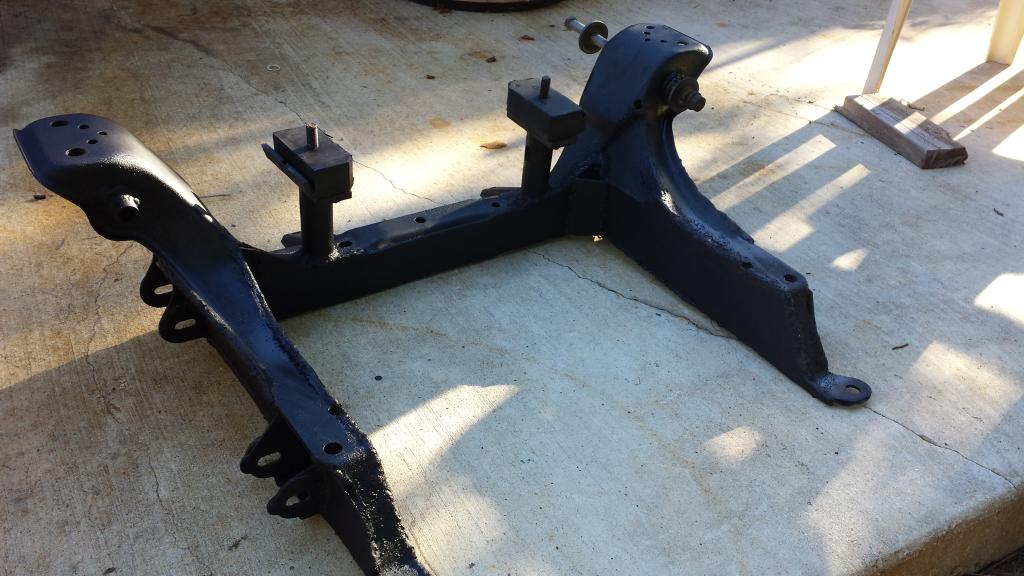
This is not the final fit fo the motor. It is set too far forward and about 1 inch too high. But these are the only pictures I have at the moment. I will post more recent pictures soon.
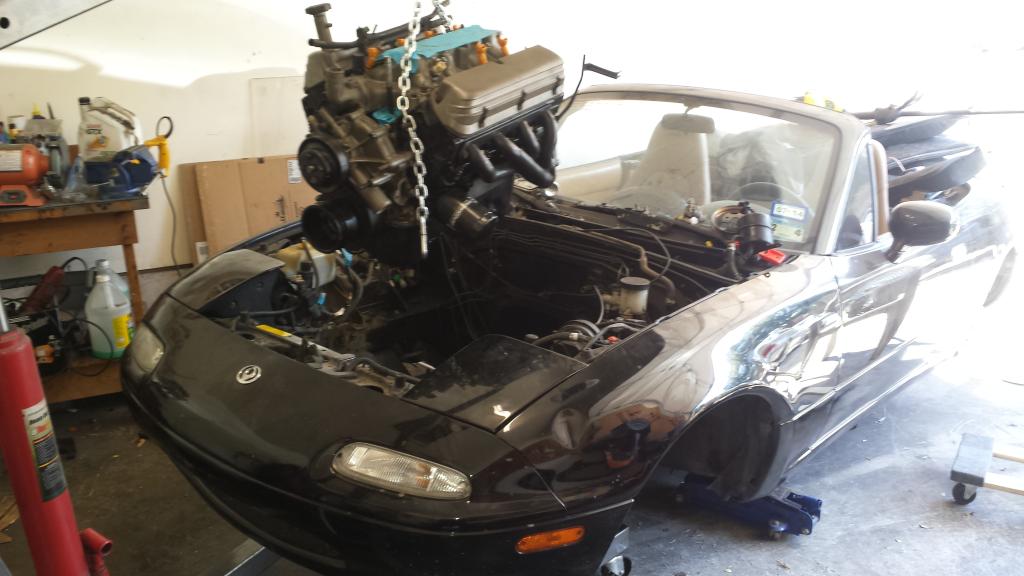


This is not the final fit fo the motor. It is set too far forward and about 1 inch too high. But these are the only pictures I have at the moment. I will post more recent pictures soon.


Last edited by rowen210; Dec 1, 2014 at 09:08 PM.
Thread Starter
V8 Miata Fan
Joined: Feb 2014
Posts: 99
Likes: 3
From: San Antonio
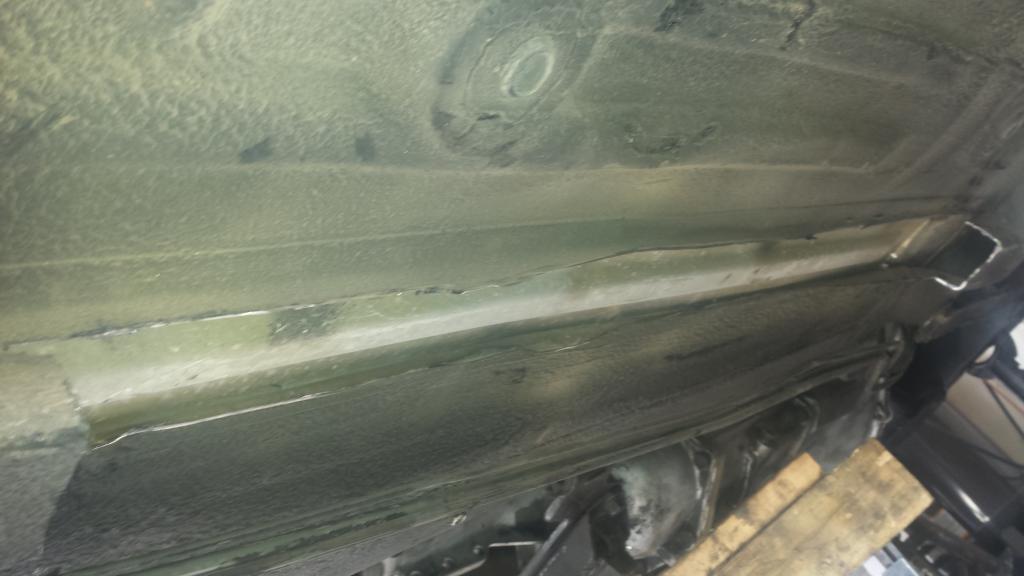
I installed my transmission and mounted up the Ford cross-member. i was intending on adding a mounting bracket for the cross-member and be done with it but the frame rails were too badly damaged. I asked the community for advice on how to approach this problem. https://www.v8miata.net/v8-miata-cha...question-1959/
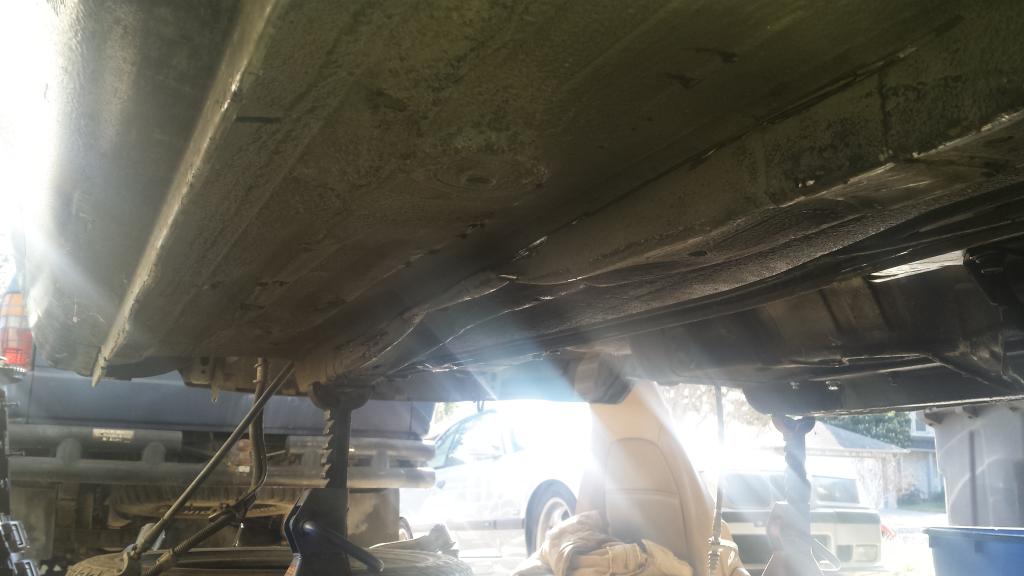
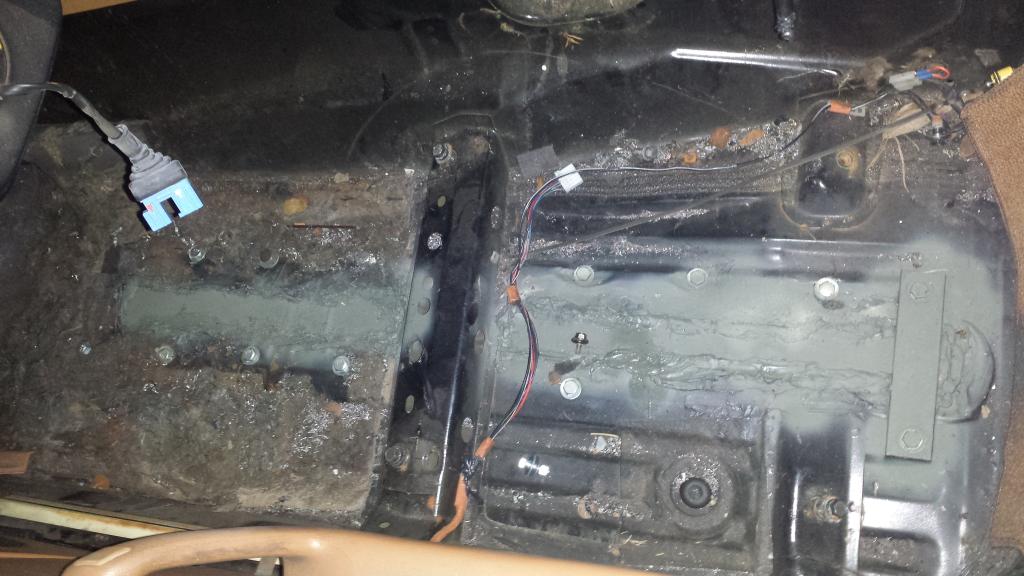
I removed the carpet and and cut into the top of the frame rails so that i could hammer them into shape from the inside out.
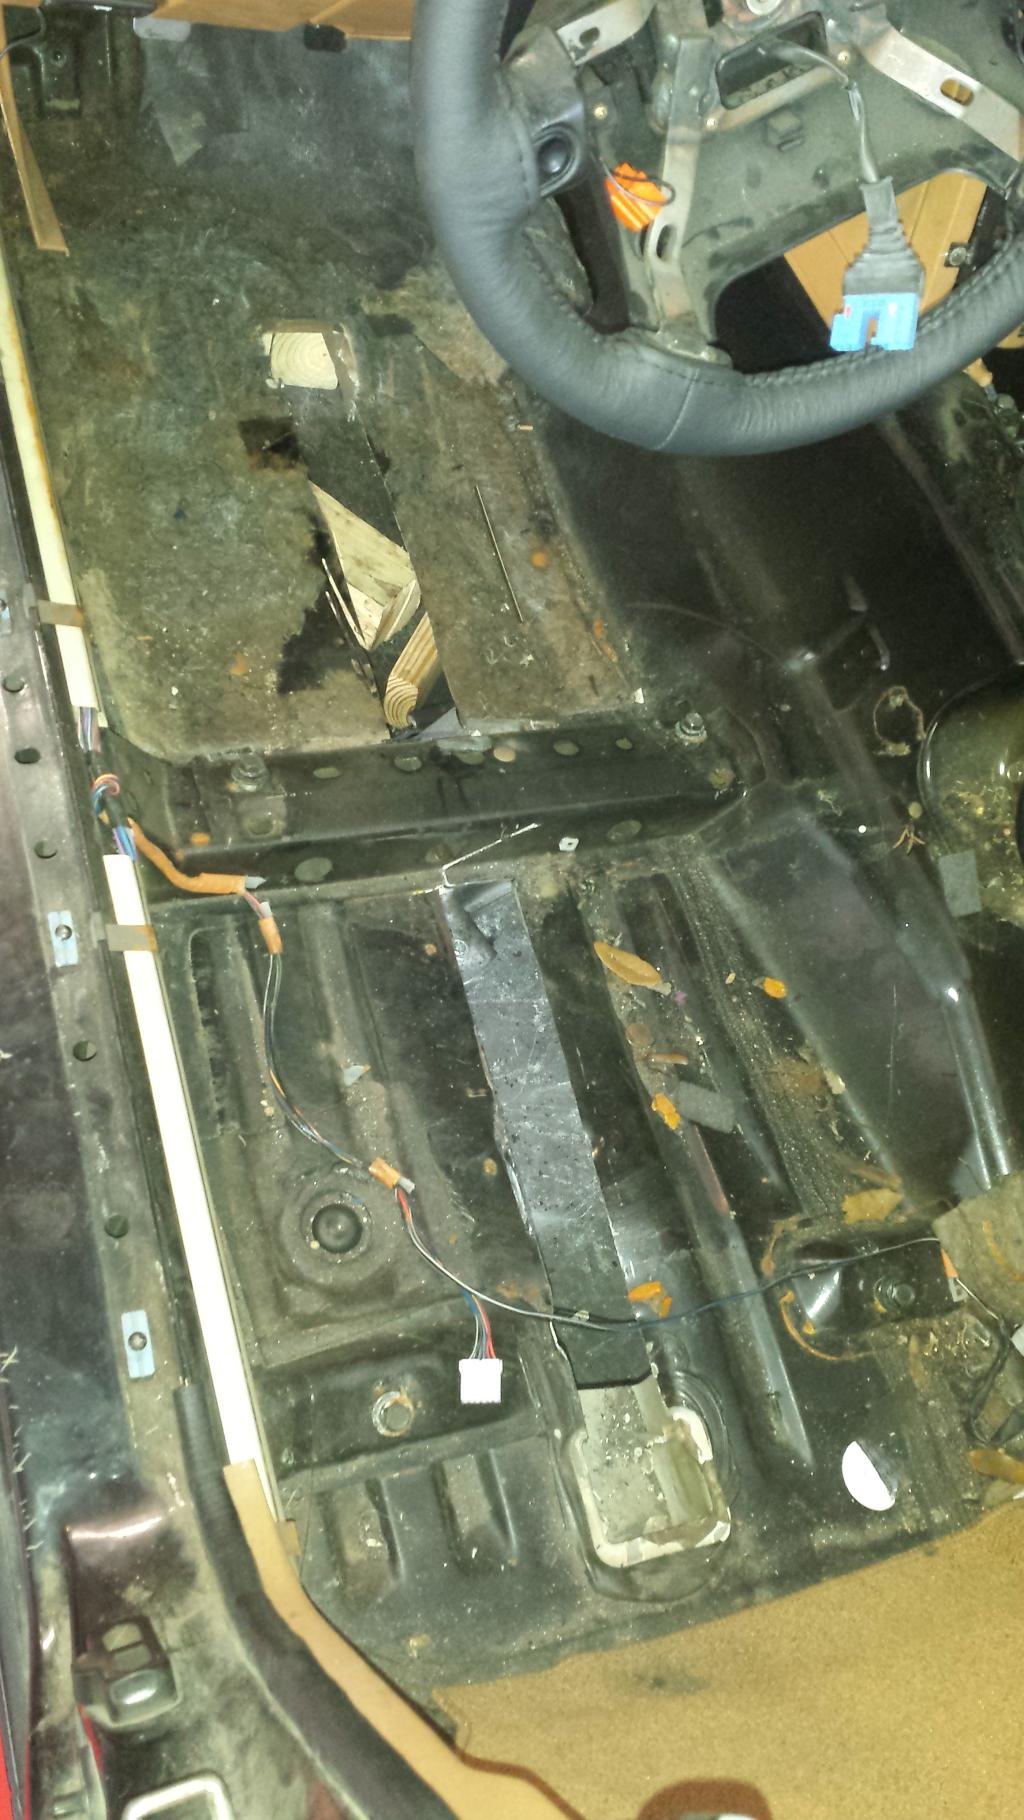
it just was not working out like i planned so i decided to cut them off completly and start fresh.

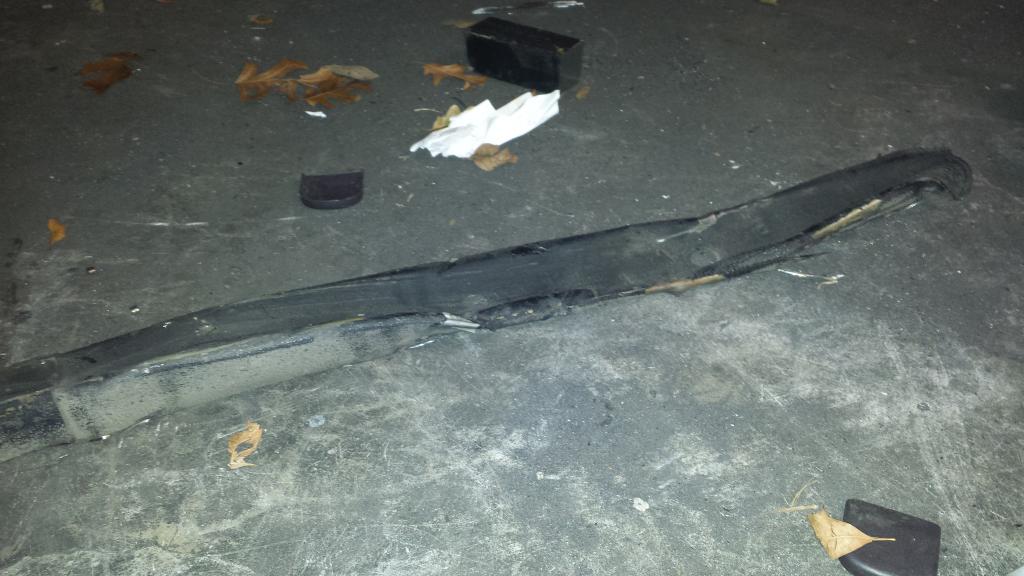
With the old rails out i fabbed some new ones.
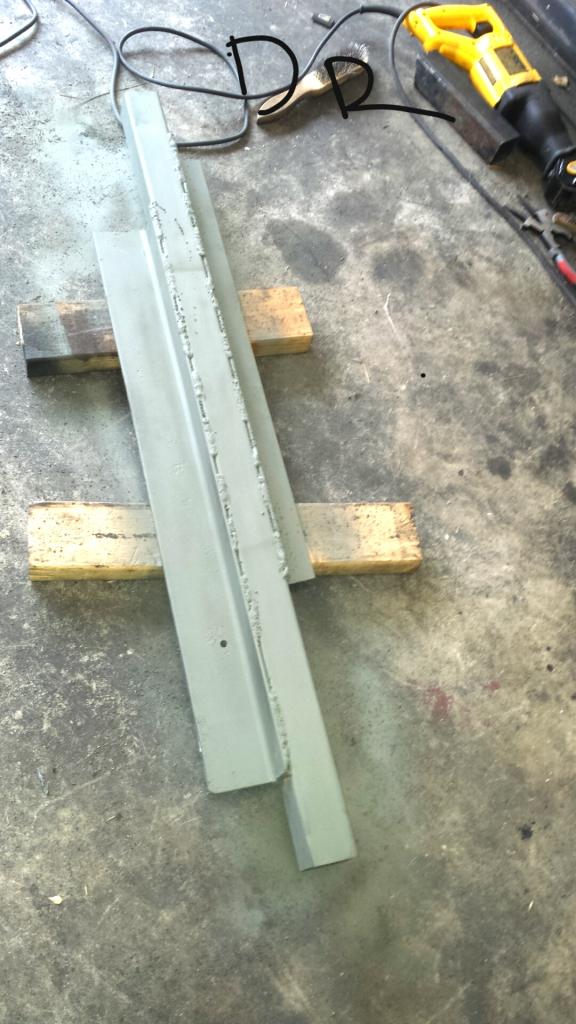
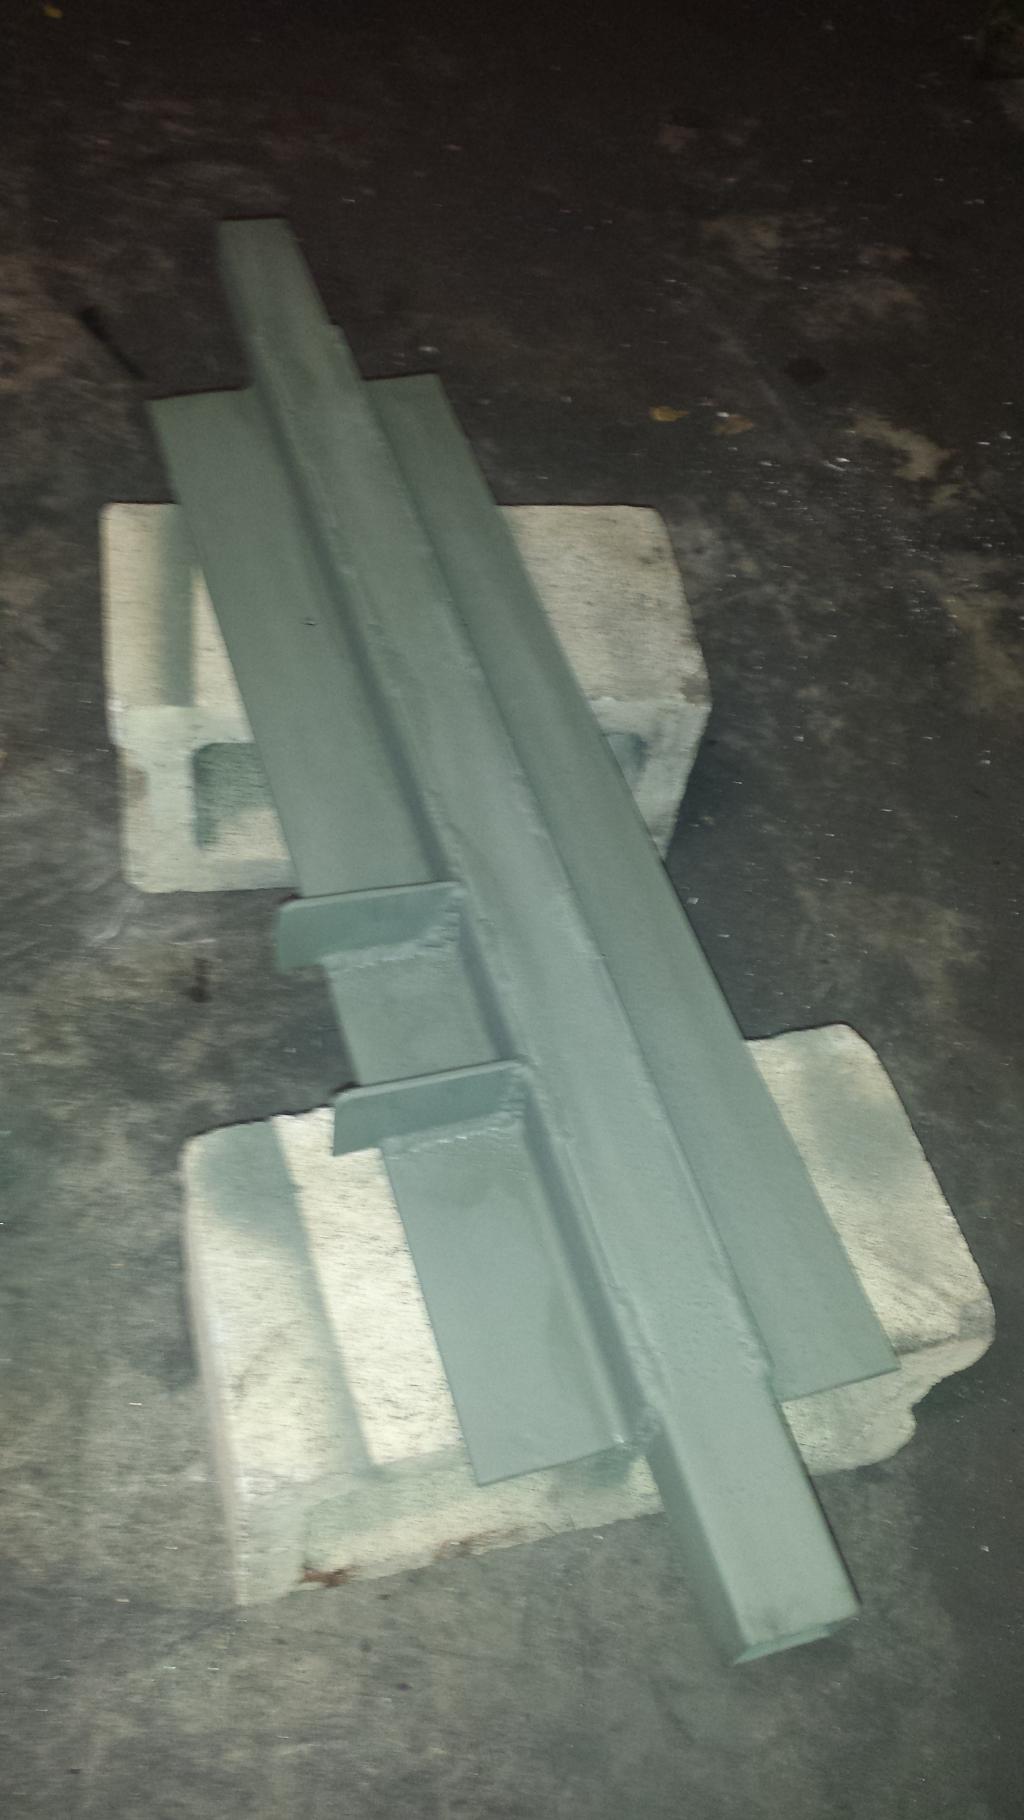
I think it turned out pretty good. And now it is time to work on the exhaust!

Thread Starter
V8 Miata Fan
Joined: Feb 2014
Posts: 99
Likes: 3
From: San Antonio
^Gracias senior.
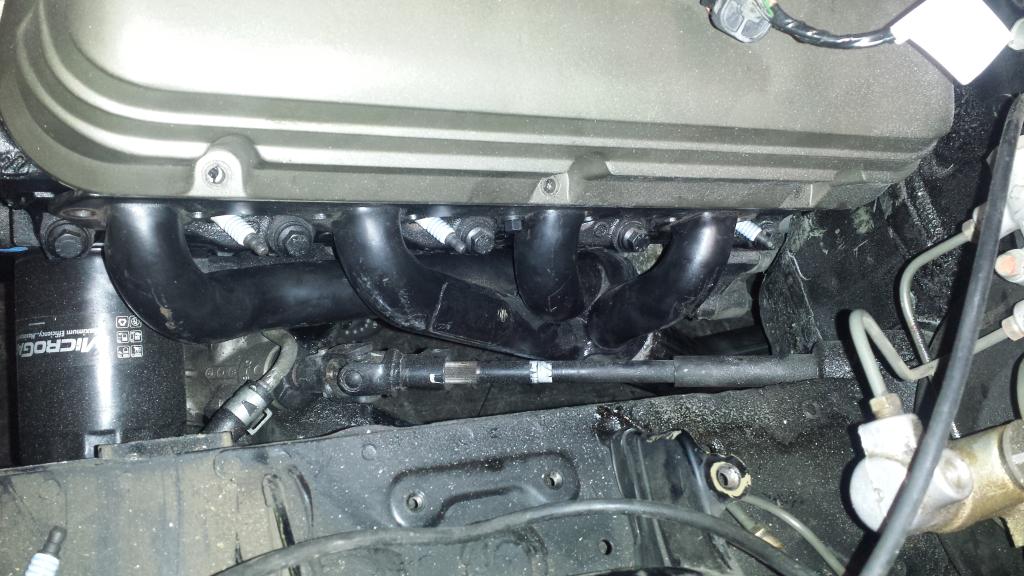
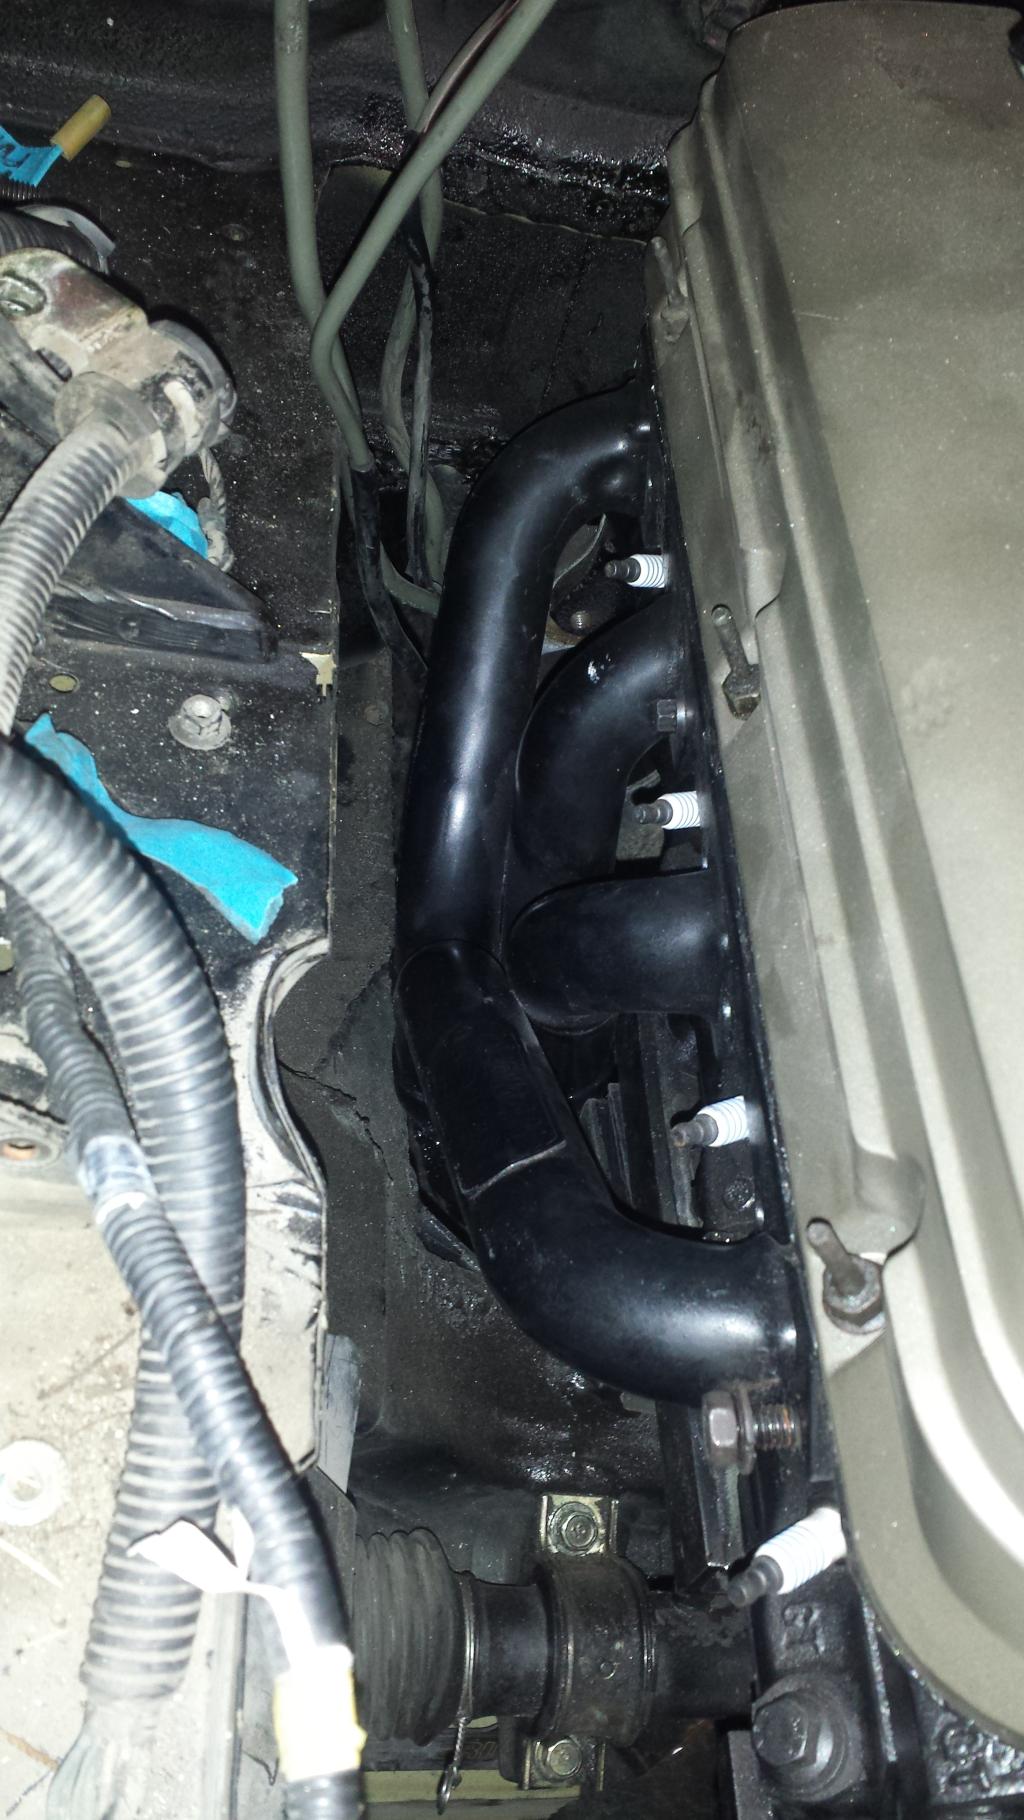
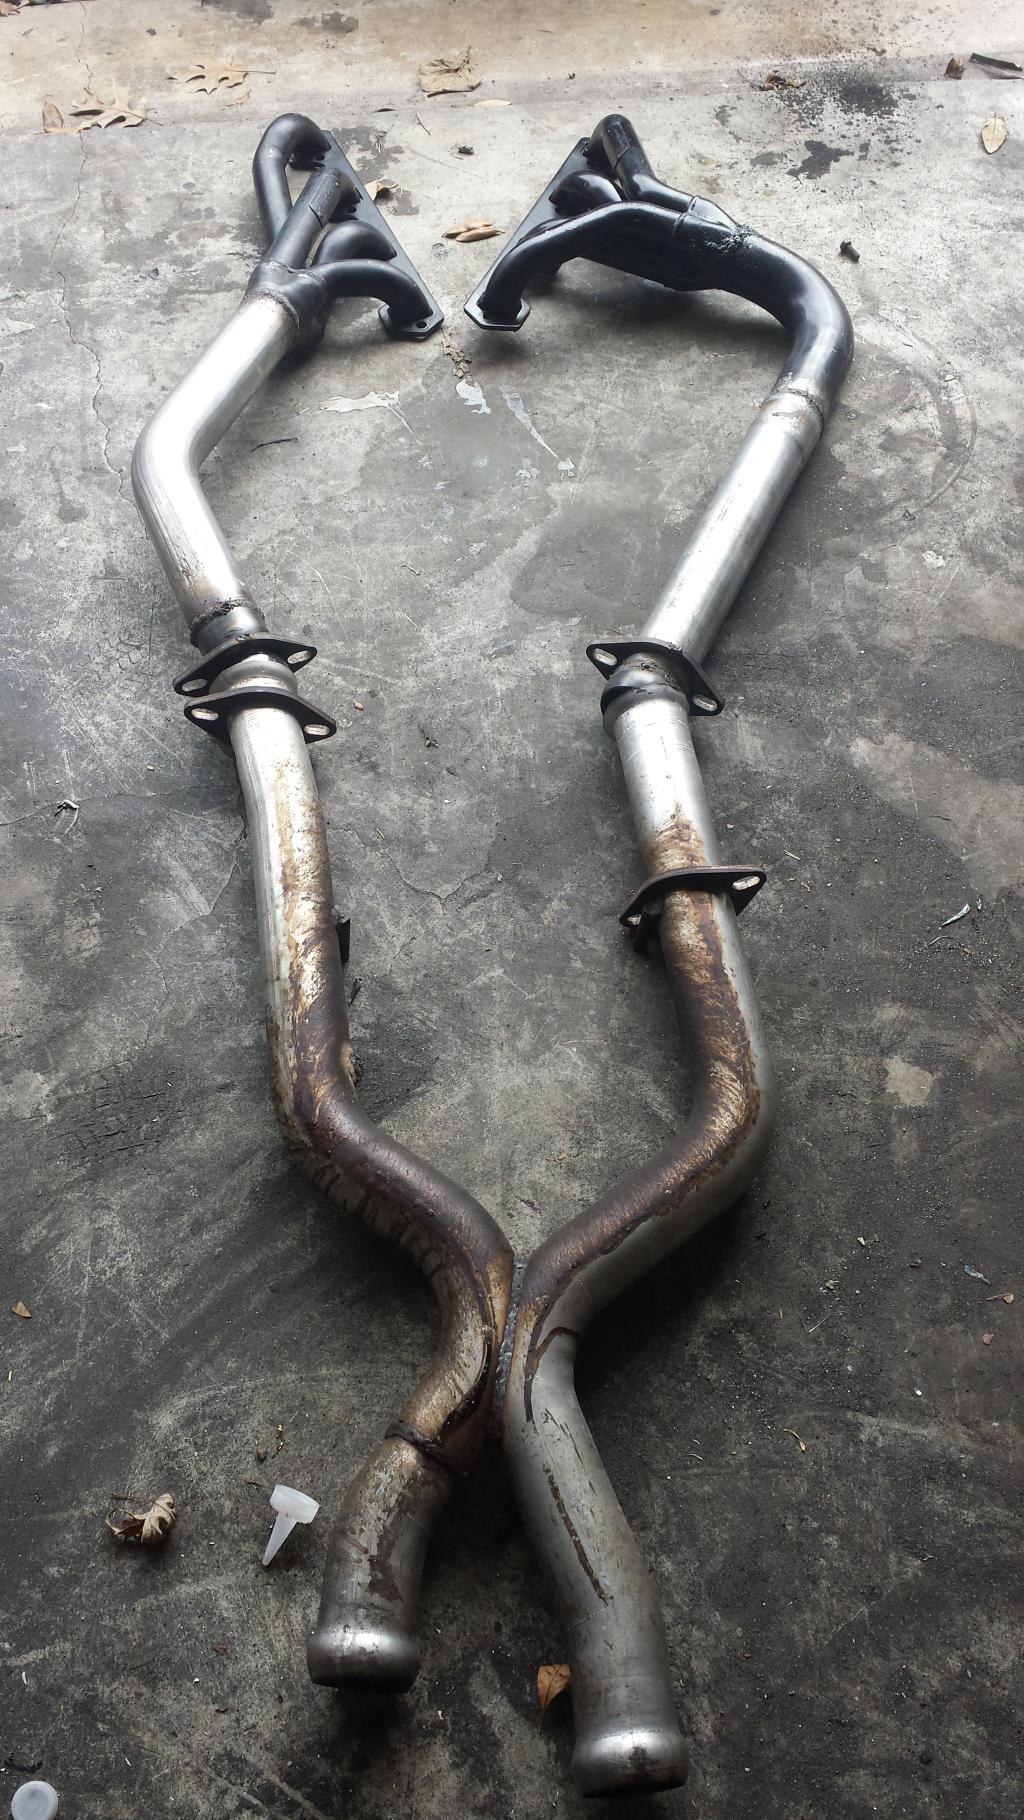
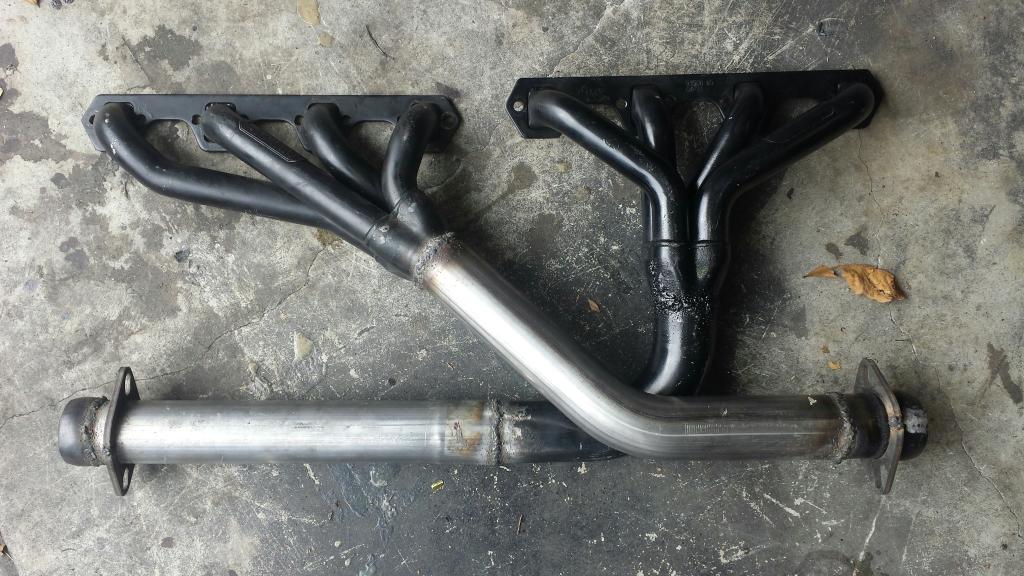
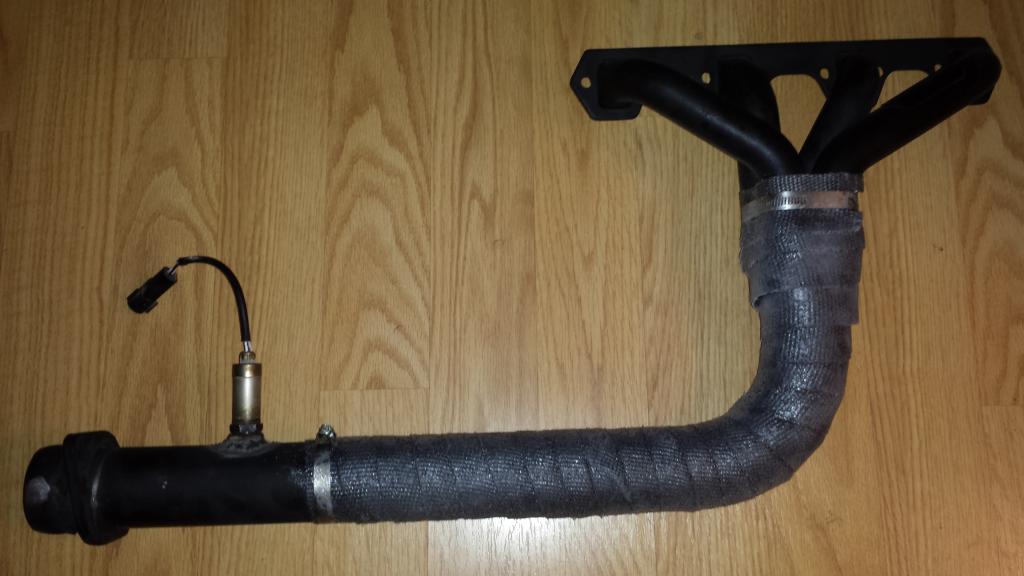
I love long weekends because I get the time I need to make real progress. I got the headers done. They started off as the headmen mismatch set. 120* bend added on to the drivers side and a 90* on to the passenger side. Moved the cuppler onto the end for a gasket free seal. I have seen some weld the entire exhaust together. This will become problematic for transmission maintinence. I had a BBK off road X pipe sitting around. so this seemed like a good time to pull it off of the shelf. I think it works well on the miata with little modification. Just needed to cut off the egr return and rework the mounts.
I have only finished up to the xpipe. I cannot continue until the rear end is assembled. But I can test start the motor with the exhaust as is.


Last edited by rowen210; Dec 28, 2014 at 09:21 PM.
V8 Miata Participant
Joined: Nov 2014
Posts: 296
Likes: 12
From: Atlanta, Ga
+1 on that exhaust setup. I like the idea too of having a more traditional header routing and the exhaust remaining under the car. Nicely done. Like Jason, I will be routing mine through the wheel well. Hoping I can keep it away from tires, frame, and the ground!
Mike.
Mike.

Jim Stainer
Joined: Jul 2011
Posts: 2,462
Likes: 62
From: Sunny SW Minnesota
OK that's it! I have been trying not to put too many links on my blog but this thread has to go on my outstanding must see v8miata fabricator links. Your approach and craftsmanship are truly inspiring and anyone considering a DIY should see this. Really REALLY well done Russell!
Last edited by charchri4; Dec 29, 2014 at 12:46 PM.
Thread Starter
V8 Miata Fan
Joined: Feb 2014
Posts: 99
Likes: 3
From: San Antonio
I really appreciate the props but I hardly consider myself an innovator. I just search other build threads (V8, rotary, turbo). I take the best looking ideas that others have engineered and put my own spin on it. I could save a lot of time by buying kits from Martin, boss frog, or V8R but I have alot of fun making the car my own. The cost savings help as well. I have been giving most of my extra cash to the Snap On guy and end up short handed at the parts store. Most of what I have left are parts I cannot fabricate (broached hubs, radiator, front springs, roll cage, crash helmet, life insurance policy. ..)
Thread Starter
V8 Miata Fan
Joined: Feb 2014
Posts: 99
Likes: 3
From: San Antonio
The passenger side header runs directly along side of the starter. I was worried about possible heat soak. As a preventative measure I wrapped the header and added a heat shield to the starter. And the last pictures did not show the O2 sensors.

Thread Starter
V8 Miata Fan
Joined: Feb 2014
Posts: 99
Likes: 3
From: San Antonio
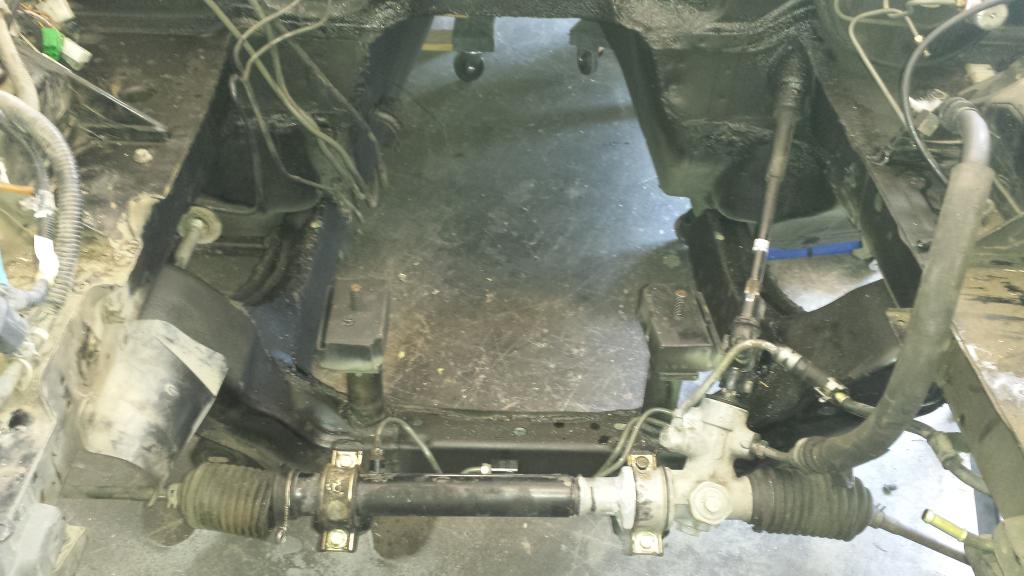
I wanted to use the Miata power steering pump for several reasons. First is that the Ford pump would require hybrid hydrolic lines. Second is that I want the pump that was designed for my rack. Third is the overall size of the Ford unit is about twice the size of the Miata unit. The Ford unit would most likely require a notch in the frame for the fill tube. And lastly, I did not have a good working Ford unit on hand. So, long story short... I would rather fabricate than spend money.
I did not take pictures of the process of fabrication. I have a tendency to get ahead of myself and jump right into cutting and drilling without taking pictures. But the idea is fairly simple. I removed the Miata Power steering pulley. I had a friend mill it until it was just a stub that i welded an explorer P/S pulley (metal). I then cut a circle of 1/4 inch steel to fit into the Ford P/S pump bracket. Drilled a large hole into the center to for the Miata P/S pump shaft and two holes to mount the pump. I pressed the pulley on and surprisingly, it seems balanced and true. Lastly I had to cut a notch into the Ford bracket for the pump pressure line to fit. Once mounted, the whole thing went together like Mazda intended. I have seen others use the stock Miata pump but they used a secondary V belt and added a new pulley to the crank. I have everything running on the same belt.
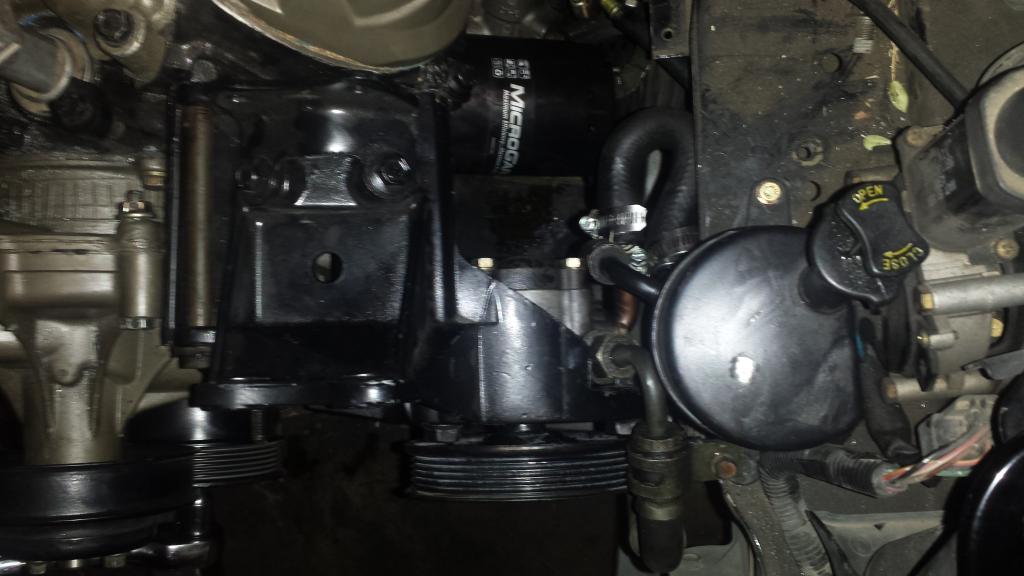
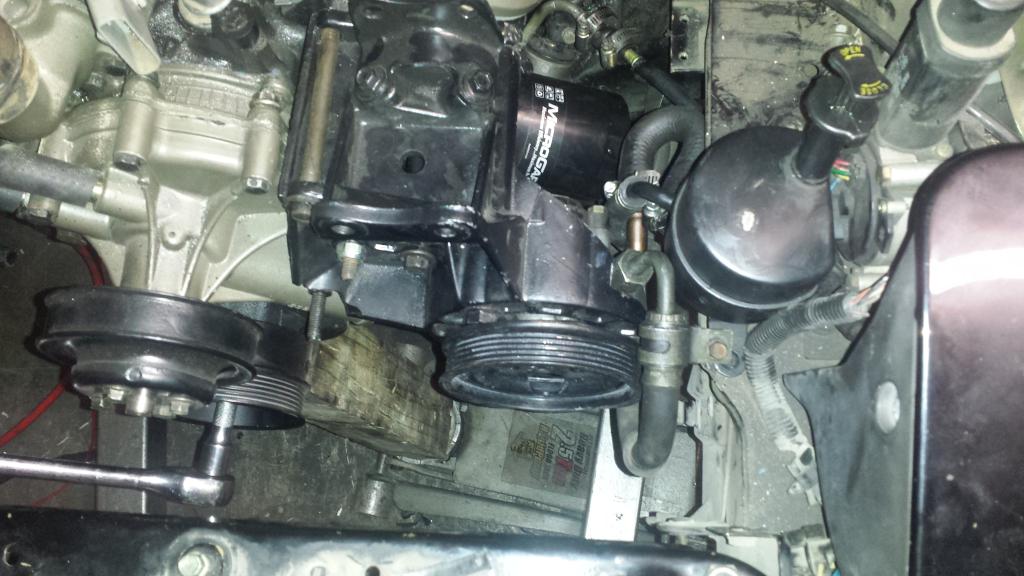
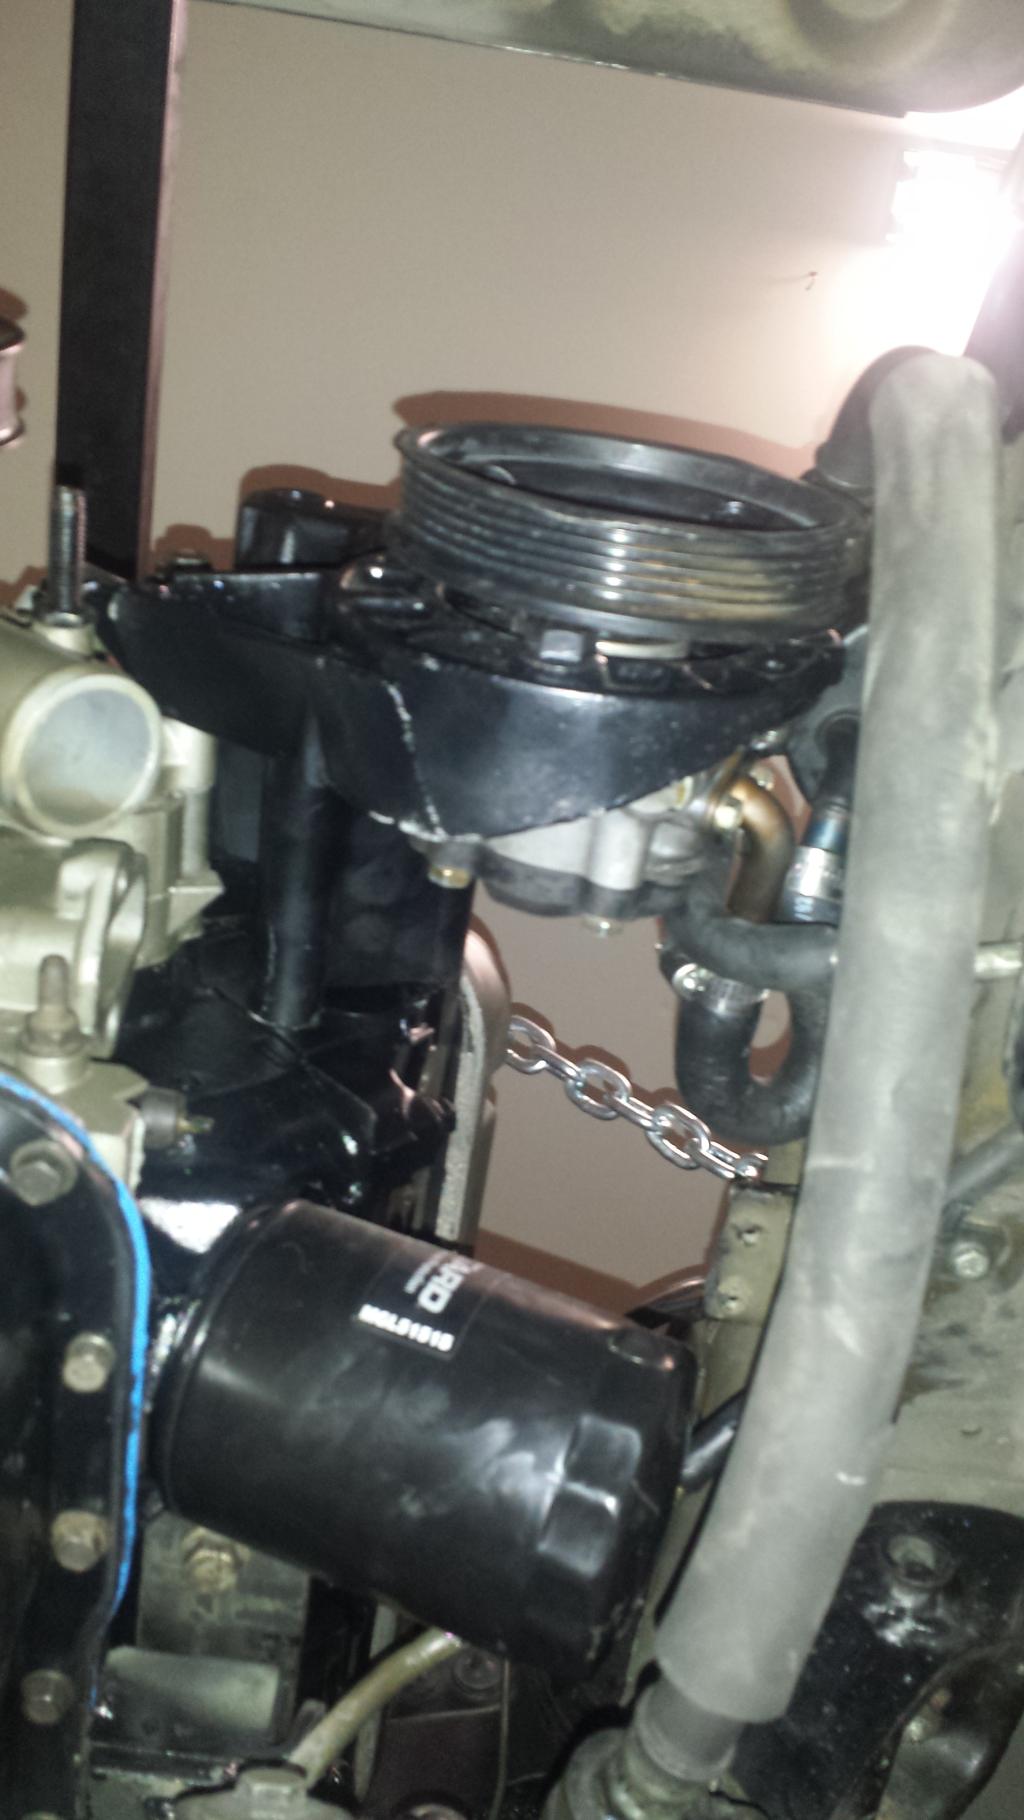
I did not take pictures of the process of fabrication. I have a tendency to get ahead of myself and jump right into cutting and drilling without taking pictures. But the idea is fairly simple. I removed the Miata Power steering pulley. I had a friend mill it until it was just a stub that i welded an explorer P/S pulley (metal). I then cut a circle of 1/4 inch steel to fit into the Ford P/S pump bracket. Drilled a large hole into the center to for the Miata P/S pump shaft and two holes to mount the pump. I pressed the pulley on and surprisingly, it seems balanced and true. Lastly I had to cut a notch into the Ford bracket for the pump pressure line to fit. Once mounted, the whole thing went together like Mazda intended. I have seen others use the stock Miata pump but they used a secondary V belt and added a new pulley to the crank. I have everything running on the same belt.


Last edited by rowen210; Jan 4, 2015 at 09:12 PM.
V8 Miata Participant
Joined: Nov 2014
Posts: 296
Likes: 12
From: Atlanta, Ga
I was thinking the same thing! How to retain the Mazda pump using a 6 rib pulley instead of the additional crank pulley and belt. Very cool! Most likely I will be using the Ford unit because my SN95 accessories put the A/C compressor down low there and no room for the Mazda PS reservoir...
Thread Starter
V8 Miata Fan
Joined: Feb 2014
Posts: 99
Likes: 3
From: San Antonio
I wish I could go back in time and tell myself to use the sn95 set up. I could really use the extra 1 inch of room. But I am not about to Un do all of my progress. Next time though I will do things smarter.
Jim Stainer
Joined: Jul 2011
Posts: 2,462
Likes: 62
From: Sunny SW Minnesota
BTW just a thought on that whole not taking photos before you cut thing... I can't tell you how many times I have gone back to the photo bucket to see how it was before I cut!
Last edited by charchri4; Jan 5, 2015 at 01:49 PM.
Thread Starter
V8 Miata Fan
Joined: Feb 2014
Posts: 99
Likes: 3
From: San Antonio
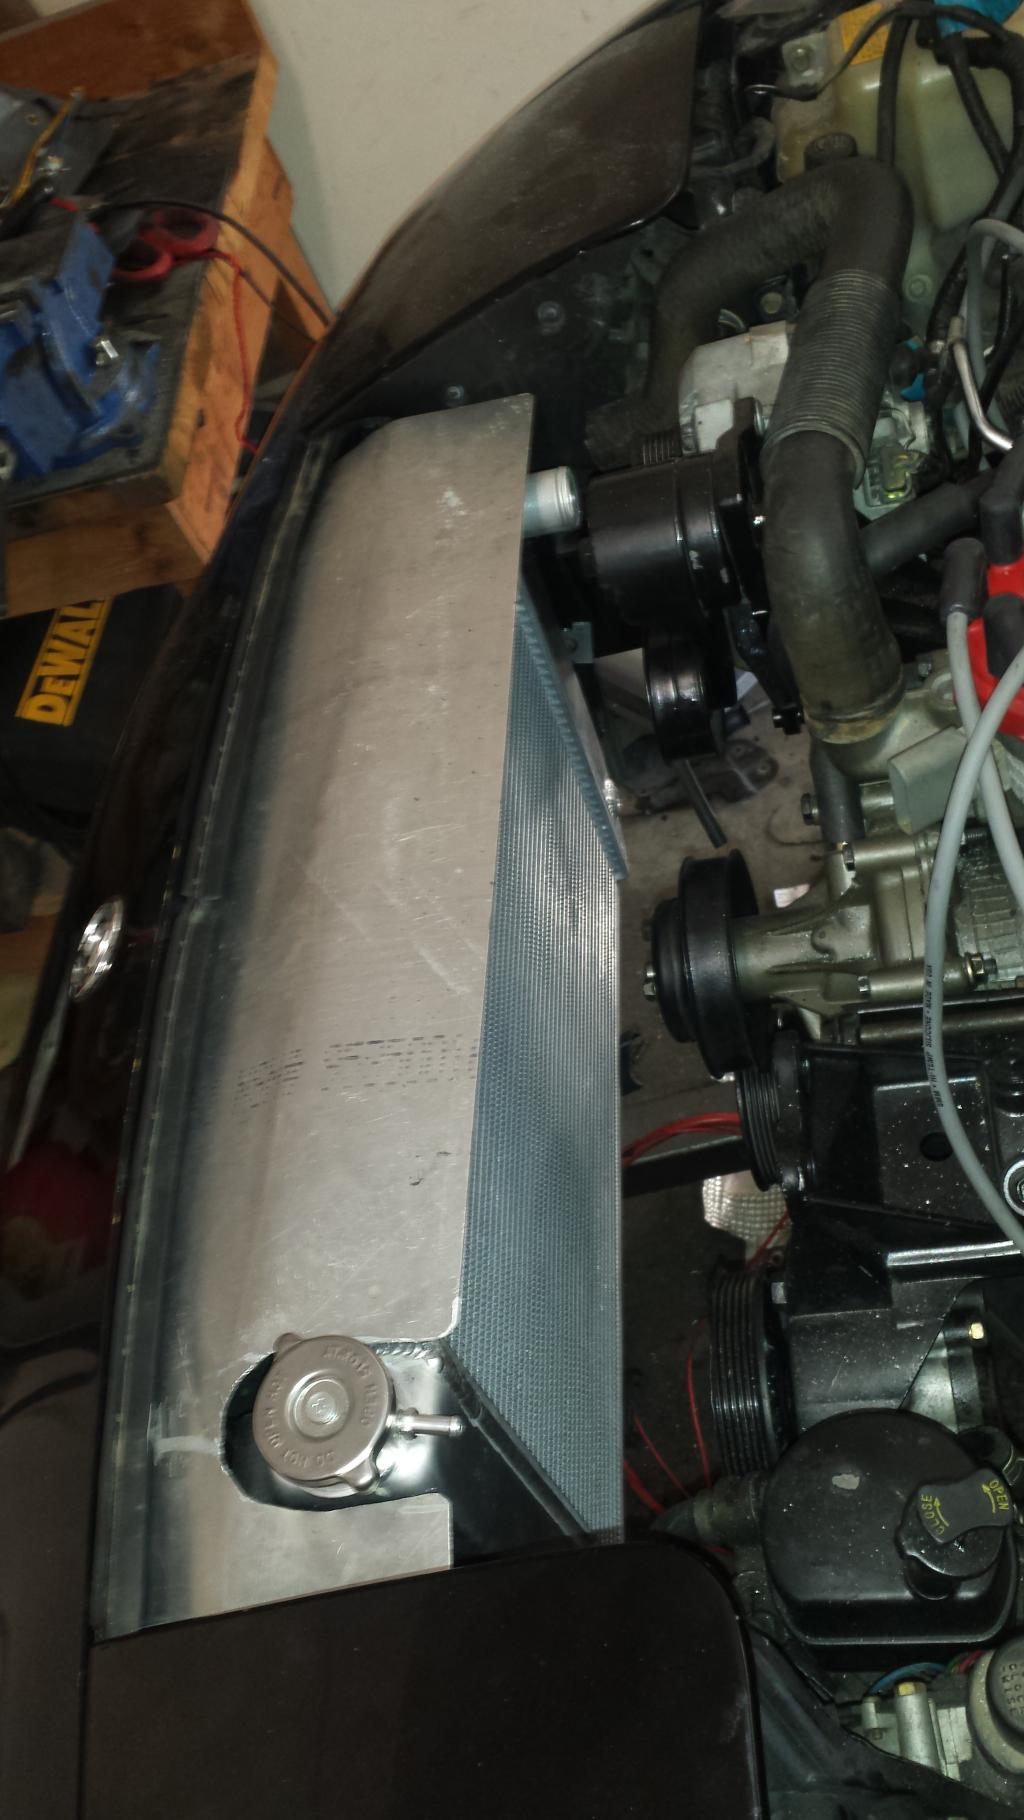
I finally got my radiator in from Summit. It is an all aluminum duel core radiator made by Griffin. 26" X 3 " X 15.5". It had great reviews and a reasonable price.
I made a support bracket from a strip of steel. It is like a cradle. I wrapped it in electrical tape as a buffer.
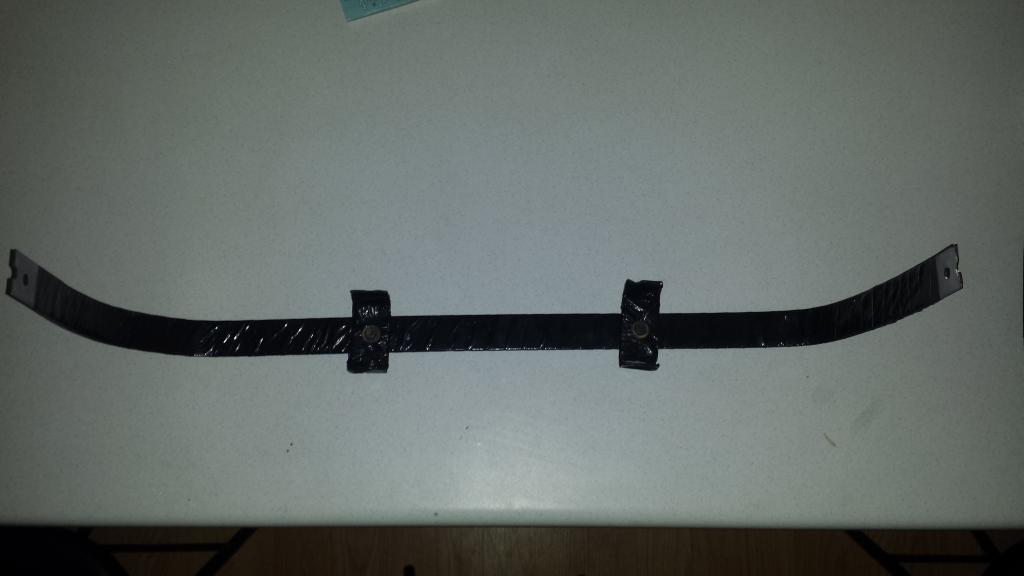
The tape proved to be insufficient as a buffer. I split a coolent hose down the middle and applied it to the bracket.
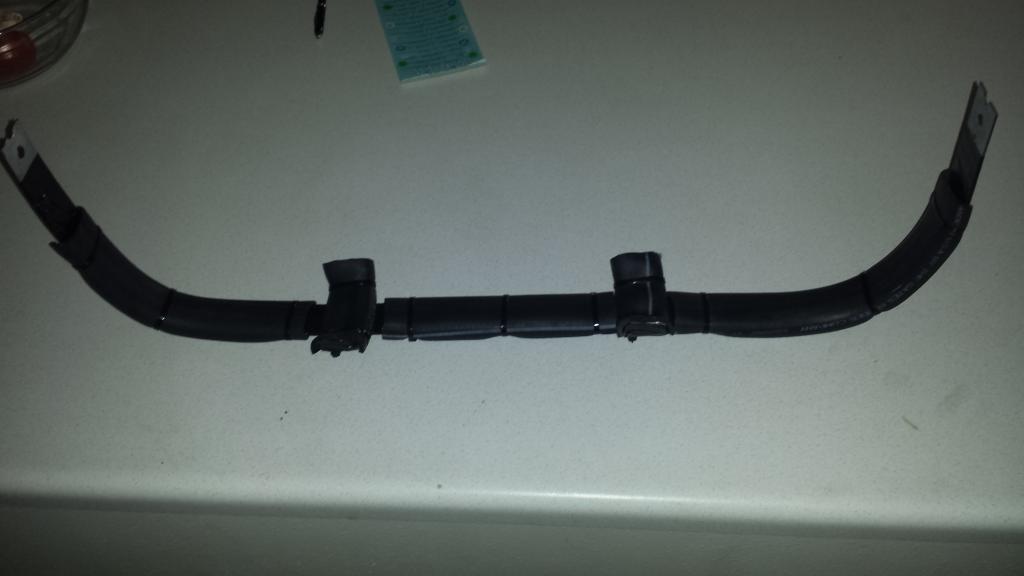
The original plan was to keep the stock hood latch. I cut as close to the latch as possible but still had clearance issues for the electric fans. I ended up removing the hood latch and will install hood pins later.
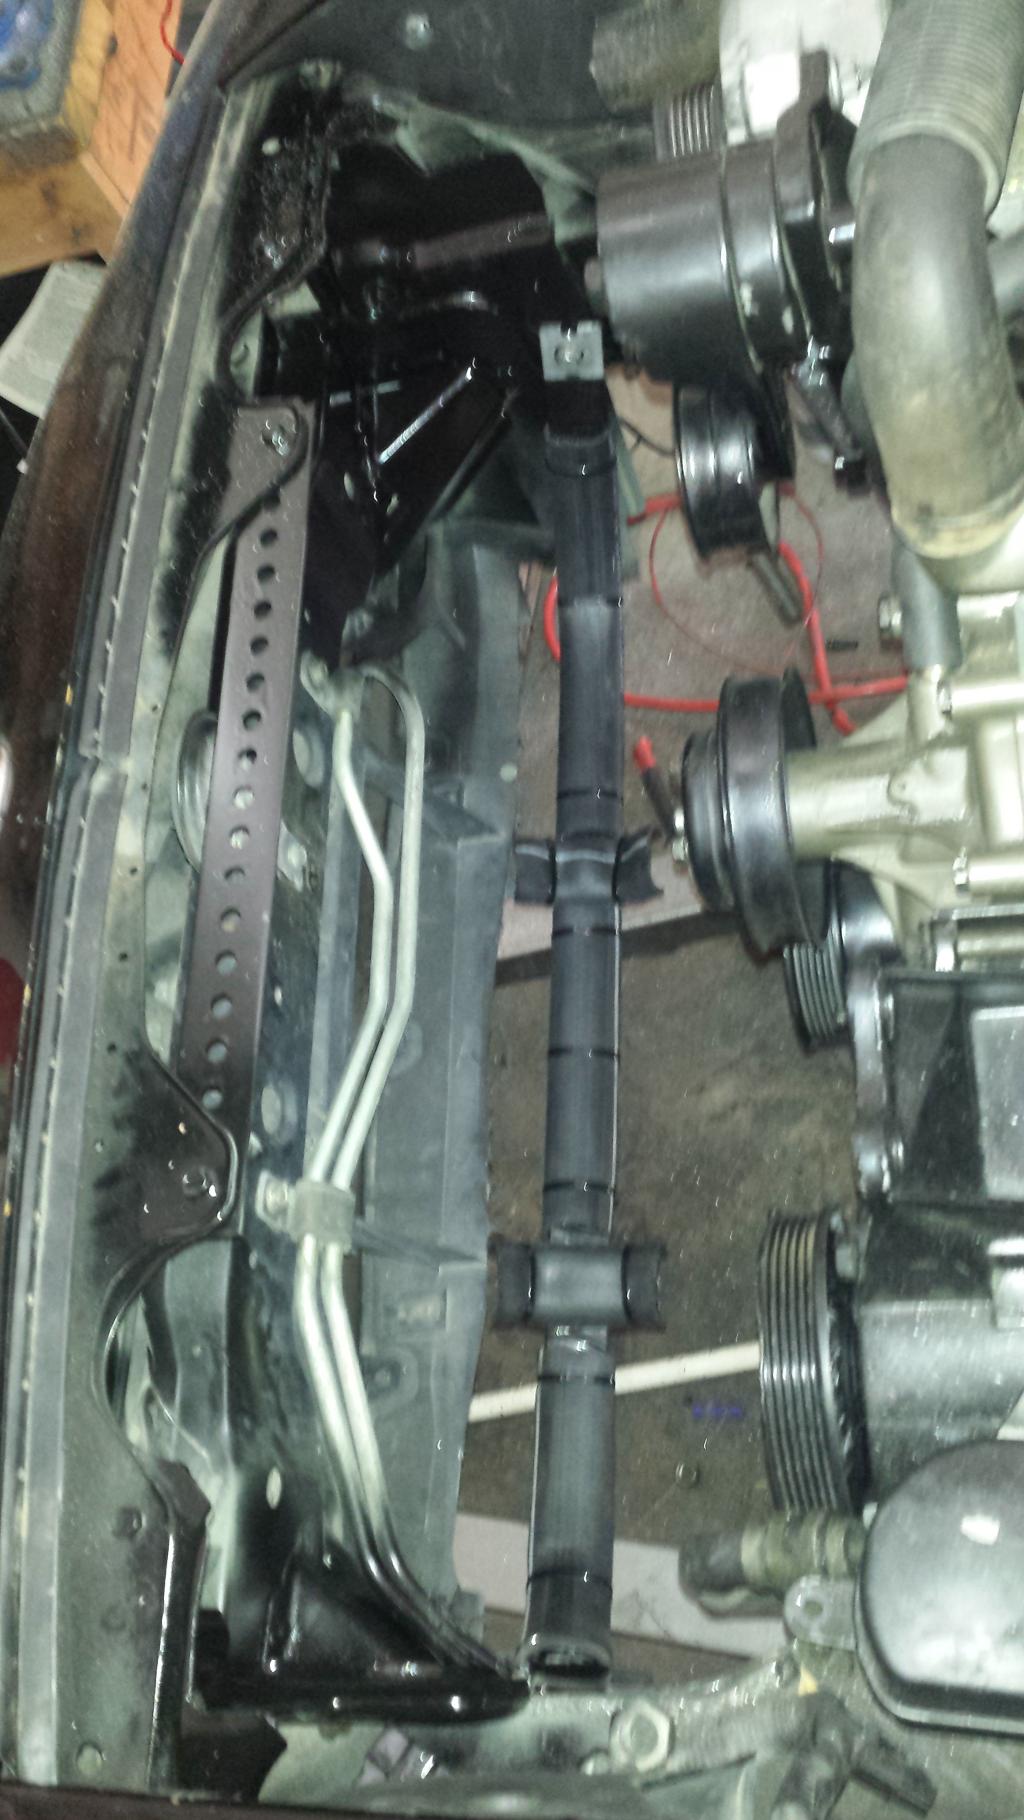
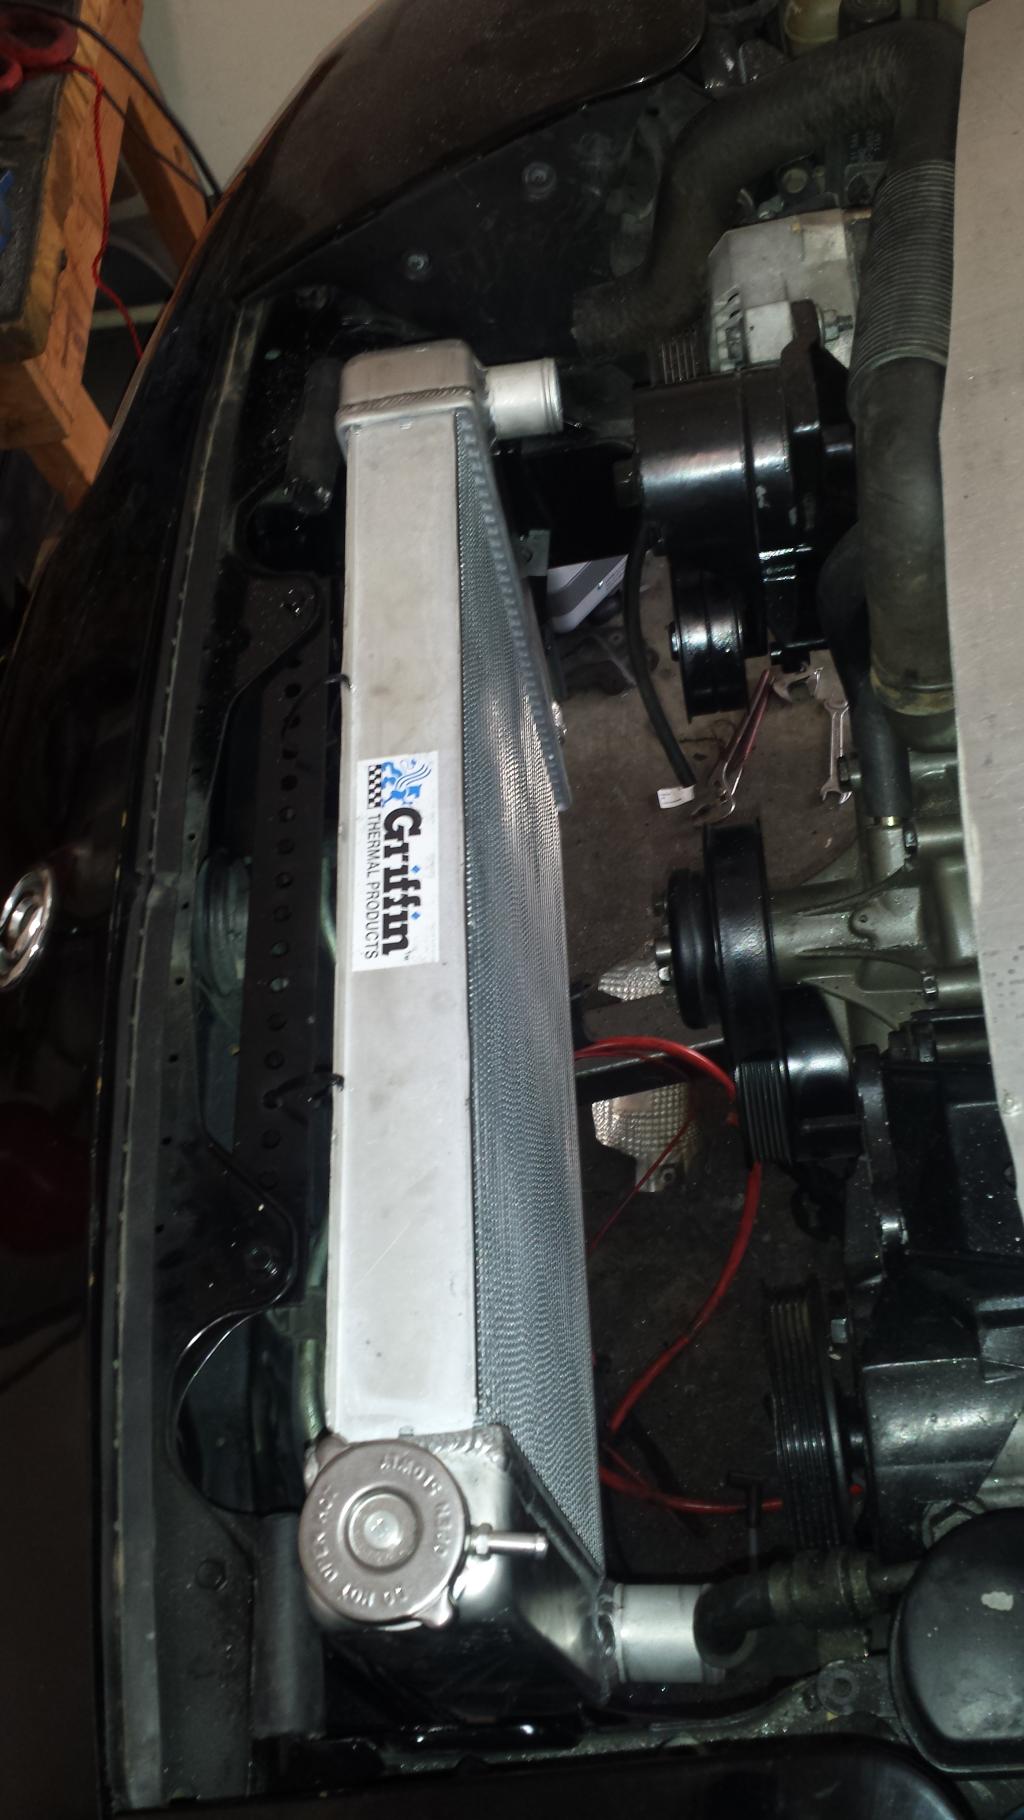
Everything fits great. I have plenty of room for the fans. I still need to seal around the radiator to ensure all of the incoming air goes through the radiator and not around it. Just for fun I made an aluminum cover for the radiator.

Thread Starter
V8 Miata Fan
Joined: Feb 2014
Posts: 99
Likes: 3
From: San Antonio
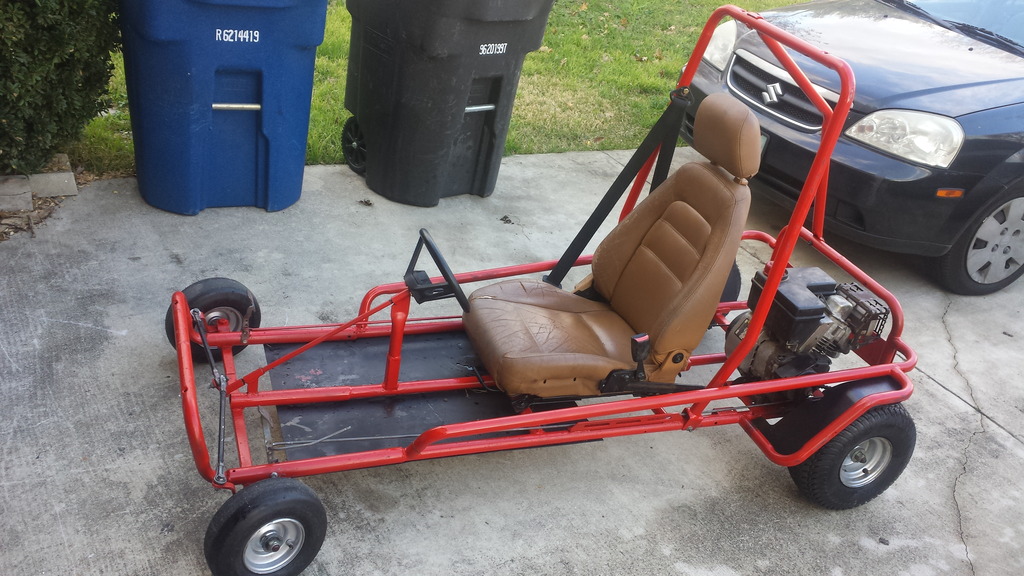
Ok, it has been a while and I have made very little progress. I have been neglecting so many things around the house, on my other cars and projects because of this build. I took apart my jet ski (no compression) that ended in a total rebuild. Six months of built up maintinence on four cars took up a few weeks. And for no reason at all I built a go kart! Perhaps I will give it to my nephew when he is older?
Anyway... I moved on to suspention. The bushings were a PITA to press out so I resorted to fire. Very fun and easy.
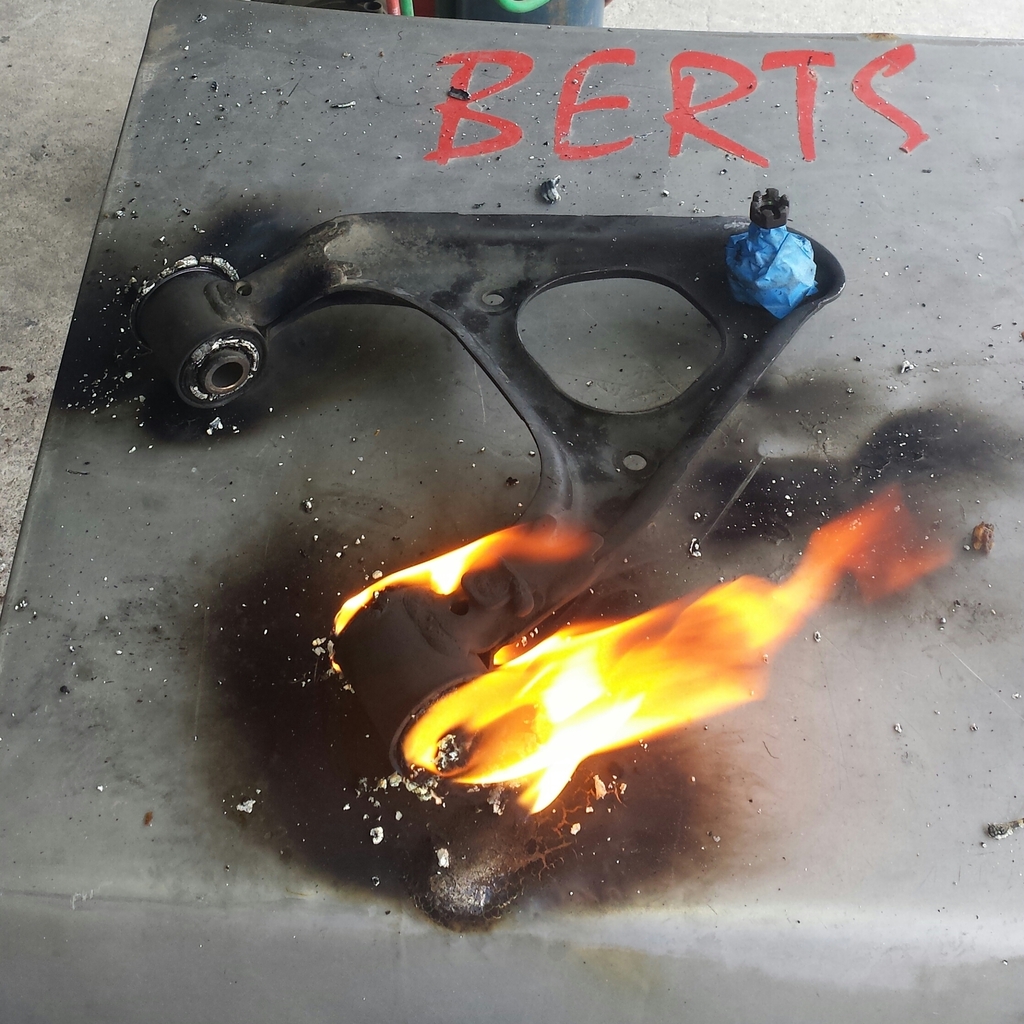
Then the burnt rubber needed to be removed. The sand blaster makes short work of it.
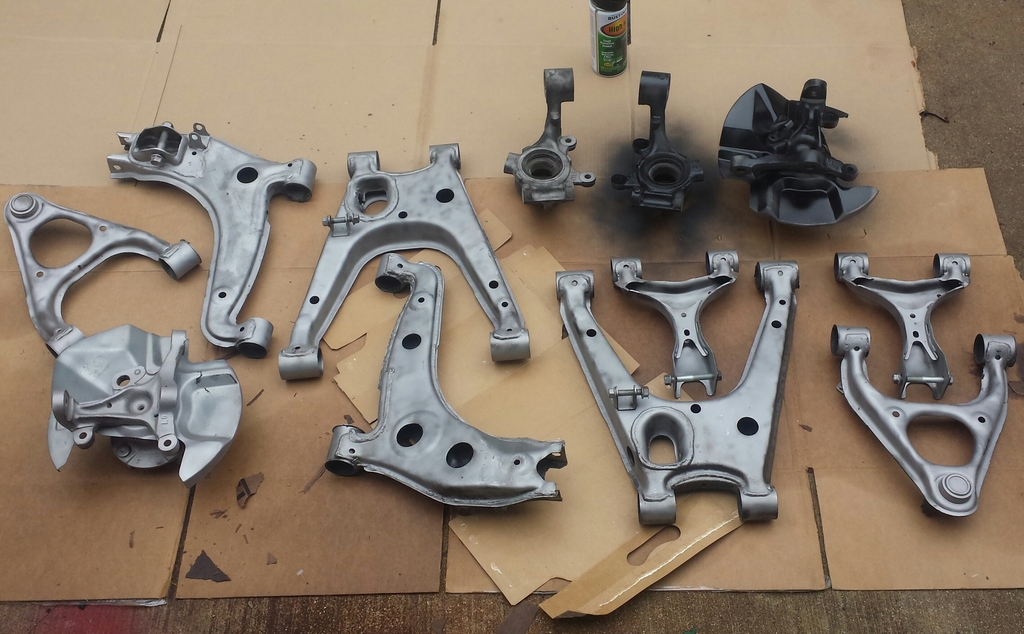
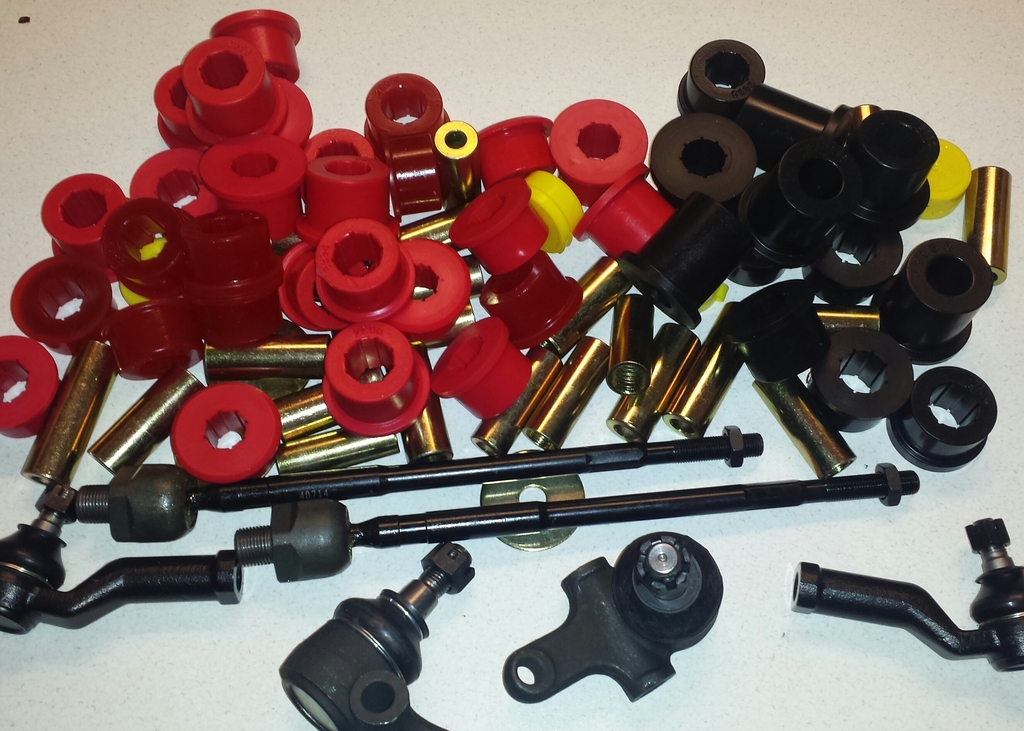
Of course polyurethane bushings were needed. They sent me half red and half black. I don't know why. But I did not think it was worth making a fuss about.
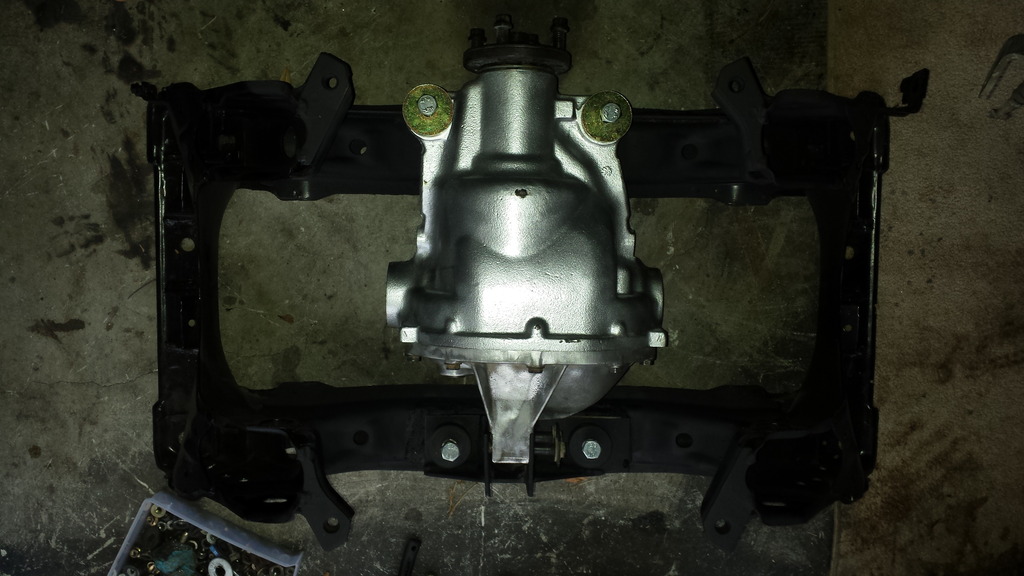
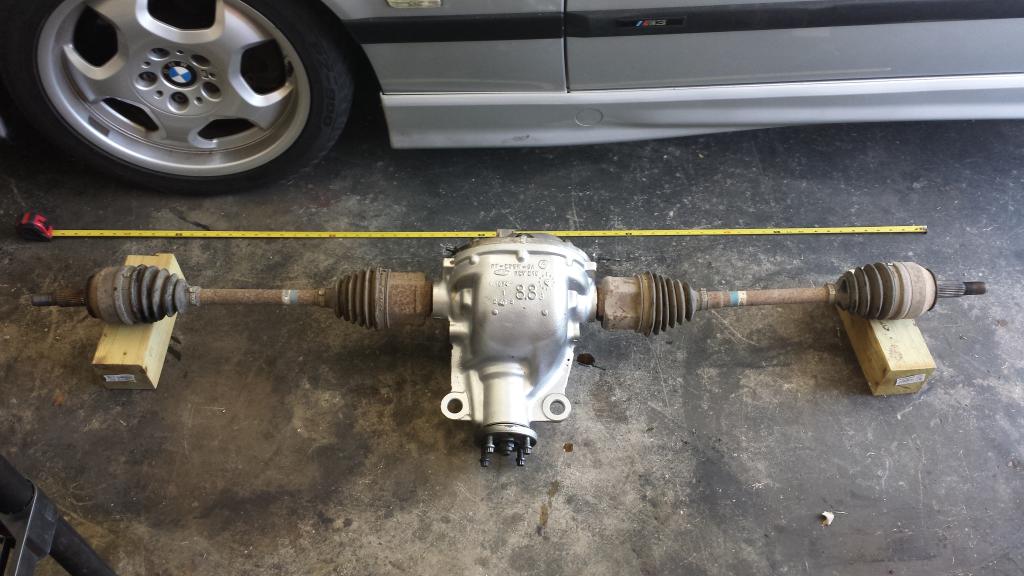
And now I have the 8.8 3.27 Lsd installed.
Not as much progress as I would like for the amount of time but better than nothing. It is a combination of other things needing attention and builder fatigue. You take one week off, then two, and before you know it you have wasted two months. Don't let it happen to you. I will not again.

Anyway... I moved on to suspention. The bushings were a PITA to press out so I resorted to fire. Very fun and easy.

Then the burnt rubber needed to be removed. The sand blaster makes short work of it.

Of course polyurethane bushings were needed. They sent me half red and half black. I don't know why. But I did not think it was worth making a fuss about.

And now I have the 8.8 3.27 Lsd installed.

Not as much progress as I would like for the amount of time but better than nothing. It is a combination of other things needing attention and builder fatigue. You take one week off, then two, and before you know it you have wasted two months. Don't let it happen to you. I will not again.
Jim Stainer
Joined: Jul 2011
Posts: 2,462
Likes: 62
From: Sunny SW Minnesota
LOL dude that is a rare 95 M seat with the adjustable head rest probably worth about 200 bucks! Well you have good taste for sure.
Glad to see you are back at it. 50 days to Mitty you know...
Glad to see you are back at it. 50 days to Mitty you know...
Thread Starter
V8 Miata Fan
Joined: Feb 2014
Posts: 99
Likes: 3
From: San Antonio
I knew someone would notice the seat but no that quick. Good eye! I should probably remove it and put a speaker head rest seat.
You will probably never forgive me when you find out where the seats came from...
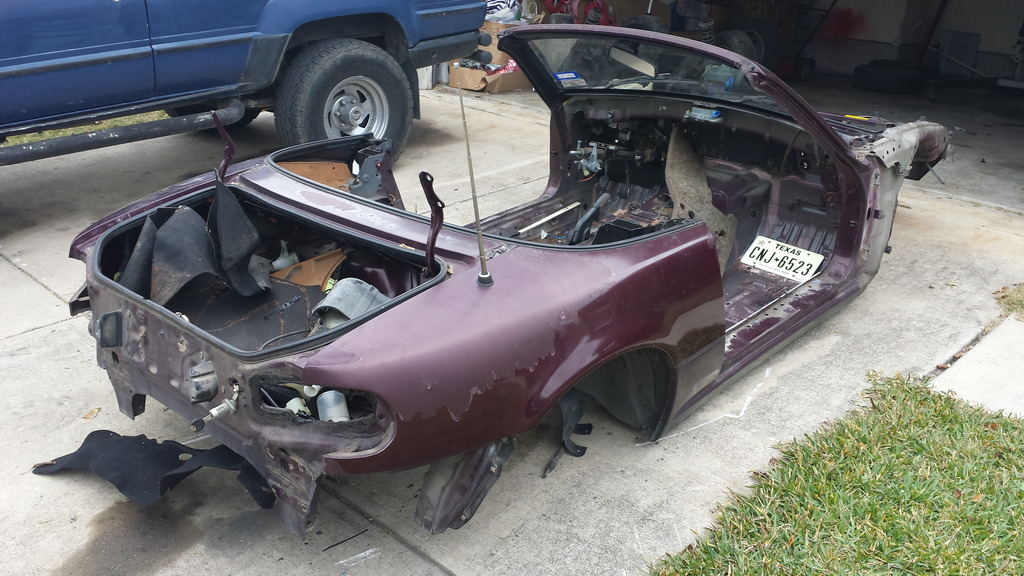
I bought it after someone ran the front driver side into a guard rail. And this was all that was left after I had my way with it.
You will probably never forgive me when you find out where the seats came from...

I bought it after someone ran the front driver side into a guard rail. And this was all that was left after I had my way with it.
Last edited by rowen210; Mar 11, 2015 at 06:08 PM.
Jim Stainer
Joined: Jul 2011
Posts: 2,462
Likes: 62
From: Sunny SW Minnesota
LOL not me! IMO there has not been a worthy to collect since the last 1970 Boss Mustang rolled off the line and even they should be used and enjoyed not in a museum. I never could figure out why people think something is worth more just because they didn't make very many of them. Anyway that looks like it was a pretty clean tub rust wise and I wish you were closer I'd take it off your hands for the quarters.

Thread Starter
V8 Miata Fan
Joined: Feb 2014
Posts: 99
Likes: 3
From: San Antonio
^Yes I do also live in SA. I will be moving my car to my shop in a week or two. Unfortunately my boss does not allow anyone except employees on the line for insurance reasons. But when I get it driveable we need to meet up at a car meet.
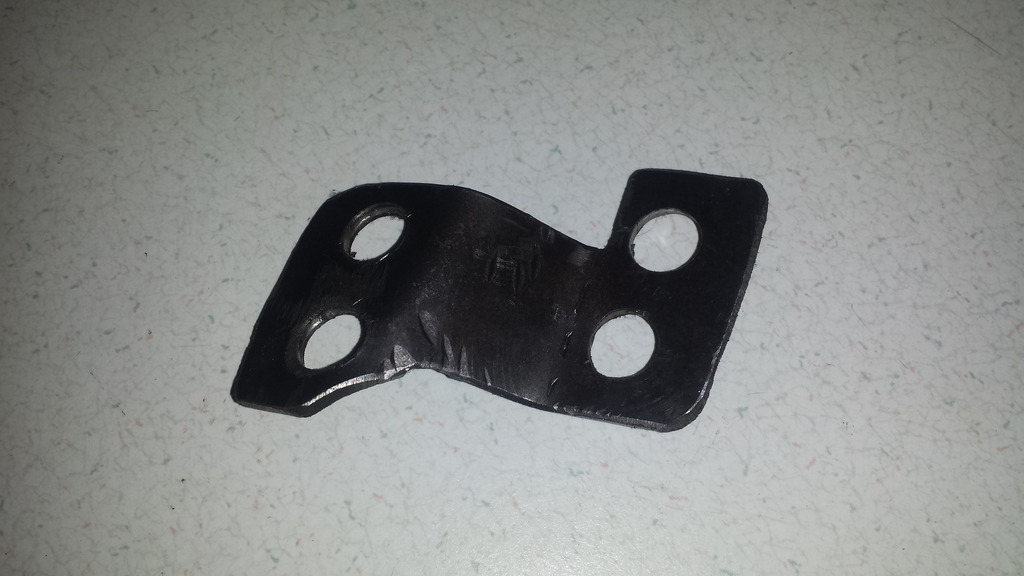
I fabbed some front sway bar spacers.
4 inches down. The 95 M edition I parted out had after market sway bars. Score! No idea what brand though.

I understand that axles are heat treated and welding them is unlikely to hold up. But, I had extra T bird axles and my friend and I thought, what the hell? So we cut them down and tigged the heck out of them at the tripod bearing.
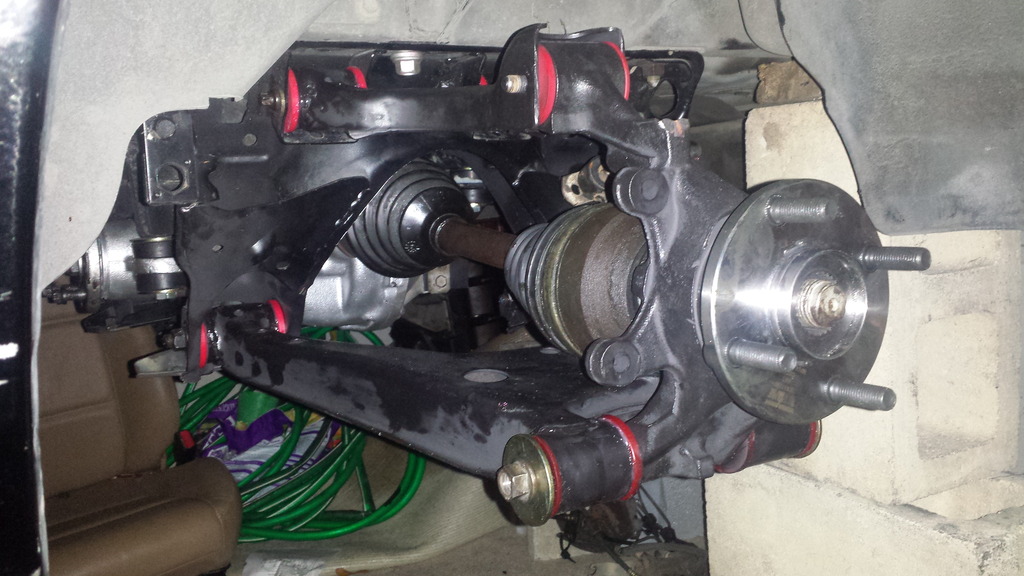
I got broched hubs from Martin Wilson at Monster Miata. Great guy! I mocked everything up for a test fit.
I think it looks great. I will need to buy Monster Miata or factory 5 axles but I am currently saving for coil overs. Anyways... I fabbed a shifter relocater.
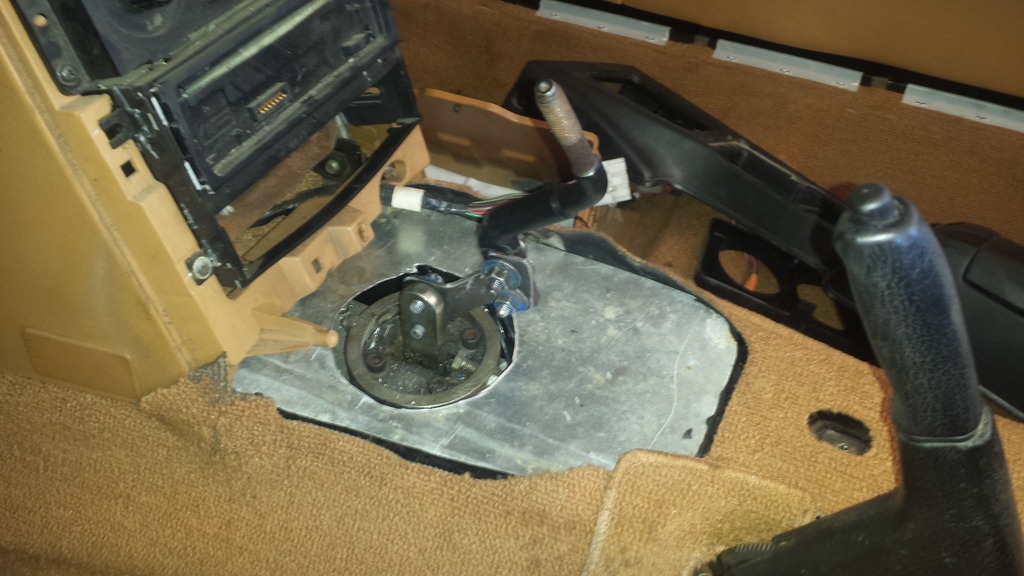
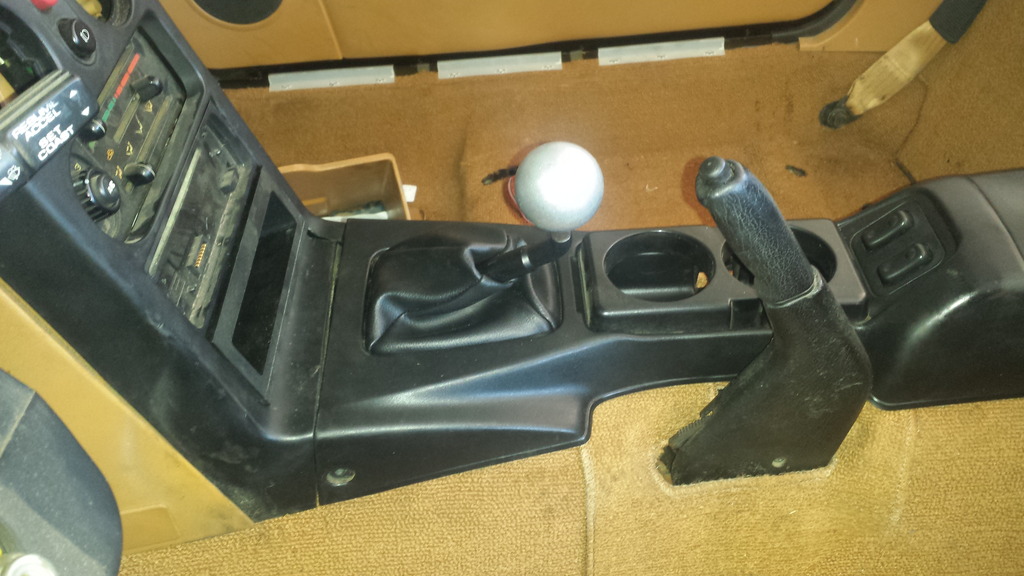
I love it. So I have been working on the wireing off and on. I hate wireing. So I get distracted quickly. I decided to make a cowl hood to fit my intake spacer.
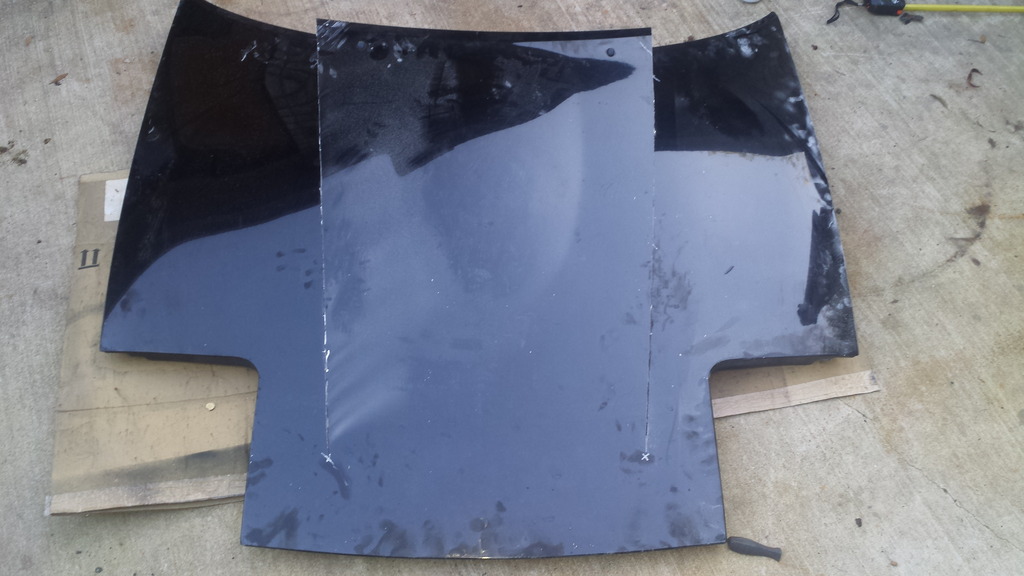
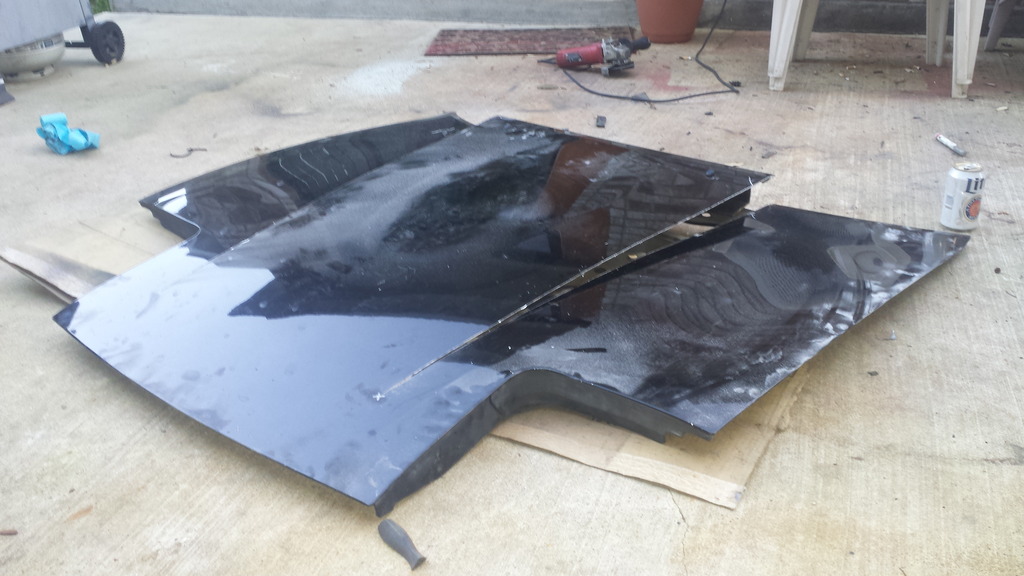
I have to find somebody who can weld thin aluminum to help me out here. I would warp the heck out of it. How do yall think the hood is looking?
I fabbed some front sway bar spacers.

4 inches down. The 95 M edition I parted out had after market sway bars. Score! No idea what brand though.

I understand that axles are heat treated and welding them is unlikely to hold up. But, I had extra T bird axles and my friend and I thought, what the hell? So we cut them down and tigged the heck out of them at the tripod bearing.

I got broched hubs from Martin Wilson at Monster Miata. Great guy! I mocked everything up for a test fit.

I think it looks great. I will need to buy Monster Miata or factory 5 axles but I am currently saving for coil overs. Anyways... I fabbed a shifter relocater.


I love it. So I have been working on the wireing off and on. I hate wireing. So I get distracted quickly. I decided to make a cowl hood to fit my intake spacer.


I have to find somebody who can weld thin aluminum to help me out here. I would warp the heck out of it. How do yall think the hood is looking?


