When you click on links to various merchants on this site and make a purchase, this can result in this site earning a commission. Affiliate programs and affiliations include, but are not limited to, the eBay Partner Network.
Your V8Miata is looking great & glad to hear you�re getting to step out on the track. I wish Tracknights would get to VIR - that�s the track environment I would most enjoy. I pictured it being laid back until you mentioned some unfortunate wrecks and such. 😮. Keep the updates coming - I enjoy your notes and details very much.
Thanks, and I agree VIR would be a great track. I'd make the trip down for something like that. In fact I'd like to see alot of the tracks around the country with this car. Time will tell.
The environment was pretty laid back as I had guessed, and that was definitely the vibe other than the incidents on track which were with the Advanced group, which are a pretty fast and competitive bunch - though I don't know exactly what happened on that day. We did end up with some people on track with us that were better off in the Novice group, but the event officials handled that pretty quickly - one of the driver's acknowledged to me (in an Infiniti G20) that he shouldn't have been out there with the Intermediate group. The driver's meeting was very brief, and assumed we all knew what we were doing out there, which you usually hope is the case. If you see in the video at one point a driver in an orange Lotus Elise was very fast but beeped his horn coming off the main fast section. He beeped at the corner worker to draw attention to the slow moving Porsche coming down the inside but not waving anyone by and setting himself up for a very sharp right turn. I slowed to let the Porsche go ahead of me to avoid anything, and then waved the Lotus by. After the session the Lotus guy came over to explain he wasn't beeping at me, but the flagger so they could address the driver. I had seen what he was trying to do, and thanked him for doing that, so no offense was taken. I was able to borrow an air compressor to fill my tires before leaving since I forgot mine. Then I lent some tools to a guy fixing a loose intercooler hose, and zip ties to a heavily turbo'd Evo8 with a loose wastegate signal hose. Everyone was appreciative and complimentary on other cars and lending a hand. Maybe it was just the nice weather
One thing I forgot to mention was I purchased track insurance for the first time. I have the Miata insured full time through Hagerty, but you can submit for a quote through RLI insurance whether you are a Hagerty customer or not, which is accessible via Hagerty's site. You enter some vehicle info, including mods if you have them to provide the car value, the track location, etc. I insured the car for $109 for that event but with a $2000 deductible - lol. So it would be worth it for a somewhat major event, and the rider seemed to include alot of what might happen on track, with the typical exceptions. I'd heard track insurance was closer to $200 per event, so this was cheap by my standards.
Great update.
If you don't mind sharing, what are the specifics on your insurance thru Hagerty?
My insurance company doesn't know my Miata is anything other than stock and all I am running is liability anyway so probably could use more insurance.
It's a one year policy, and the only car on the policy. I have a spotless driving record (ignoring my pre-twenties) and excellent credit, as I think those would play into the rate. The car is in a locked garage. My wife is also on the policy, and no kids of driving age in the house. I just gave them the value I wanted to cover, $12000, and they did the rest, no extras.
The track insurance does cover towing, etc. but I don't carry it on my regular insurance - I probably should though. B/c I specified mods when I did the track insurance, I needed to list out the mods related to the swap and other high dollar stuff, just stuff like "rollbar - $xxx" and "Wilwood brakes - $xxx".
Not sure how insurance companies would react to finding out a car is significantly modified if you were to make a claim, and an adjuster came out to the car. I've done that with previous modified cars, and never made a claim, but was too lazy to research modified car insurance or track day insurance. In any case, the insurance with them was cheaper than regular insurance. I've since heard from other car guys that American Modern is cheaper than Hagerty: https://www.amig.com/
That is a pretty good rate for what you are getting.
Is there a limitation on how many miles a year you can drive the car?
One thing I wanted to mention to you.
On the aluminum under tray you installed you mentioned that the factory Miata plastic piece will not fit with the new subframe and engine.
What sort of problems were you having?
Mine fit really nicely with just a small trim where the front sway bar was mover forward.
The only limitation is with how my car is registered with the state (PA) as a "modified vehicle" without emissions, etc. It limits to what they call "occasional use" which is once per week. That itself wouldn't affect my insurance.
Since I used a BMW front sway bar, I think it may have presented an issue with the undertray due to its size and moving the sway bar mounts, but also the subframe didn't have the mounting points or was in the way... Cant recall more than that.
Reflecting on the track day a month ago, I thought a few things could be addressed. One is the itch to get a proper suspension on the car. So I think in the next month I will be pulling the trigger on a set of nice coilovers to put on the car. I've been doing a good bit of research and I think i've narrowed it down to what I want, so I'm looking forward to making that significant upgrade that should change the car on the street and the track, in the next month.
The other thing is shifting the gears. The idea I had went from inception to execution in a couple days. I always felt like the center console was getting in the way. Both driving the car on the street, where my elbow, or more specifically the part of the elbow you might call the funny bone, would hit the center console. This would be harder if I had something in the cupholder, or if my elbow would open the flip-top cupholder on the later style NB center console which I upgraded to when I first got the car. Since this is a driver's car, so why not make some concessions to make it more "driveable"? I also don't use the cupholders often myself, it's usually a passenger that's using it. I have a small cubby below the radio that I can use for my phone, or whatever. Considering the cost of some of the "shorty center console" options out there (~$200) I decided to fab my own. I had the early style NB center console laying around, and they don't sell for much as the new style, which is more desirable. I decided I would cut it shorter and try it out.
I shortened the console a bit to make it easier to maneuver on the bandsaw and then marked my cut
I had a nice thick blade on the bandsaw already from a previous project, and made the cut. It was pretty straight and clean - alot cleaner than any other tool I would imagine using for this.
I used some of the plastic from the sides of the console where the lockable cubby is, and that was going to cover up the hole. Would match in color and texture. I briefly thought about a aluminum cover with some rivets and such for a bit more "racy" look. I played it safe with the plastic.
Traced a more precise fit and cut on the bandsaw, leaving a 1/16" or so, but it turned out closer than I thought.
The next step was how to attach it. I did some quick research on plastic welding. I had a soldering iron and watched a few videos of guys doing this and it seemed super easy. Did some test welds on scrap plastic from the same console and, man, it was easy and seemed to hold pretty well.
I just used the tip of the iron, with the heat all the way up, and ran it along the seam to "tack" it in a few places, and get the cover plate to fit tightly along the new shortened console. Happy with the fit, and ran the iron along the whole joint from the inside of the console. Most of the marks are from the other parts of the iron rubbing against the plastic.
Within 10 minutes I had tight and strong piece. Still amazed how easy it was.
Here's the iron I used, which had been gathering dust.
The final look. I ran the iron along the seam on the outside seam since there were tiny gaps. It made a small weld bead that enhanced the look a little. I did some light filing of the edges to take the sharp cut edges off. Some light sandpaper as well, but plastic doesn't take well to sanding, so I stopped before making it worse. It could use some more finish work, but it looks OK considering the time and materials spent. I'm open to suggestions on a better way to treat the seam.
Some of the holes in the tunnel carpet were unsightly, so I used small pieces of old carpet to cover them from underneath. The gap in carpet near the trunk and gas door release levers was pretty unsightly, but a larger piece of carpet that had some stitching made for a decent cover up.
The before
and after:
Here is the final look of the whole area
Took a few drives since making the change and I'm pretty happy with it, so I'll be keeping it. The old console is in good shape, and is available if anyone is interested.
I guess I lied, but there was one other thing that bothered me on my track day, though it didn't involve actually being on track. It was the drive to the track... with the top down of course. The stereo system was OK, but it needed a bit more "punch". I did some research and found that you can actually fit an 8" speaker in the door pod! I was pretty floored by this, so I picked out a set of 8" RockFord Fosgate speakers on amazon. Since the car did not come with an upgraded system, but had the door panels with pods for the tweeters, I matched them with some Fosgate tweeters which I'd need to make custom brackets for. Did someone say custom?! The whole car is custom, why not a tweeter bracket? Topped it off with a Fosgate amp, of course.
The 8" door speaker dropped right in after removing the old Fosgate coax speakers and pods (For sale, if interested).
The old (ignore the trash bag and foil tape "door liner" since the driver's side didn't have one):
The new:
The tweeter brackets. These were made from aluminum I had cut away from the hood when I installed the hood vents. Using all of the buffalo.
Used some velcro tape to install the crossovers behind the 8" speakers.
The amp was installed in the trunk on a CUSTOM bracket. lol. Also had a small subwoofer in there from before. Once a basshead, always a basshead.
The verdict? The potential is definitely there, but I'm still playing with the EQ settings on the head unit and the gain and crossover on the amp. Having the tweeters higher in the doors helps the treble to come through alot more, which helps to hear the vocals while driving. The 8" door speakers are much more capable than what I had before, same for the amp.
The sound is much more "full". What's funny is that I don't think with all of this gadgetry I'll be able to make it sound as good as the stock system on our 2005 Subaru Legacy Wagon. Yes, I just said that about a 13 year old Subie. OEM sound systems are far better than they used to be. When my brother and I were car stereo geeks in 90s, we were ahead of the curve. Now, you're better off just sticking with the stock system. I'm just playing catchup here. My Mom's 96 Miata M-Edition has the speakers in the headrest, which is probably the way to go for a convertible, but a little more CUSTOM than I'm willing to go. Cheers!
Install wasn't too bad, have to remove the door glass which on my non-power window car involves pulling the door panel, and removing a few bolts. Then removing some of the triangular window glass and seals. Getting some of the seals back into place without tearing or pinching them is tricky, but wash or wipe down all the seals before reinstallation and just take your time.
My impressions are average, I'm not getting quite the blast of air into the cabin as I was expecting. I wish Mazda just made the tilt vent windows you see on some other, usually older, rag tops and convertibles. I haven't tried them at highway speeds, so that might be more noticeable.
I went and upgraded the suspension, as I was sensing it was a weak point on the car for track days. I wanted something that would also be comfortable on the street, adjustable in ride height and damping. I wasn't afraid to spend a little as I was hoping this would really change the character of the car and allow me to get more out of it.
I went with the Xida Race coilover from SuperMiata/949 Racing. These are coilover that came very highly recommended by others on miataturbo.net, and some other forums. They are mostly track-focused, but many have commented on the superior ride quality on the street as well, even with high spring rates. I went with 750 lb/in. in the front, and 450 in the rear. This sounded ridiculously high to me, but in the end hasn't been noticeably rough or over-sprung. These are rates are about twice what I was running on the VMaxx kit.
The coilovers have adjustable damping that increases compression and rebound progressively with each click. Street manners have been very good. There are a few sharp seams in the road near me that I tested after installing and it was much more controlled over sharp bumps. As for the track, they also seemed to be more controlled, though unfortunately they didn't turn me into an F1 driver.
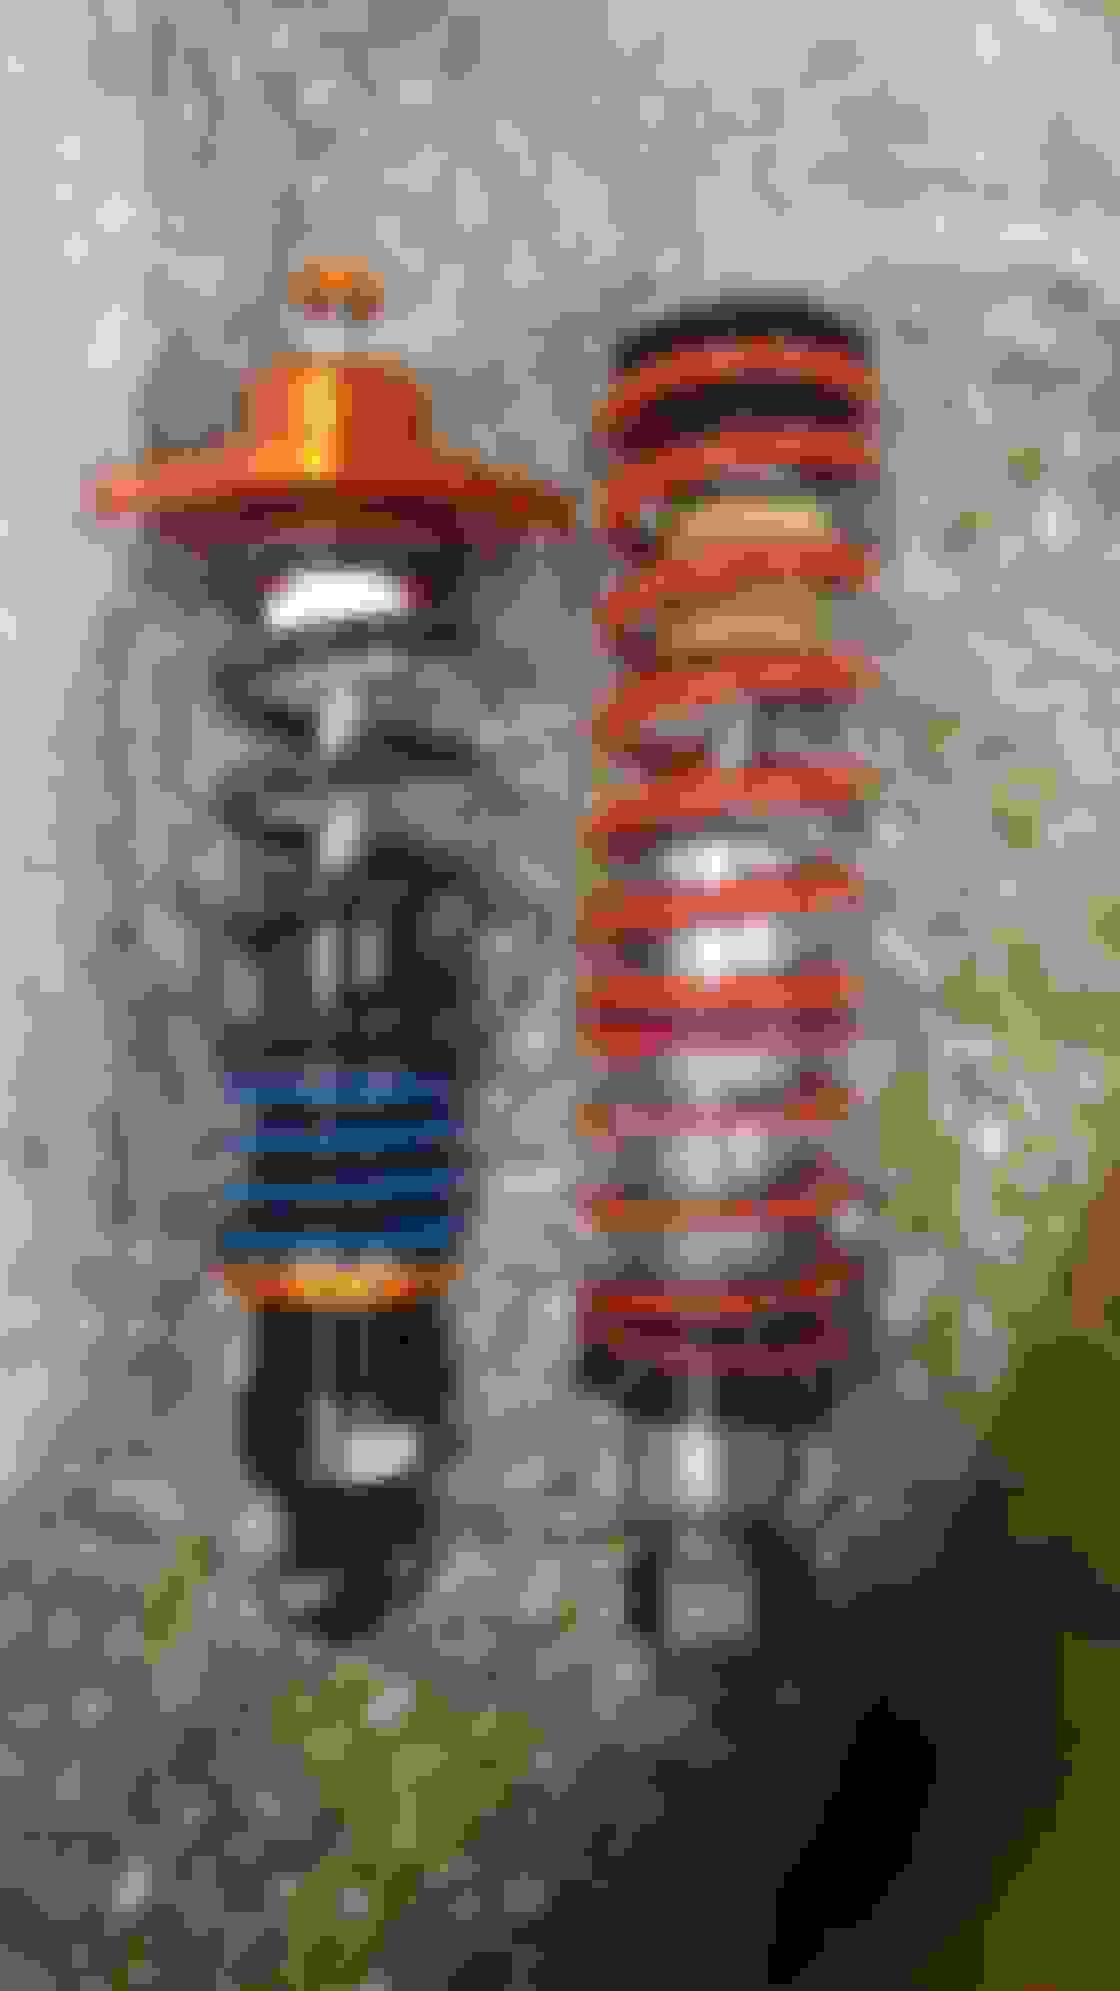
Didn't take many install photos unfortunately, but here they are side by side with the Vmaxx
Install wasn't bad, though it is a bit of a pain to separate the front upper control arms on a Miata, to slide these in. I also got them with the upper strut mount including a spherical mount.
Made a minor upgrade to the air intake system. The original air filter was something I bought on the cheap along some of the air intake tubing and couplers, and it was sufficiently sized, but was not an oiled filter like a K&N. An oil analysis I did pointed to high levels of Silicon in the oil, which is usually b/c of dirty air getting into the combustion process. Blackstone Labs, which did the oil analysis, recommended checking the air filter and intake system. Since I don't think I have any leaks, I decided to upgrade to a K&N filter. Unfortunately I bought it while on vacation, and realized it seemed too small for my application. So then I upgraded to what I think is one of the largest conical K&N filters they make. It's probably way too big, but it fits and may come in handy as I plan future power upgrades.
Here is the 3 filters I tried compared. Bottom right is the original one, bottom left was the second one, and top one is the current filter.
Current installation
I'll be taking another oil sample to see if that may clear things up.
I also had an issue with one of my high beams not working on my upgraded Bi-Xenon project lights. Of course, this was noticed when I had dropped the car off for inspection as I don't drive at night too much or use the high beams. I had to bake the headlight open again, and replace the high-beam solenoid which apparently stopped working. The high beam on these lights is just a small "shield" that flips out of the way to allow the bulb to shine in the high beam pattern. The part was sent under warranty, and was easily replaced.
I attended my second track day in the car last week at NJMP (New Jersey Motorsports Park | Millville, NJ) at the ThunderBolt course. I've done this course a few times before, and it's currently my favorite configuration of the local tracks. The weather was decent, and there were no scheduling hiccups like the last one.
We did 3 sessions, and I didn't hit record for the first one.
The car felt good with the new suspension. I'm continuing to experiment with tire pressures, brake bias, the new suspension adjustability and my own experience with the car.
I had a small spin in the last session as I was trying to push the car faster in a long left hand sweeper.
One problem did arise on the last session - what I think is a fuel starvation issue. The engine would cut out for about a second at the same point on the track, after a long left hand sweeper, and then a quick turn back to the right. This also started to happen when the fuel tank was half full. The fuel pickup is on the left hand side of the car, almost behind the driver's seat. If the fuel pickup was misaligned when I installed the upgraded pump, it could be starved for fuel.
I ordered a new OEM fuel sock as they were only $8 and I figured I would replace it anyway. I got a chance today to open the fuel tank, and the sock appeared to be installed correctly. In fact, it would be hard to install it any other way since the sock has a small hole that lines up with a pin on the fuel pump. I put the new sock on and put it all back together. I'll have to see if there is any difference during the next track day, or else I may need to keep the tank more than half full during track days.
You can see a curved section of metal at the bottom of the tank, this is a baffle that keeps fuel between it and the driver's side of the tank.
You can see where the sock fits over the plastic pin on the pump, so it can only go on one way.
The new OEM sock (white) is a bit thicker and has some support structure inside, so maybe this will make the difference in keeping the engine fed. The original sock that came with the Deatschworks fuel pump can be compressed flat and might hold less fuel.
Last edited by pj_mcgarvey; 10-04-2018 at 10:11 PM.
It's been some time since any update, and the forums seem pretty quiet. Thought I'd post a couple tool related things, and also share that I have some nice power upgrades in mind for the winter. I should have more info and pics to share in the next week or two.
I purchased a 20 ton shop press from Harbor Freight to do some suspension work on our Subaru. Replaced all the suspension bushings, along with shocks/struts, and found the press to be very useful in doing this. I probably won't be using it a whole bunch, but it seemed like the right thing to buy at the time.
I've collected old bearing races, bushings, brake pistons, etc. to use as dies for the press.
Since I'll be doing some engine work, I had the thought that I should check the calibration of the torque wrench I've been using for a few years. I had originally thought this was something that required an expert, but I found out that the maker of my torque wrench, Tekton, published a guide on how to verify the accuracy. https://www.tekton.com/torque-wrench...nd-calibration
I used a small floor jack and the heavy steel plates that came with shop press, which added up to 44 lbs. Using the calculations Tekton provided, it appeared the wrench was off by at least 5 ft. lbs, probably more, maybe closer to 10. So that was pretty surprising to see how far off it was, and I was glad I took the time to check it.
Remove the small rubber plug near the handle and use an allen wrench to turn the calibration screw. I started by doing 1/4 turns in a counter-clockwise, and remeasuring. I ended up with about 1.5 turns to get it accurate.
I had been wanting to upgrade the engine, specifically the cam to help "wake it up" a little bit. On the track, it's usually nice to have an engine that can make usable power up to redline, and a cam will help do that, and it will also usually help make more peak power up in that higher rpm range. I had been doing some research on upgrades for the last few months, compiling a list of what options were out there from CNC ported heads that you send in, to custom head castings that flow more CFM with larger volume ports, bigger valves, and then a combustion chamber volume that would match your current engine or add compression.
I had my eyes on the Texas Speed/PRC "As Cast" 225cc heads, and a Texas Speed cam to match. When they had a Black Friday sell after Thanksgiving, that would have saved me a few hundred dollars on the heads and cam, I decided to jump on it.
I got heads with a 62cc chamber which should bump my static compression up closer to 11:1. They rebuild the heads with new valves, guides, dual springs, retainers, etc.
As for the cam, I got the Texas Speed LS1 Camshaft: 228/228, .600/.600, 112 LSA. A lot of people seem to like the 228R camshaft, and the 112 LSA is the middle ground between mild and wild I guess. The engine will definitely sound a bit more choppy or angry, but I should be able to pick up 20-30 hp in the middle of the power band, and maybe 90hp at the top.
I'll also be upgrading pushrods, new lifters, ARP head studs, a thinner multi layer (MLS) headgasket, and CHE LS/LT Trunion Kit which upgrades the trunion bearings to handle more RPM as the stock LS1 ones are known to be a weak point. I will be upgrading connecting rod bolts with ARP as well to better handle high RPM.
I also picked up larger injectors to handle the power demands, with a used but flow-tested set from ebay.
I'm hoping to begin in January once life settles down a bit and be done well before the weather starts to warm up.
Last edited by pj_mcgarvey; 01-22-2019 at 02:05 PM.
Gonna step out here and put in my request for a full review of your new heavy-duty fuel pump wiring kit. I think it’s a good investment, I really do. Your new kit is an improvement over my DIY job since you’ll have heavier gauge wiring all the way to the pump plug, I would think. Post up when you can. Thanks, Patrick
Gonna step out here and put in my request for a full review of your new heavy-duty fuel pump wiring kit. I think it�s a good investment, I really do. Your new kit is an improvement over my DIY job since you�ll have heavier gauge wiring all the way to the pump plug, I would think. Post up when you can. Thanks, Patrick
Will do. I will say that they didn't include any wiring between the fuel pump hangar and the pump in the tank. I had replaced that when I upgraded the pump (Deatschworks DW200) since it included a new harness connection. I covered that here https://www.v8miata.net/general-moto...ge3/#post21803
The wiring they include appears to be better quality, though maybe not "thicker" in gauge, as well as including a new 25A fuse and high quality relay, that all bypasses the oem fuse box and relay. So far I think that's what it covers.
In preparation for the power upgrades, and the updated tune I will need, I decided to go with an Air/Fuel gauge from Innovate Motorsports. I have used these before on previous cars, and had one left over from the Miata when I bought it, but needed a gauge to show both banks of the engine.
So now I've got my Ultragauge mounted on the windshield (didn't seem to be any other place to mount it), the existing oil temp gauge in the middle, and the Innovate gauge in the lower pod of my A-pillar which was previously empty.
I'm getting some intermittent CELs related to "02 sensor not functioning" or something like that, even though I'm getting good data from the gauge. That will be something I'll need to research once the car is running again.
The new cylinder heads will require the newer, updated LS valve cover style, since my 98 LS1 used the original style they used for two years and were not compatible. My buddy Dimitri regularly visits junkyards and had pulled some valve covers for $5 each. My plan was to clean them up and do a red wrinkle finish. The red would match the engine block and add a little spice to the engine bay.
He gave me four covers for nothing, and I agreed I'd finish them all, keep two and give him back two finished covers.
The before pic
I went to the outdoor car wash station and for a few bucks in quarters, power washed them to get them pretty close. I then used some oven cleaner to really get them spotless, both on the outside and the underside. They turned out pretty nice, but I didn't take pics at this point.
After degreasing them, I taped off areas I didn't want painted and followed the instructions for the VHT wrinkle paint and within a day or drying, they came out pretty nice.
To top things off, I still needed coil pack brackets to work with the new covers, so instead of going OEM for something like $12, I grabbed some nice billet ones from ICT Billet for a bit more
I bought a used Mazda Miata upper strut brace on ebay for $100 shipped. My plan is to mount it up, and weld in some triangulation to the firewall for added stiffness. I'll do this while the engine is out so I did a test fit before I pulled the engine.
Plenty of clearance with the intake. The hood was removed at this point, but I don't think that should be an issue either.
Some tape to visualize the triangulation. I went with a steel bar on purpose so I could easily weld in the bar. The attachment at the firewall will be bolted in so it can be removed.
The area in the rain gutter where I'll weld in some gussets since the forward portion of the rain gutter is flimsy. Might make more sense once i'm done.
Last edited by pj_mcgarvey; 02-07-2019 at 02:10 PM.
My engine stand and crane don't get along very well... The legs don't mesh together, so I had to get creative with bolting it in. Sigh.
Noticed the nut holding the starter cable came off easily, not sure if it was "loose", but I'm wondering if that was the cause of my intermittent no-start issues.
The clutch disc and flywheel appeared to be in new condition, which was very satisfying to see.
Removing the engine was a pain, I was hoping to do it by pulling the trans away from the engine and lifting the engine out with the bell housing attached, but there wasn't enough room anwyhere to do that, Had to remove the bell and still struggled with removing it. I envy you guys with lifts, who can just drop it out the bottom.
I'll be tearing into the engine soon, and posting more as I dig into it.
Your fuel starvation is an interesting one...OEM Miatas never seem to have fuel problems, but they are only pumping enough fuel for 150 hp. Was it repeatable on the same corners at the same g-level? Without race suspension and r-compounds, it’s not like you have super high g-loads. Hell, maybe its worse on a softer setup b/c of the increased body roll.

 06-21-2018, 06:21 AM


 Topped it off with a Fosgate amp, of course.